Jess Morgan is a DIY musician from Norwich in the UK, who has made a name for herself by releasing her own music in limited edition short runs. Despite the shift toward digital format in the music industry, Jess still believes in the magic of music on hard-copy and is always looking for the next original way to package her music. Follow Jess on Twitter @jessmorgan and instagram @jessmorgface
Editor’s note: This project is meant for reproducing your own work or work in the public domain. It is not meant to be used for illegal duplication. Support your favorite artists by buying their records! And if you’re in the UK, you can catch Jess on tour.
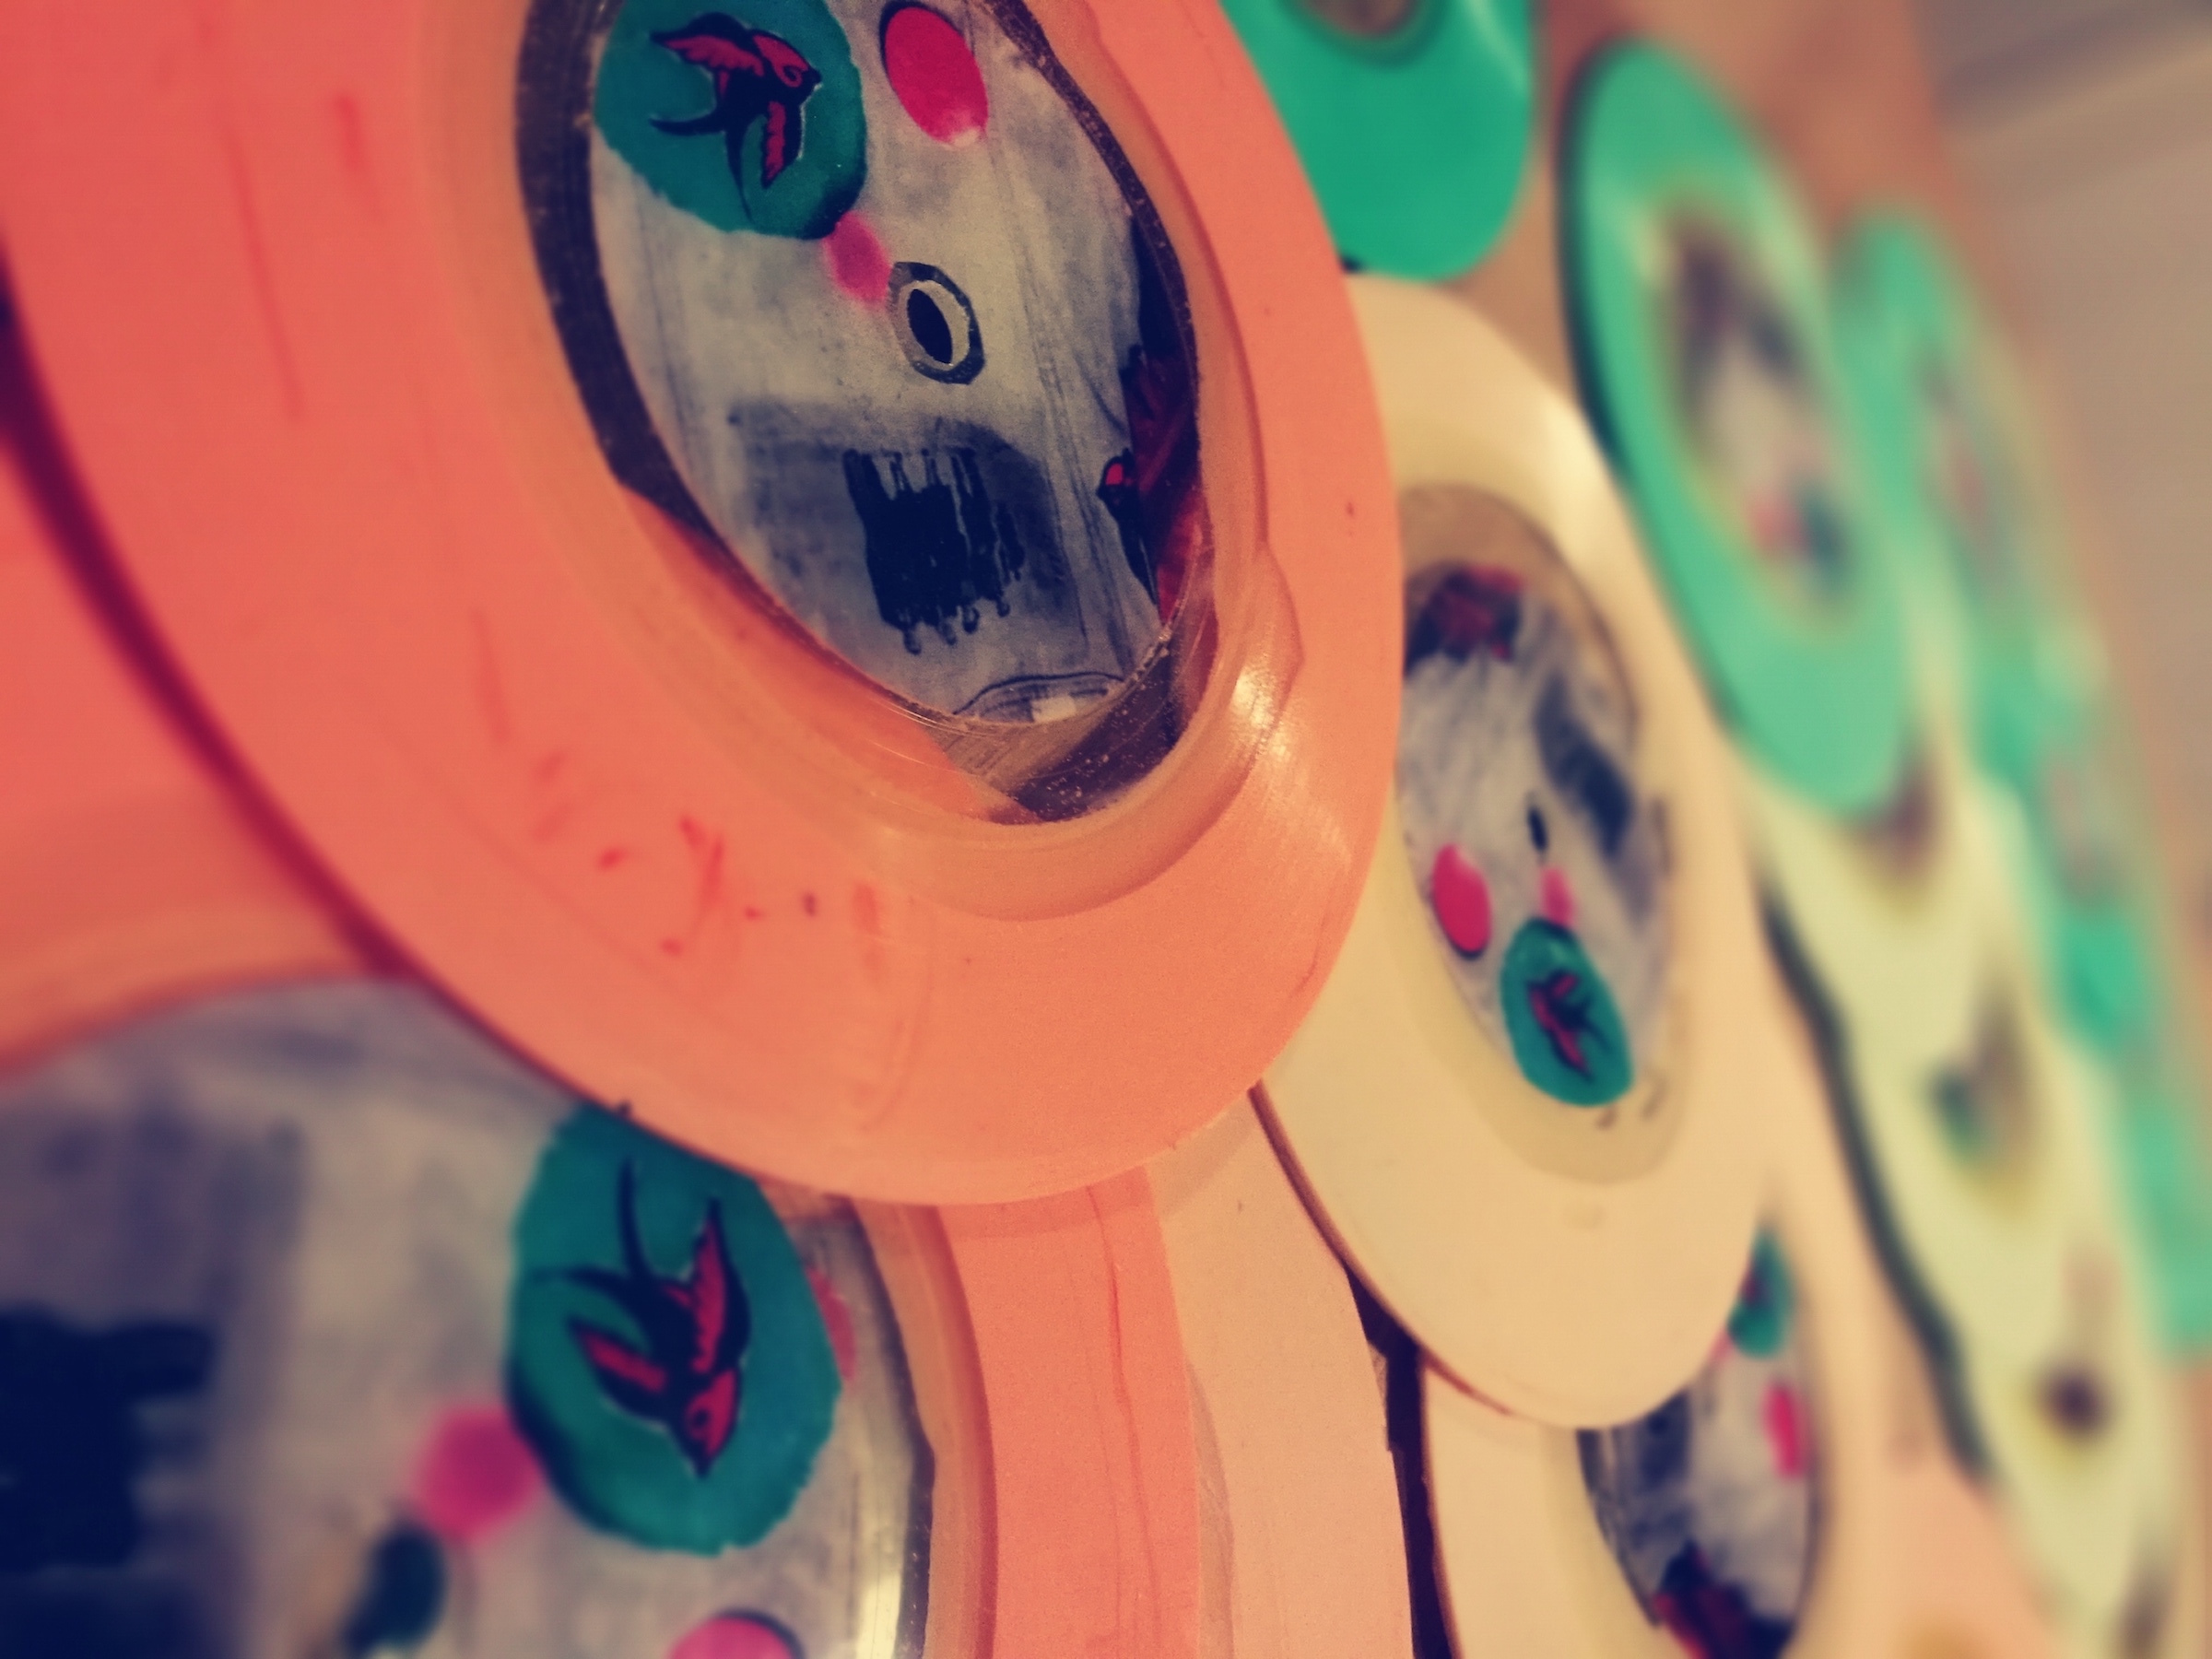
A run of records. Photos by Jess Morgan
Setting the needle and hearing your song play out over the hi-fi speakers is usually a thrill reserved for only those with a few quid to spend on a factory pressing of their latest release on vinyl. I spent a year experimenting with colorful “mock vinyl” and picture-disks that I made at home in my spare room. Here’s a video of one of my homemade records in action:
Below is a basic step-by-step for making records at home that will play on a turntable with plenty of delightful quirks and crackles. This will not cost the earth, and all you need to get started is one record.
This method of making records is effectively a way of “cloning” records — so you will need a starting point to work from. It needs to be something that is inexpensive to get a hold of and you will not worry about messing up. Plenty of places now will cut you a one-sided 7″ dub-plate with your song on it for anywhere between 10 and 20 quid. A dub-plate is a type of acetate disk that has its grooves cut in real-time from a lathe (as opposed to stamp-pressed), like regular vinyl records. Pick a song that will be complemented by a bit of scratch and tremolo and see if you can get a nice loud master. It all helps.
Making the mould is the most crucial part of the cloning process. Once you have a decent mould, you will be able to cast a whole run of records from it. Your mould is your friend, so look after your mould. Protect it from scratches, creases, and dings. Be sure to cover it from dust when it is not being used. It will wear out eventually, as resin itself is quite a harsh little substance, but one good mould should give you plenty of records before you need to retire it.
You will need a tray to form the base of the mould. Make it as close to the size of the 7″ as possible and make sure it is not more than 2cm deep. You will be filling it up with silicone and you will waste a lot if your tray is too big. You can use brown parcel tape or sticky tack to block out or partition off a section of a bigger tray if it is all you can find. Use double-sided sticky tape on the non-grooved side of the record to secure it in the centre of the tray with the grooves facing up. Tear off and use plenty of tape so that the silicone does not seep underneath. The dub-plate should sit securely in your tray with the grooves-side facing up.
The grooves themselves need to be left alone, but you can build up texture on the area in the middle of the record where the label would be to make it look interesting. Take some plumber’s aluminum tape, and draw on it and press it for a couple of American coin designs. Use a Dymo label maker for text and pretty much anything you can secure in place with double-sided tape.
A close-up of the texture
I also had interesting results from using paint, PVA glue, string, and a paste made from flour and water (for building texture). If you would rather get stuck into color or picture disks, then it is best to skip this step and make the mould as simple as possible.
Silicone rubber for mold making can be bought as a two-part mix. It is really easy to work with, but a slightly more expensive option. This will be fine if you think you will get your mould made on the first or second attempt. However, if you want to do a lot of experimenting (with texture for example), use a cheaper option like a silicone mix that comes with a catalyst. Know that a silicone mix needs to be mixed at something like 3% ratio of rubber to the catalyst.
You will get instructions when you buy it. A calculator and some little plastic pipettes for accurate adding will really help you with this bit. I used the cheaper rubber during a phase when I was experimenting with a textured center, and a two part mix when I made picture disks. An artist friend of mine recommended some companies to supply the bits and pieces I needed. In the United Kingdom, there are several suppliers that are easy to find with a simple online search.
Depending on how big your tray is, you will need to estimate how much rubber to mix up. I used pint sized plastic cups for this bit. I think a pint of the stuff, whether that is from a two-part set mixed together or a silicone and a catalyst, should be more than enough for one mould. Make sure to mix the parts together really well and take your time with it. Mix calmly to avoid working in too many air bubbles.
For extra safety, I would recommend doing a “skim” coat. Pour a little of the mixed silicone over the grooves of the dub-plate and, using a sponge-brush, cover the grooves in a thin initial coat. Make sure there are no air bubbles, and then pour in the rest of the silicone. The silicone needs 24 hours to dry. Make sure it dries somewhere completely level. Use a spirit level to make double (and triple) sure everything is level. If you have a few small air bubbles once the silicone is poured in, these will disappear as the mould sets. Pop any very large bubbles with your mixing stick.
After a day to dry, carefully peel away your hardened silicone from the mould. This can be a bit tricky. Take your time and do not tear your mould. Give the bottom of the mould a little scratch with your fingernail. You should feel some very fine grooves in there.
Wherever you work, it needs to be level. Get that spirit level out again and make sure. Protect hands and eyes and work somewhere ventilated. A basic Polyurethane Casting Resin comes in two parts, part A and part B. In most cases you need to mix these by weight — so a set of digital scales is vital.
A kitchen scale is useful for measuring proper ratios
Check your instructions from the supplier. To avoid over-pouring mistakes, I poured out part A and then part B into individual paper cups, and then mixed them together. While part A and part B are separate, you can relax. You have time. Once they are mixed, you have got to be fast.
If you want to add color, add to one of the parts while they are separate and mix that in well. Buy special resin pigment from your supplier if you can. A little goes a long way with this stuff. Although, using a blob of color will buy you a little more time once the two parts come together, it is still a good idea to work quickly.
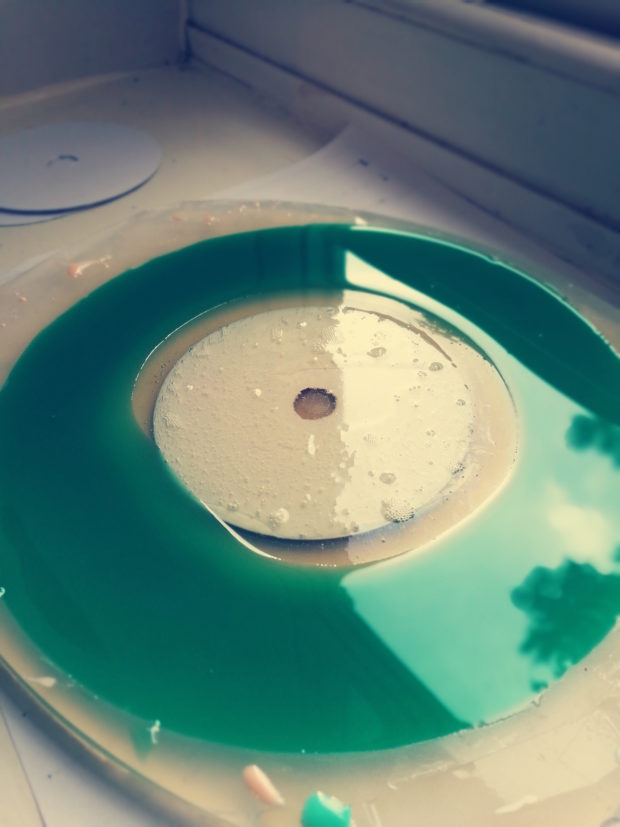
Mix parts A and B of the resin together really well and pour the mixture straight into your mould. You can mix up several batches (different colors for example), and add them one at a time once the previous layer has dried. If you are spot on with your measuring each time, the joins should be seamless.
Clear and colored resin
Most opaque resins will need an hour to dry if you are layering. Adding color slows the drying time a little. Always wait at least a couple of hours before removing anything from the mold. You want it to be as hard as possible. If the resin has not completely cured then your record will warp and it will sound a bit funny on the turntable.
Clear polyurethane resins are a little trickier to work with, but they can be used in layers alongside opaque resin. Allow much longer drying times if working with clear resin. If you want to make picture-disks, you can use clear resin to trap images, photos, ink, or pretty much anything you want inside the record.
Take care not to introduce moisture to the clear resin. Mix with a plastic utensil in a plastic cup, and do not touch it too much with your fingers when it is curing — even when you think it’s dry! There are plenty of tutorials which give advice on working with the different types of resin.
You will need to experiment with measurements, but unless the label tells you otherwise, you will need to mix equal amounts of parts A and B — and measure by weight. You can get hold of casting resin kits fairly easily — though if you get hooked, you are going to want a lot more than what you get in the starter kit.
Jess Morgan is a DIY musician from Norwich in the UK, who has made a name for herself by releasing her own music in limited edition short runs. Despite the shift toward digital format in the music industry, Jess still believes in the magic of music on hard-copy and is always looking for the next original way to package her music. Follow Jess on Twitter @jessmorgan and instagram @jessmorgface
When you buy through links on our site, we may earn an affiliate commission.
Our websites use cookies to improve your browsing experience. Some of these are essential for the basic functionalities of our websites. In addition, we use third-party cookies to help us analyze and understand usage. These will be stored in your browser only with your consent and you have the option to opt-out. Your choice here will be recorded for all Make.co Websites.
Allow Non-Necessary Cookies
Escape to an island of imagination + innovation as Maker Faire Bay Area returns for its 15th iteration!
Buy Tickets today! SAVE 15% and lock-in your preferred date(s).