You can’t program an Arduino without the IDE! Some of the things that I’ve made are made with Arduinos. So, how do you install the IDE? These instructions will tell you how.
Projects from Make: Magazine
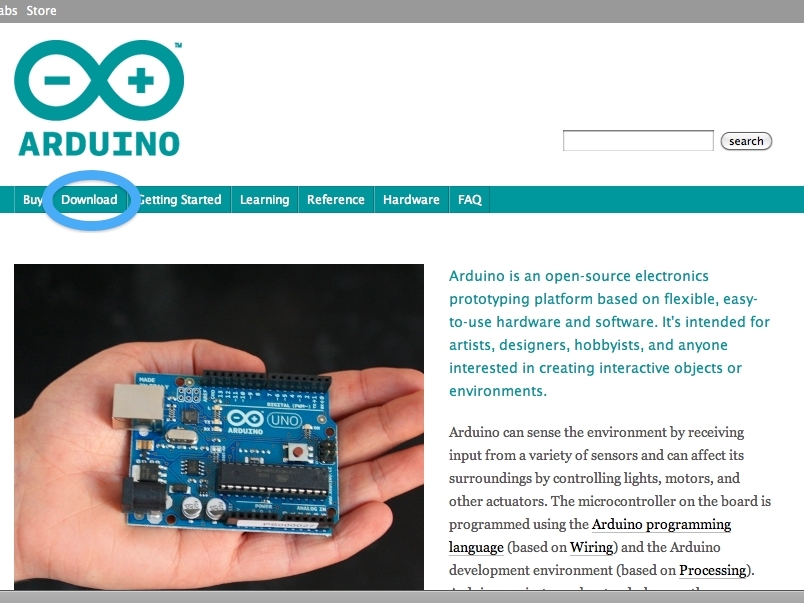
How to Install the Arduino IDE for Windows
How to install the Arduino IDE.