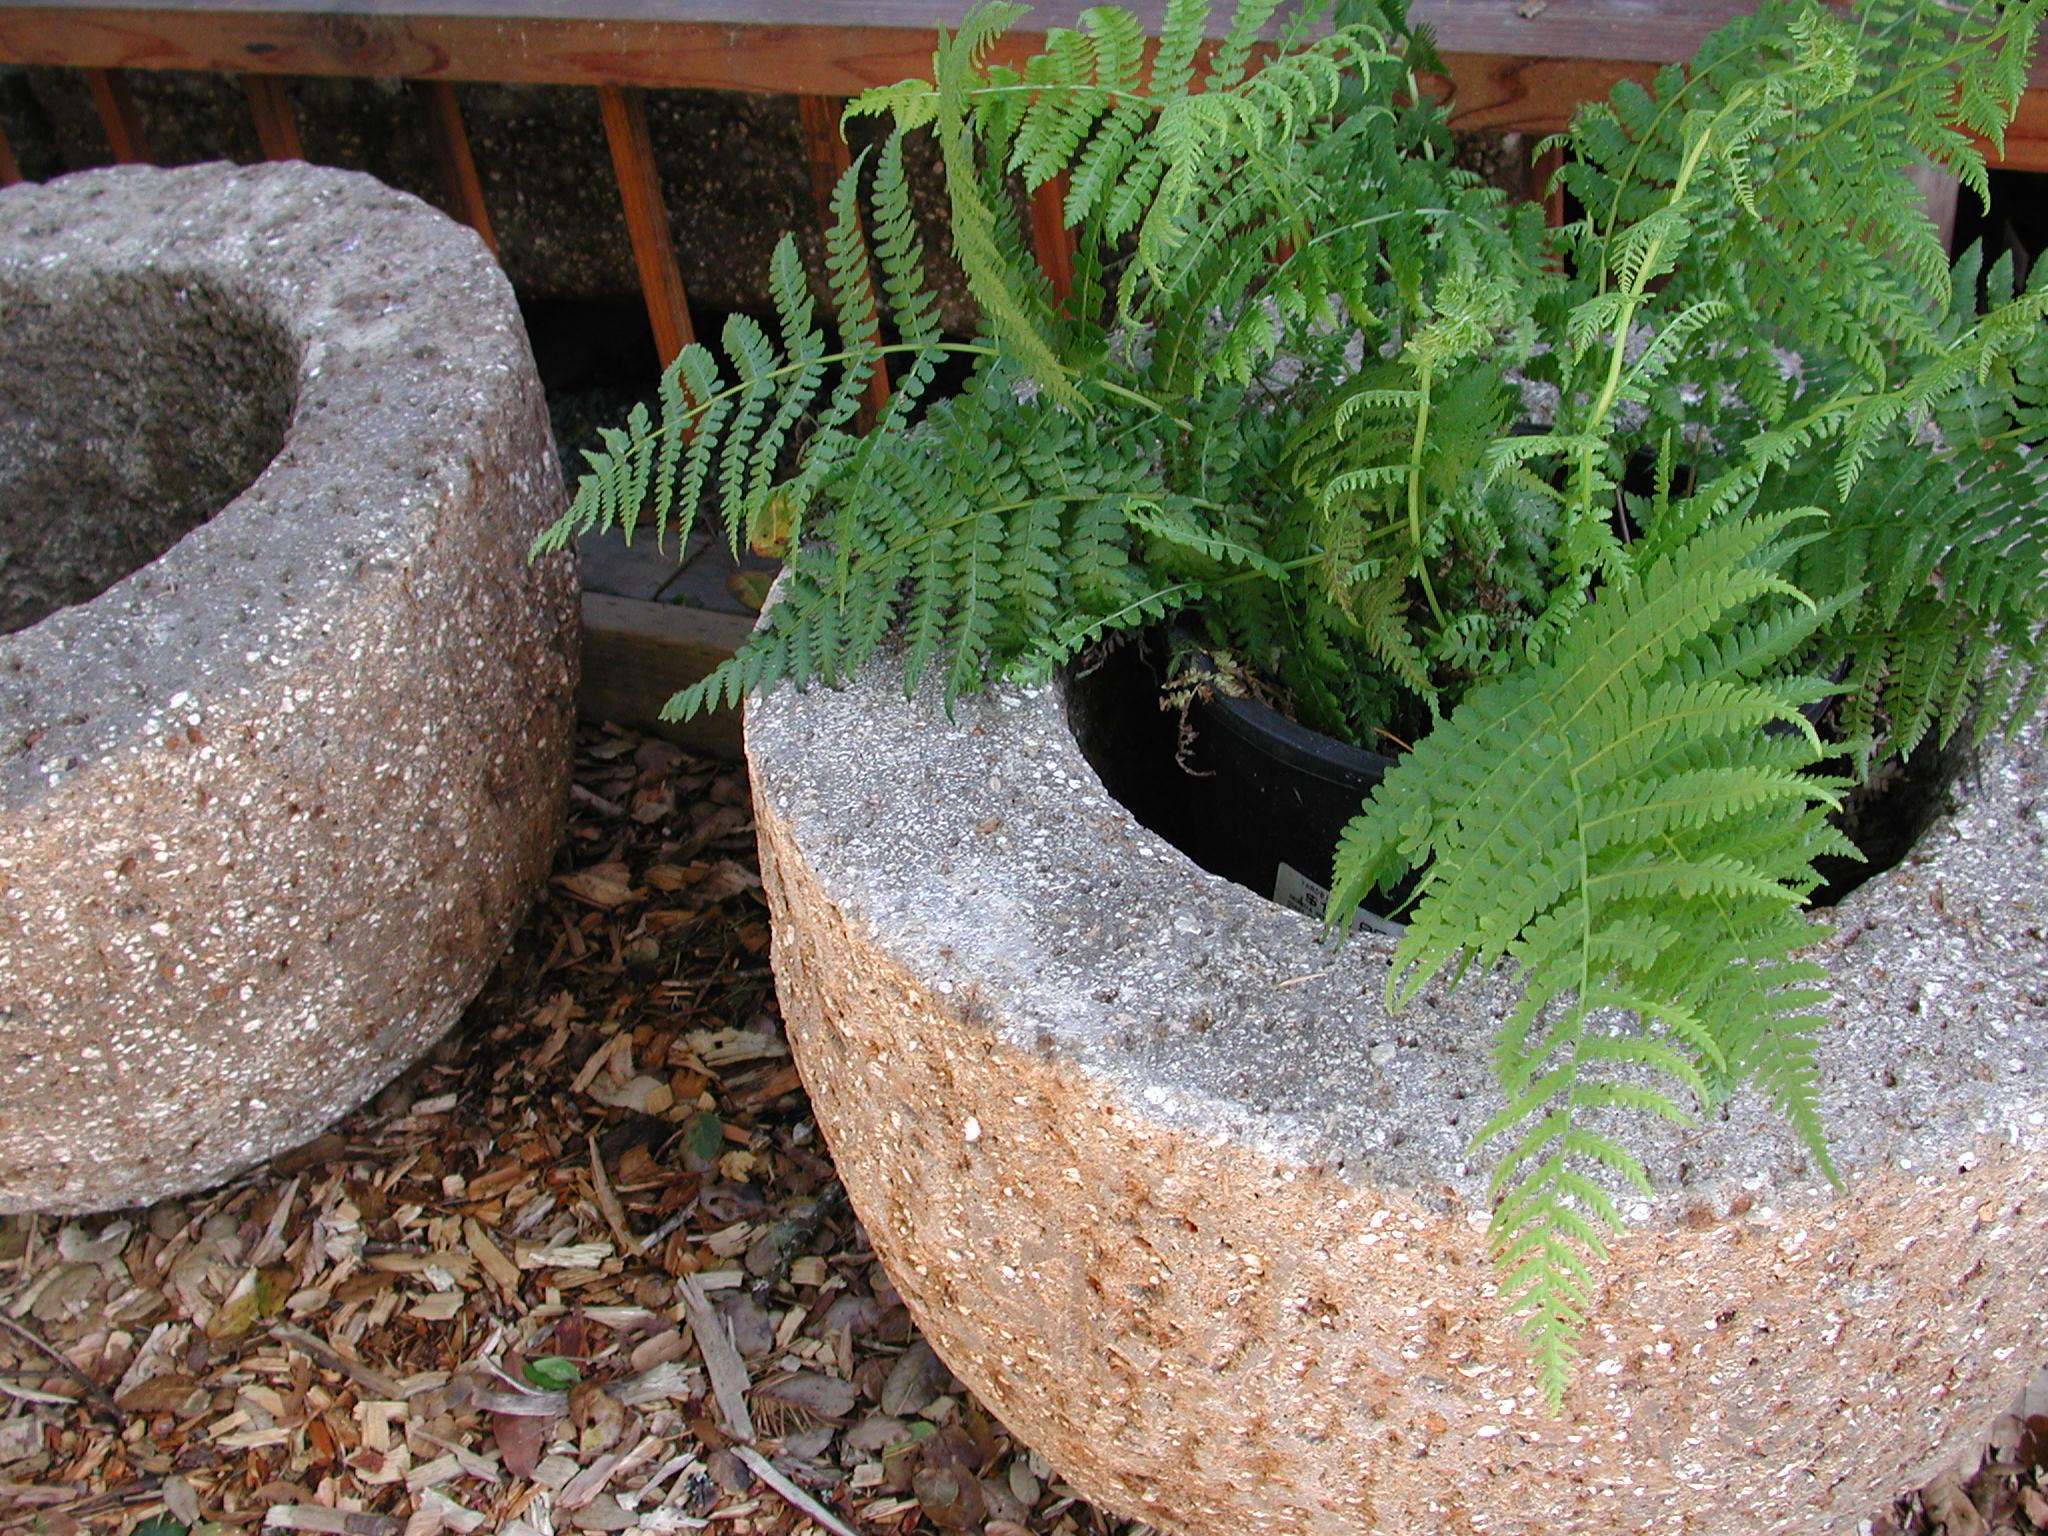
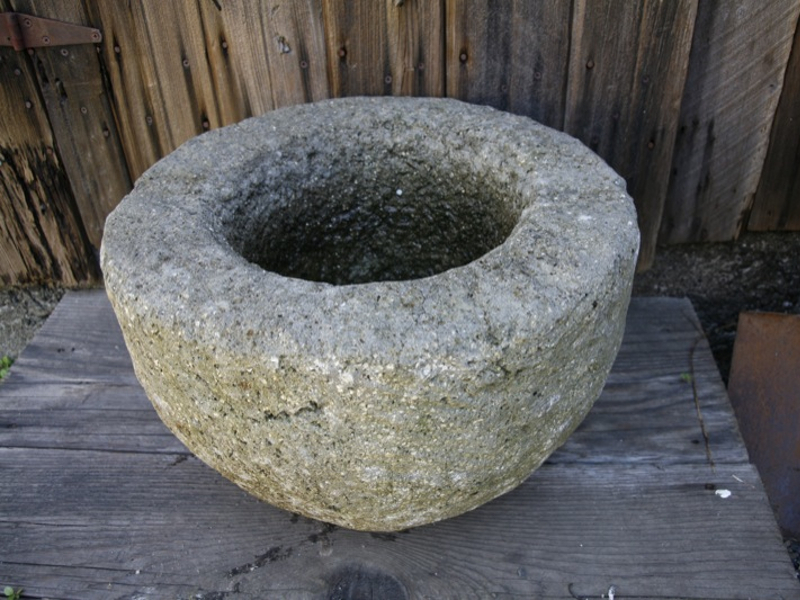
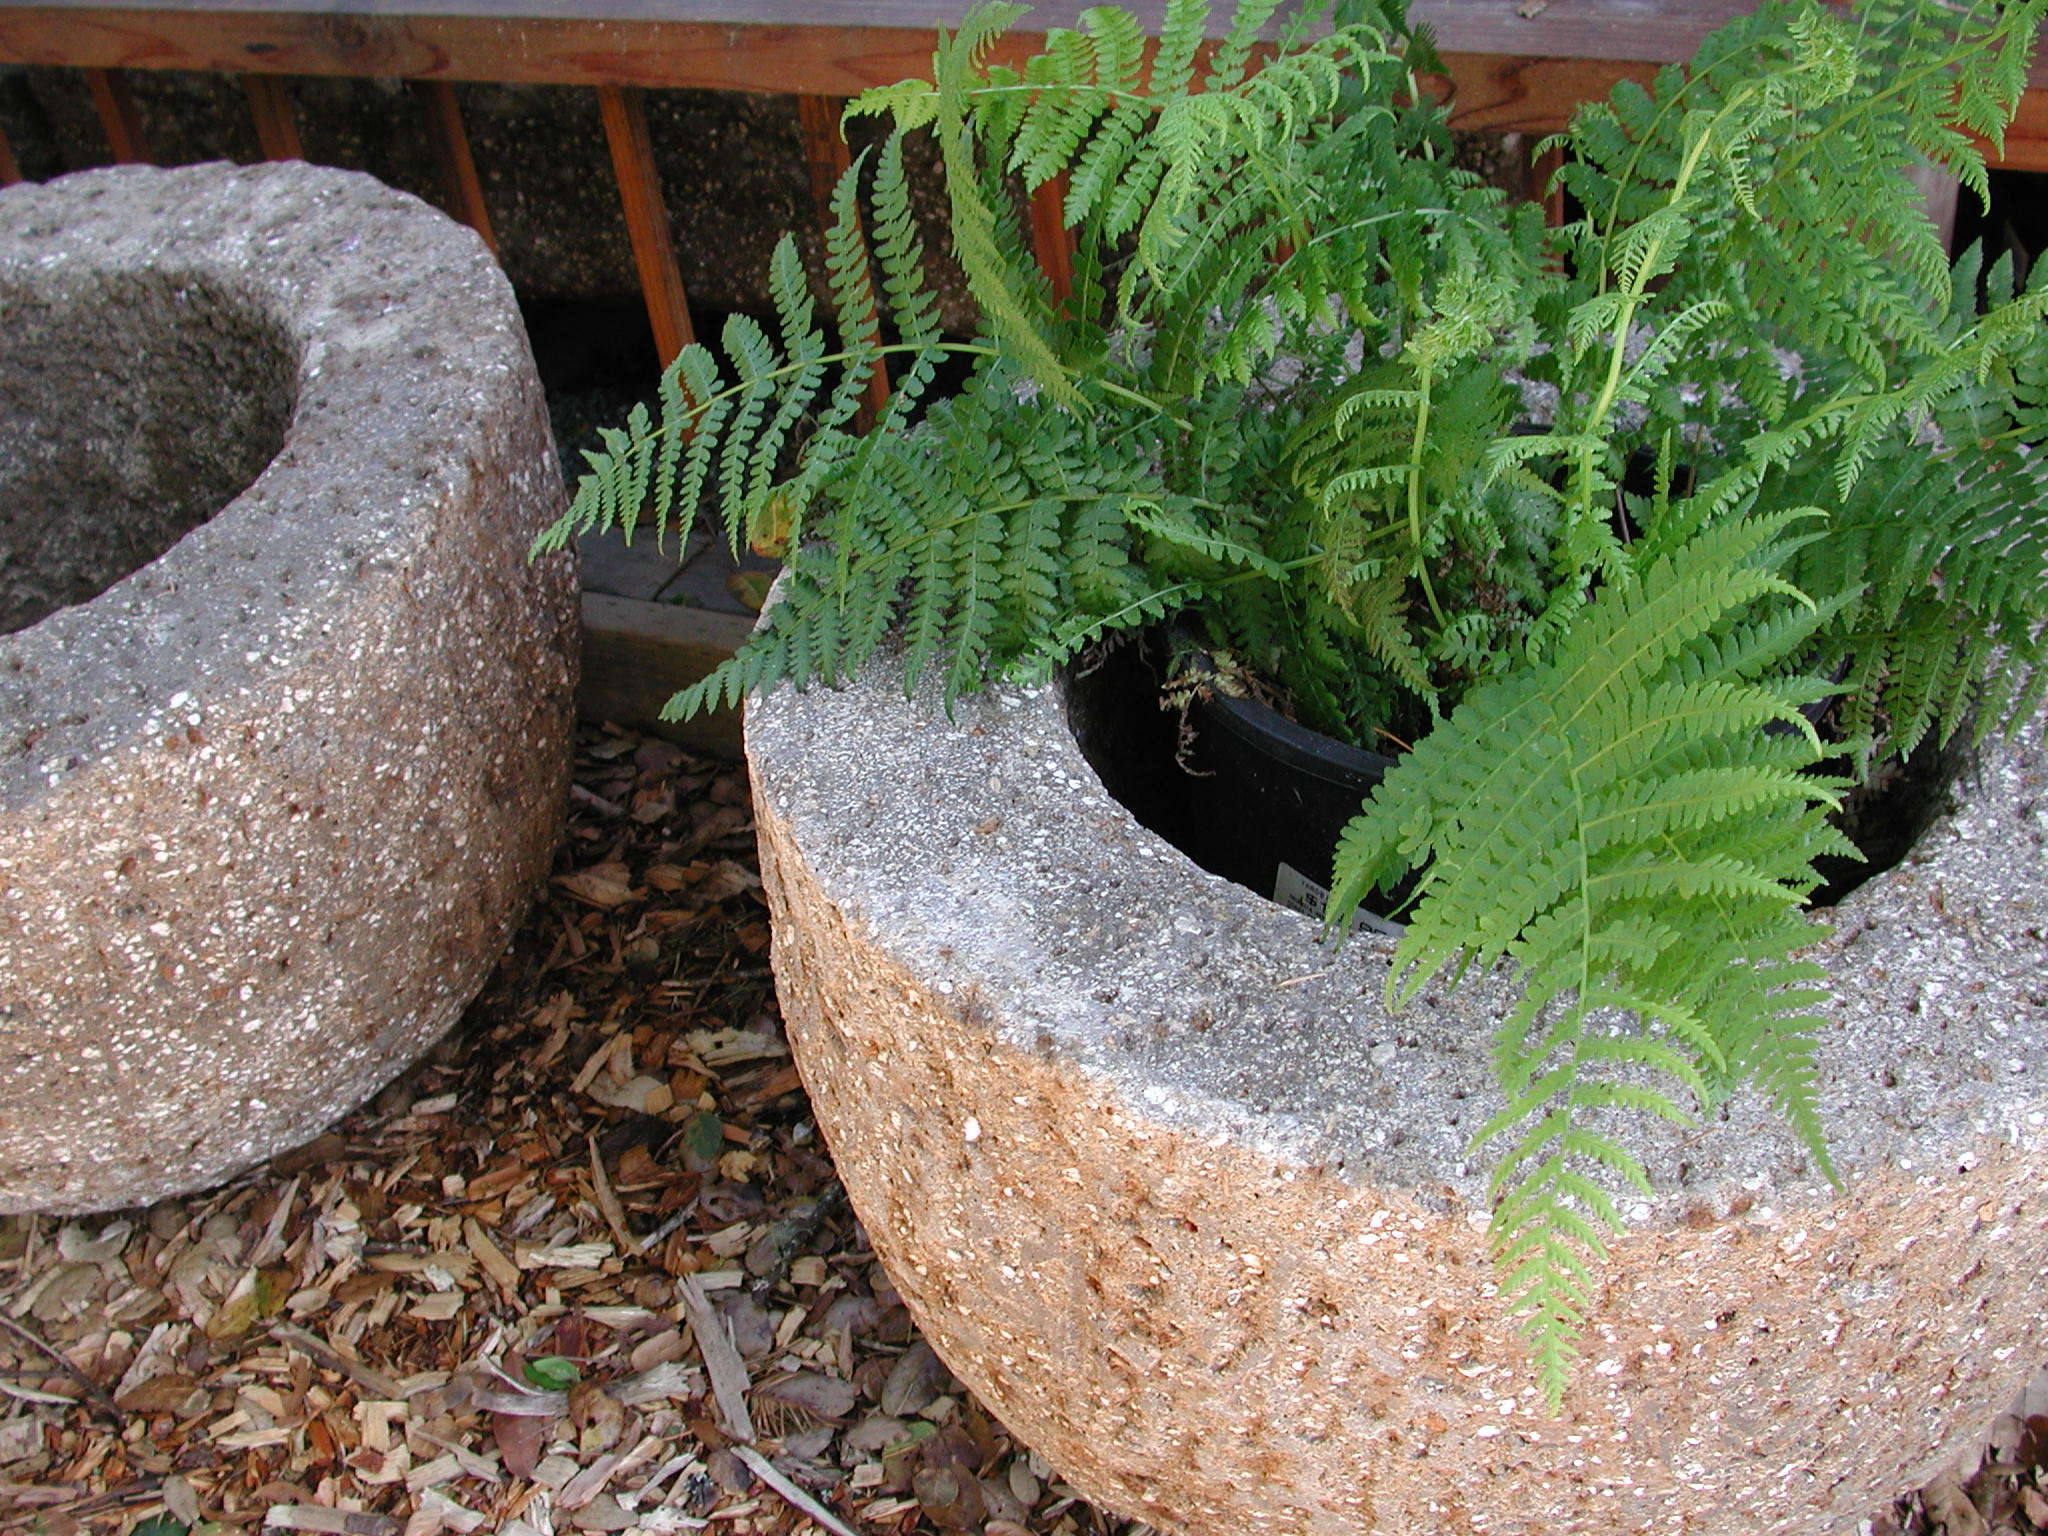
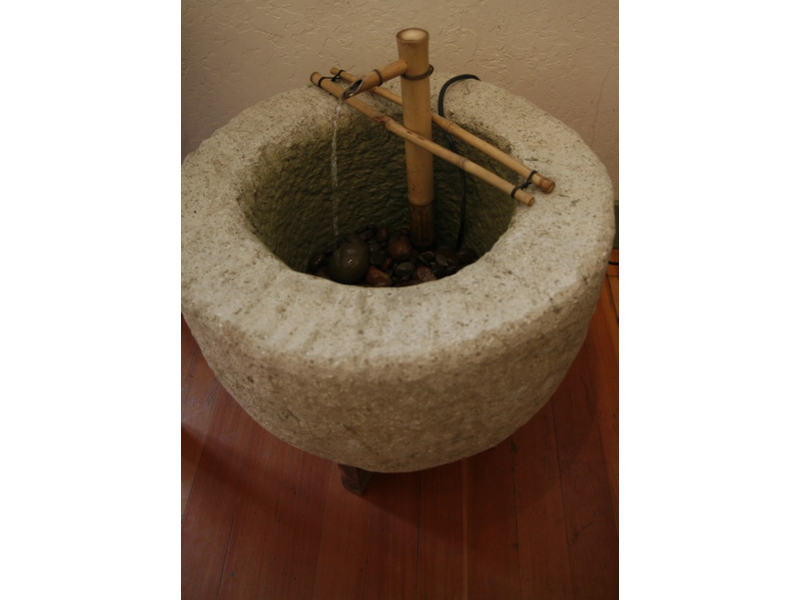
The ultimate Zen garden accessory is the stone urn. Filled only with water and a few fallen leaves, it defines tranquility. Unfortunately, these stone beauties cost hundreds of dollars.

Luckily, a concrete mix called “hypertufa” was developed that has the look of stone, specifically the volcanic rock called tufa. In England, farmers carved watering troughs from this soft, porous rock. Eventually, these tufa troughs became too expensive, and hypertufa containers replaced them. The materials used to make our container are inexpensive, and the process is delightfully messy. When it comes right down to it, a hypertufa casting is just a fancy mud pie.

What will the next generation of Make: look like? We’re inviting you to shape the future by investing in Make:. By becoming an investor, you help decide what’s next. The future of Make: is in your hands. Learn More.

Project Steps

Before you start.

The primary ingredient for this project is Portland cement. At the building supplies mega-store, there are a number of bagged cement products to choose from. Do not purchase ready-mixed concrete. This contains gravel, sand, and, by the way, Portland cement. Get pure Portland cement. The bags will usually state the type, for example II-V, of the material. This isn’t really important for this project. Just avoid a fast-setting product.

Note: Portland cement contains some nasty alkaline compounds. Wear your mask, safety glasses, and rubber gloves.

Tip: use a nursery fiber pot for the interior mold. this has two advantages: it will be much easier to remove than the plastic pot; and the rough exterior of the fiber pot creates a perfect texture on the interior of the hypertufa container.

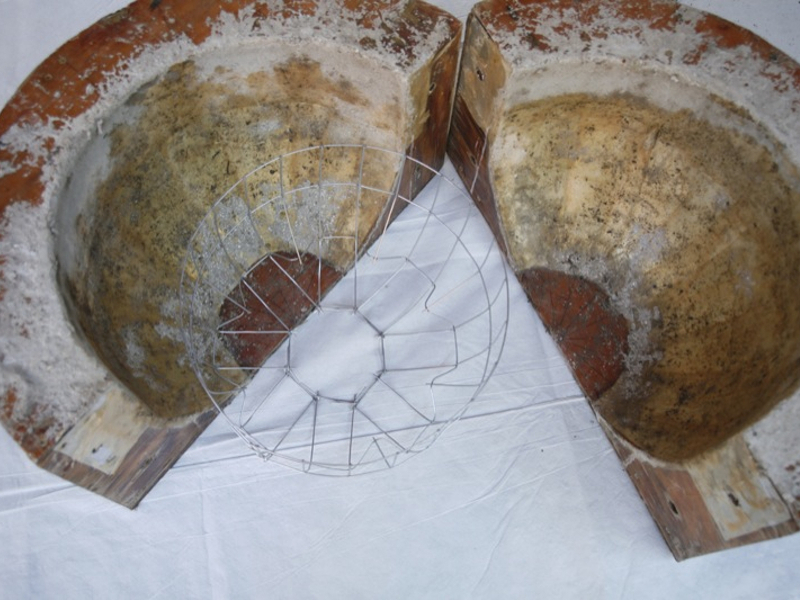
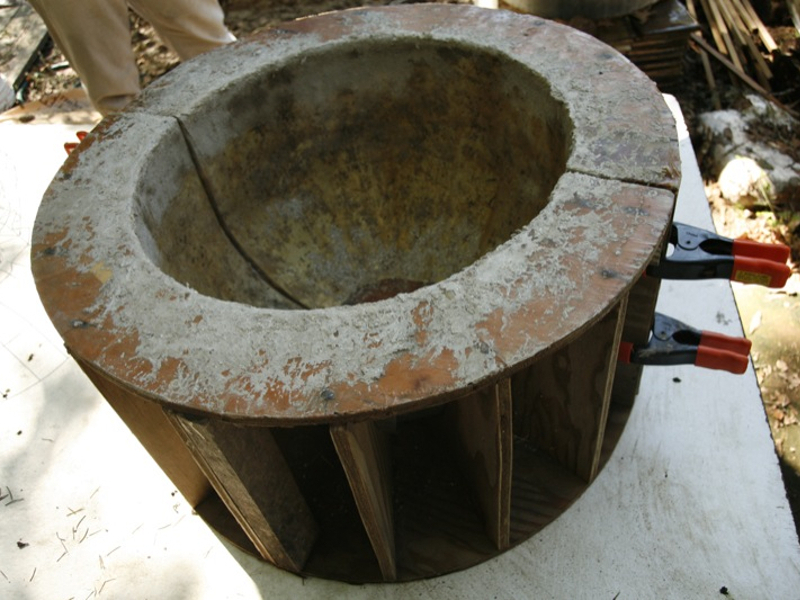
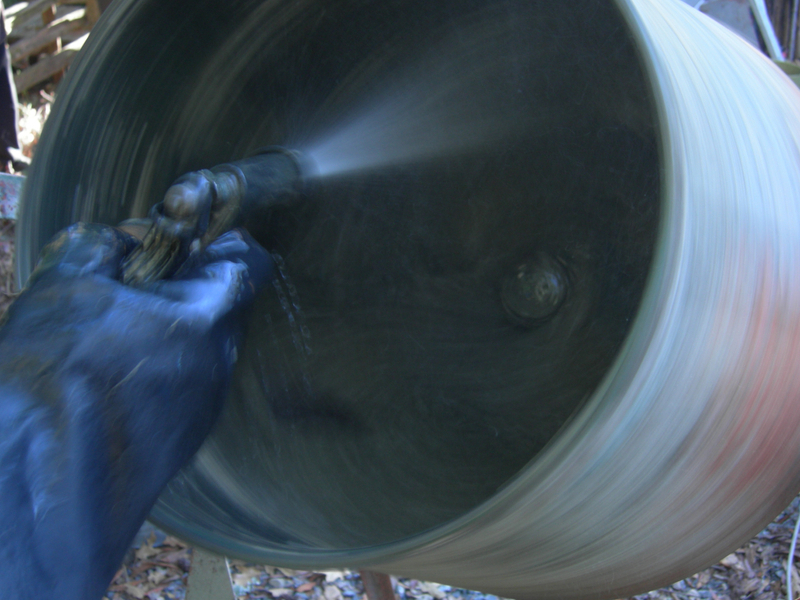
I use a custom made outer mold. It makes life easier, especially when producing more than a few. My first hypertufa containers employed the black plastic nursery pots in the materials list. This is cheap and easy. Hypertufa is easily carved when first pulled from the molds, and you can sculpt your container to any shape you wish. With that said, a really simple and hip mold is a plywood box. You’ll still use the round pot for the center of the piece. This is a traditional Japanese design. Keep the width of the material greater than 3” at all points, and finish the wood with paint or varnish so the hypertufa won’t stick. (For my molds, I coat the interior surfaces with fiberglass mesh and epoxy resin.)

There are a number of additives that will improve the structural integrity of concrete mixtures. I’ve specified two of them: acrylic admixture and reinforcing fibers. Using these will help your container to better withstand weather, especially freeze-thaw cycles.

Hypertufa is messy. Don’t do this project inside your house or garage, on a nice lawn, or even on a deck. Don’t wear your favorite jeans. Don’t dump any hypertufa mixture down a drain; it’ll set up underwater!

You can add concrete dye to the mixture. The natural mixture will cure to a light tan-gray color. The dyes you find at the home supply store offer a limited palette of colors. Tan, charcoal, brown, and terra cotta are typical. Tan, sometimes called buff, produces a nice warm color. Charcoal darkens the material, highlighting the vermiculite particles and resulting in a granite look.

Make the wire frame.

This step is optional, but highly recommended. Hypertufa can crack. If you embed a simple wire frame in the container, cracking won’t end in heartbreak. You may have a crack, but the container won’t break in two. In fact, cracks increase the wabi-sabi factor. The frame will be completely embedded in the walls of the container, so it doesn’t have to look that good.

Look at your mold. Visualize the basic size and shape the wire frame must be to fit inside of the walls of the container.

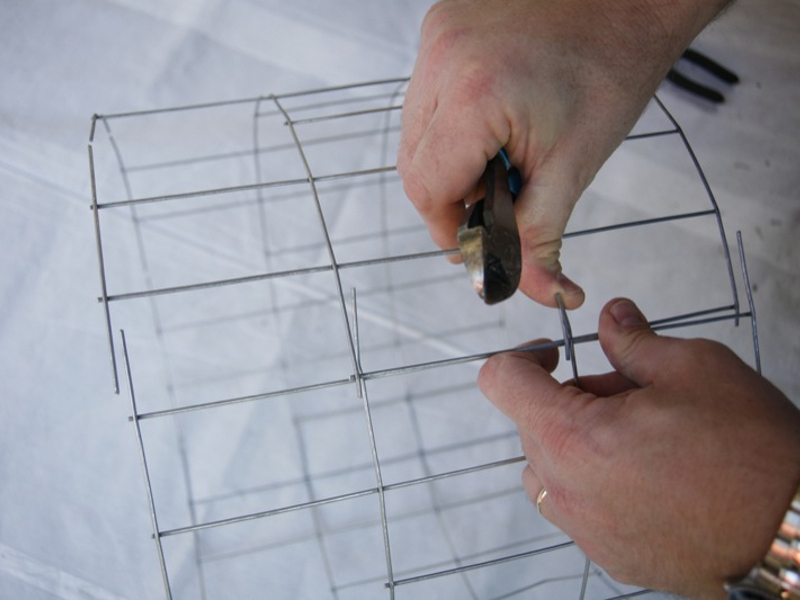
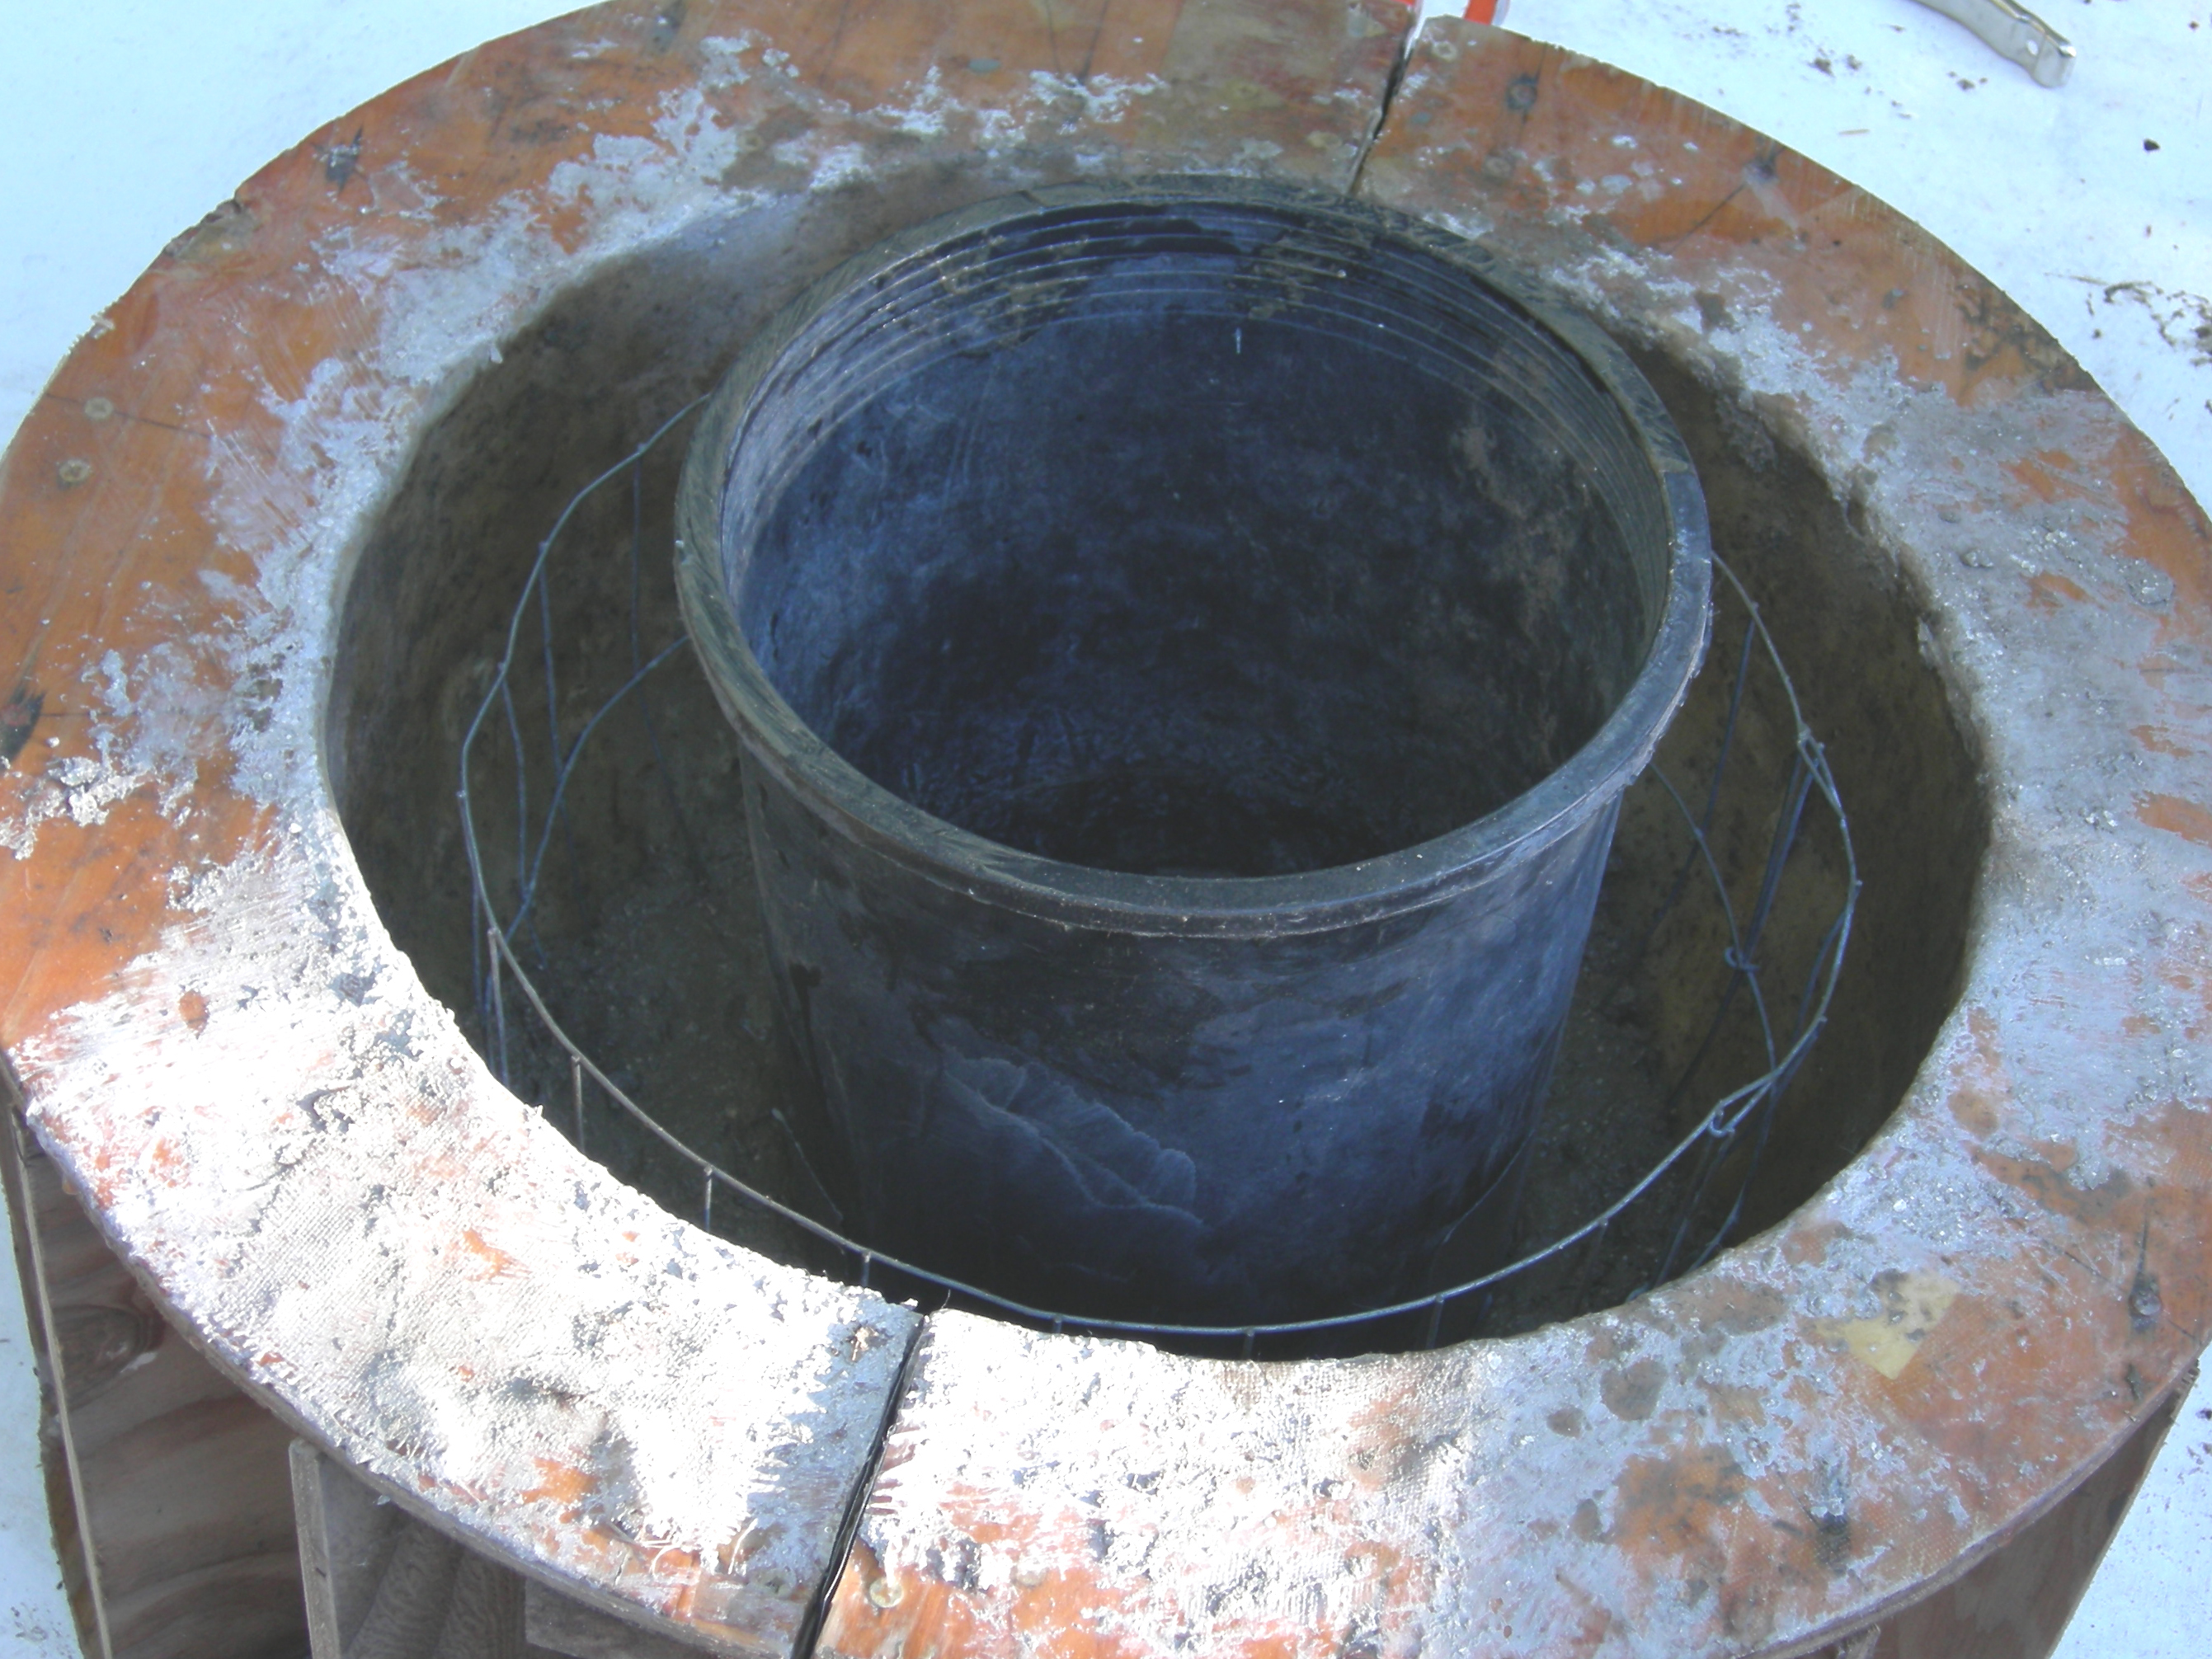
Grab your fencing and make a tube out of it, so that it fits comfortably between the inner pot and the outer wall.

Cut off excess, and wire together to fix the tube.

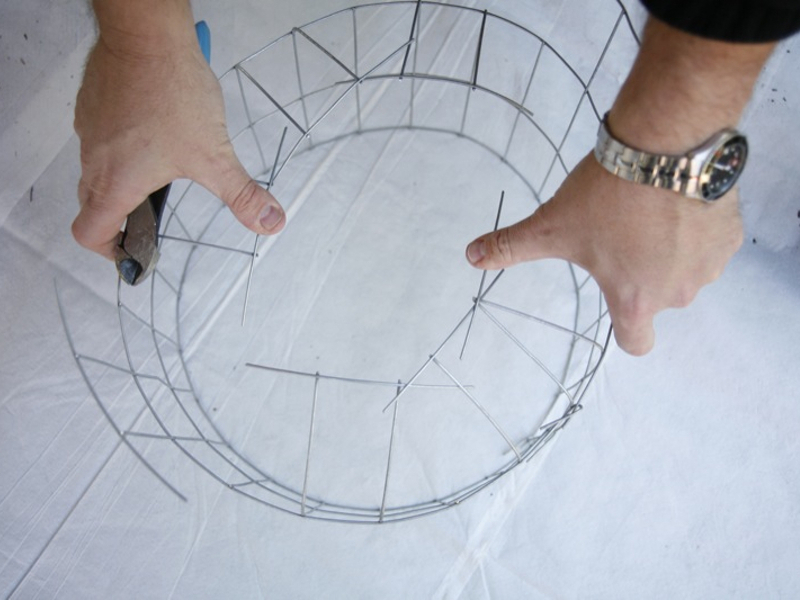
Figure out how deep the tube should extend into the container. Cut the tube to length. If you plan on carving the container to shape, make sure the wire frame won’t extend further than your design. This simple tube form will work fine. You can get fancy, as I have, and make the wire frame wrap around the bottom of the form as well.

important: Make sure the wire frame fits completely inside the container walls, leaving about a 1″–2″ margin from any surface.

Assemble the mold.

Position the outer container, e.g., the 5 gal. nursery pot, on level ground or a sturdy outdoor work surface.

Attach the 2 wooden slats to the top of the smaller nursery pot using the screws. The slats help keep the interior pot centered.

Now, make sure that the wire frame fits properly within the mold. Make adjustments if needed.

Set the wire frame and smaller pot aside for now.

Assemble your materials and make the mix.

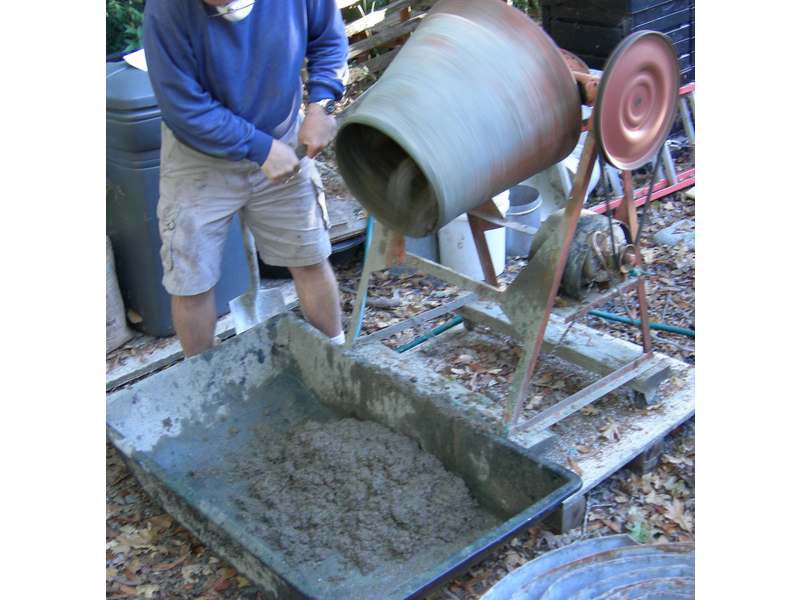
Measure out the Portland cement, vermiculite/perlite, and peat moss into the mixing trough or cement mixer. Using a 1gal dry container, measure out 3gal vermiculite, 3gal peat moss, and 2gal Portland cement. You should have some leftover material. In case voids form in the cast, you’ll use this for patching.

Note: if you are not using a cement mixer, skip the reinforcing fiber. it is really difficult to integrate the fibers well with manual mixing.

If you’re using reinforcing fiber, toss in a handful.

Add water to the dry materials. Start out with 1⁄2 gallon or so. Mix with the garden hoe or cement mixer. Continue adding water, bit by bit, while mixing. The mixture must be “mud pie” consistency. In other words, you can form it into nice moist cakes. Dense pancake batter is way too wet. Crumbly is too dry.

If you want to add dye to the mix, do this at some point after the initial water is added.

Fill the mold.

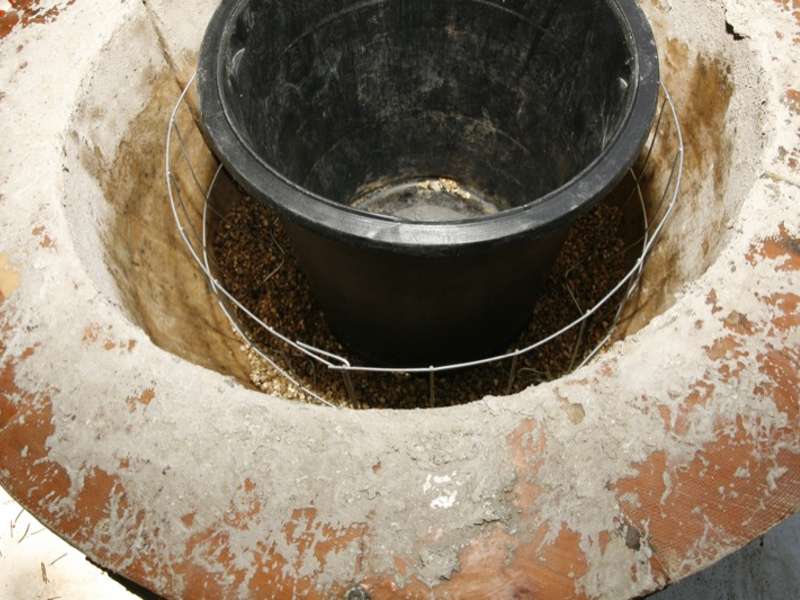
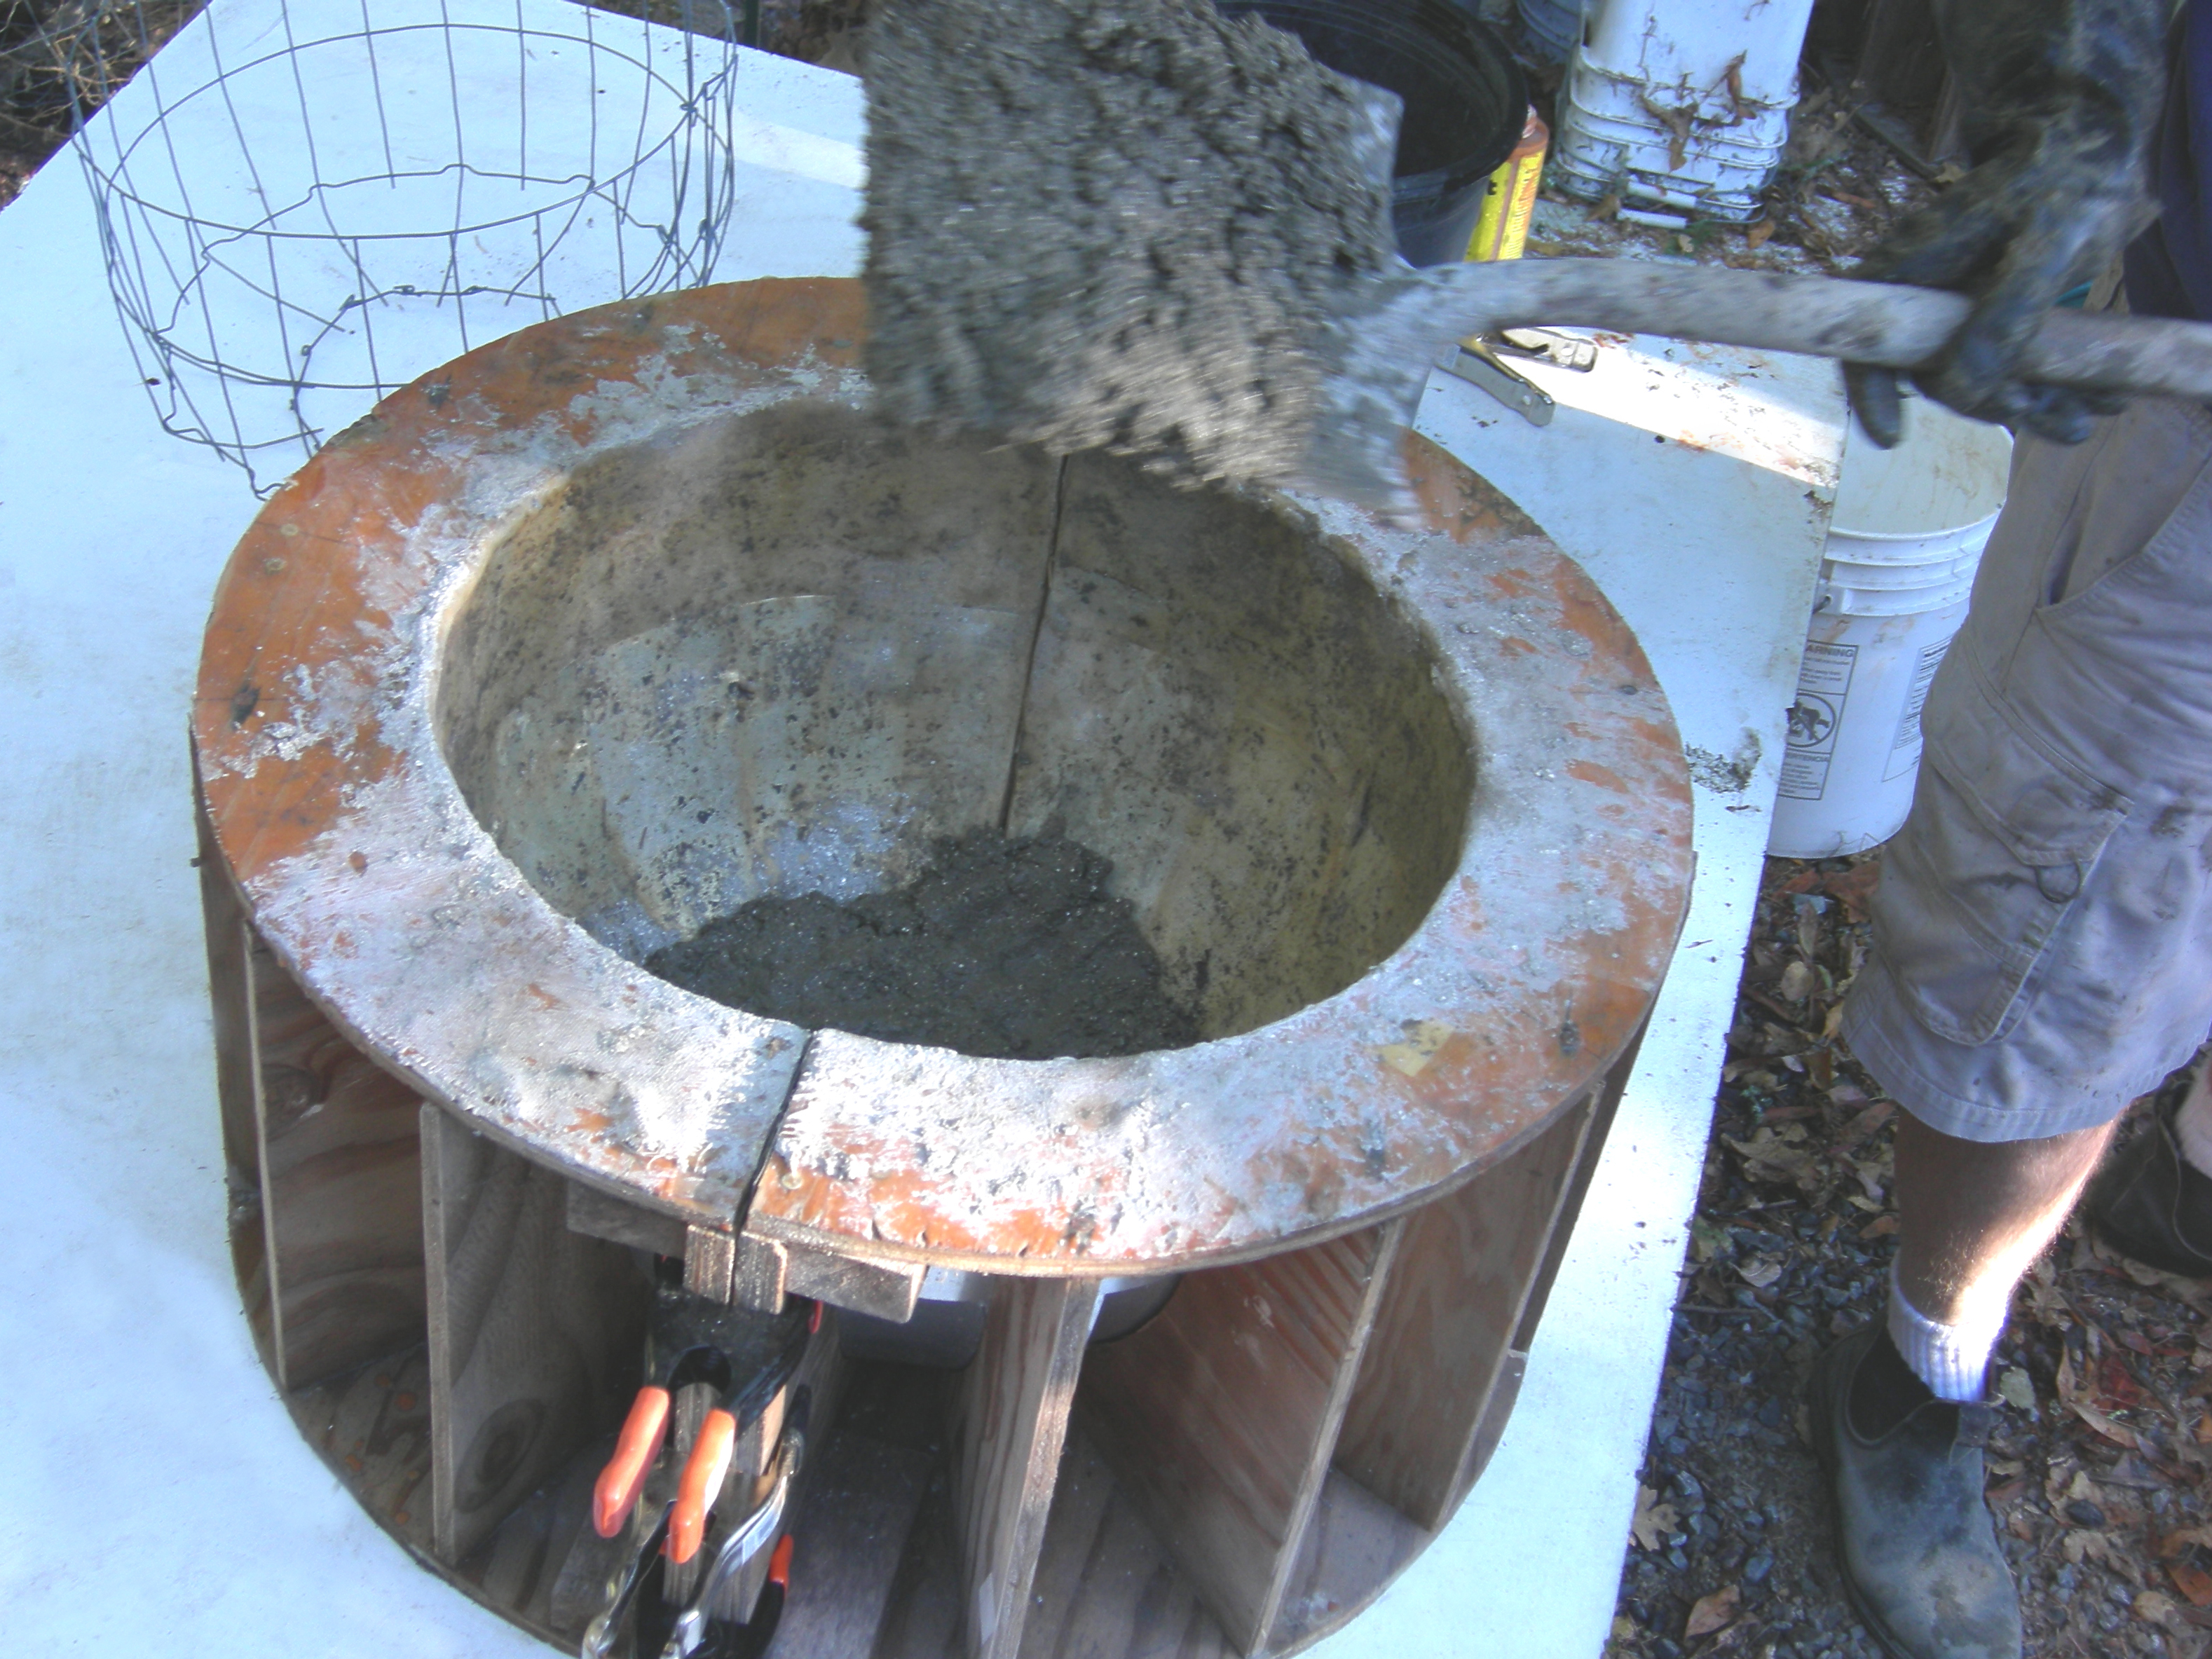
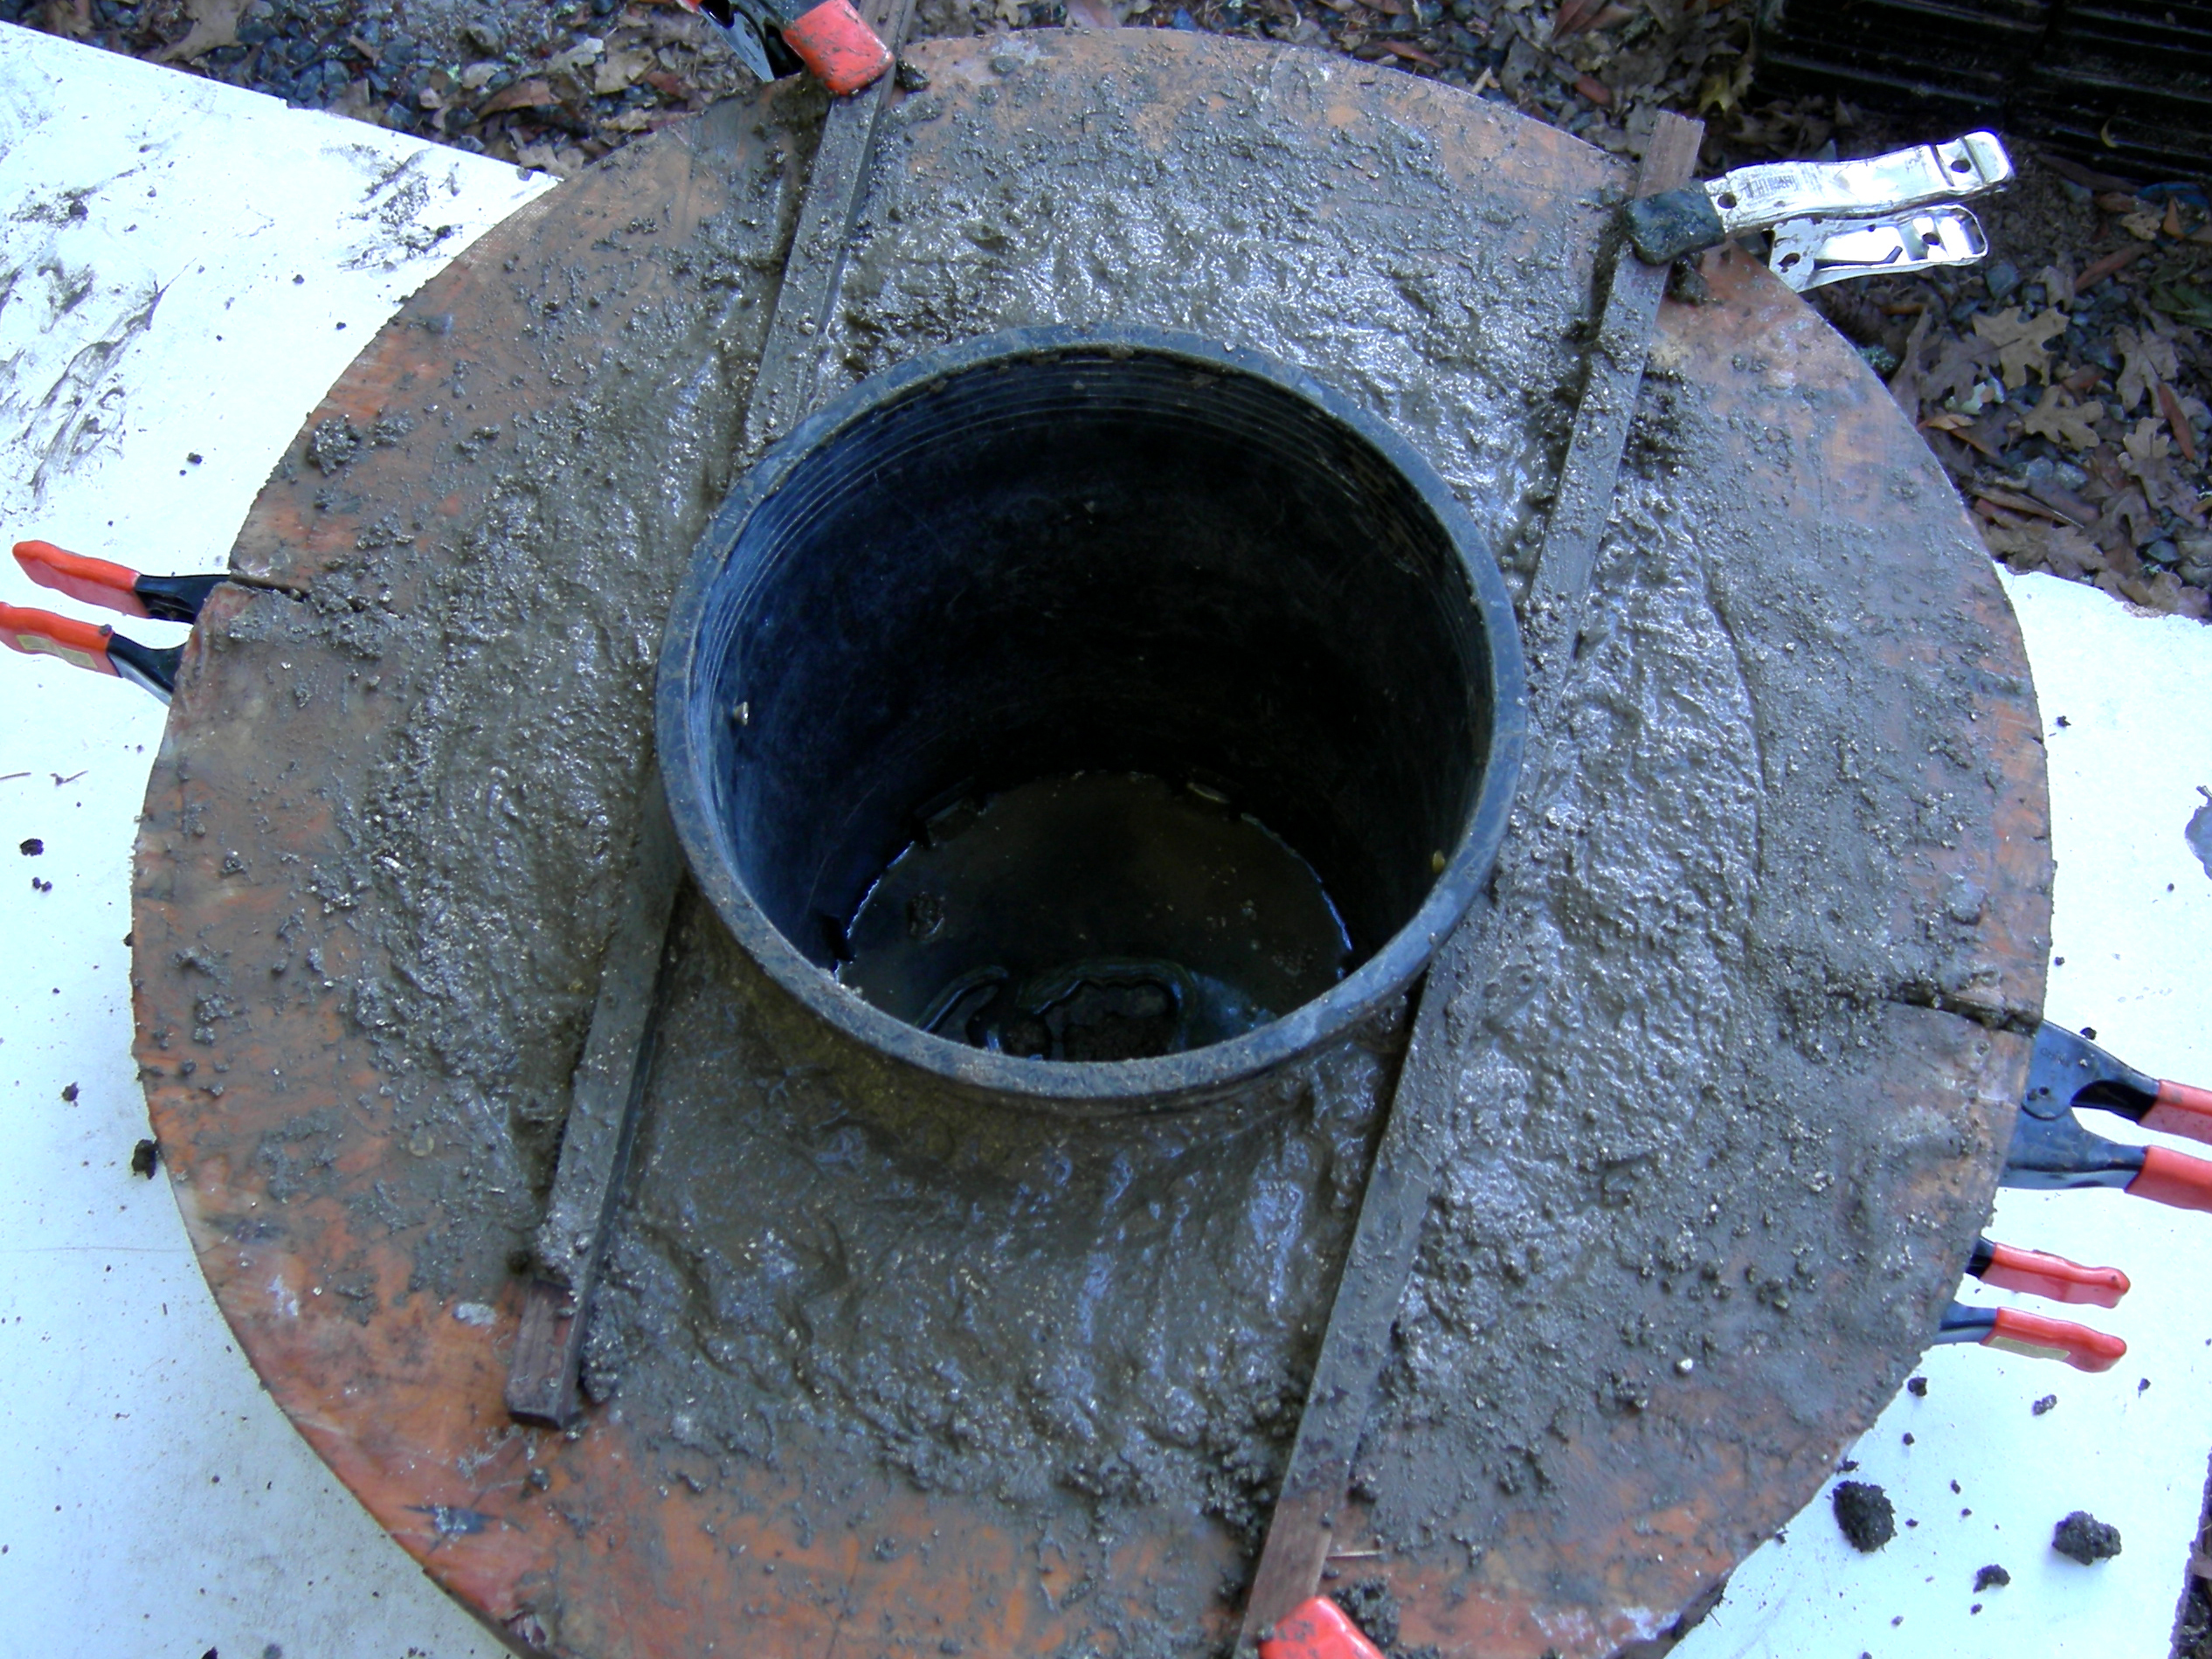
Shovel mix into the large nursery pot. With gloves on, compact the mixture. Once 2″ of mix is in the pot, put in the wire frame with the top of the wire at least 1″ below the top of the mold.

Continue filling/compacting the mold until the inner nursery pot, when placed on the mixture, is level with the top of the outer pot.

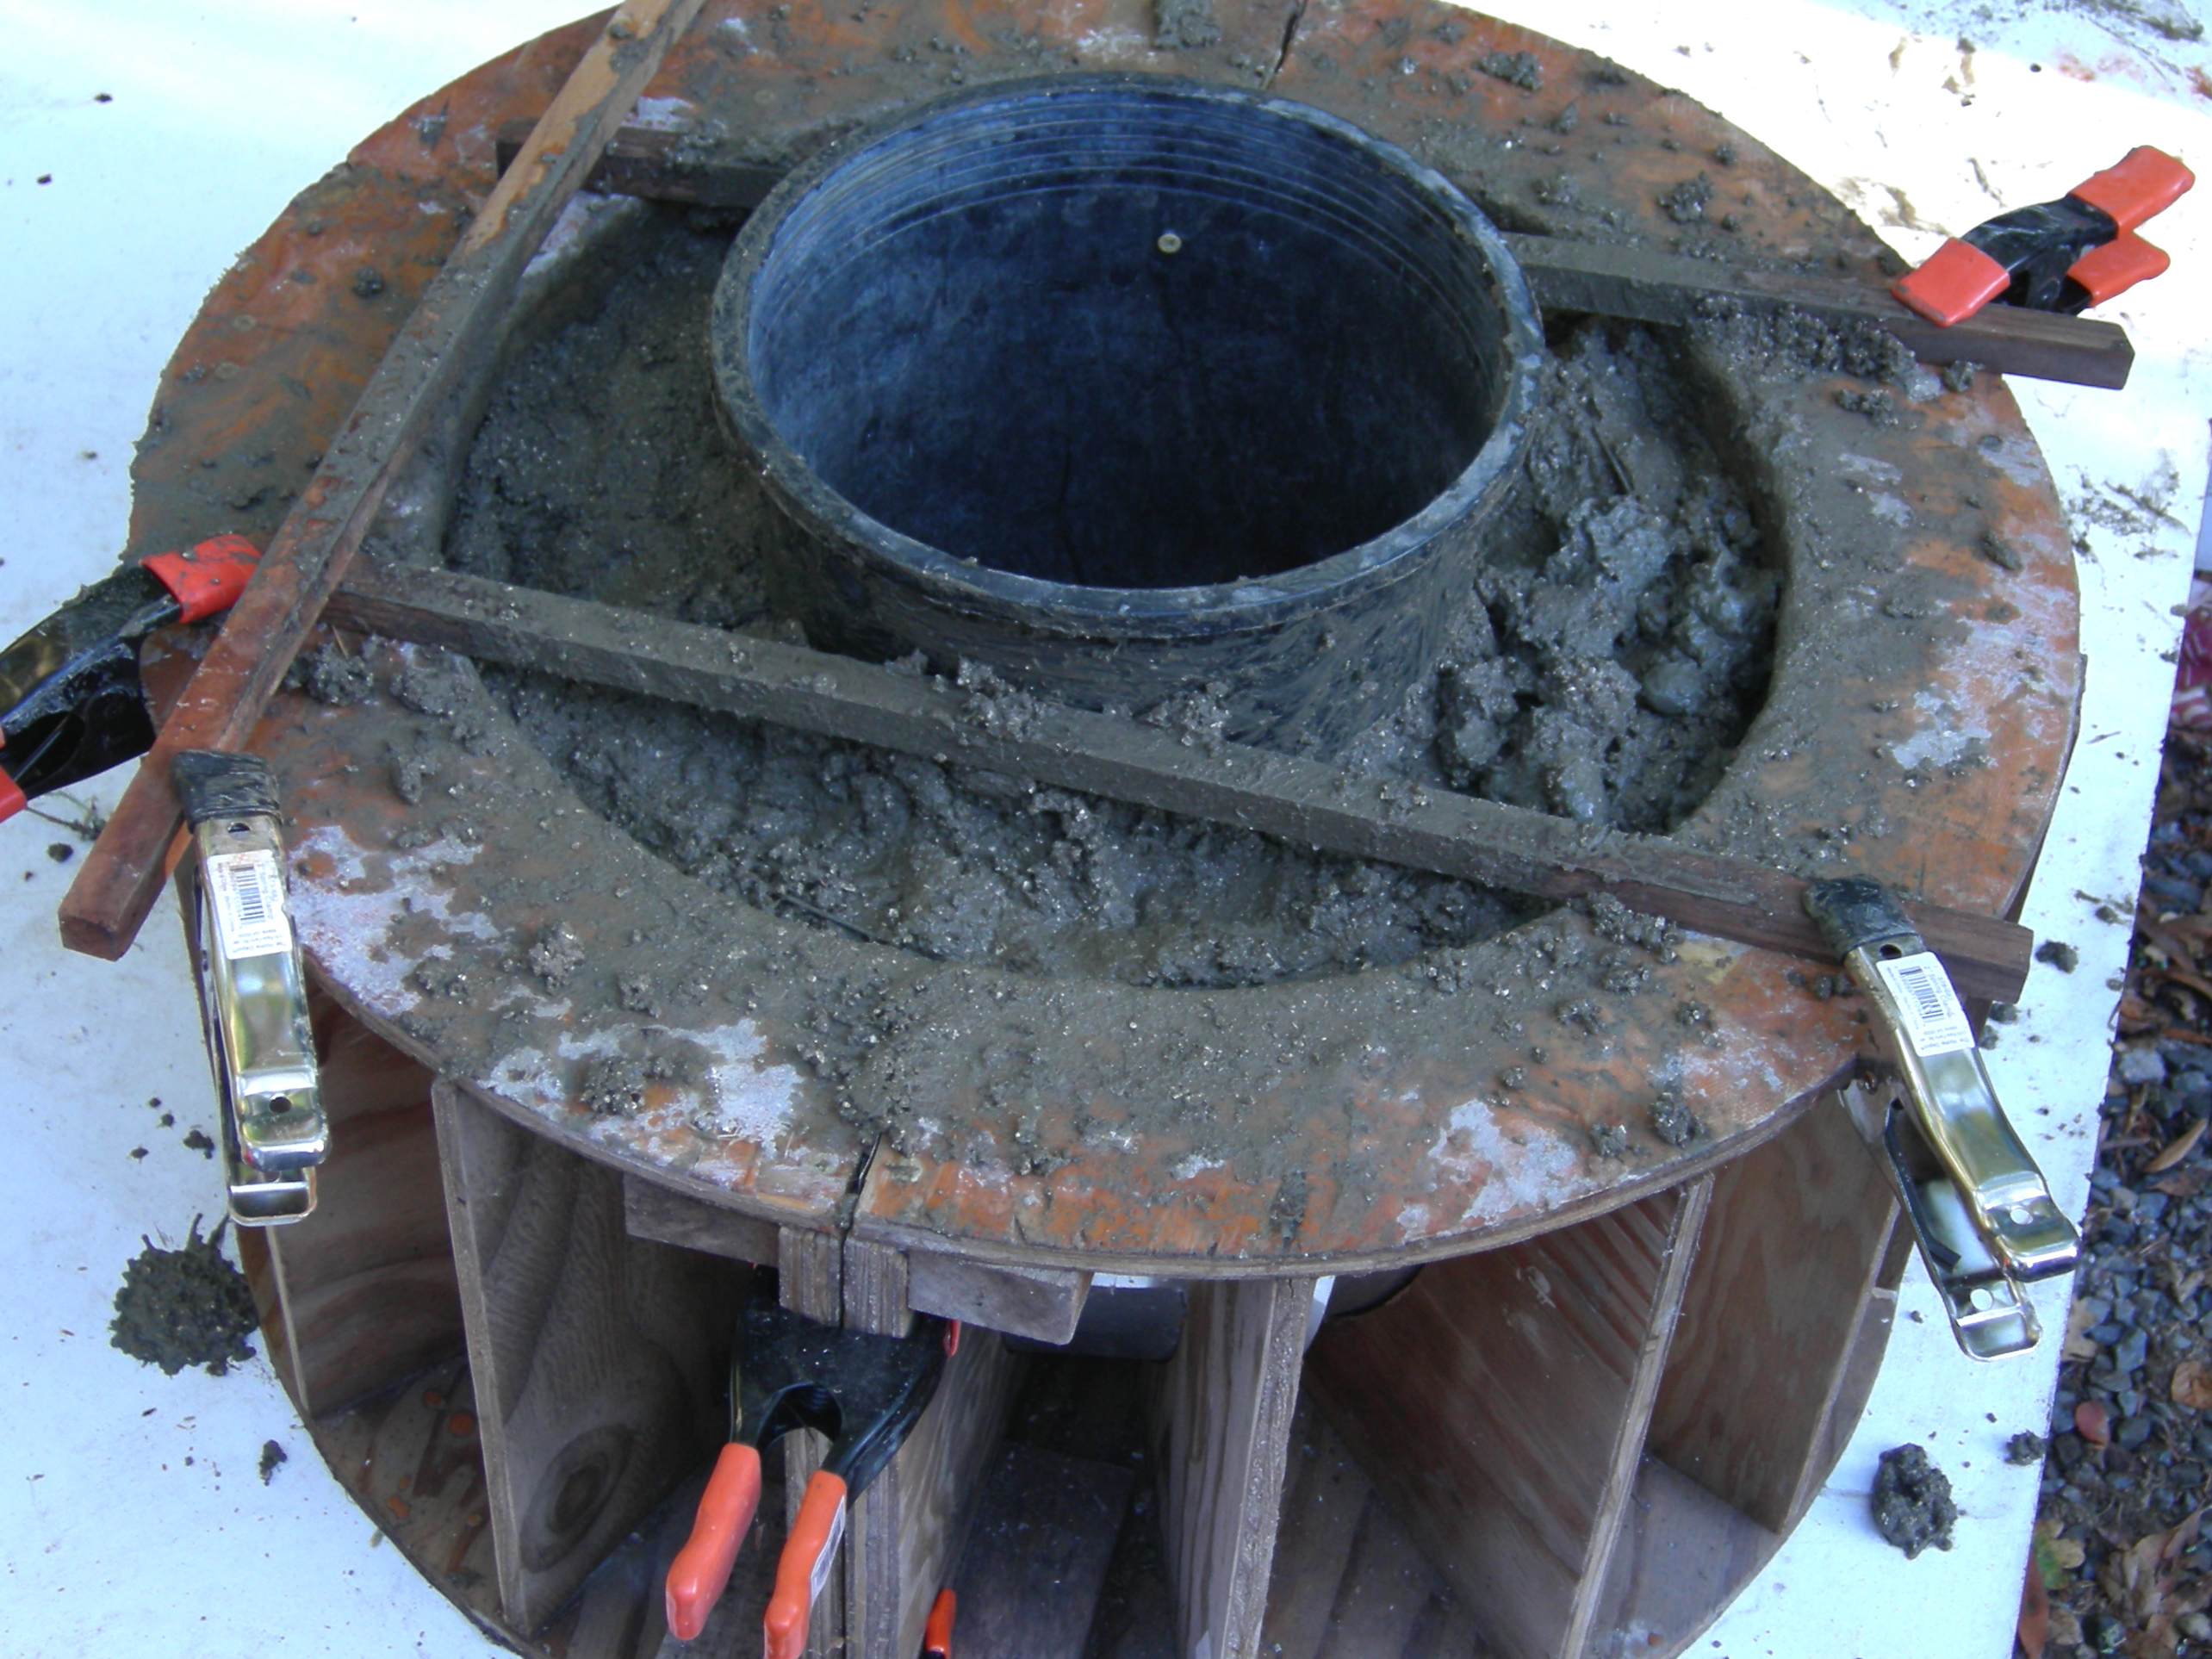
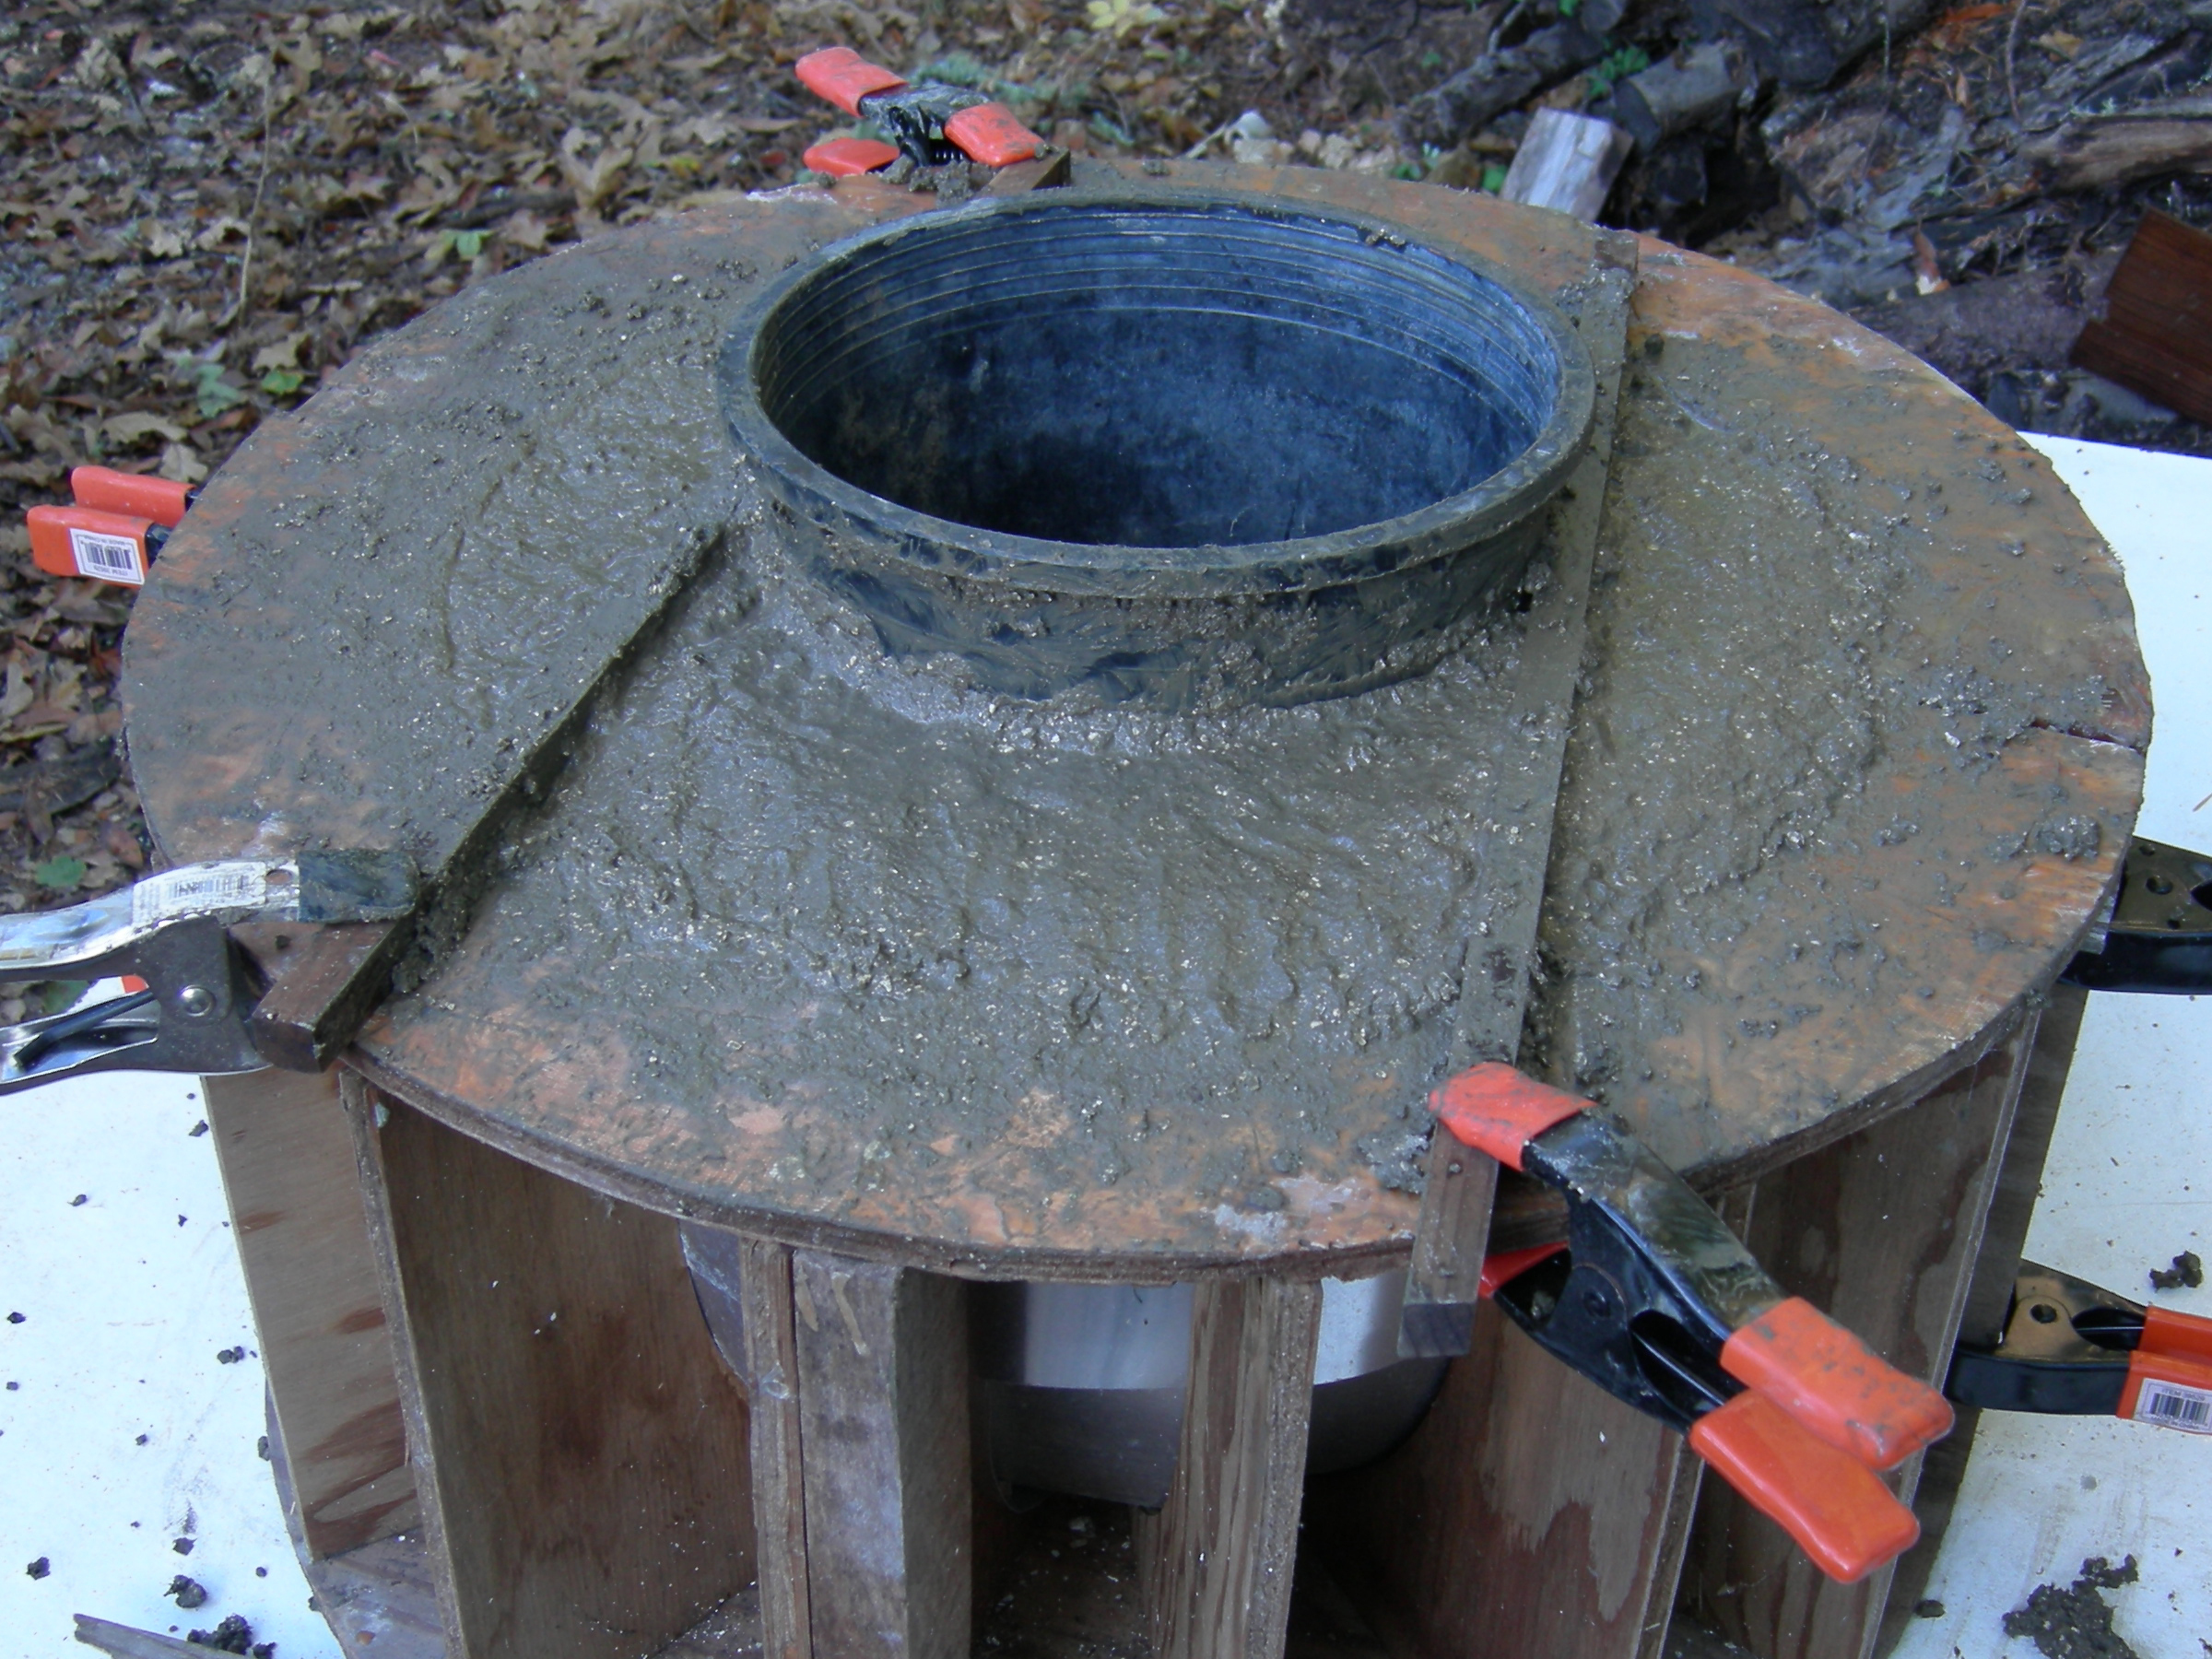
With spring clamps, secure the slats attached to the inner pot to the lip of the outer pot. Make sure the distance between the inner pot and outer pot edges is even all around.

Keep filling the sides of the mold. Don’t pack so tightly that the inner pot distorts, but make sure mix is completely distributed, or voids will occur. Watch out for sharp points on the wire frame.

Once the mold is filled, smooth out the top. Pay special attention to the areas under the slats, making sure the mix is well-packed. If you run short of material, just mix up some more.

Clean up and wait, then remove from mold.

Rinse out the containers and rinse off your tools promptly. Do not rinse the mix down any drain. If you have some mix left over, you can make some hand-formed small vessels.

Cover the filled mold with plastic sheeting or wet burlap. Hypertufa does not harden by drying, but by a process of hydration. The integrity of the final product is greatly enhanced by a long (about 1 month) cure.

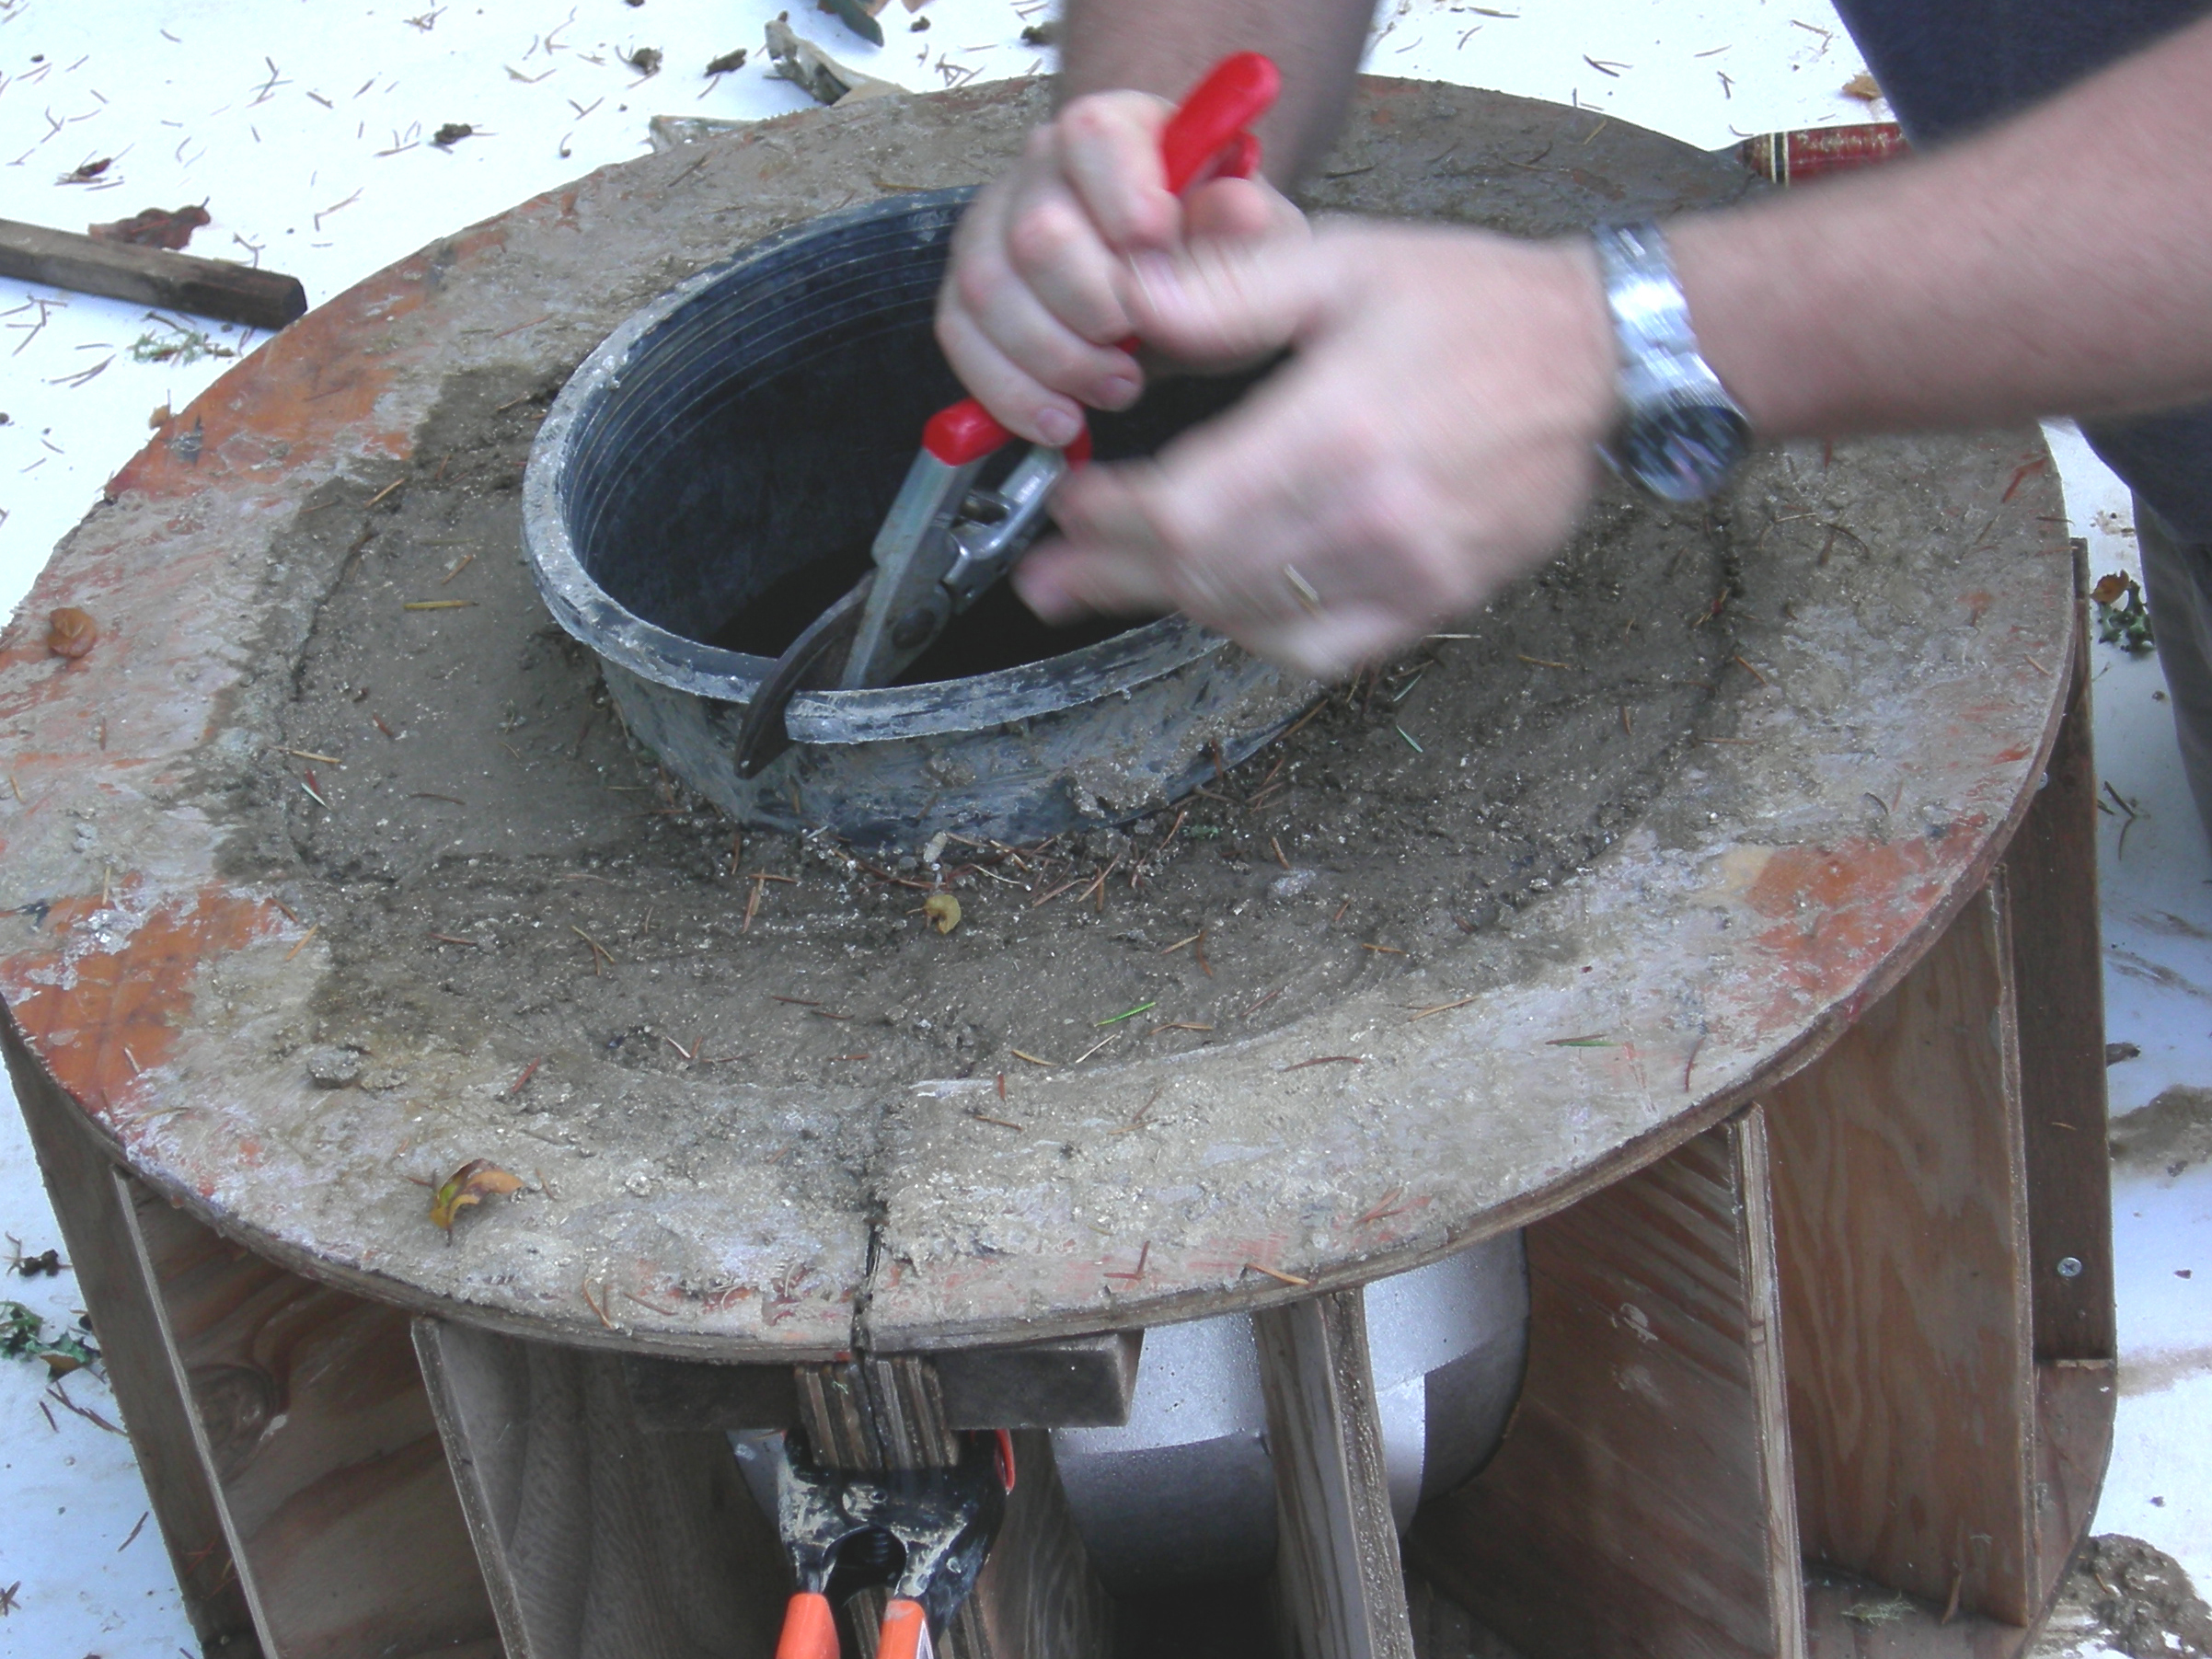
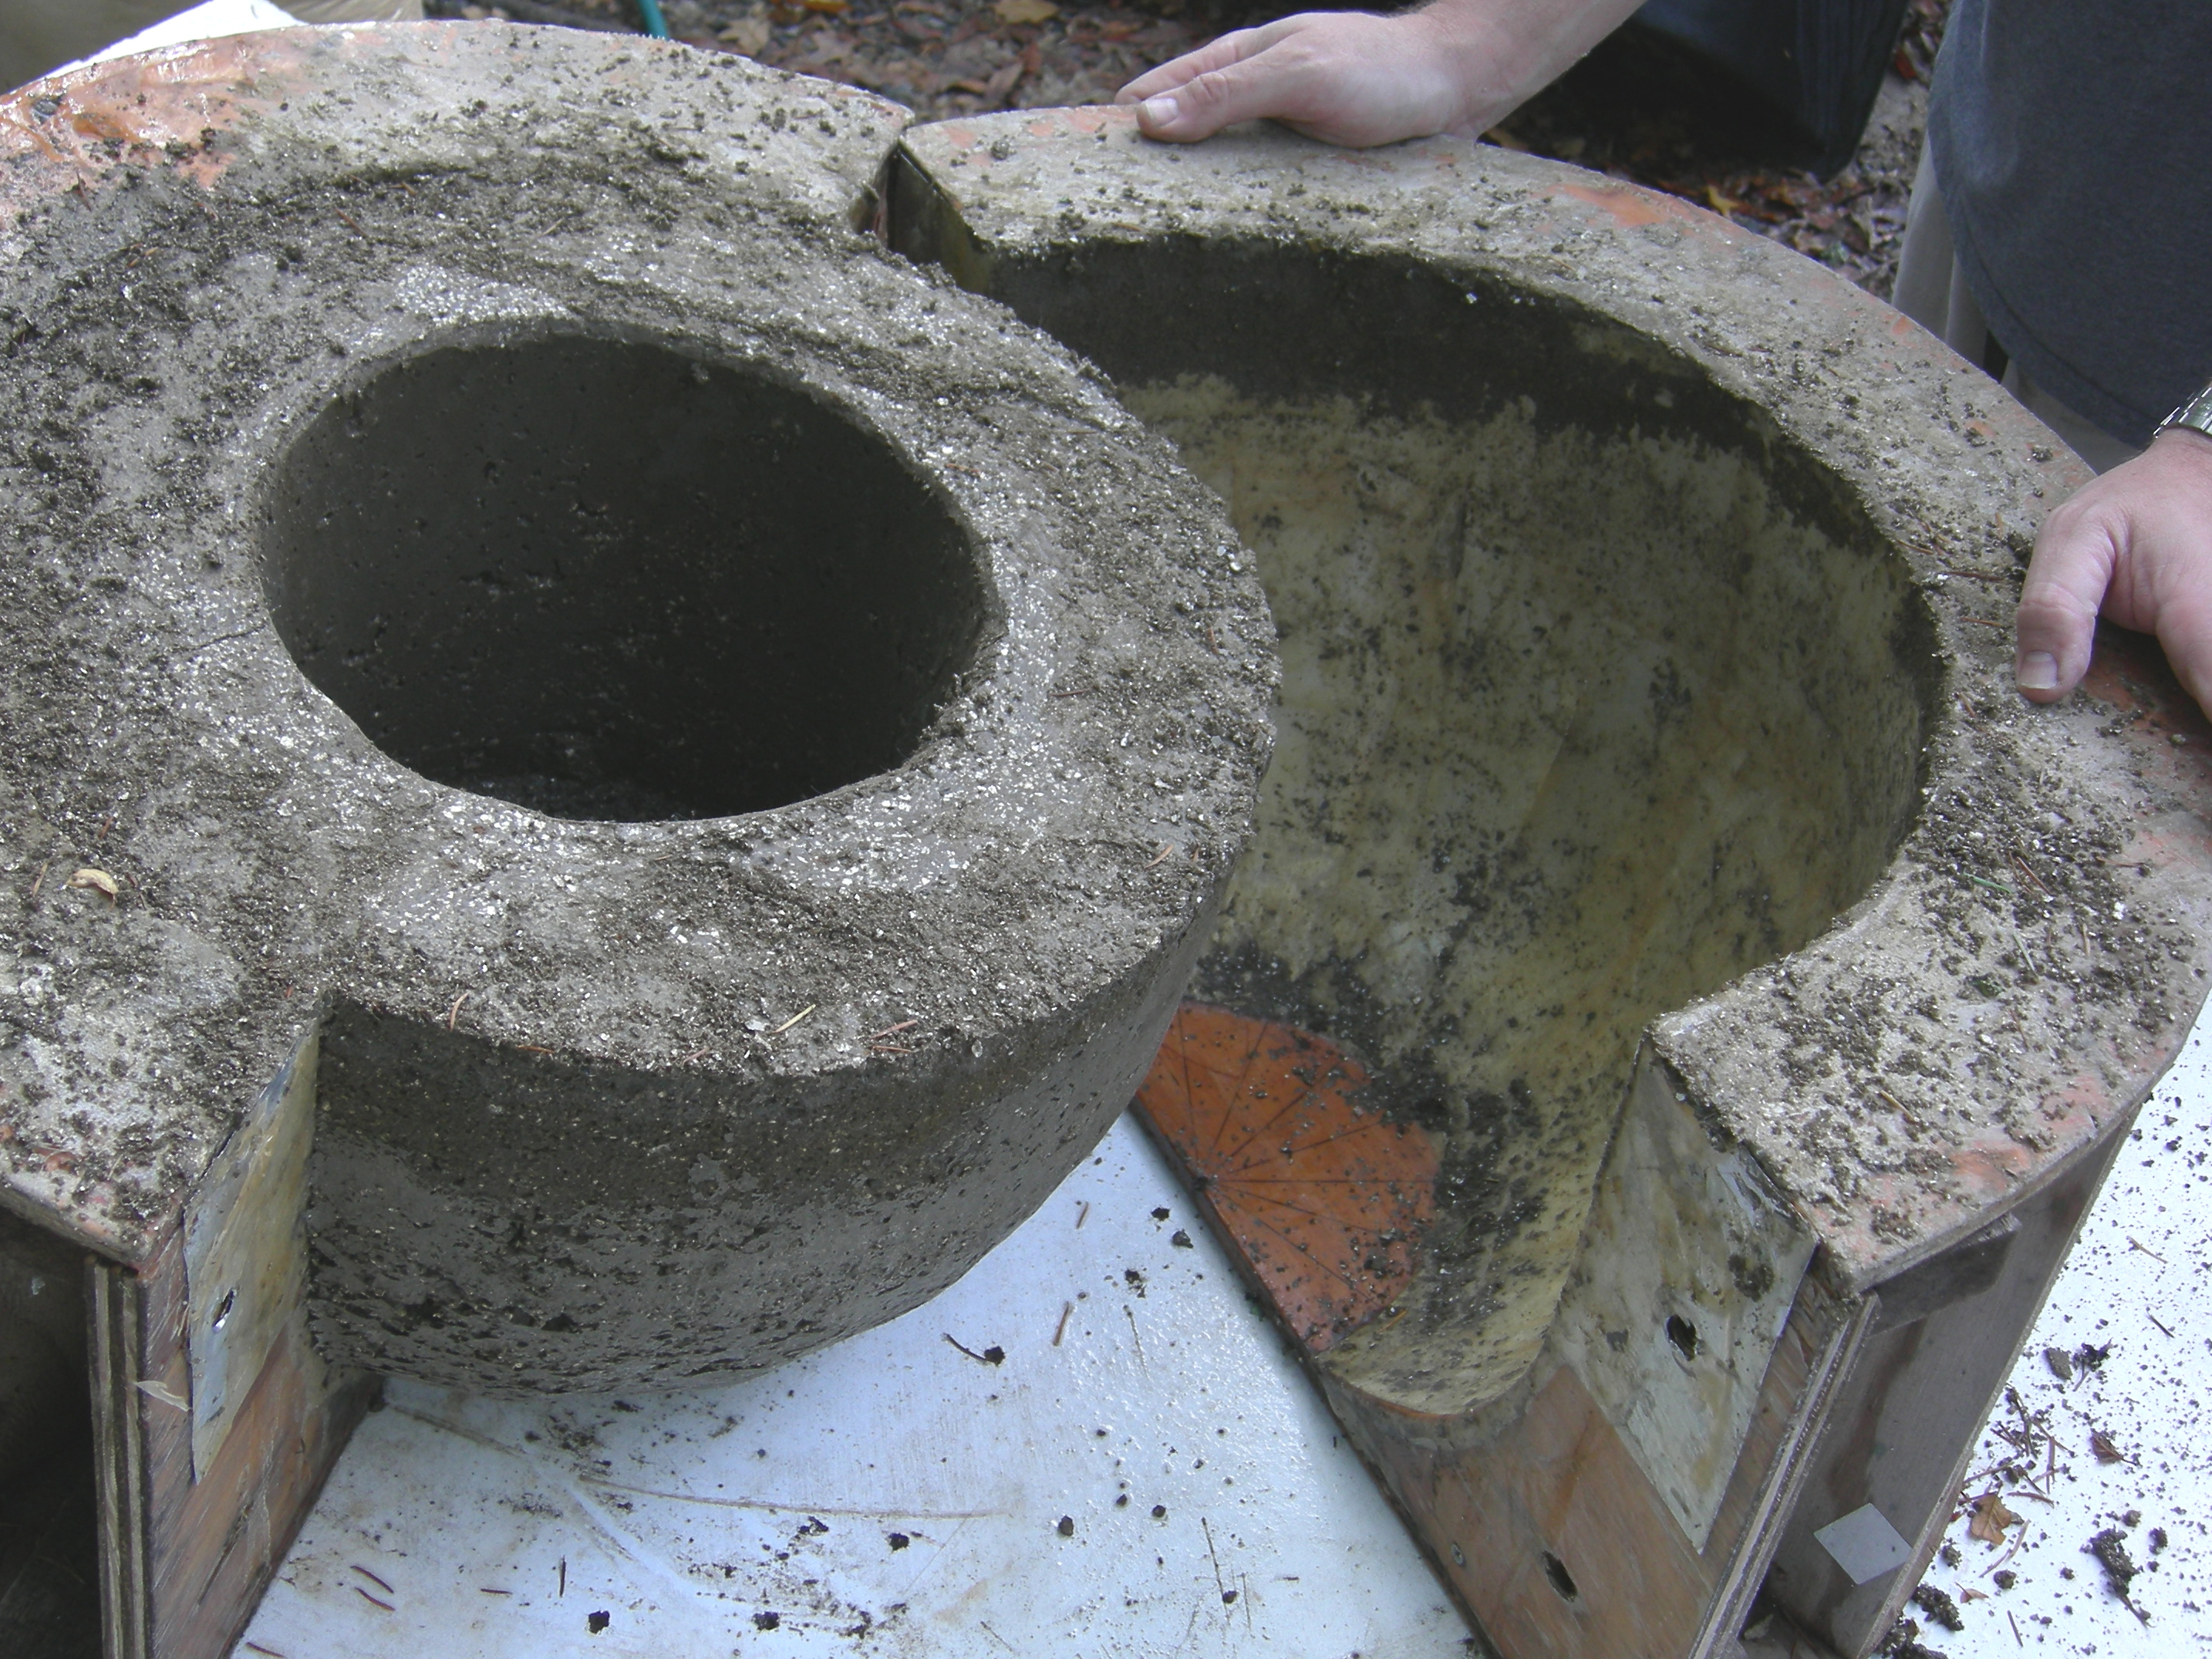
After 2 days, remove the inner mold. This will be a little difficult since it will be encased in the hypertufa. Pull off the spring clips. With a utility knife, carefully cut away the outer mold.

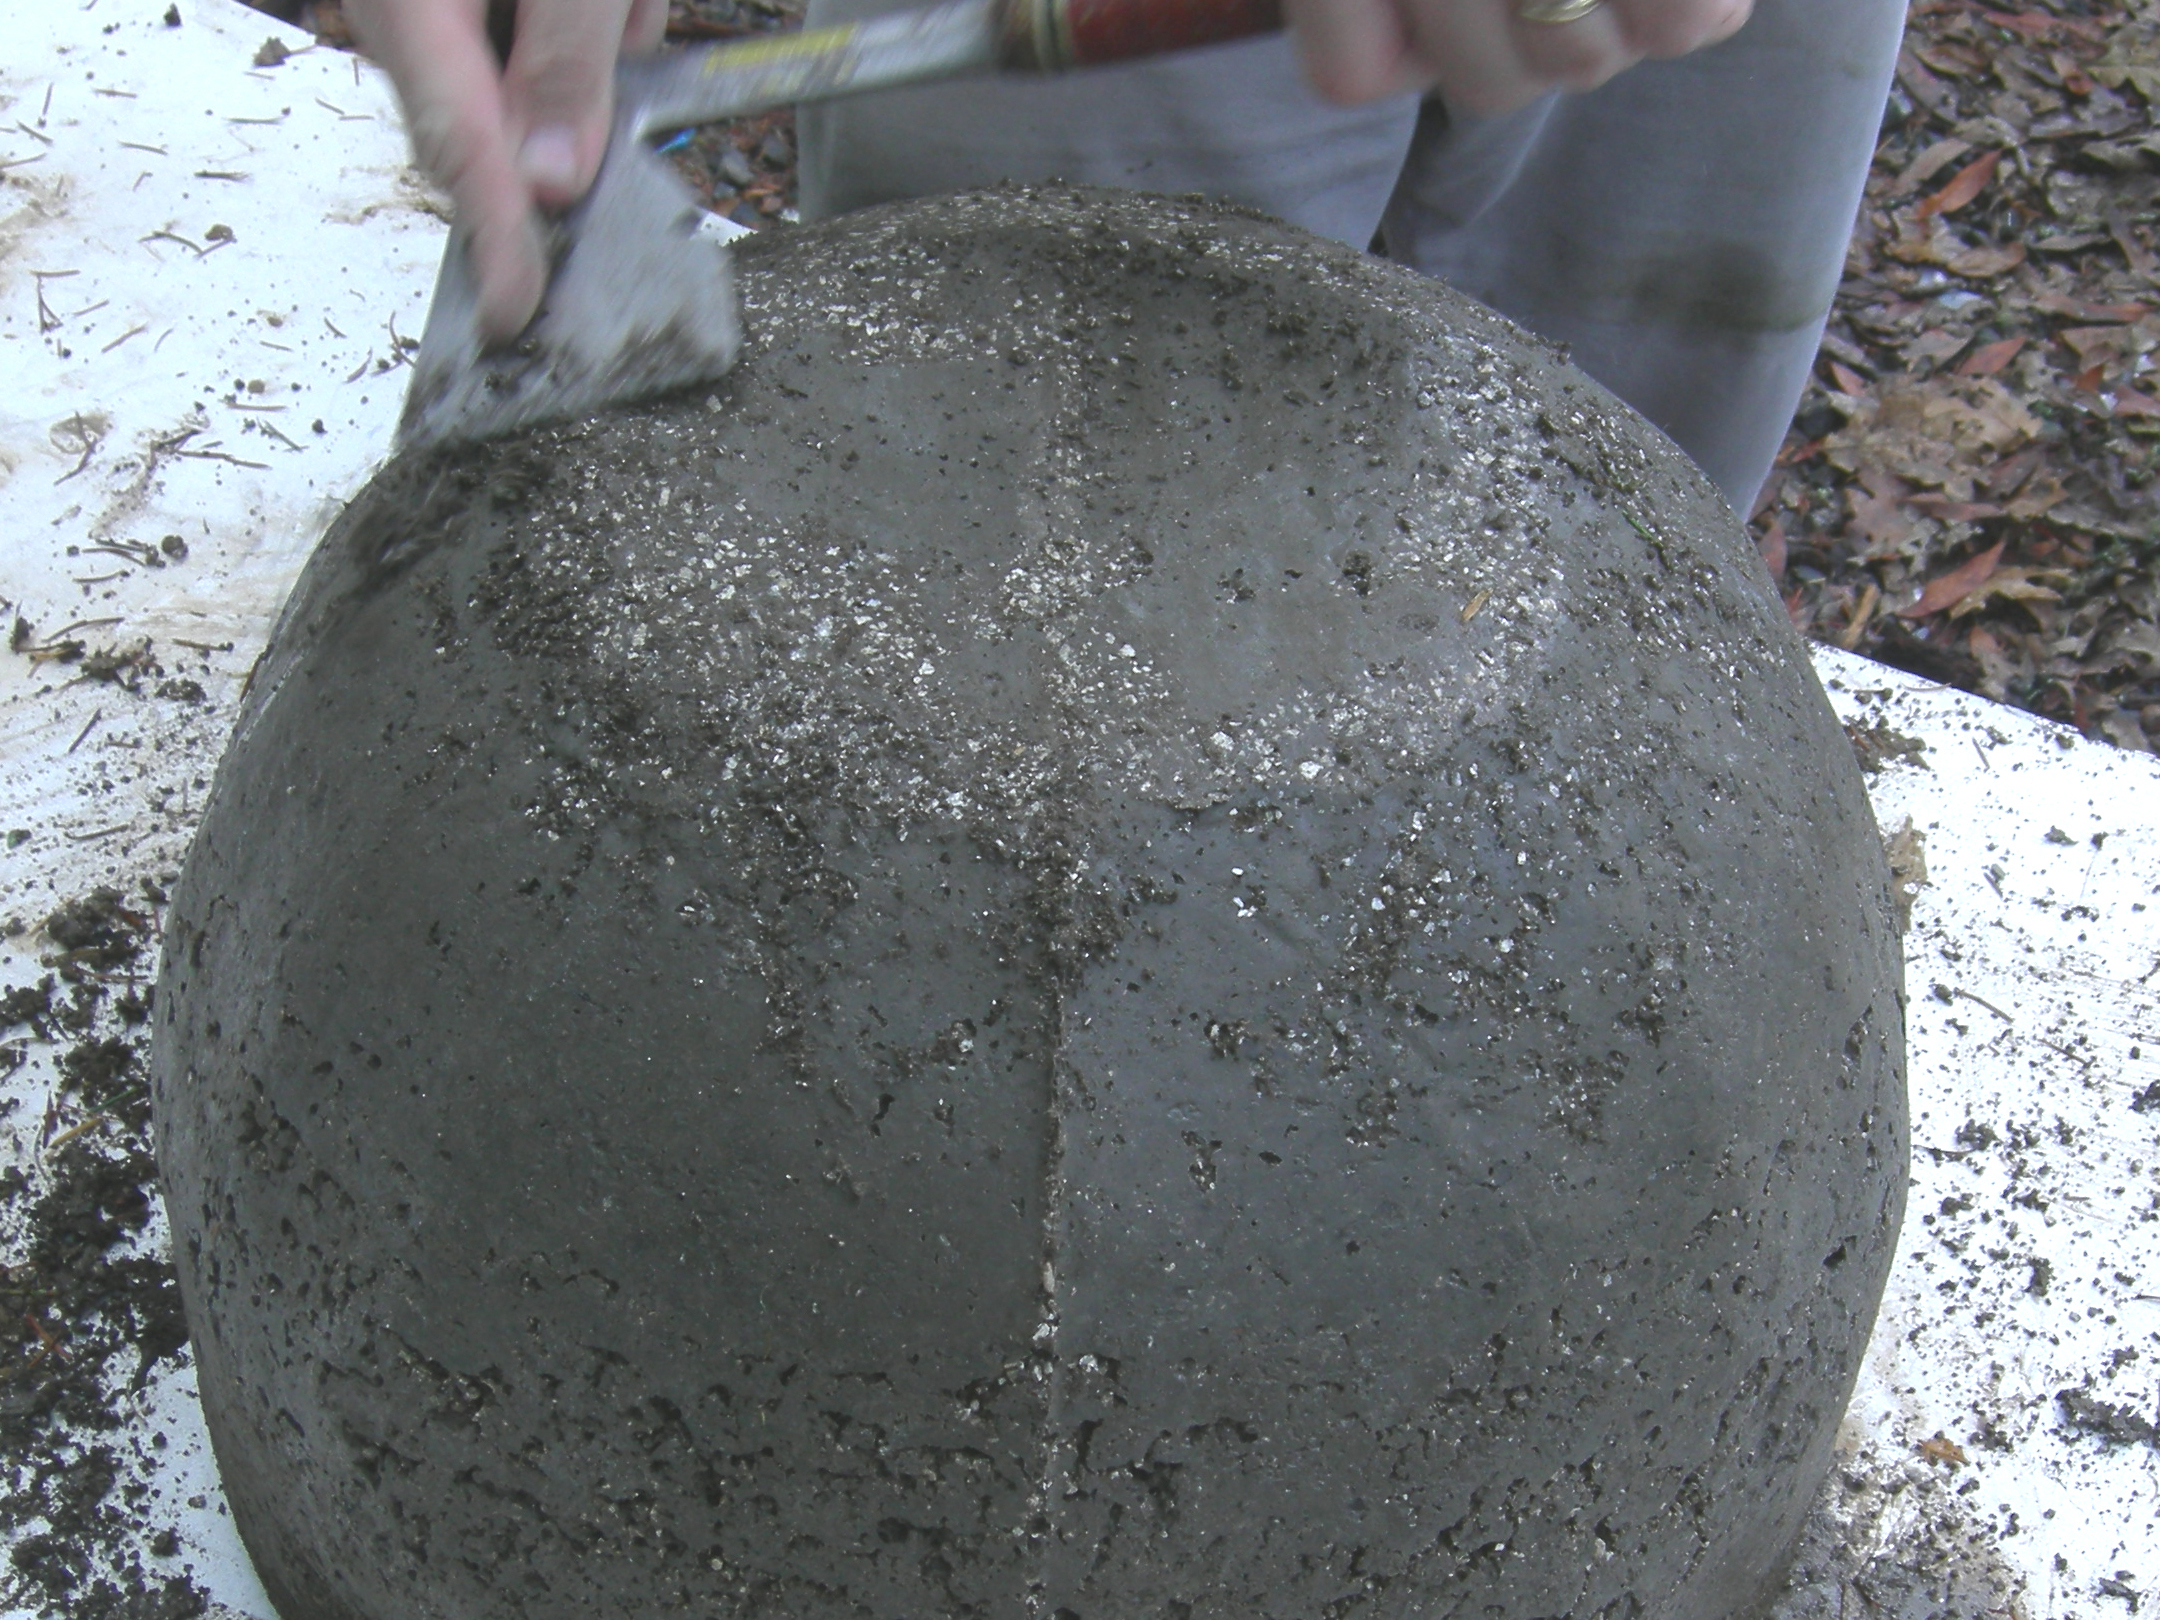
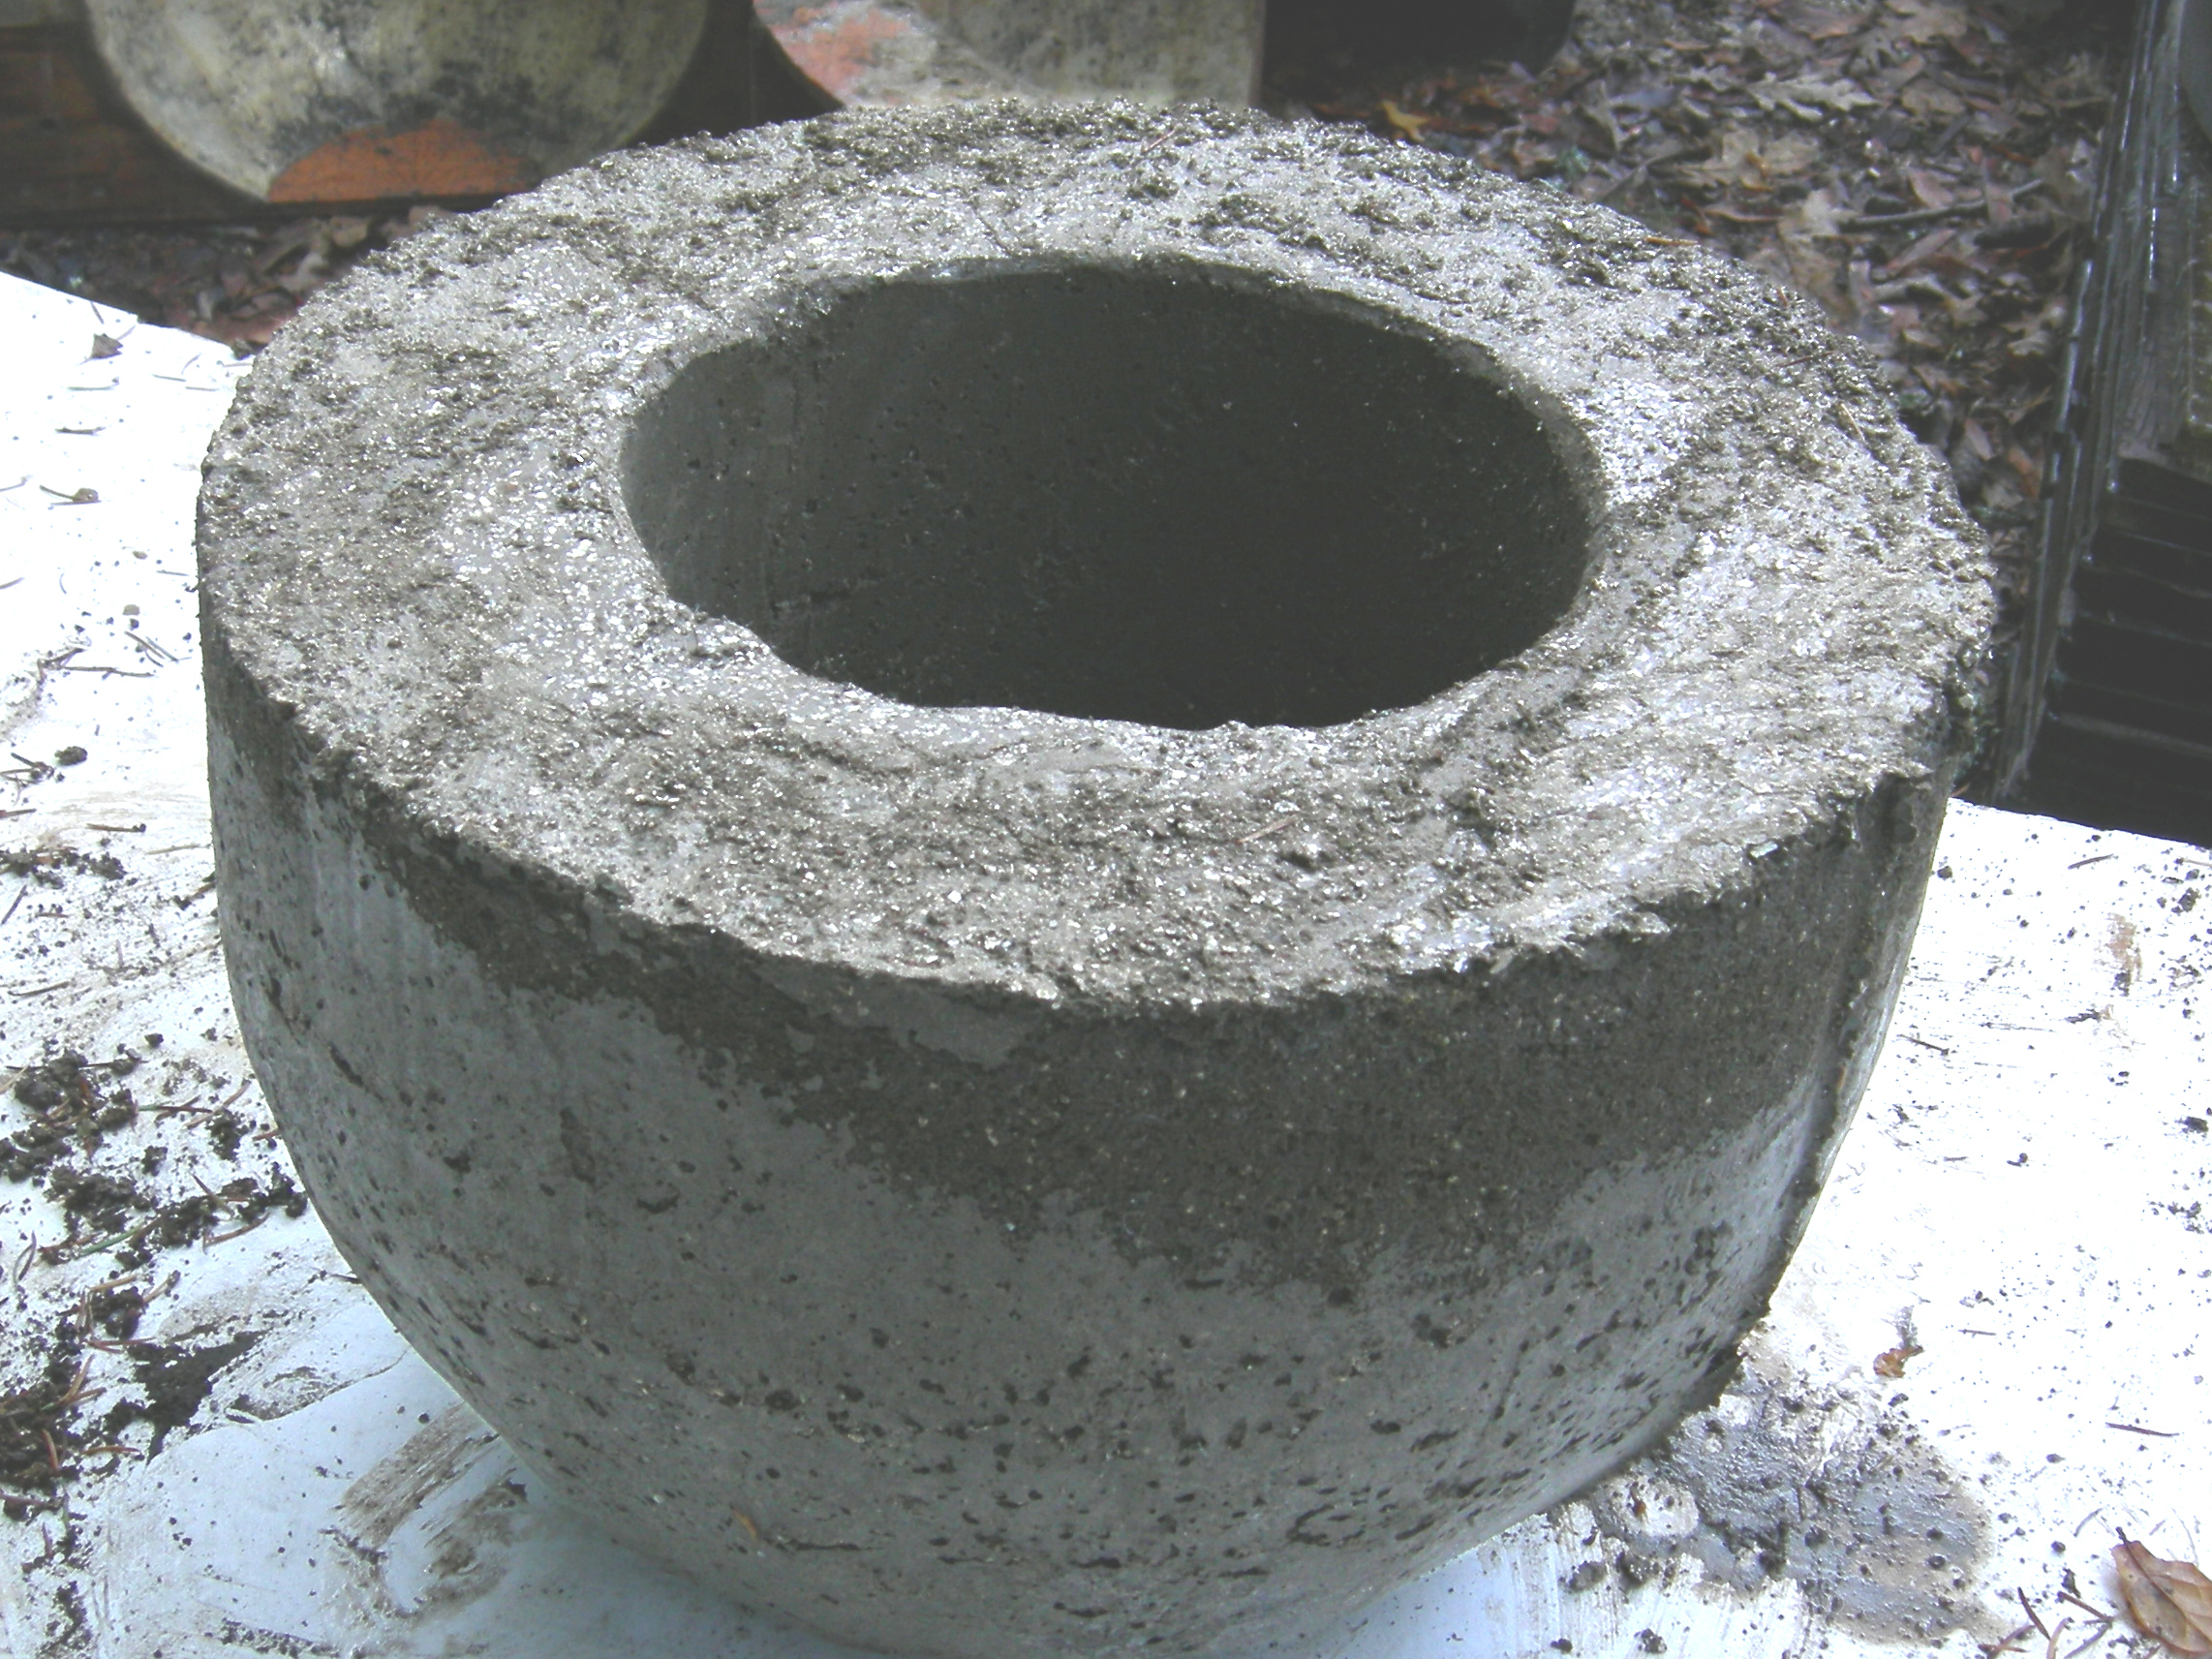
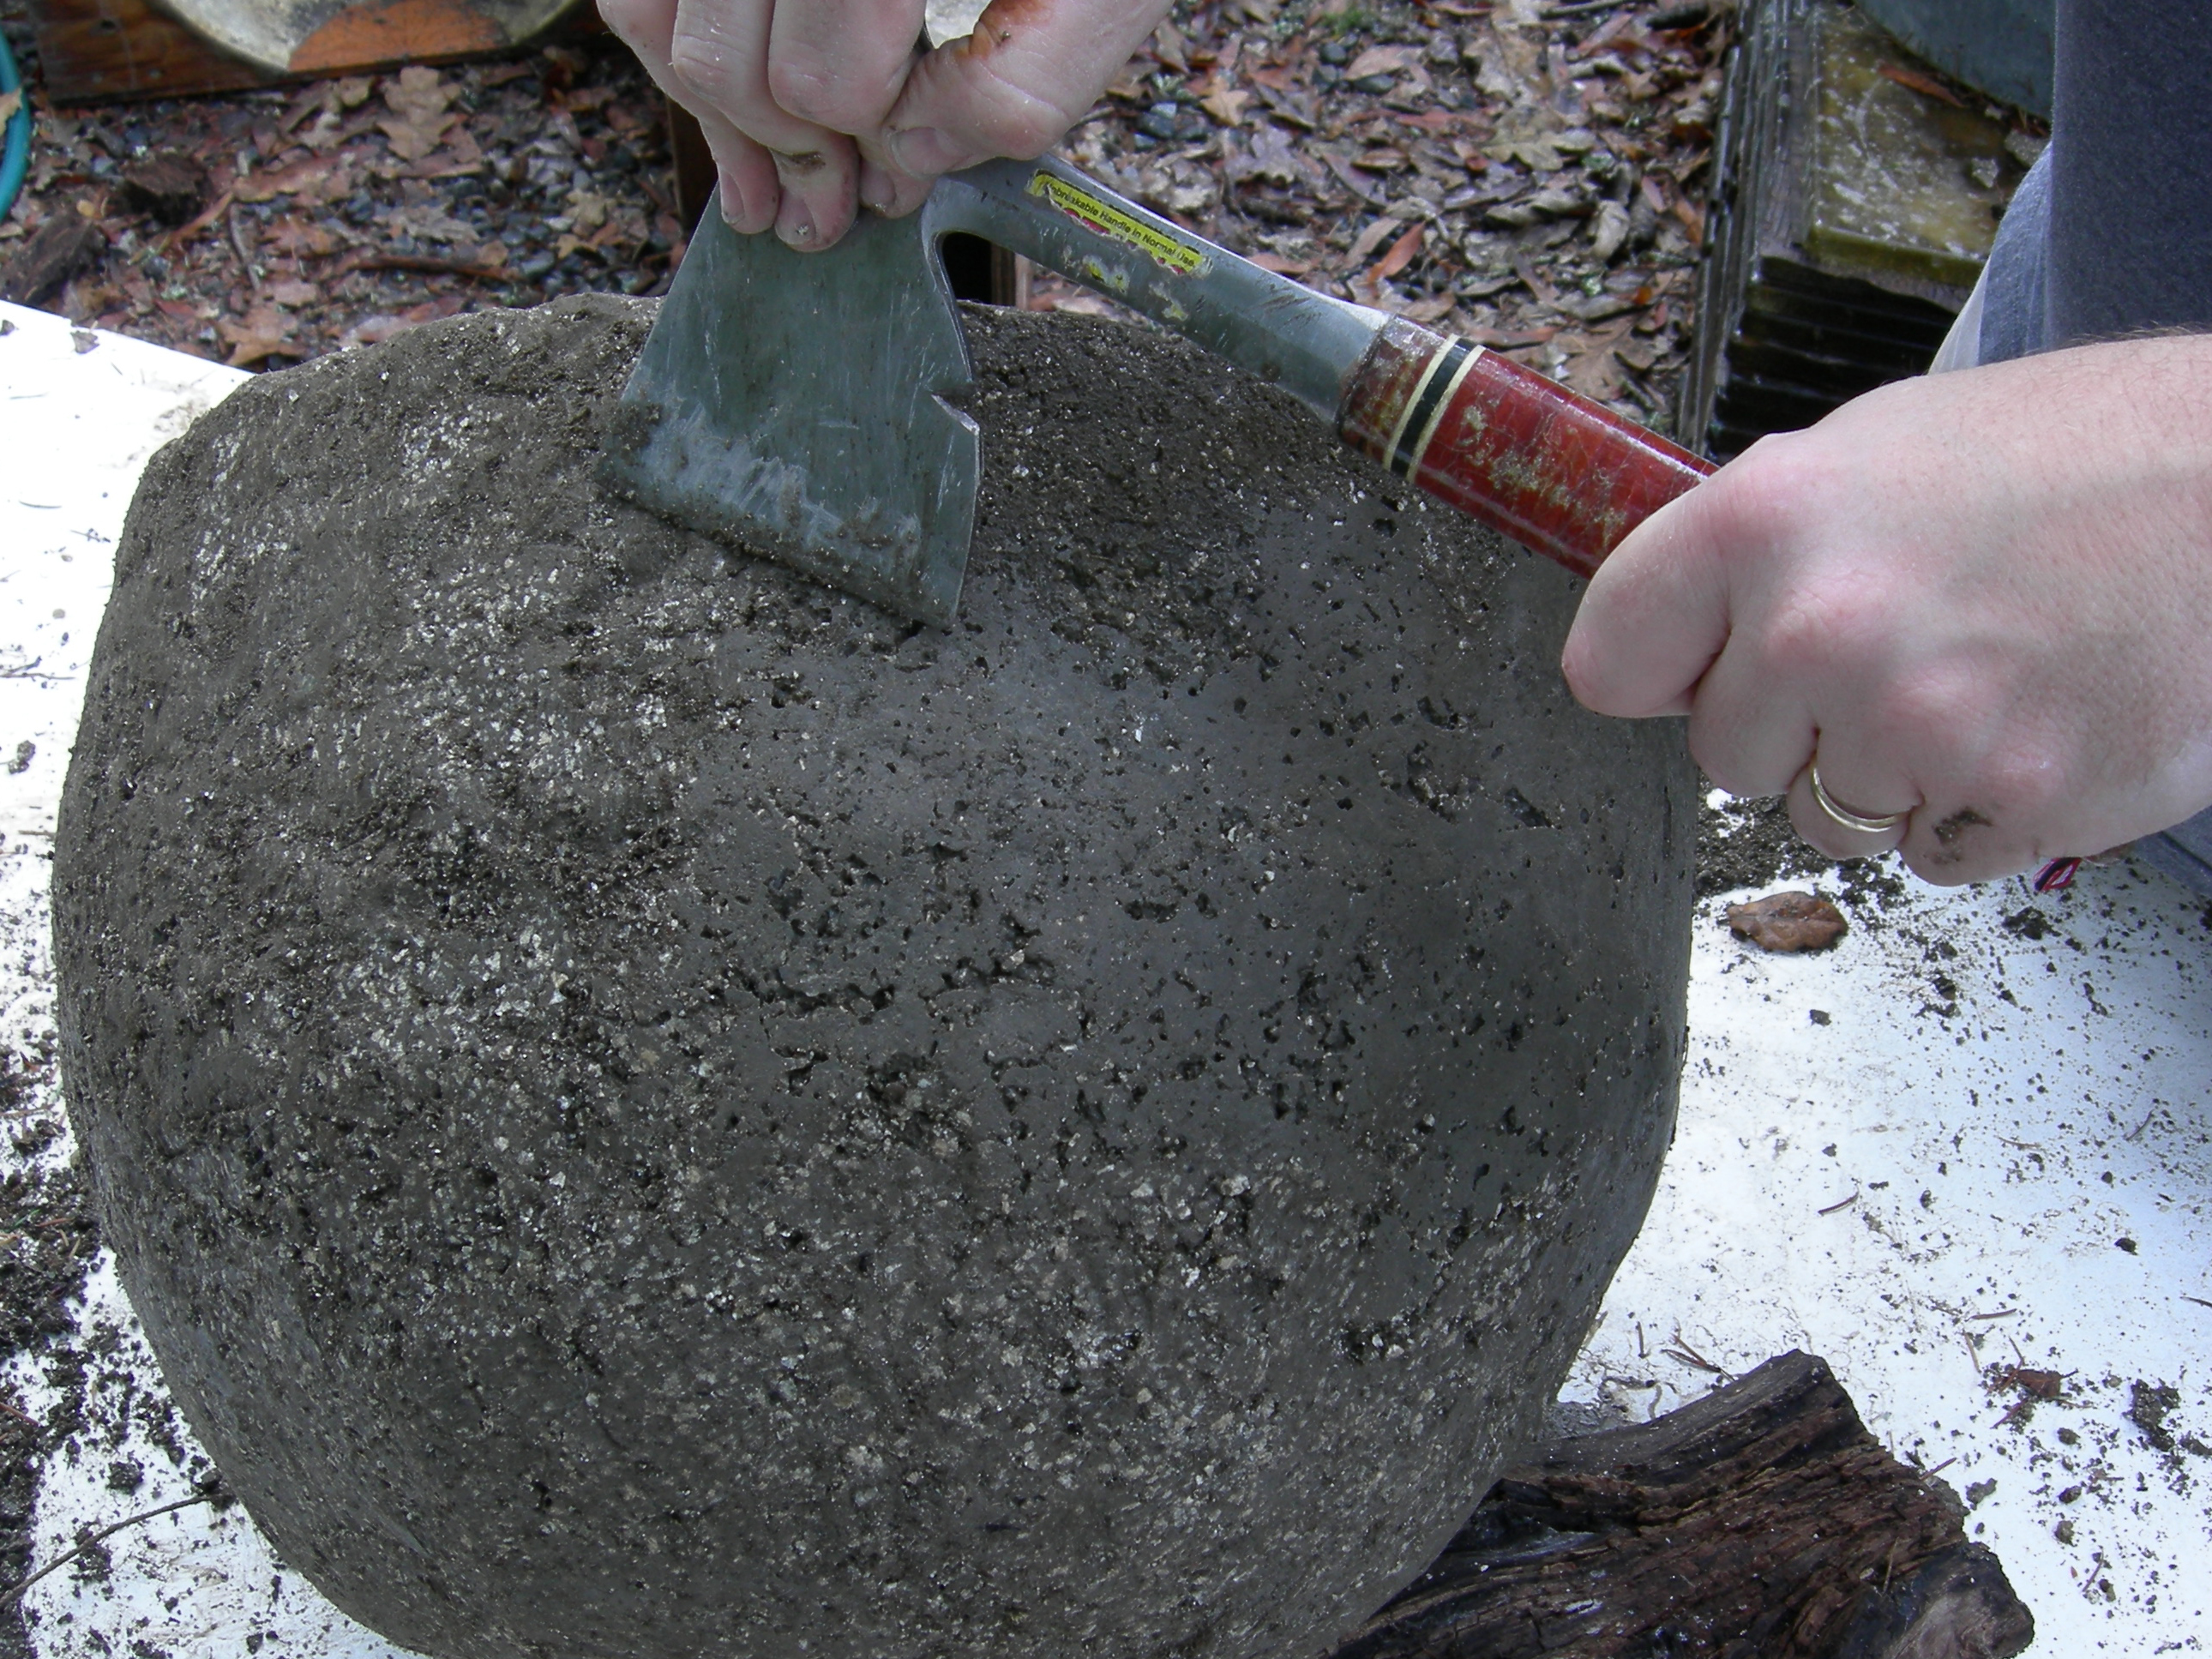
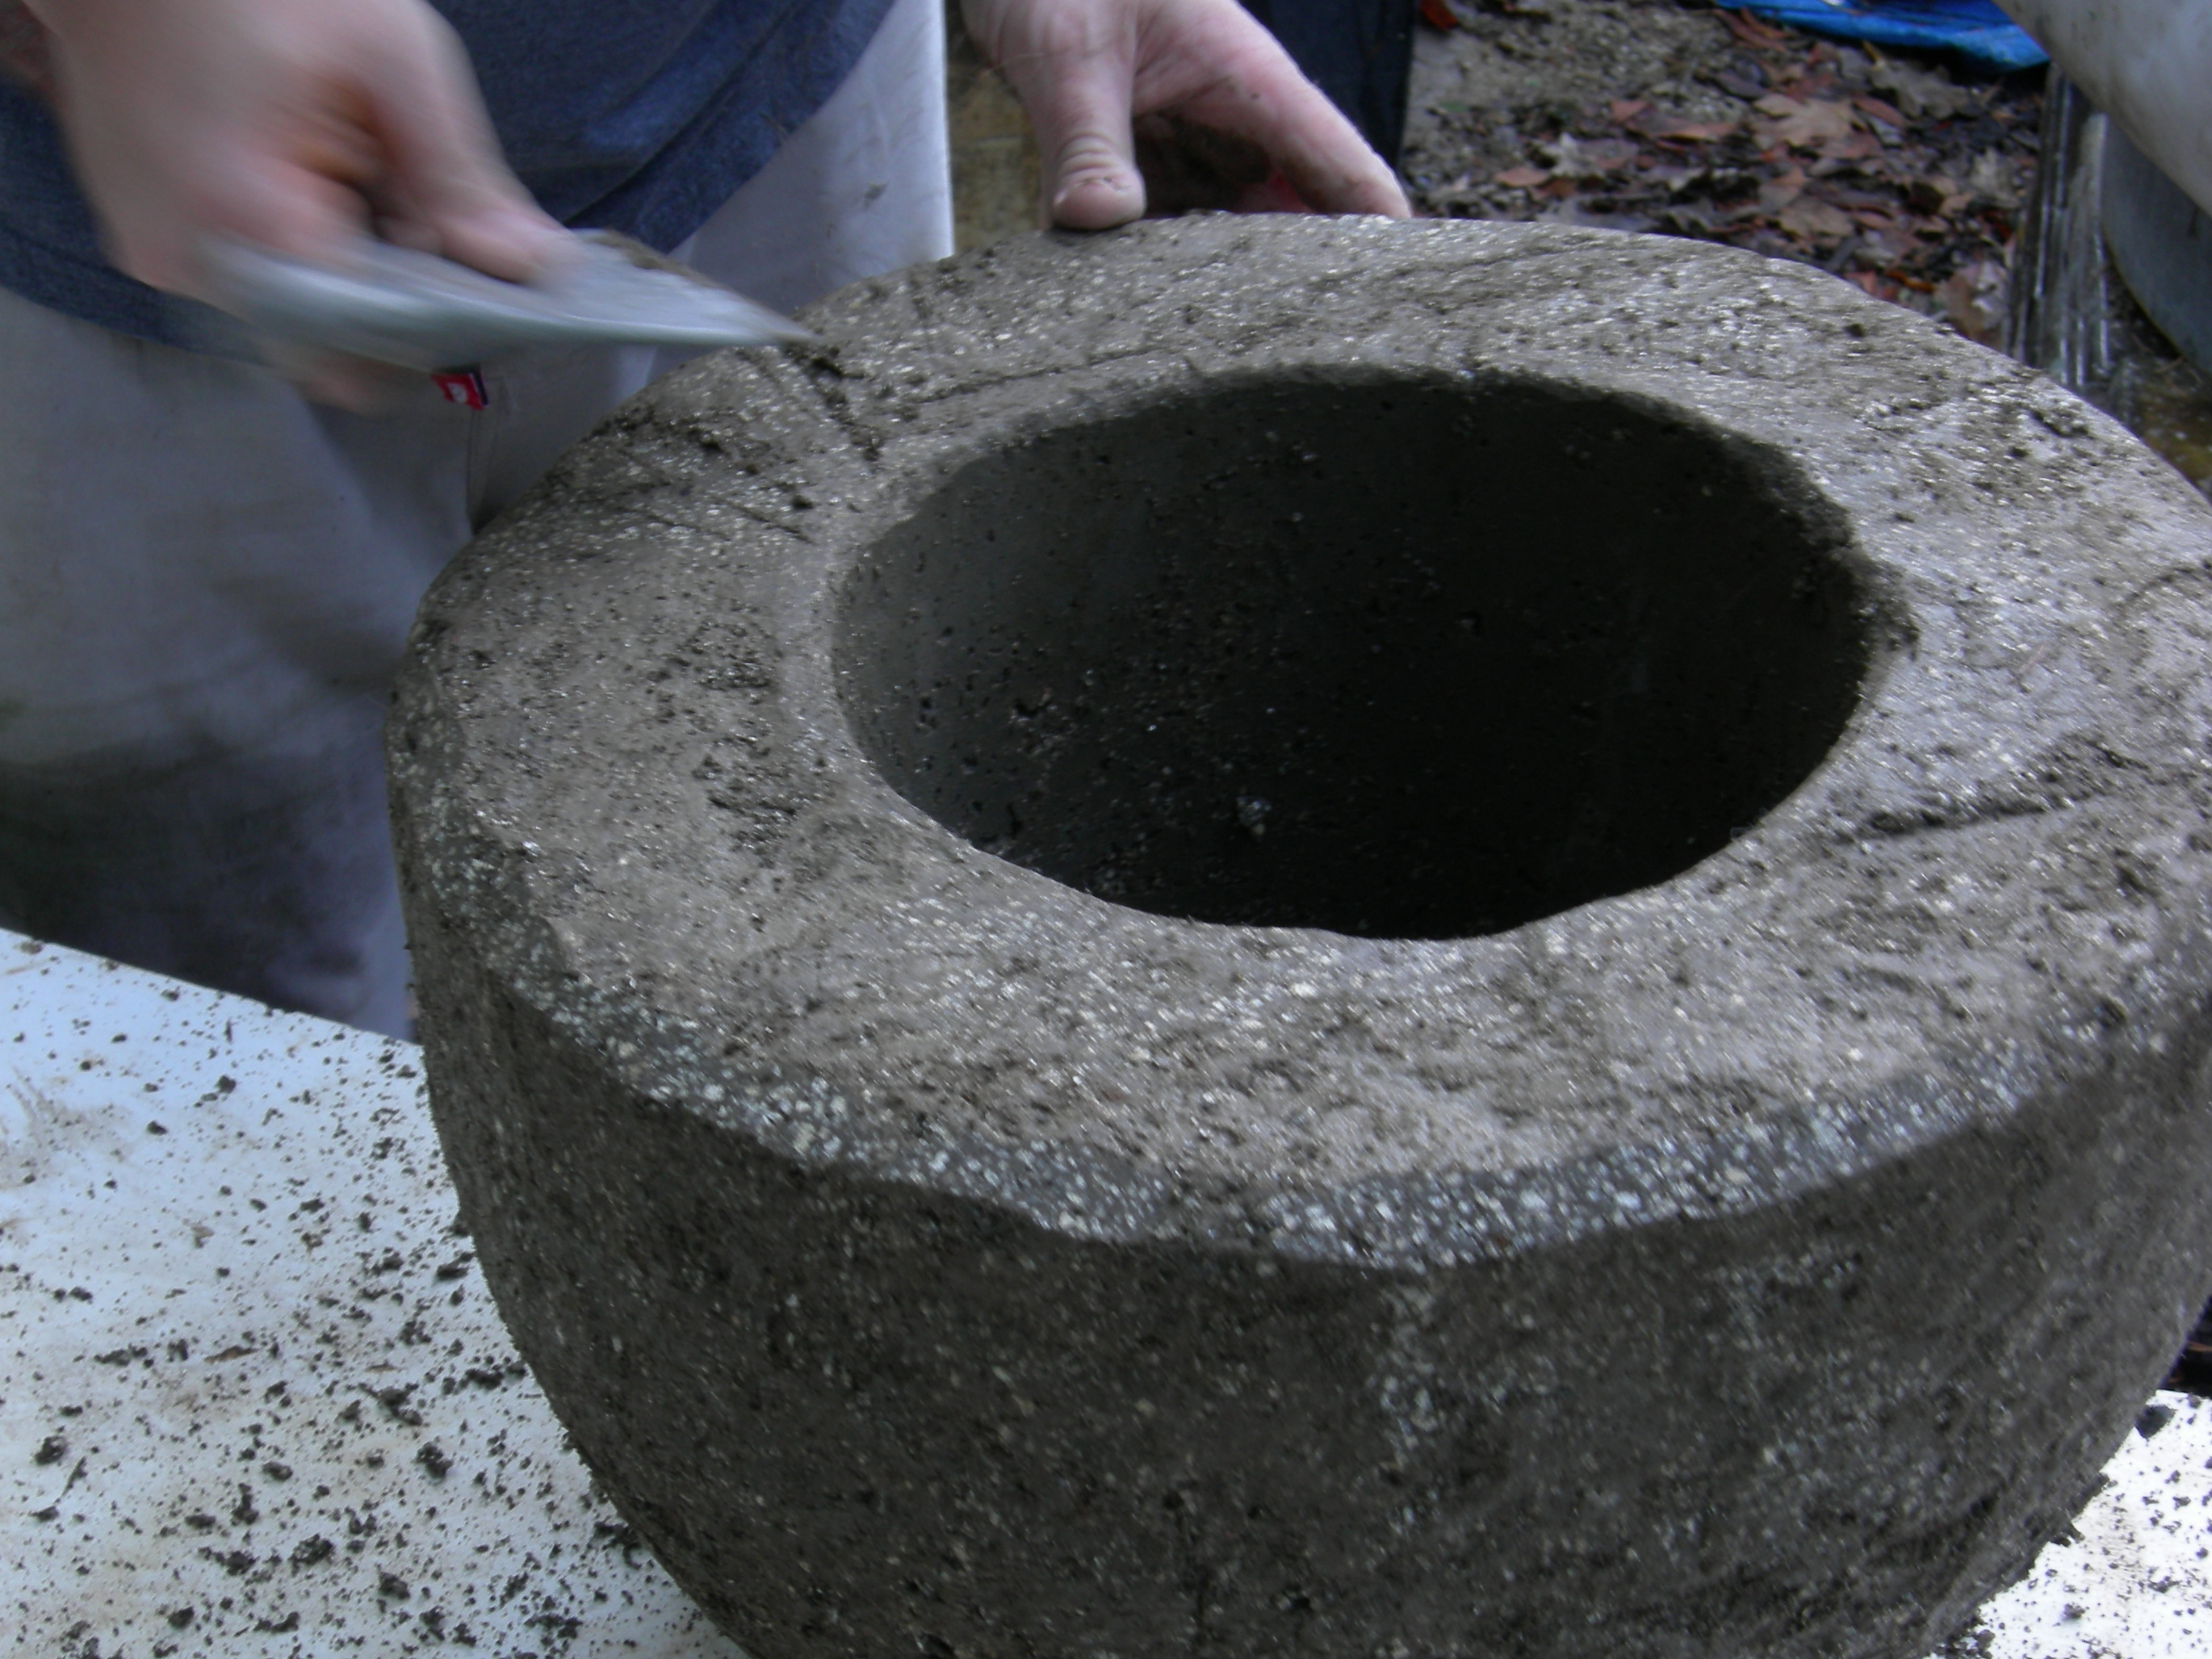
You’ll see that the surface of the container is pretty smooth. Using the hatchet or a similar implement, scrape the surface of the container. Think “carved stone.” Gouge and scrape. Round off the edges as well. Scrape down the slat marks on the rim. You probably won’t be able to scrape the inside completely, but that’s fine. Just focus on the upper surface.

Once you’ve scraped the entire surface, rinse with the hose.

If you have voids, mix up the leftover dry materials with some water. Fill the voids and smooth down with your hand. Let the repairs sit for a few hours and carefully scrape to blend.

Finish.

Cover the hypertufa container with the plastic sheeting or damp burlap. Let this sit in a shaded area for 2 to 4 weeks. Did I forget to mention patience as an ingredient?

The vessel can be used as a fountain, birdbath, or planter. For a planter, you’ll need to drill a hole in the bottom. Hypertufa is relatively soft. Just use a regular drill or auger bit. For a fountain, you should seal the inner surface with a waterproof sealer.

Hypertufa is porous. Do not place your vessel directly on wood, carpet, or any other water-sensitive surface.

Weed whackers easily shred hypertufa. If you place it in the yard, be wary.

In a moist, shady area of your garden the container will develop green patches and, with luck, moss. You can help this along with a mixture of moss, yogurt, and clay. Grind up these ingredients and smear them on the container.

Conclusion

This project first appeared in CRAFT Volume 03, pages 68-75.