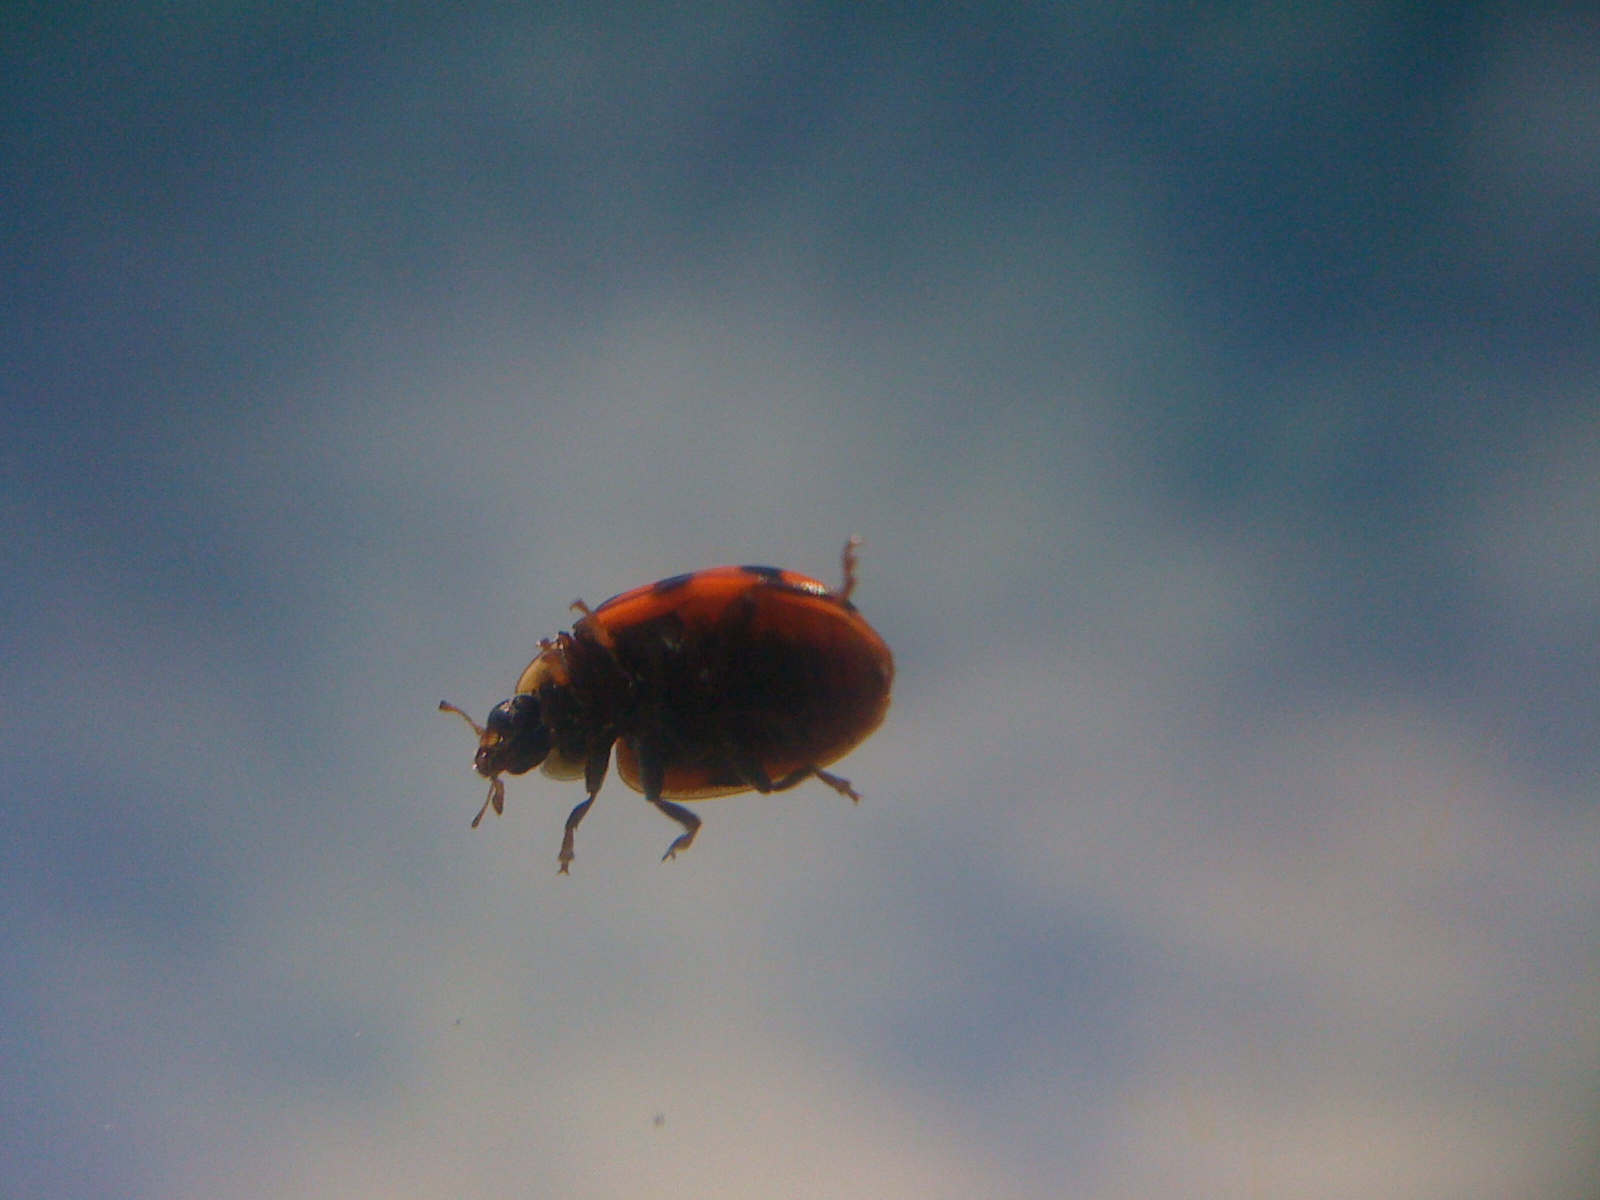
I’ve always loved close-up photography, starting with a book I remember from first grade on spiders. I actually couldn’t get past the first few pages of the book without freaking out and slamming the book shut, but I always came back for more.

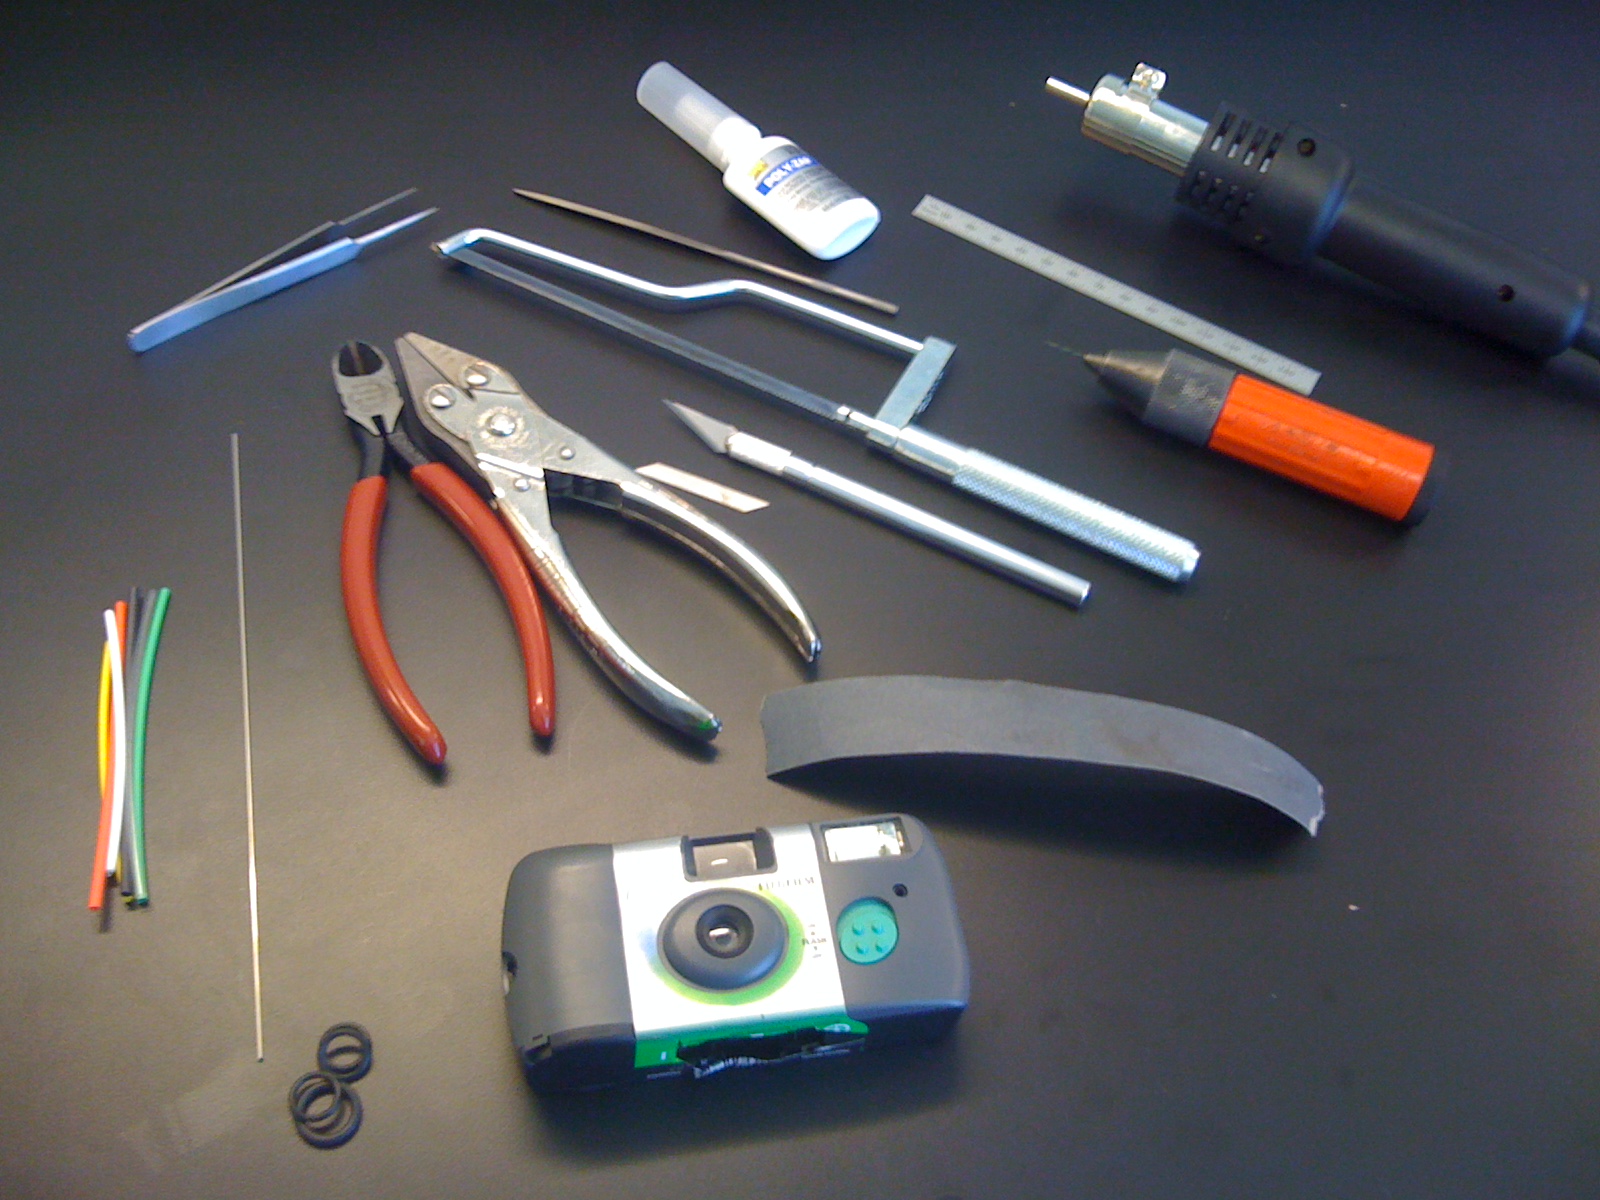
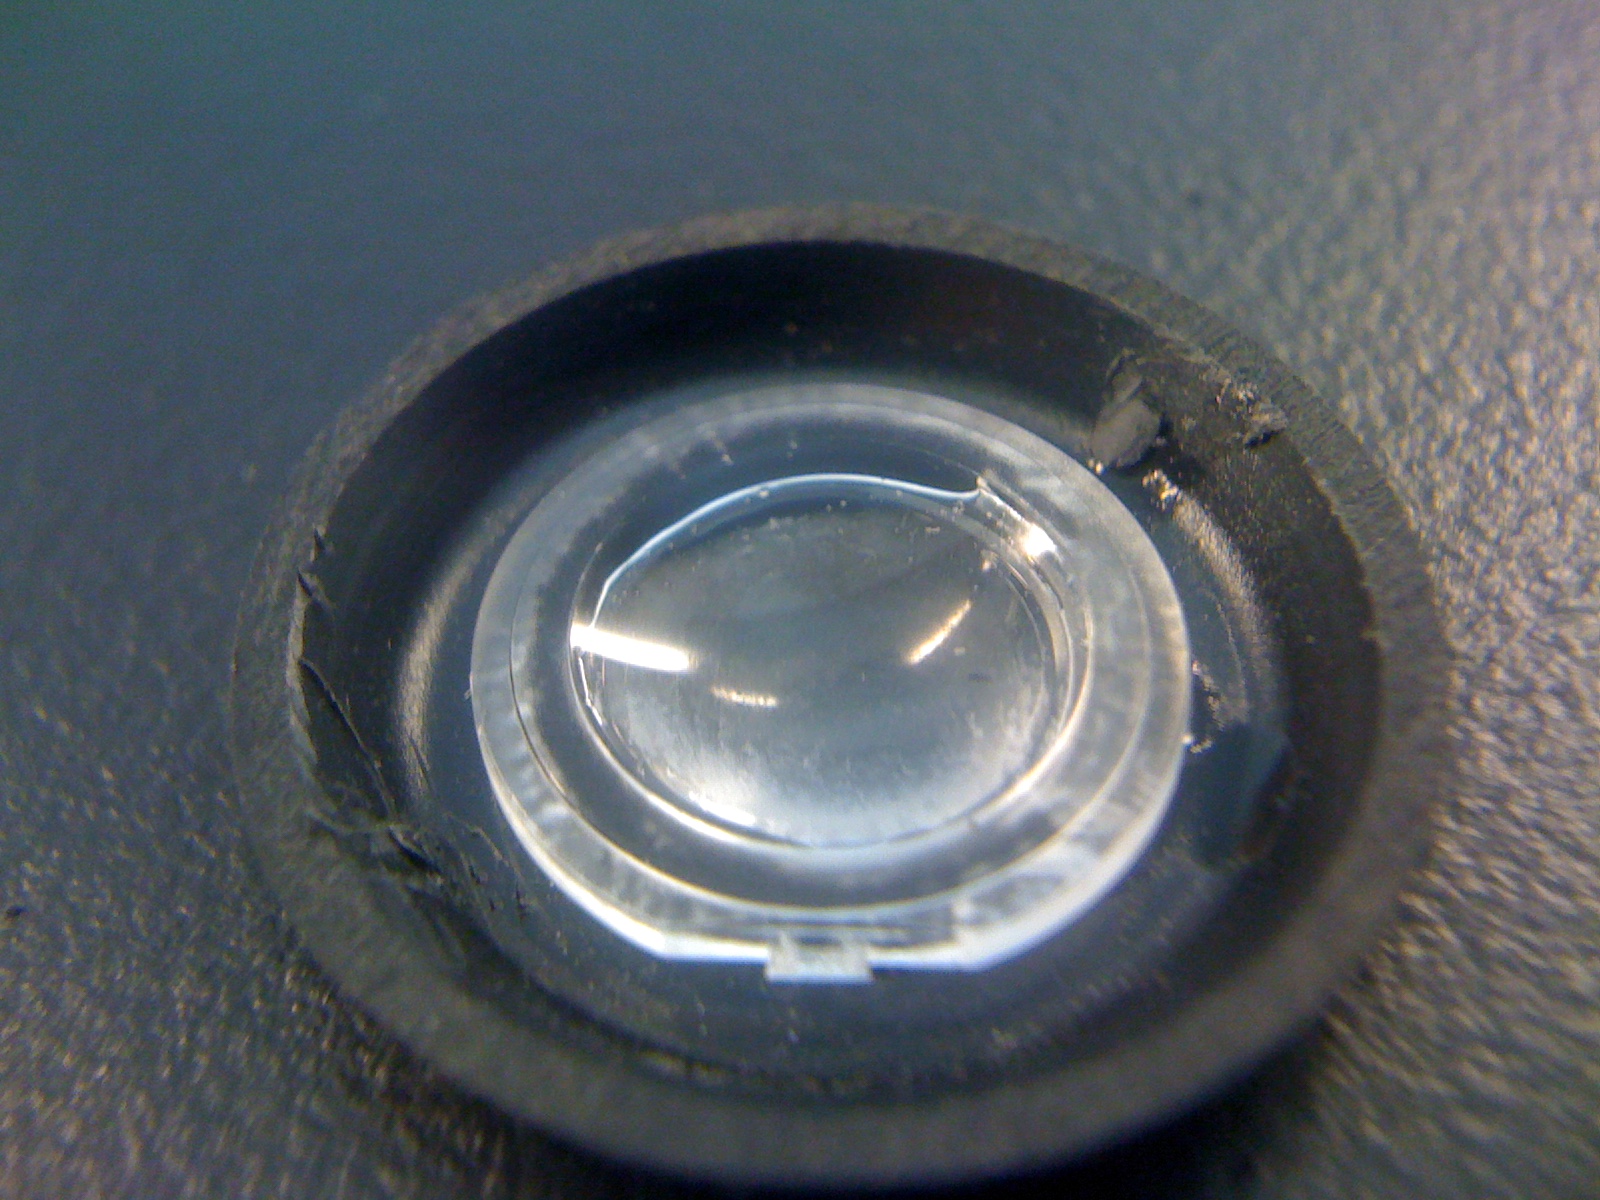
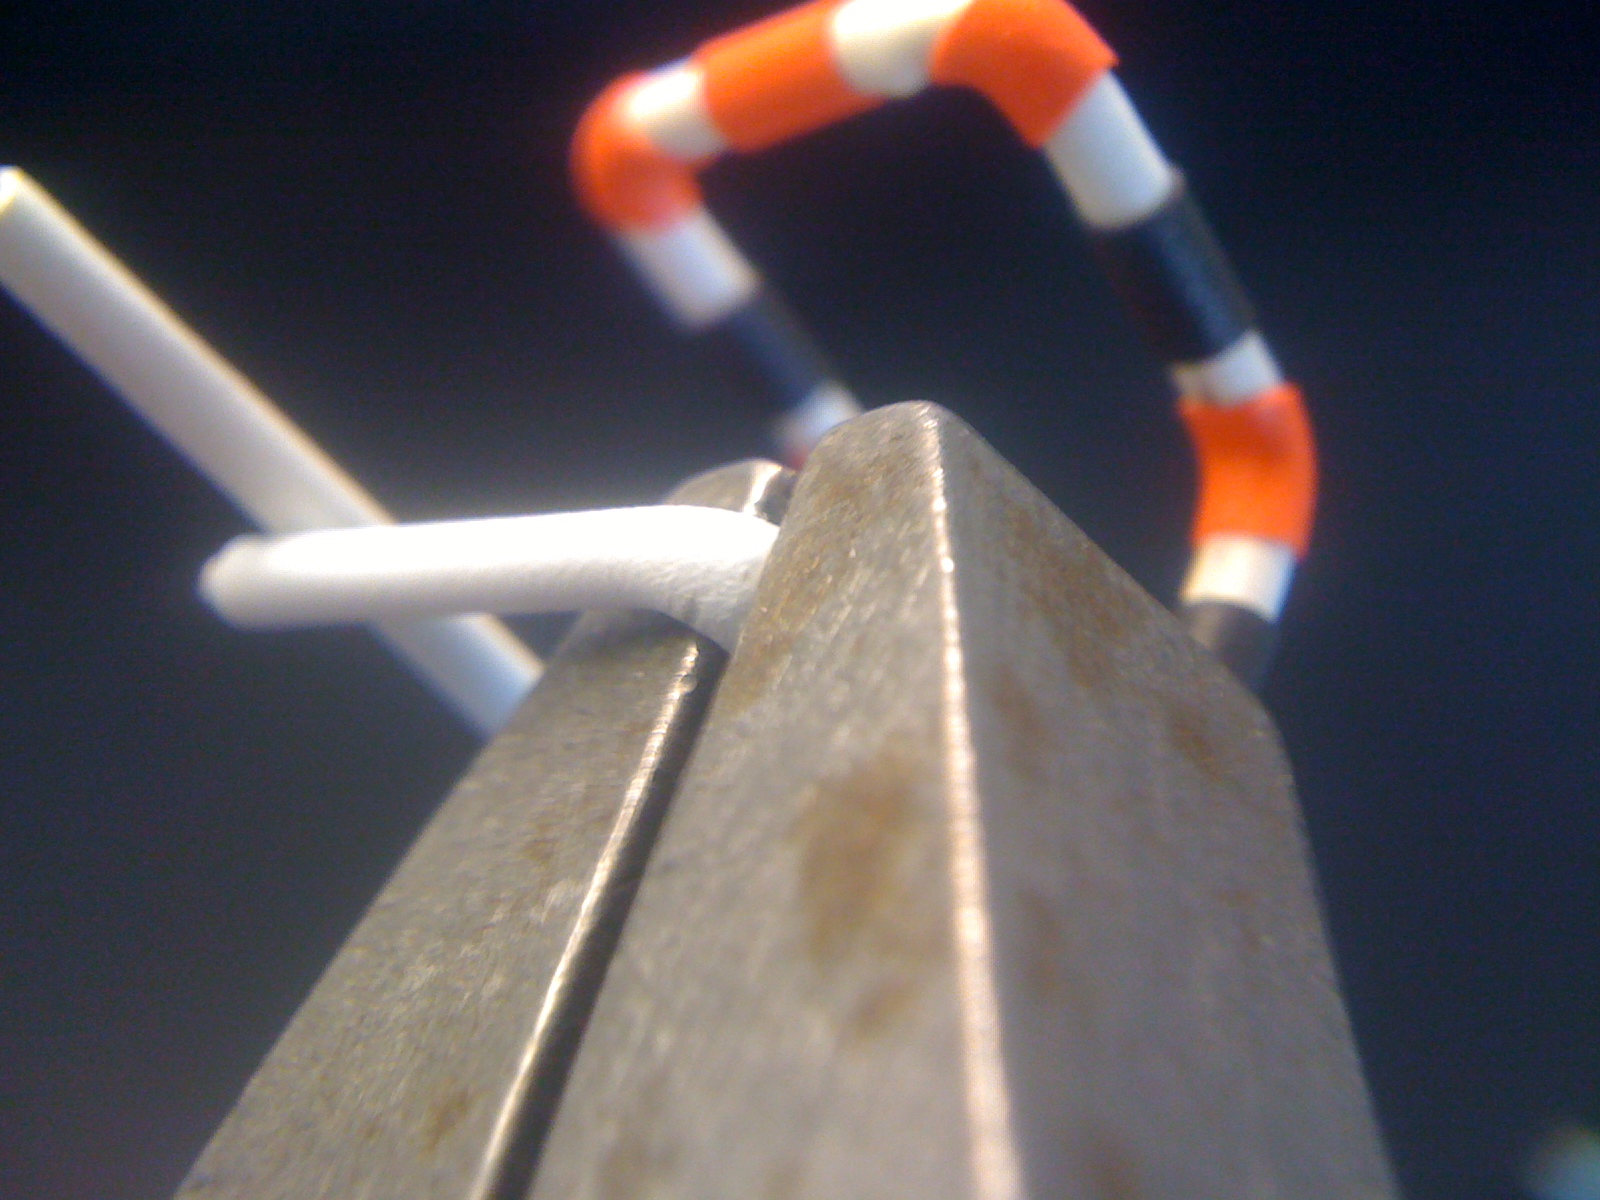
About a year ago I made a clip-on lens for my iPhone and everyone is always asking me where I got it. It’s very easy to make with just a few tools and materials. I’m not the first person to make one of these, but this is my take on it.

Project Steps

The first thing you need to do is gather the materials and tools for assembling the lens.

Tools: pliers, small drill bits, X-Acto knife and/or saw, fine metal file and/or sandpaper, hair dryer or heat gun, tweezers, wire cutters

Materials: .04″ music wire (4″), disposable camera, 1/16″ heat shrink tubing (4″+, 1 or more colors), superglue or RTV, O-ring assortment

Take a length of the music wire and slide a 4″ length of the heat shrink tubing over it and heat it up. The tubing will shrink and hold on to the wire.

Snip the wire to length (4″), if you haven’t already.

Using the pliers, shape the wire as shown in the photo. each of the sides should be about 1/2″. You will make a total of six 90-degree bends.

Cut some 1/8″ long pieces of heat shrink in different colors. This will be for the banding on the wire, which will help hold it on the iPhone, keep it from scratching the phone, and make it easier to see when you misplace it. (That will happen A LOT).

Slide the pieces onto the bent wire and use heat to shrink them in place. Don’t try to do them all at once; they will slip out of place.

Start to crack open the camera. There are two parts you want off of it: the lens and the outside bezel. The bezel will probably be part of the whole front plate.

Pry open the clips. There should be two on either end of the camera.

Take out the lens and set it aside.

Cut the bezel off the front plate. The plastic will probably be thin and it should cut easily with a small X-Acto saw blade.

Smooth the back of the bezel with a piece of sandpaper or a file.

Drop the lens into the bezel and make sure there aren’t any little tabs or standoffs preventing the lens from seating into it for gluing.

Apply a VERY small amount of glue and place the lens in the bezel with tweezers. Too much glue will create a haze on the lens and get all over the place.

Find an O-ring that will fit into the back of the bezel and around the lens. This will help hold the lens in place when it is on the phone.

Glue the O-ring in place. Use superglue or RTV. RTV will take a couple of hours to cure, at least.

Fit the bent wire on the phone and mark where the arms pass the lens on the phone. You will want to make 90-degree bends here and trim the wire.

Bend the wire as shown in the photo and clip. Leave about 1/8″ after the bend.

Trim off a bit of the heat shrink and shrink a little band around the cut end.

Drill two holes into the edge of the bezel 180 degrees opposite each other. The hole should be a snug fit for the wire. You can use a short piece of the wire for a drill. The clipped end of the wire should be sharp enough from the wire cutter. Or you can heat the wire and plunge it into the bezel and melt the holes.

Attach the bent wire clip to the bezel. That’s basically it! Mount the lens to the phone for a final fit check.

Go take pictures!