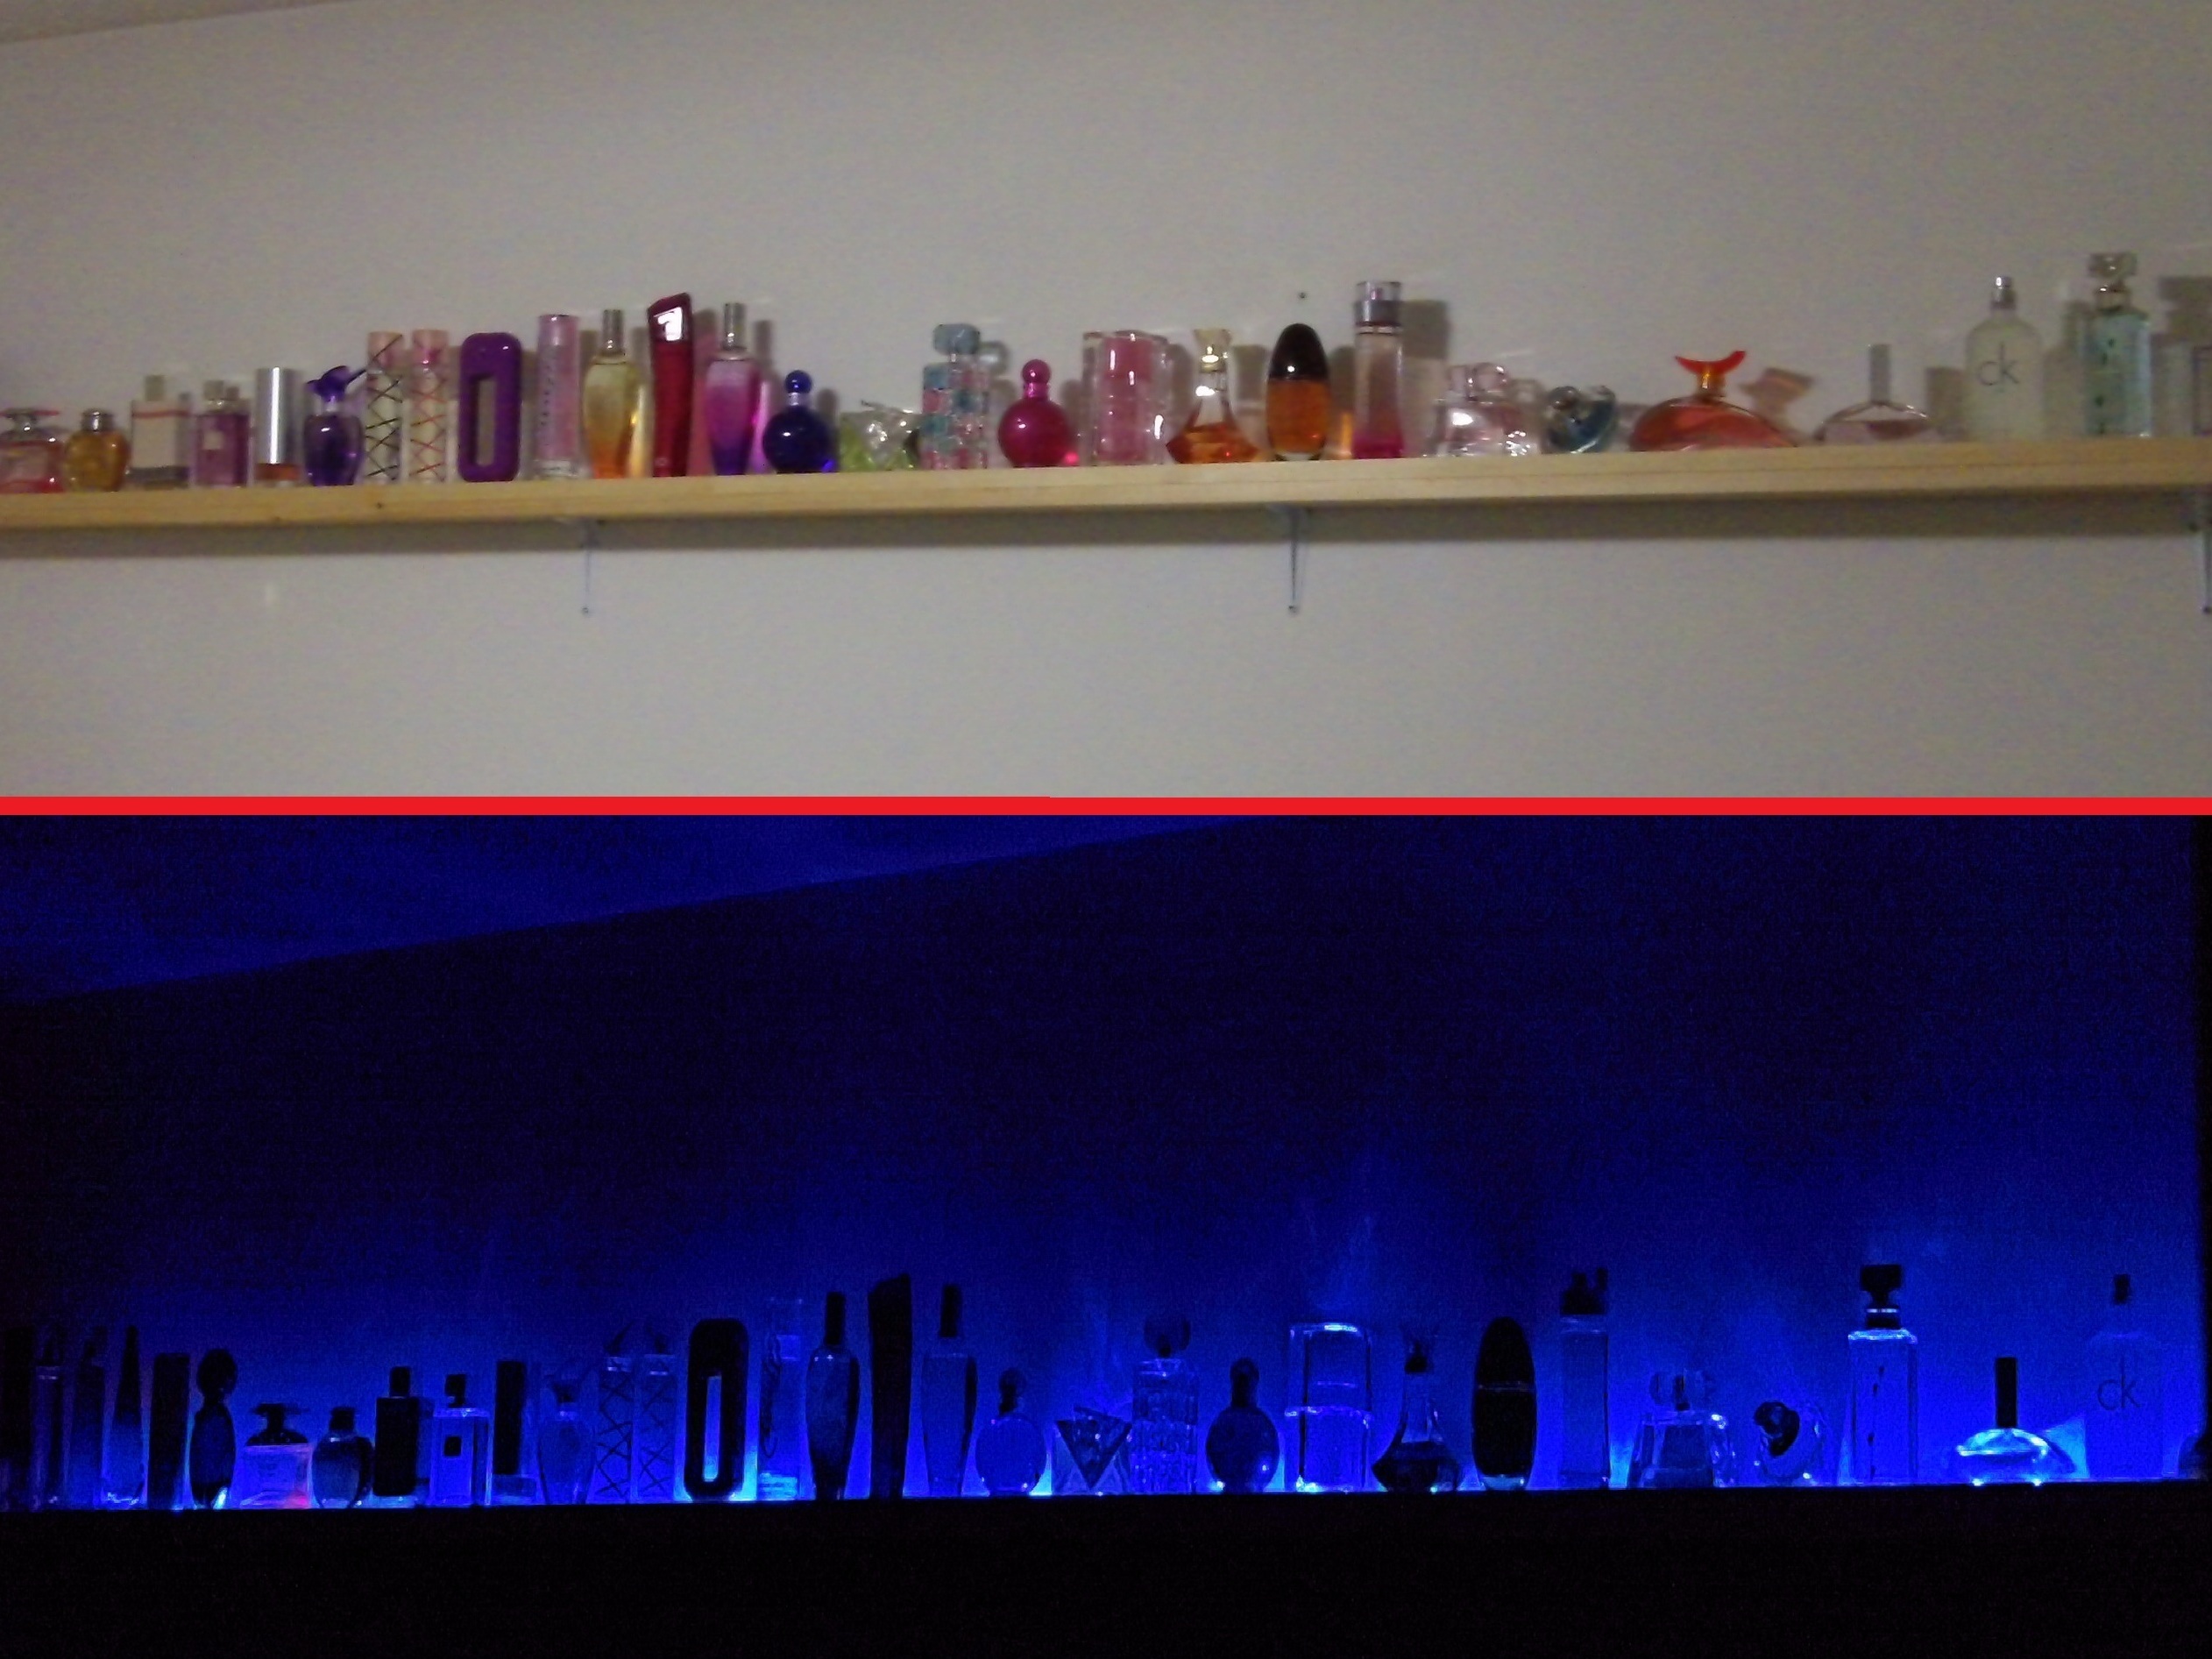
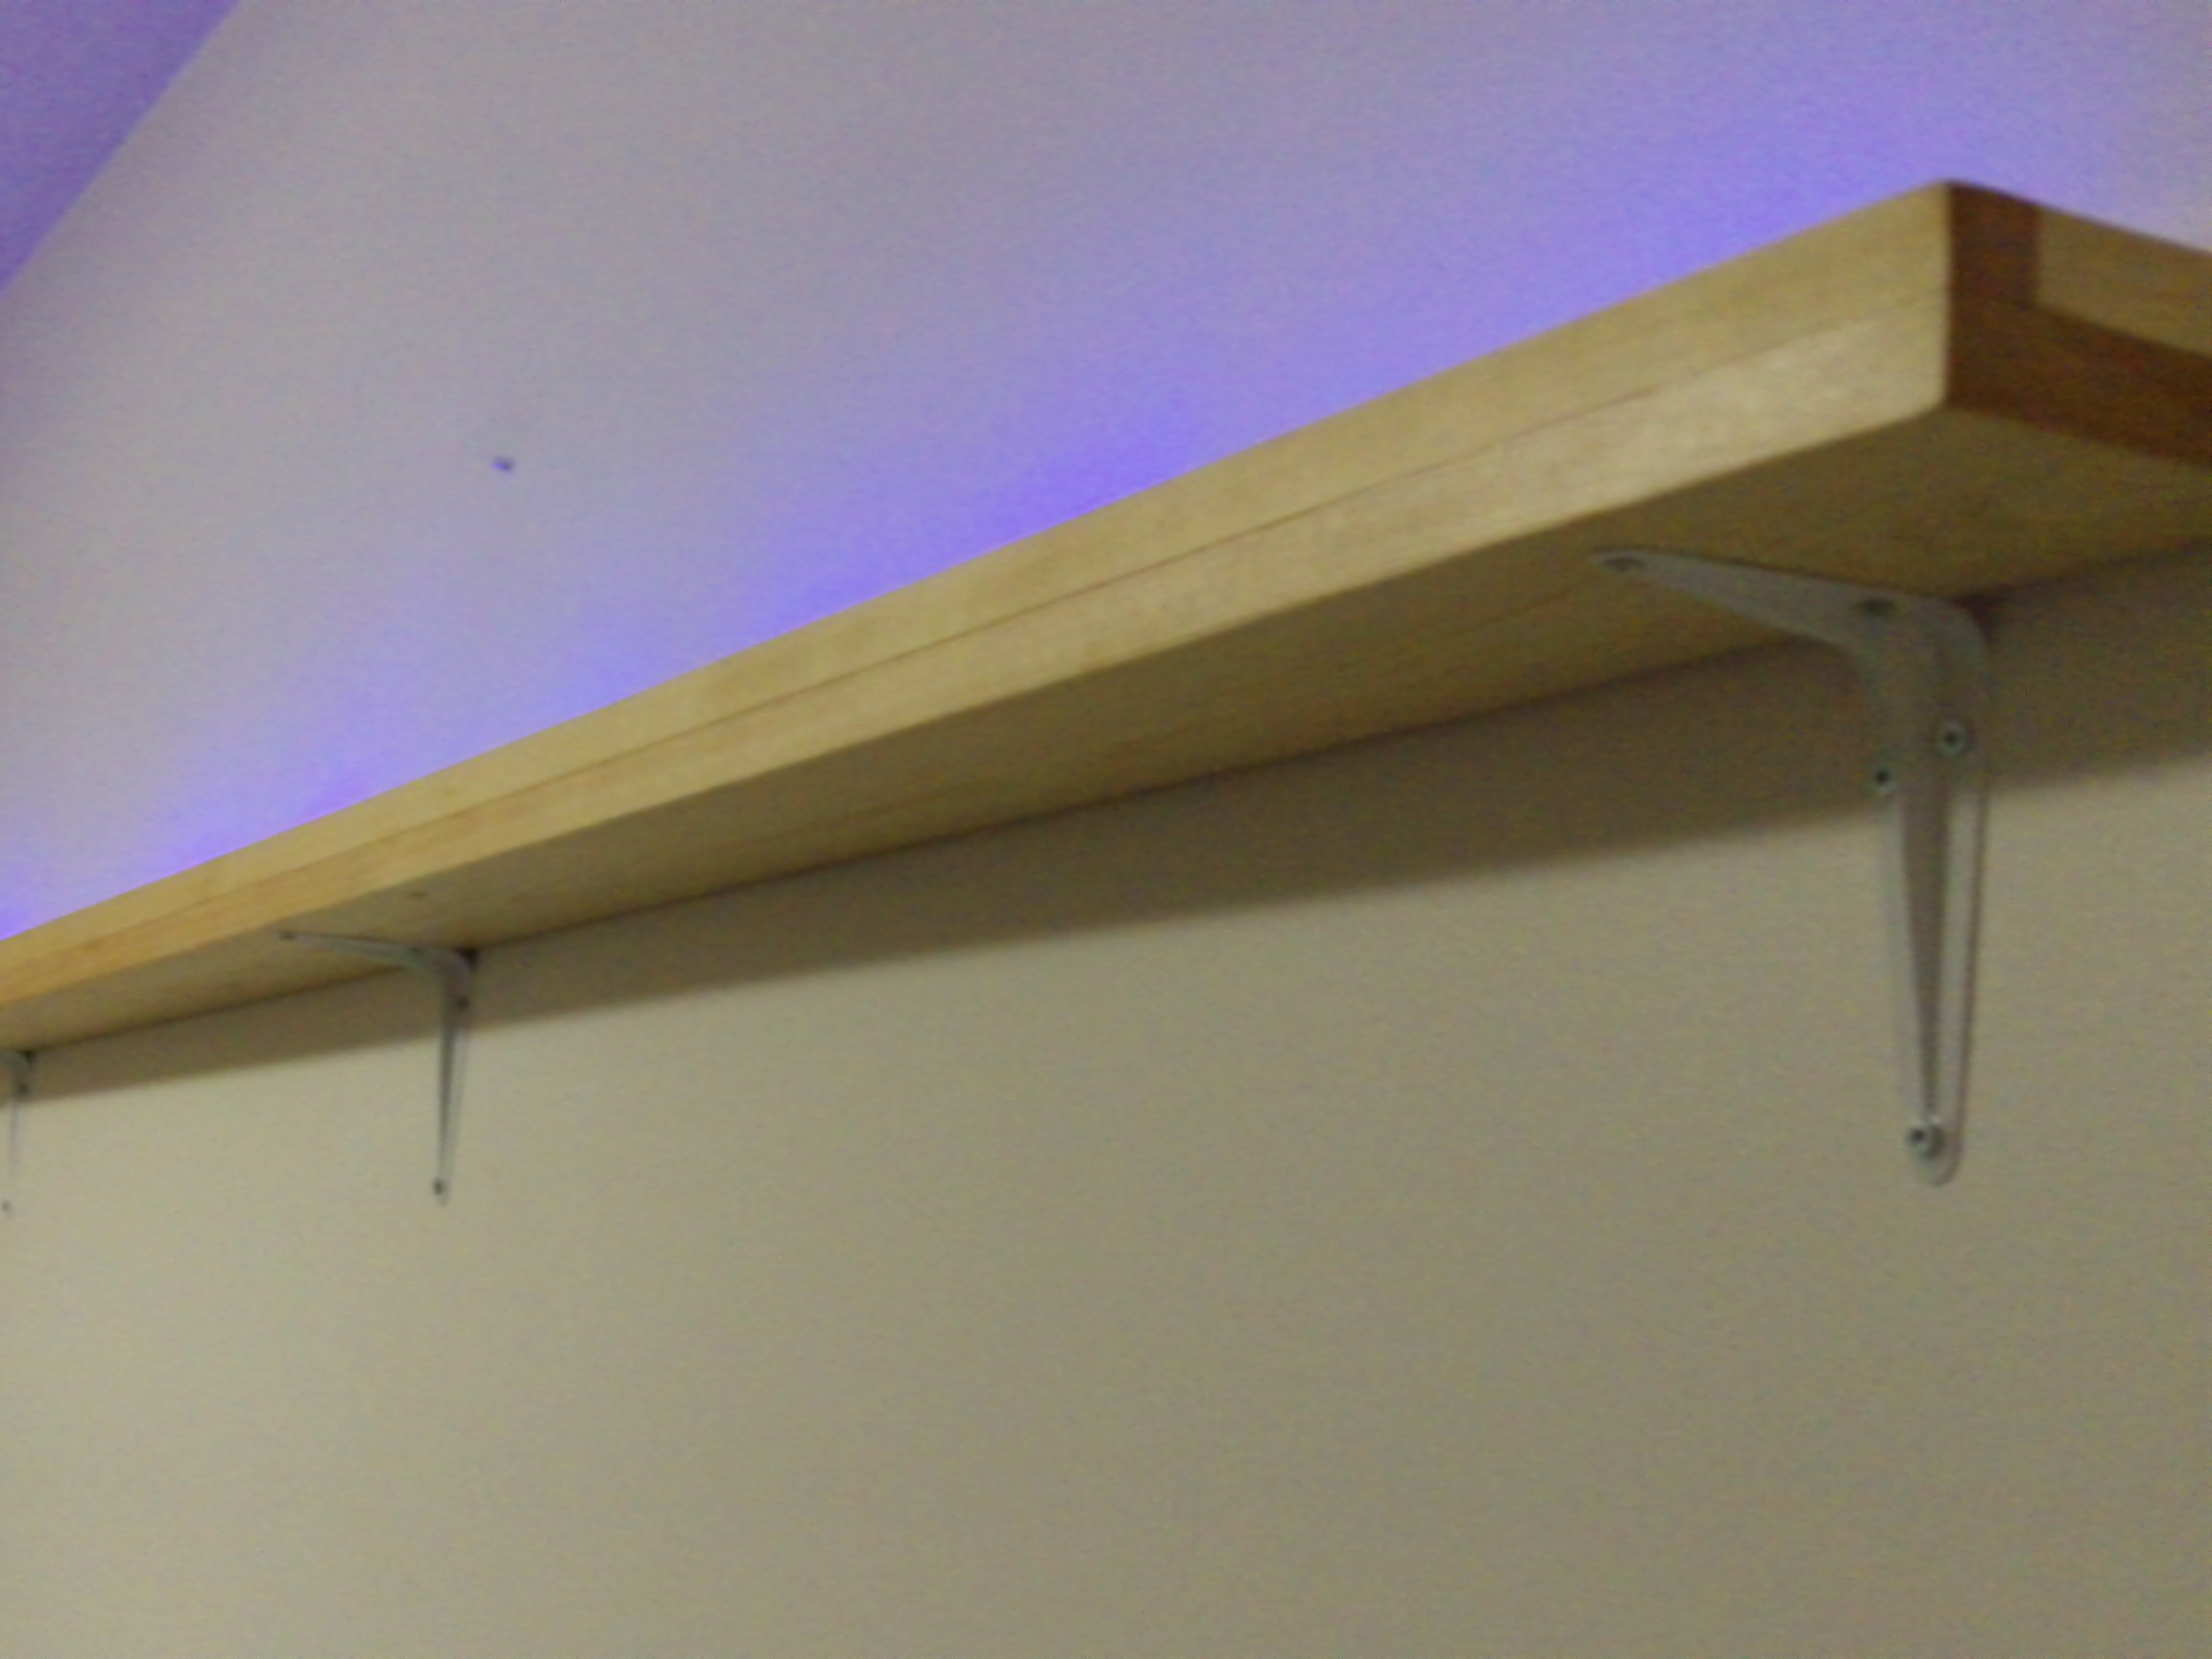
Since my wife’s perfume collection was literally taking up the bathroom, I built a lighted shelf in the bedroom to accommodate the many bottles she has. It also gives off a very nice glow at night.
Projects from Make: Magazine
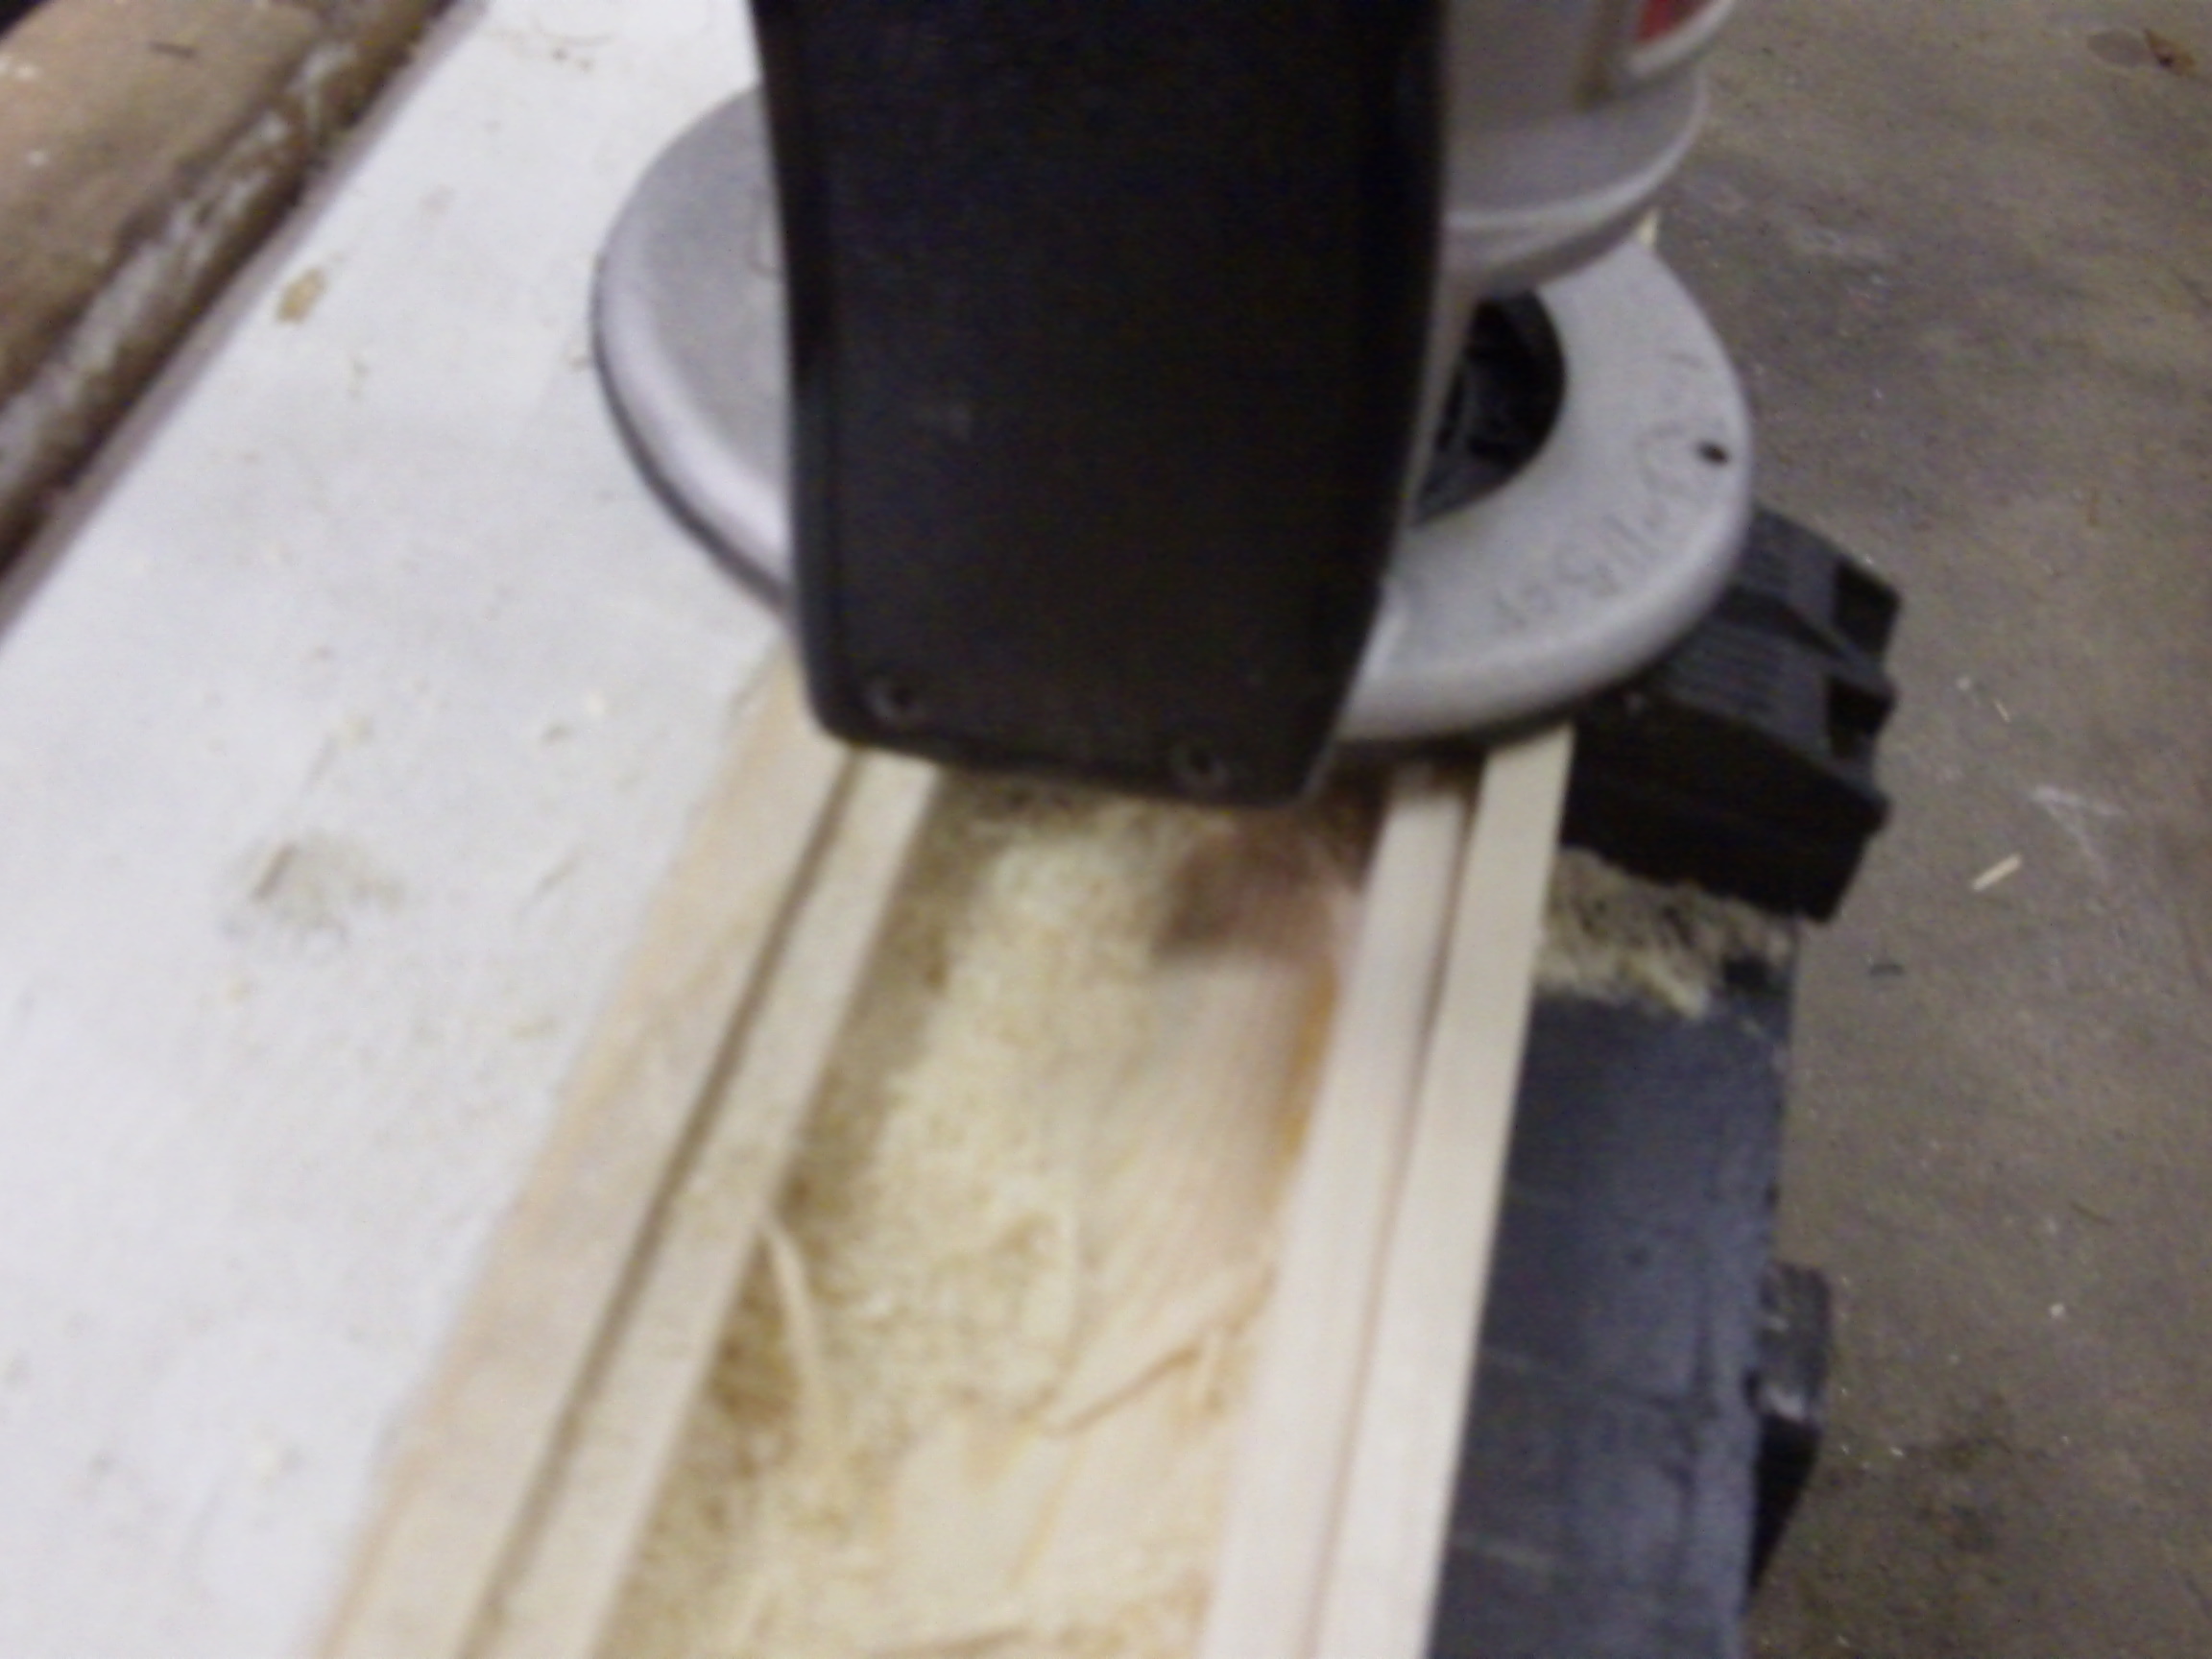
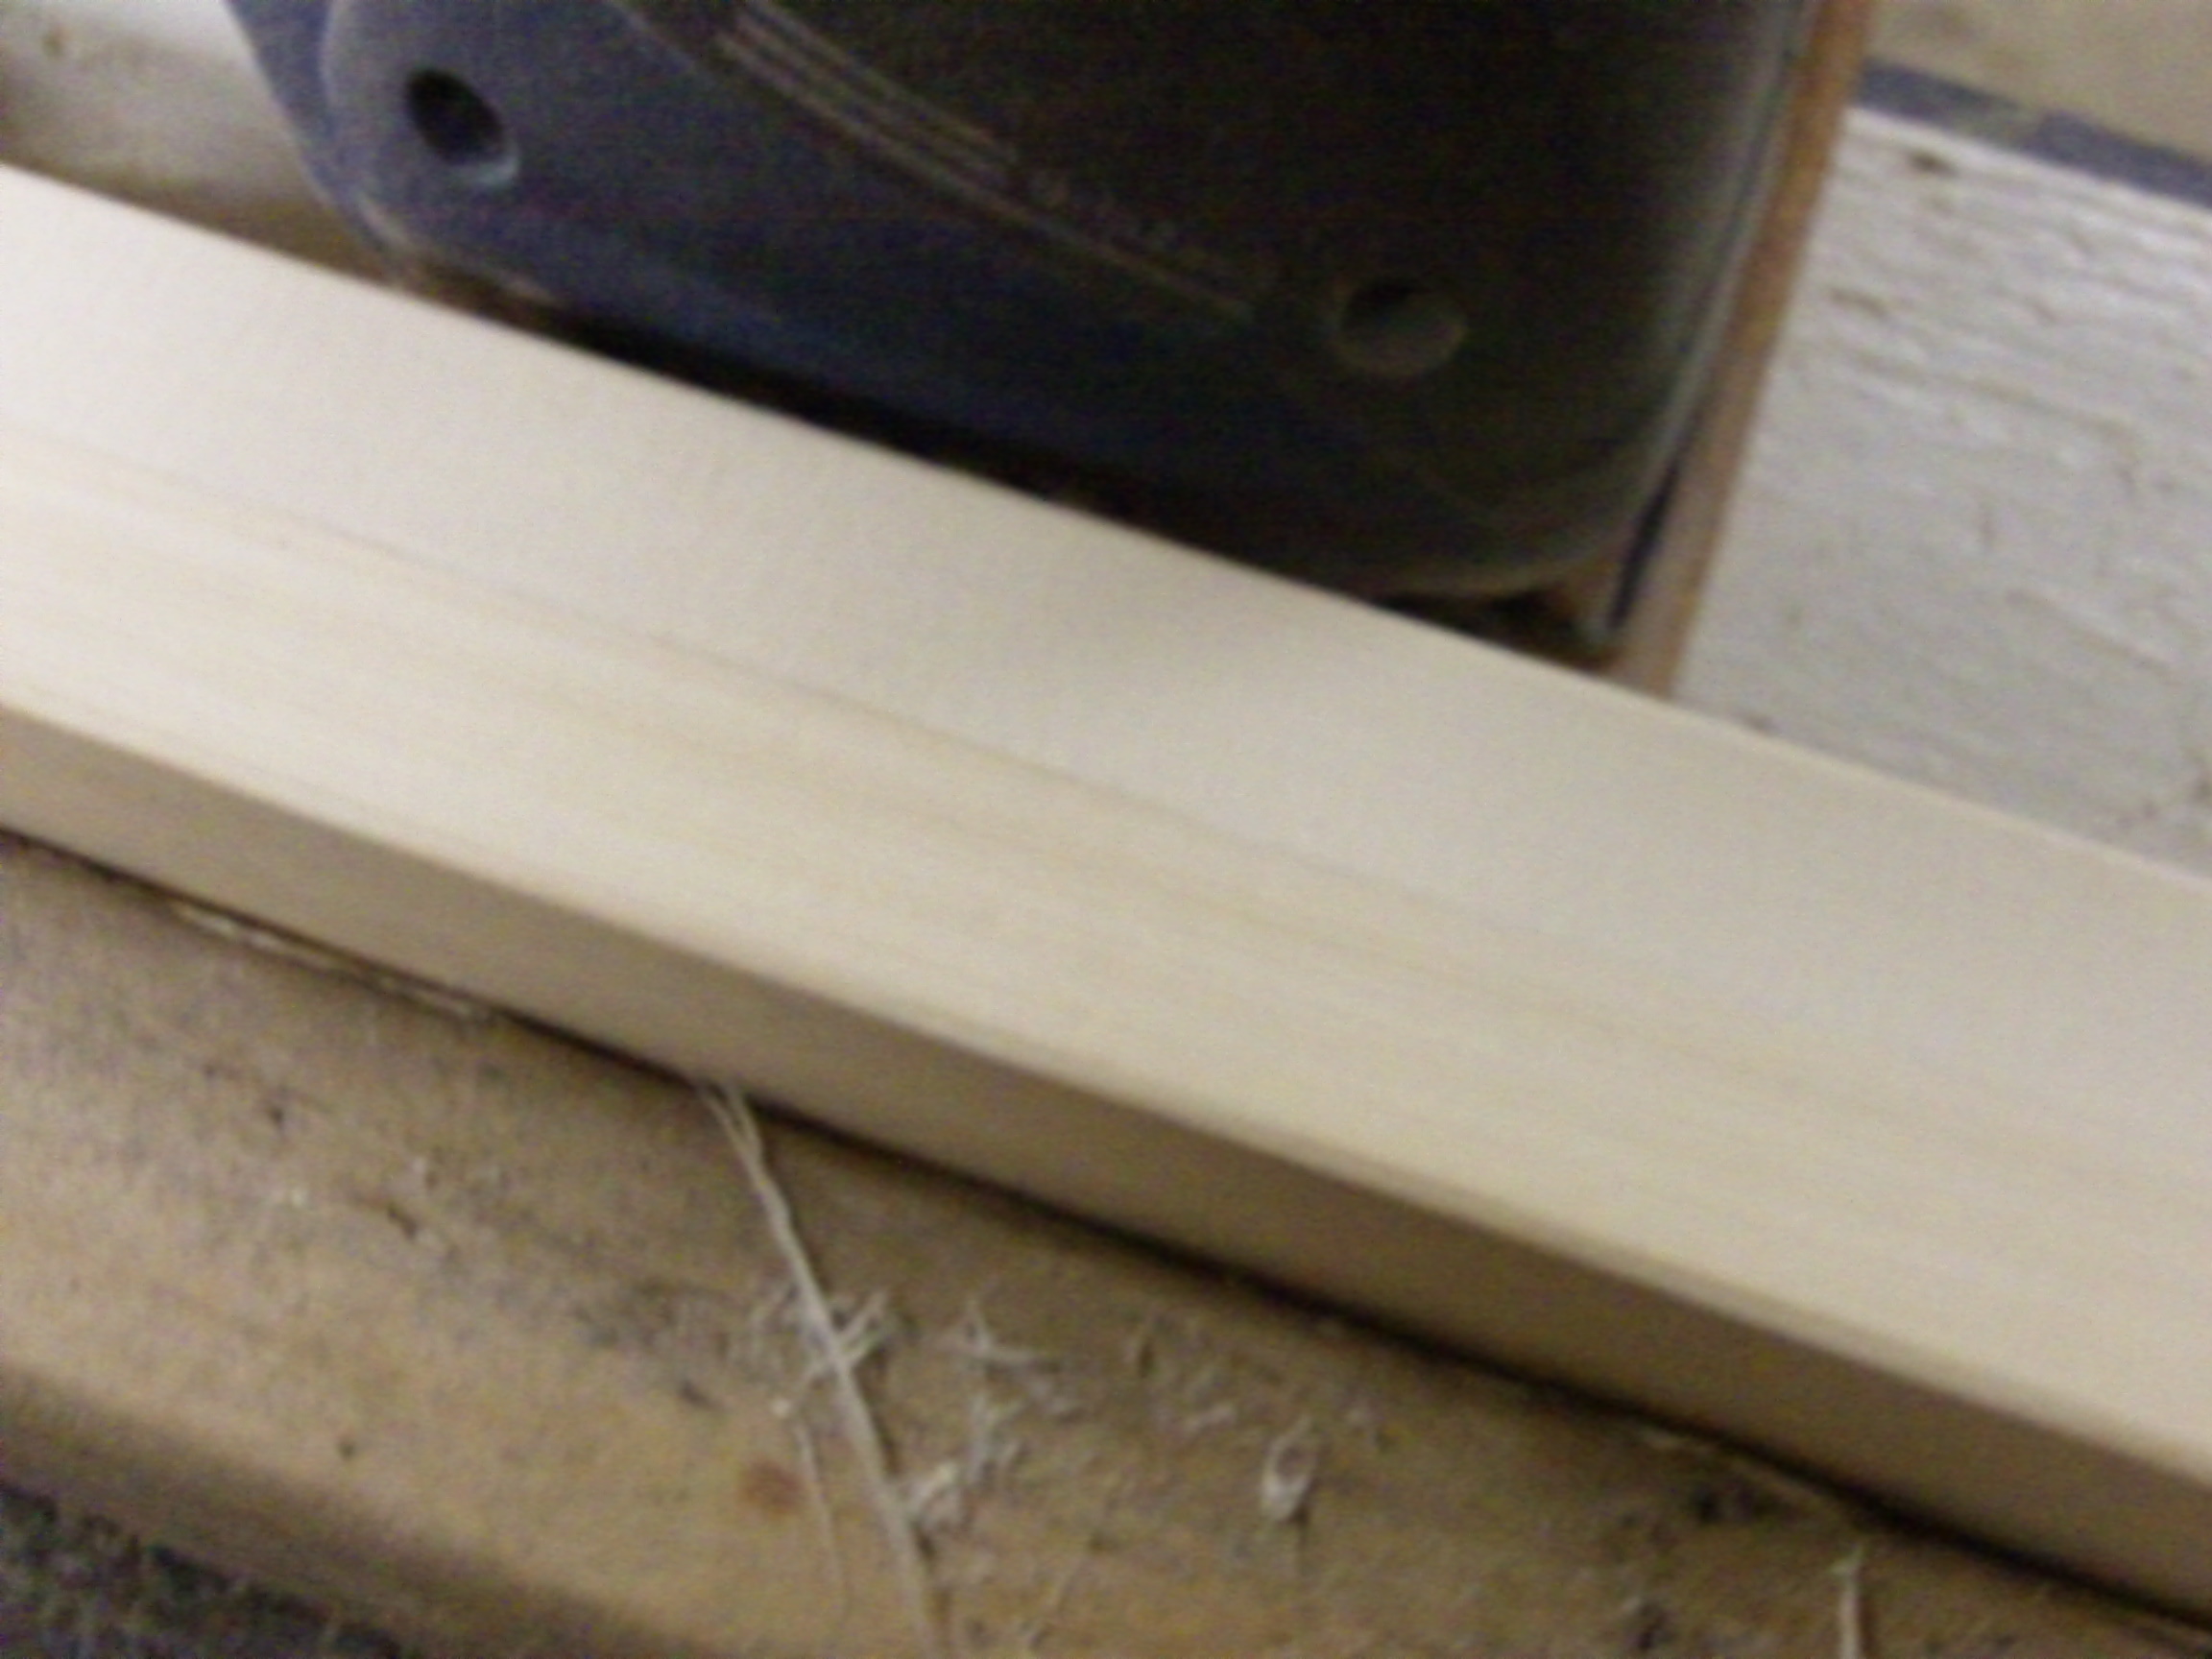
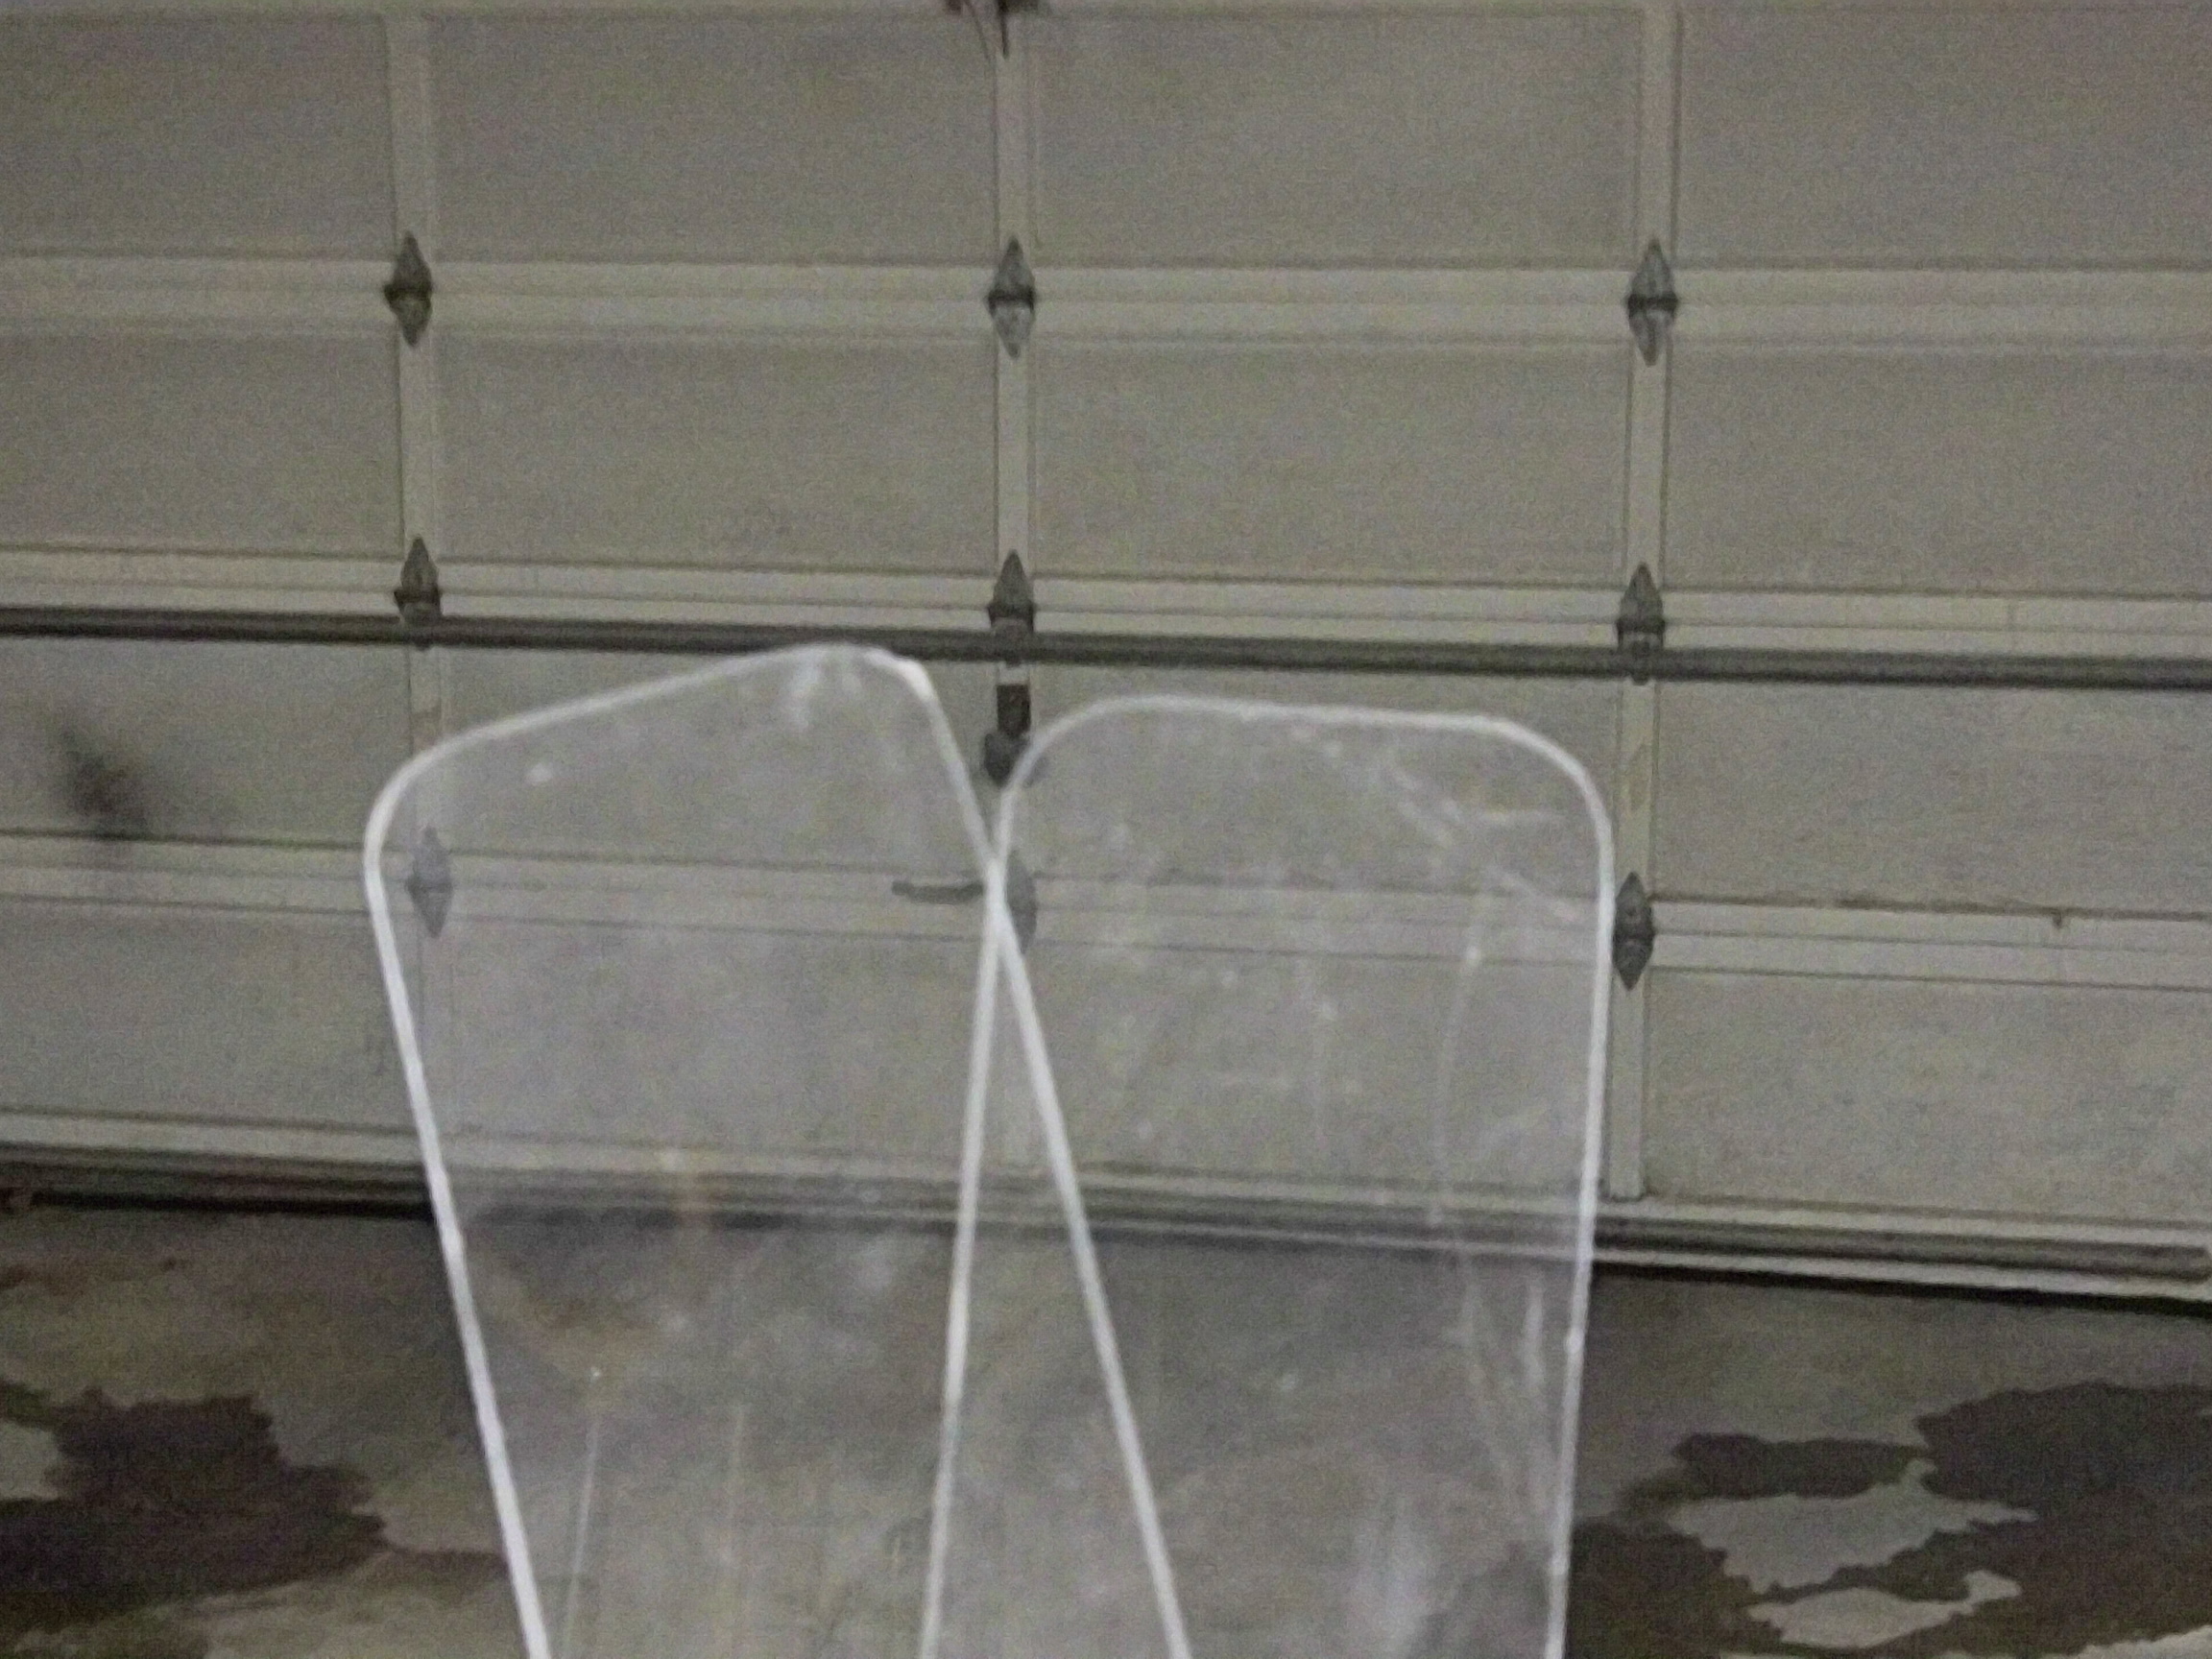
Lighted Shelf
Construct a lighted shelf that can either shine up to light whatever object is on it and/or shed light on the wall underneath it.