MarioMacrame-2
Photograph by Hep Svadja

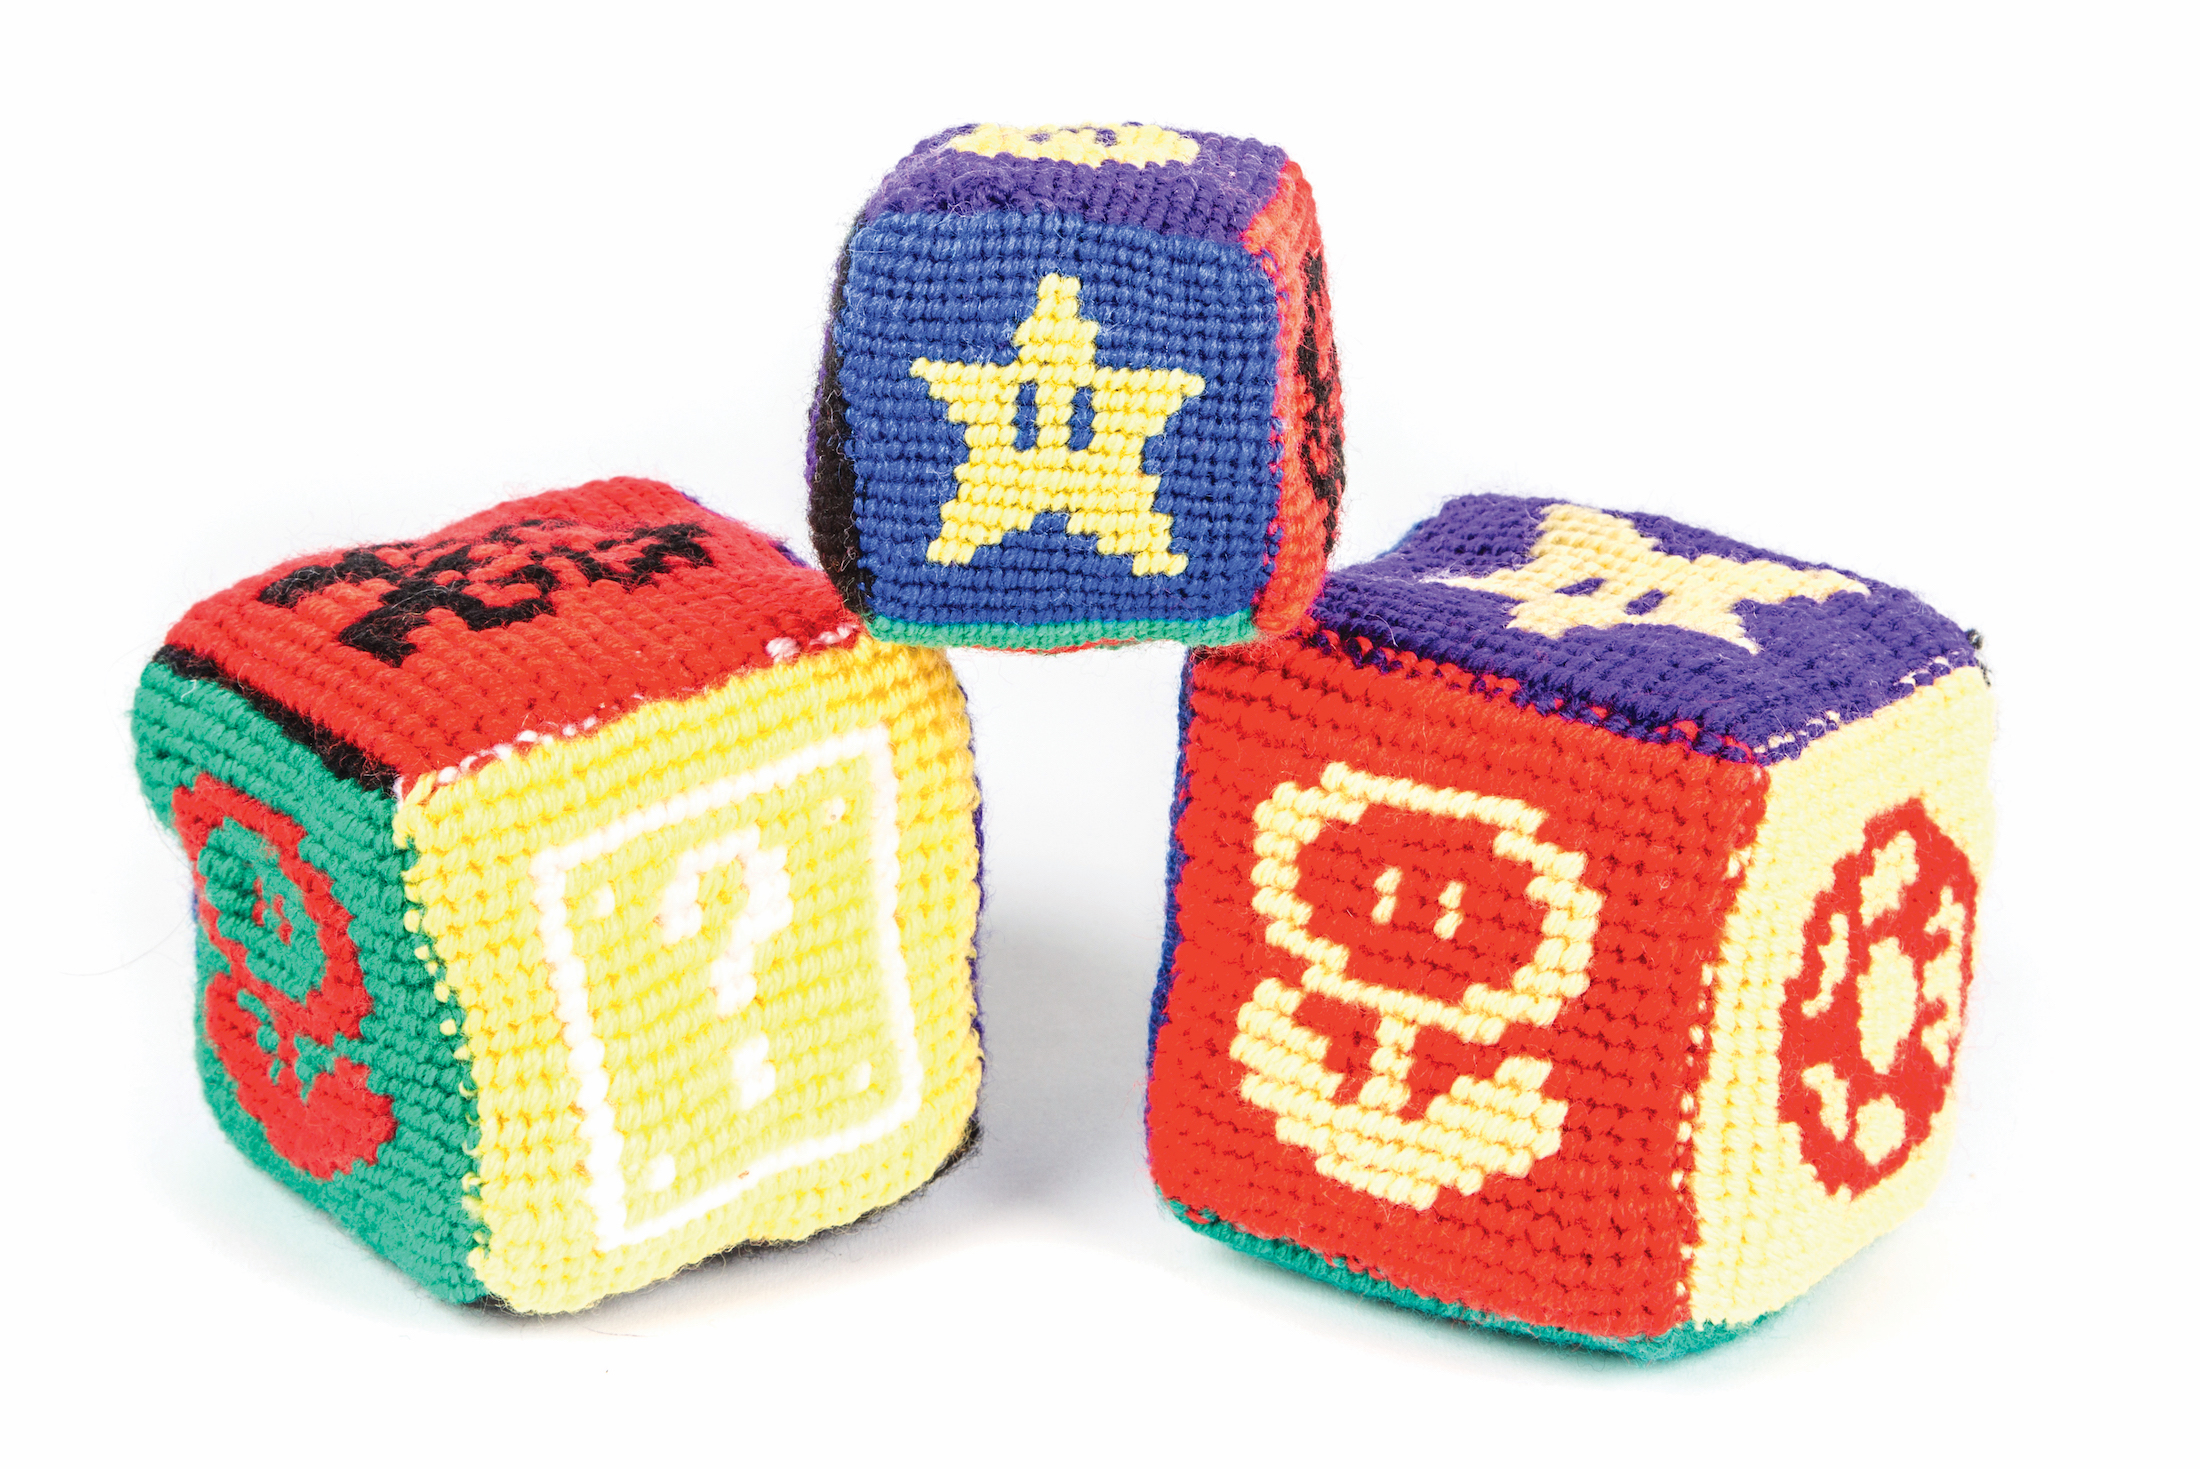
This is a soft play cube that I made with my 5-year-old nephew in mind, so he can have a real-life squishy Super Mario World in his room!

I’ve done macramé for 20 years. I learned as a schoolgirl when I started a craze for friendship braiding, and I worked out how to braid straight lines and swap over colors while experimenting.

You can easily convert simple pixel graphics, like the sprites in vintage video games, to a macramé pattern for making these fun soft toys. And you can scale them up to pillow size or bigger if you can find yarn bulky enough!

Pixels to Knots

I created these graphics of Mario and various power-ups using the classic Super Nintendo game Mario Paint, but you can use any drawing program, or just work out your grids on paper.

I adapted the 16×16 pixel grids (shown above) first worked out by Nintendo to fit in my macramé panels. Because the double half hitch knots are slightly higher than they are wide, I had to squash the images a little to keep things square (or cubic). So I simply deleted the top and bottom rows from my Mario Paint grids to create these 16×14 pixel instructions.

Project Steps

1. LEARN THE KNOT


The sequence above shows how to do the basic double half hitch knots I used; I also recommend you check out video tutorials on YouTube. I’m right-handed, but I find it easier to hold the structural or “foundation” yarn taut with my right hand while doing the fiddly knotting with my left. You can do it the other way around if you find this more comfortable.

2. KNOT SOME PLAIN ROWS

For the structural yarn, cut 48 threads of black yarn, each 28″ (70cm) long. Two black threads will end up inside every macramé knot. Each panel consists of 3 rows of a dominant color (for example red on the Mario panel), then 14 rows where the colors are swapped over to make the picture, then 3 more dominant color rows at the bottom. Each panels is 24 knots long and 20 high.


Here’s how the first row of red knots completed. The structural yarn is tied temporarily in 2 clumps of 24 threads to stop them from shifting about.

3. KNOT SOME PICTURE ROWS

Each pixel stands for a double half hitch knot over the structural wool. Leave 3 plain rows above and below the picture, and 4 knots on either side of it.

19
Step shots by Helen Stewart

20

21

tying off

The photos above shows the first picture row being made by swapping between the red background color and the black color of the Mario pixels. Tuck the ends of the black yarn behind the panel as you finish each row. These can be tied together at the back of the panel when it’s complete.

Once 3 rows of red are completed you can undo the big knots in the structural wool and begin the Coin panel, starting at the first row of red and moving away from the Mario.

22

Four complete picture panels fit on the 28″ black structural yarn:

23

4. MAKE THE 2 SMALLER PANELS

I made the Question Block panel in the same way on 8″ (20cm) lengths of yellow structural yarn, and the Star on 8″ blue structural yarn.

24

5. ASSEMBLE THE CUBE

The cube’s sides are joined by simply knotting end of row to end of row. First tie the 2 small panels on either side of Mario to make a cross shape


Then tie the cube together at the corners, inside out, leaving the Fire Flower panel loose.

27

6. STUFF AND CLOSE UP

Turn the cube right side out. Fill it up with stuffing, then join the sides of the Fire Flower panel to the rest of the cube (Figure ), and tuck in the ends. You’re done!

29

7. EXPERIMENT

I’ve used various different stuffings in my play cubes, including packing foam, plastic bags, leftover fabric, and even dry pasta for a noisy play cube.

Large medium small

You can make these as big as you like or as tiny as you can manage. Use thin wool or very thick, it’s up to you. Make your knots on a single thread for tiny cubes, on 2 threads as I’ve done here, or on 4 threads for big cubes. I’ve made cubes in different sizes, and cuboids as well — all the better to build Mario forts with.

1thread 2 thread 4 thread