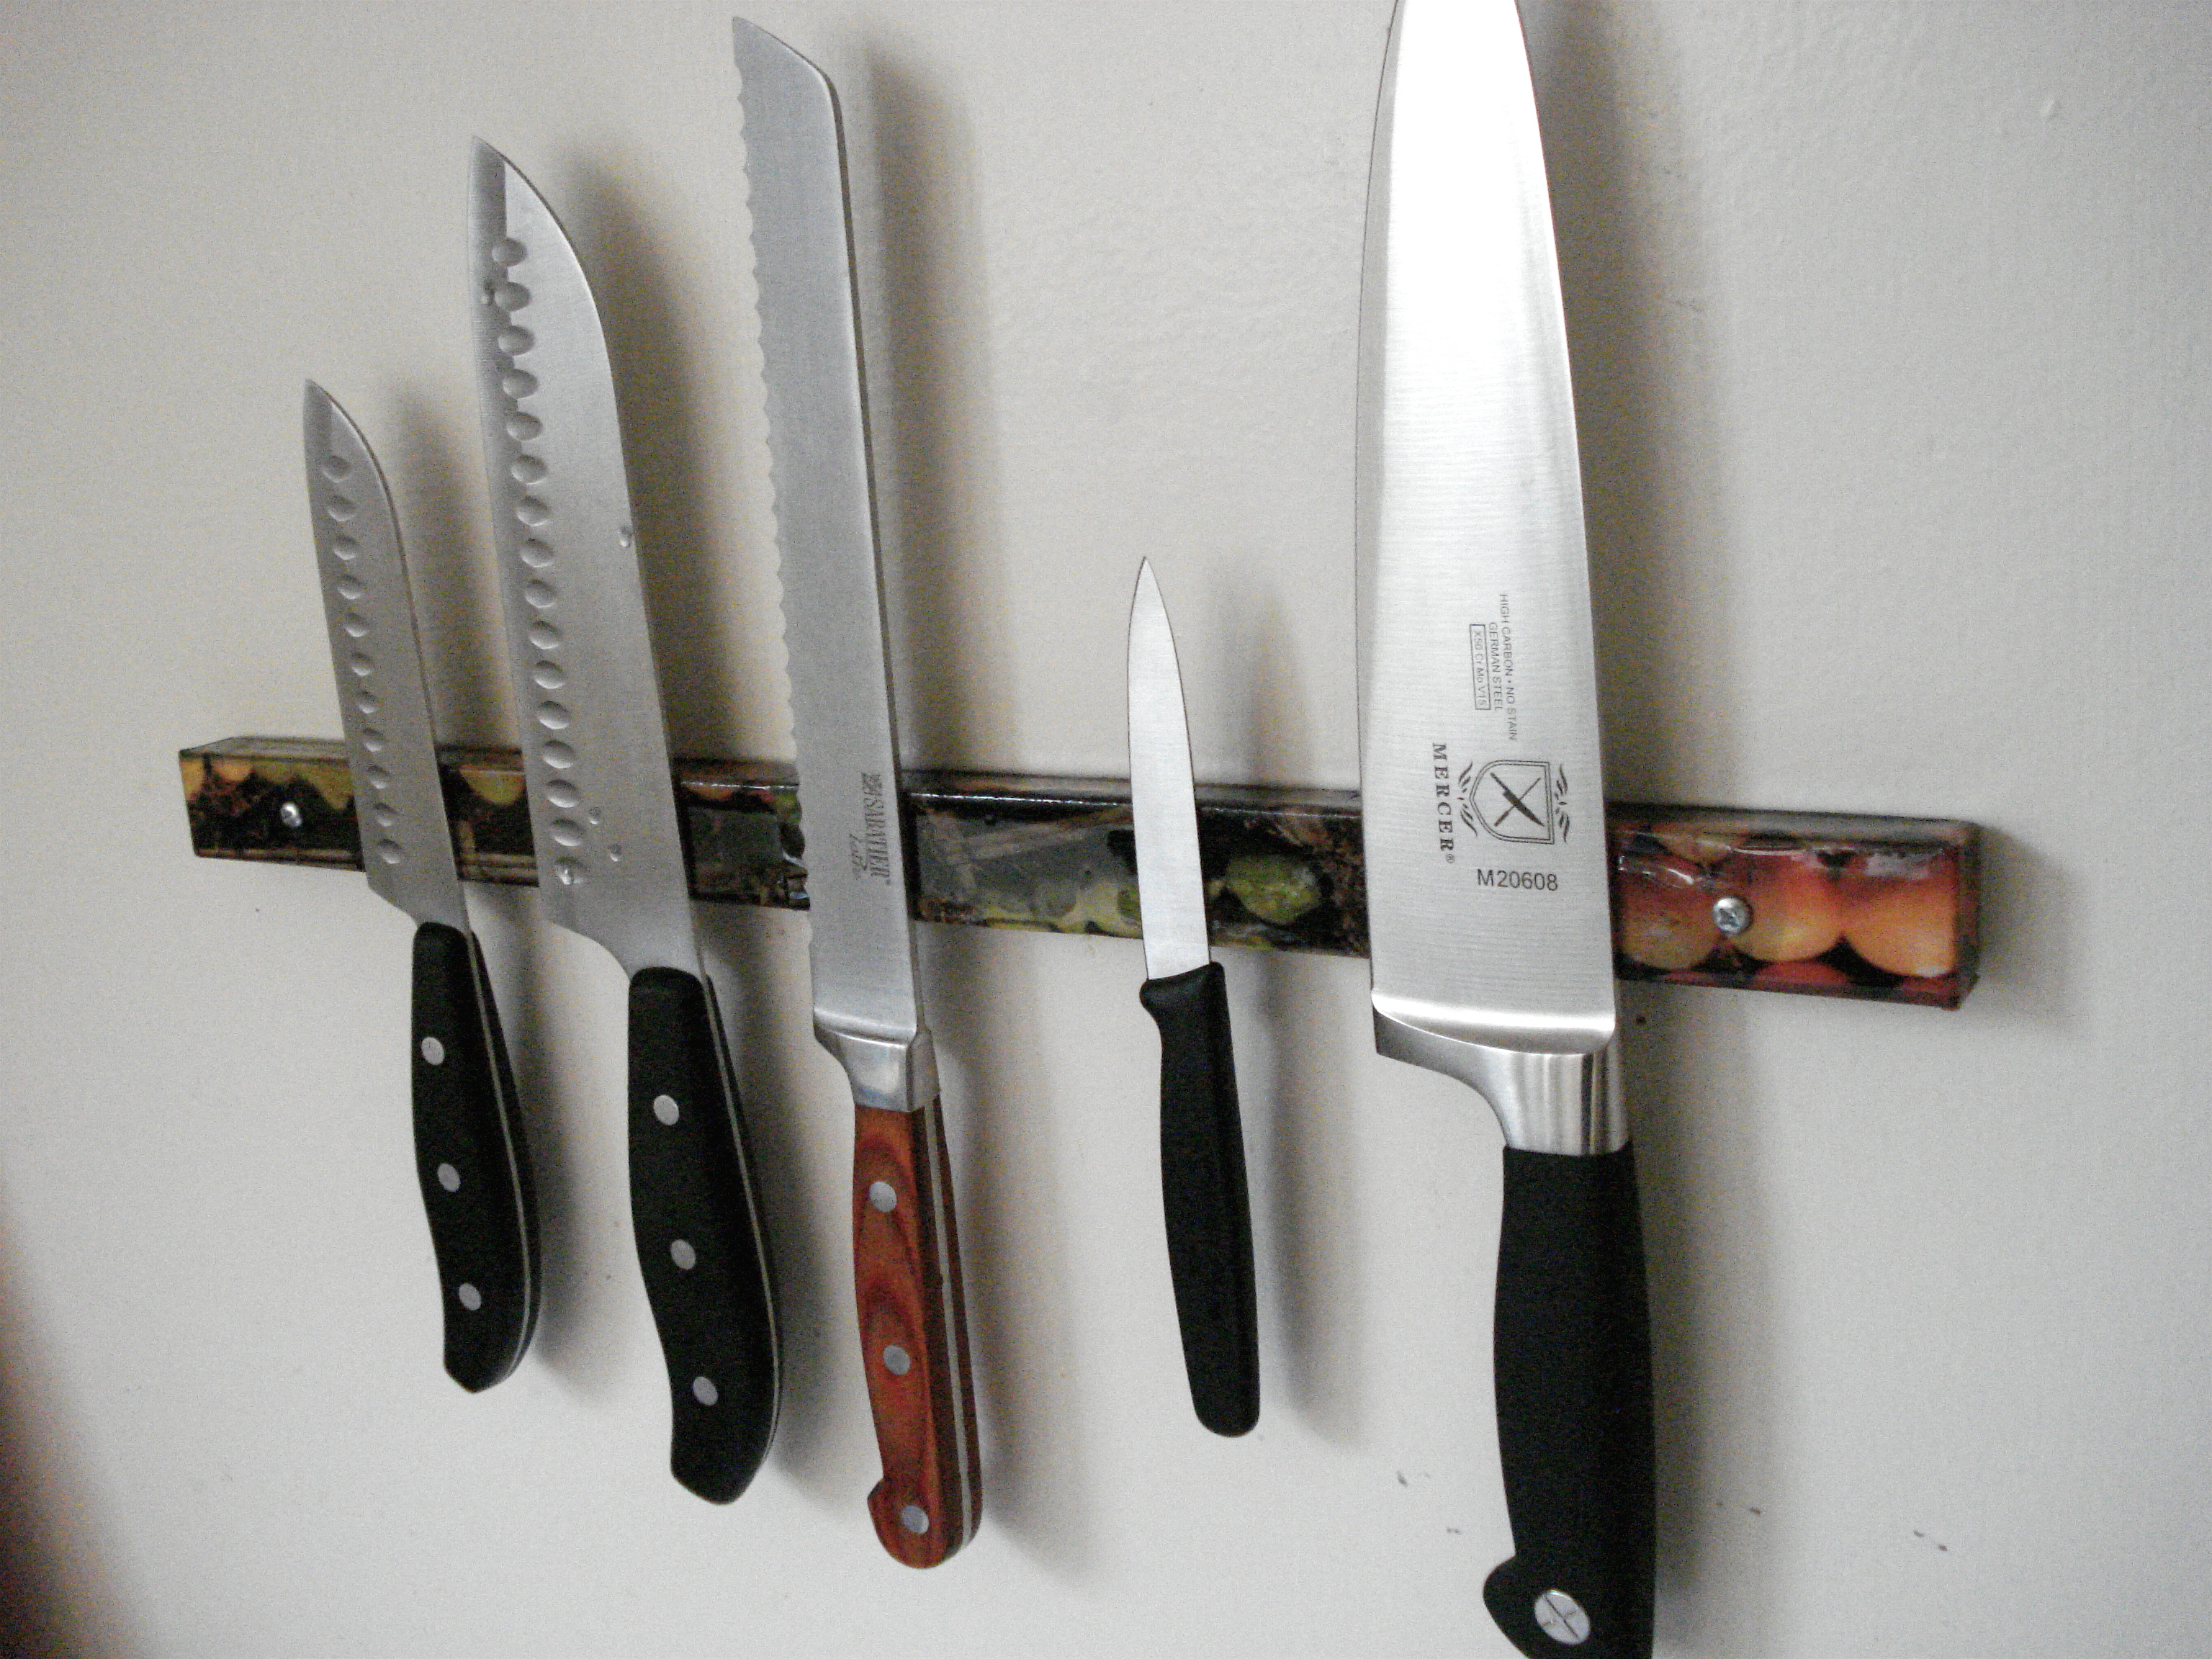
A while ago I wanted to get a magnetic knife rack for a set of fancy chef’s knives I had received as a gift. This would keep them out of a counter-hogging knife block or, even worse, the kitchen drawer, and in a convenient, easy-to-reach place.

Dismayed with the price of a professional rack, I decided to build my own. Besides being cheaper, it’s moddable and customizable, since I can choose the length and the pattern on the front. I think it’s more stylish than the simple magnetic racks you can buy at the store, and the softer surface saves wear

and tear on your knives.

Project Steps

Back the magnets.

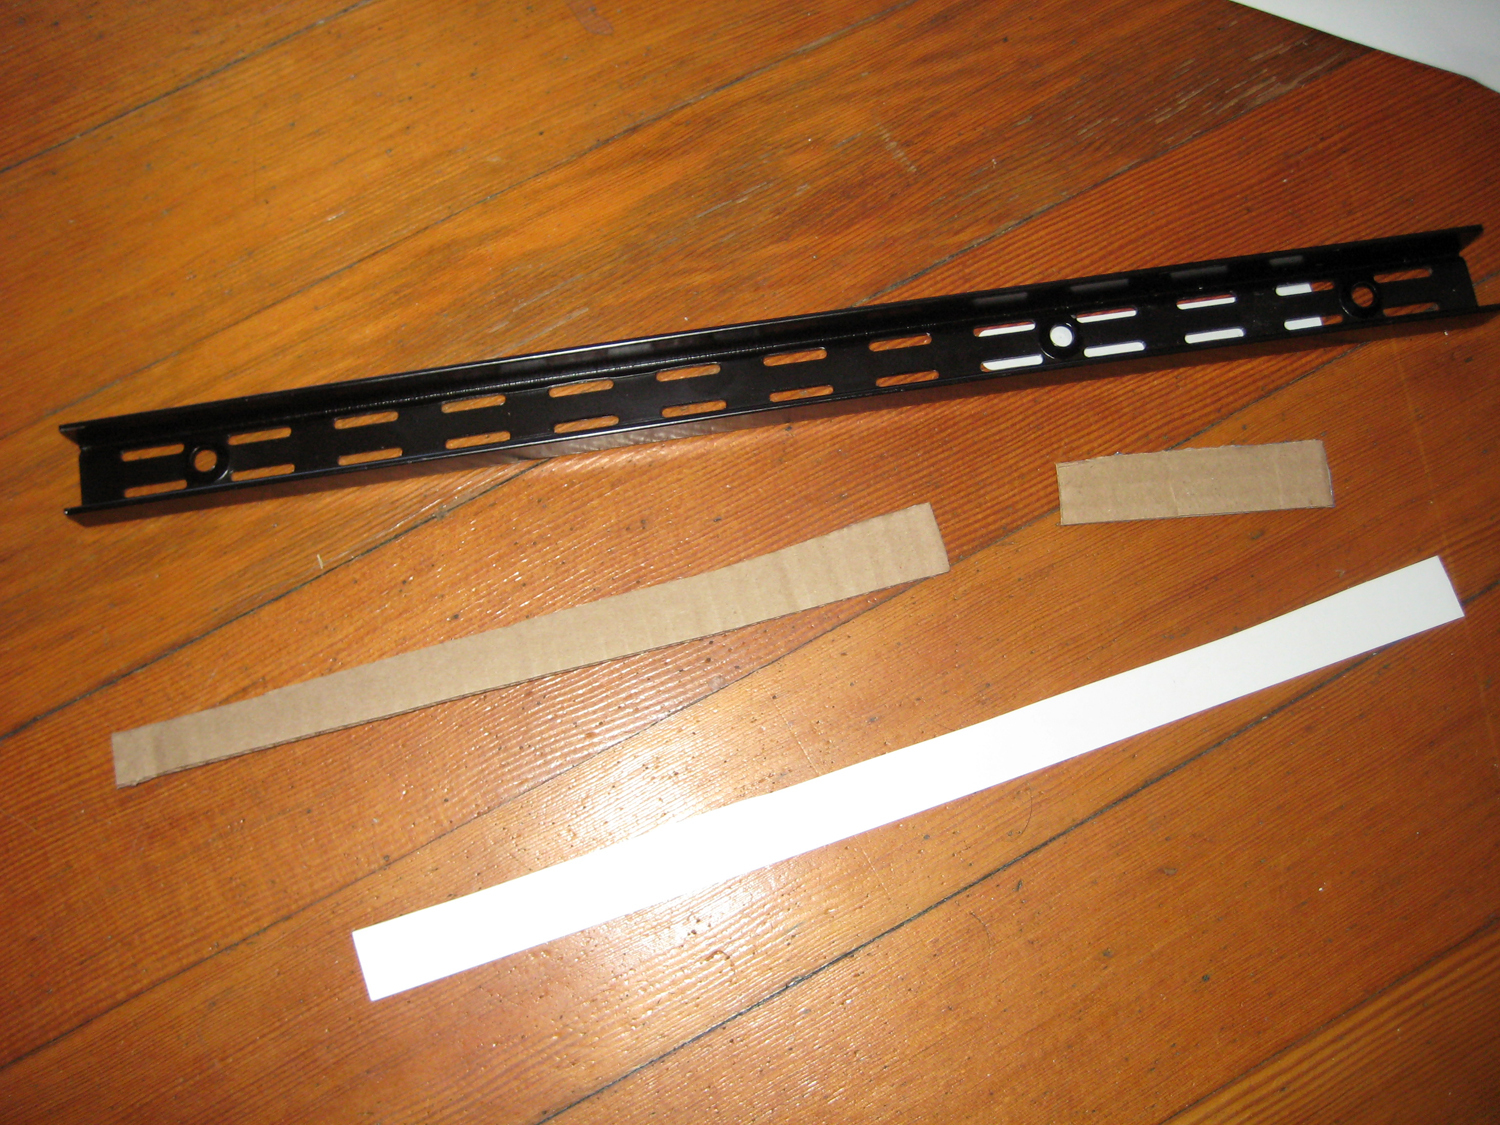
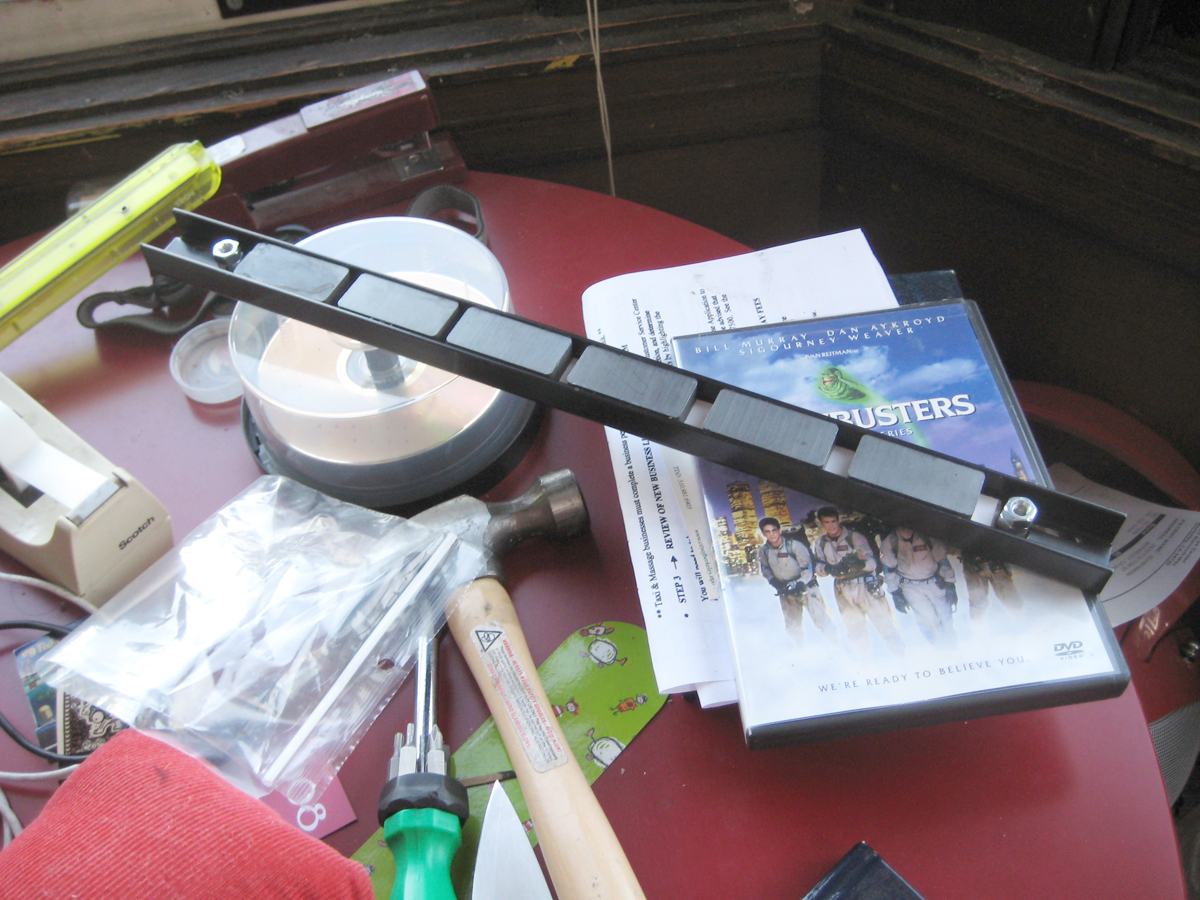
The open side of the flange will become the face of the rack. For the magnets to lie flush with the face of the rack, they need to be raised off the back by a cardboard backing.

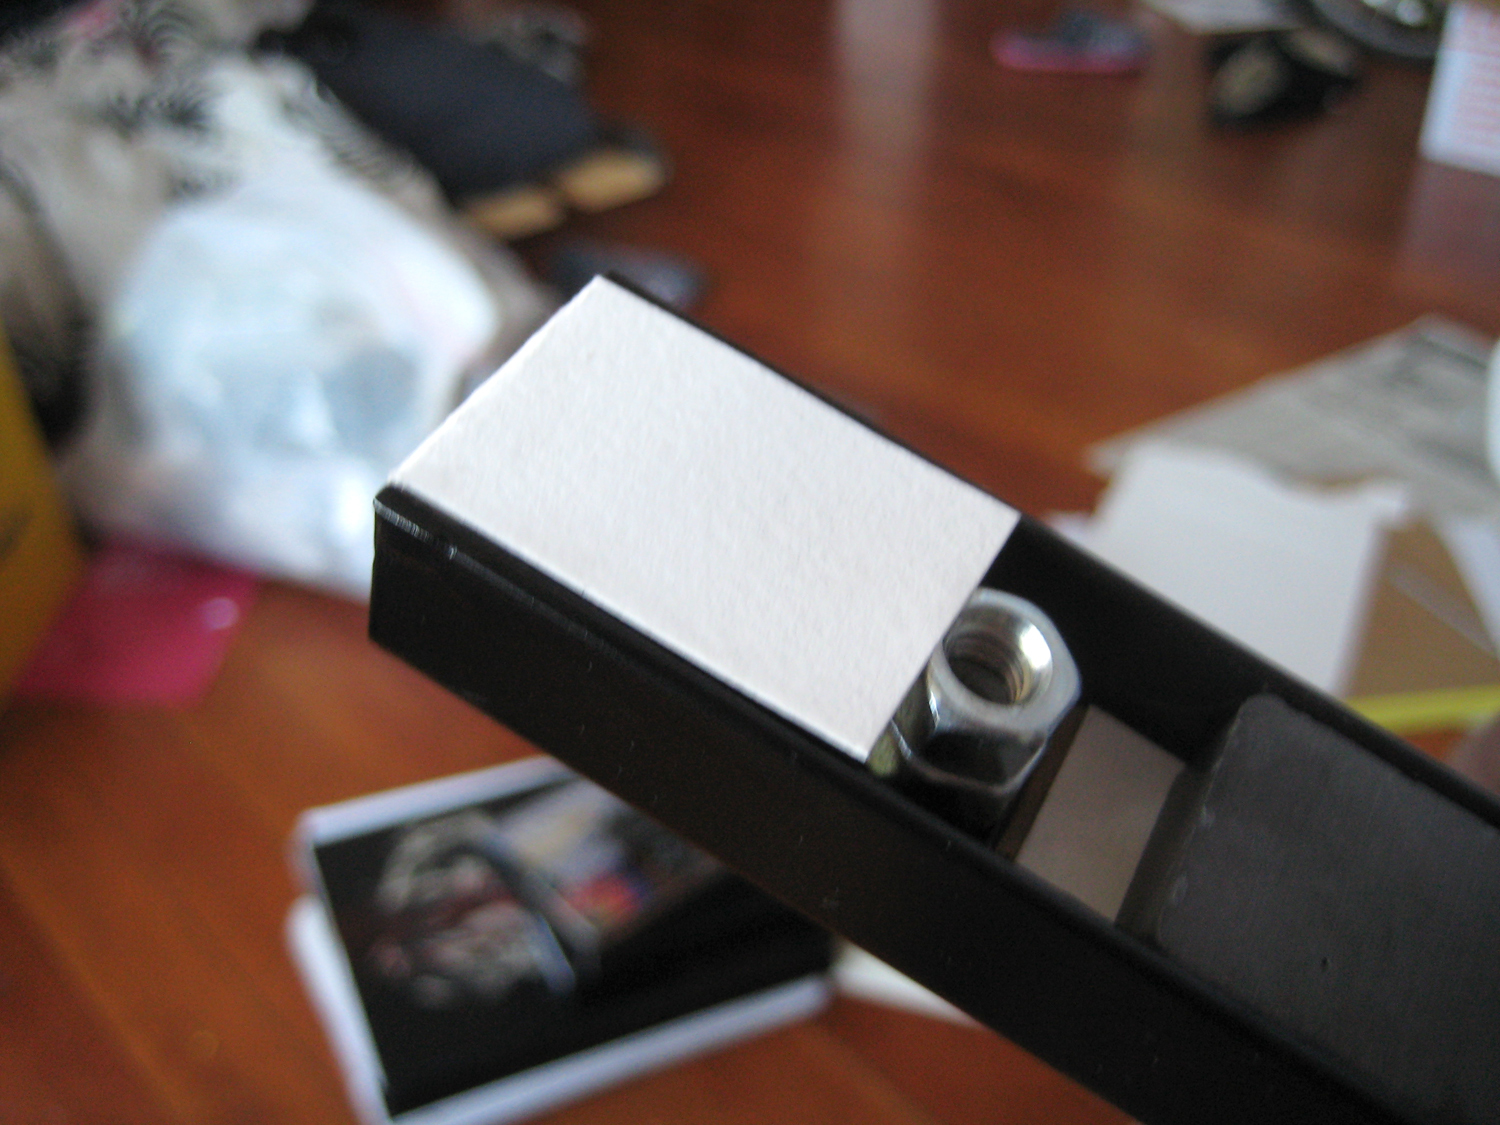
Cut a length of cardboard to fit the inside back of the flange and glue it down. If the magnets don’t line up flush with the front edges, add Bristol board paper until they do.

Create support for hanging.

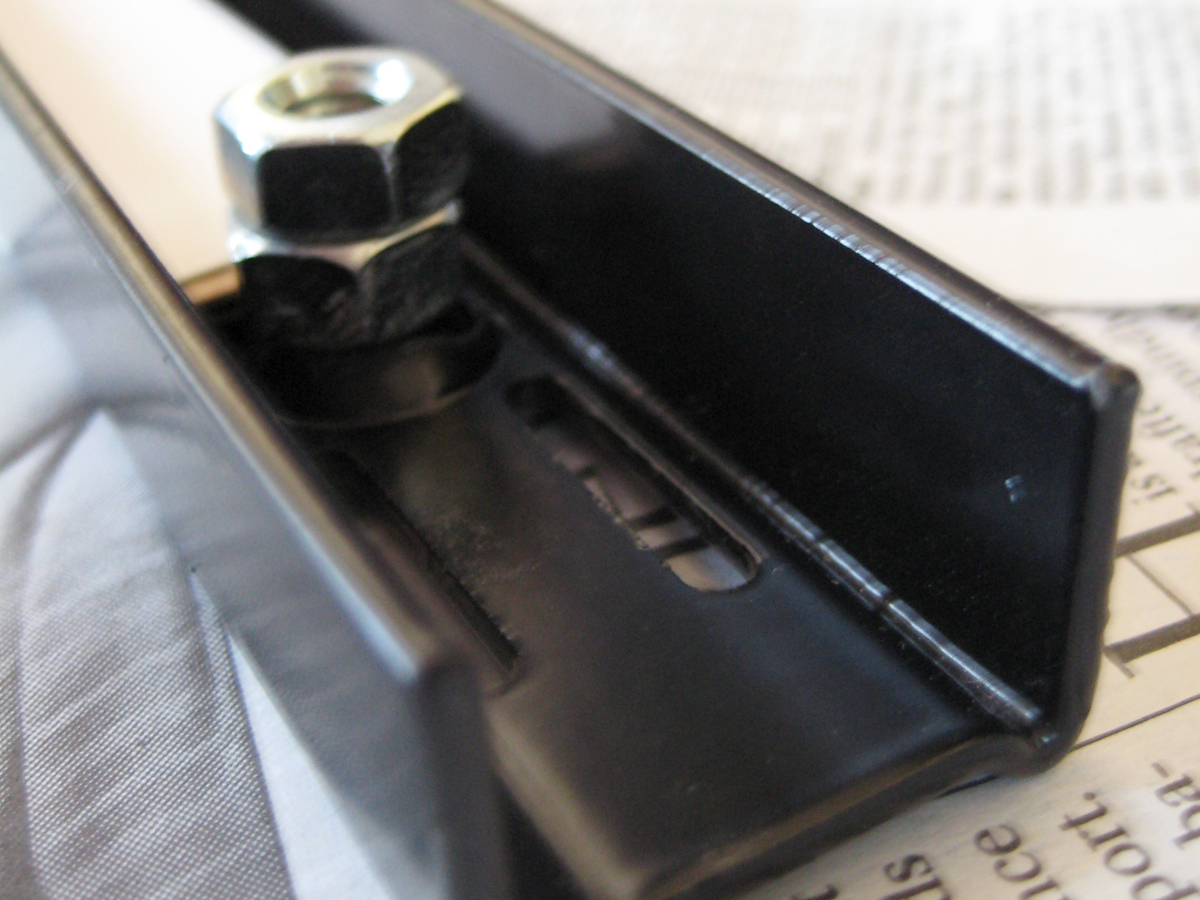
Nuts and/or washers support the screws that go into the wall, so their holes should have a bigger diameter than the screws.

Find a hole in the back of the flange at each end, then glue down as many nuts and/or washers as you need, stacked on top of one another to create a hollow tube that’s flush with the face of the rack.

Place your magnets.

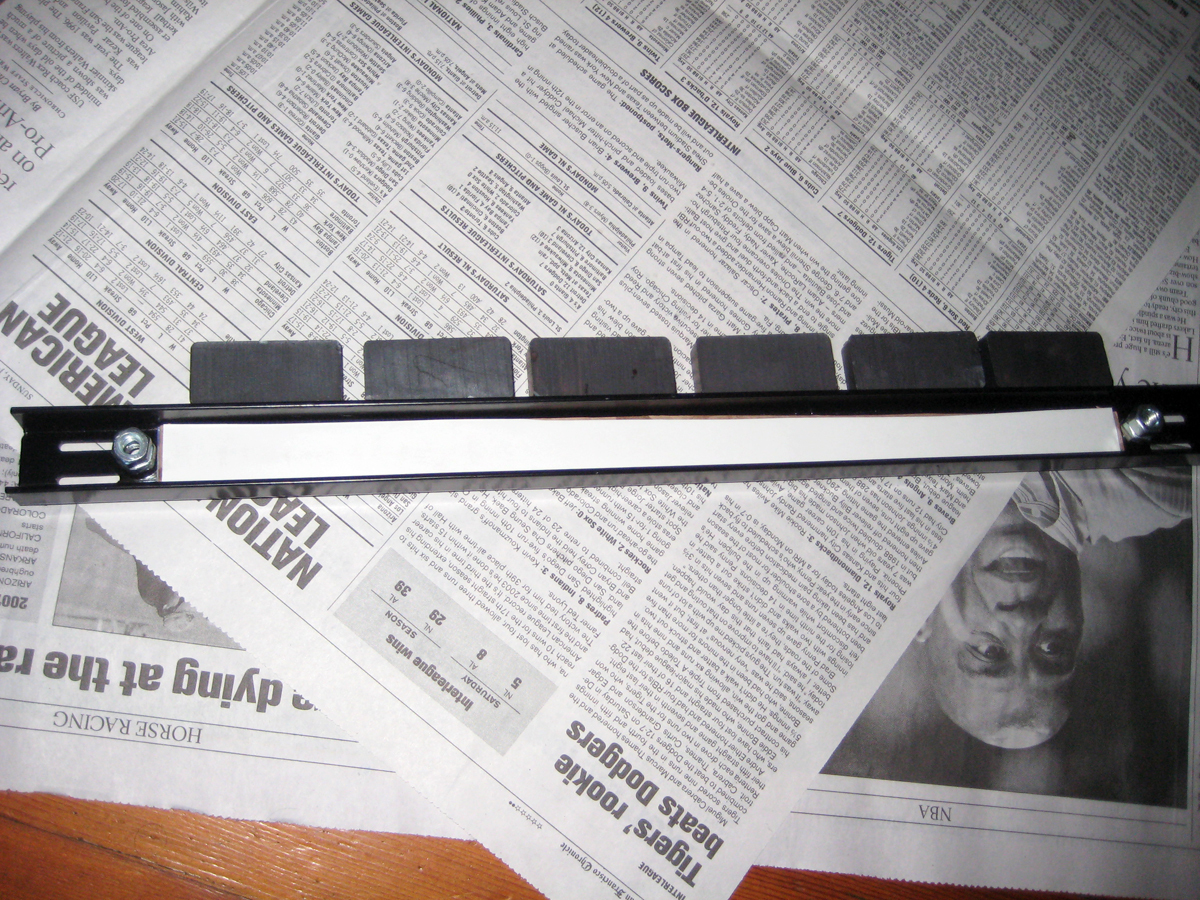
The magnets should be slightly narrower than the open side of the flange. Line them up before placing them in the flange to check that they fit.

They don’t have to cover the whole area; small gaps are OK but should not exceed ½”.

Align the polarity of the magnets so they repel each other. This keeps them from sticking to each other. Once you like the spacing, glue them in one at a time.

Create scaffolds for the rack.

Cut 2 lengths of Bristol board to use as scaffolds for each end of the rack.

Make the board long enough to glue to the edge of the nuts or washers and wrap around to the back of the rack. This prevents the paper cover from collapsing at the ends.

Cut out your patterned cover.

Cut out a length of patterned paper about 2½” wide, enough to cover the front face, top, and bottom of the rack.

Cut to the length of your flange plus about ½” extra at either end.

Glue down the cover and poke holes.

Press the paper cover onto the flange and crease it to cover the front, top, and bottom.

Slit the 2 creases to fold down over the ends.

Glue down the top or bottom first, then its ends. Then glue down the front, the remaining side, and the ends.

Use the scissors to poke a small hole where each screw will enter the front face.

Widen each hole carefully with a screw until it’s the right size.

Decoupage the rack.

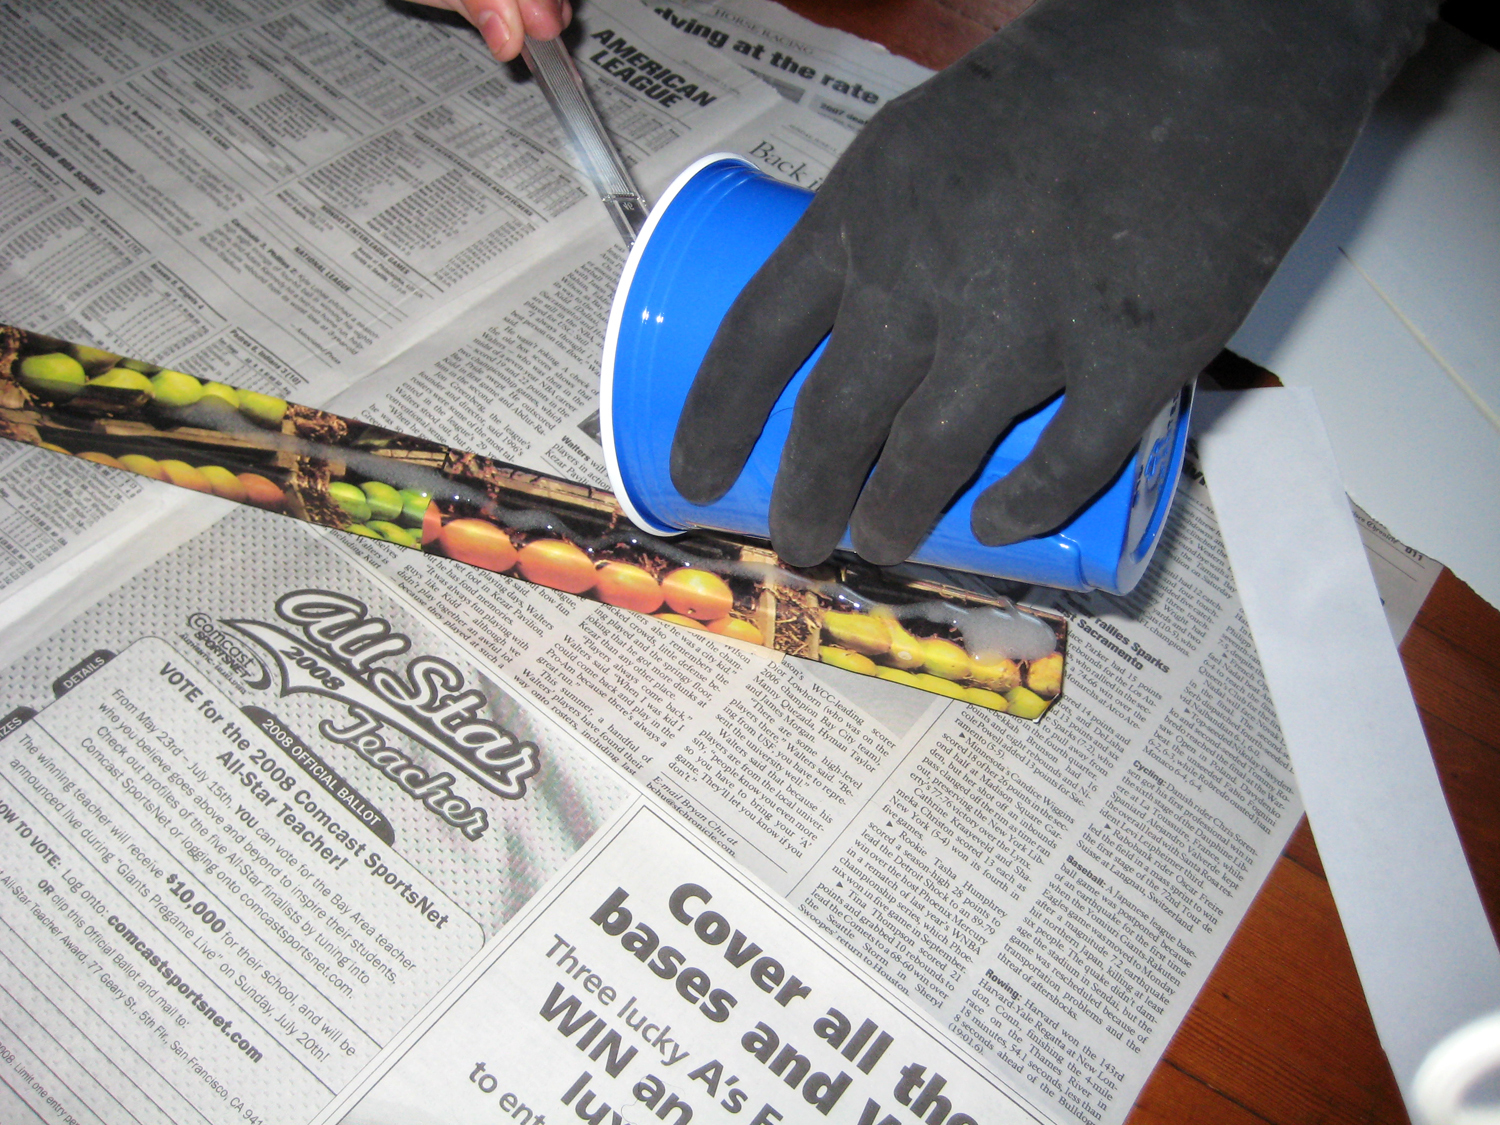
Decoupaging the rack makes it waterproof and durable. Do this over newspaper, wear latex gloves, and work near an open window.

Follow the instructions to mix the resin and hardener. I used 2 capfuls of each, which made about 2oz of gloss coat, exactly enough to cover the rack. (Your product may be slightly different.)

Spread it with a plastic knife until it covers all sides of the rack. Use a matchstick to poke through the screw holes before leaving it to dry. Allow the resin to harden overnight.

Hang your knife rack and knives.

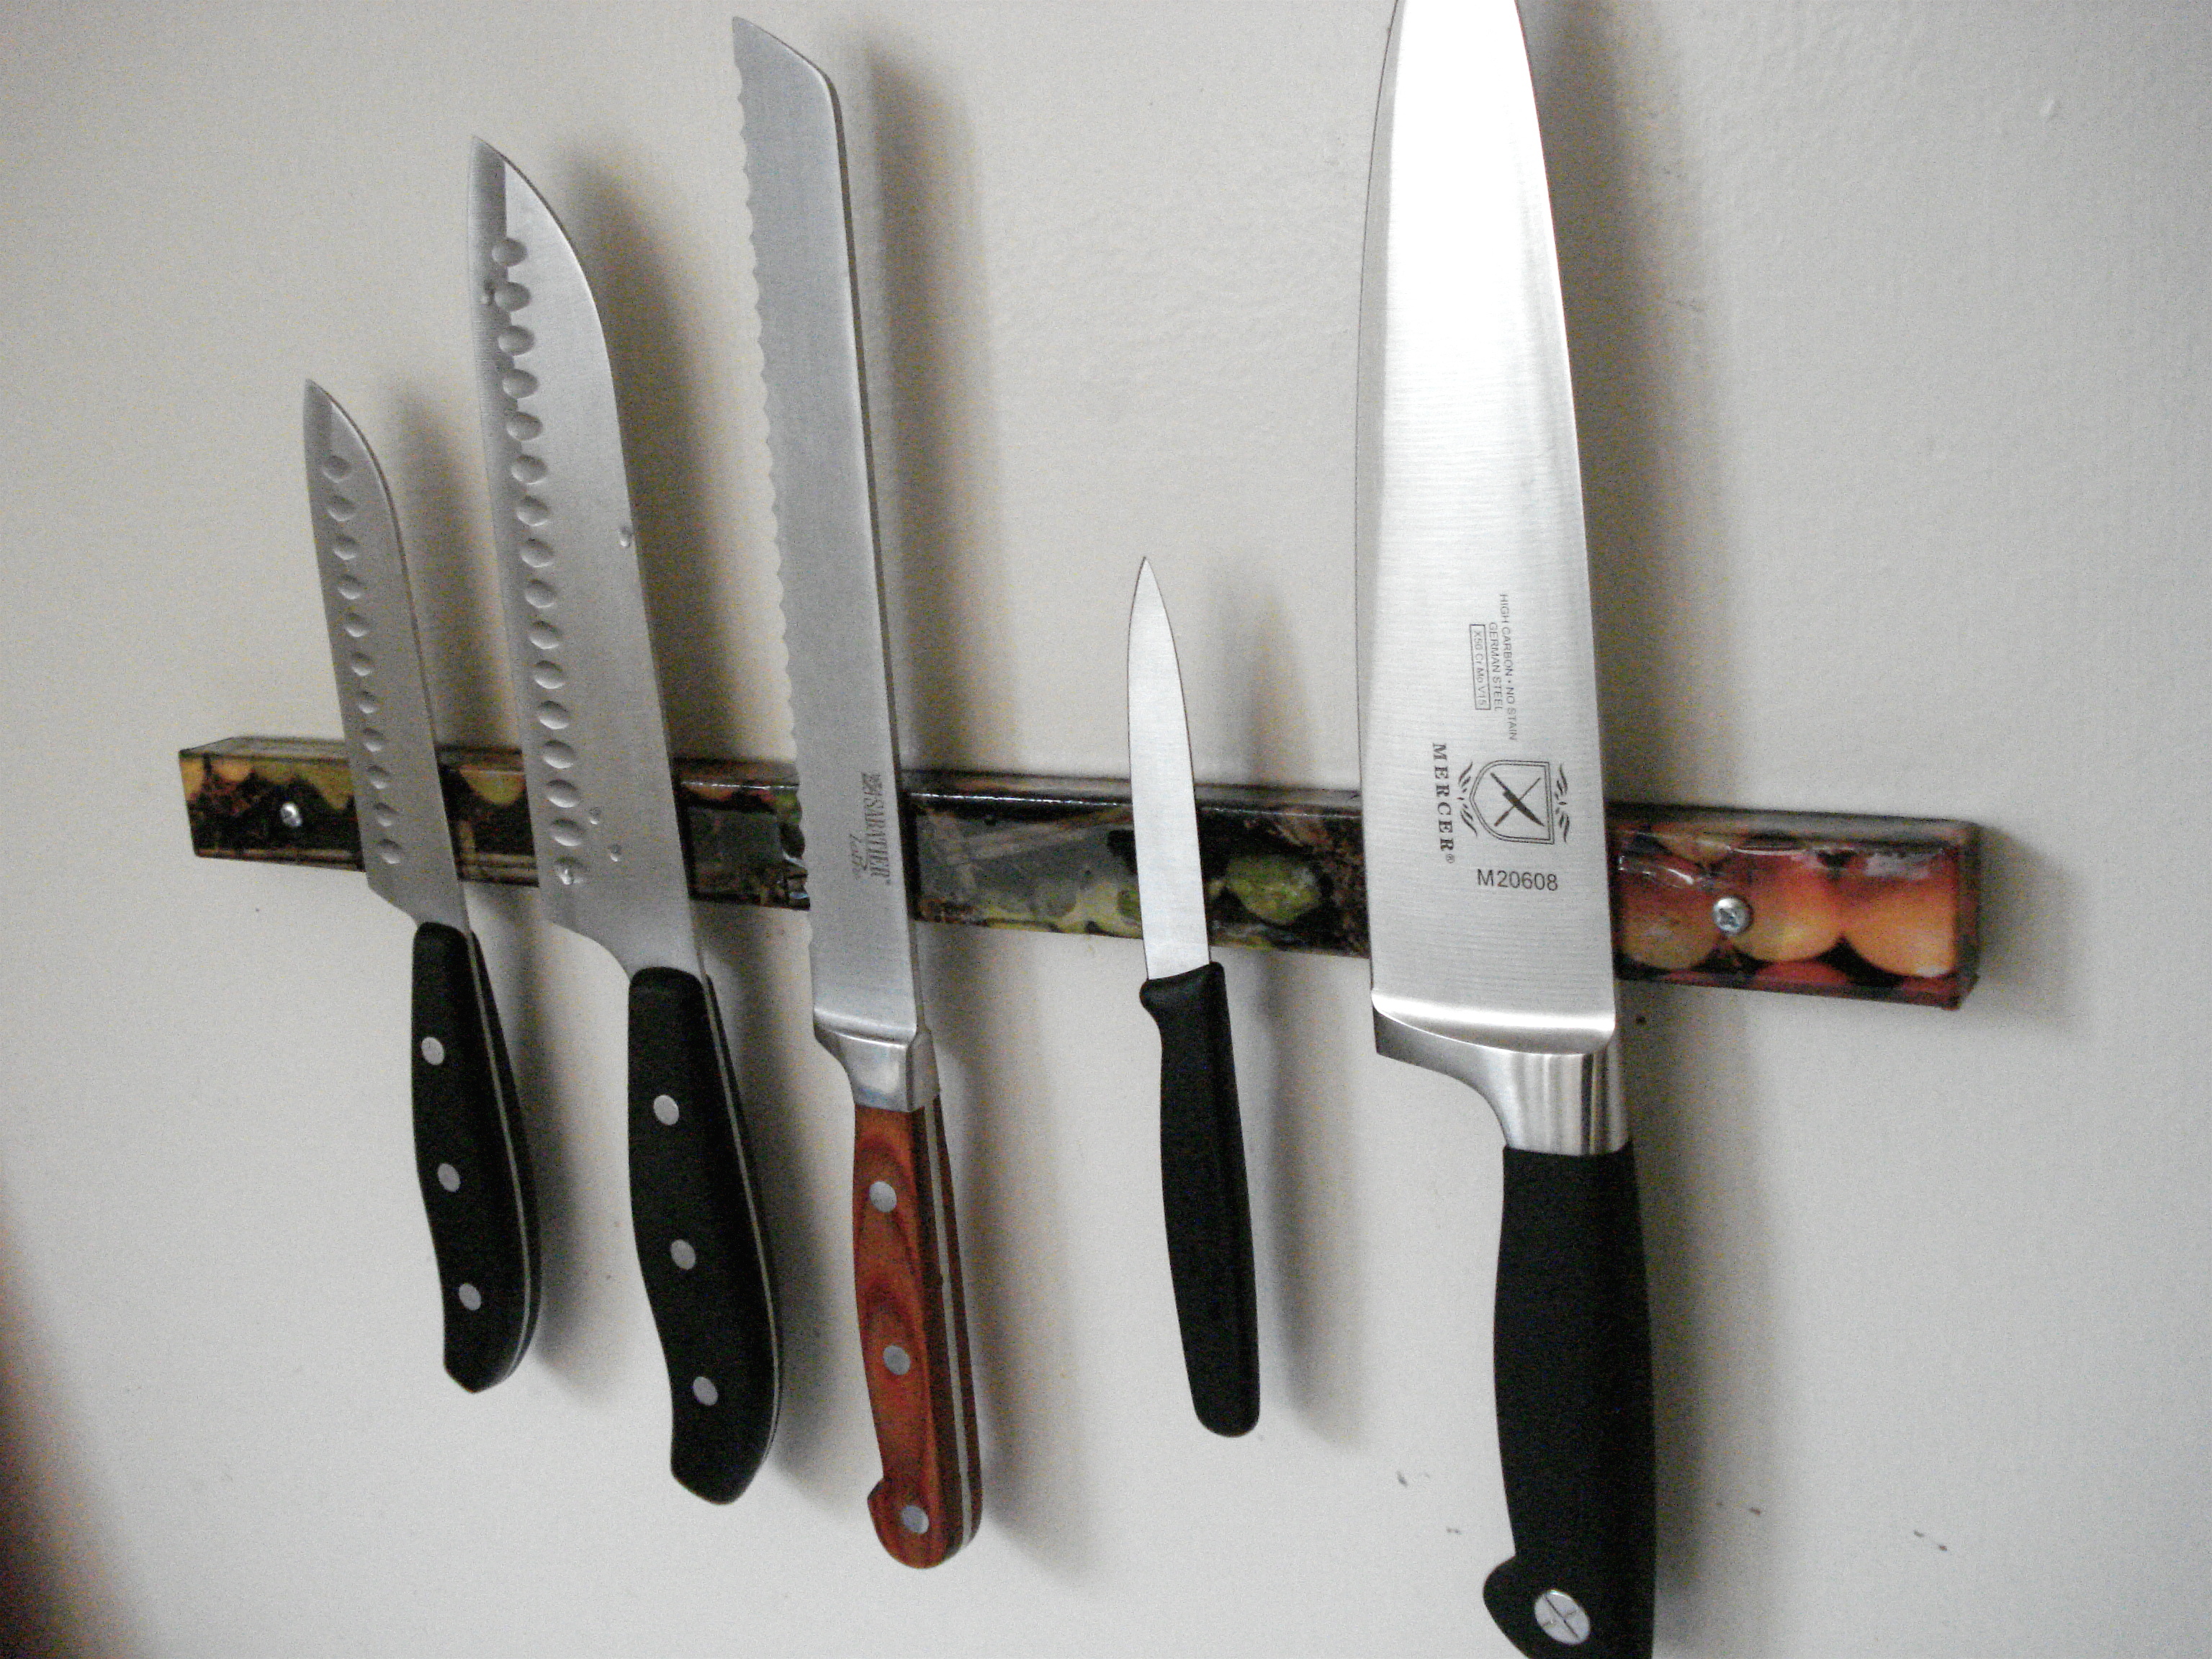
Screw the rack into the wall in a reachable location and place your knives on it.

When removing the knives, lift the blade edge first, then pull away in one motion.

The rack can also hold bottle openers, spatulas, small graters, or anything else you see fit.

Conclusion

This project first appeared in CRAFT Volume 09, page 123.