In Make: volume 04, I presented my version of the venerable cigar box guitar, which included an electric pickup so you could play the guitar through an amplifier.

People from around the world emailed me to tell me they’d built cigar box guitars based on my instructions. I struck up a conversation with one gentleman from Europe who goes by the moniker Blind Lightnin’ Pete. He made a couple of beautiful cigar box guitars, including one he calls the Vintage Blues Texas Rattlesnake Special model. He then went one step further, and built a cracker box guitar amplifier.

This outstanding little amp cost me all of $5 to build, since I had some parts lying around (you’ll spend more like $30 if you buy all the parts from scratch). Pete kindly allowed me to modify his design and present it as a project for you to build. (See Step 8 for a word from Pete about the origins of the cracker box amp.)

My amp differs a little from Pete’s because I wanted to make a workable little practice amp with parts and tools that could be purchased “one-stop shop” at RadioShack and built in an hour.

YouTube player

Project Steps

Download the schematic.

Download the PDF of the schematic from the files above and print it out. NOTE: Cairn Idris designed a circuit layout diagram that is much easier to read than this schematic.

Make the circuit.

Install the socket in the printed circuit board.

Solder it down.

Install the chip. I like having the chip in the printed circuit board while I build because there can be no doubt as to where pin 1 is. This is also why I install parts and make wire connections on the top of the printed circuit board.

Install the 0.01µF capacitor so one leg connects to pin 2 of the chip and one leg is in a “proto row.” Flip it over and solder it.

Install the 9V battery clip and mark a plus sign for the red wire and a minus sign for the black wire.

Install the 10Ω resistor and the 0.047µF capacitor. Take advantage of the “proto rows” to make the connections:

Chip pin 5 to one leg of the 10Ω resistor.

The other leg of the 10Ω resistor to one leg of the 0.047µF capacitor.

The other leg of the 0.047µF capacitor to “ground.”

For our purposes “ground,” which is shown on the schematic as a triangle with the point down, is the long “proto row” we marked with a minus sign.

TIP: Every time you install a part or make a connection, mark it off on the schematic (“Little Gem” schematic courtesy of http://runoffgroove.com/littlegem.html).

Use this same technique to install and make the remaining connections.

Solder the wires to the phone jack. Use green for signal and black for ground.

Install the wired phone jack to the circuit.

Cut the red lead and install the switch.

Build the enclosure.

Make holes in the side of your box to fit the potentiometer, rheostat, and phone jack.

TIP: Why bother with drills and X-Acto knives when you can use your soldering iron to make holes?

Make holes for the “speaker grill.” You are going to find some hanging chads on the inside of the box. Reach in there with the soldering iron and burn them off.

Make a hole for the switch

Pop your circuit into the box.

Mount the speaker. Make some big glops of hot glue to act as “standoffs” on the speaker.

Mount the switch.

Install the chicken head knobs.

NOTE: It’s a proven fact that chicken head knobs greatly enhance the vintage sound of an amplifier. Use them liberally.

That’s it; you’re done! Now install a battery and go use it!

A Few Words From Blind Lightnin’ Pete

The Origins of the Cracker Box Amp

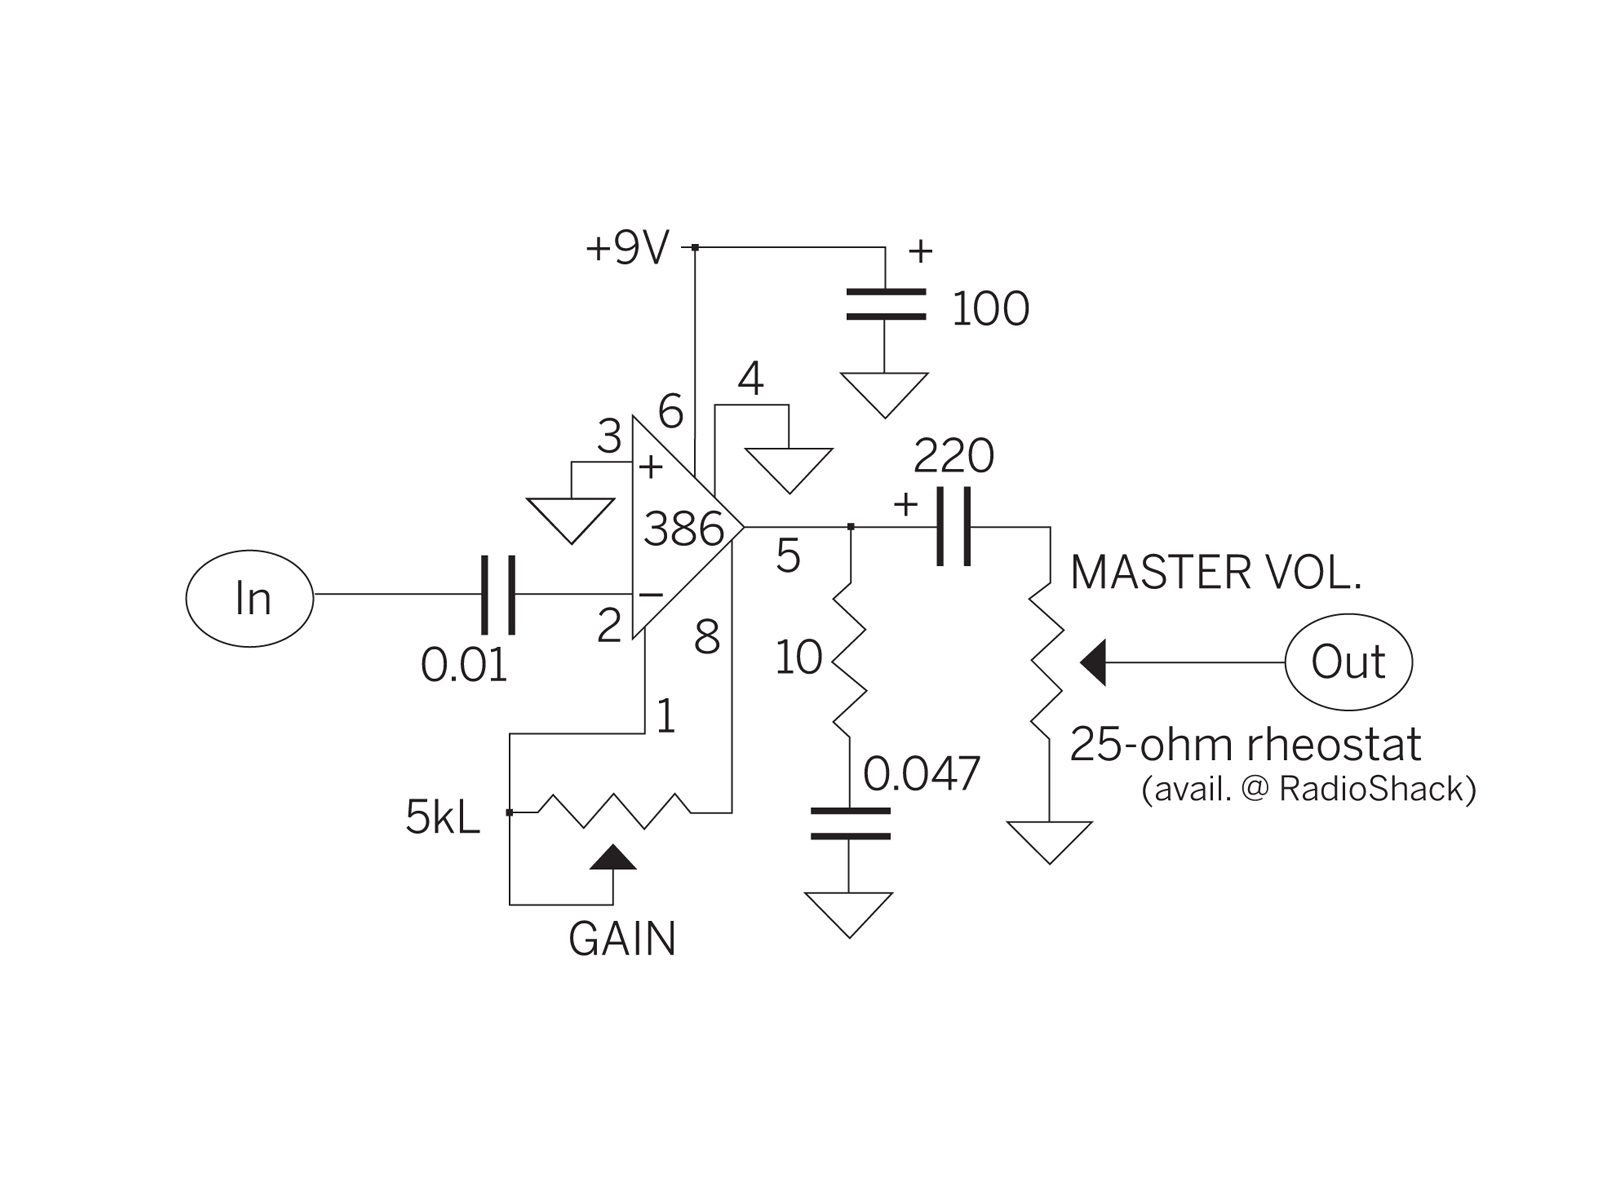
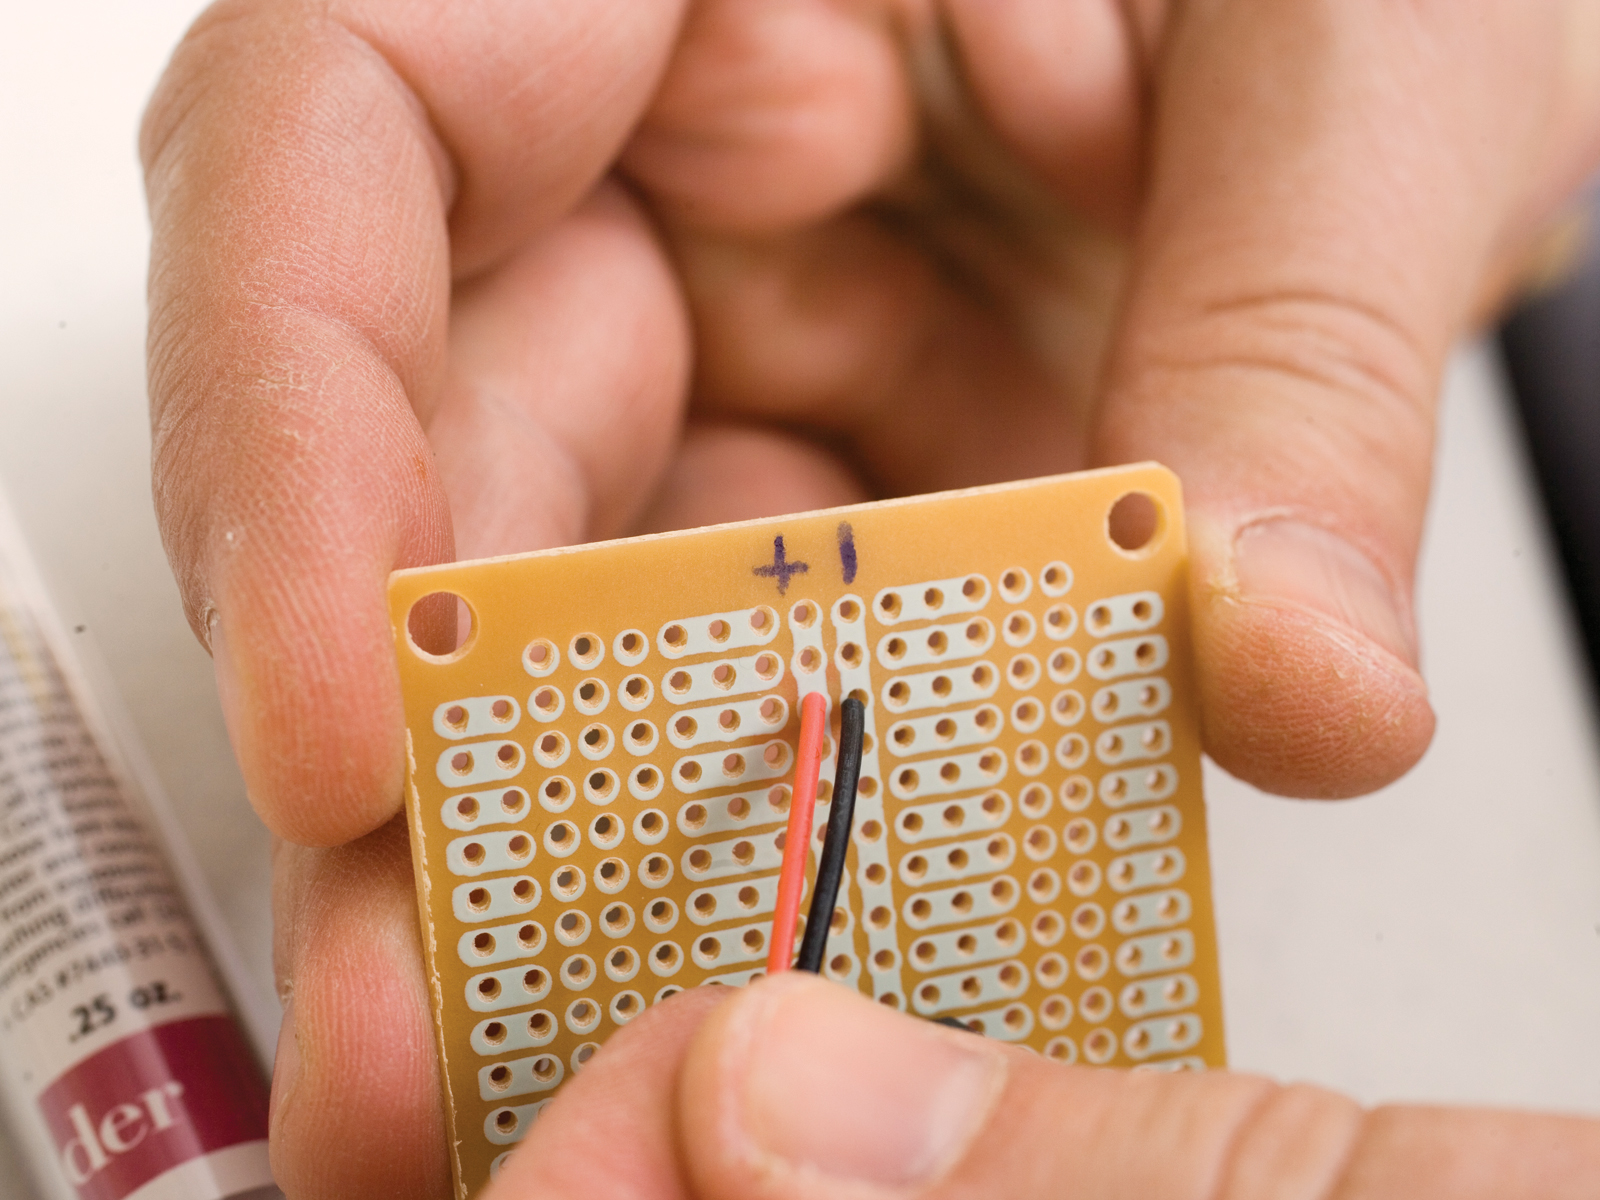
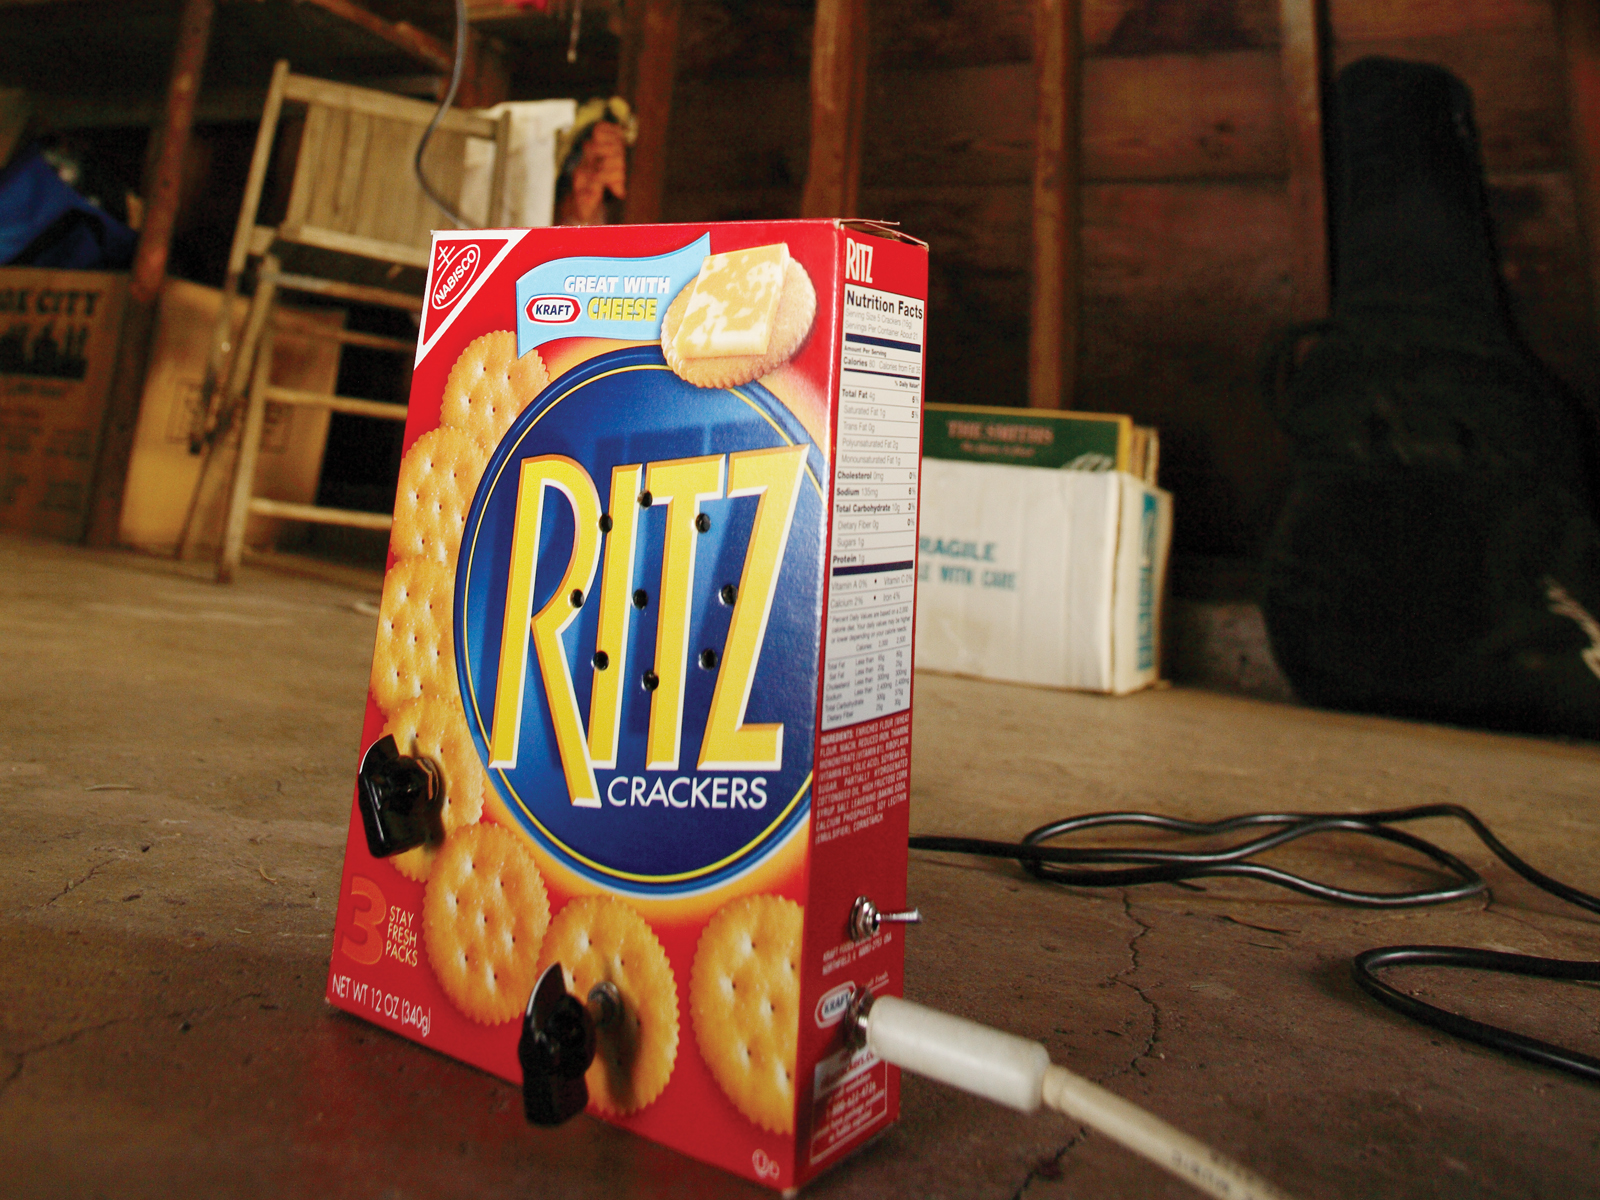
The cracker box amp I built cost $5. It uses an 8-pin National Semiconductor LM386 series low-voltage op-amp IC. The amp circuit unleashes the full potential of this beast and creates 1 watt of arena-shaking power. Think of it as sort of a silicon shrunken head of the Marshall stack that Jimi Hendrix played at Monterey.

This integrated circuit has provided the basis for low-power solid-state amplifiers in recent years, including the famous Smokey Amp and a few of the designs at http://runoffgroove.com.

You can buy an LM386 for under a buck; it’s a standard RadioShack item, the same one that was used in the MAKE project for turning your old computer mouse into a robot (see MAKE, Volume 02, Mousey the Junkbot). Our favorite hobbyist robot supply source, Solarbotics, sells them for 75¢ a piece.

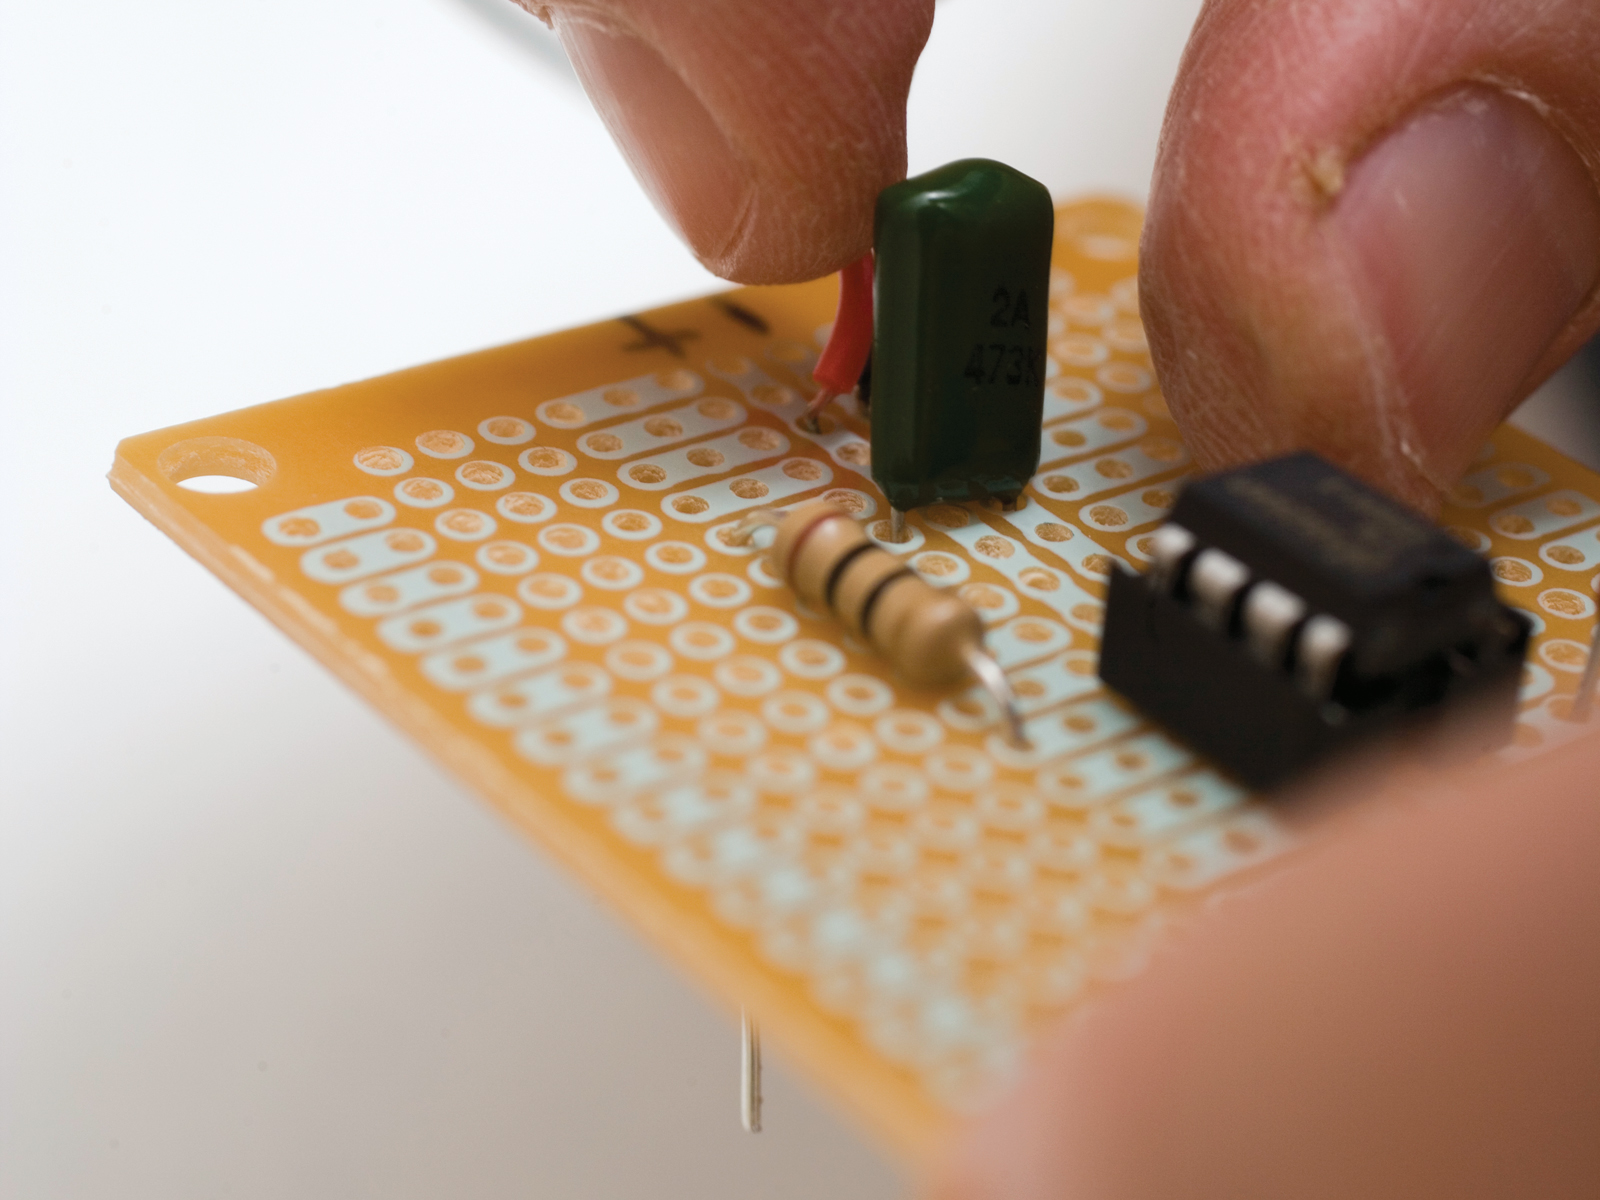
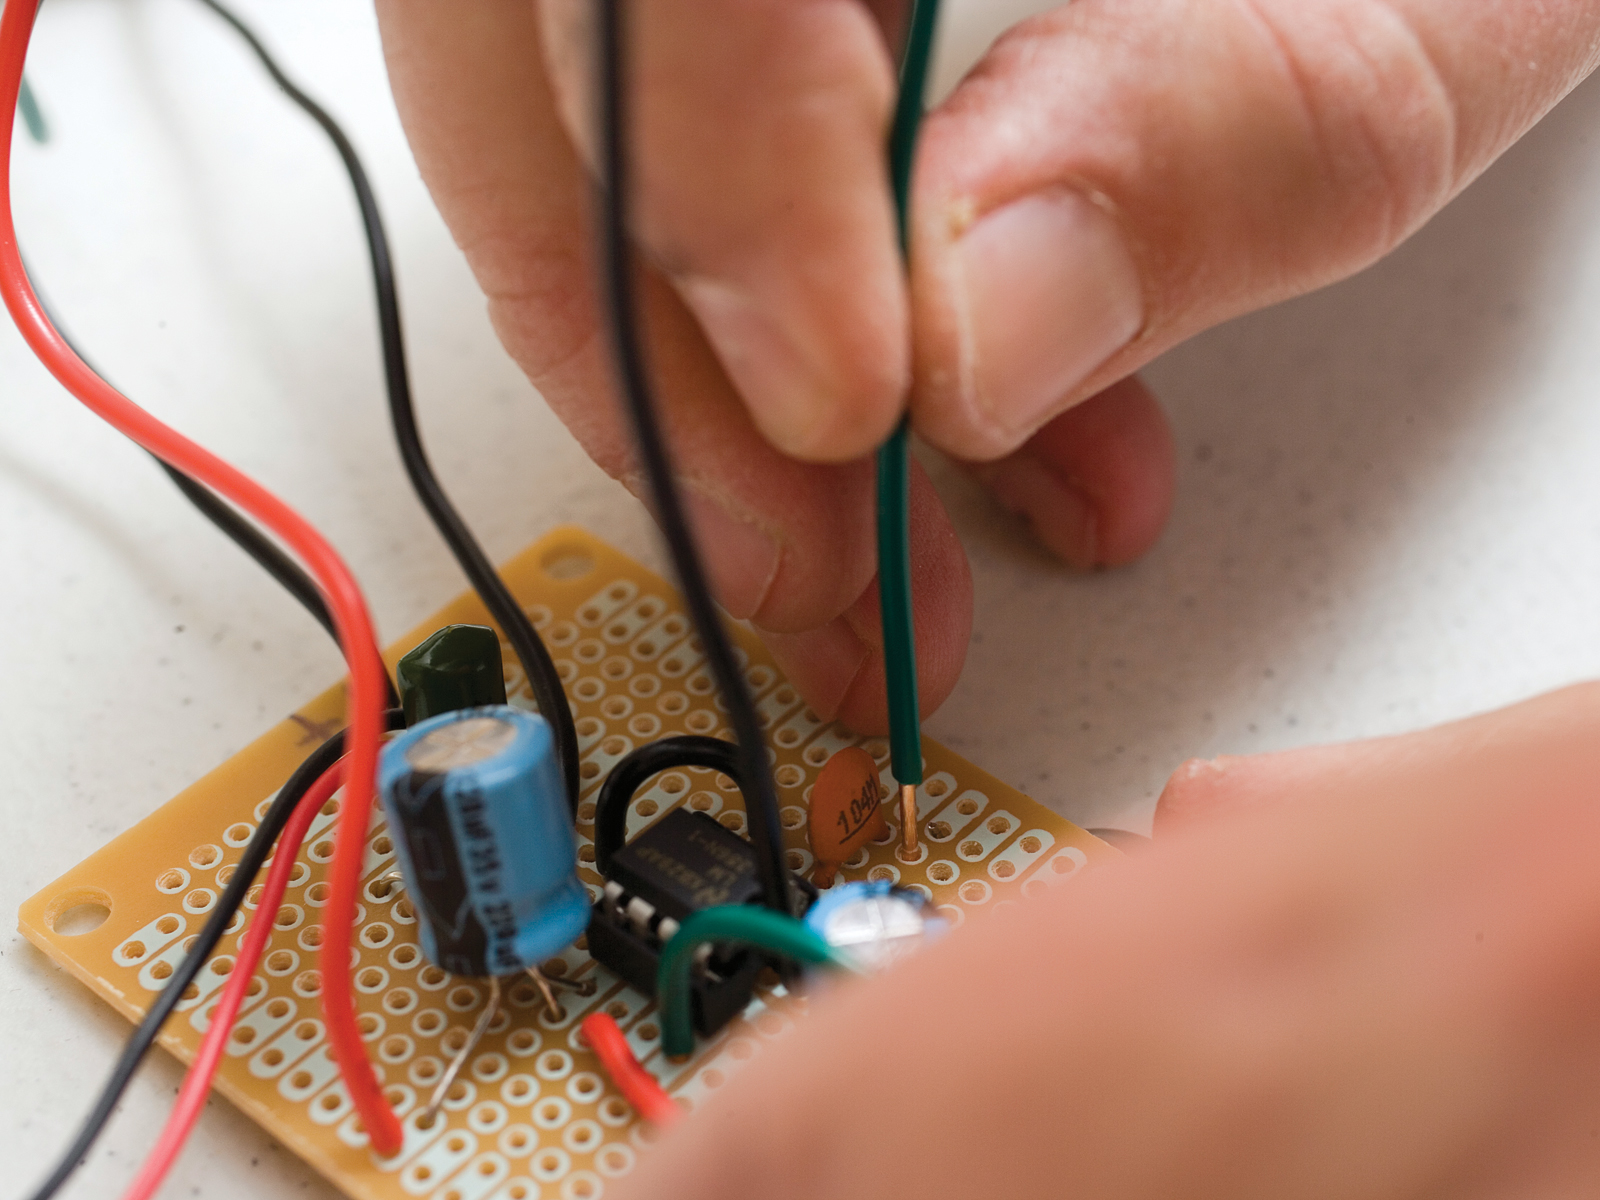
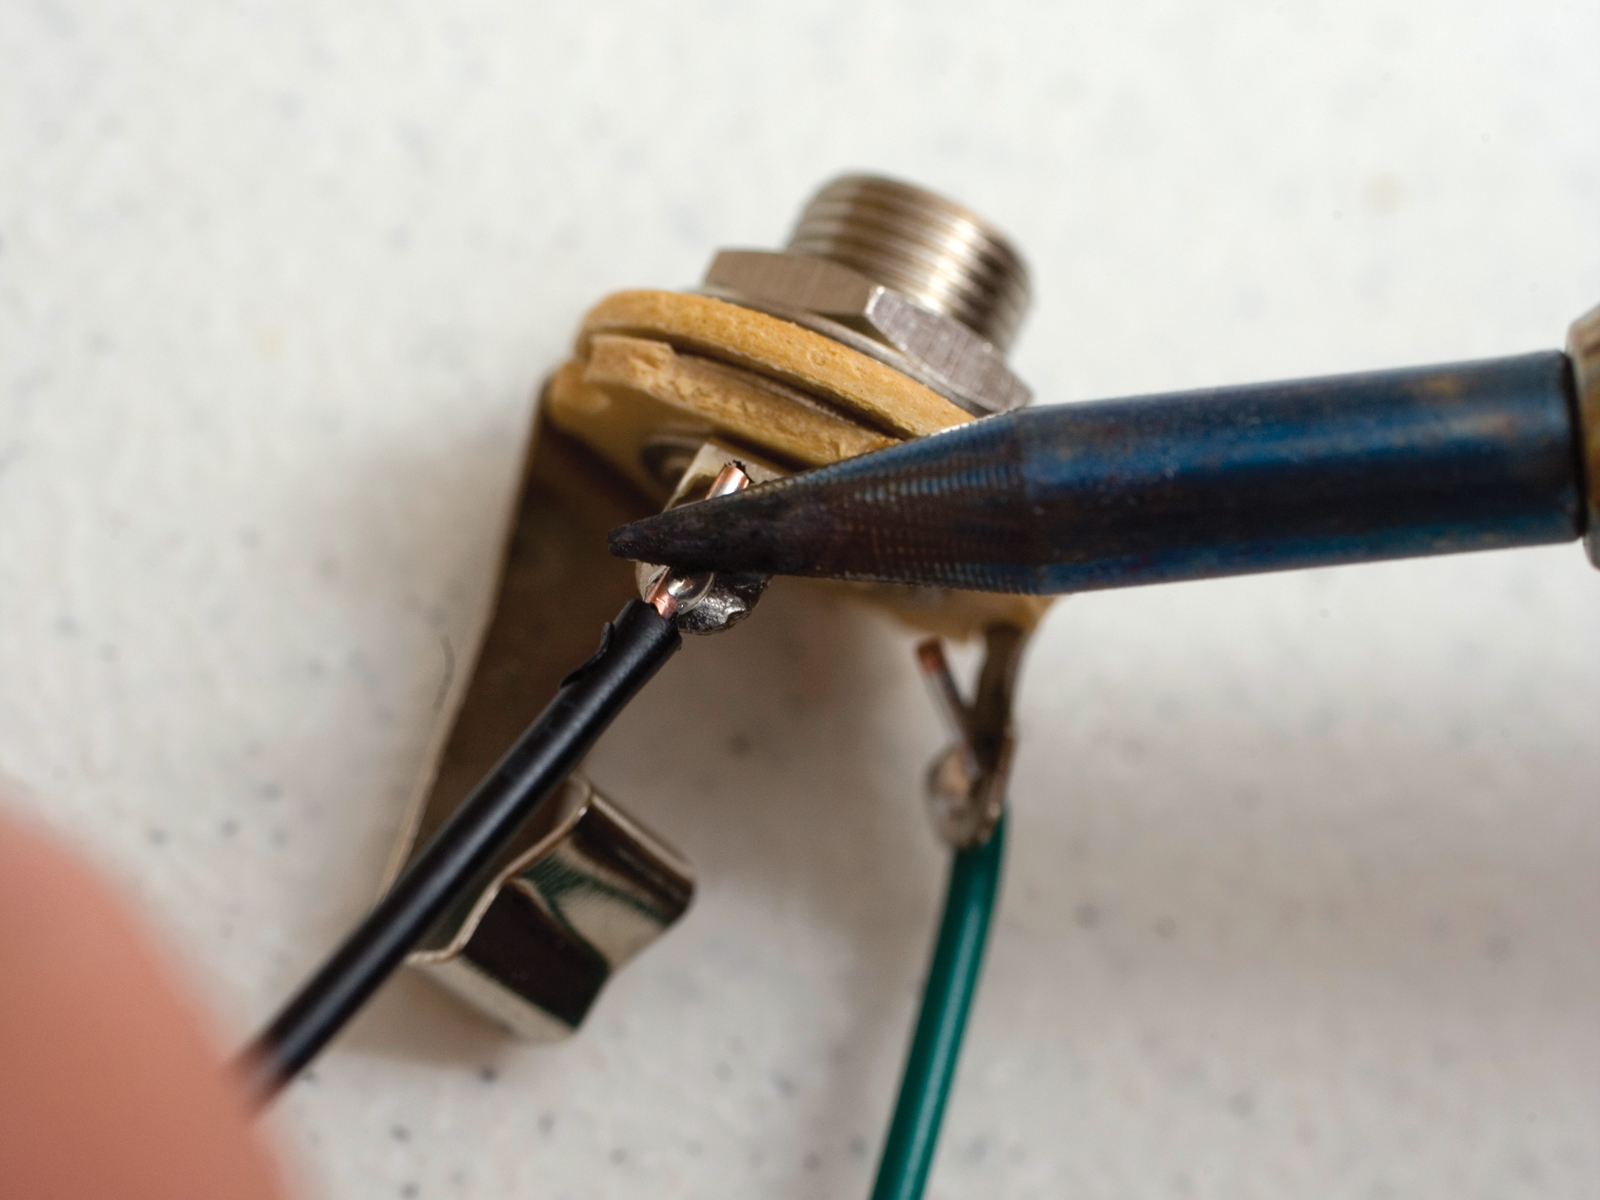
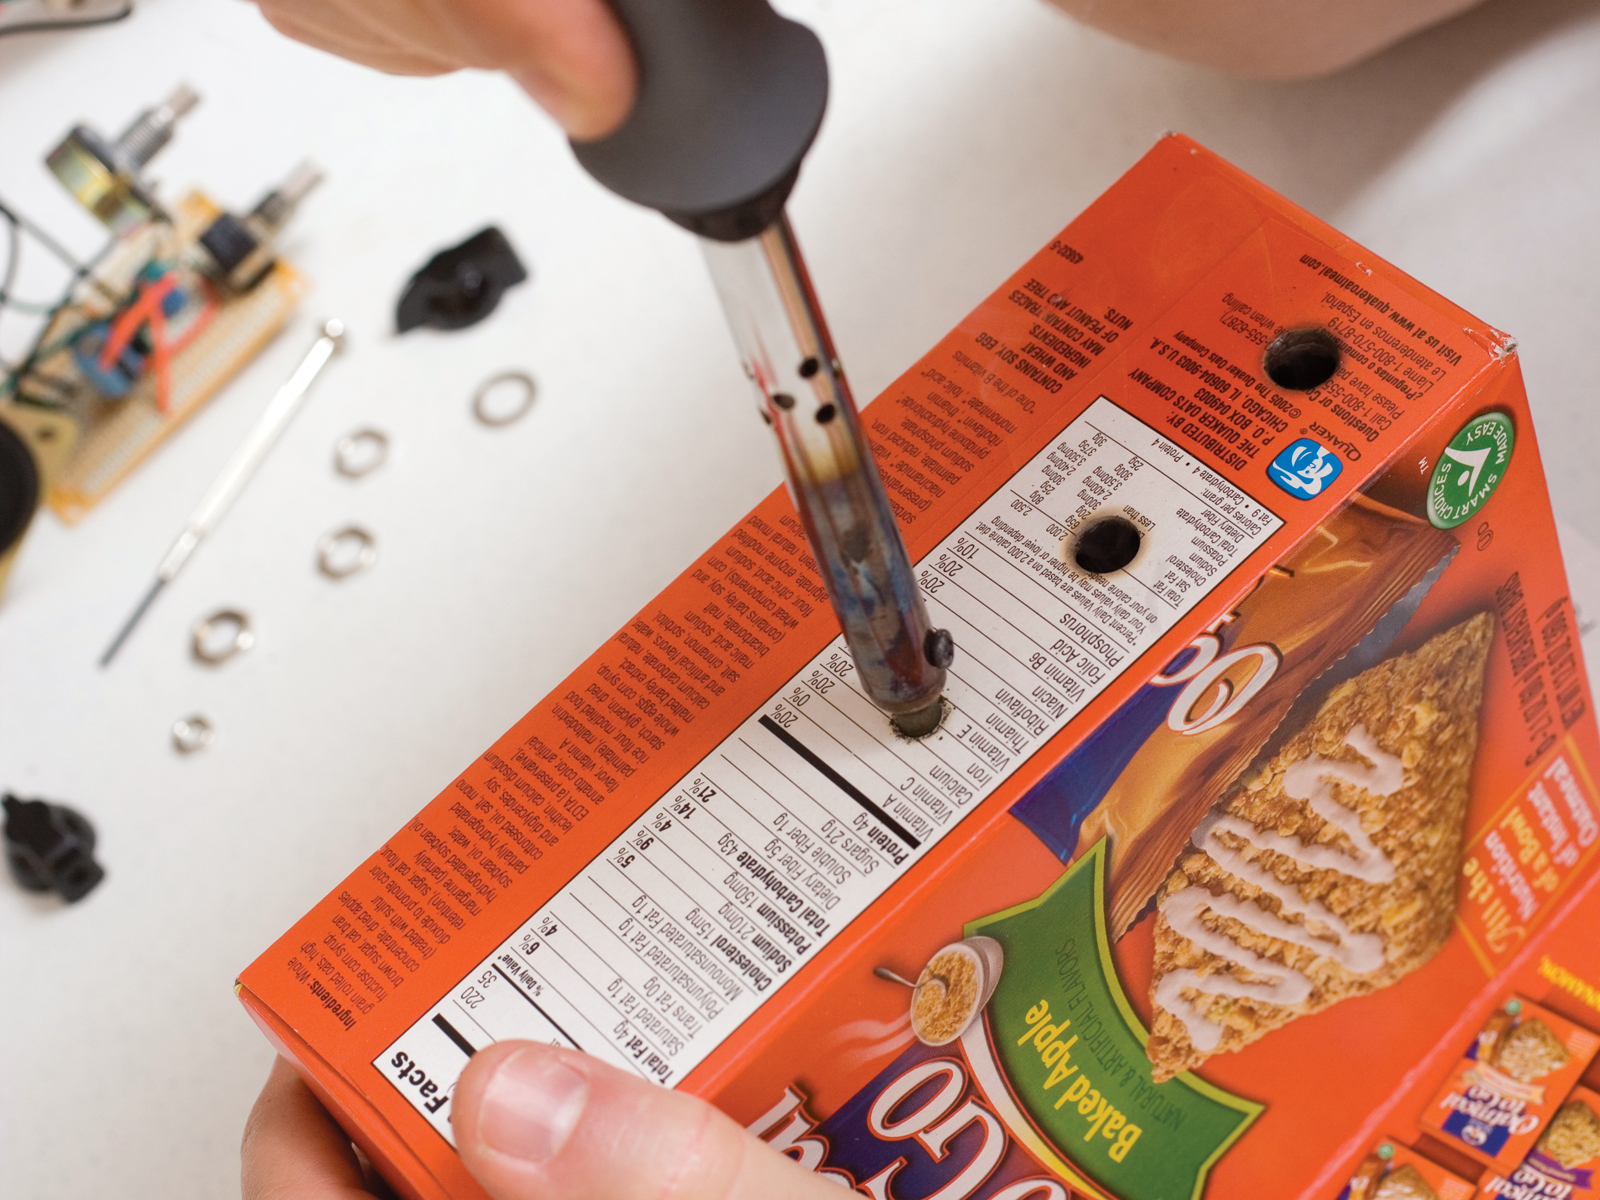
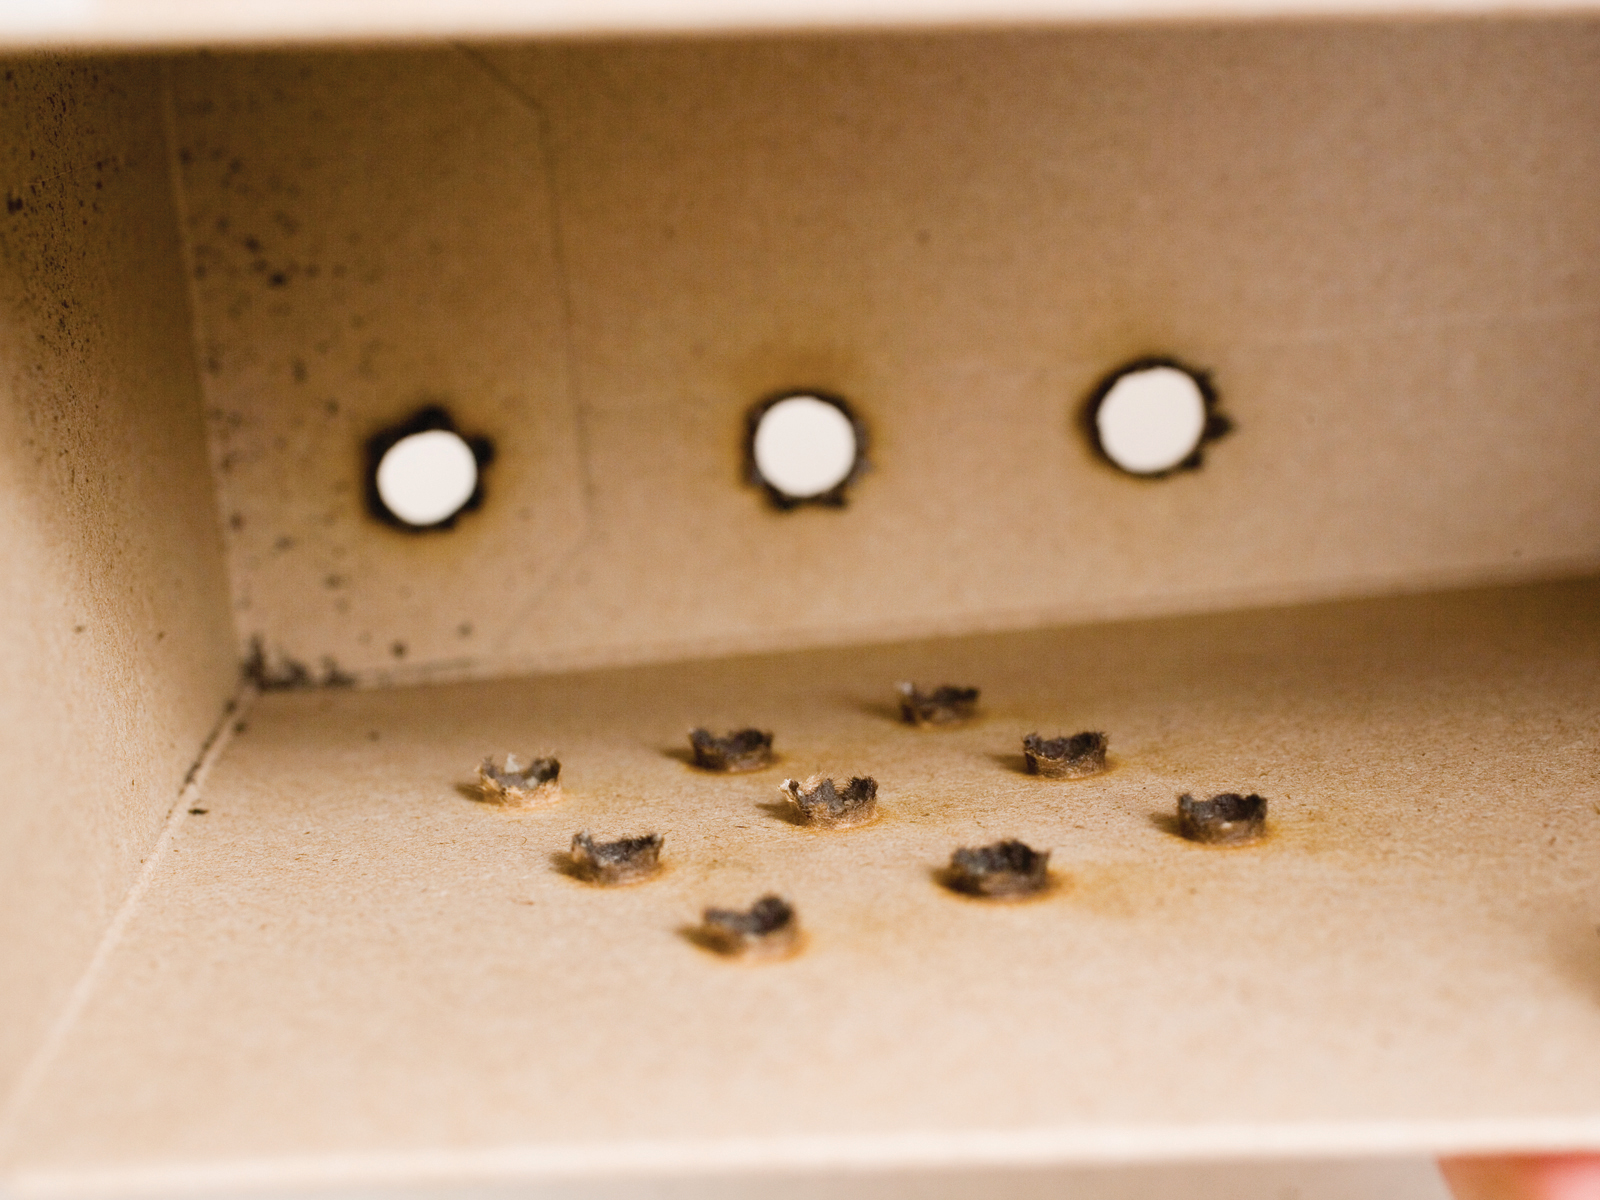
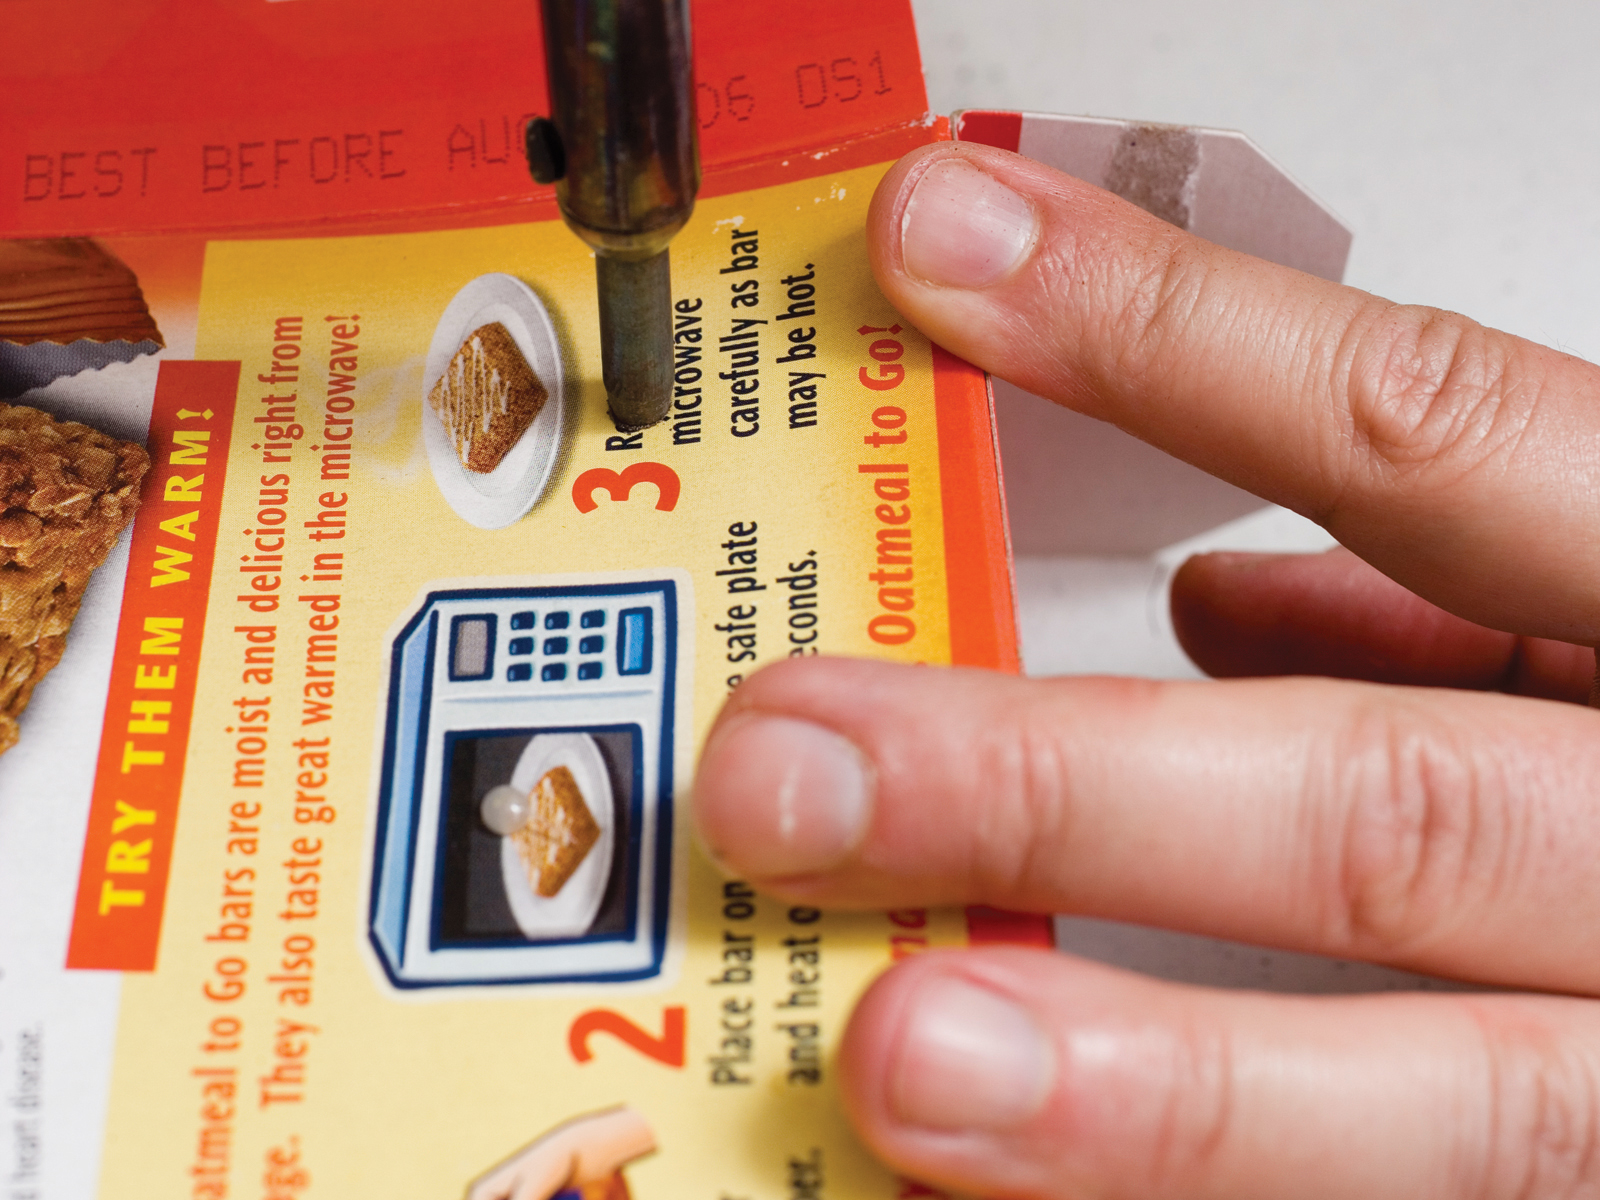
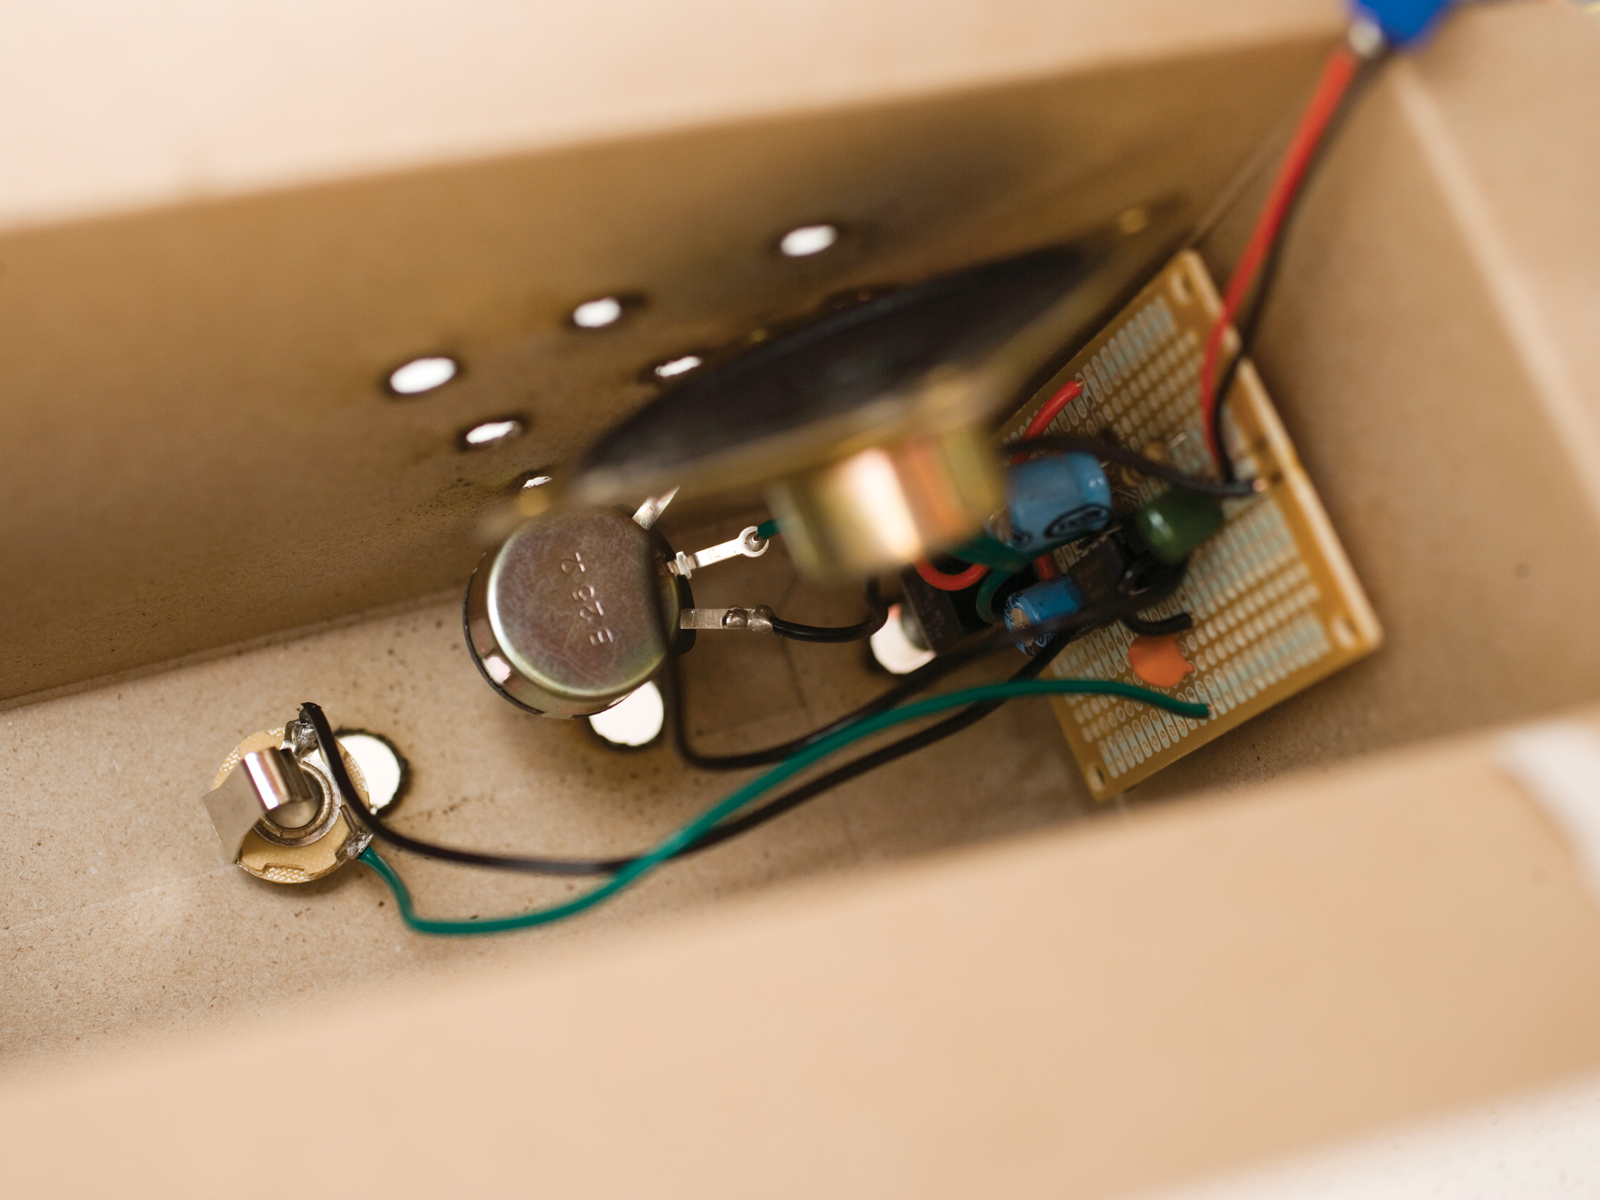
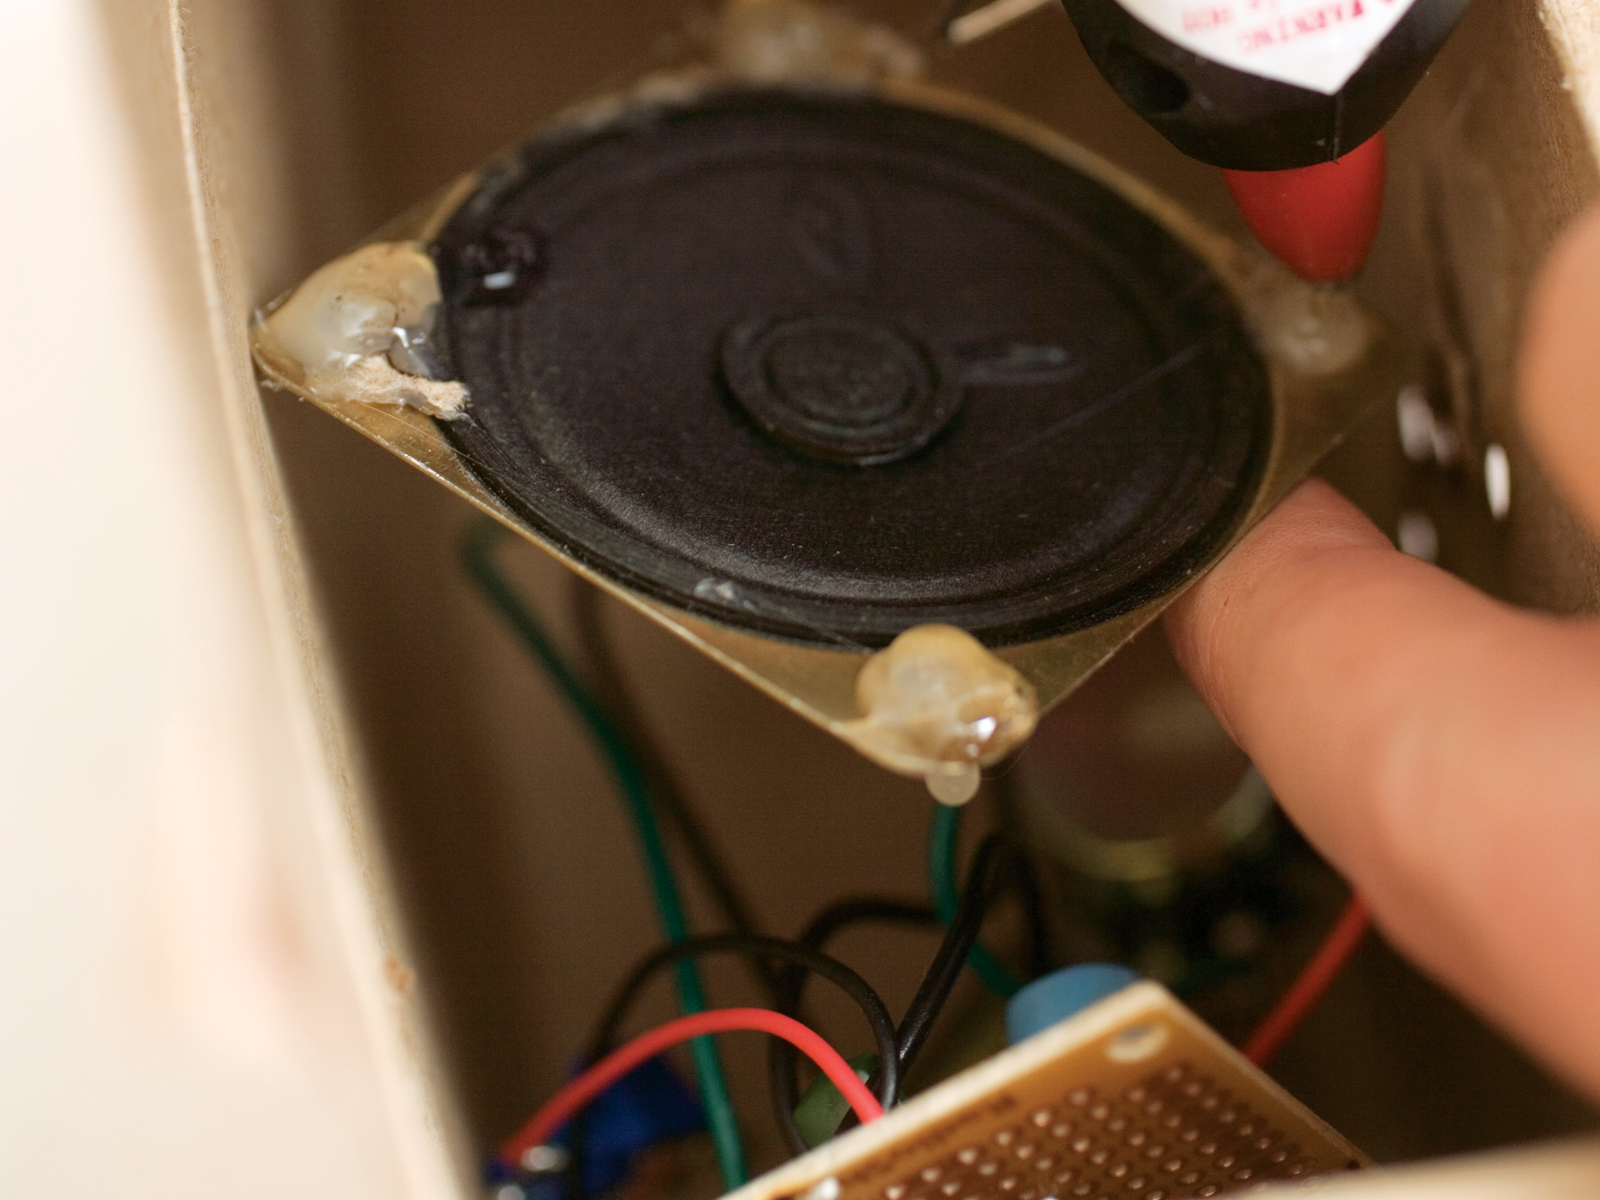
I added a couple of capacitors, a couple of resistors, an LED, a 1/4“ jack, a potentiometer, and a $2 speaker, wrapped it all in a big blob of solder, crammed it in whatever empty box was laying around, and voilà!

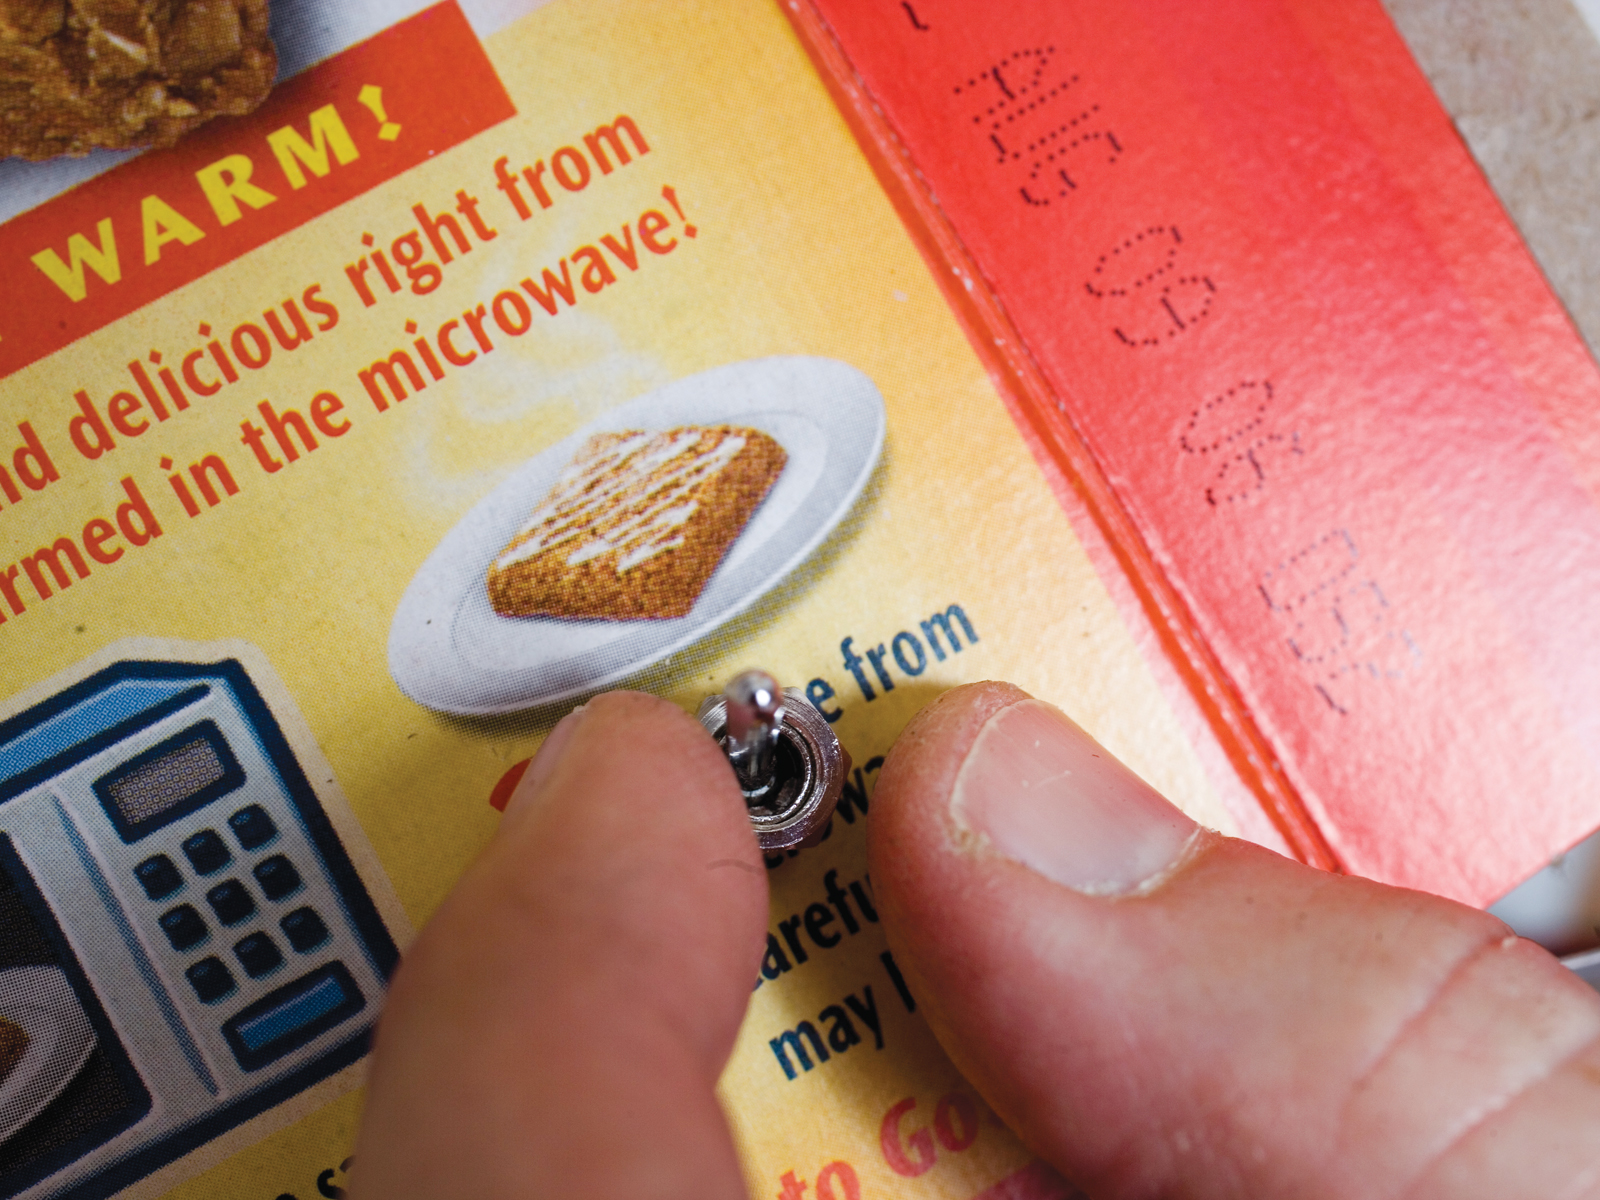
The pot controls the gain, and it goes from California clean vintage Fender to Santana Mesa Boogie crunch to Hendrix Marshall. It runs off any combination of batteries — I usually use a 9V, but it’s possible to get a cleaner tone with 12V (8 AA batteries in series). I have used it to drive a 412 Marshall cabinet, and it gets pretty loud. Not loud enough to compete with a rock drummer, but loud enough for me not to hear my wife screaming “turn it down,” which I guess is enough for household use. If we had any neighbors, I could raise some complaints from it. Let’s just say that even with a 2” speaker it’s plenty loud enough for most apartment dwellers.

Interested in learning a bit more about the LM386? A great place to start is National Semiconductor’s website (http://national.com) where you can download the data sheet. Even better, if you take the time to register on the site, they will generously send you a few samples for free!

Ask for the LM386N-4 series, as these are rated to handle up to 18V. Although any of the LM386 chips will work wonderfully for our hi-gain design, several experimenters and makers have found that cleaner tones with more headroom are achievable by running the circuit with a few extra volts.

See videos of Blind Lightnin’ Pete playing his cigar box guitar through his cracker box amp at https://makezine.com/09/crackerboxamp.

Other 386 Op-Amp Projects

Home-built bat detector: http://bertrik.sikken.nl/bat/my_div.htm

Mini bench amp to test audio circuits: https://makezine.com/go/minibench

Headphone amplifier: http://radiowrench.com/sonic/so02144.htm…

Conclusion

This project first appeared in MAKE Volume 09, page 104.

Related Posts on Make: Online:

Cracker Box Amp Subwoofer

http://blog.makezine.com/archive/2009/04...

Coconut Amp

http://blog.makezine.com/archive/2008/02...

Flashback: Cracker Box Amp

http://blog.makezine.com/archive/2009/05...