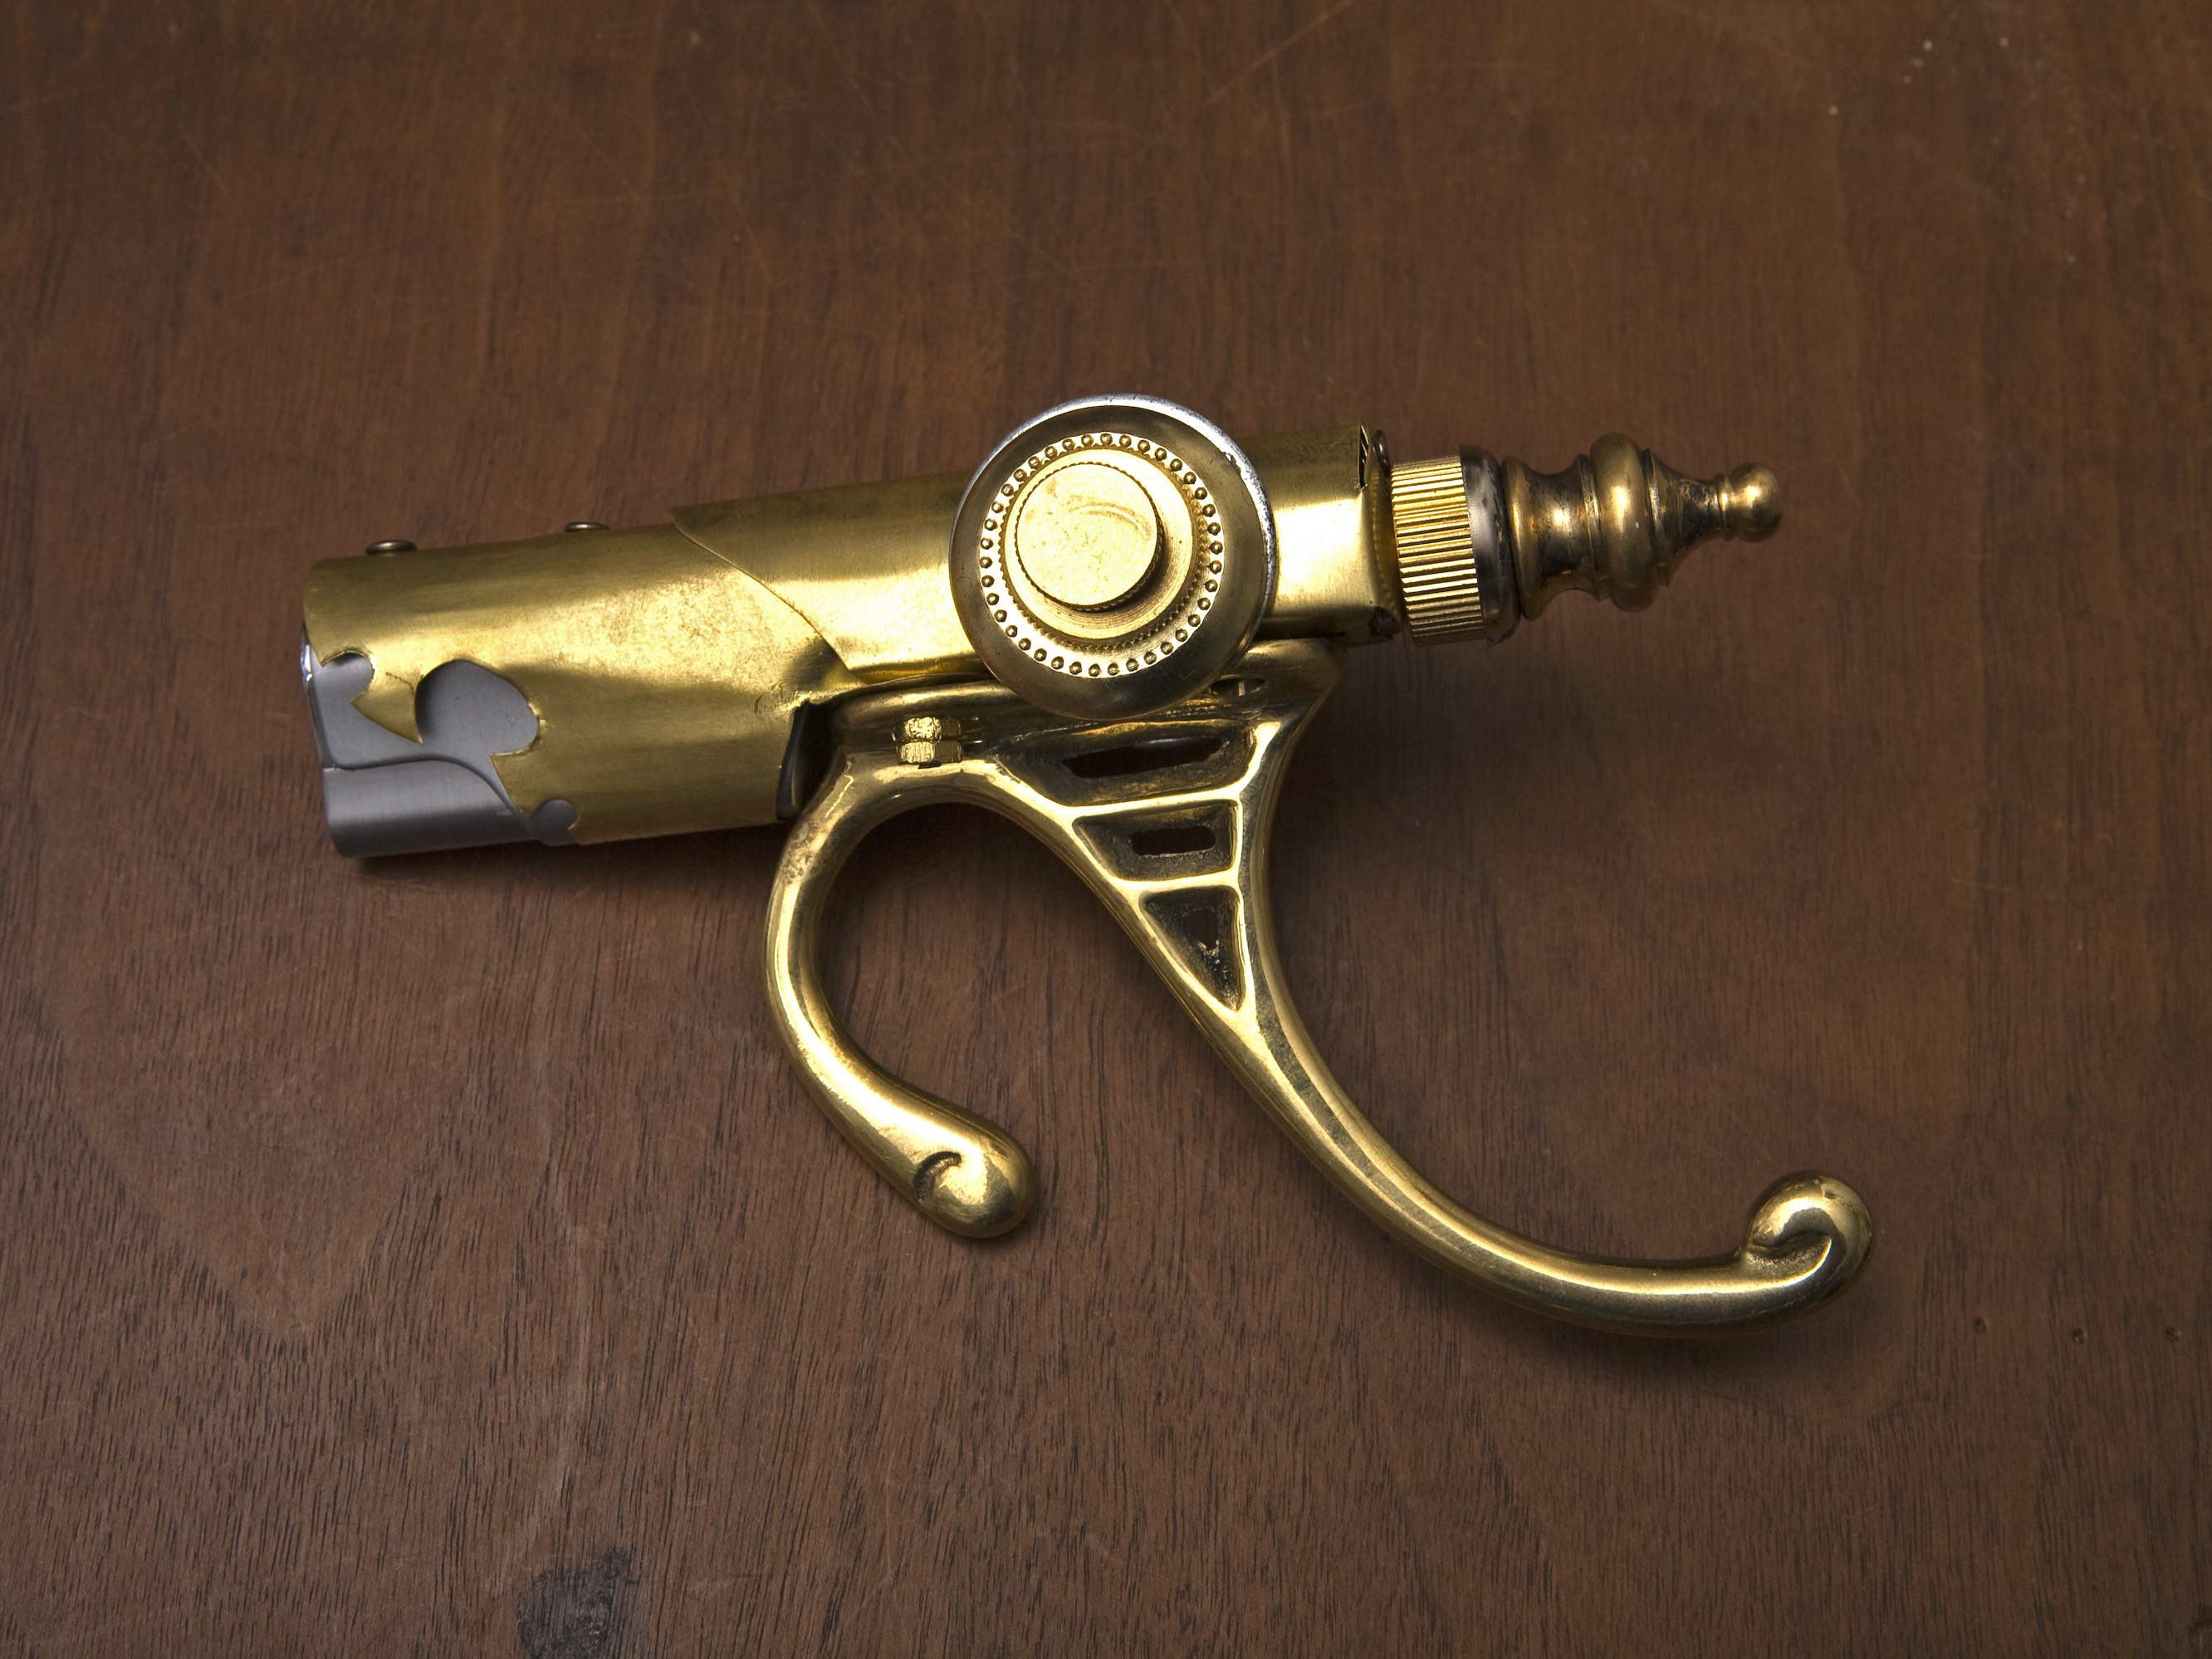
Torch lighters are handy, cheap, and easy to find. They come in a wide variety of shapes and styles, so there’s room for customizing to your personal taste.

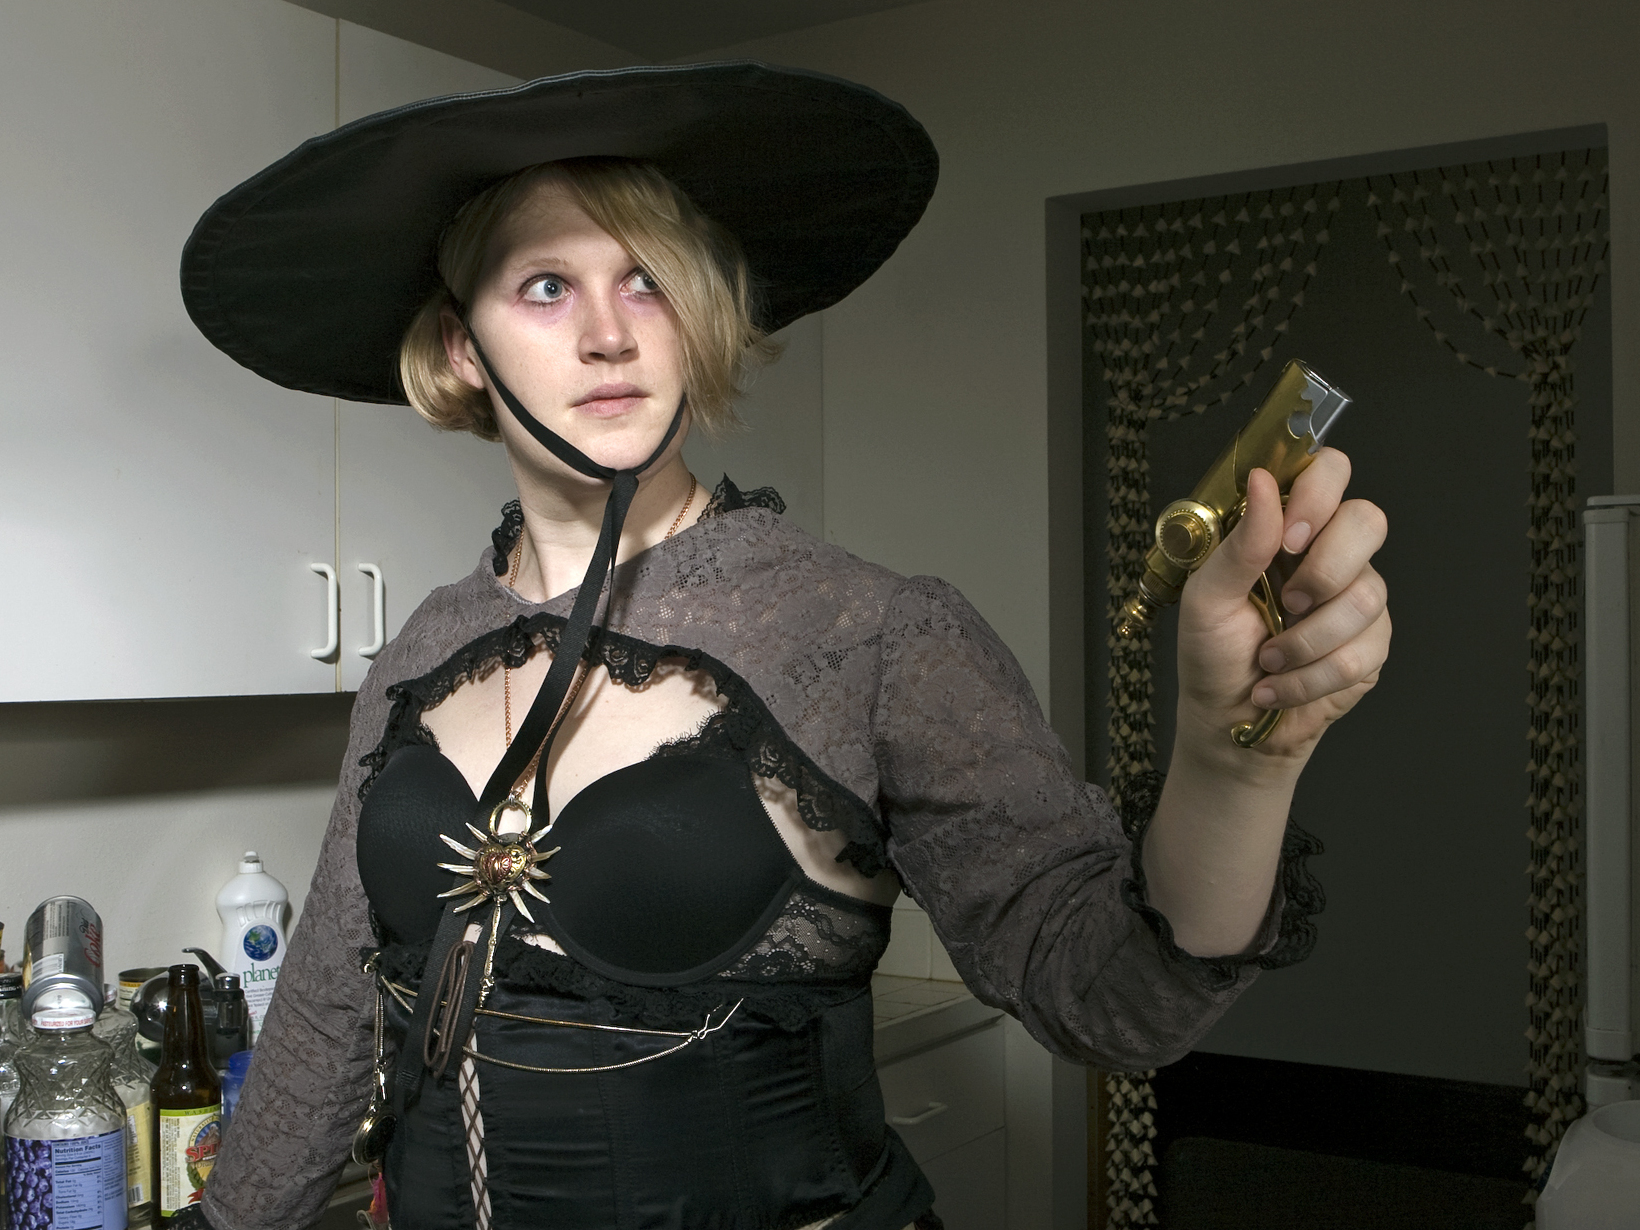
I normally modify mine with antique parts, but here I chose parts that you can get in most hardware and home stores. The finished raygun works well as a prop; simply pull the “trigger,” and an inch or so of fire shoots out the barrel!

This project uses a $10 Dodo brand lighter. If you use a different lighter, you may need to change the size of the pattern to accommodate it. You need to use a lighter that, when installed into the barrel of the raygun, will shoot forward.

Some point in other directions — obviously, avoid these, unless you specifically want a booby-trapped gun!

You might try a different ornate coat hook for a different-looking handle. The handle can also be mounted forward or backward.

The lamp parts are easy to customize — you can change the look just by using different finials and other decorative elements — and the design on the front of the barrel can be almost any shape you want.

This project is fairly easy to do, takes a few hours, and costs about $30–$40 in parts (less if you have some stuff already on hand).

What will the next generation of Make: look like? We’re inviting you to shape the future by investing in Make:. By becoming an investor, you help decide what’s next. The future of Make: is in your hands. Learn More.

Project Steps

Build the body.

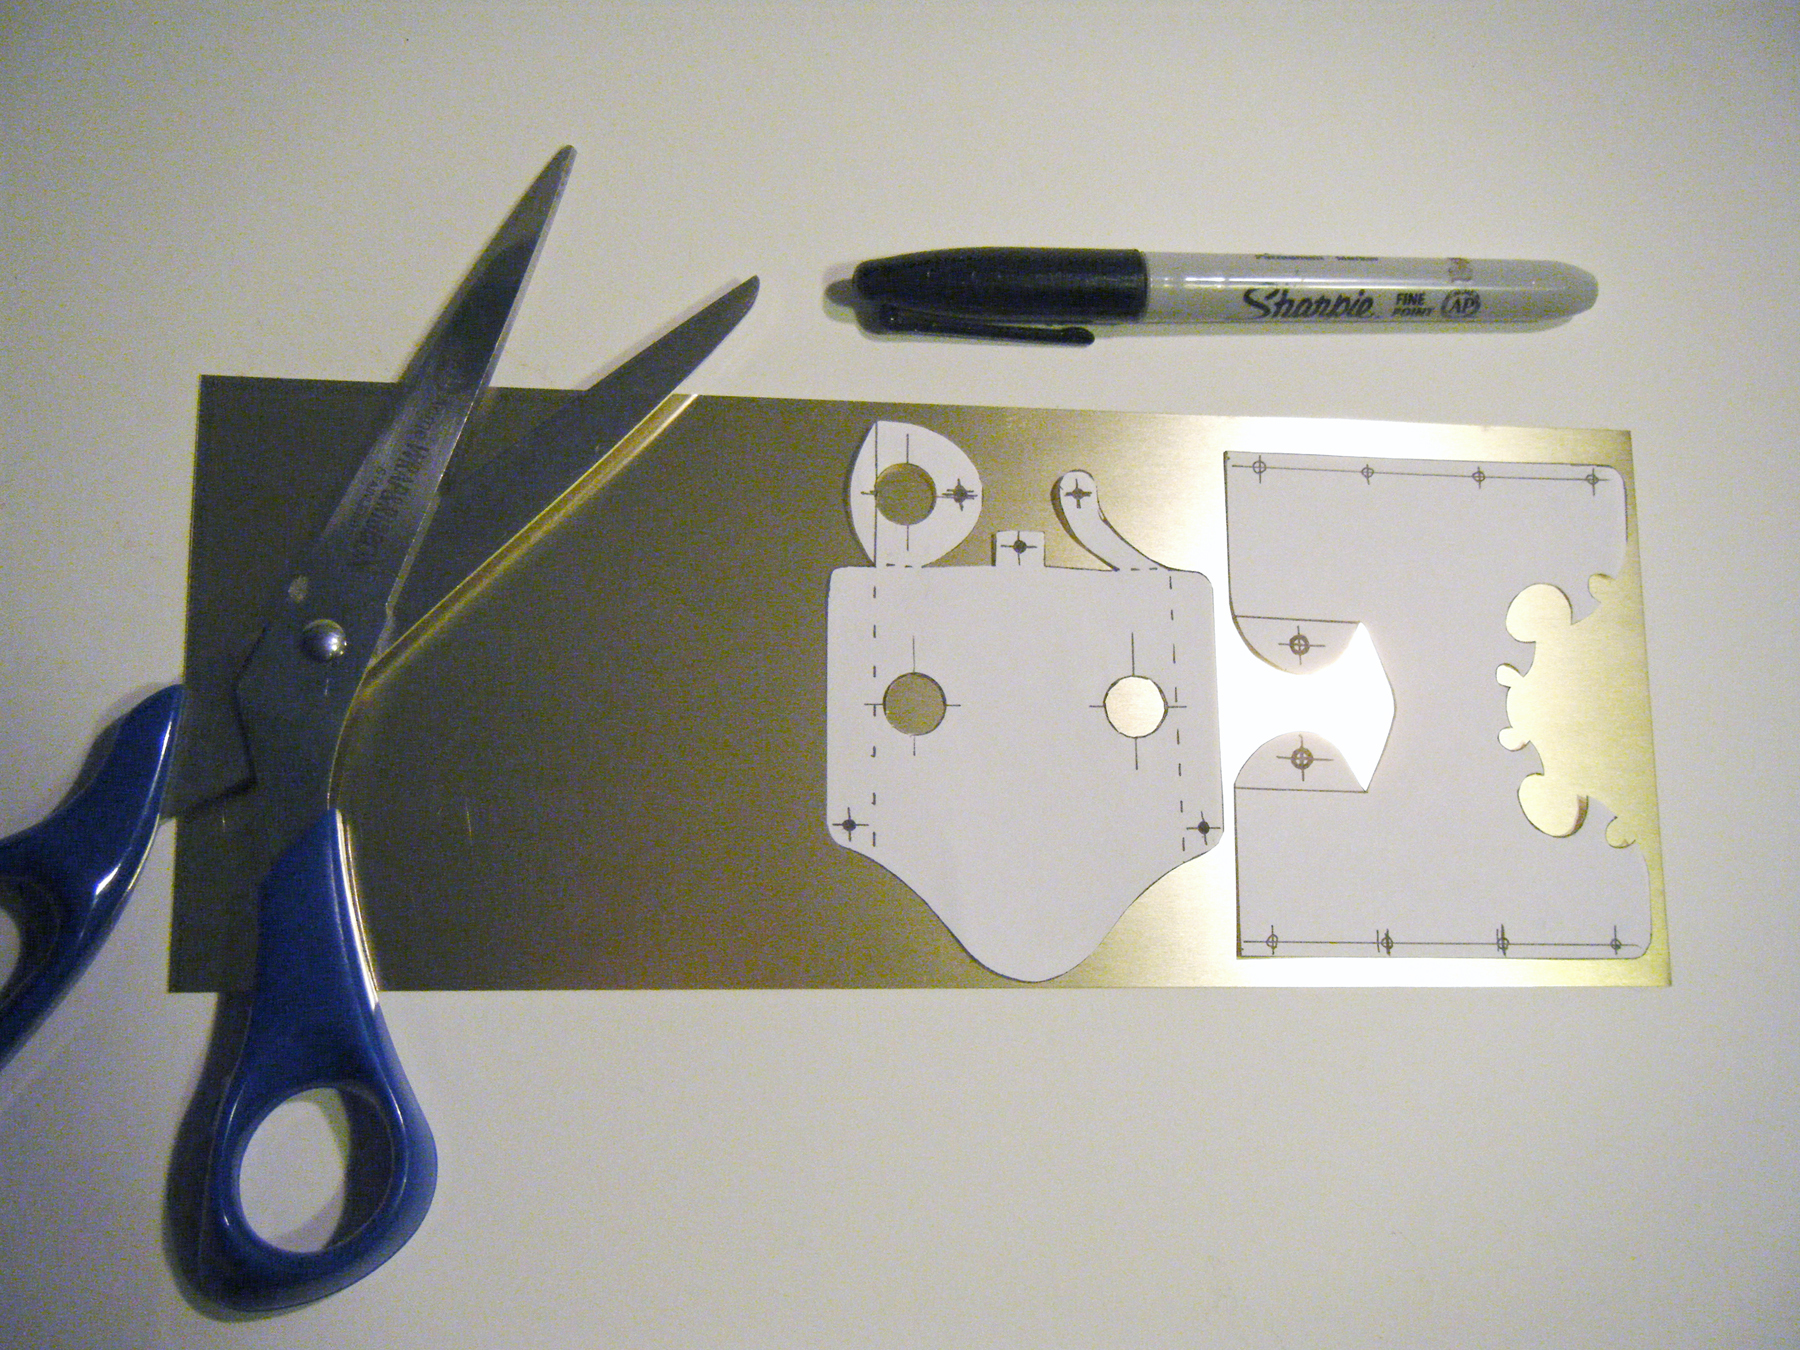
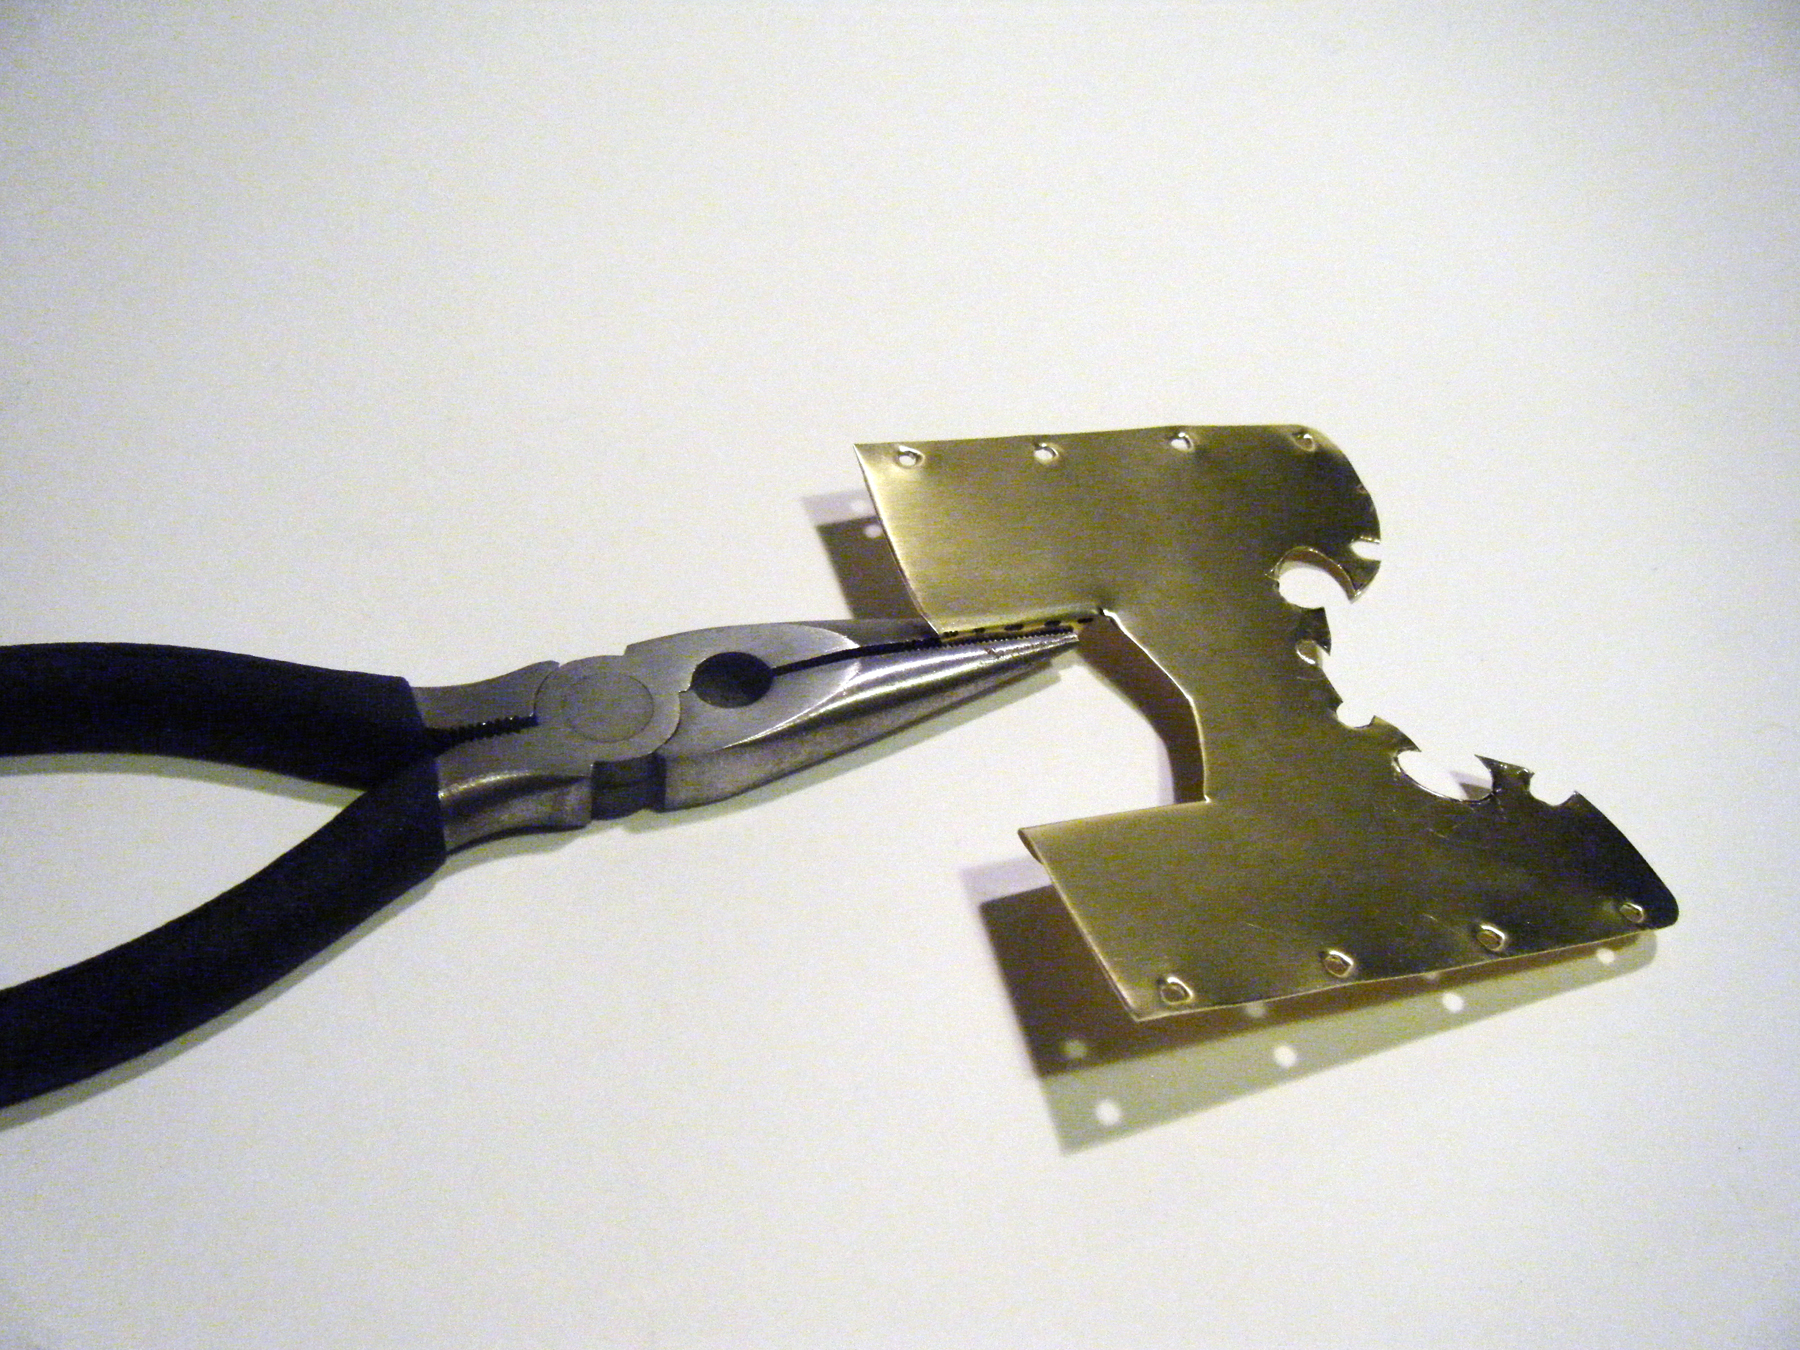
Print the 2 patterns, cut them out, and trace them onto the brass sheet with a marker. Be sure to mark carefully the dashed lines (where the metal folds) and all holes.

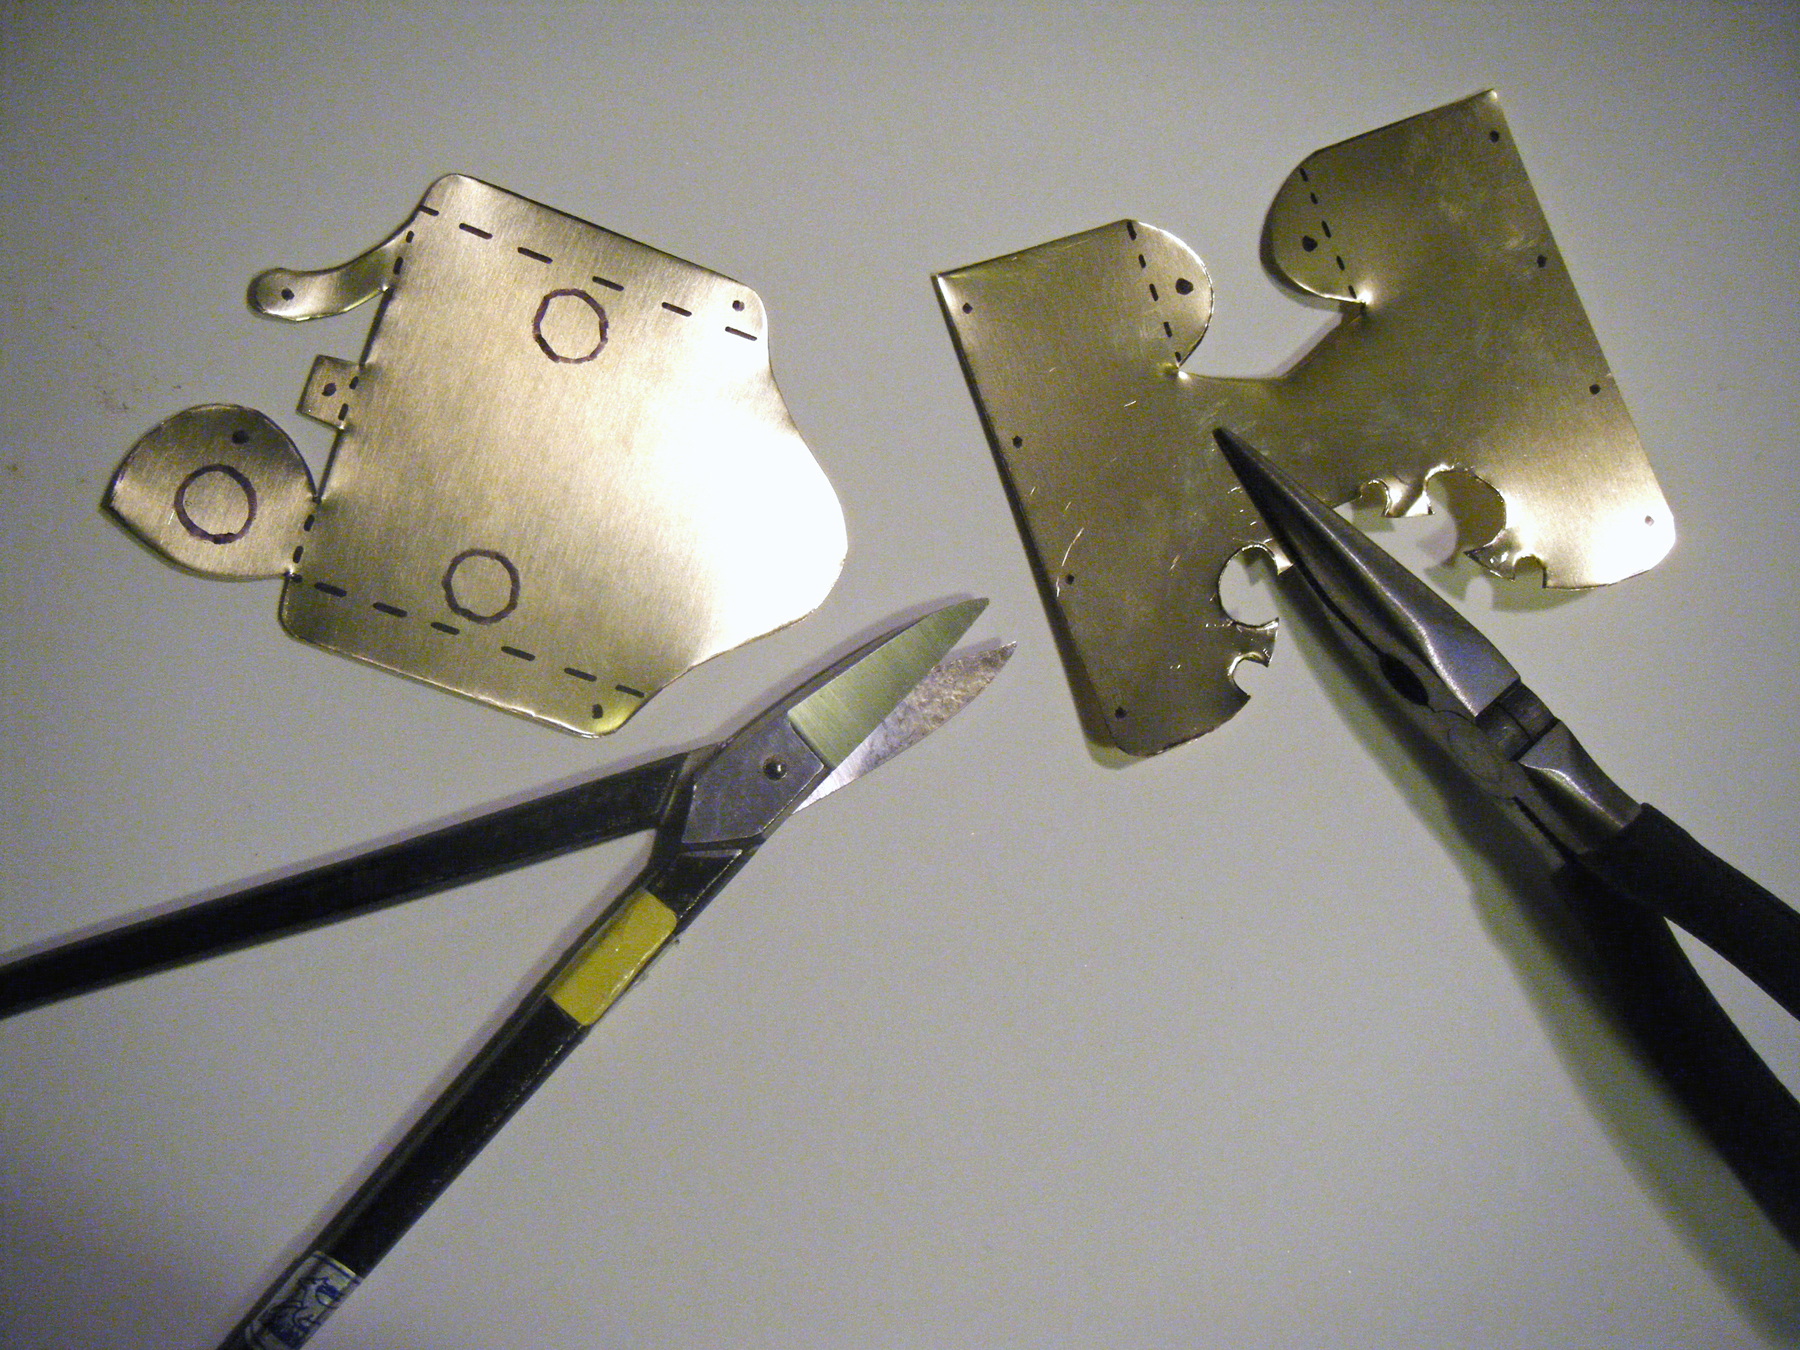
Use a pair of metal snips to cut out the shapes. Take your time. Don’t worry if the edges bend a little; this is normal. When you’re done cutting, use your pliers to flatten the edges out again.

Be careful not to cut yourself when cutting and bending sheet metal. I never use gloves, and my poor fingers hate me for it. Don’t be like me!

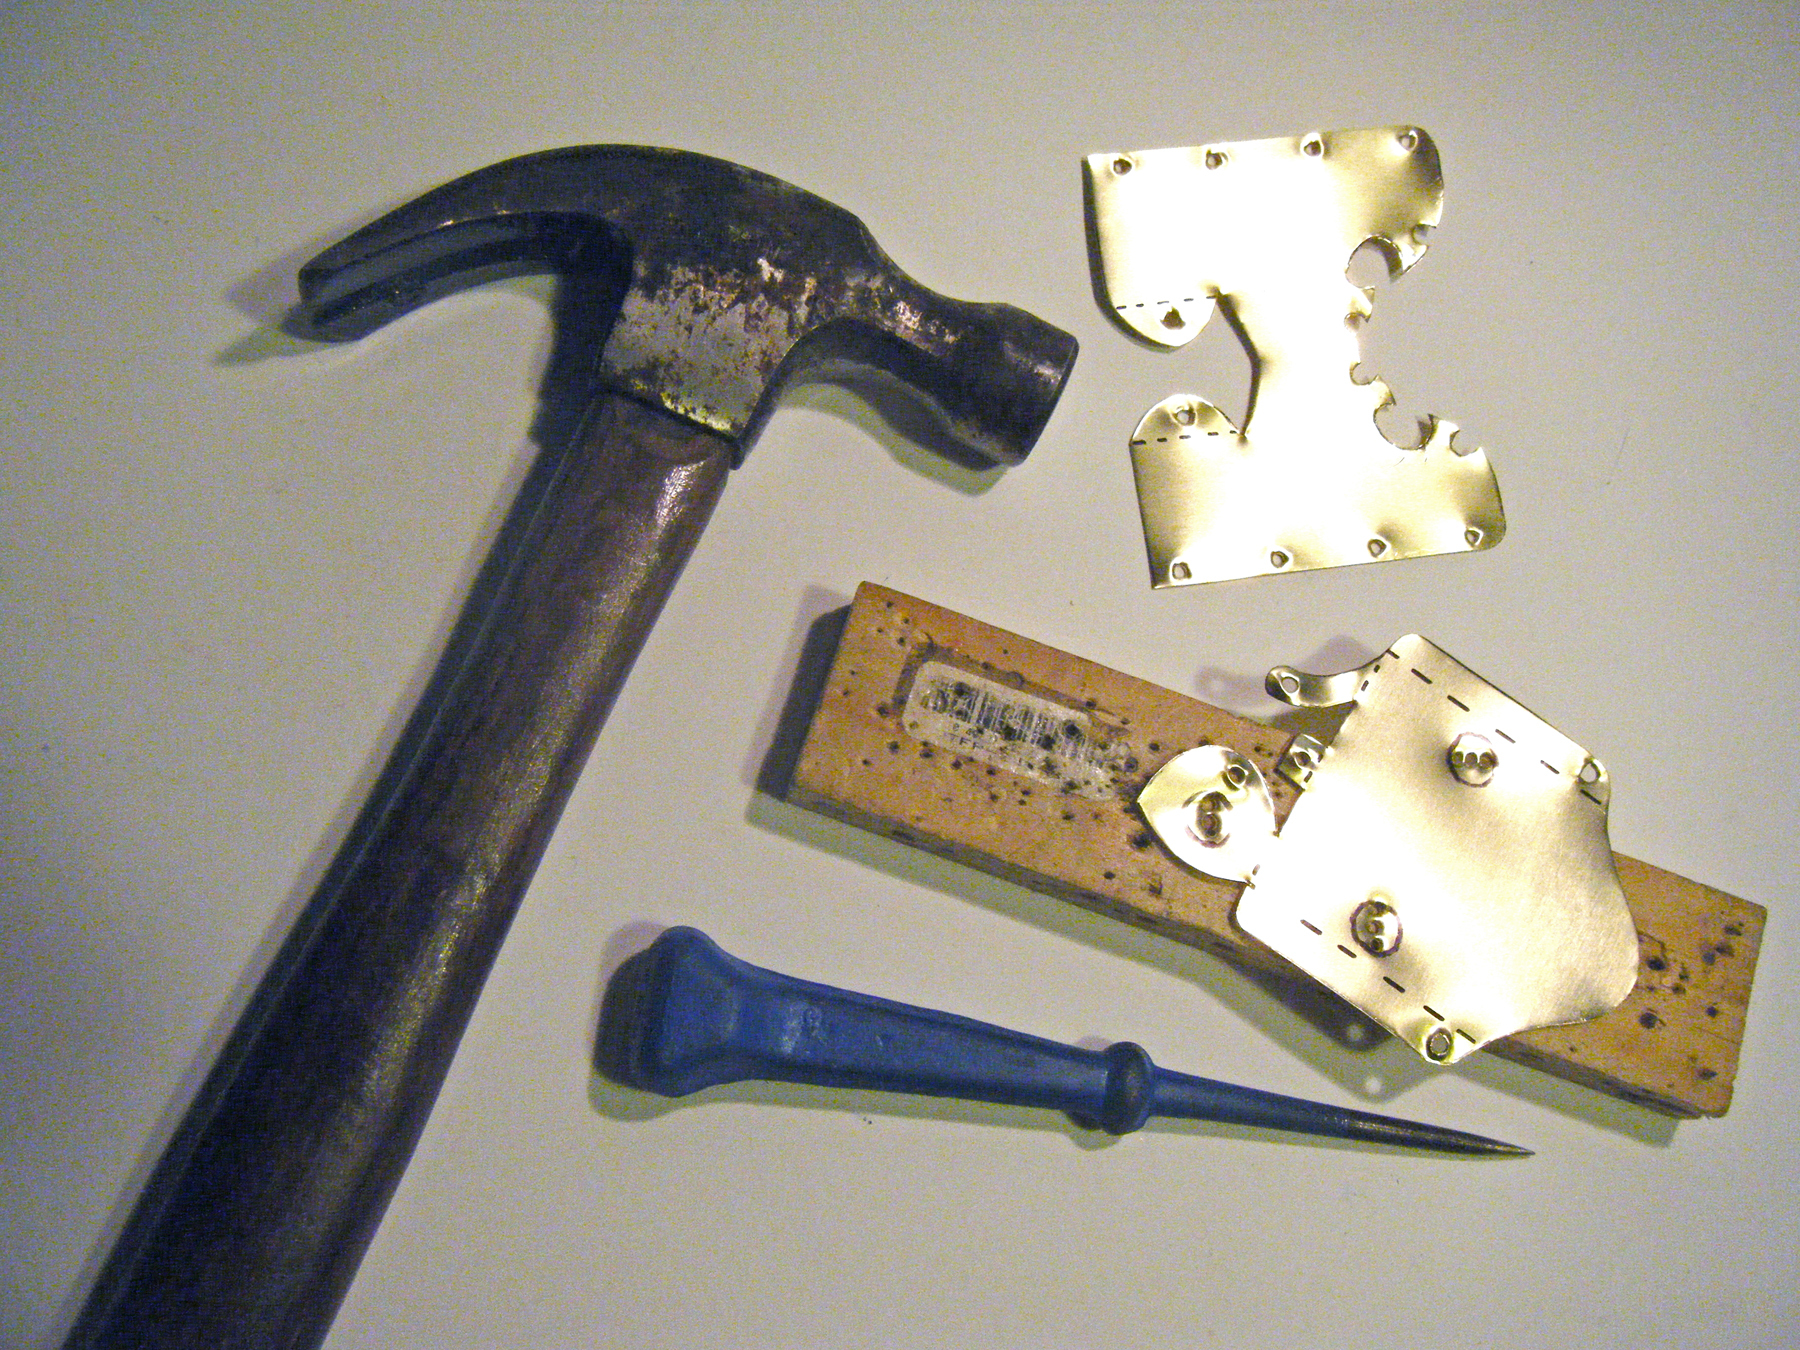
Set the metal shapes on a scrap of wood and use a hammer and hole punch to punch holes where marked. For larger holes, do a few punches and then cut the hole with snips. If the metal deforms as you cut, use your pliers to flatten it out afterward.

Bend both pieces on the dashed lines. Bend the rounded tabs away from the marks on the barrel piece, and bend the long sides and the back in toward the marks on the body piece.

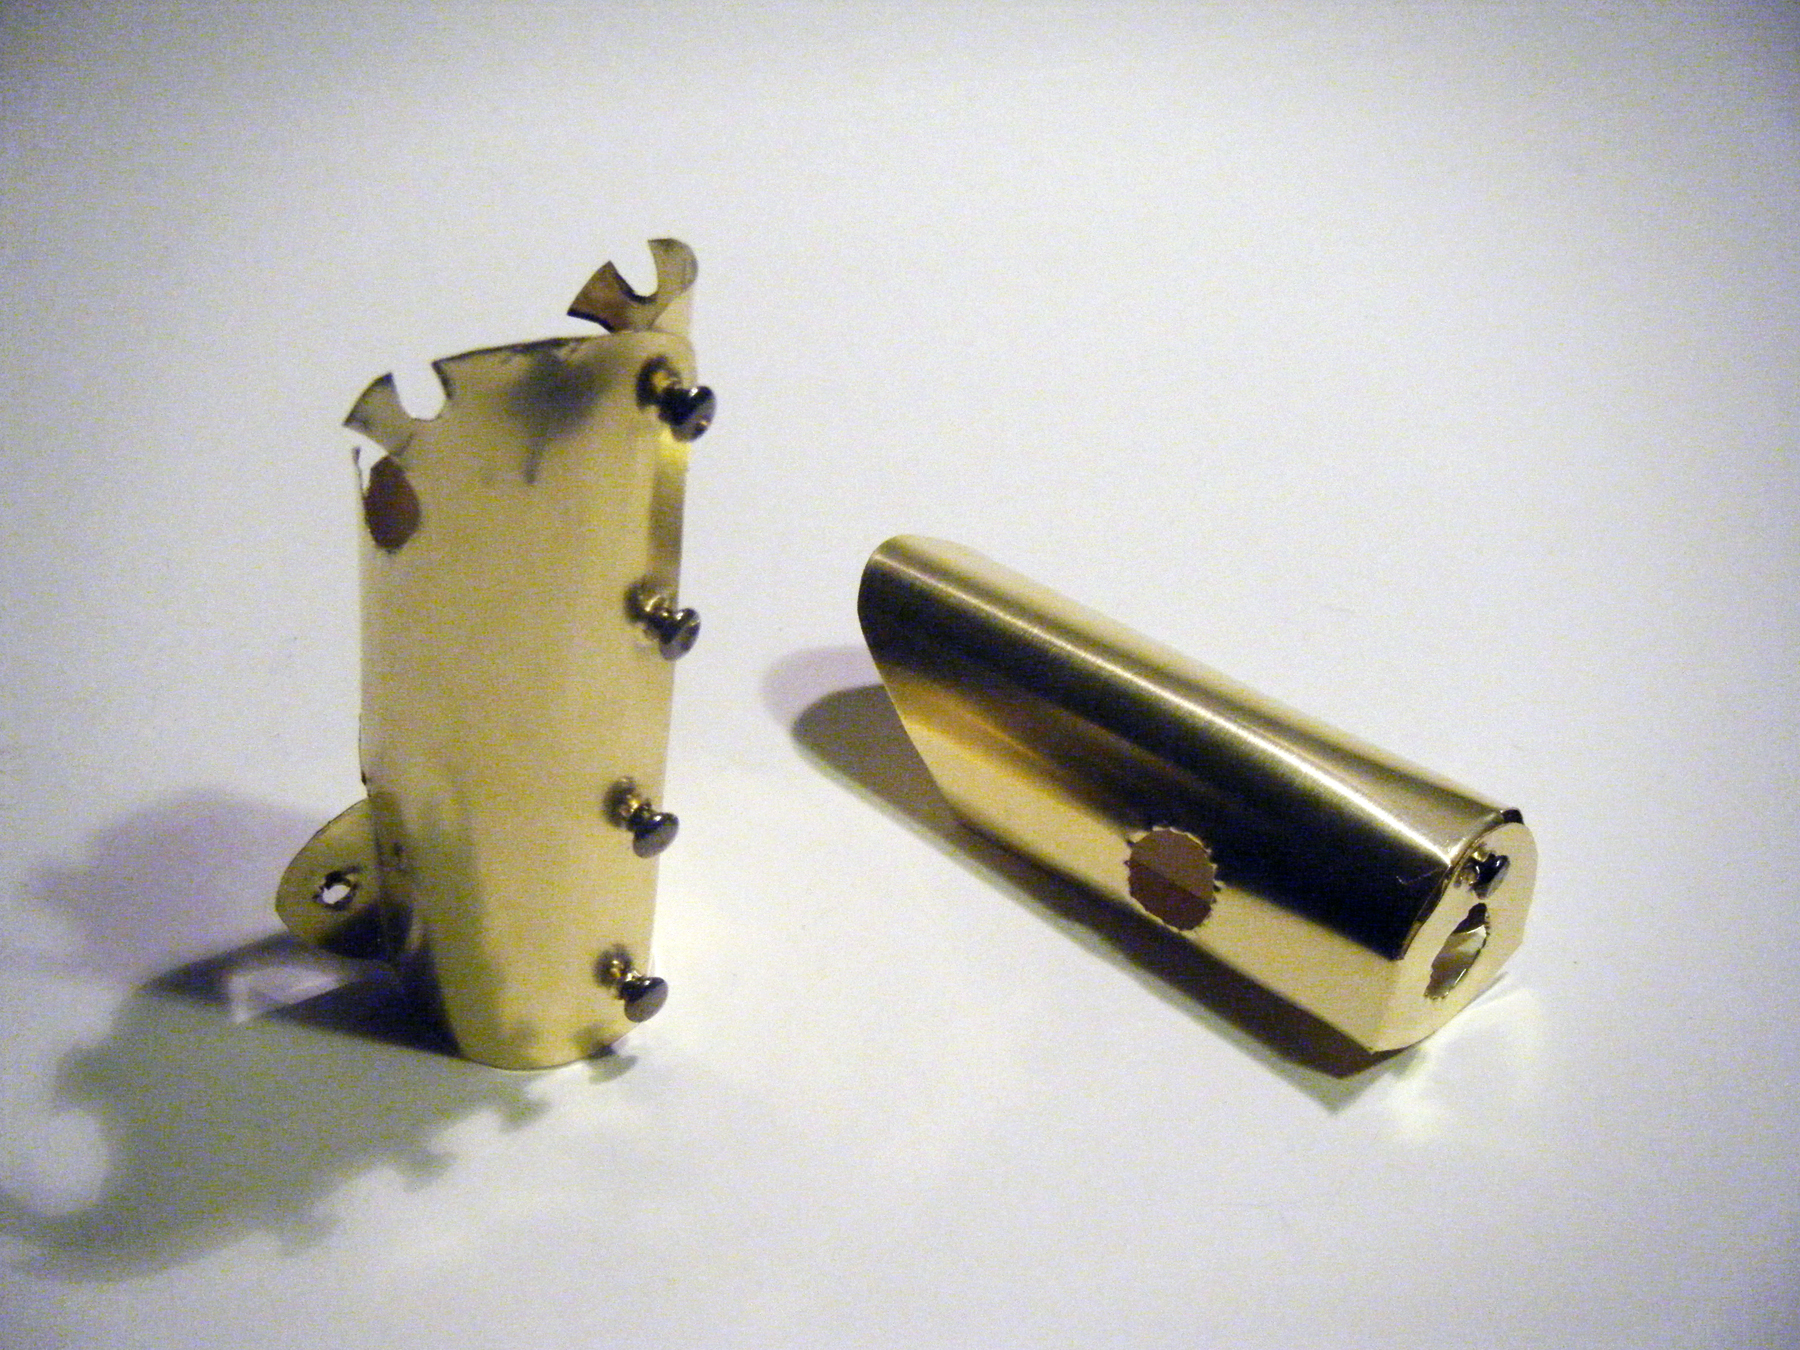
Bend both parts over to round them into tubular shapes as shown. Insert the rivets into the holes of the matched-up ends of the barrel piece. Don’t forget the single rivet that goes through 3 holes on the backside of the body piece.

To pound the rivets into the barrel piece, you’ll need a metal rod. Slip the piece over the rod and hammer the rivets. Use the rivet setting tool to reach the inside of the single rivet on the body piece.

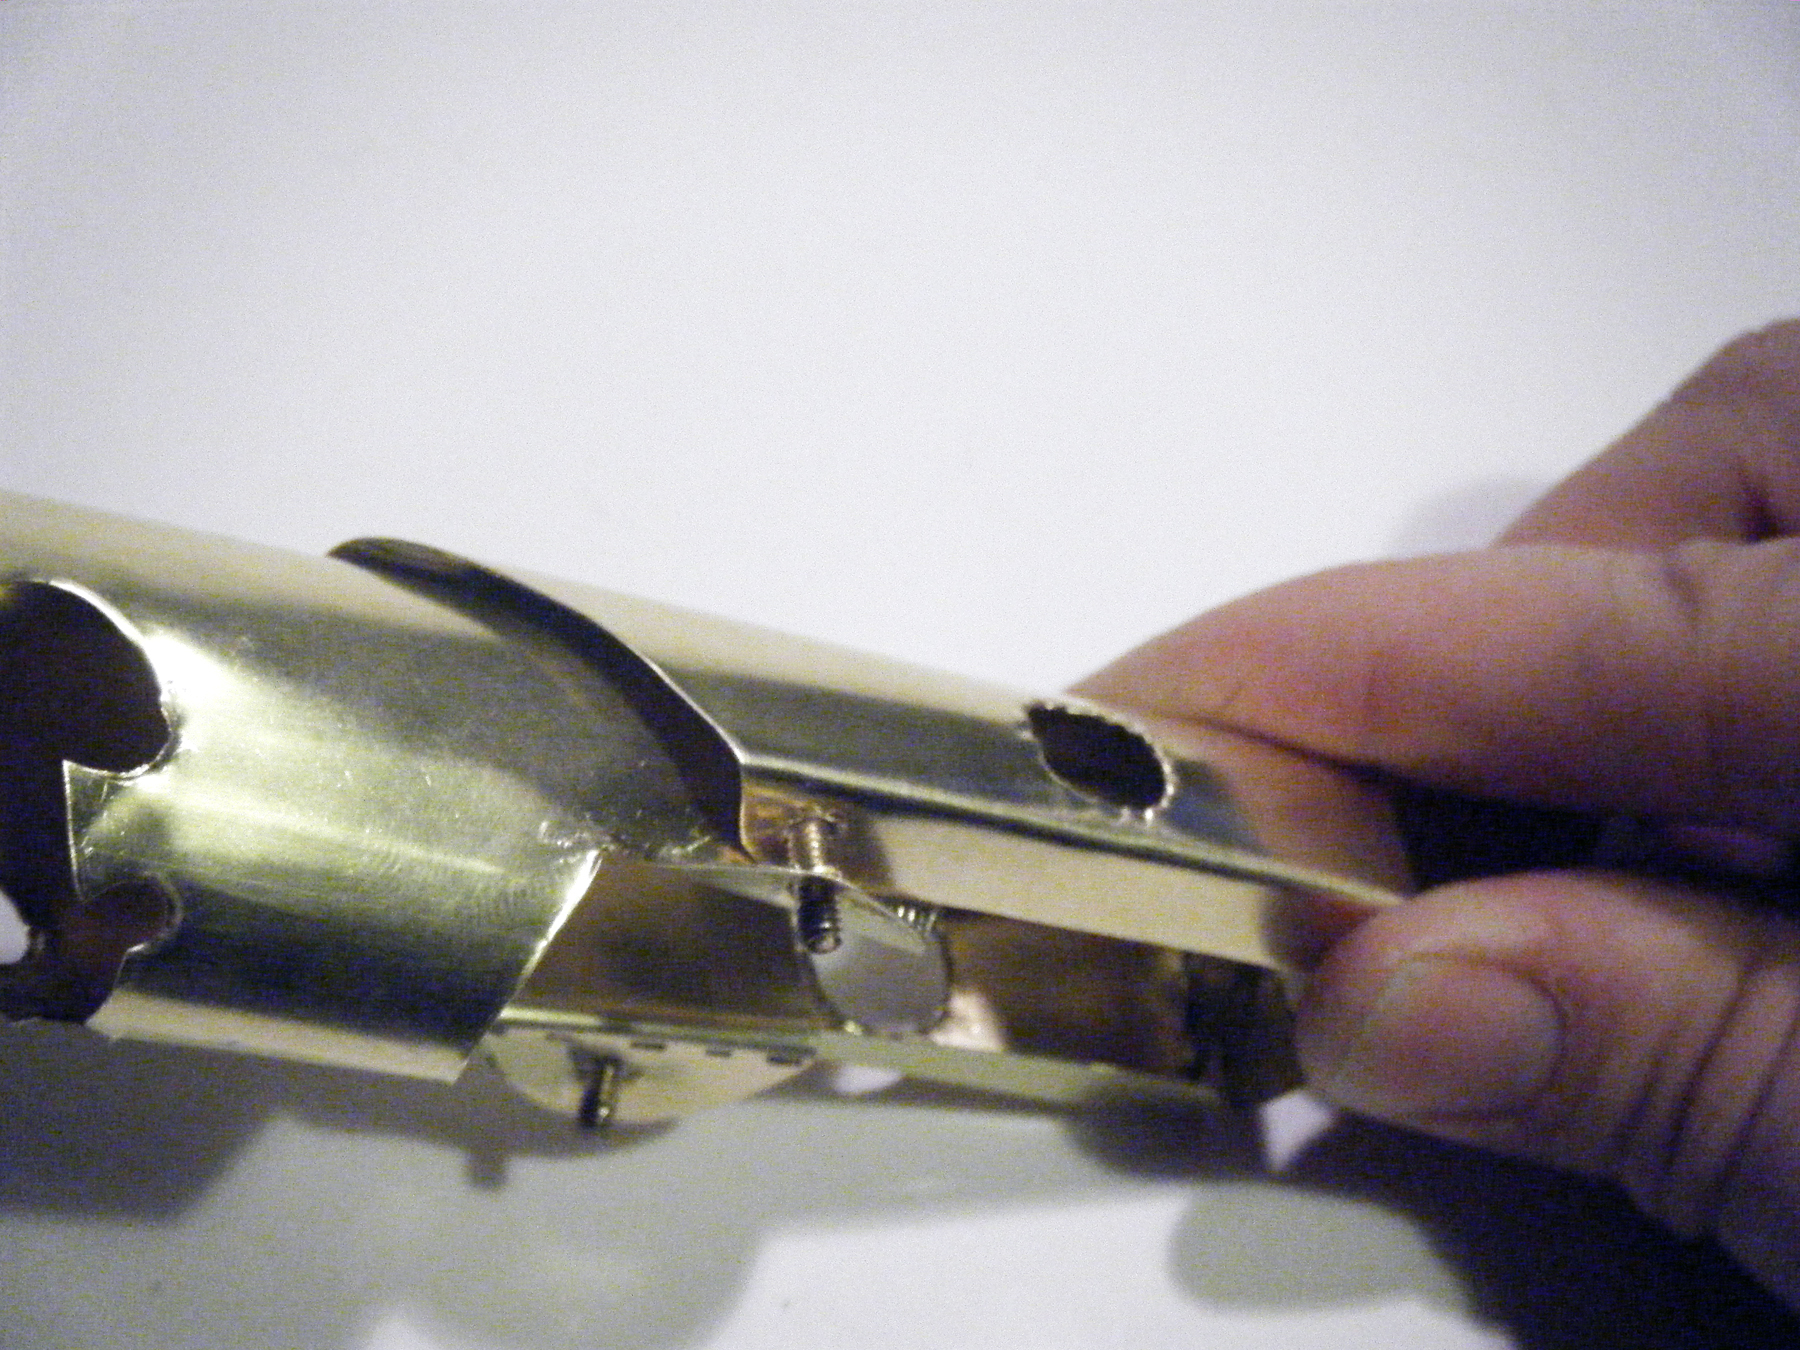
Slide the open end of the body piece over the end of the barrel at the rounded tabs. The holes from the folded sides of the body should line up with the holes in the rounded tabs on the barrel. From the inside, insert a 4-40×2″ slotted round machine bolt through each set of lined-up holes.

Add the back.

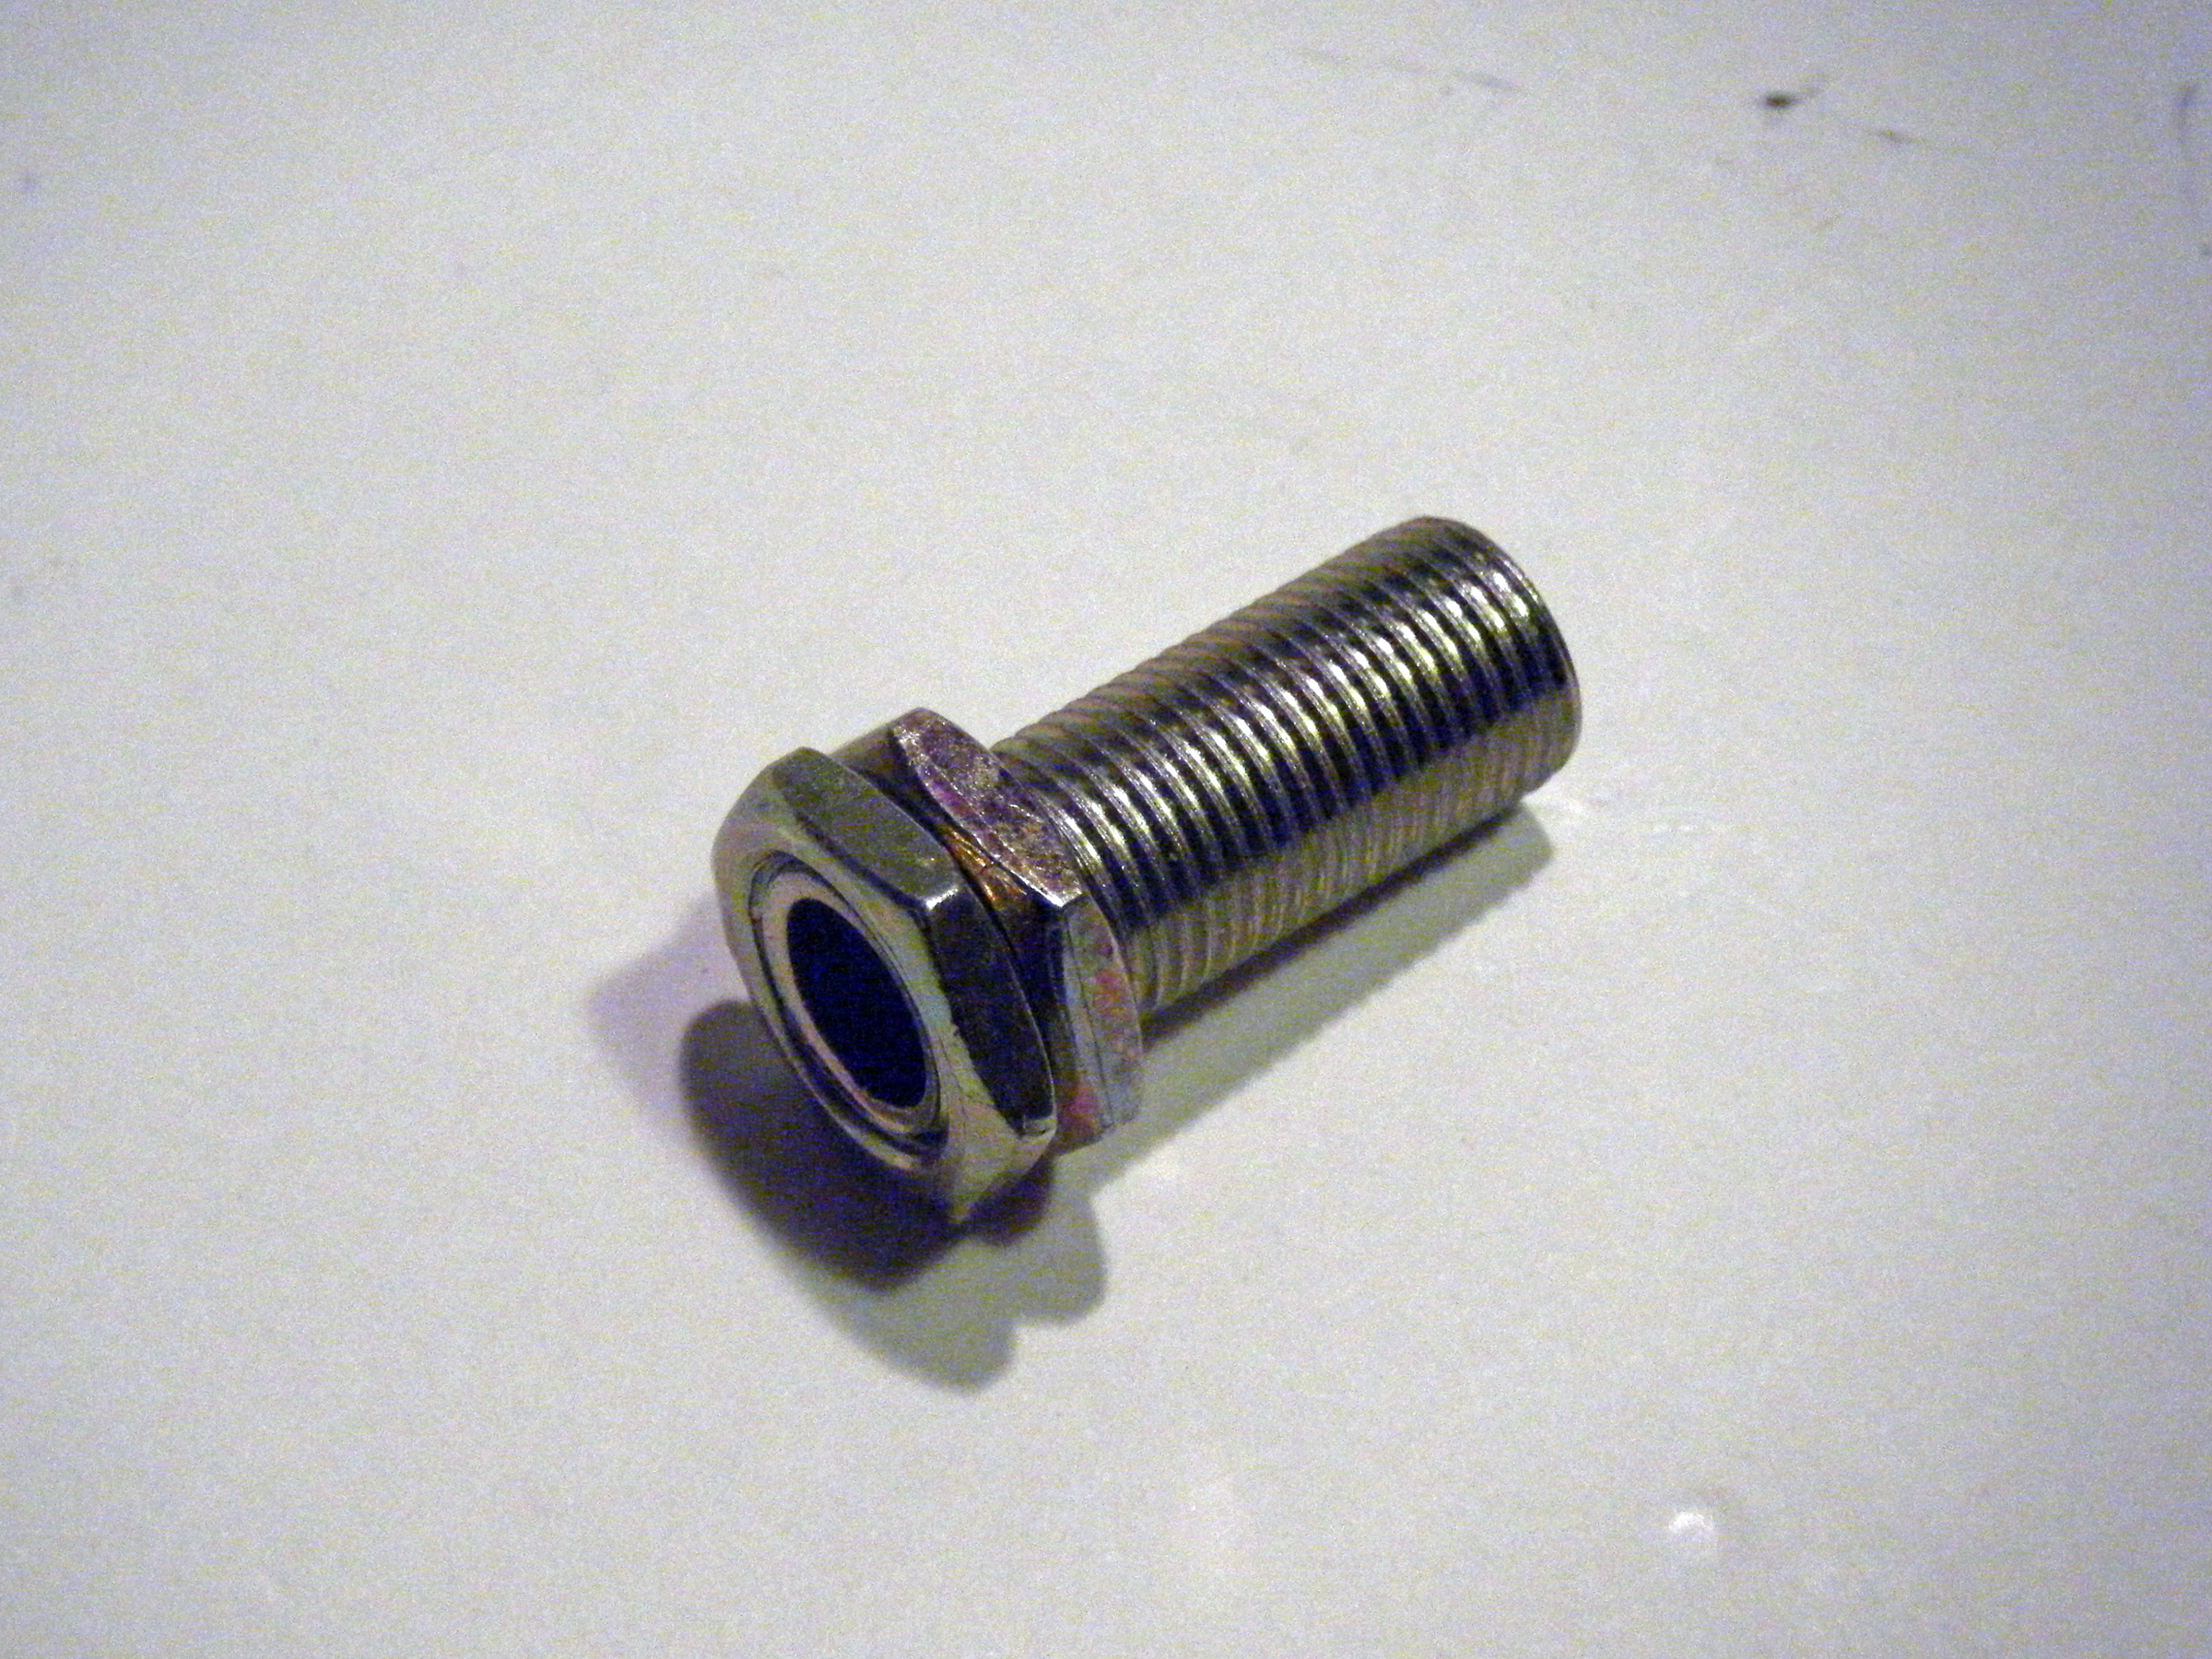
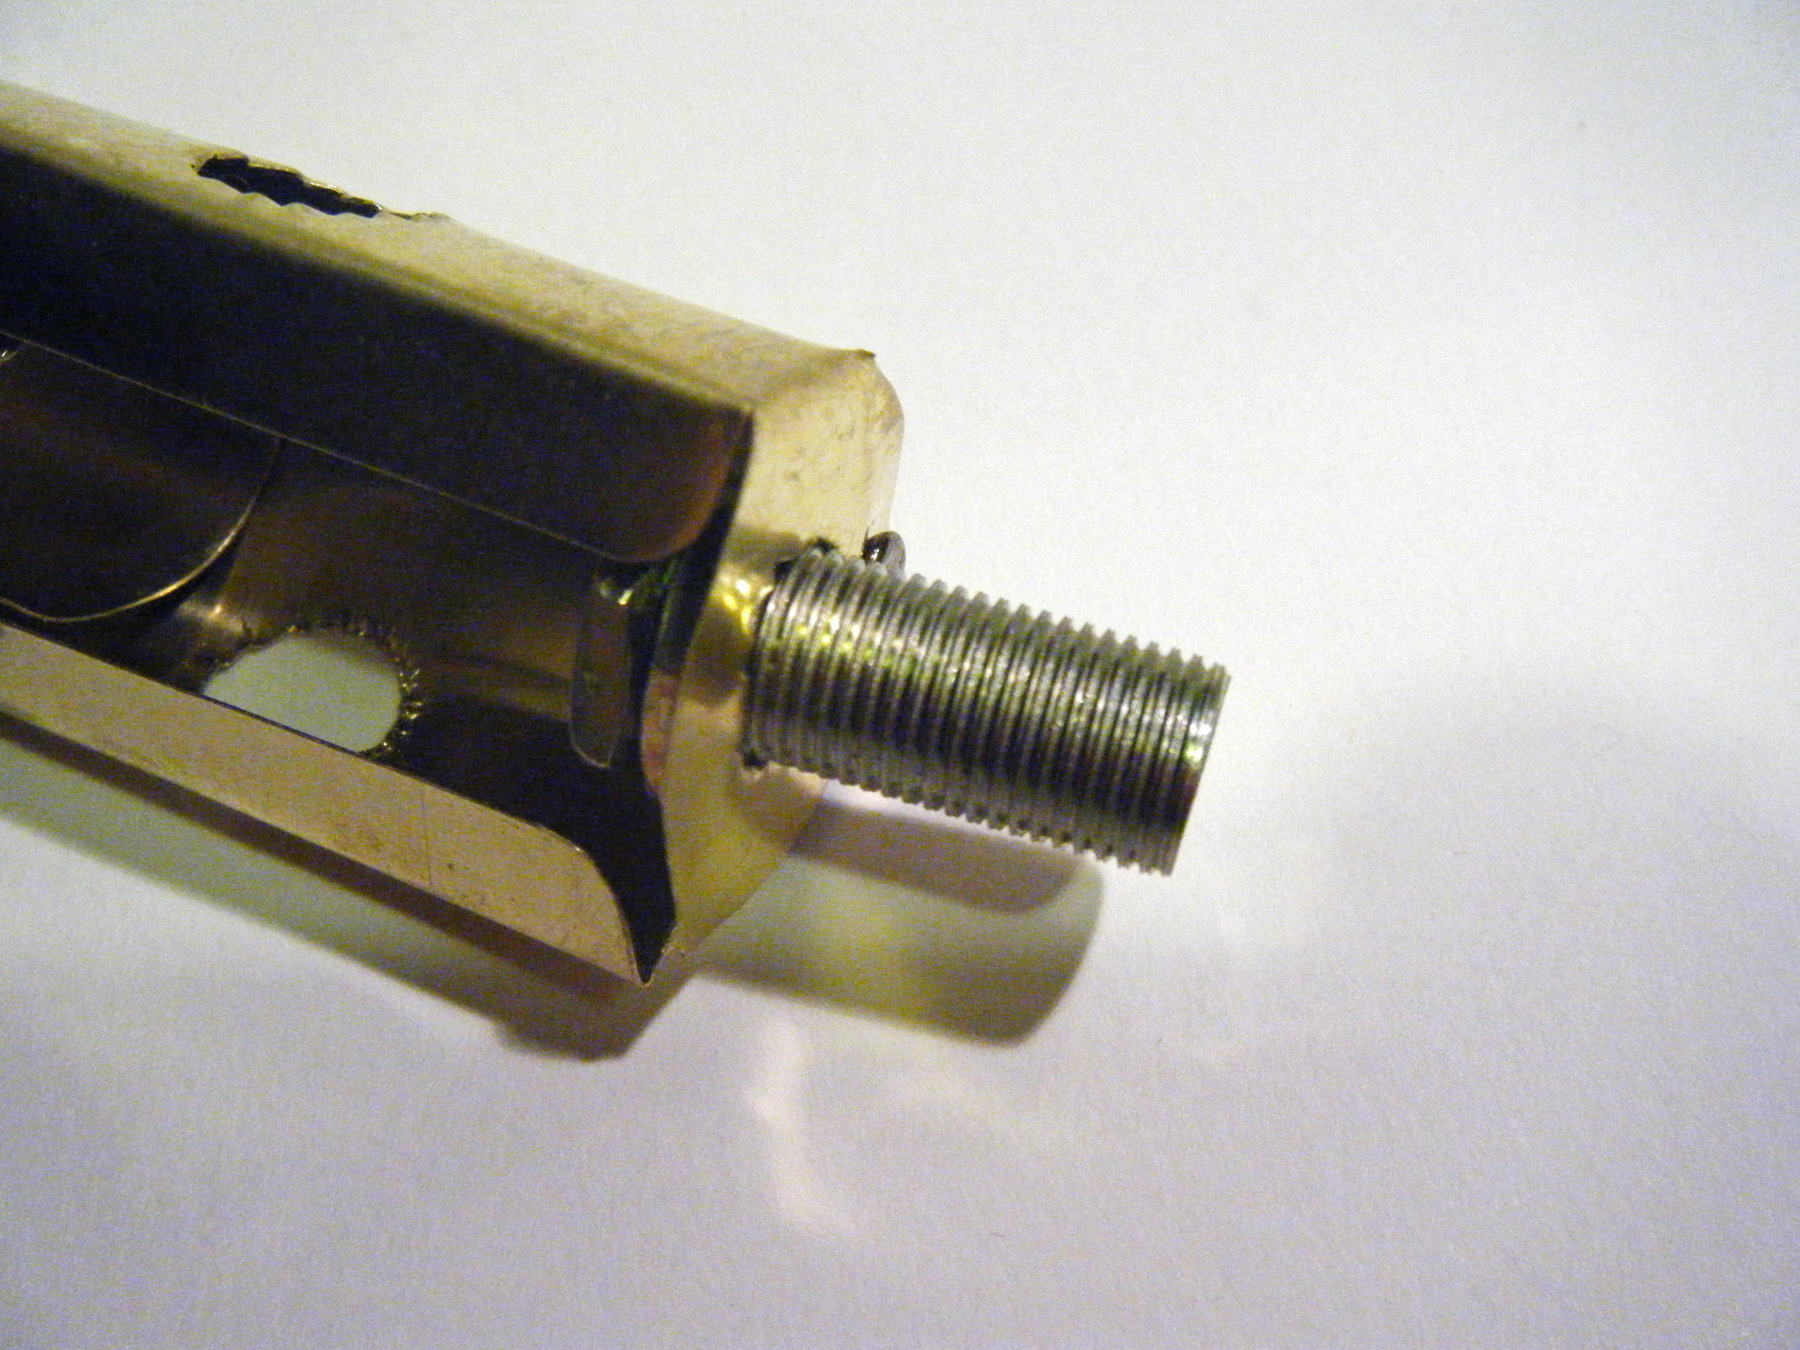
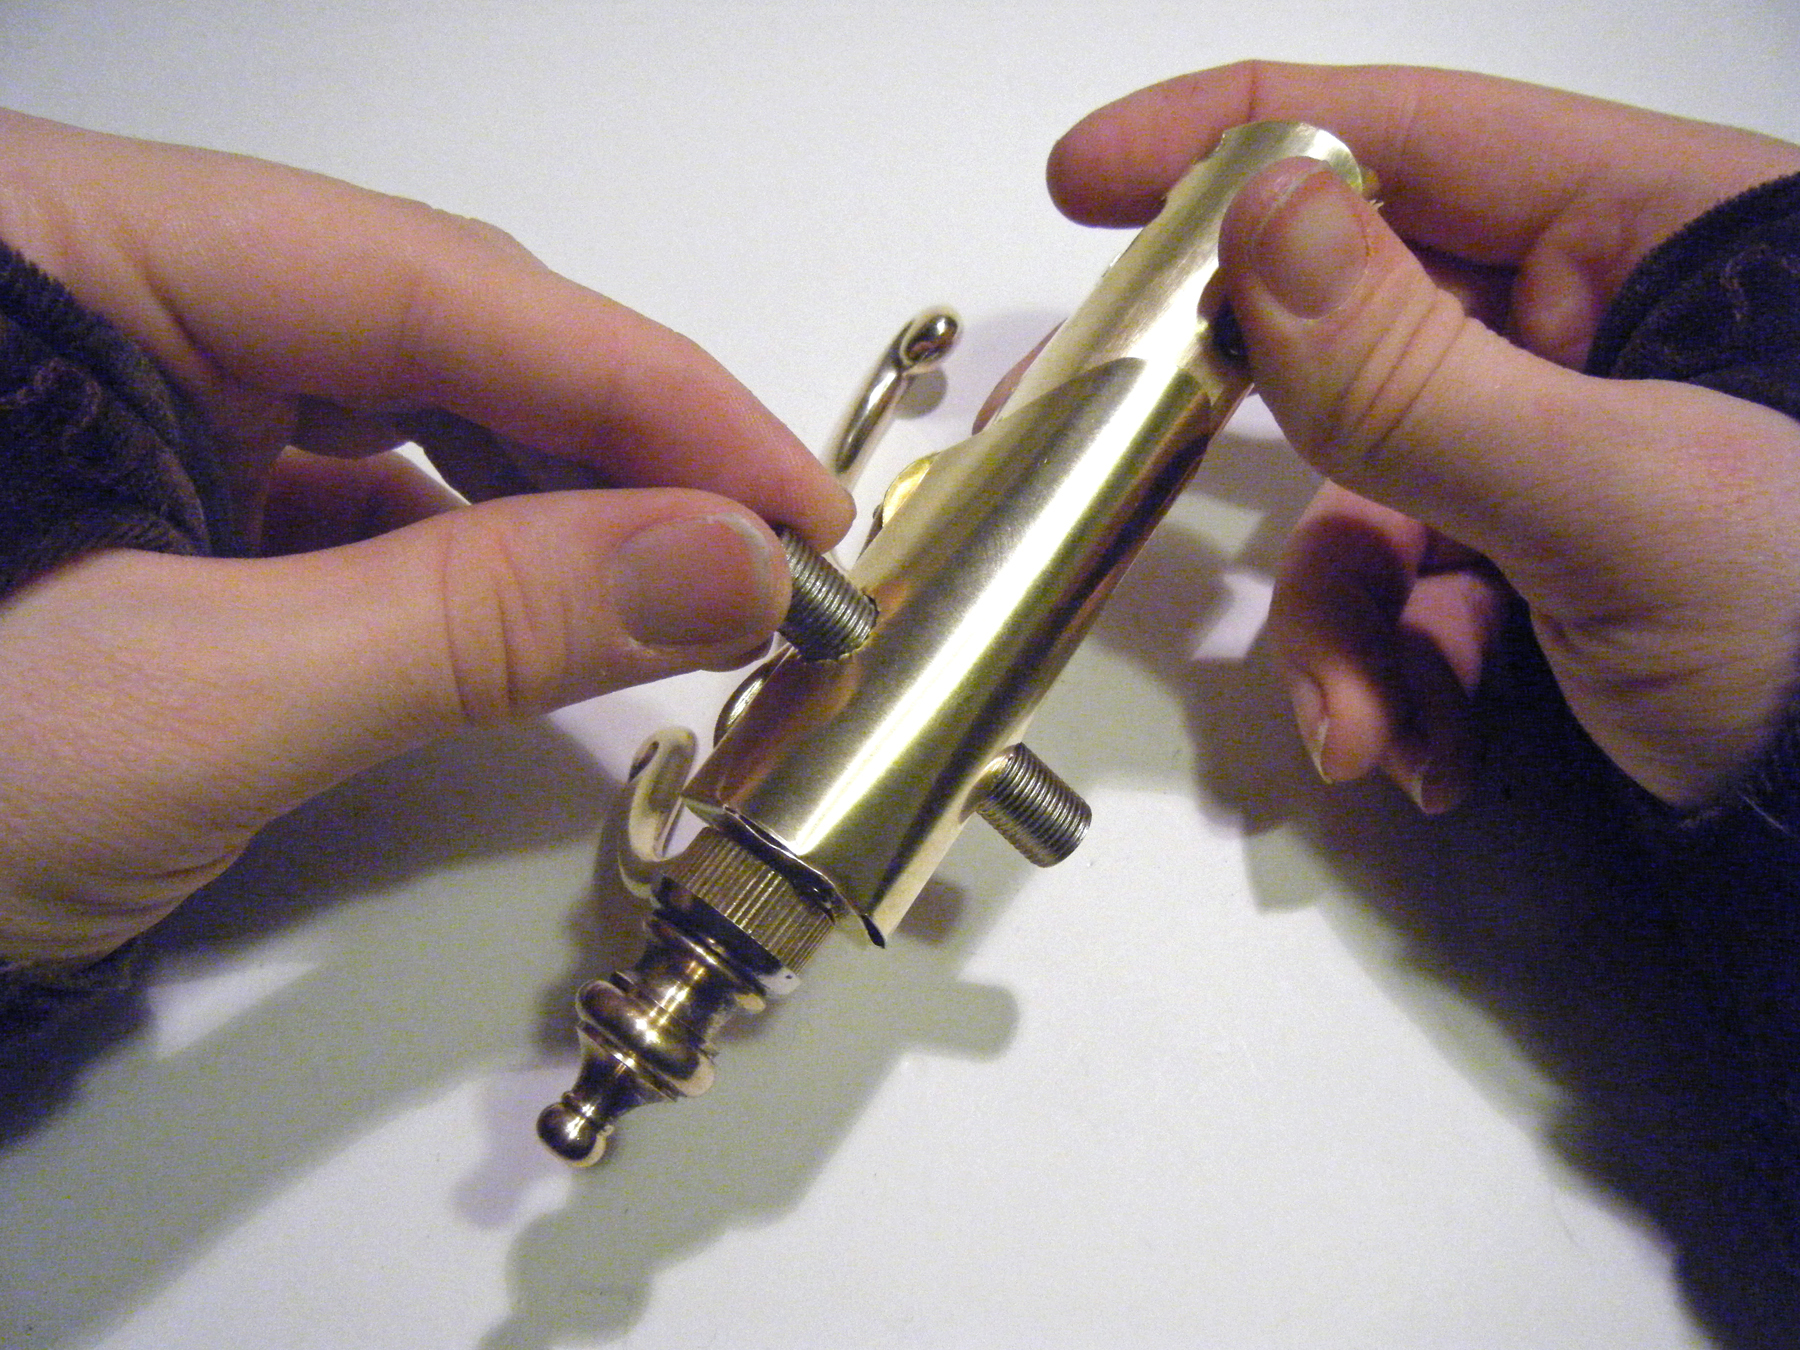
Put the hex nuts on one end of the 1″ lamp nipple, tightening them against each other so they don’t slide around.

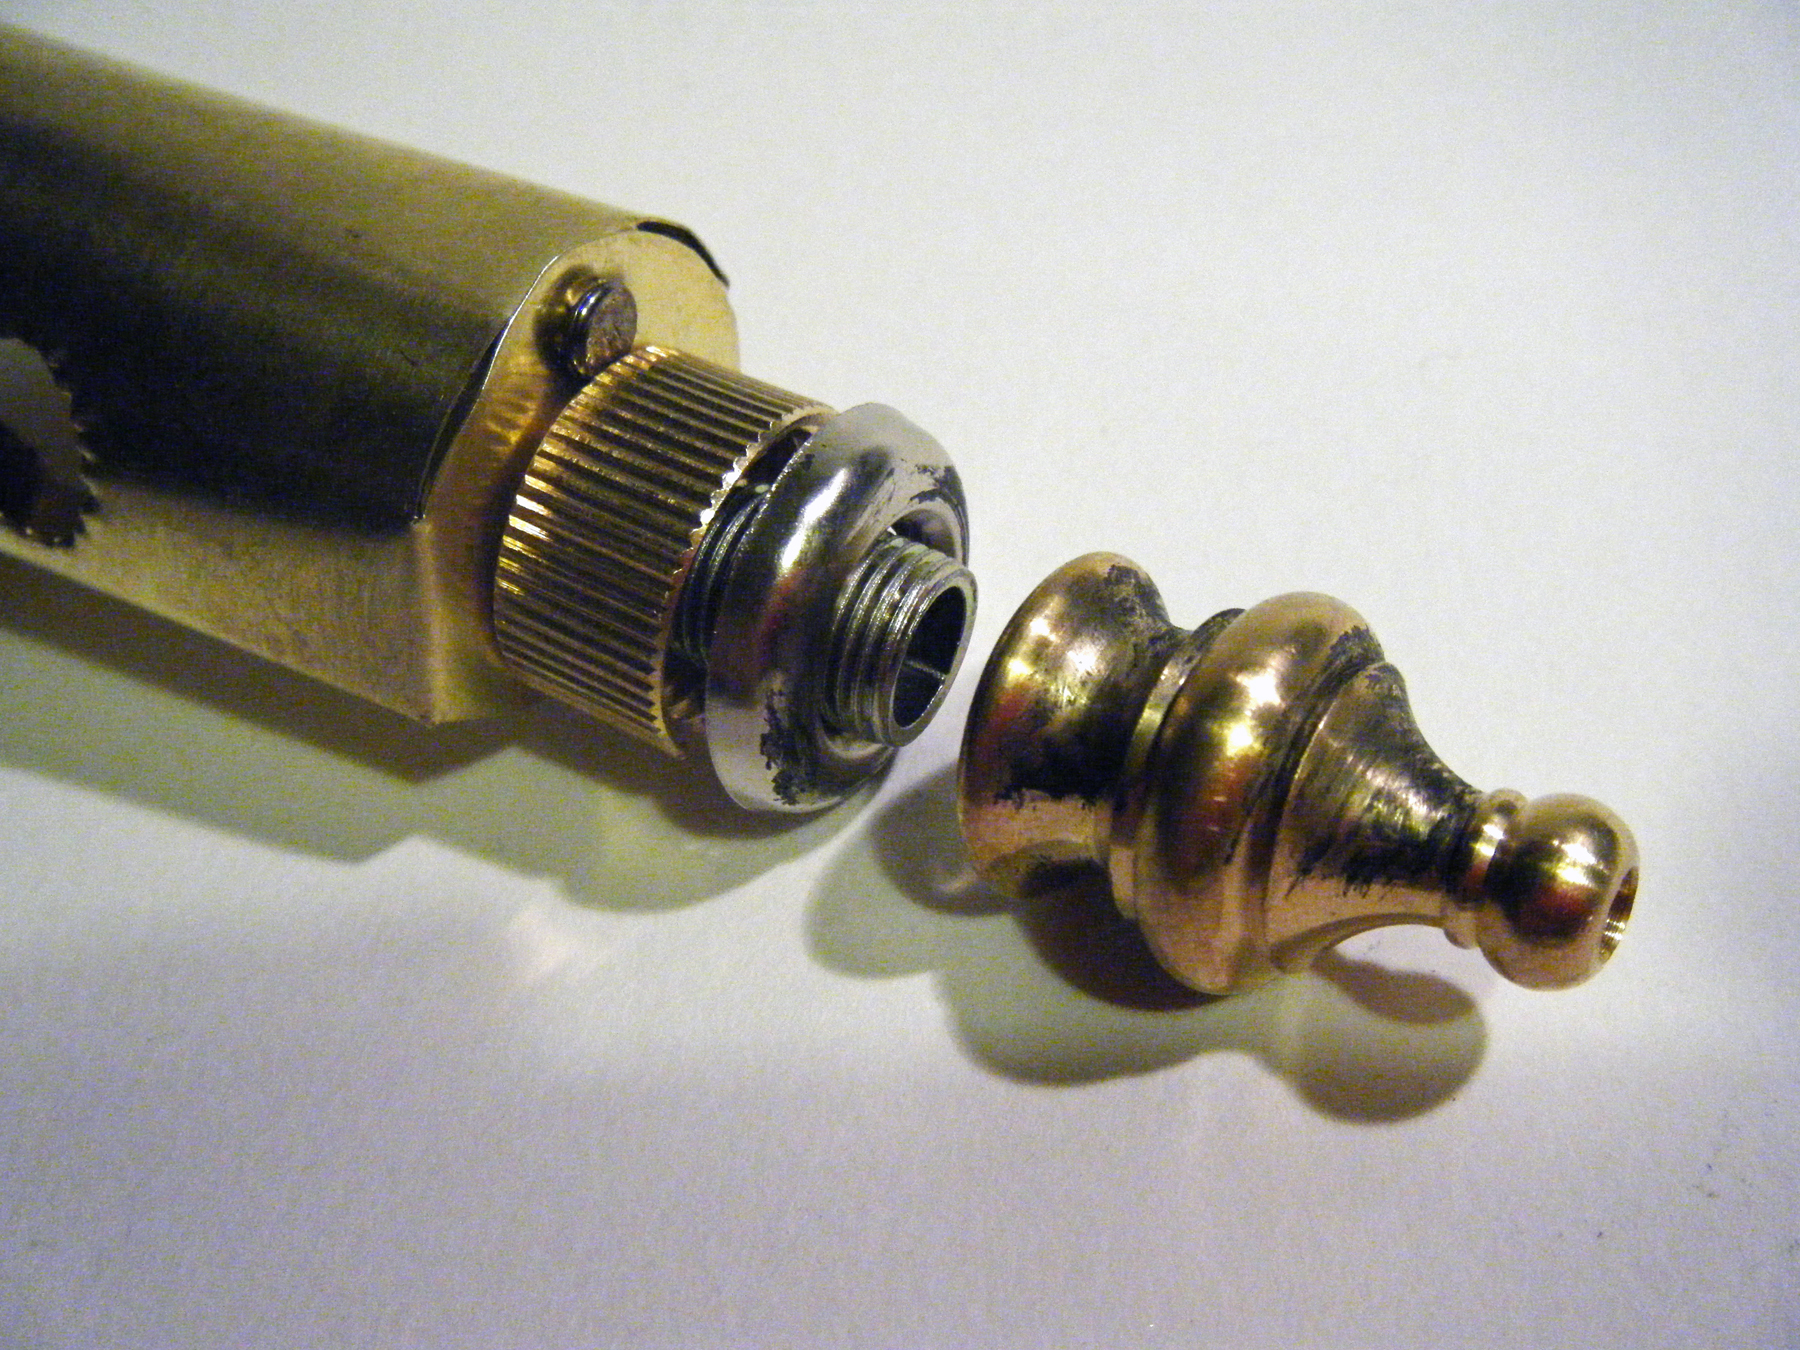
Slide the other end of the nipple through the large hole on the back of the body. Add the 3/8″ to 1/8IPS reducer, the nickel-finish washer, and the 1″ lamp knob finial. The center of my washer was too small for the nipple, so I used the metal snips to cut the hole a little larger.

Attach the handle.

This is the trickiest part and takes patience.

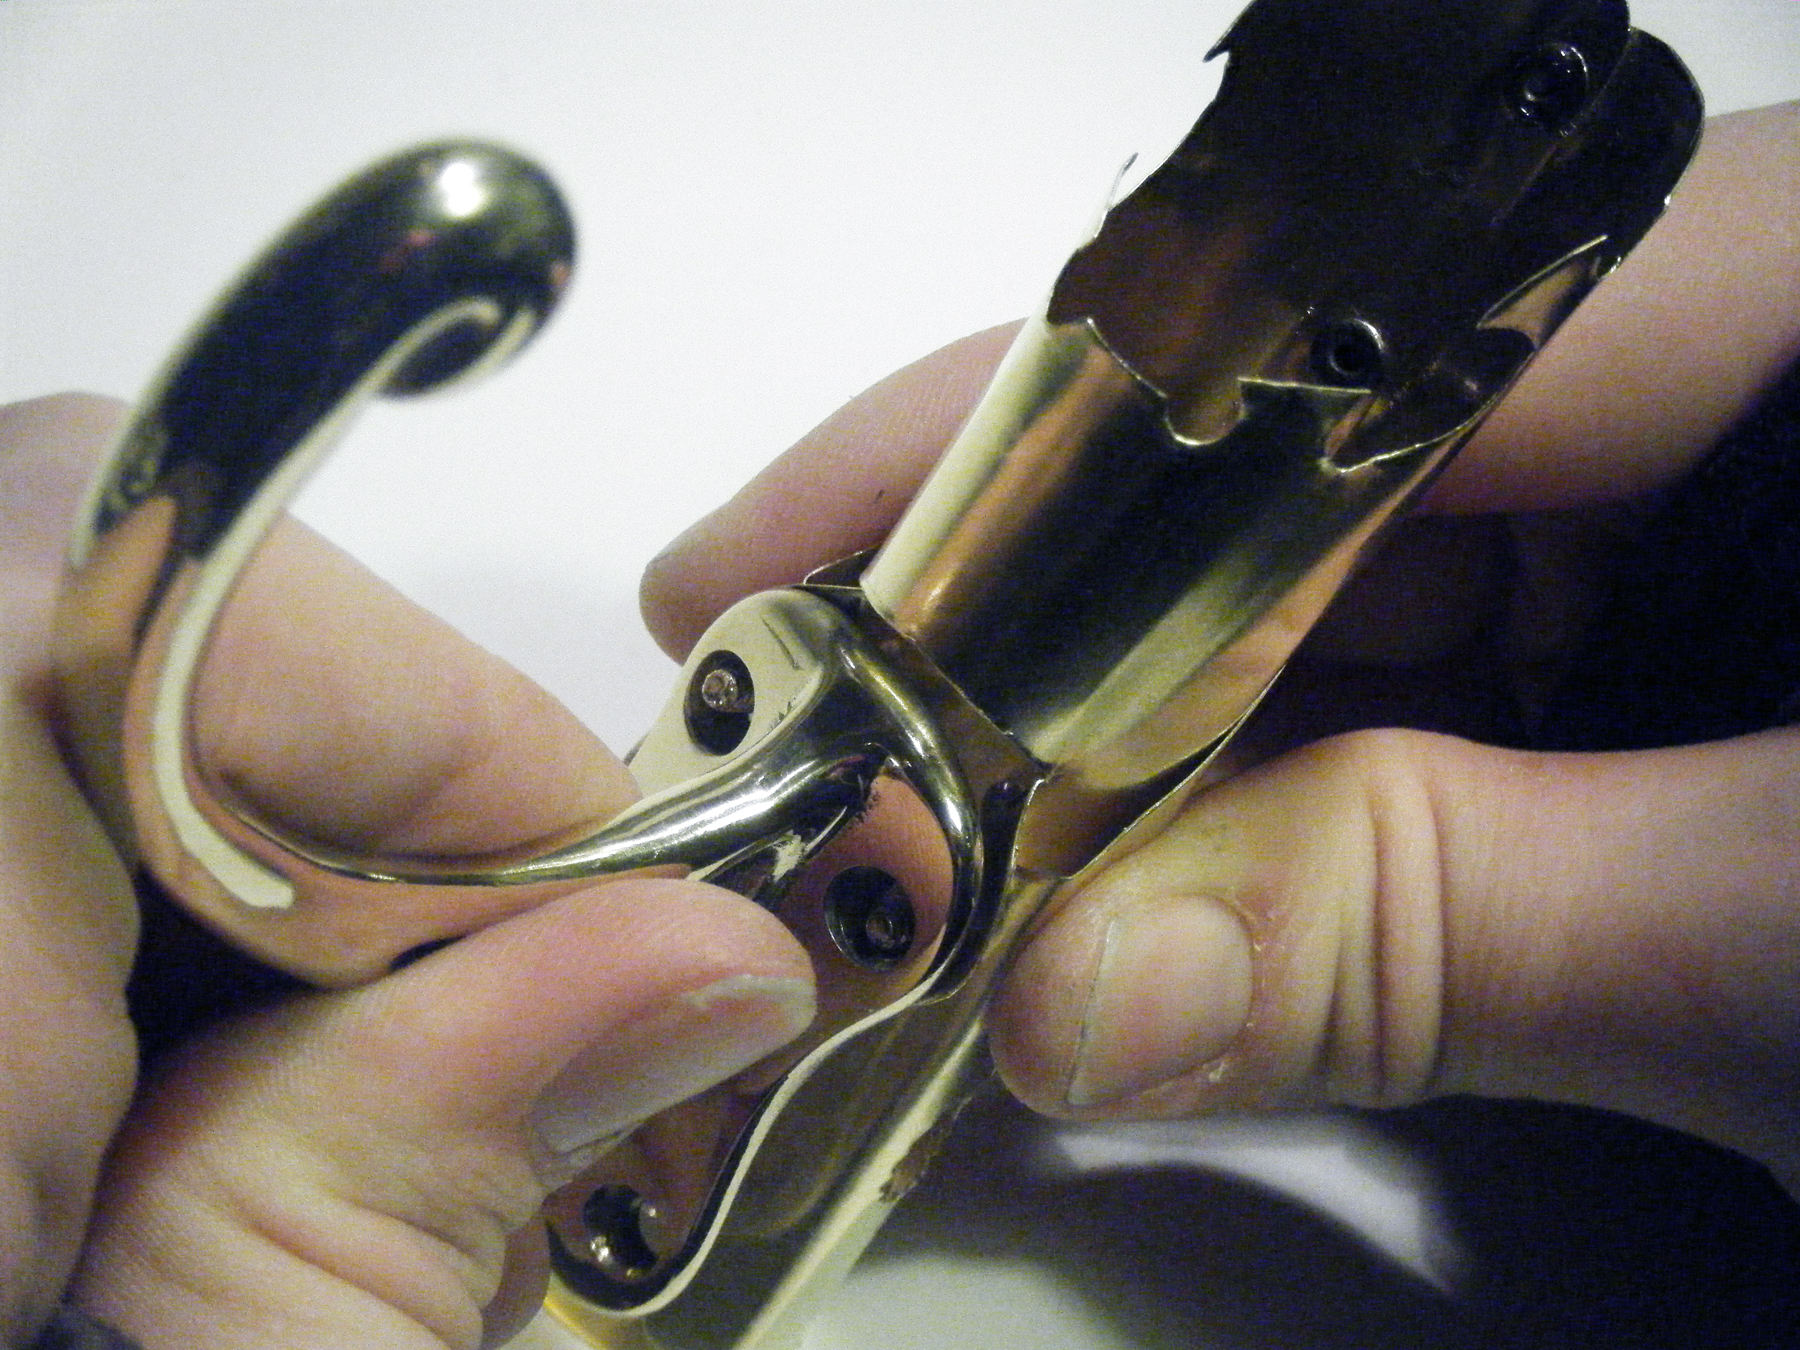
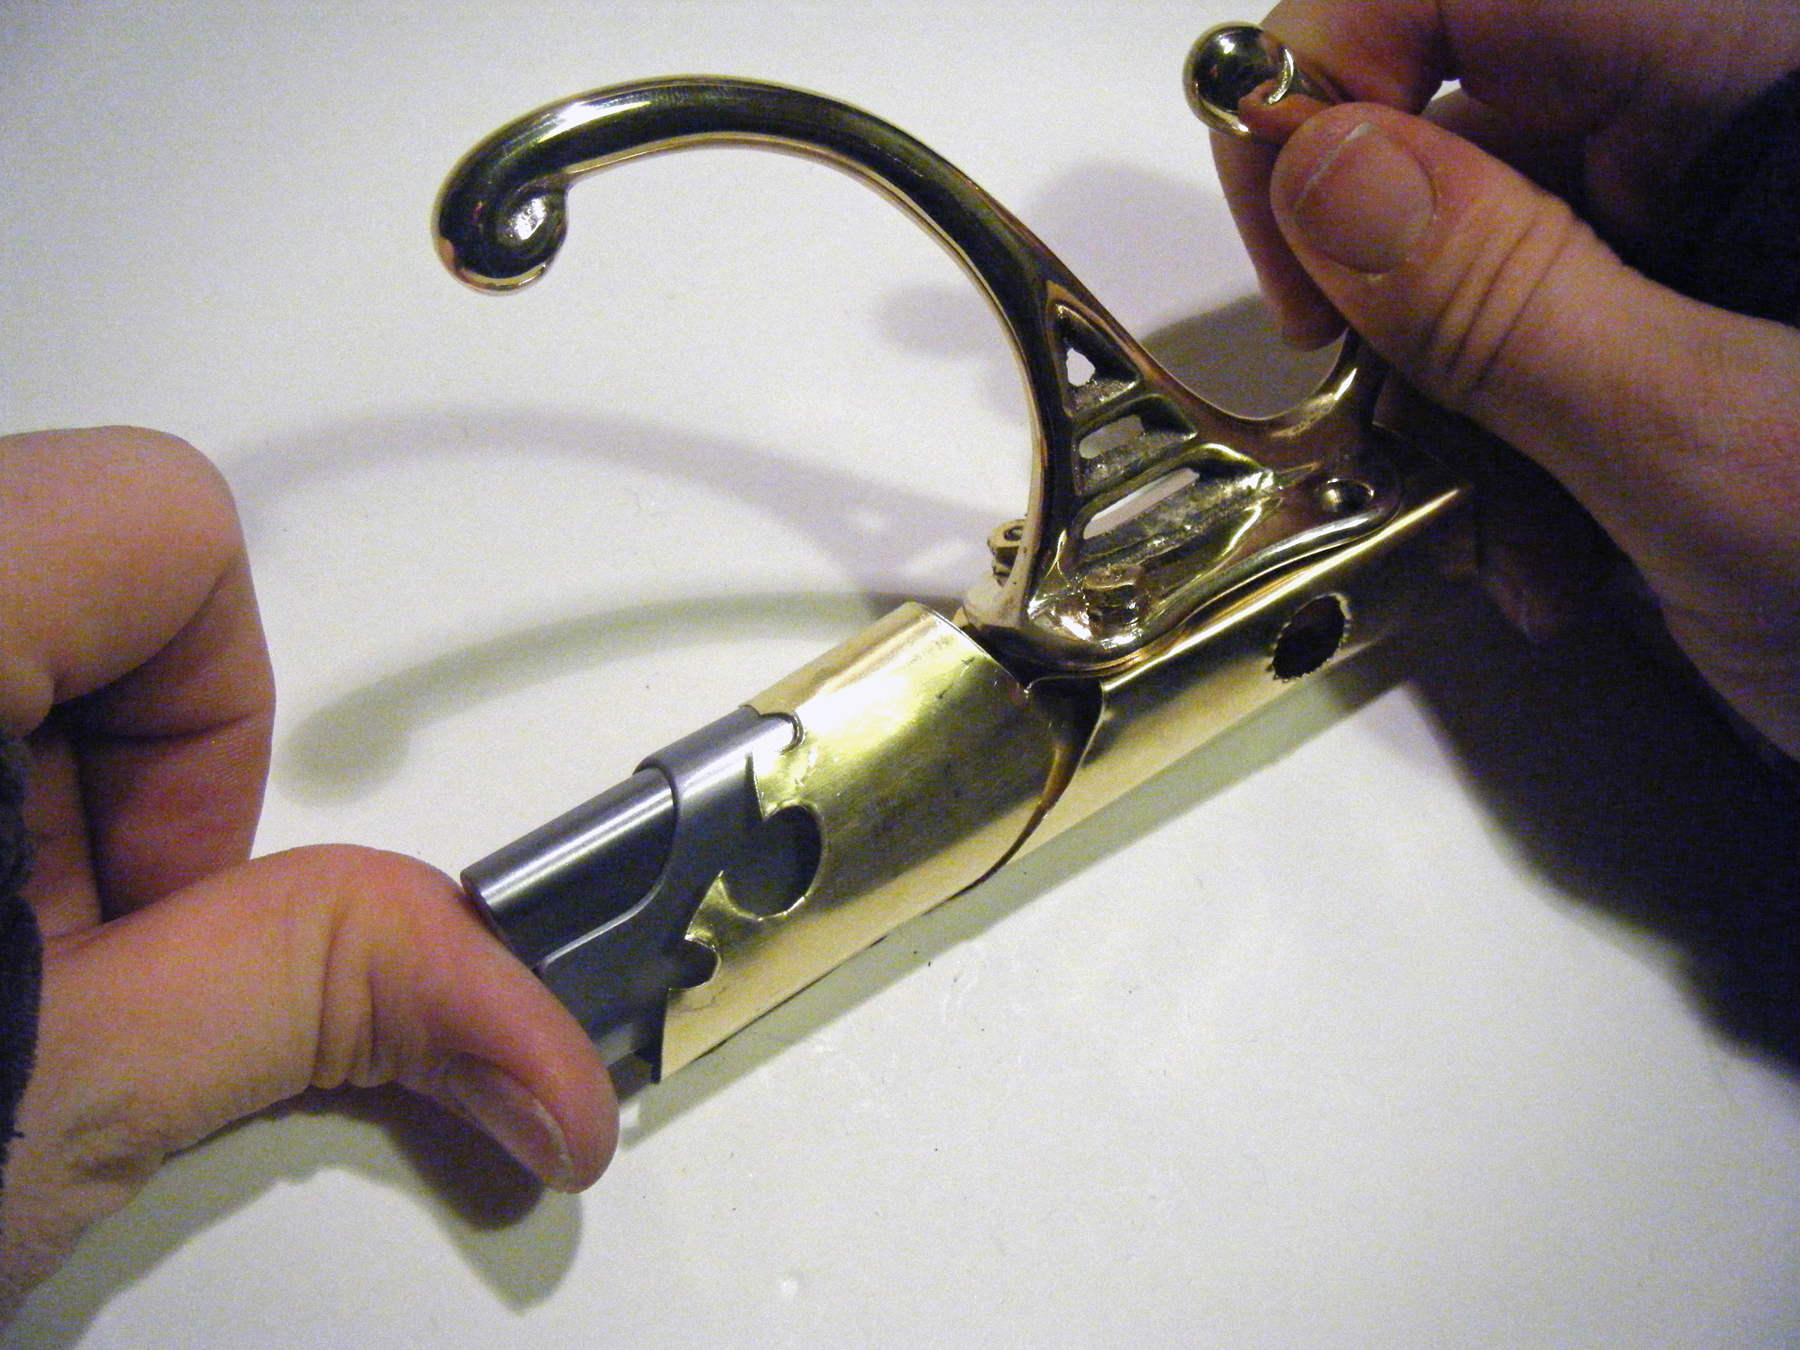
Pressing in on the sides of the gun body at the bolts (friction will help keep them in place), navigate the bolts into the holes on the base of the B&M hall tree hook, aka raygun handle.

If you have a hard time getting the bolt to go through the holes, use a small screwdriver to push it down and guide it in.

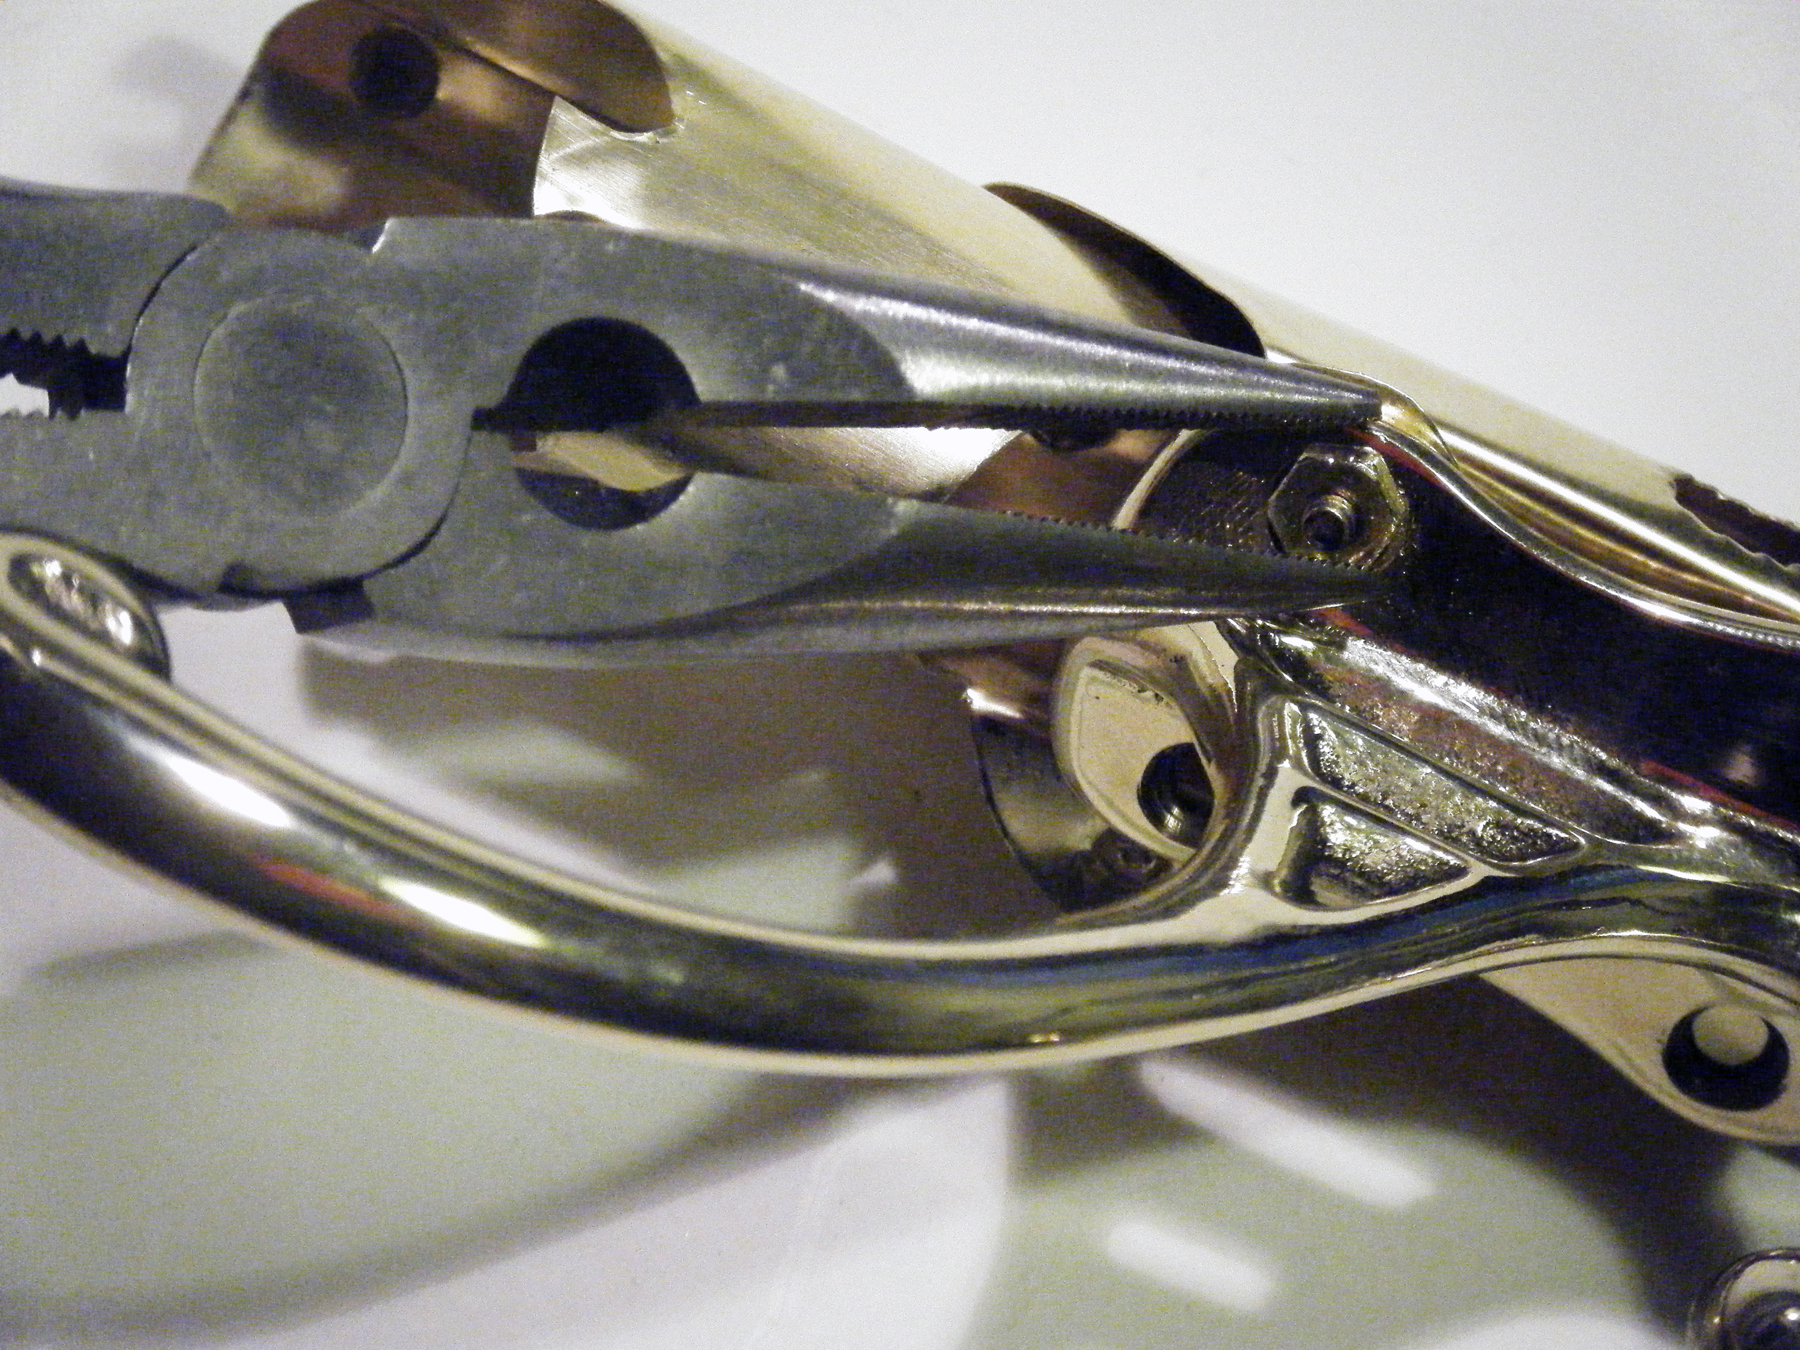
Once you have enough of the bolt showing through, slide a nut on and tighten it down with pliers. Do this for both sides, then add a second nut to each bolt to lock everything down.

Add finishing touches.

Slide the 2″ lamp nipple through the side holes so that equal amounts stick out on each side.

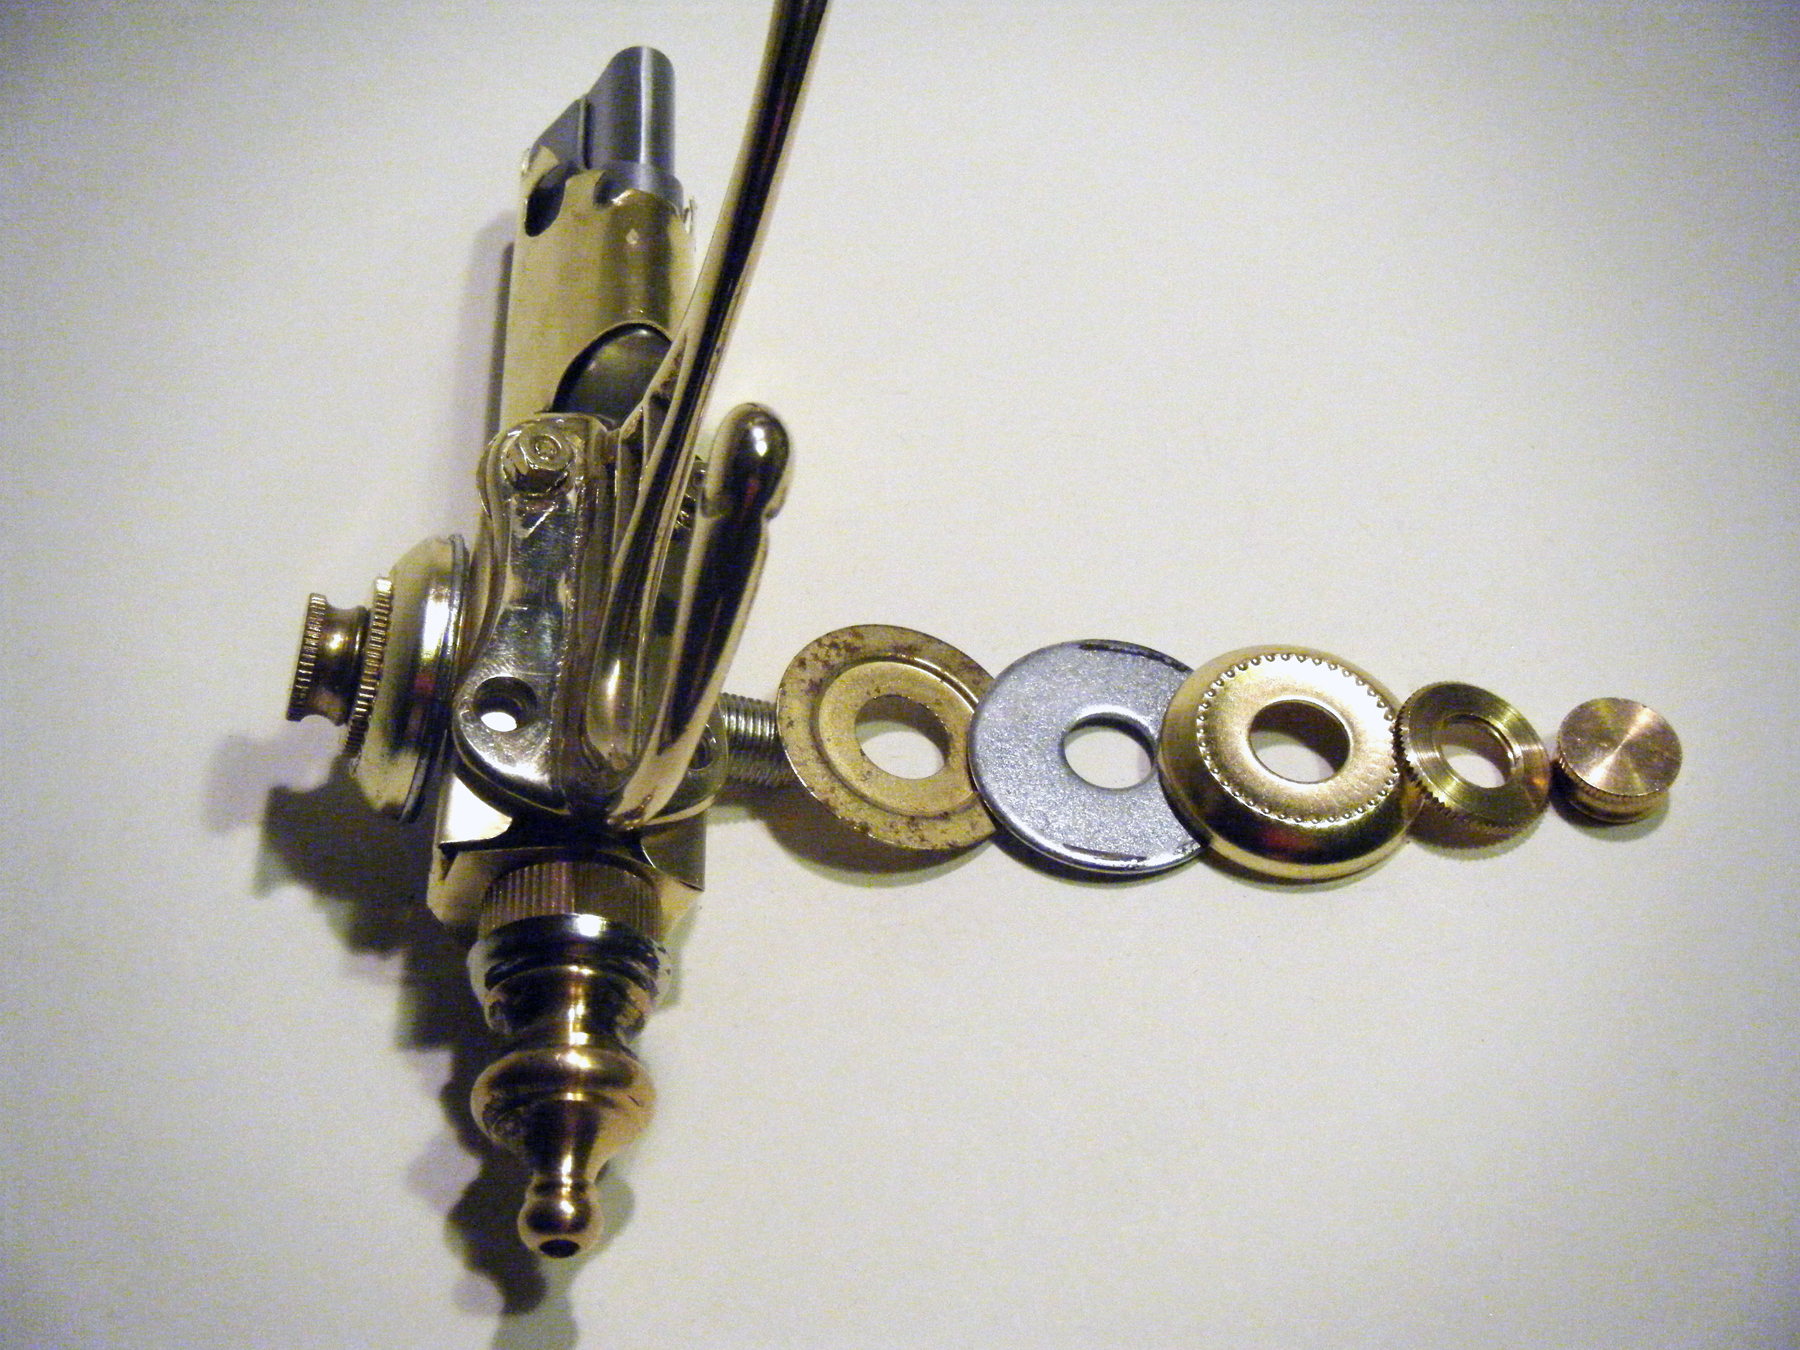
Add to each side, in order, 1 brass lamp washer with fixture seat and 7/8″ opening, 1 steel 1¼” washer, 1 brass lamp 1 1/8″ check ring, 1 brass ¾” knurled locknut, and 1 brass 9/16″ bracket cap.

Slide the lighter into place. You may have to press in the sides of the gun barrel slightly to fit. Friction should hold it; in fact, I usually have a hard time pulling the lighter out to refill it.

If it gets stuck, use a screwdriver to push on it from the back, where the gun barrel drops down near the handle base.

Fire away.

Don’t smoke, kids! Use your raygun to light devotional incense, airship lanterns, or cartoon dynamite only!

Conclusion

This project originally appeared in Make Volume 17, page 76.