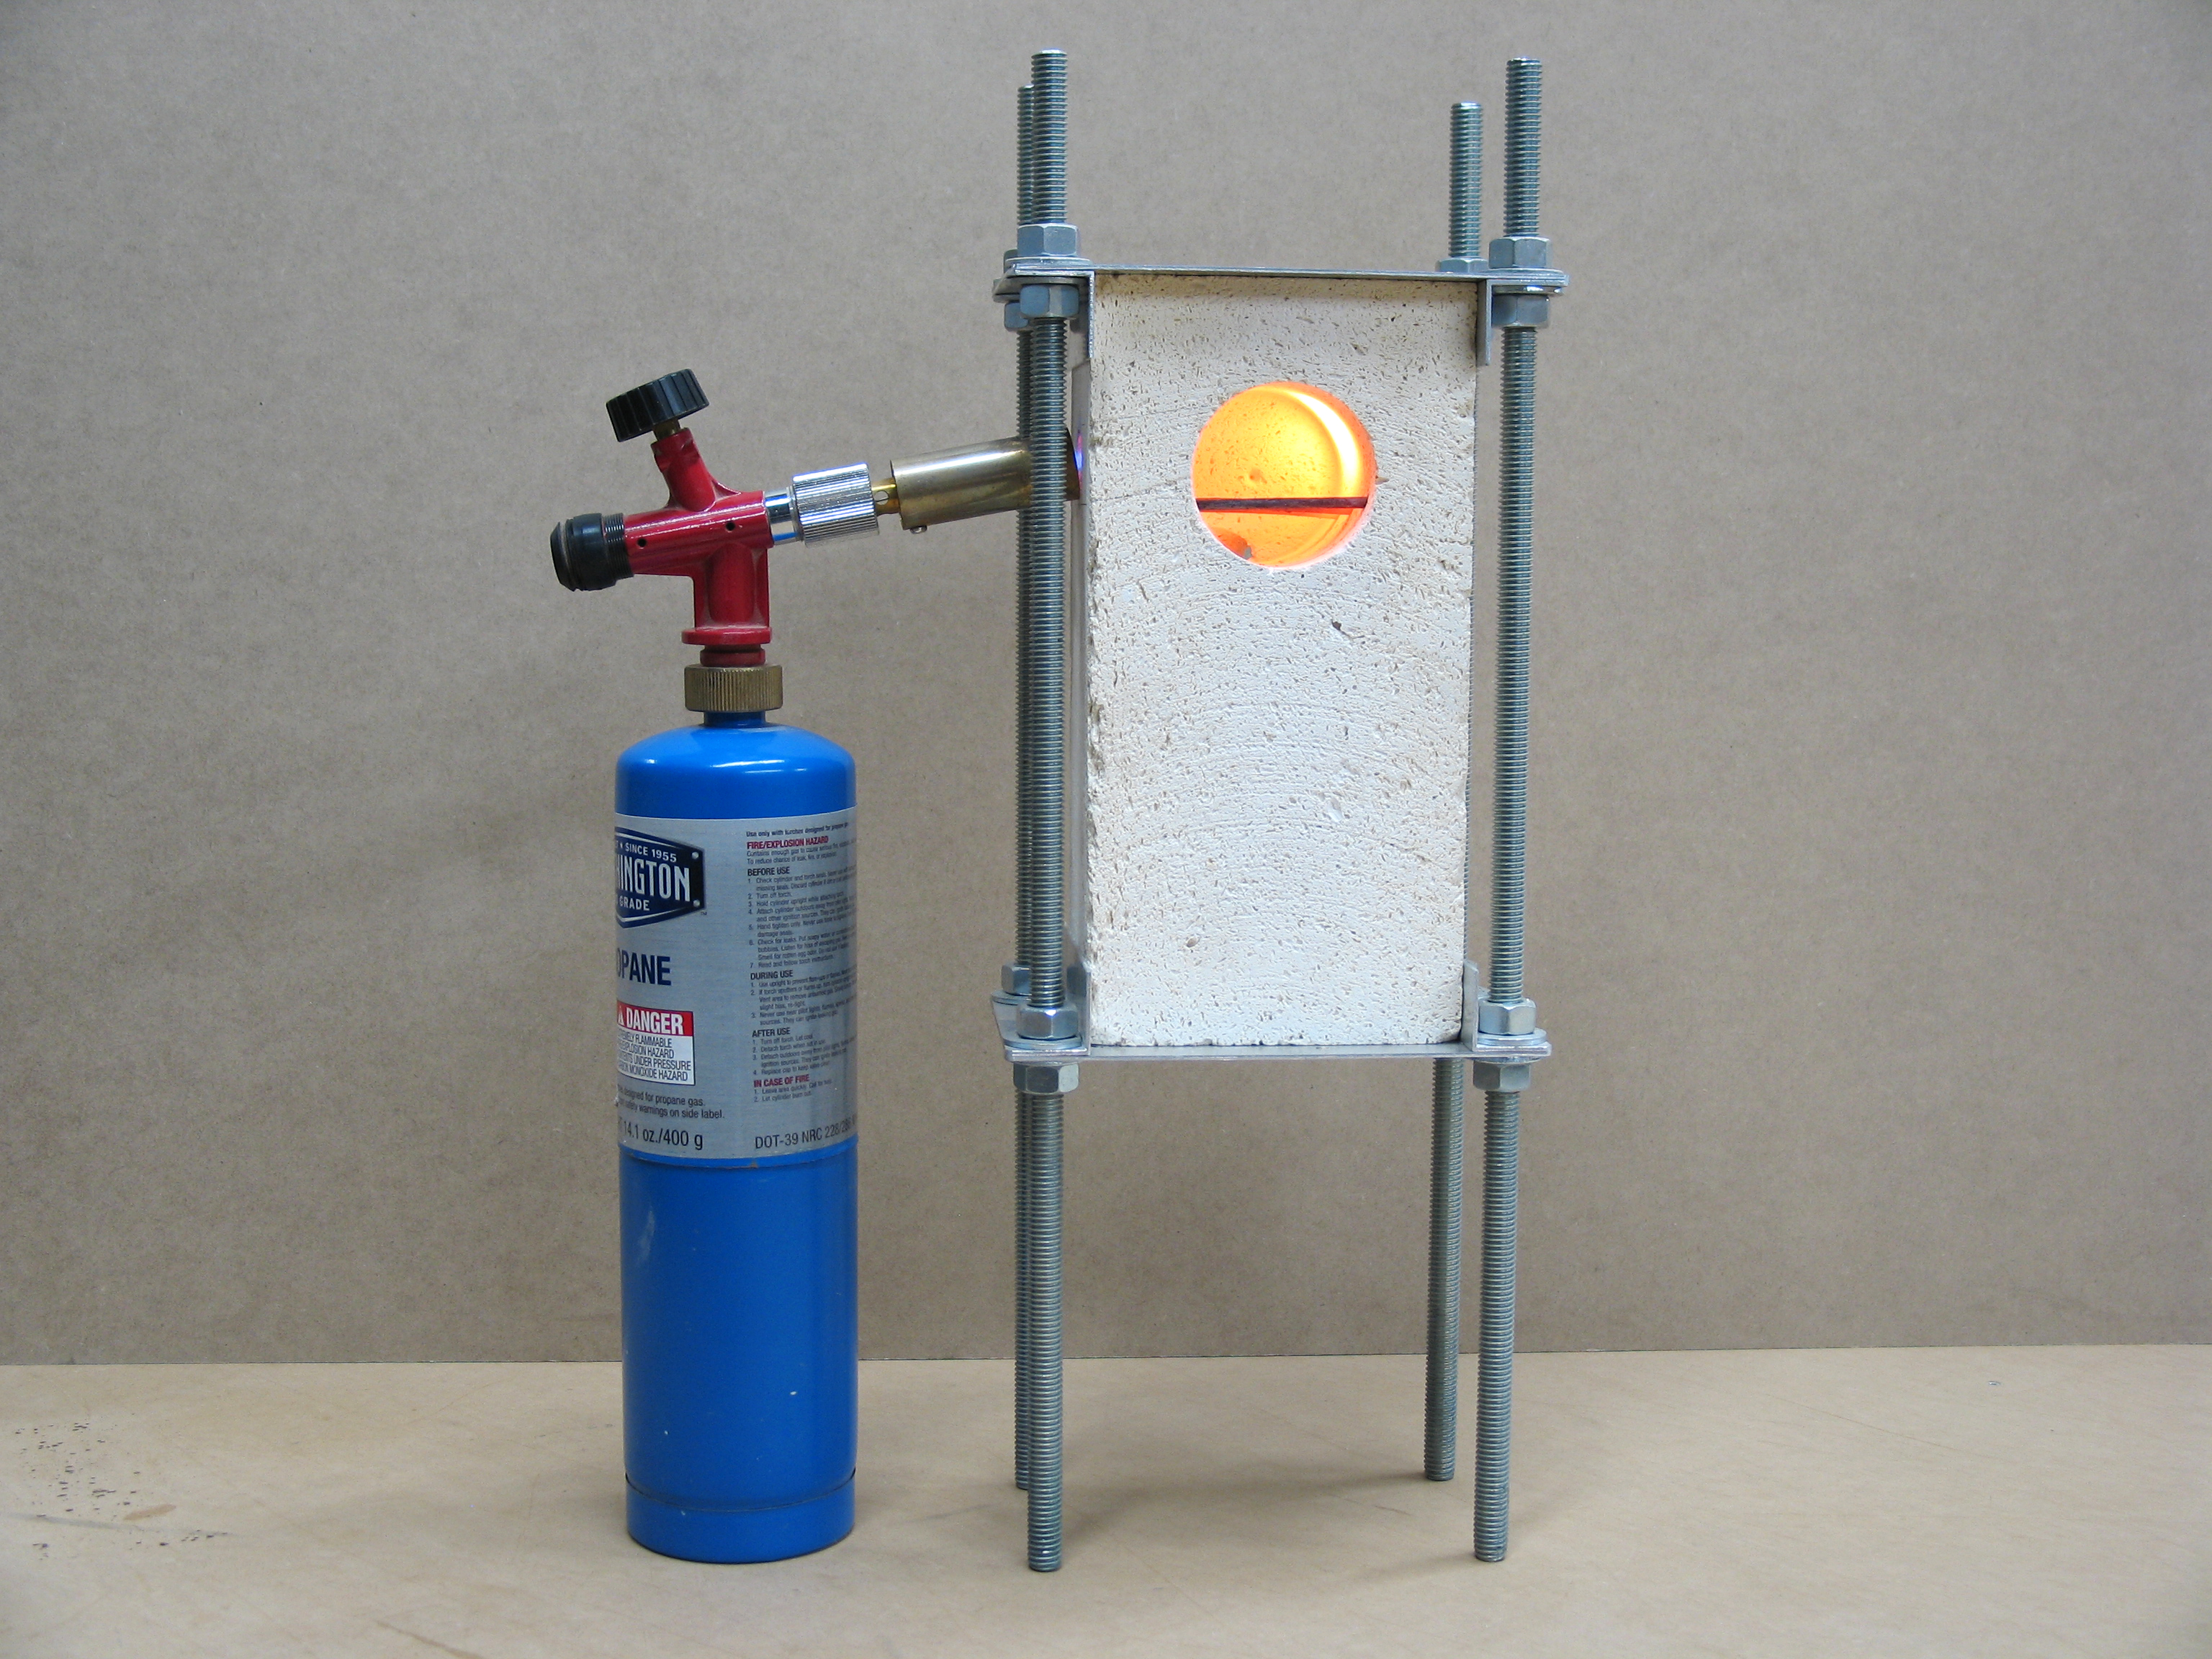
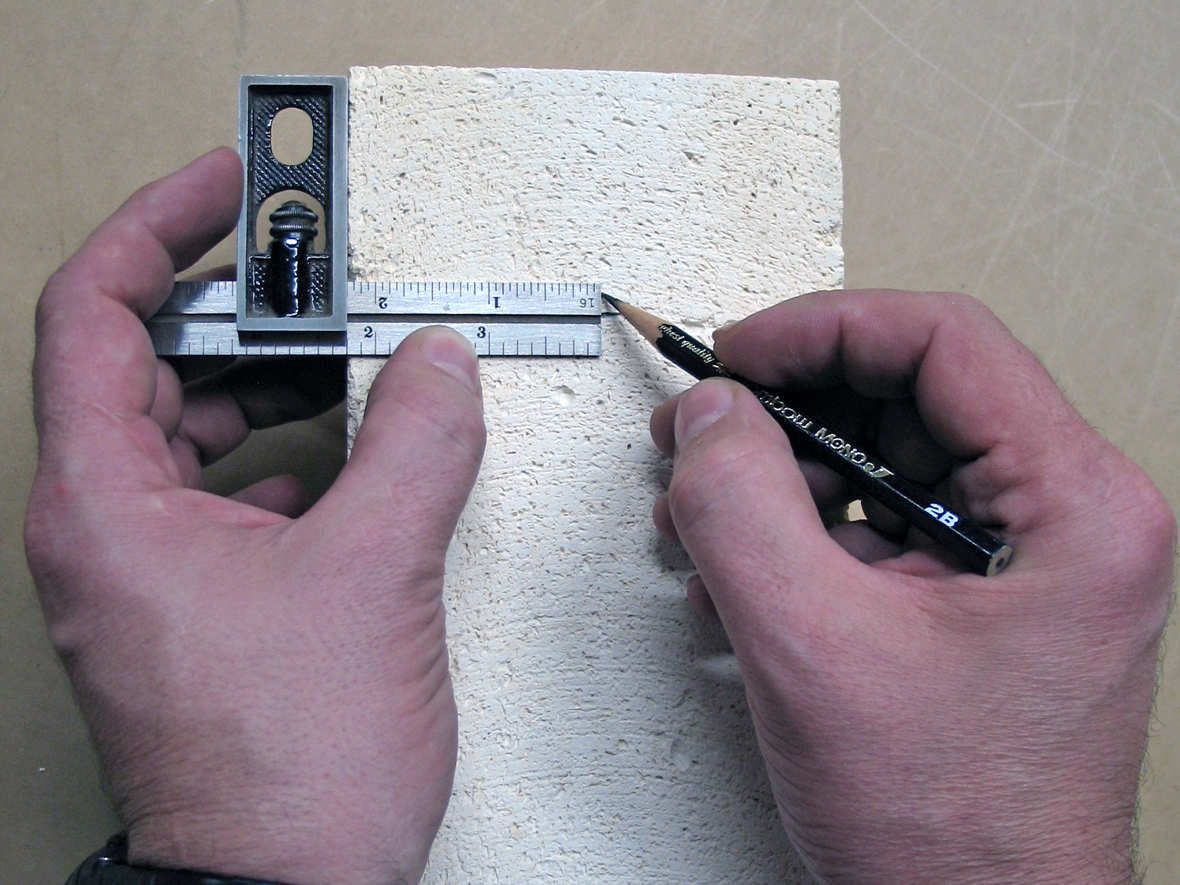
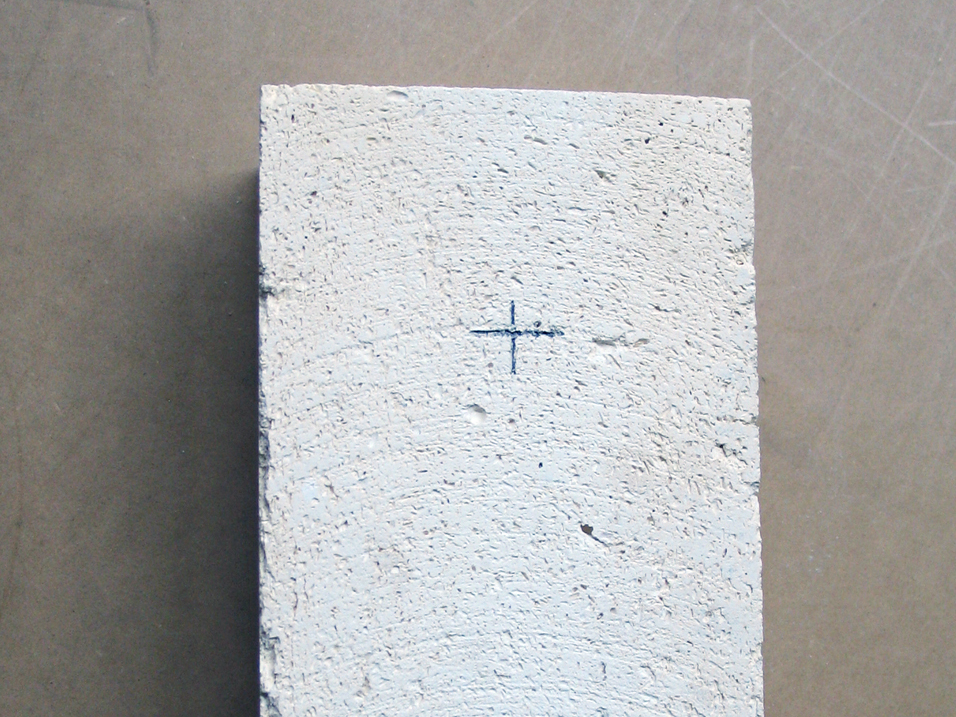
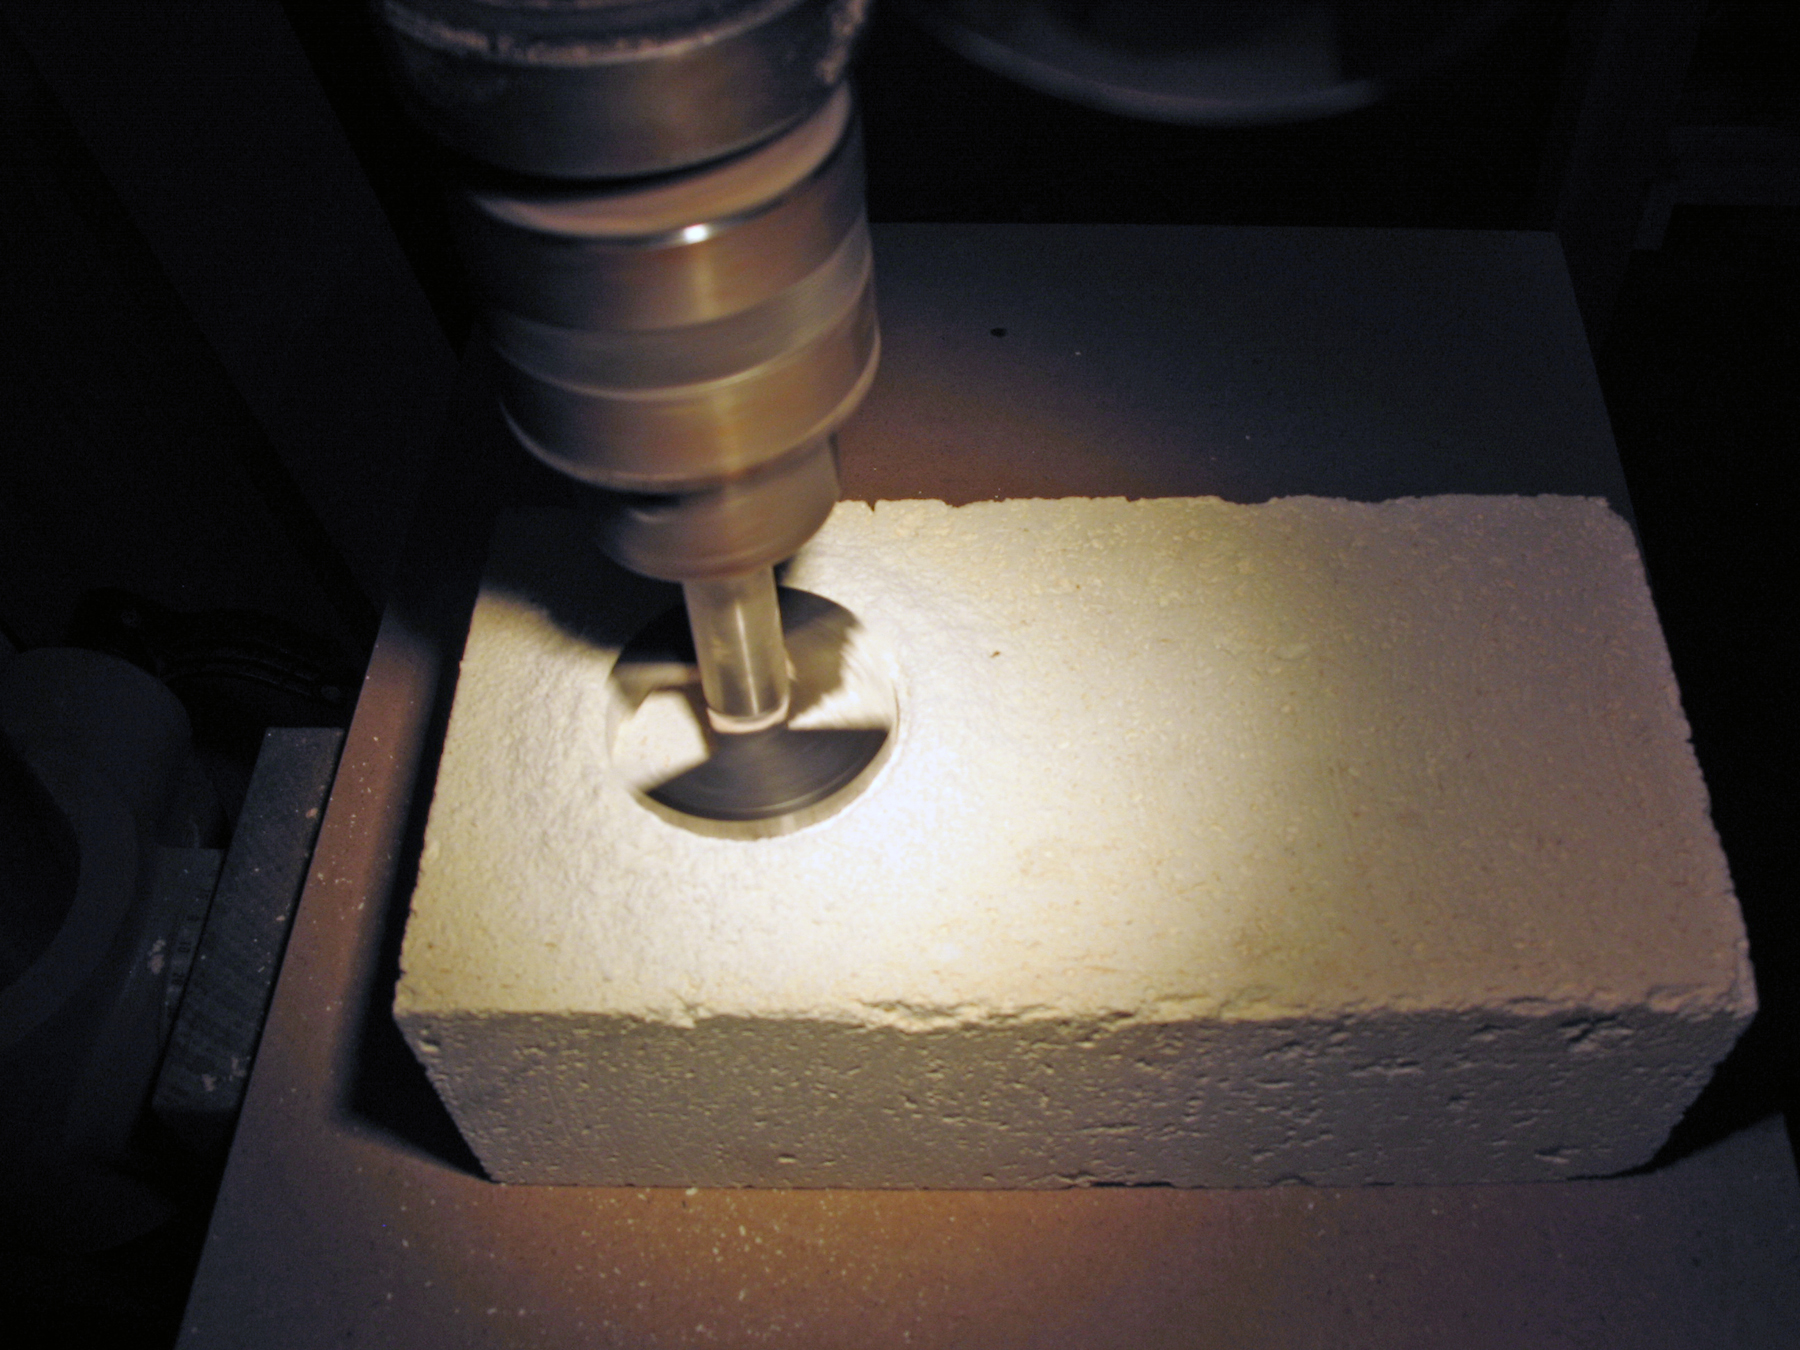
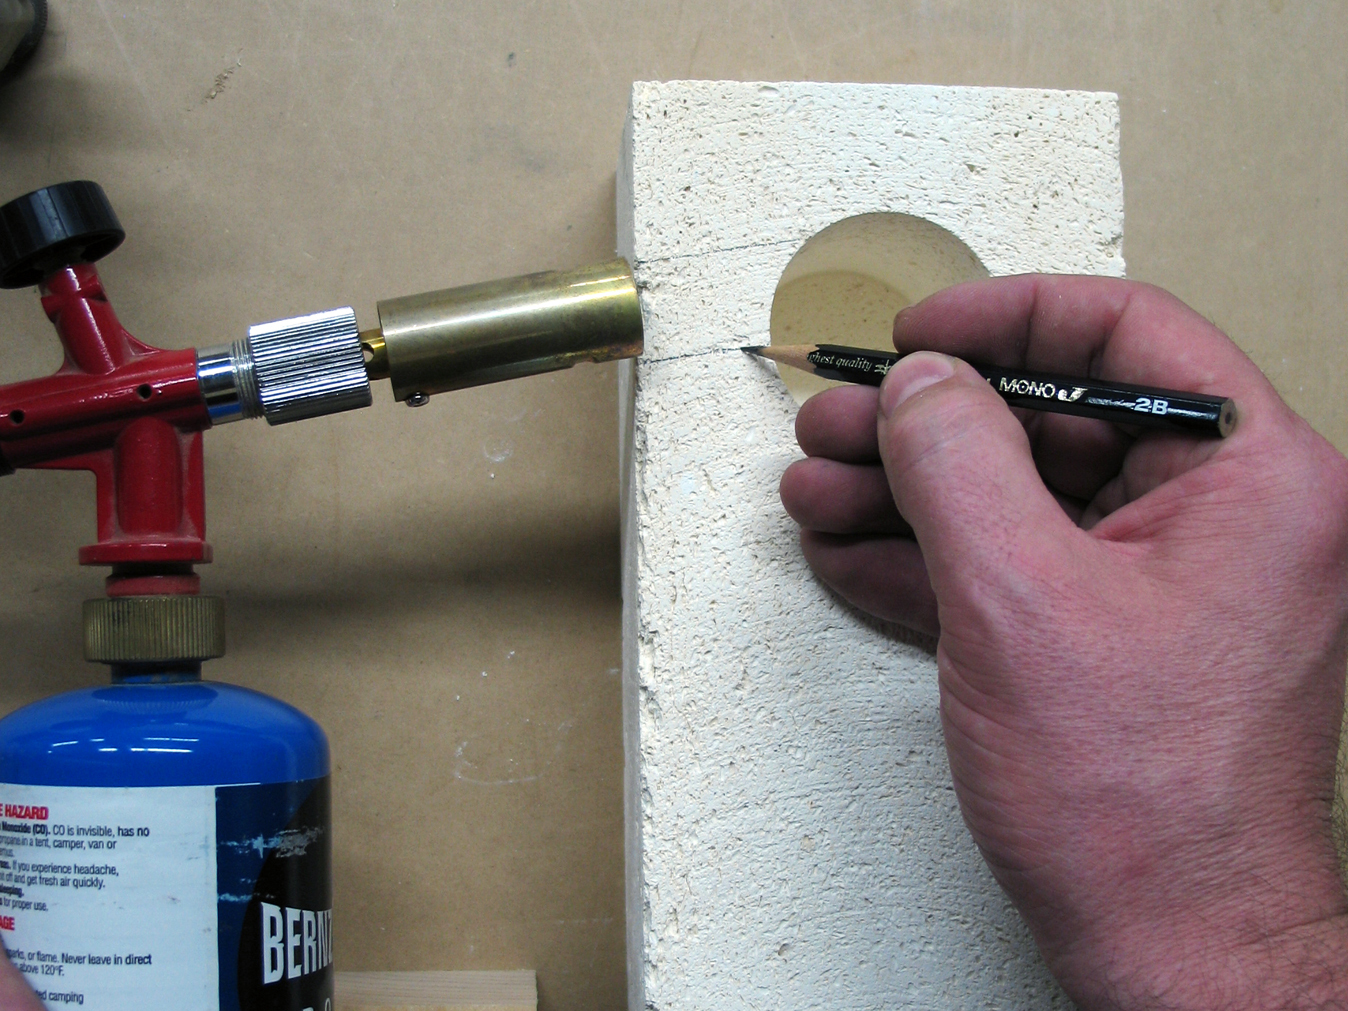
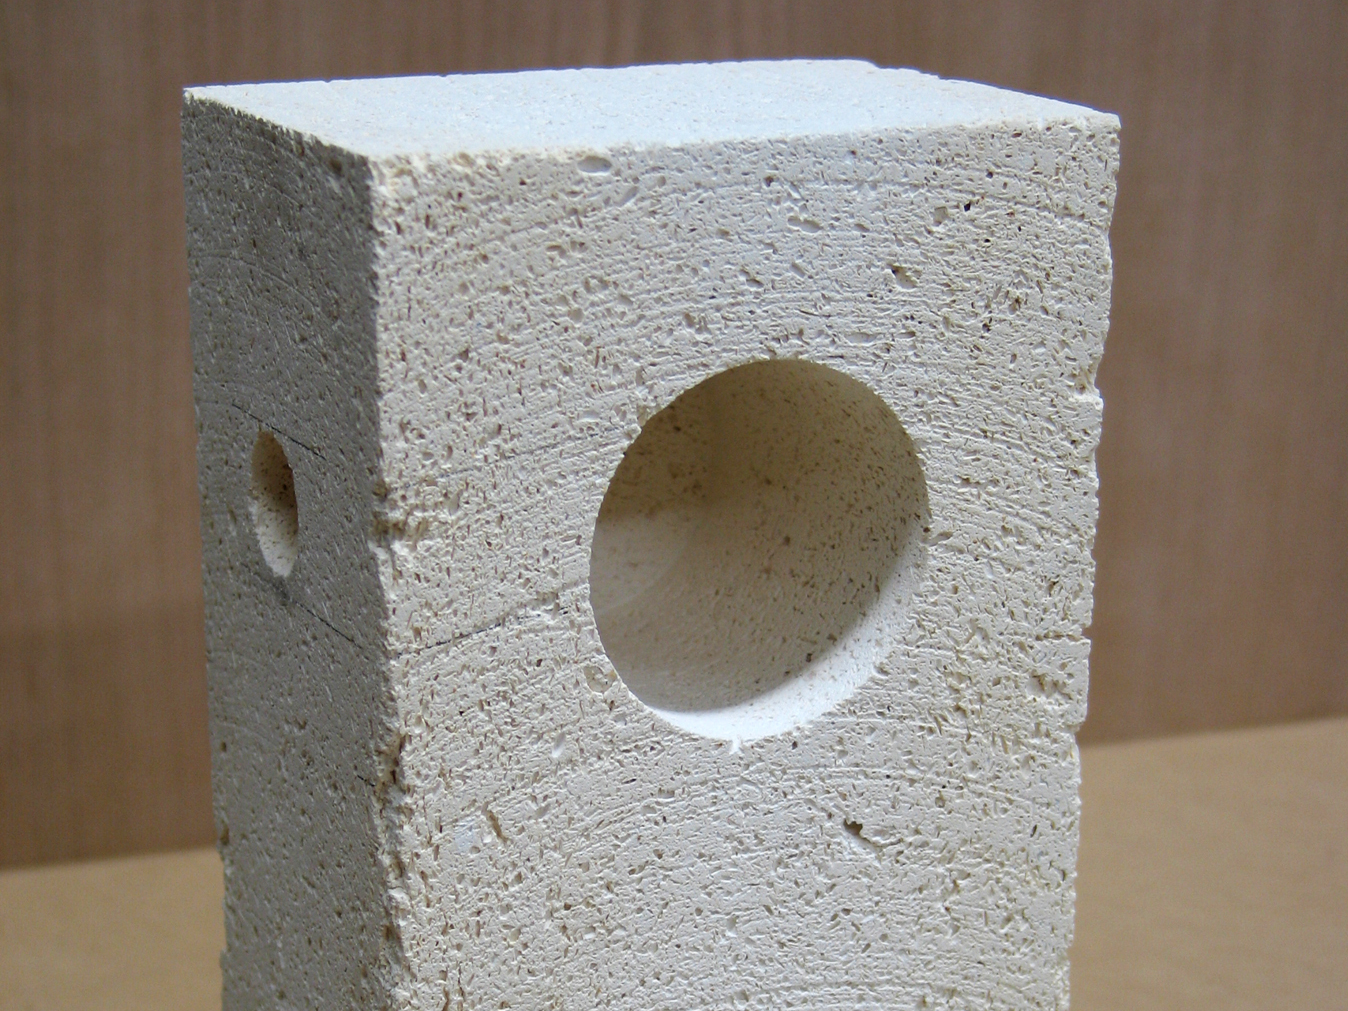
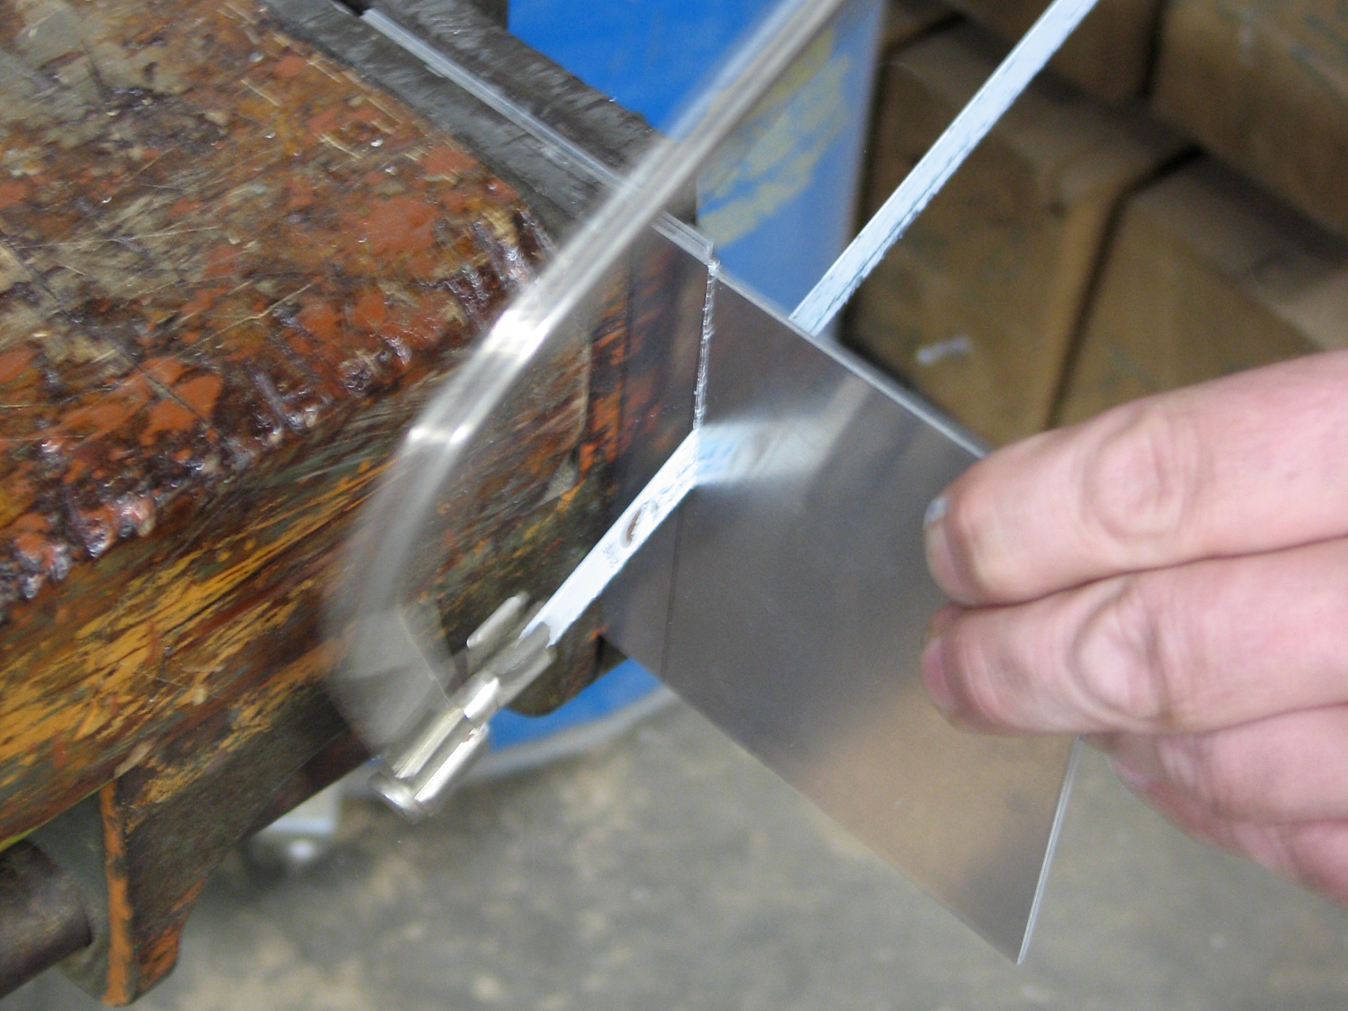
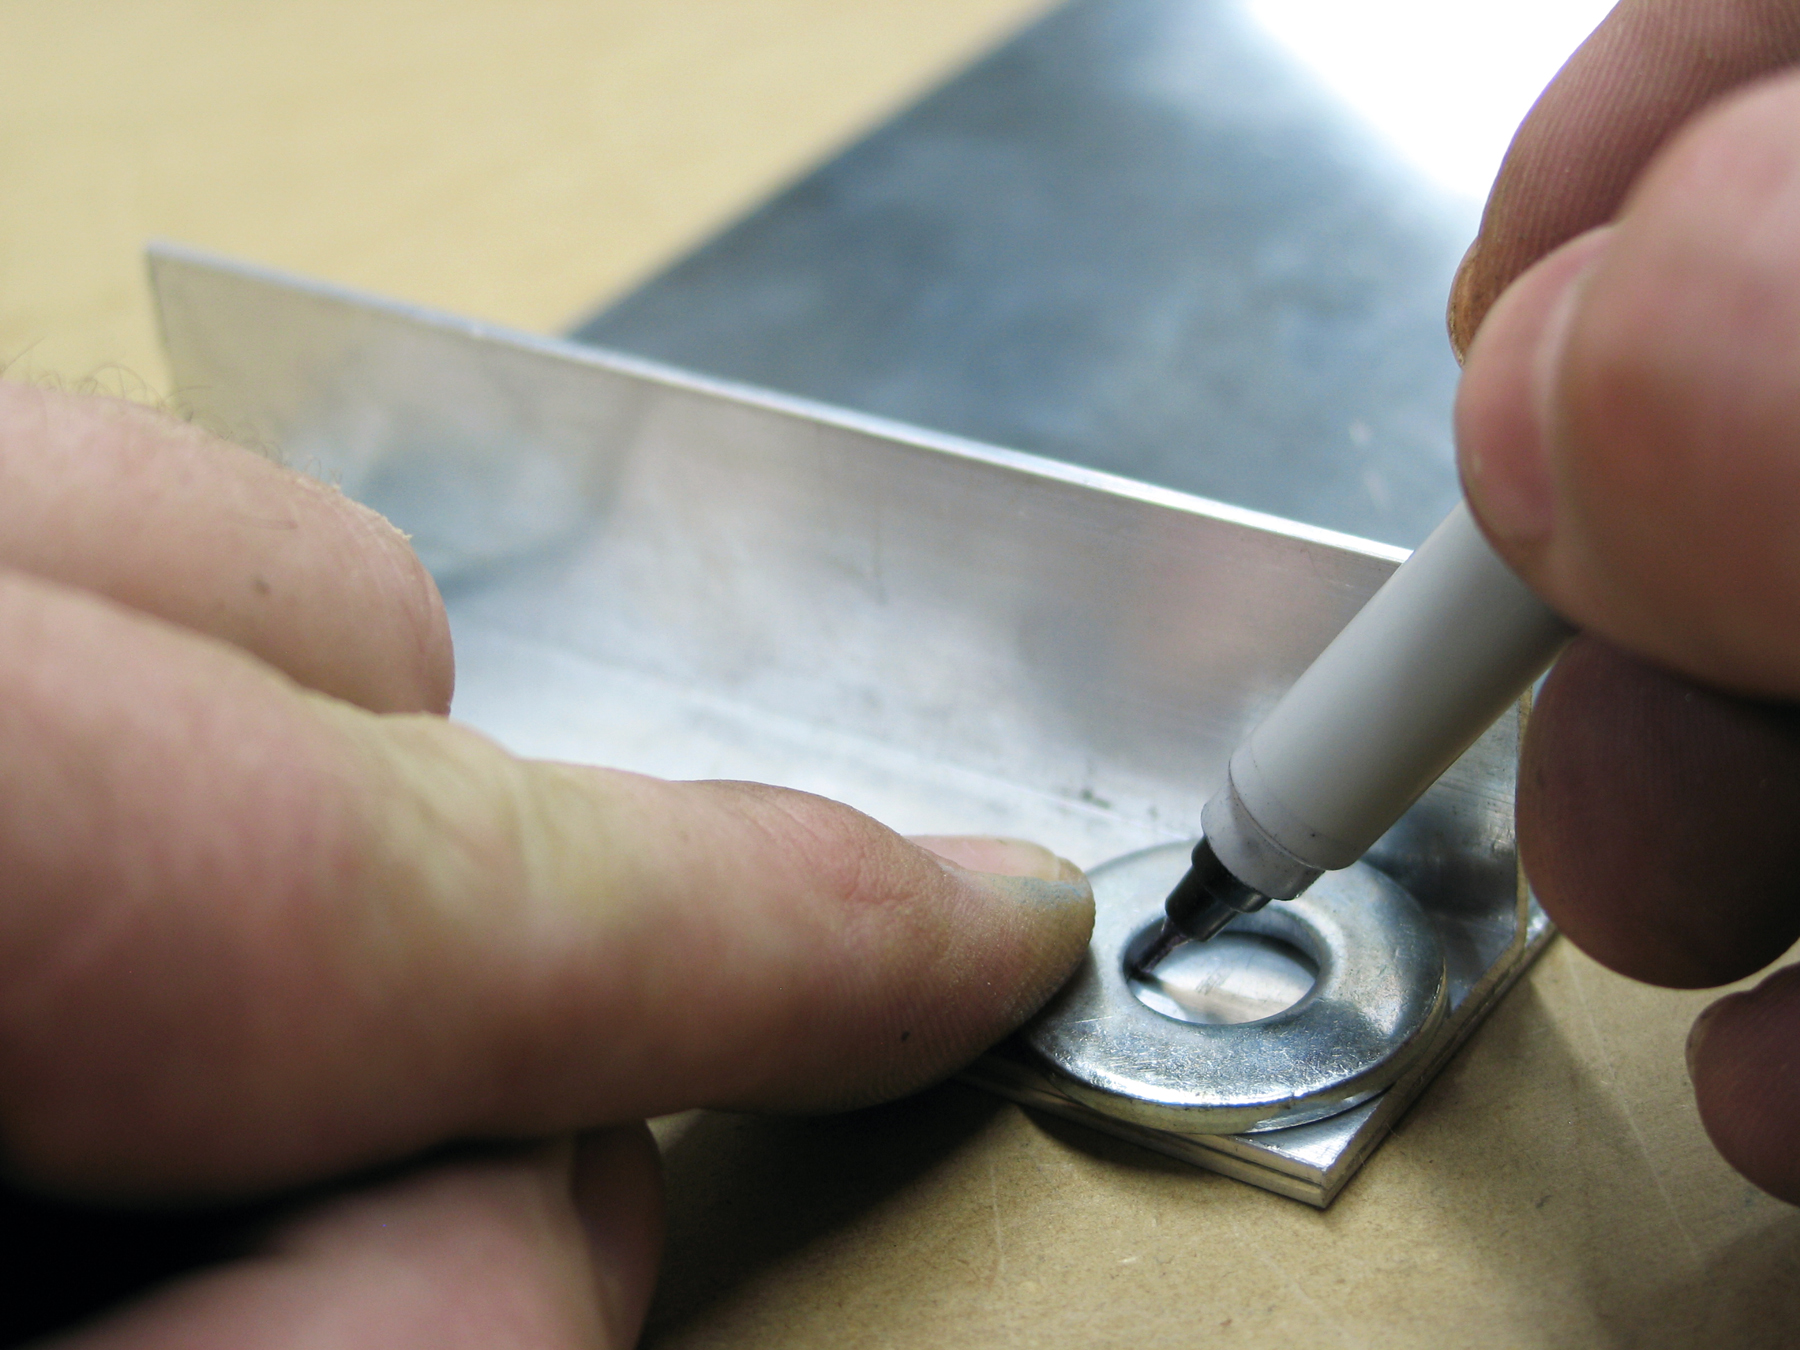
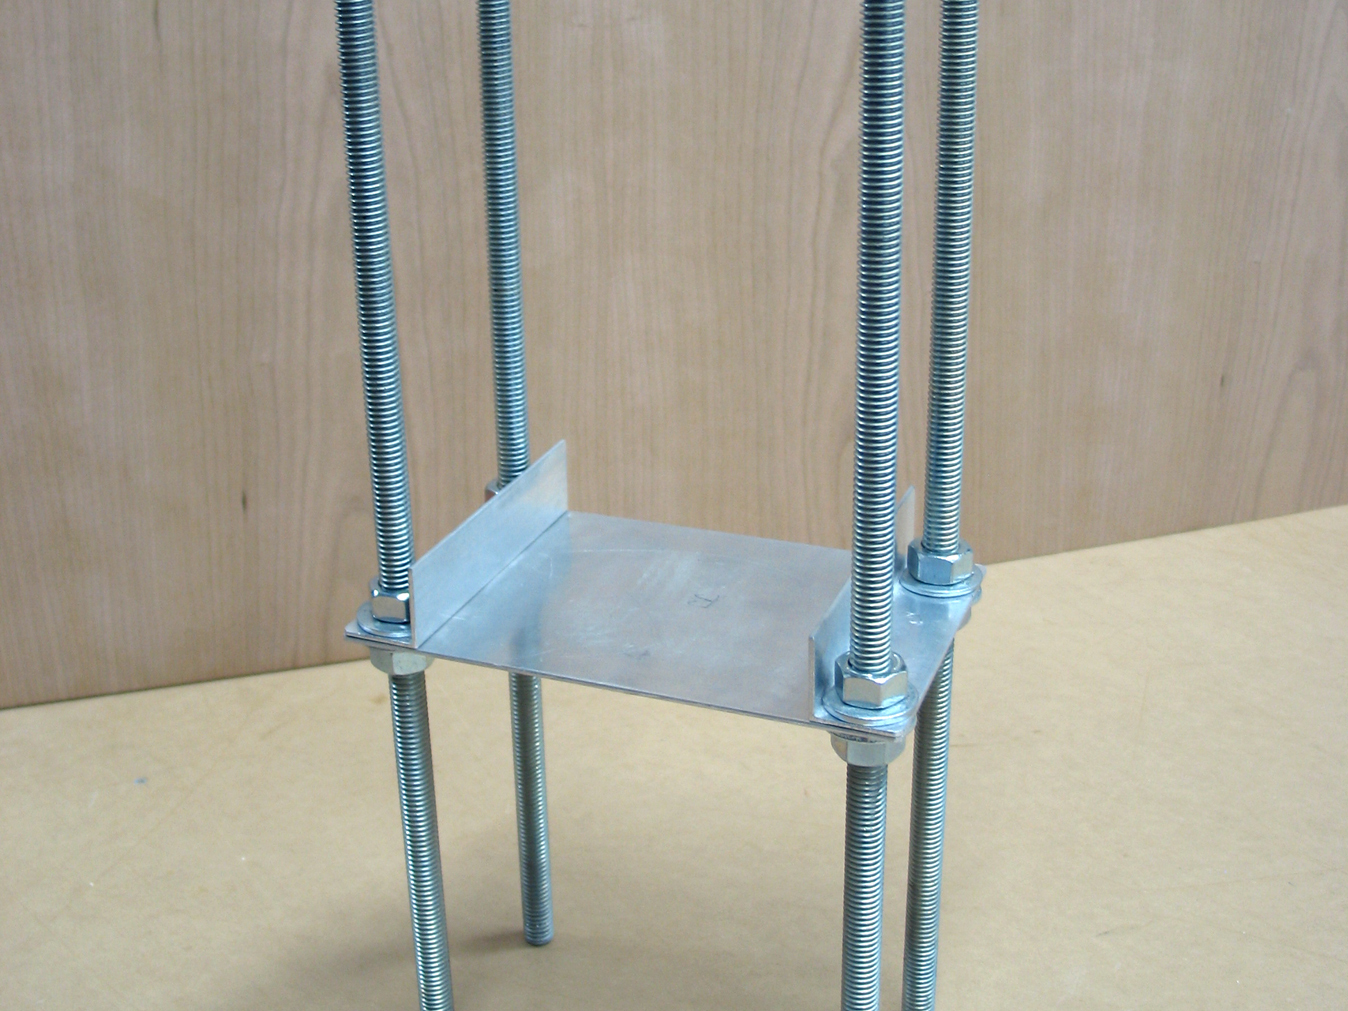
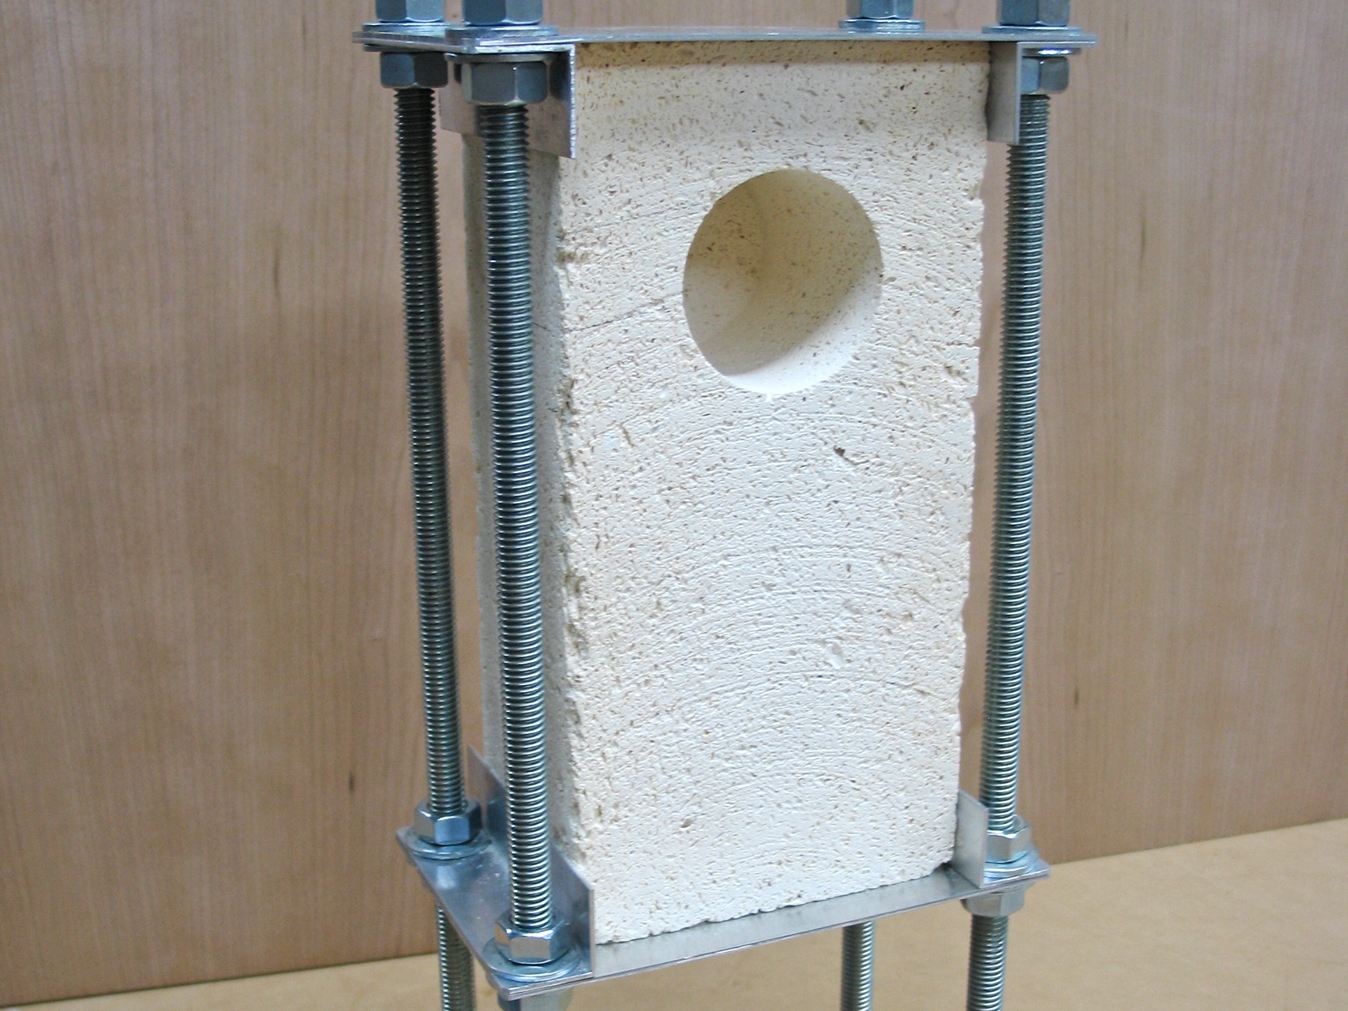
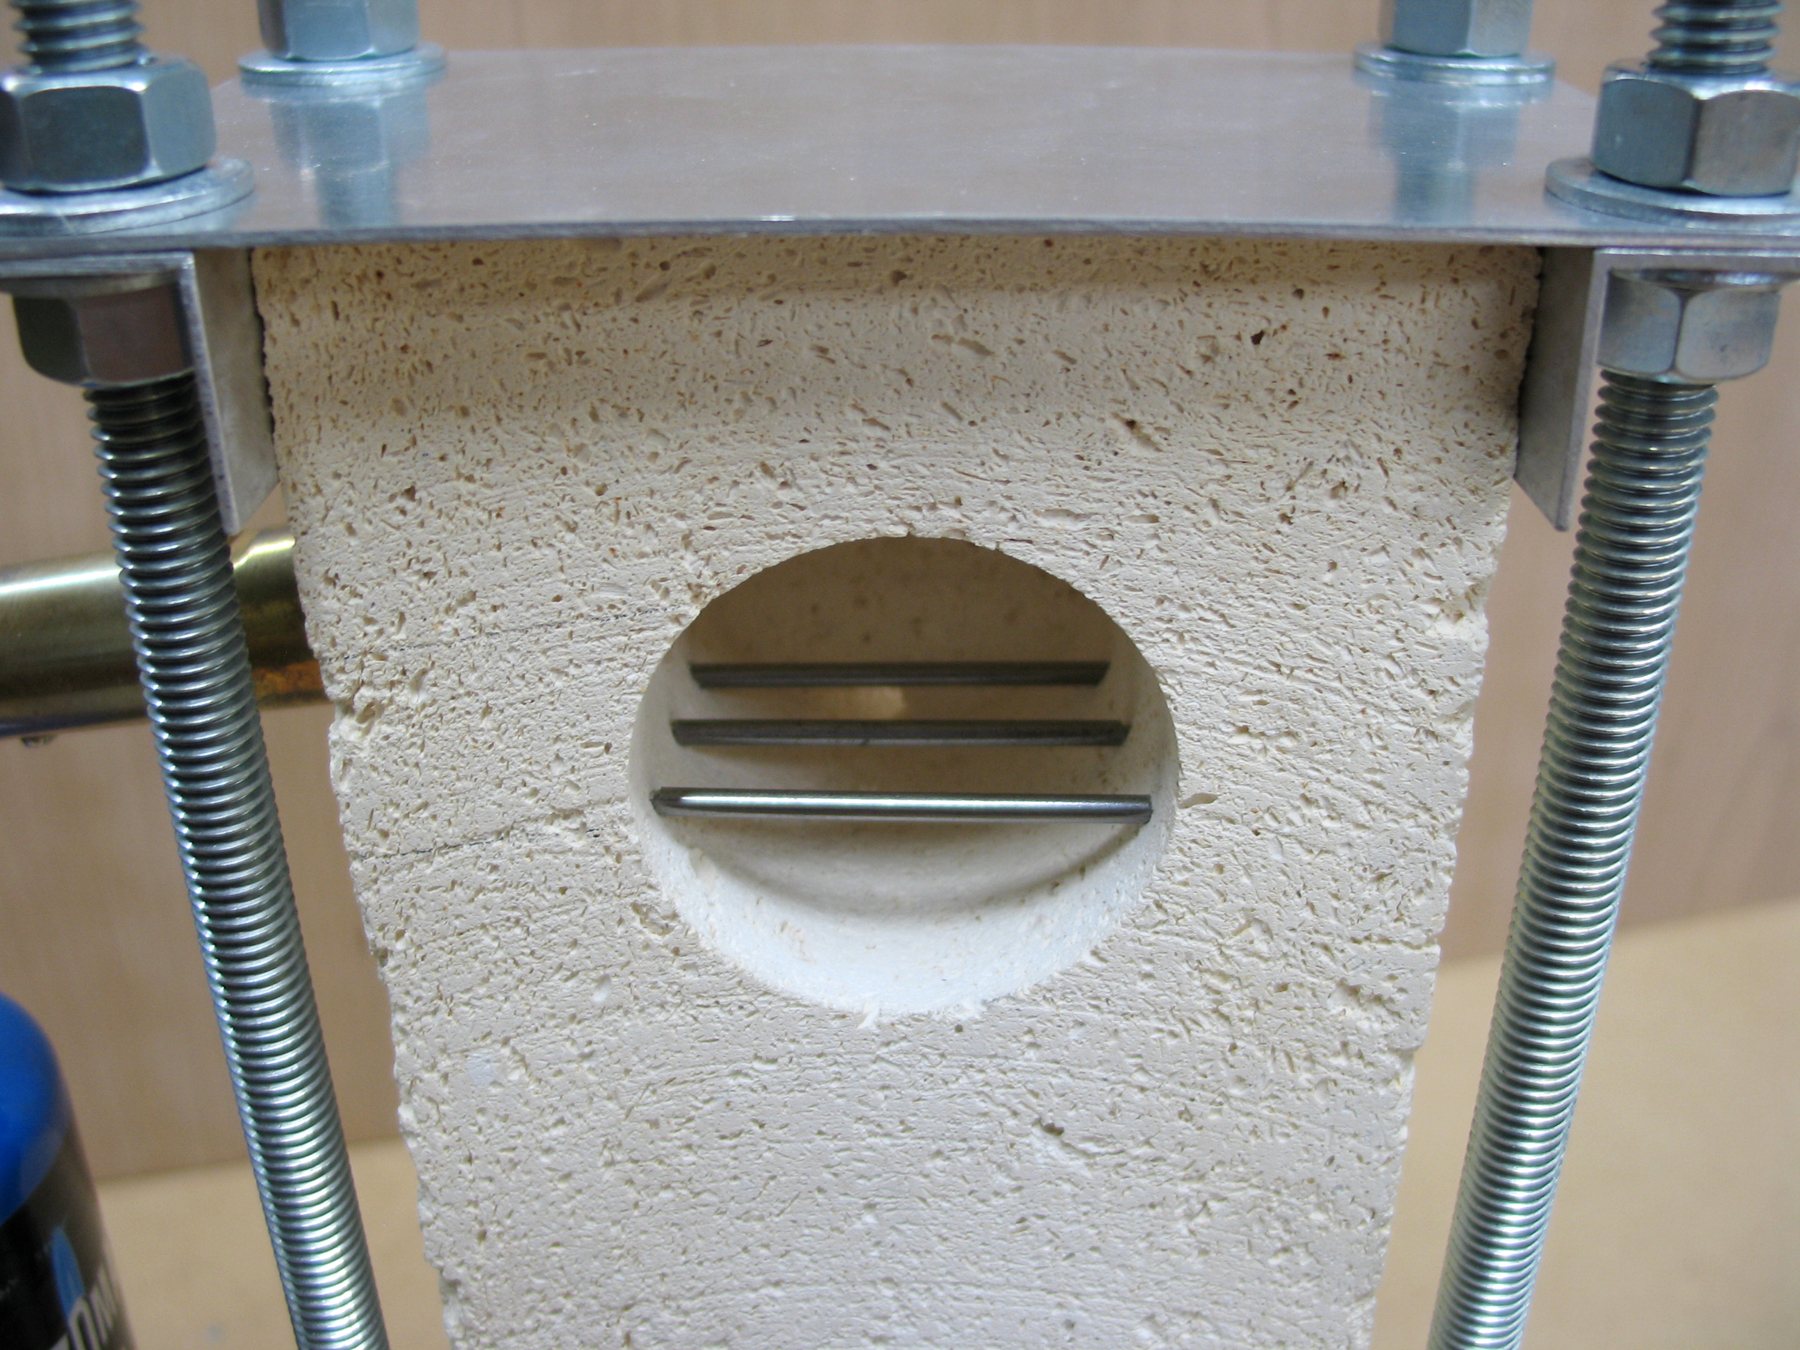
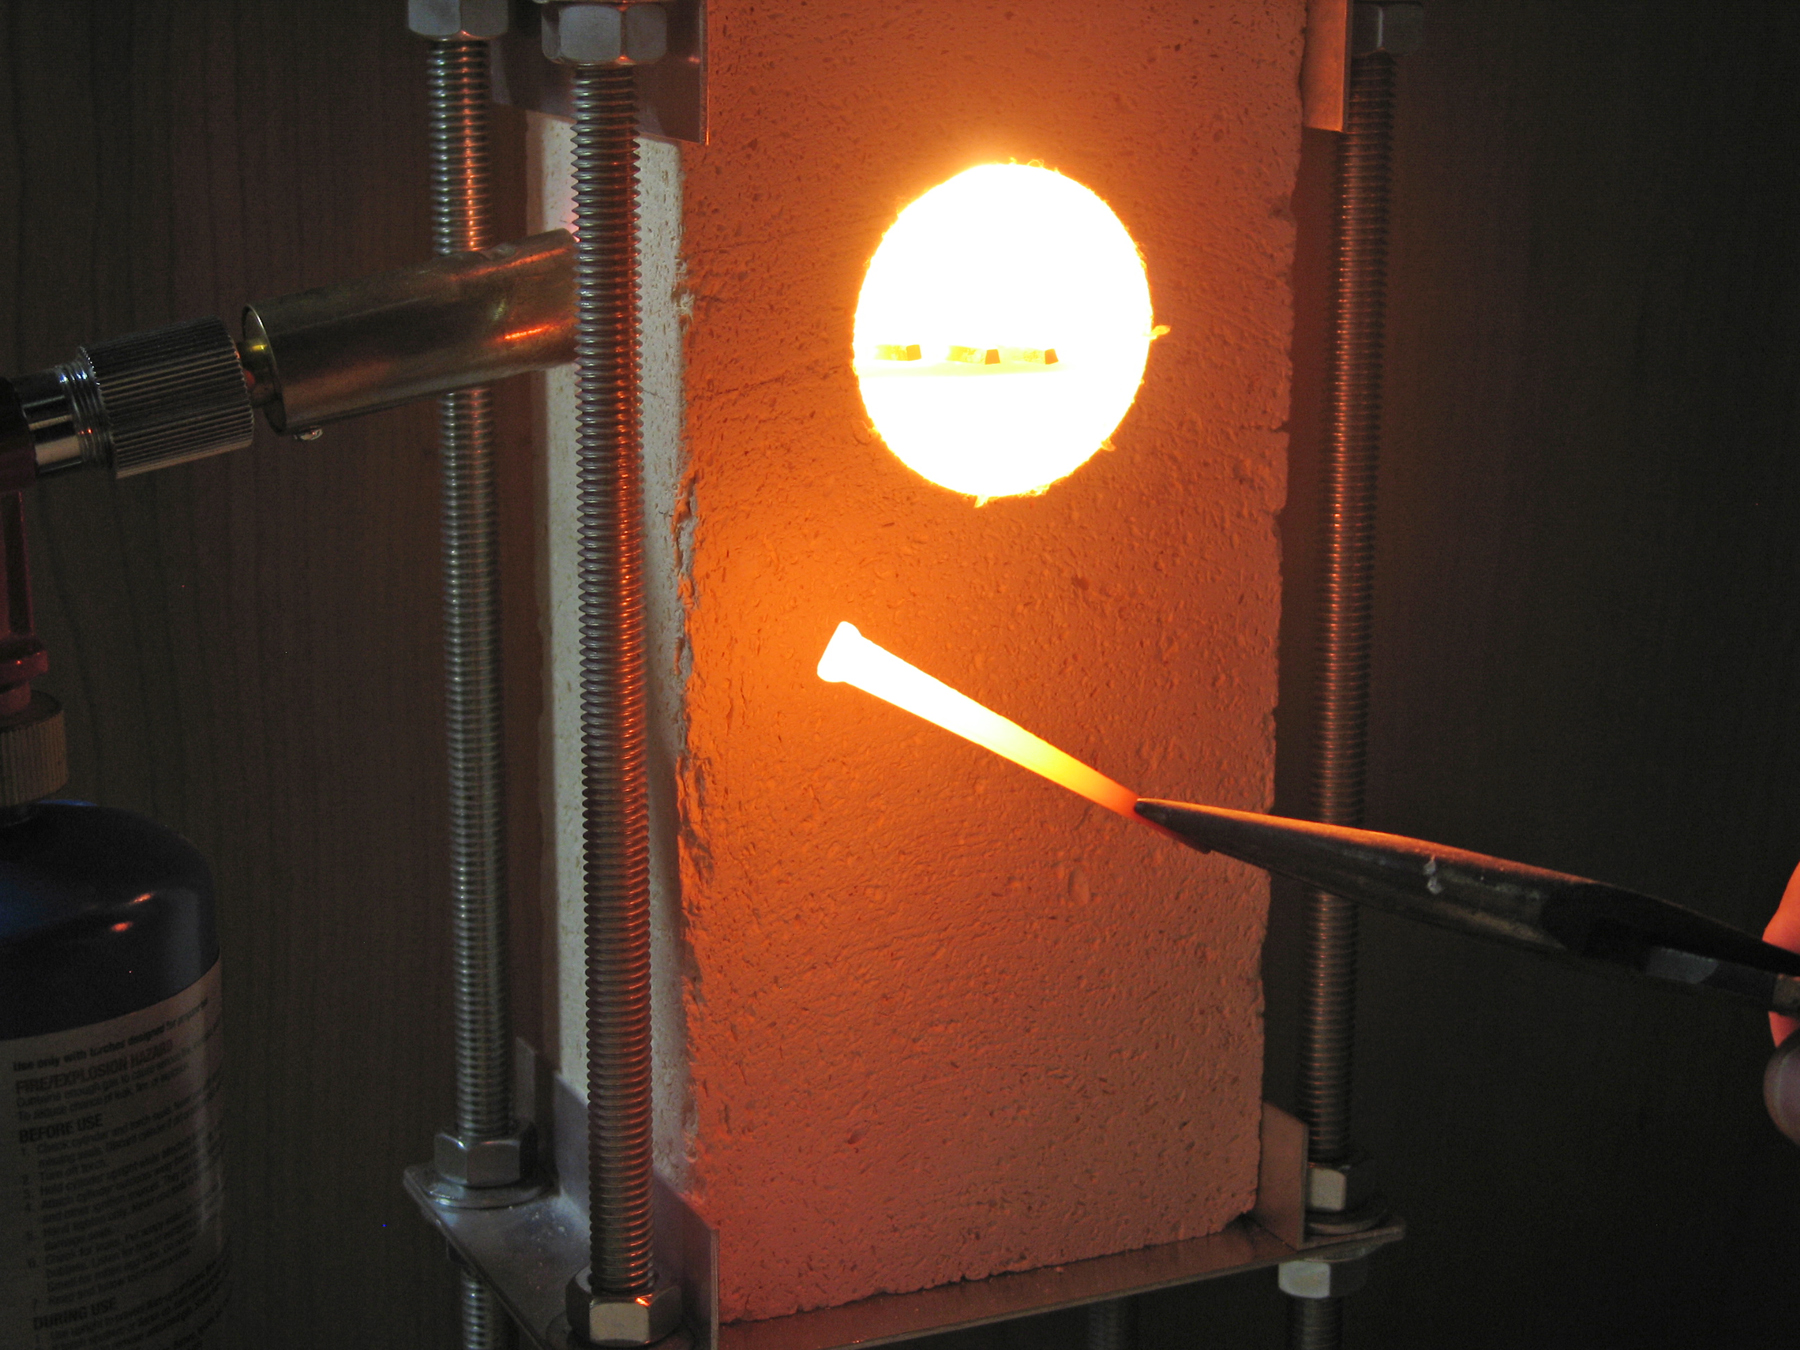
I am a woodworker by trade and spend my days building Japanese-style architectural elements and structures. Because of my chosen niche, I occasionally need a piece of hardware that’s impossible to find in this country. Sometimes I ask friends in Japan to track it down. But other times, if the piece isn’t too complicated, I’lI make it myself. Recently, I needed to make 500 old-style Japanese nails. In the past I would simply fire up a propane plumber’s torch, hold each piece over it until it was glowing, and then hammer away. That was fine when a dozen nails were all I needed, but this time I knew I needed a more efficient way to heat all those nails, so I built a micro forge.

Project Steps

Drill the brick.

Note: Firebricks are really soft and easy to cut. So soft, in fact, that you can dig into them with a fingernail, but they are still rated to 2,300°F. Ordinary wood/metal drill bits go through them like butter.

The nails I was making were 2½” long, and I wanted to keep the forge chamber as compact as possible, so I used the brick’s biggest face (4½”x9″) as the front, which allows for the shallowest chamber. Make a mark on the front face, 2¼” in from one end, and centered 2¼” from either side.

Wear a dust mask. Set the drill press to its lowest speed (mine was 250rpm) and drill a hole 2 1/8” wide and 2″ deep, centered on your mark.

Note: Drill slowly — you don’t want this stuff flying all over the place. With a slow speed, most of the dust should stay in the hole until you dump it out.

Locate and drill the ¾” flame hole, which comes in from the side. I chose to locate it at the top of the forge chamber so that the curved sides would cause the flame to circulate, hopefully heating everything inside more evenly. I tried to drill this hole to match the angle of the torch tip.

The last step is to drill the small vent hole in the back. I made this hole at the bottom of the chamber at an angle in order to coax more convection from the flame.

Build the frame.

Note: My first micro forge attempt was just the firebrick with the holes in it. This worked great for about a minute, then the heat caused the brick to crack and start to open like a clam. It needed a frame.

Because I wanted to make it fast and simple (and my welding skills are a bit rusty) I decided to use off-the-shelf parts that could be easily cut. Start by cutting the 1″ aluminum angle into four 4″ lengths.

Align a piece on the 4″ edge of the aluminum plate and stand the brick against it.

Place a second angle piece on the other side of the brick and mark the plate along the angle’s edge. Then clamp the 2 plates together and cut them to size along the line. Cut the threaded rods in half and file or grind the cut ends to remove any burrs.

Now you’ll need to lay out the corner holes that will accommodate the 4 threaded rods. To assure a proper fit, place a washer in each corner and trace the hole. Then clamp the angle to the plate and drill a ½” hole in each corner.

Assemble the forge.

At this point you need to find the height of your torch tip. Measure from the bottom of the tip to the bottom of the tank, then subtract the height of the flame hole. The remainder is your leg length.

Thread a nut onto each of the 4 rods to the leg length, then add a washer. Slip the short end of the rods through the angles and plate, then add another washer and nut.

Note: Don’t wrench-tighten yet because you’ll need to adjust everything for height and make sure it’s level once it’s all assembled.

Stand it up and add the brick. Adjust the angles so that they fit snugly against the brick without crushing it. Stand the torch next to it and make sure the flame hole and tip are lined up.

When everything is sitting right, spin 4 more nuts and then washers on until they’re just below the top of the brick. Add the other 2 angles and the top plate, with washers and nuts.

Carefully hand-tighten the upper hardware so that everything is holding the brick without putting too much pressure anywhere. Wrench-tighten everything.

Finally, add the grate that the parts rest on while heating. To keep it simple, I used three 16d finish nails. I cut their heads and points off, to a length of about 2 1/16″, put them in the forge chamber, and gave them light downward taps to seat them in place. This made a grate low enough to allow me room for moving things in and out, and wide enough to hold 4 nails at a time.

Fire in the hole.

You’re ready to fire it up! Place your micro forge and torch on a flat surface separate from the one you’ll be pounding on, light the fire, and watch it make your metal glow.

As of this writing, I’ve made more than 1,000 nails in this little forge and it’s still going strong. The only change I might make would be to add all-thread connector nuts as feet. I’ve discovered that propane tanks vary in height a bit, and the addition of feet would make it easier to adjust the height of the forge.