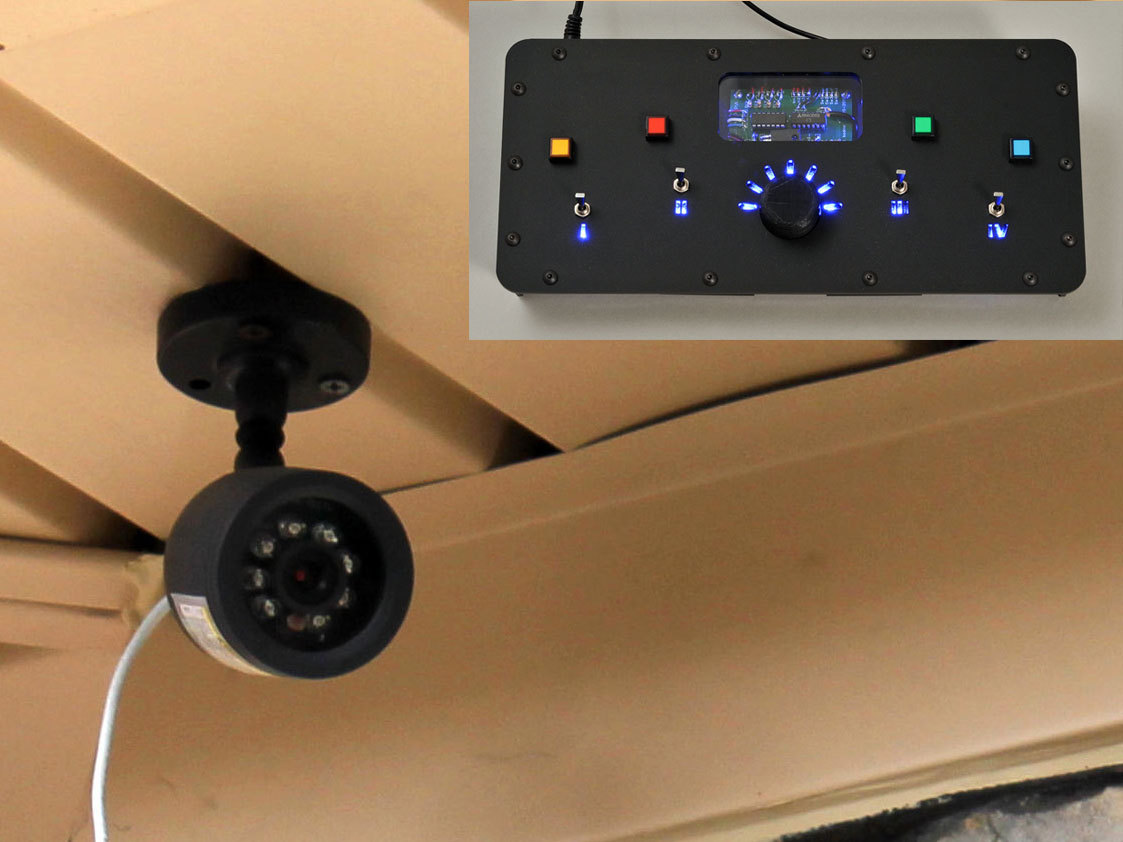
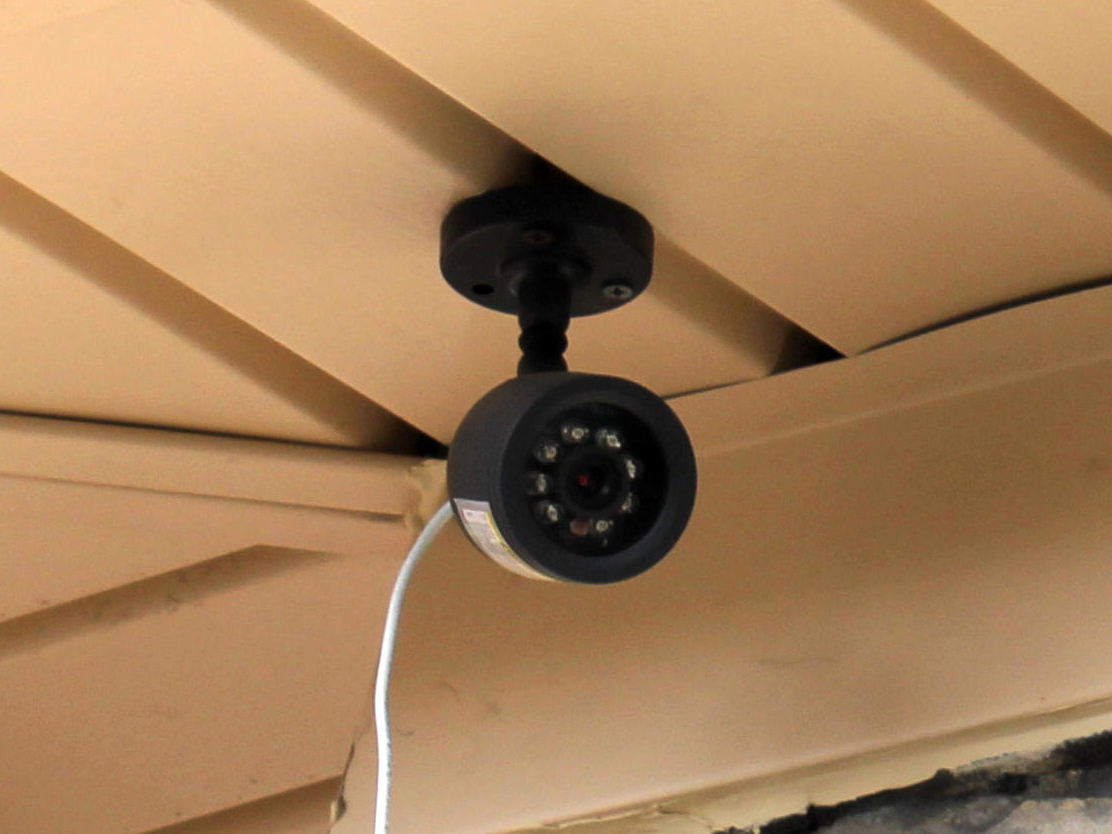
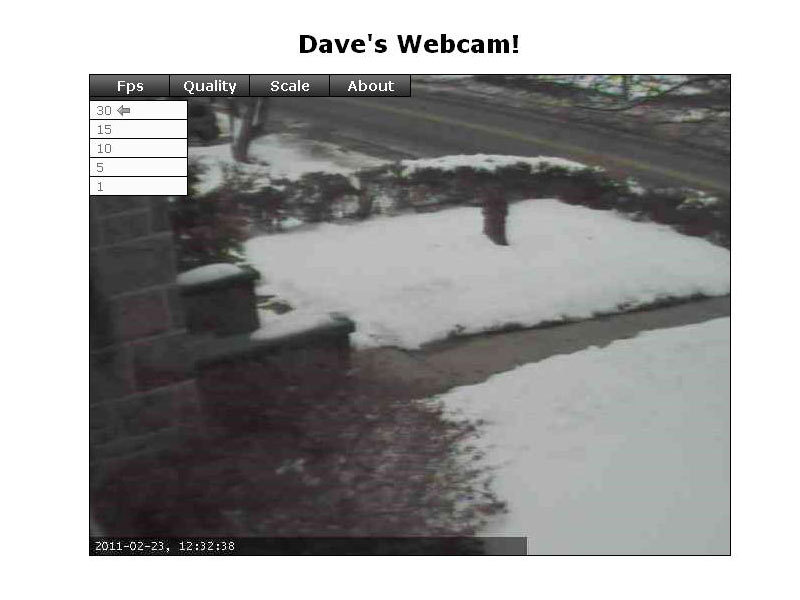
First, of course, you’ll want to decide where the cameras go. I have one mounted on my front porch, aimed at the front door and mailbox; a second camera looking down on the driveway, so I can see when someone arrives by car; a third looking over the pond, garden, and garden railroad; and a fourth giving a view of the front yard. You are welcome to see the live camera feeds at n3enm.hopto.org:888 and operate the system controls at n3enm.dyndns.org:8888.
The Harbor Freight security cameras screw-mount to any beam and have a 6′ cord that terminates in a 6-conductor RJ11 (technically, RJ25) telephone jack. The jack accepts an included 80′ extension cable, the other end of which splits into a yellow RCA plug for composite video, a white RCA plug for audio from the camera’s microphone, and a barrel connector for 9V DC from the included wall-wart power adapter.
I haven’t set up the software to put the cameras’ audio online, but I did connect the audio from the front door camera to an old pair of computer speakers in my basement office. This lets me hear the sound of the newspaper hitting the driveway when I’m working in my office early in the morning.
The cameras and cables have proven to be weatherproof when protected from direct rainfall under a roof, but the RJ11 connector between the camera cable and the extension cable became corroded from moisture. I sealed the connector inside a plastic bag and have had no problems since.
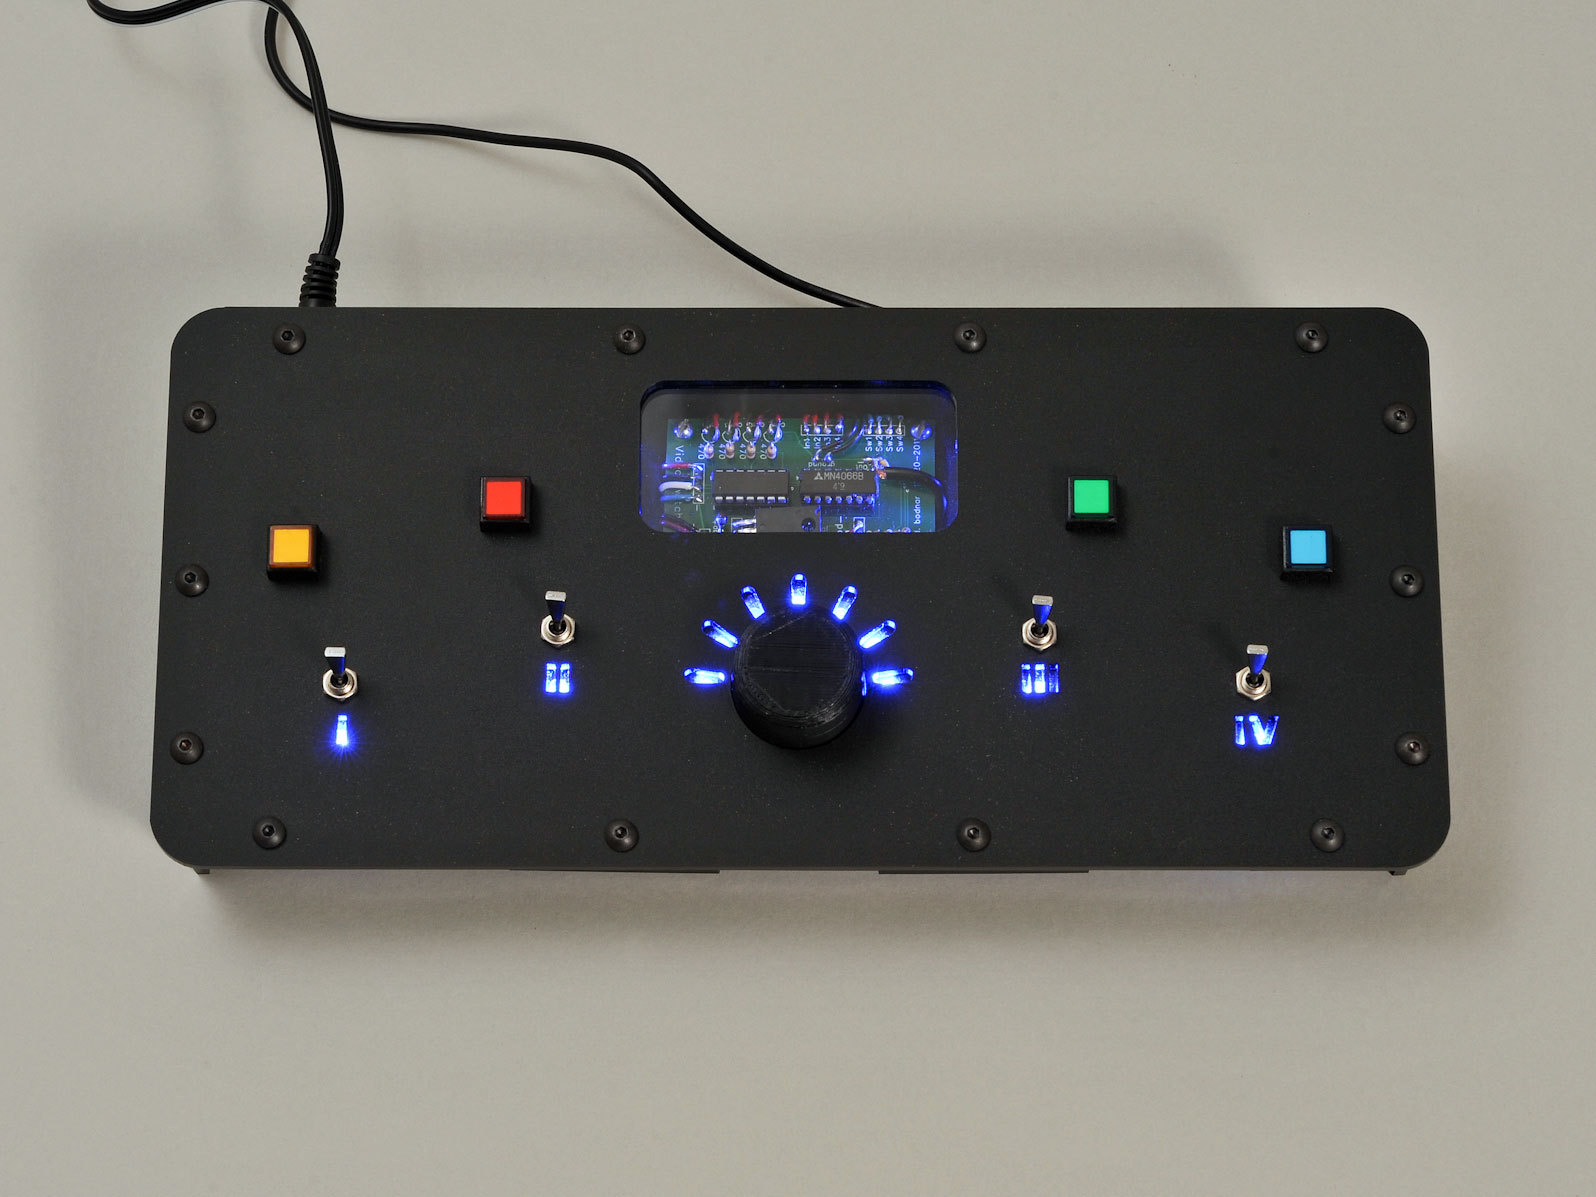
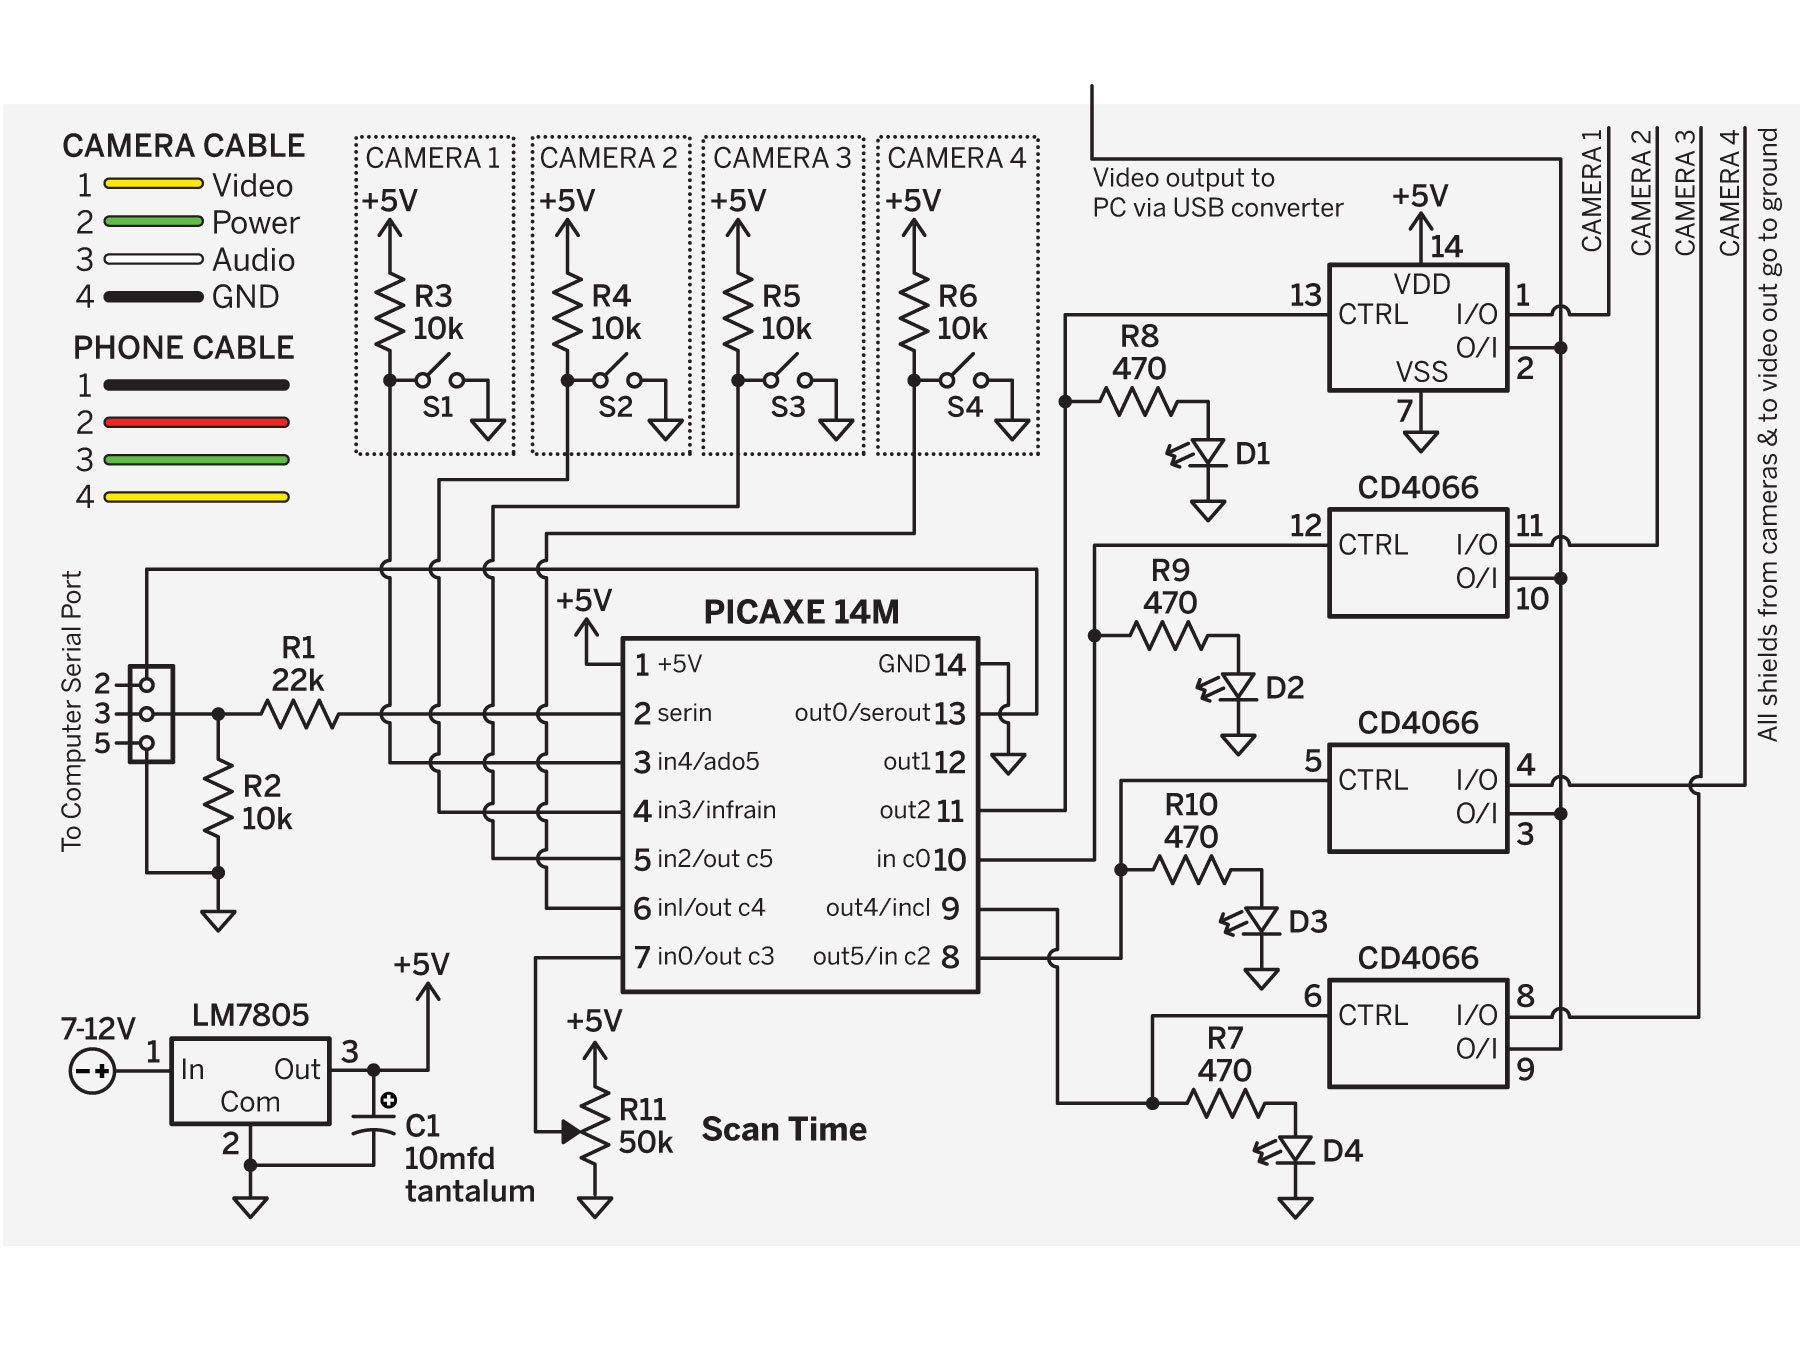
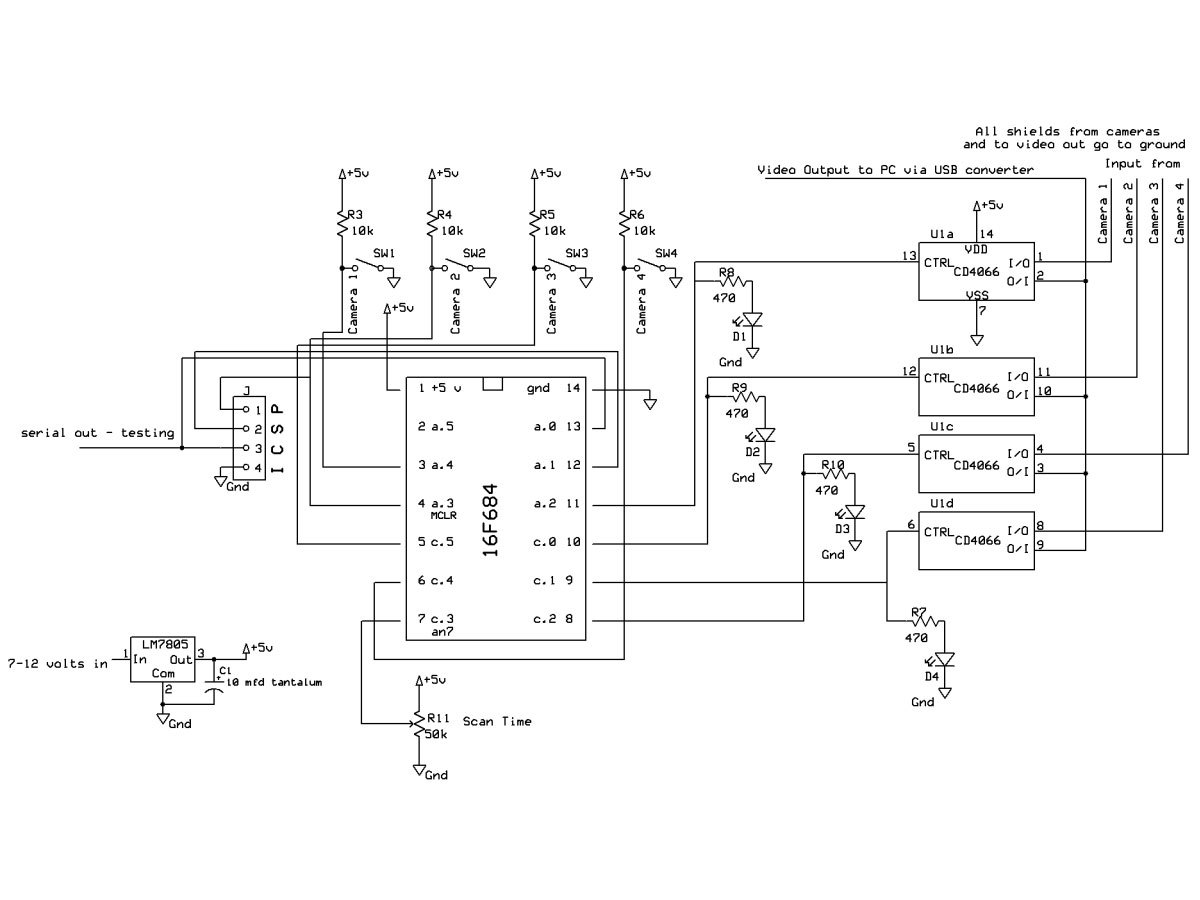
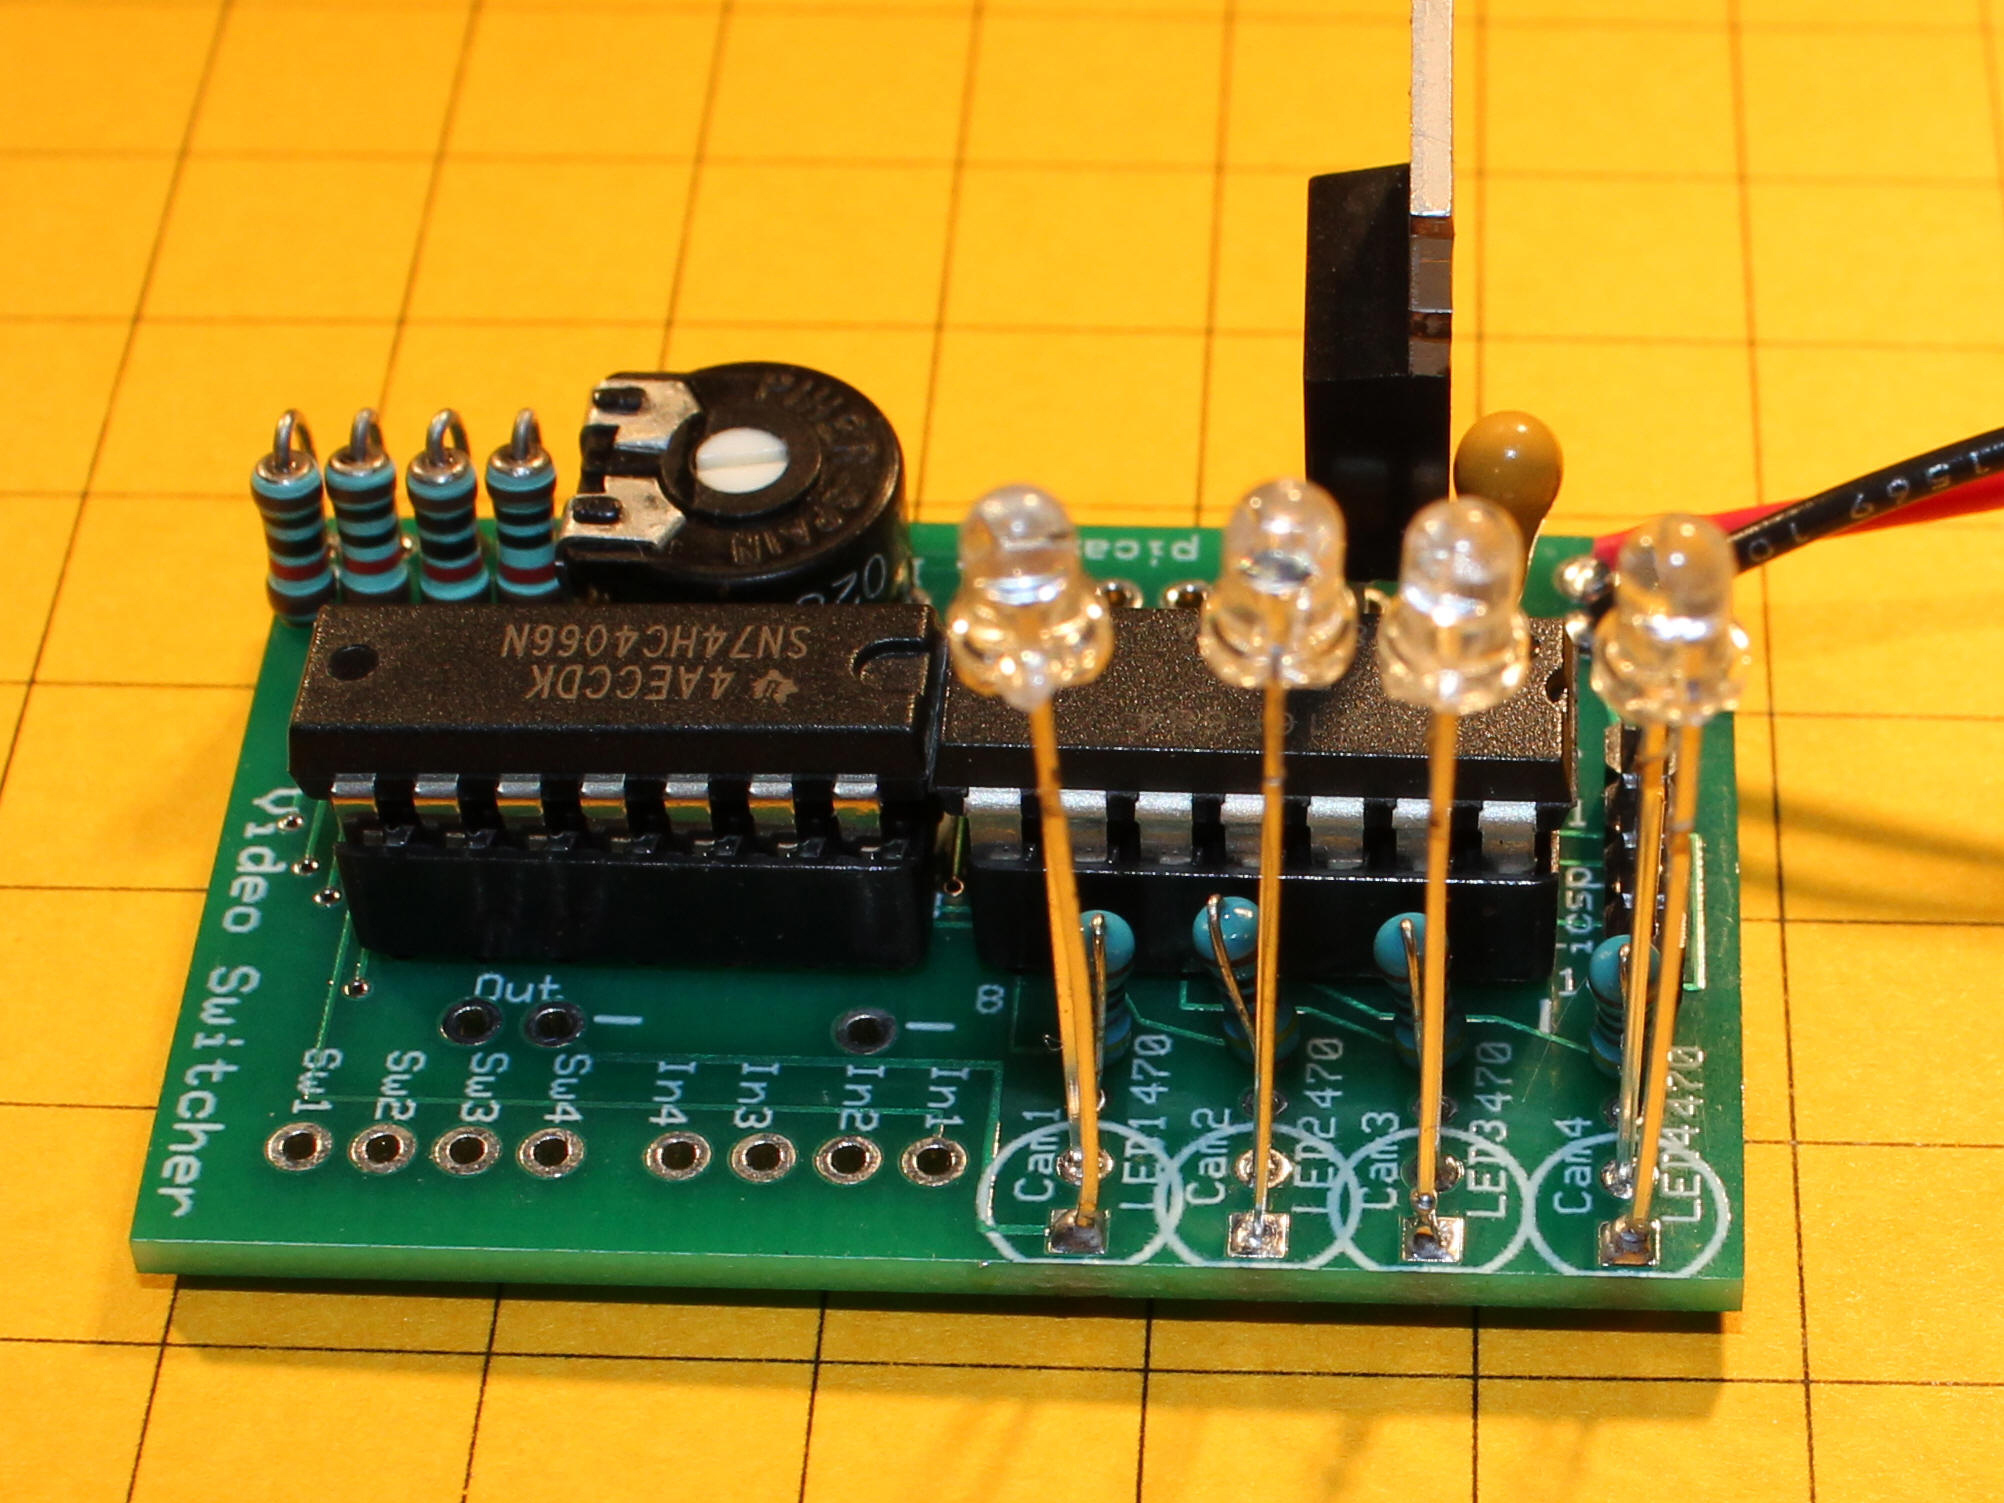
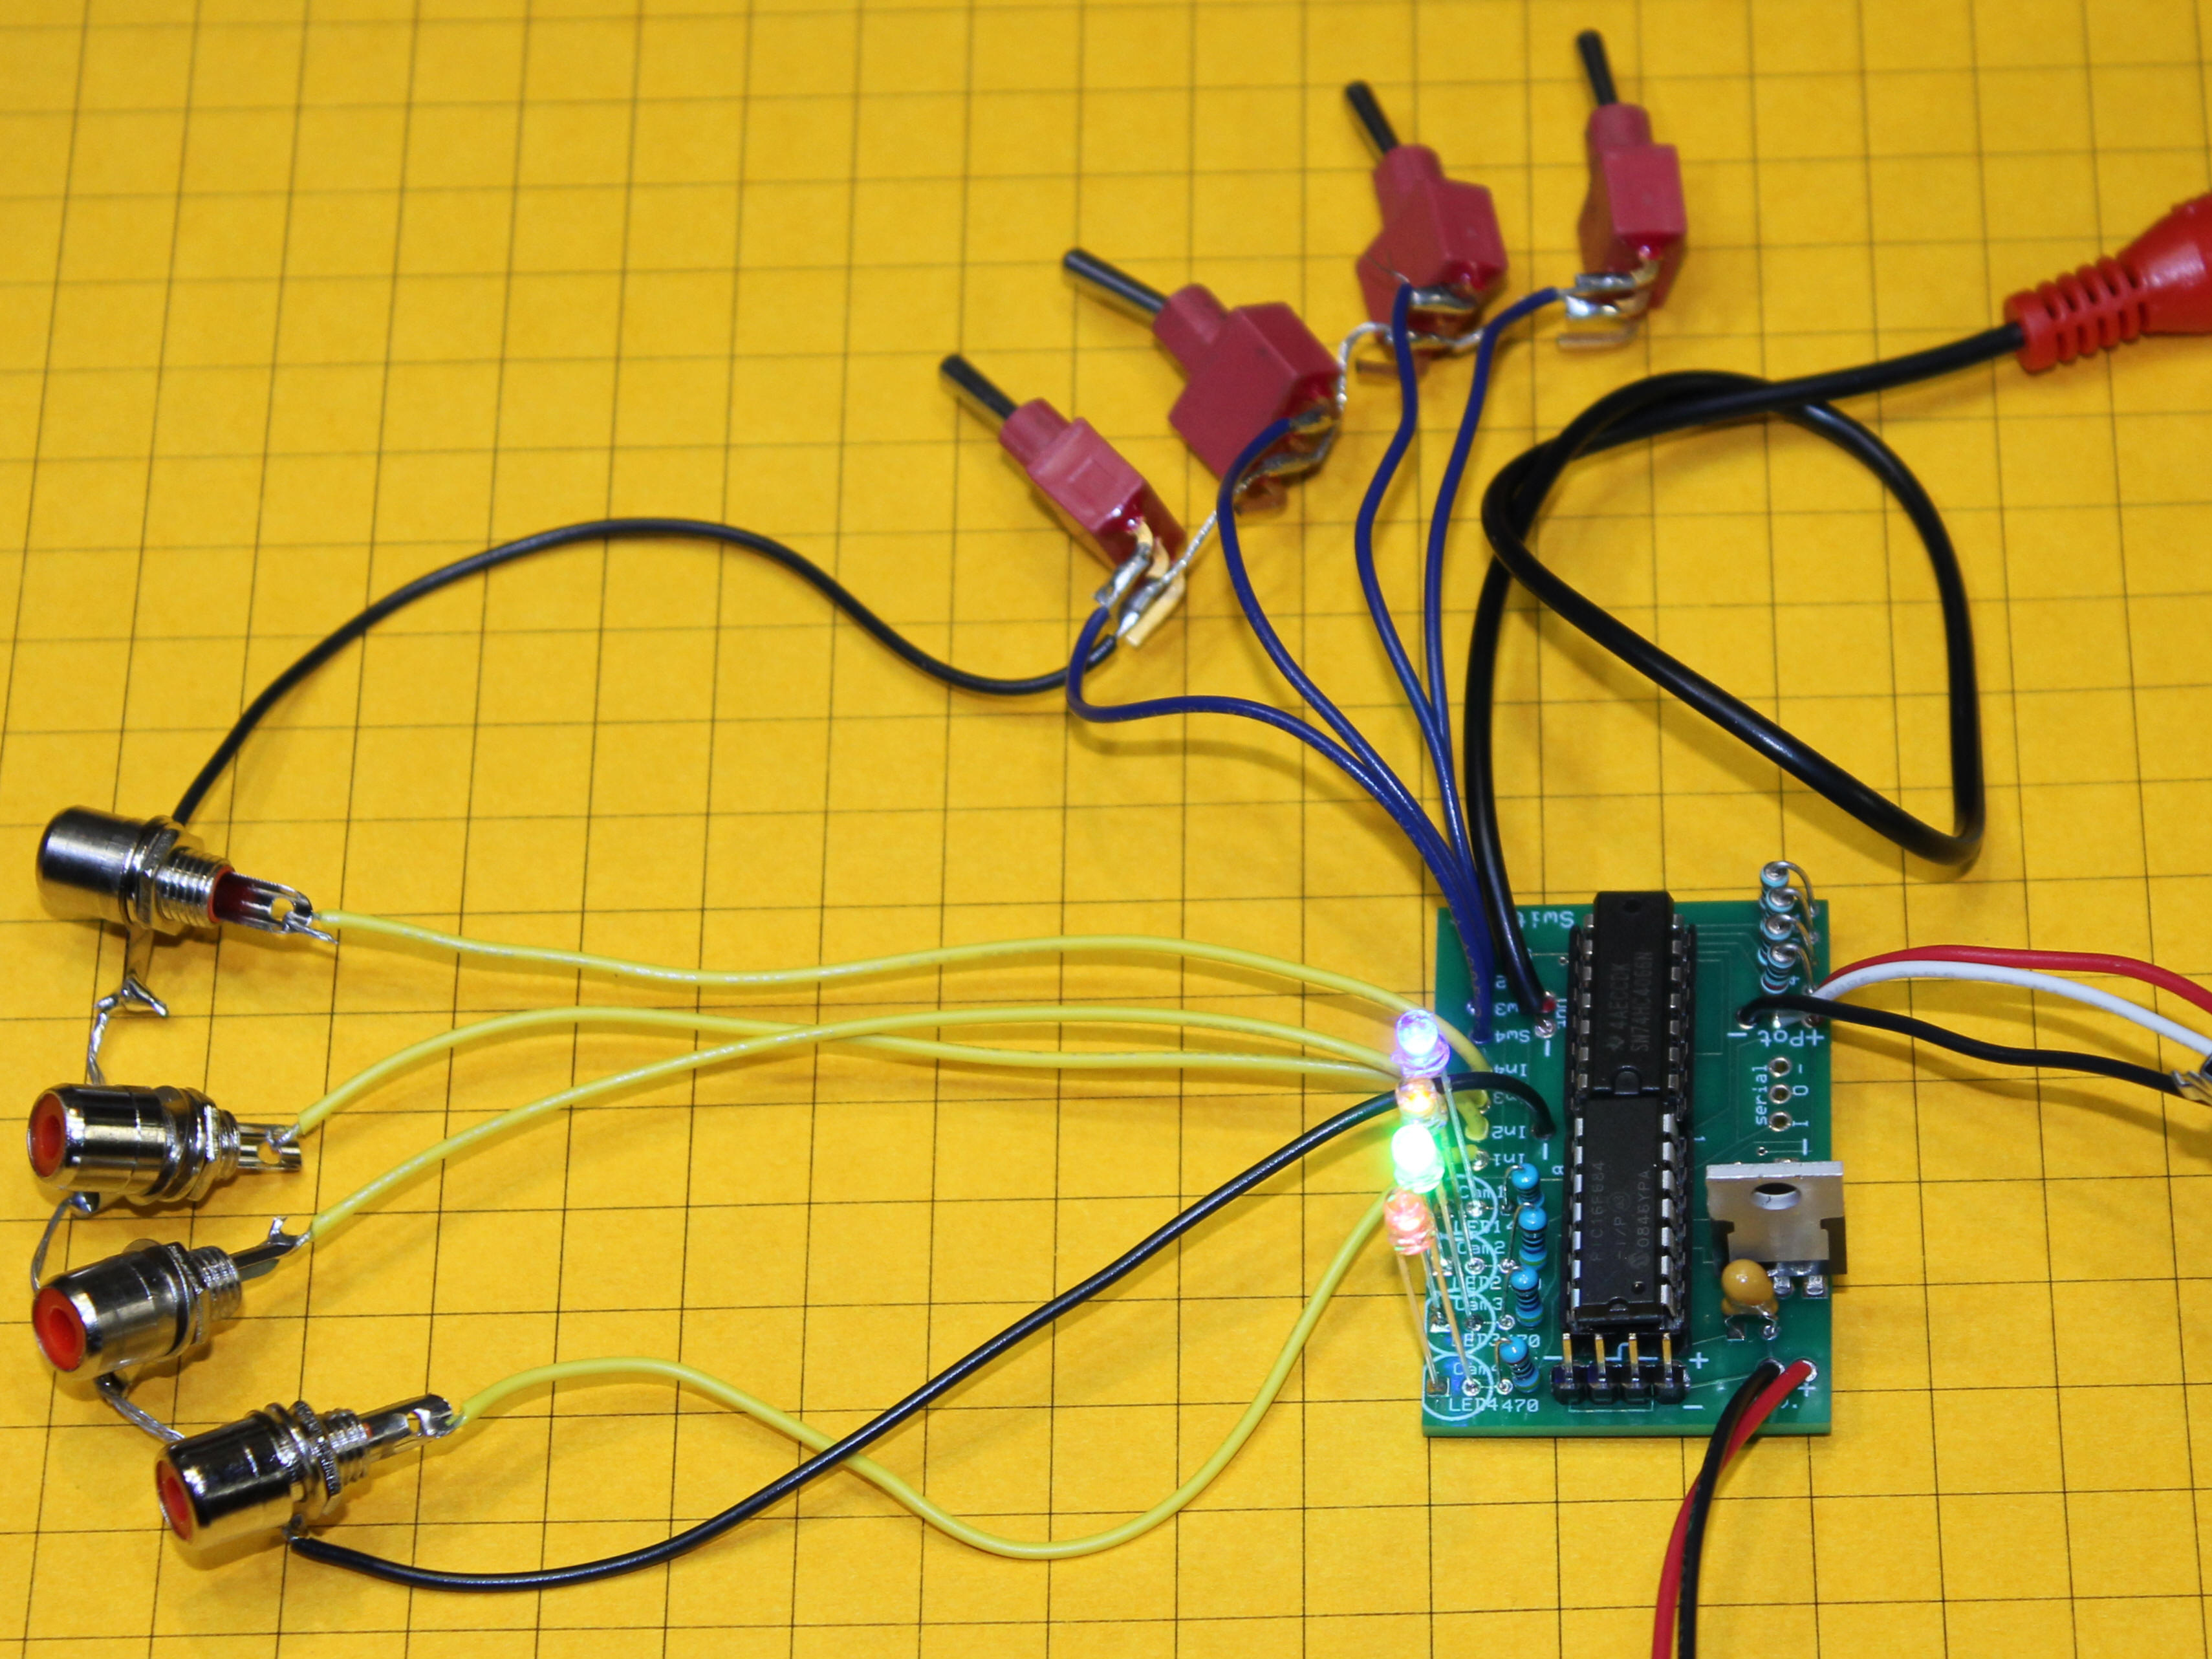
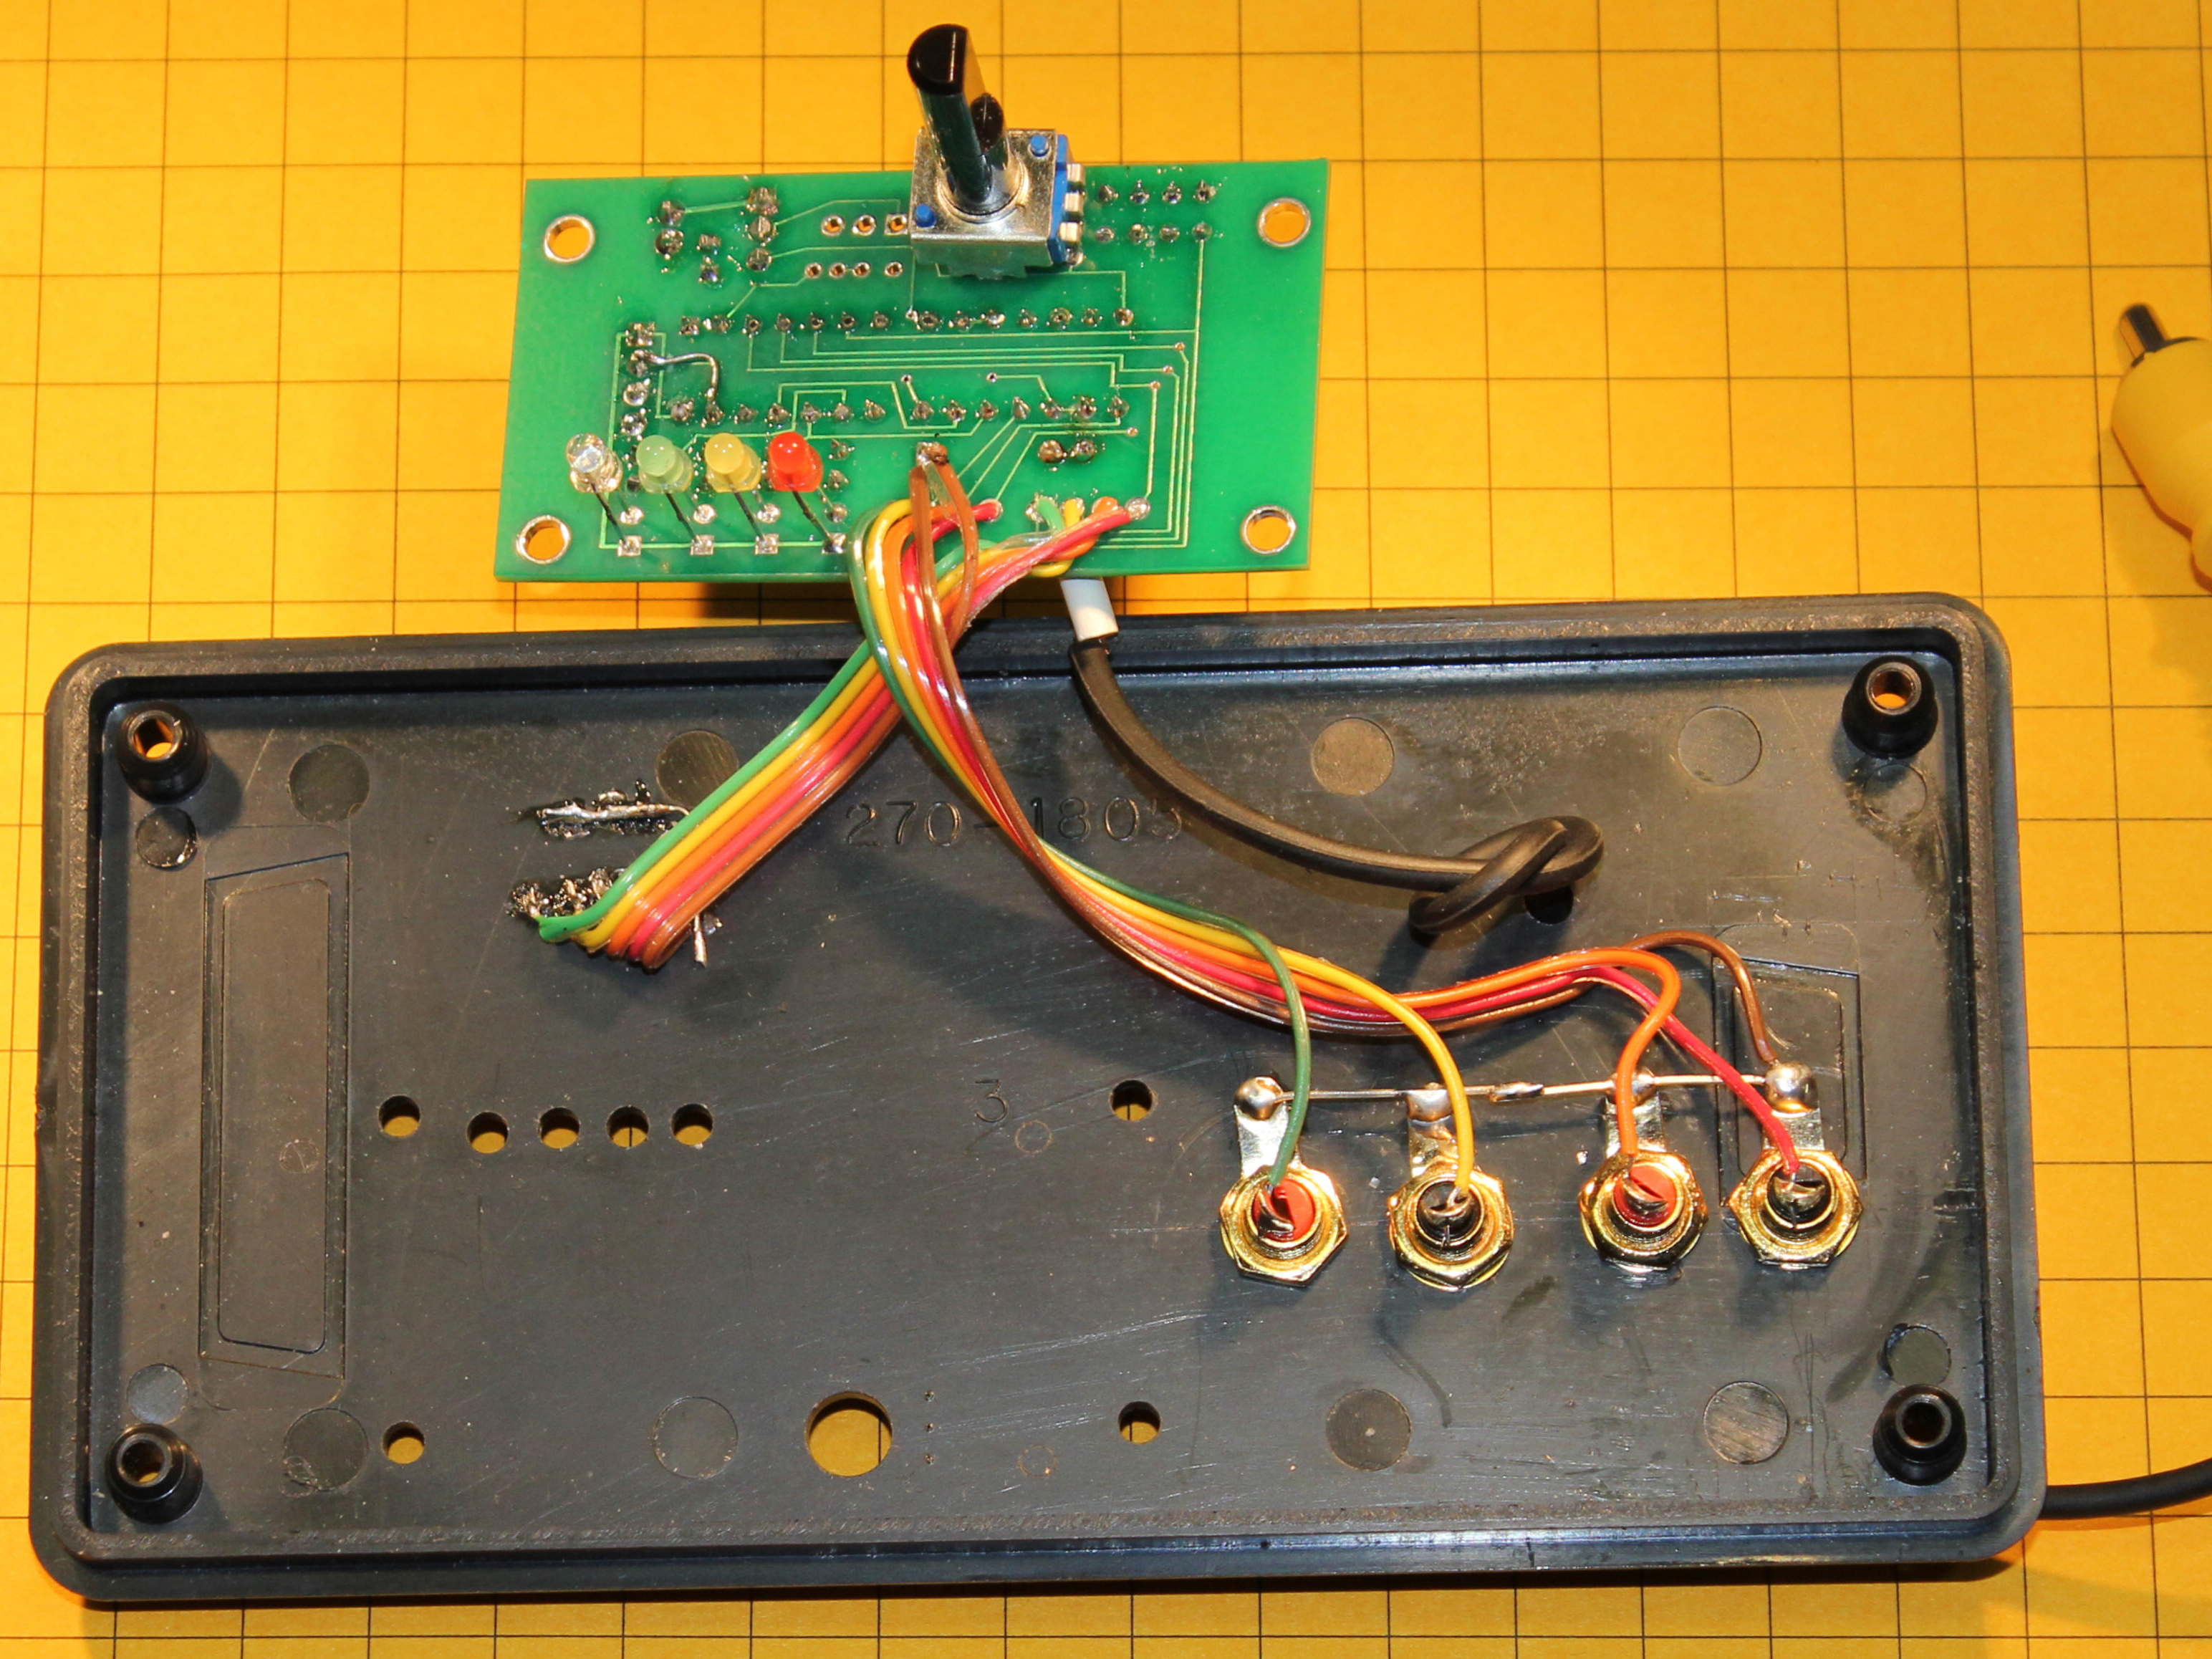
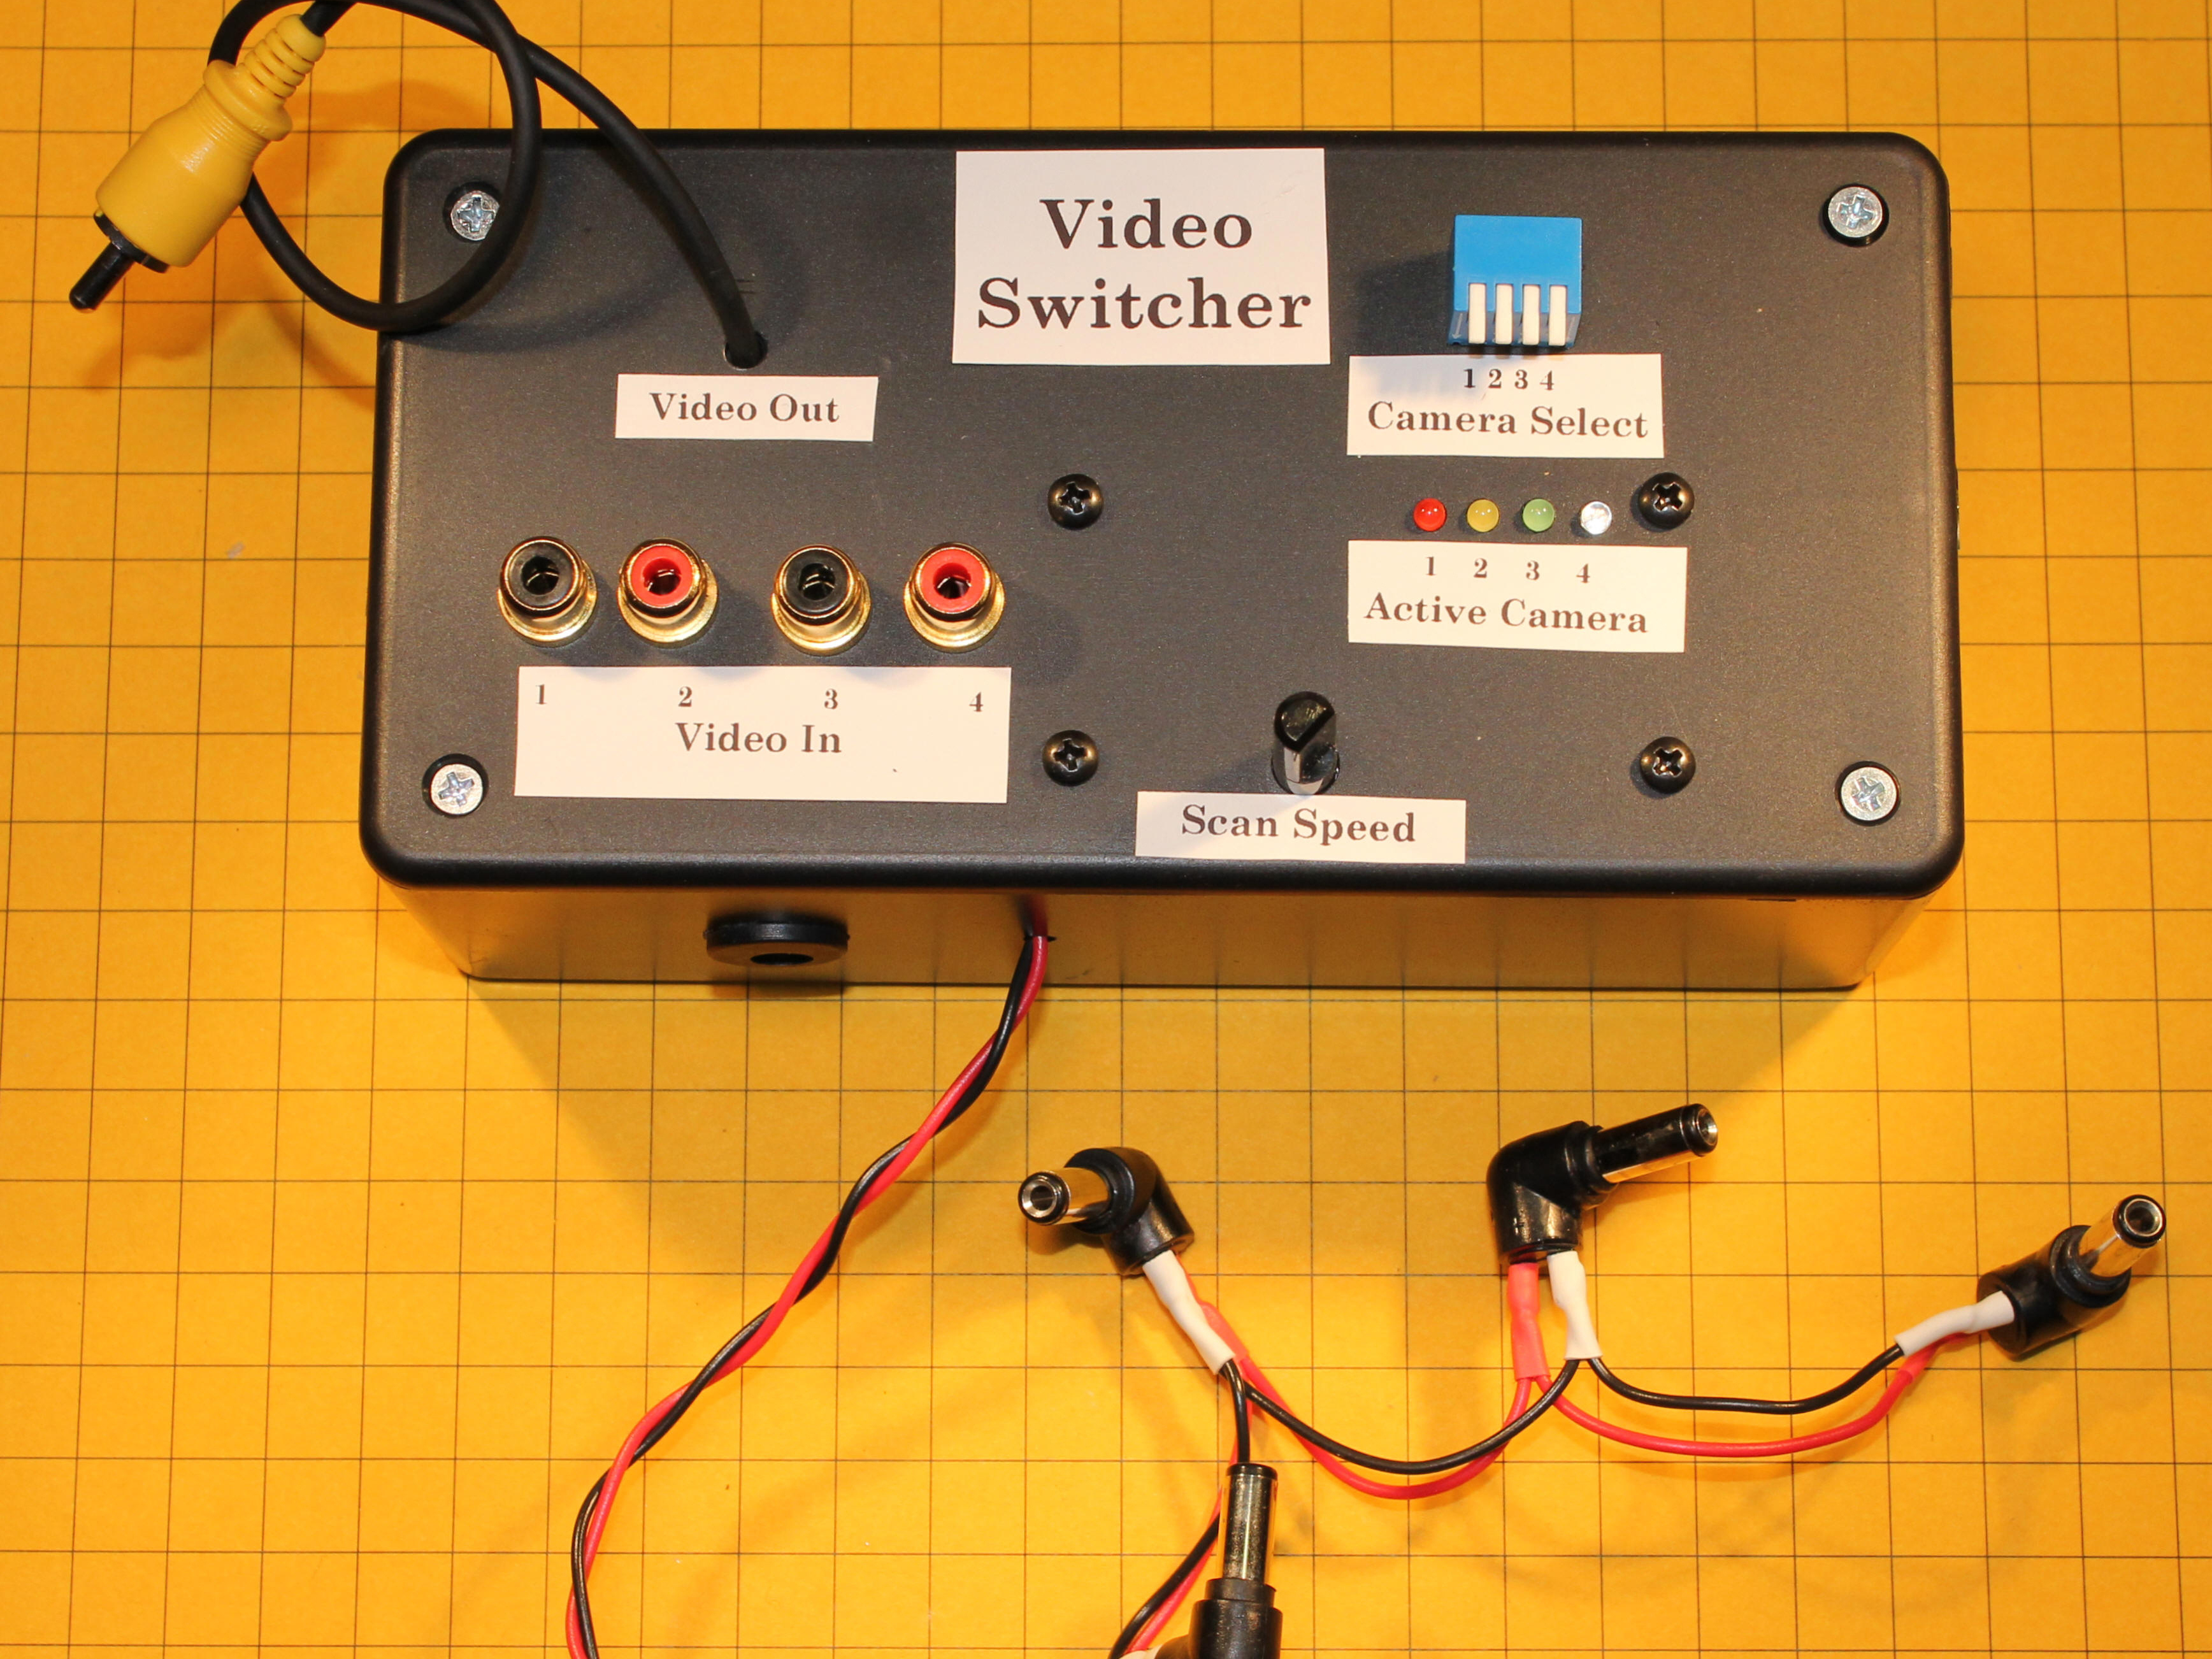
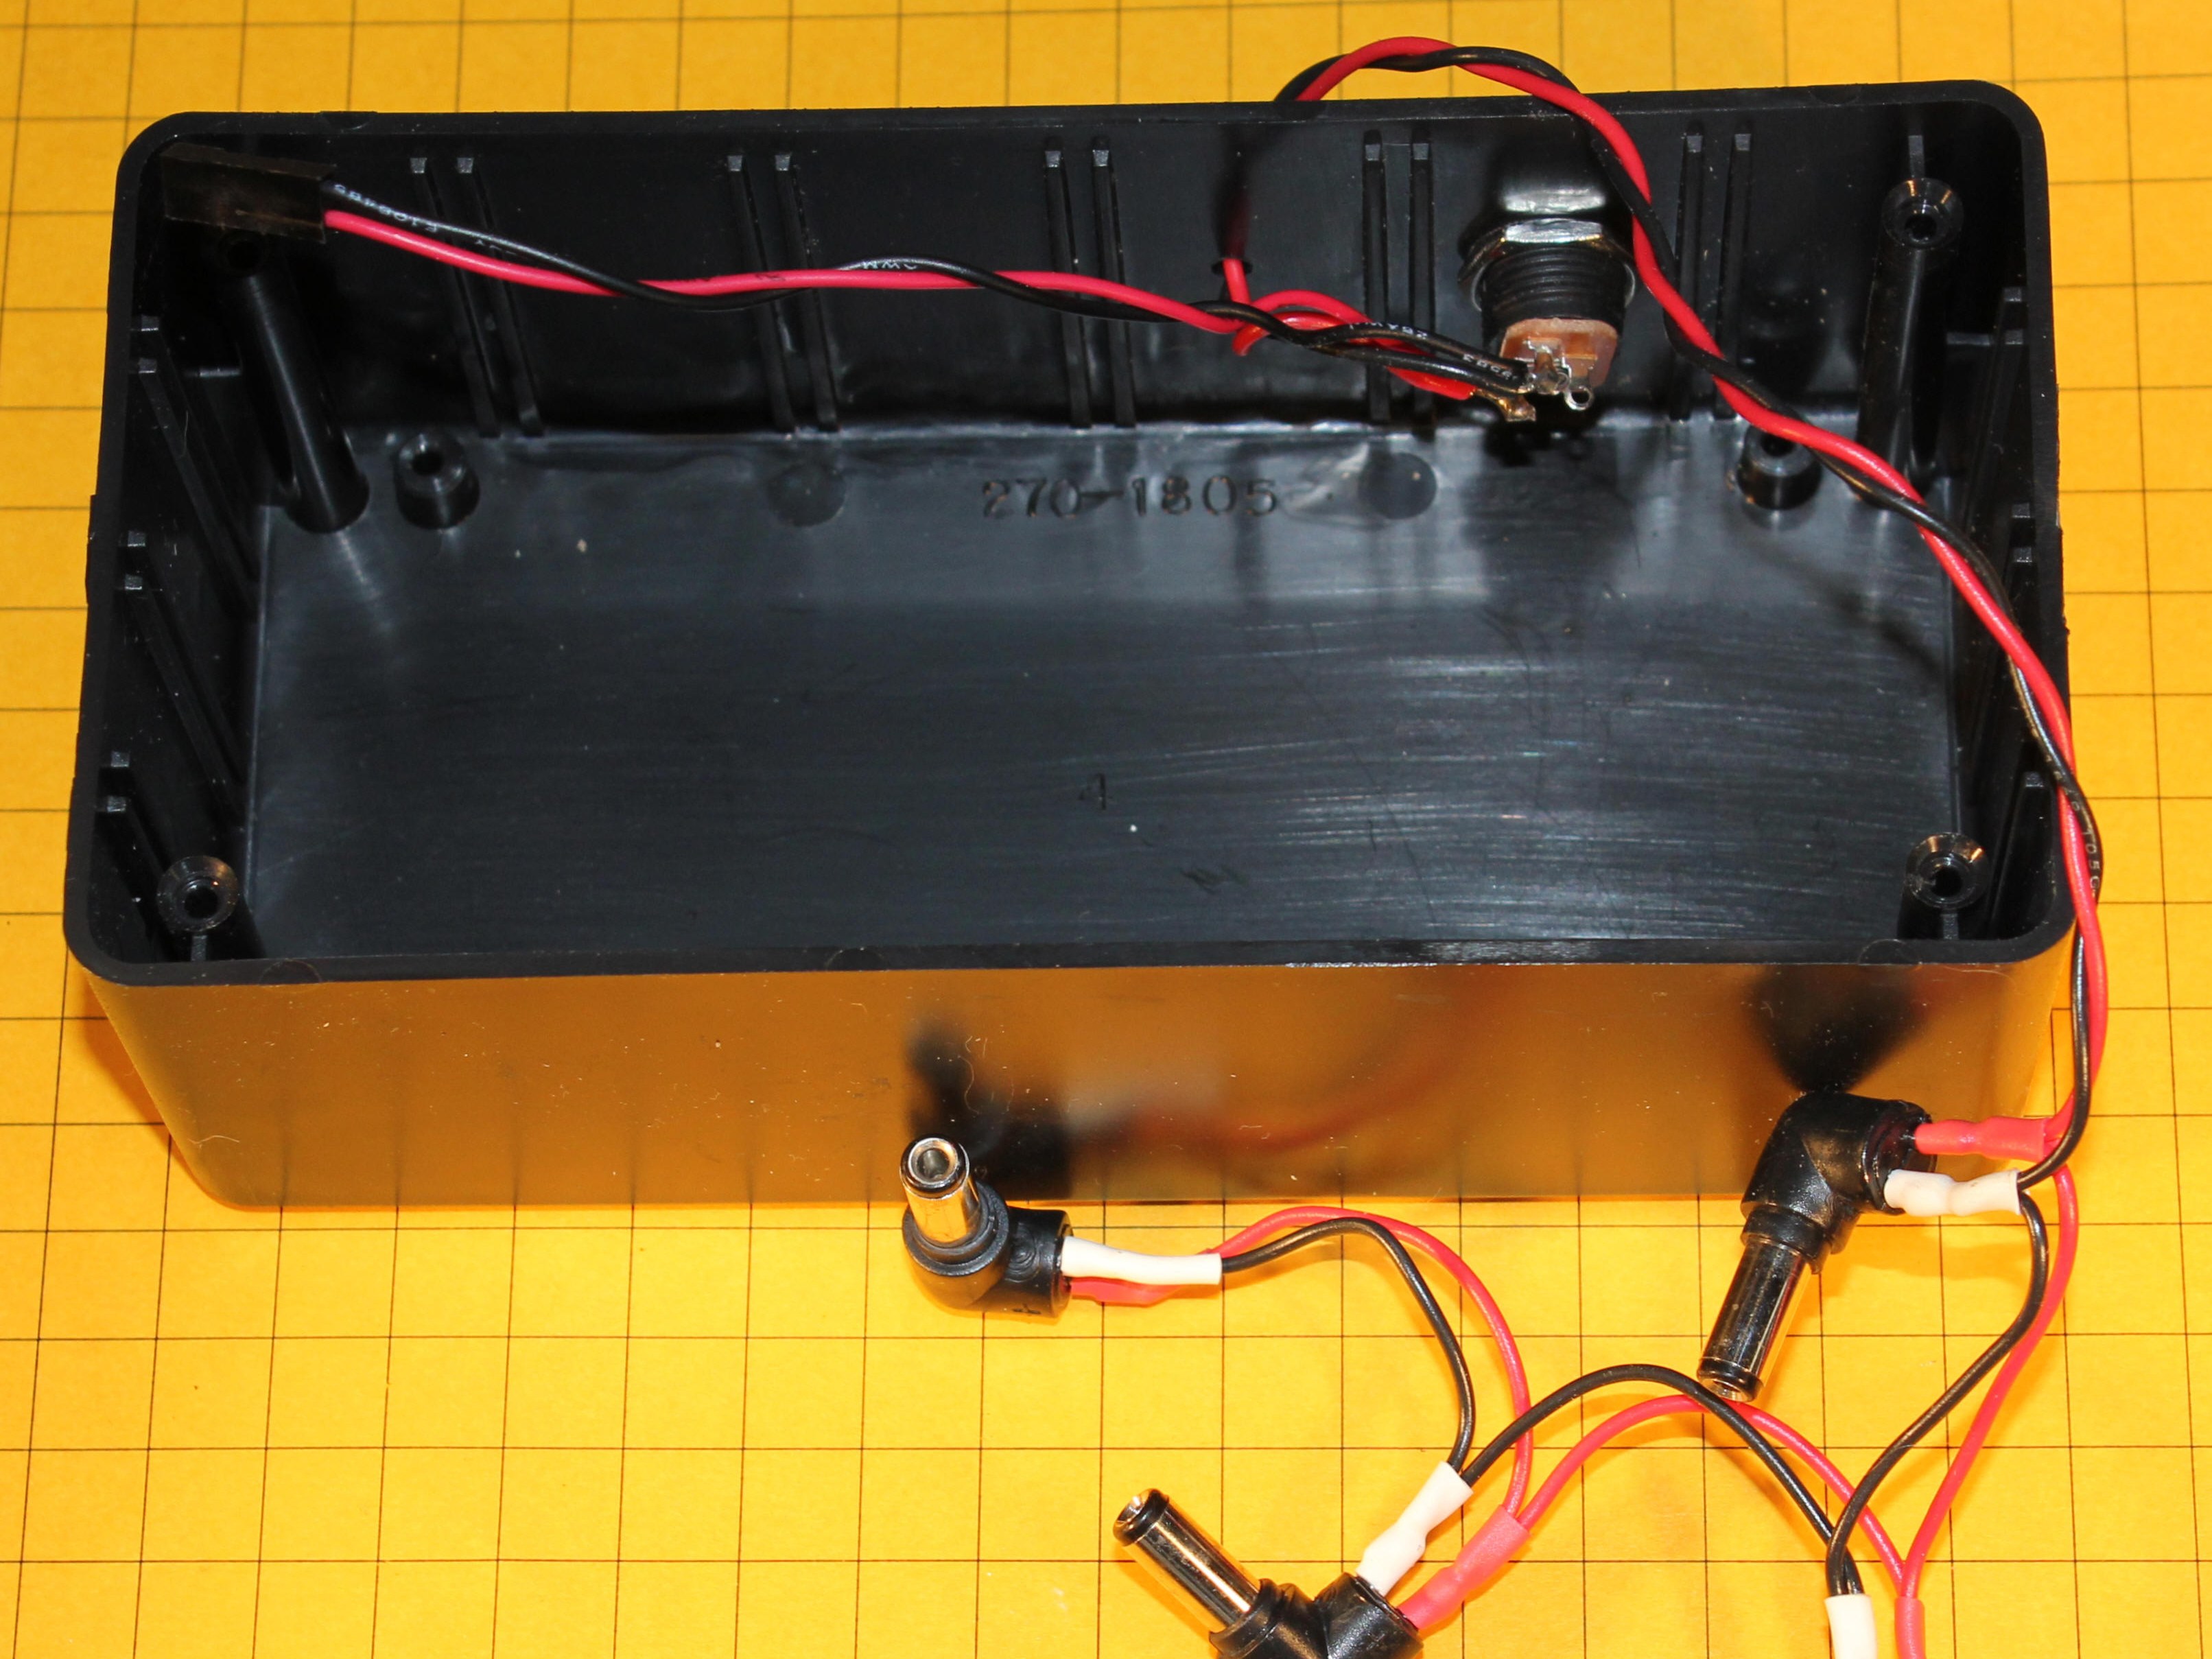
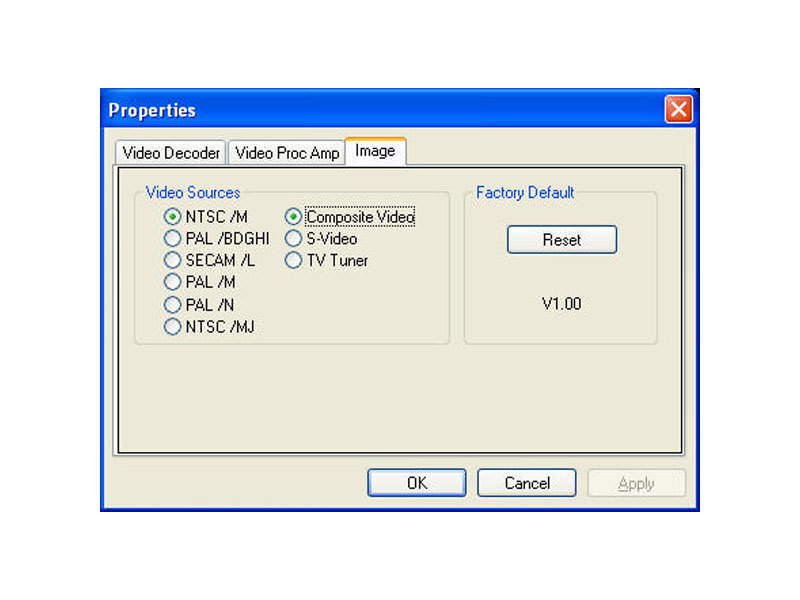
The camera video cables will plug into a homemade video switcher, which connects to a PC via the composite video-to-USB adapter. Using the camera cable wiring (in the schematic in Step 2), you can easily shorten the cables for cameras installed closer to the switcher. You can also lengthen a cable, but the video quality may suffer.


