Record audio notifications.
This is an opportunity to get the whole family involved in the project. We fired up my laptop with its built-in microphone and held a recording session: “It’s trash night, Daddy!” and “It’s recycle night, Daddy!” and so on, saving the snippets as WAV files formatted to Adafruit’s specification.
NOTE: Digital I/O pin 0 (RX) on the Arduino is reserved for uploading sketches from your computer, so don’t use it.
To cover as many bases as possible, we recorded notifications for all the hours of the day, and anything else I felt could come into play down the road.
Record as many sound files as possible in a single session, because this keeps the ambient sound and overall quality the same. Then scale back as needed.
Assemble the Shields and LCD.
The 2 shields come as kits, so you need to assemble them.
With the MakerShield, do not solder on the short-lead 4- and 8-pin headers; these will hold the Chronodot.
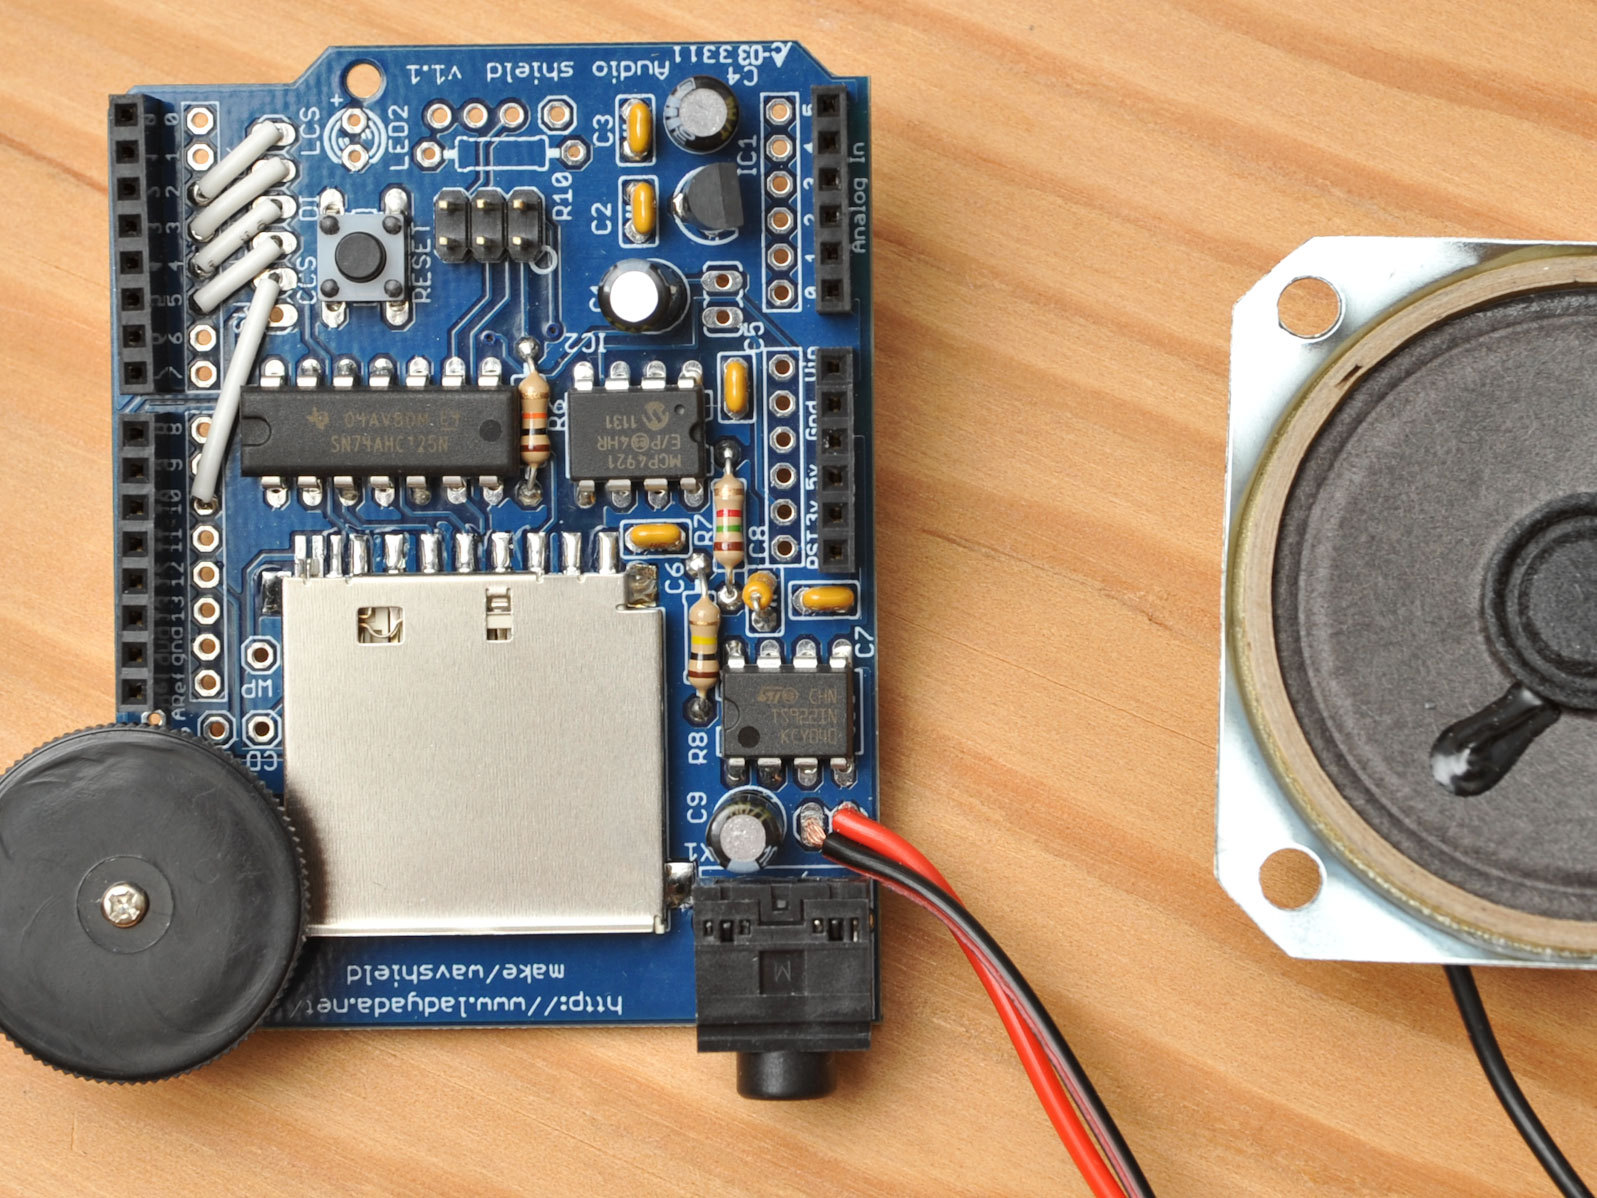
And with the Wave Shield, substitute shield stacking headers for the included male headers, to let the MakerShield stack on top (first photo).
Solder an 8″ length of speaker wire from the speaker to the 2 audio out holes behind the jack on the Wave Shield. Lastly, connect the LCD pins and test that it works, following Adafruit’s tutorial.
Wire and test the circuitry.
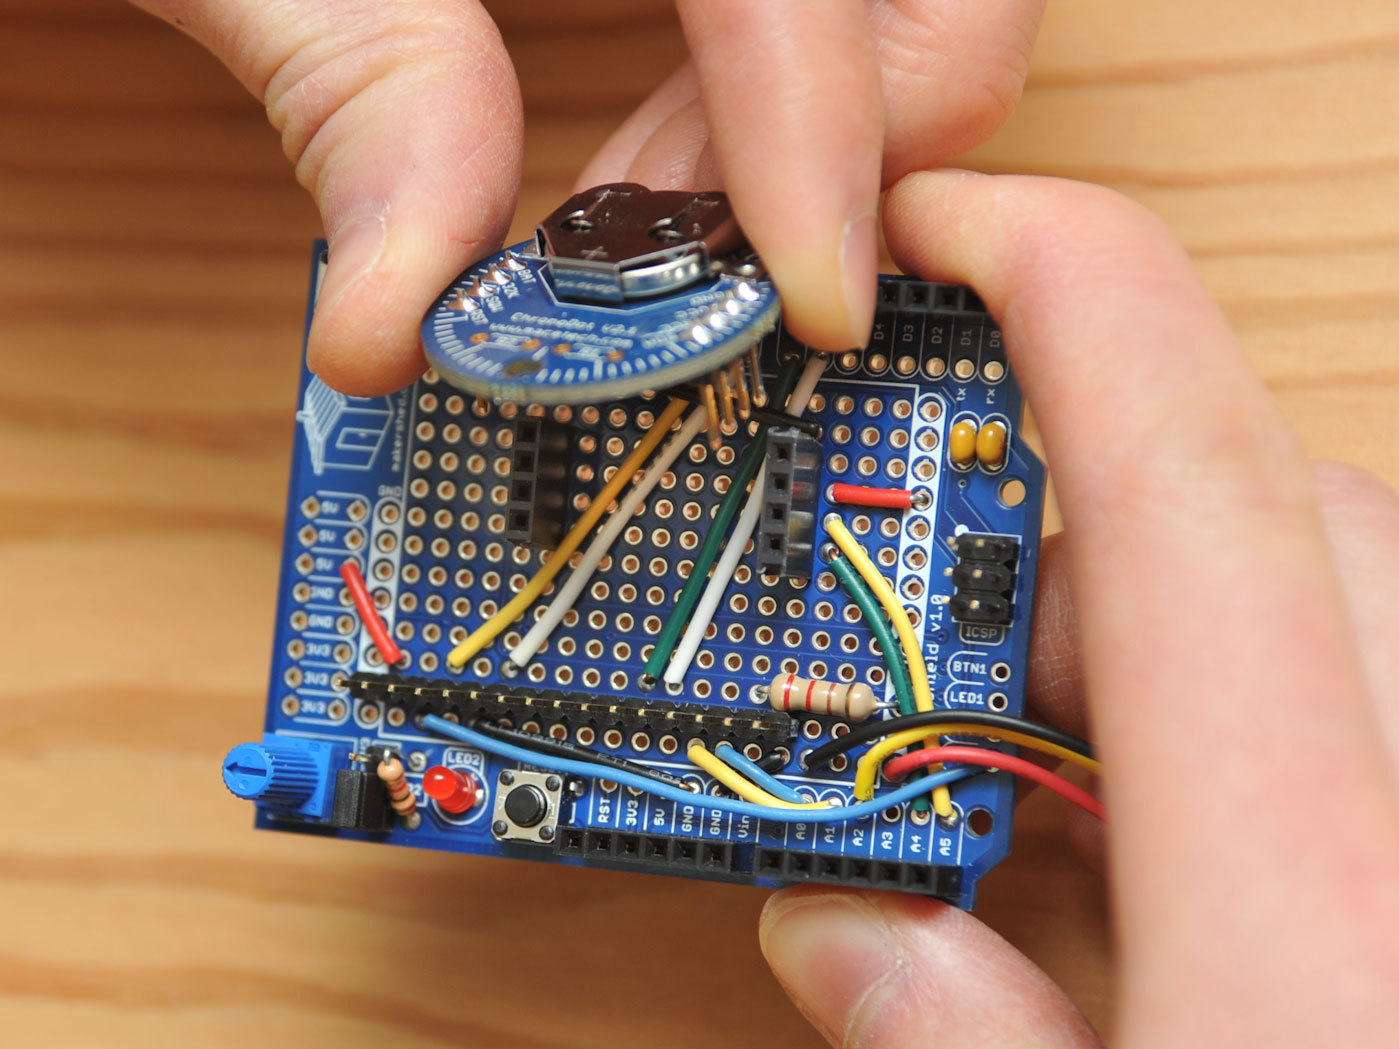
Before committing to solder, build your circuit on a solderless breadboard. Stack the Wave Shield onto the Arduino and wire the LCD and Chronodot to their pins. Then connect the PIR sensor with the included cable assembly.
With the Arduino 0023 IDE installed (1.0 is not supported yet), download the project code Clock_WAV_Motion_Time_Set.pde and Adafruit AF_Wave library from the project code zip file.
Install the library in your Arduino directory. Read the comments in the Arduino code to change some values for testing, then upload it to your Arduino and test.
Once it checks out on a breadboard, cut off a 16-pin strip of male headers (from the Wave Shield) and cut the short-lead 8-pin header (from the MakerShield) into a 4-pin header.
Transfer the wiring onto the shield, including the 16-pin header for the ribbon cable and the two 4-pin headers for the Chronodot. Plug in the Chronodot and solder everything down, solder-bridging the header pins to their adjacent wires.
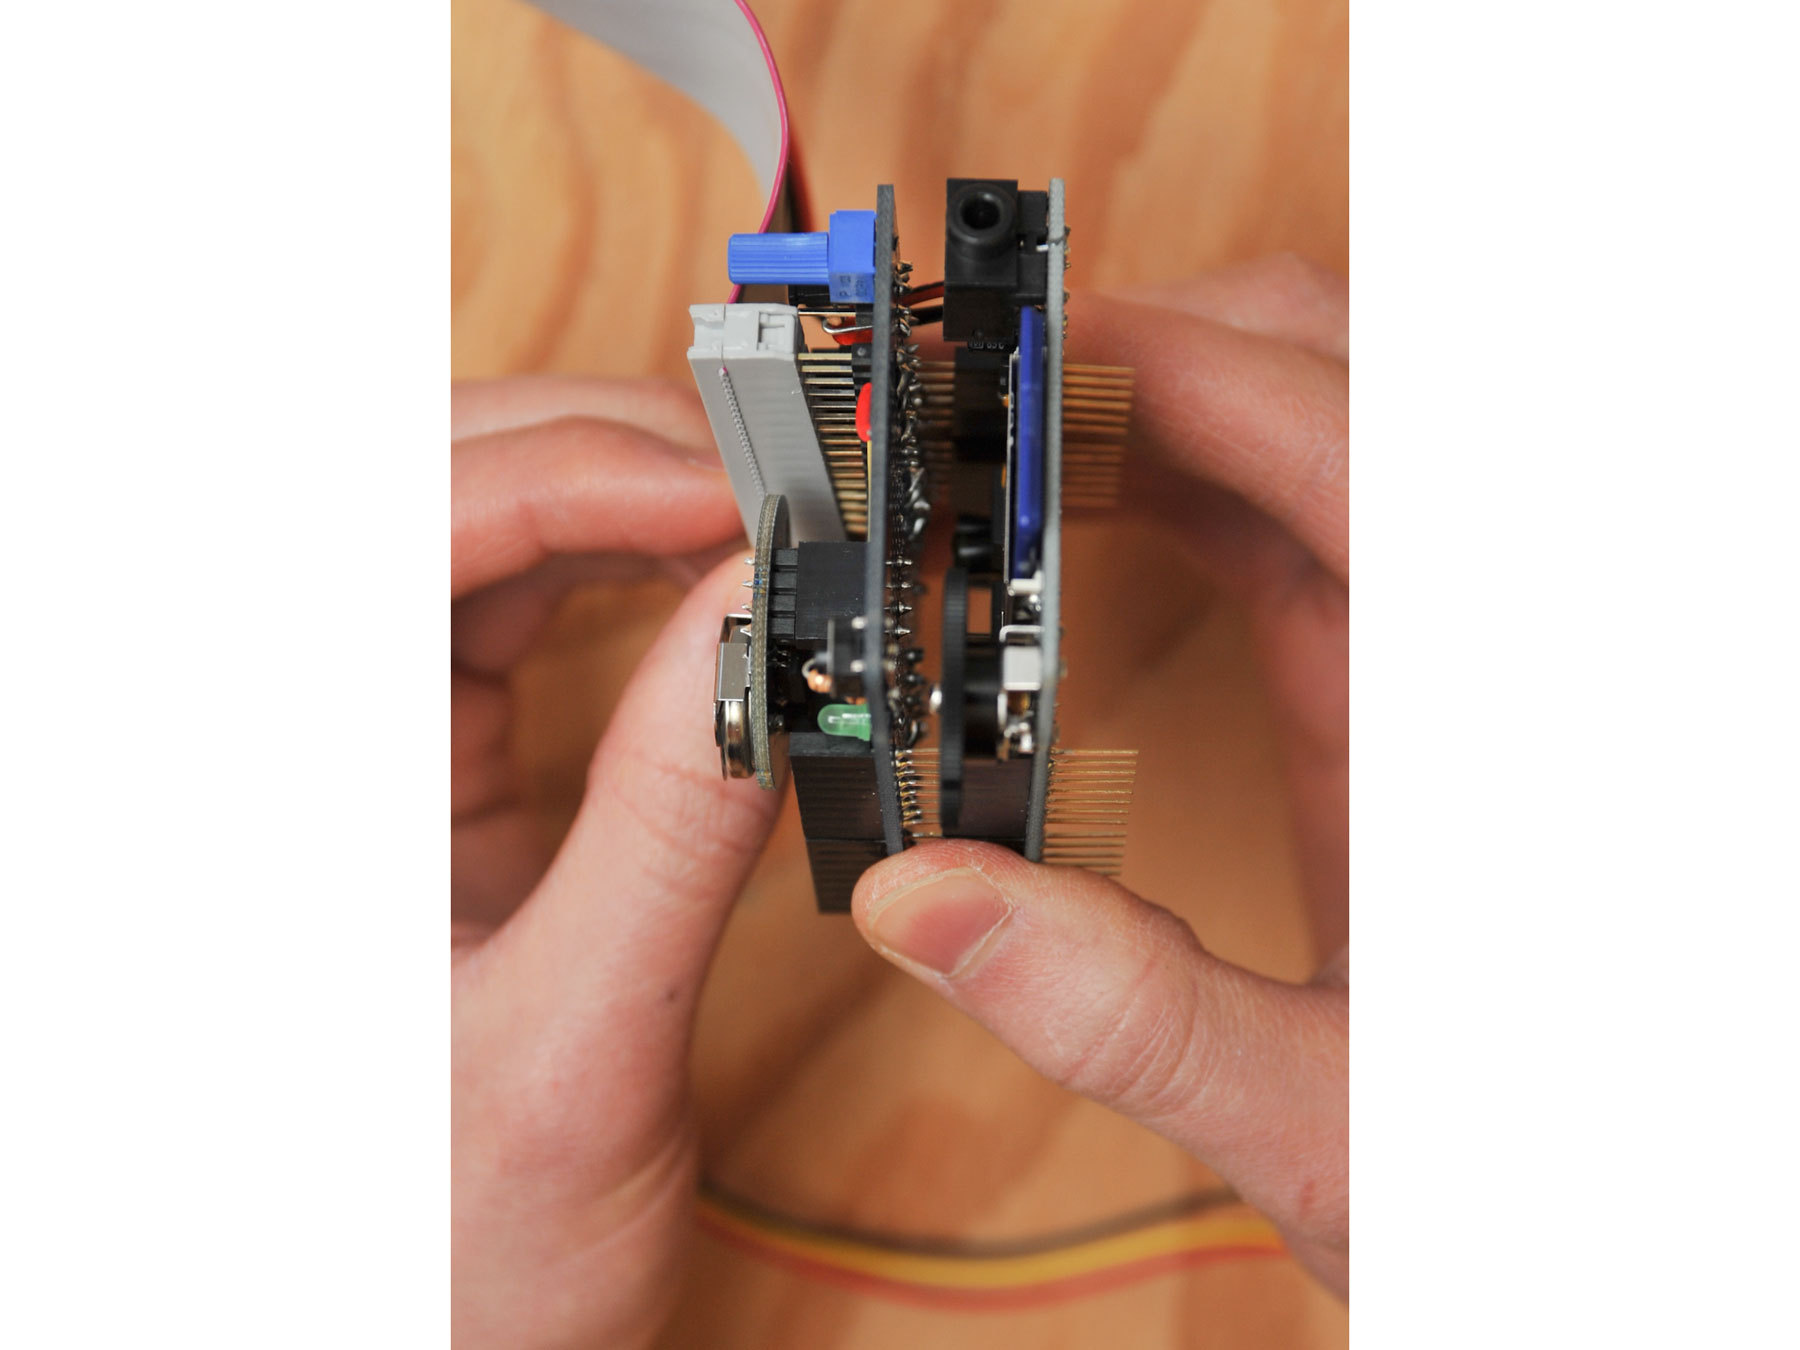
Stack the MakerShield onto the Wave Shield. Attach the LCD via ribbon cable, making sure it connects to the same pins at both ends. Connect the PIR sensor to the MakerShield via its included cable.
Encase the project.
Use the front and back and bottom case templates to turn a RadioShack project enclosure into a case for the NAG, or download the DWG files for laser-cutting a custom NAG case out of acrylic. With the RadioShack box, center-punch and drill the holes, then use a flush cutter and a file to smooth the edges.
Mount the LCD using male-to-female standoffs and 4-40 screws and nuts; the PIR sensor with 0-80 screws and nuts; the speaker with 4-40 screws and nuts; and the Arduino using 4-40 screws, standoffs, and nuts.
With either the RadioShack enclosure or the laser-cut acrylic box, add rubber feet to the bottom corners where they will rest against the wall. You can hang the NAG on a nail.
Customize the sketch.
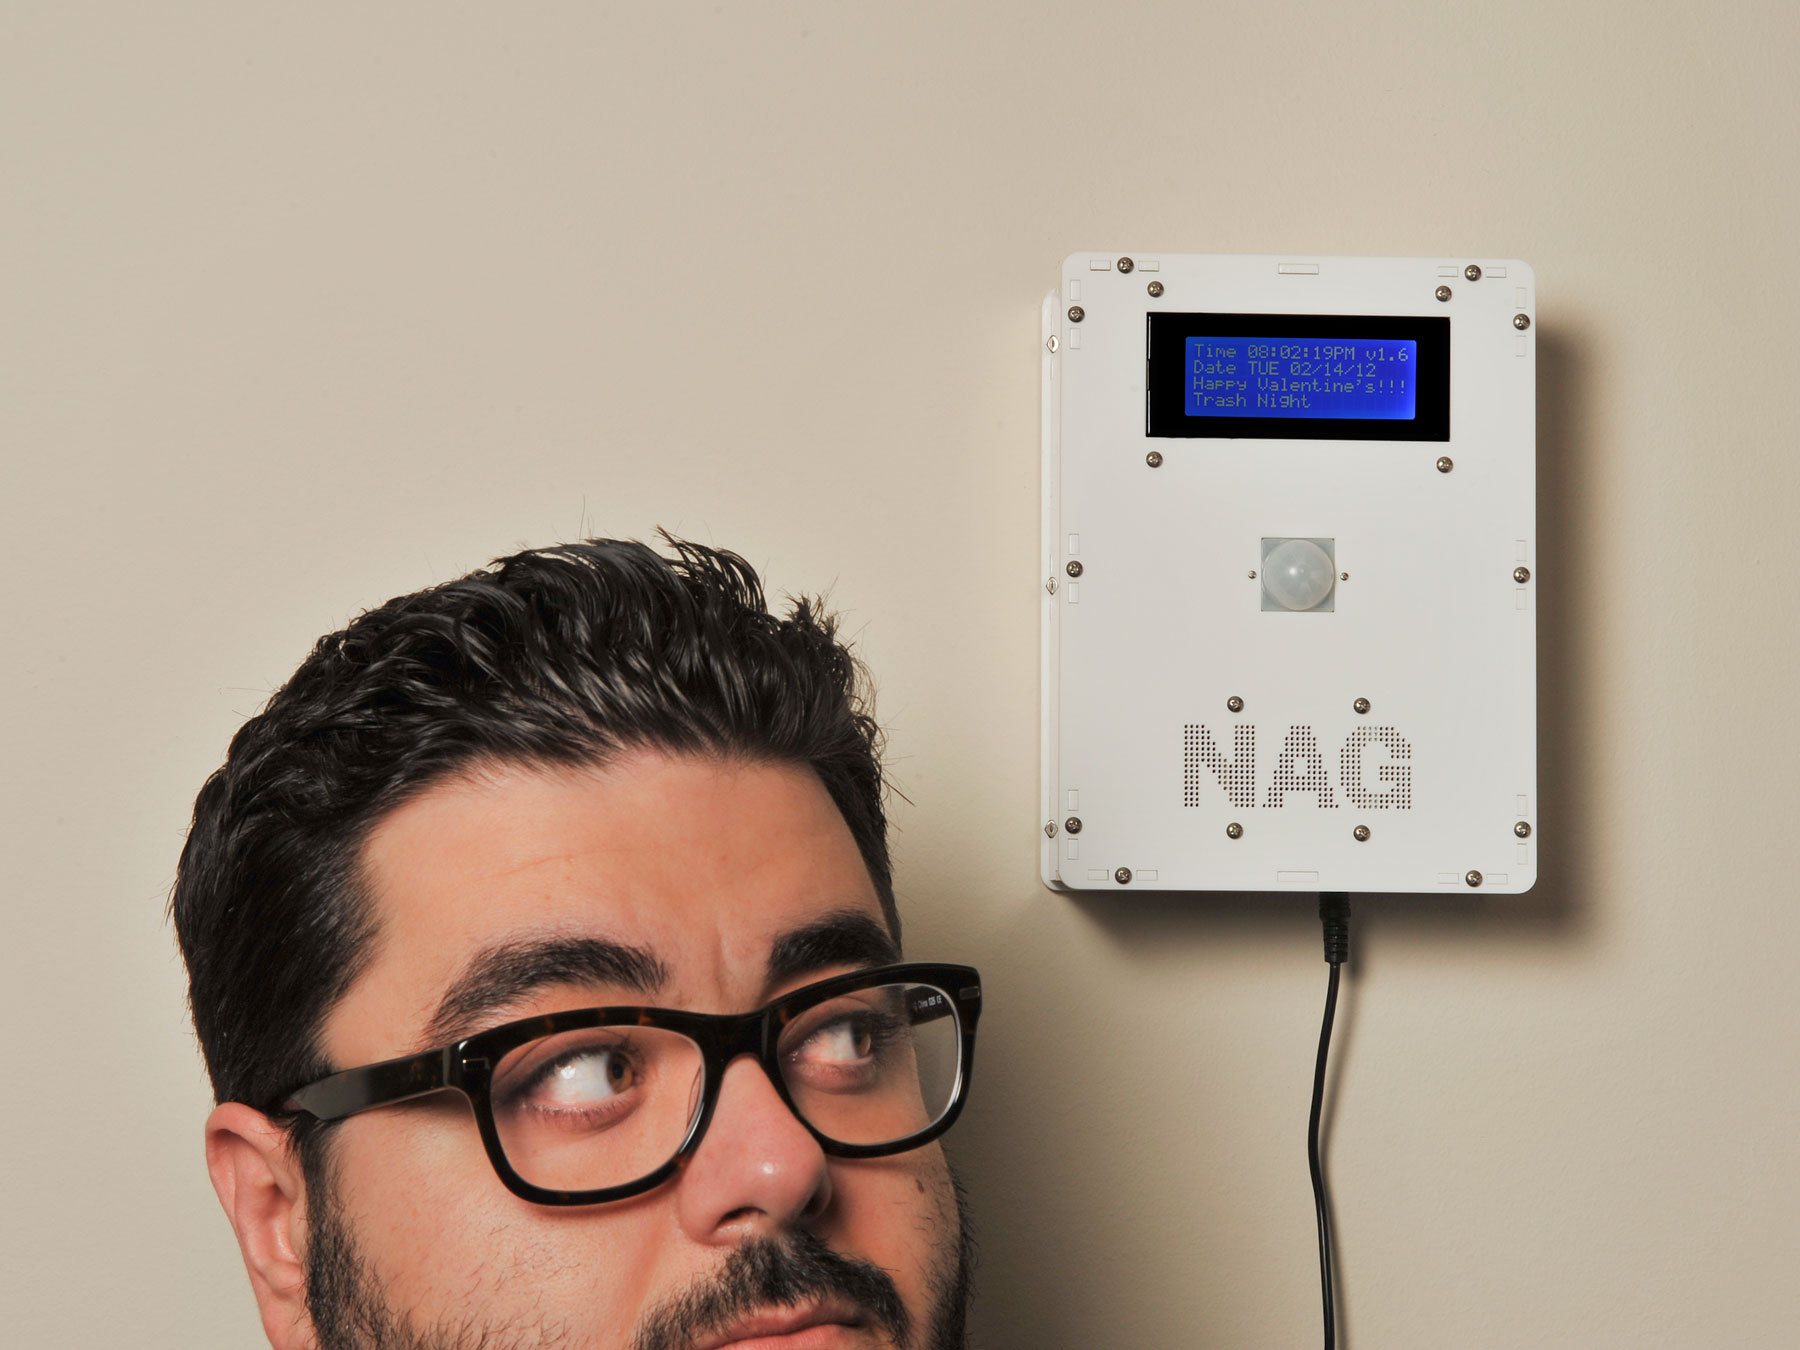
My Arduino sketch assigns the proximity sensor pin as an input and tells the Arduino what to do when it sees someone walk by. It also triggers actions based on the time or date.
Of course, you can customize the sketch however you want. Tuesday is trash night, so mine nags whenever somebody walks by between 7 and 11 p.m. But it would be quite annoying if it did this every time, so it waits 20 minutes between nags, except for scheduled nags at 5 minutes after 7, 8, 9, and 10 p.m.
Wednesday follows the same nagging protocol as Tuesday, but with a different WAV file: “It’s recycle night, Daddy!” In addition to playing proximity-triggered messages, the sketch announces the hours between 7 and 10 p.m. and 8 and 10 a.m., and on the LCD it displays messages such as “Thirsty Thursday” and “T.G.I.F.” Upload your custom sketch to the Arduino, using Arduino IDE 0023, and congratulations, you’re now being NAGed.
Conclusion
Going Further
I hope to enhance the NAG with a touchscreen so it’s easy to add new events such as meetings, birthdays, and sports events. (“Don’t forget to take an apple for the teacher today.”) Once the touchscreen programming is working, I’ll add more functionality. Just wait till the next version!
This project first appeared in MAKE Volume 30, page 50.