M33_GhostChilies_Final01

Right now, under some lights in my basement, sit several dozen pots of soil. Out of each sprouts a small seedling, only a few millimeters high — a humble beginning for plants that will grow to produce one of the hottest peppers on the face of the Earth: the Bhut Jolokia, commonly known as the ghost chili.

The Bhut Jolokia first came to my attention in 2007, when Guinness World Records crowned it “world’s hottest chili pepper” (though it’s since been deposed by another). Certified at well over 1,000,000 Scoville heat units, the fruit from this plant is 125 times hotter than the spiciest jalapeño.

At the time, tracking down seed stock for the pepper was a challenge. I was lucky enough to have a friend of a friend who worked for New Mexico State University’s Chile Pepper Institute (chilepepperinstitute.org).

These days, seeds can be purchased from online retailers or from private growers on Amazon and eBay. There are even “just add water” kits. Skip these. Chili peppers are easy to grow — once you know a few tips.

Materials and Tools

  • Bhut Jolokia chili pepper seeds — available online
  • Seed starting tray — with soil
  • Pots, 3″ or 4″ (one per seedling)
  • Fertilizer, nitrogen rich, such as 10-5-5 or composted manure
  • Fertilizer, 5-10-10
  • Heating pad
  • Grow lights
  • Digital oven thermometer

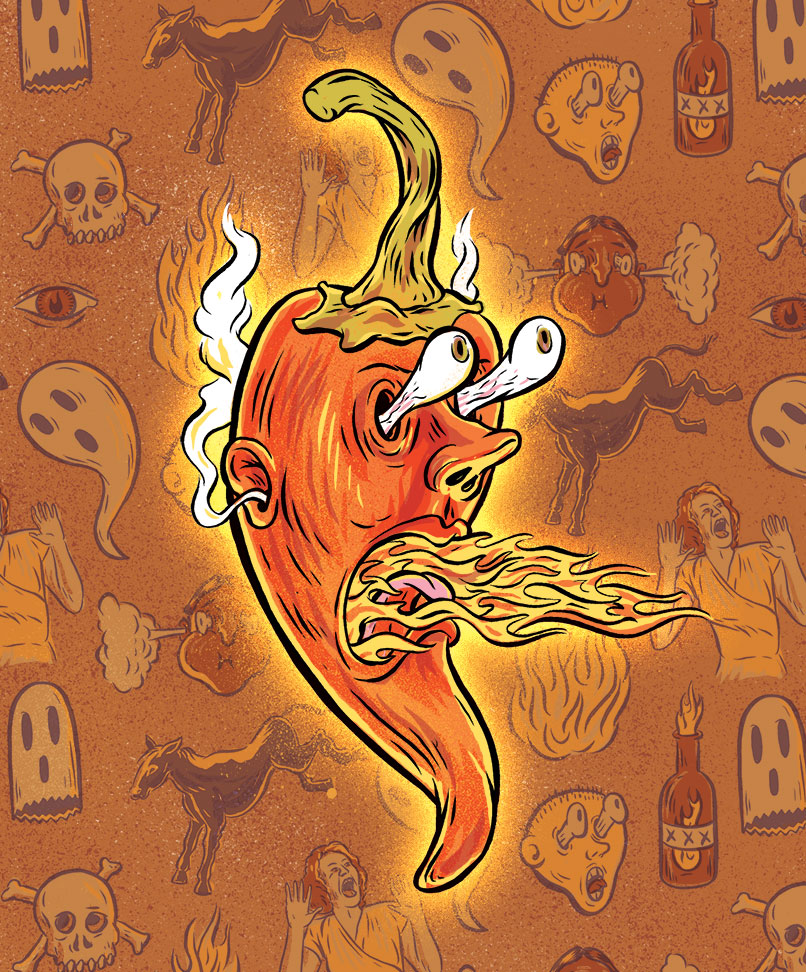
Illustrated by Evan Hughes

MAKE Volume 33 features our special Software for Makers section covering apps for circuit board design, 3D design and printing, microcontrollers, and programming for kids. Also, meet our new Arduino-powered Rovera robot and get started with Raspberry Pi. As usual, you’ll also find fascinating makers inside, like the maniacs on our cover, the hackers behind the popular Power Racing Series events at Maker Faire.

Try your hand at 22 great DIY projects, like the Optical Tremolo guitar effects box, "Panjolele" cake-pan ukelele, Wii Nunchuk Mouse, CNC joinery tricks, treat-dispensing cat scratching post, laser-cut flexing wooden books, sake brewing, growing incredibly hot “ghost chili” peppers, and much more.

On newsstands now, by subscription, or available in the Maker Shed

Buy now!

Project Steps

Start your seeds

Chili peppers require a long growing season to produce mature fruit. In northern climates, it’s best to start your seeds indoors up to 3 months before the last frost date, allowing the plants plenty of time to germinate and grow a few sets of leaves before they’re transplanted outside. For me, this means getting my seeds and setup ready by mid-February.

My indoor setup is simple. On a table in the basement, I have a seed starting tray, a heating pad, and lights. The tray is divided into 72 cells, each holding a few cubic inches of soil.

Fill the cells with soil and place a single seed on top of each. No need to cover them; all they require for germination are the proper moisture and temperature. Thoroughly water the seeds and set the tray on the heating pad.

Keep the soil moist and warm, between 75°F–90°F. You can use a digital oven thermometer to track the temperature. With luck, roots should emerge from each seed in 7–14 days. (Bhut Jolokia seeds will germinate at temperatures as cool as 65°F, but it’ll take 30+ days, and many seeds may fail.)

Once they emerge, your tiny plants will require a good source of light. Since you’re doing this in the winter, indoor lighting is your best option. Fluorescent tubes are inexpensive and efficient, and they work well. Hang them above the plants with wire so you can adjust the height. It’s important to keep them only a few inches above the top of the peppers; any higher, and the plants will grow spindly. Leave the lights on 24 hours a day to give your peppers a jump-start on the season.

The first set of leaves will be tiny and round. As each seedling establishes its root system, a second set of leaves will appear. When these “true leaves” emerge, transplant the peppers into 3″–4″ pots. Over the next couple months, your plants will have room to grow a healthy root system and several more sets of dark green leaves.

Move the plants outdoors.

Peppers require full sun and well-drained soil. I’ve found that raised beds or 2gal pots both work well. After the last chance of frost, you can move your plants outside. Just be careful — a single cold night (below 50°F) will decimate your chilies.

The most important tip to remember when gardening: try to mimic the environment where your plants would thrive naturally. These peppers are from the Assam region of India, where summer temperatures can reach 100°F. They also do well with high humidity. If you live in a northern part of the United States (like me), you might have to improvise.

If you don’t have row covers to keep the temperature up, you can make a mini greenhouse for each plant.

Cut the bottom off a clear, 2-liter soda bottle and place it over each start. This has the added benefit of keeping out slugs, cutworms, and other pests. Just keep an eye on the temperature inside the bottle; too much heat will turn the mini greenhouse into a solar oven. The cap can be removed to provide ventilation.

During the first few weeks outdoors, a nitrogen-rich fertilizer will help the plant grow tall and strong. At the time of planting, apply either composted manure or

a slow-release fertilizer such as 10-5-5. These numbers correspond to the nitrogen (N), phosphorus (P), and potassium (K) available in the fertilizer. The higher levels of nitrogen will promote rapid foliage growth, giving the plant a chance to thrive. You may soon need to add a stake or cage to support the plant.

Regular watering and proper fertilization throughout the hot summer months will ensure that your pepper plants continue

to thrive. However, after the first month in the ground, consider switching to a 5-10-10 fertilizer. This mixture contains half as much nitrogen as phosphate and potassium. High nitrogen promotes foliage growth, but it may do so at the cost of flower and fruit production. You could easily end up with a huge green plant that never produces a single pepper.

As summer comes to an end, you should have a mature Bhut Jolokia plant covered in 2″–3″-long, distinctly wrinkled, green peppers. Your goal is to let the peppers ripen on the vine, giving them time to produce the most capsaicin — the chemical compound that makes peppers taste hot — but two things can easily ruin your crop: frost and birds.

Any temperature below 50°F may cause the plant to drop fruit prematurely. On cool nights, cover your peppers with a row cover or a thin sheet to trap warm air around the plant. If extended cold weather is in the forecast, you might even dig it up and bring it indoors.

The other enemy: birds. In India, people use these blazing-hot peppers to ward off elephants, but unfortunately birds seem to be immune to capsaicin. Crows, ravens, and others will be attracted to the bright red fruit and will happily steal it as it begins to ripen. Try bird netting or other measures to deter them.

Harvest and use your ghost chilies.

Pick individual peppers as they ripen. A fully ripe Bhut Jolokia pod is completely red and has a glossy, wrinkled texture.

At this point, your peppers have developed the maximum amount of capsaicin, so be careful when handling them. Most of this heat chemical is contained on the ridges inside the fruit where the seeds are held. However, it’s a good idea to wear gloves when handling the fruit. Each pepper is so potent that even minimal contact can numb your fingertips.

Another advantage of picking the peppers fully ripe is seed saving. Each mature fruit contains about a dozen seeds. Carefully collect these. They’ll stay viable for several years if stored in a cool, dry place.

Armed with an arsenal of fully ripe ghost

chilies, you now have many usage options to choose from. You can hang them around your home to protect from wild elephant attacks. You can extract the capsaicin to produce a potent, homemade pepper spray. Or, like me, you can use them as the key ingredient in my kick-ass Ghost Sauce recipe. Enjoy!

Ghost Sauce

This delicious Belizean-style hot sauce will highlight your homegrown Bhut Jolokia chilies. Adjust the peppers to taste: 2.5oz gives good heat without overpowering the flavor. Any more, and you may want a warning label.

Sauté ½c white onion.

Add 1c water, 2tbsp fresh lime juice, 2tbsp white vinegar, ½tsp salt, 1 chopped garlic clove, and ½c shredded carrot. Bring to a simmer, then turn off the stove.

Add 2.5oz chilies, chopped. Wear gloves when handling them.

Blend and enjoy!