raspberry-pi-week_banner-1

M33_RaspberryPi_Opener

Getting Started With Raspberry PiThis project is from Getting Started with Raspberry Pi by Matt Richardson and Shawn Wallace. It assumes that you already know how to set up and operate the Raspberry Pi platform, and that you know the basics of the Python programming language. If you want to get up to speed quickly, you can find all of the above (and much more) in Richardson and Wallace’s book, available in the Maker Shed (makershed.com).

Downloads

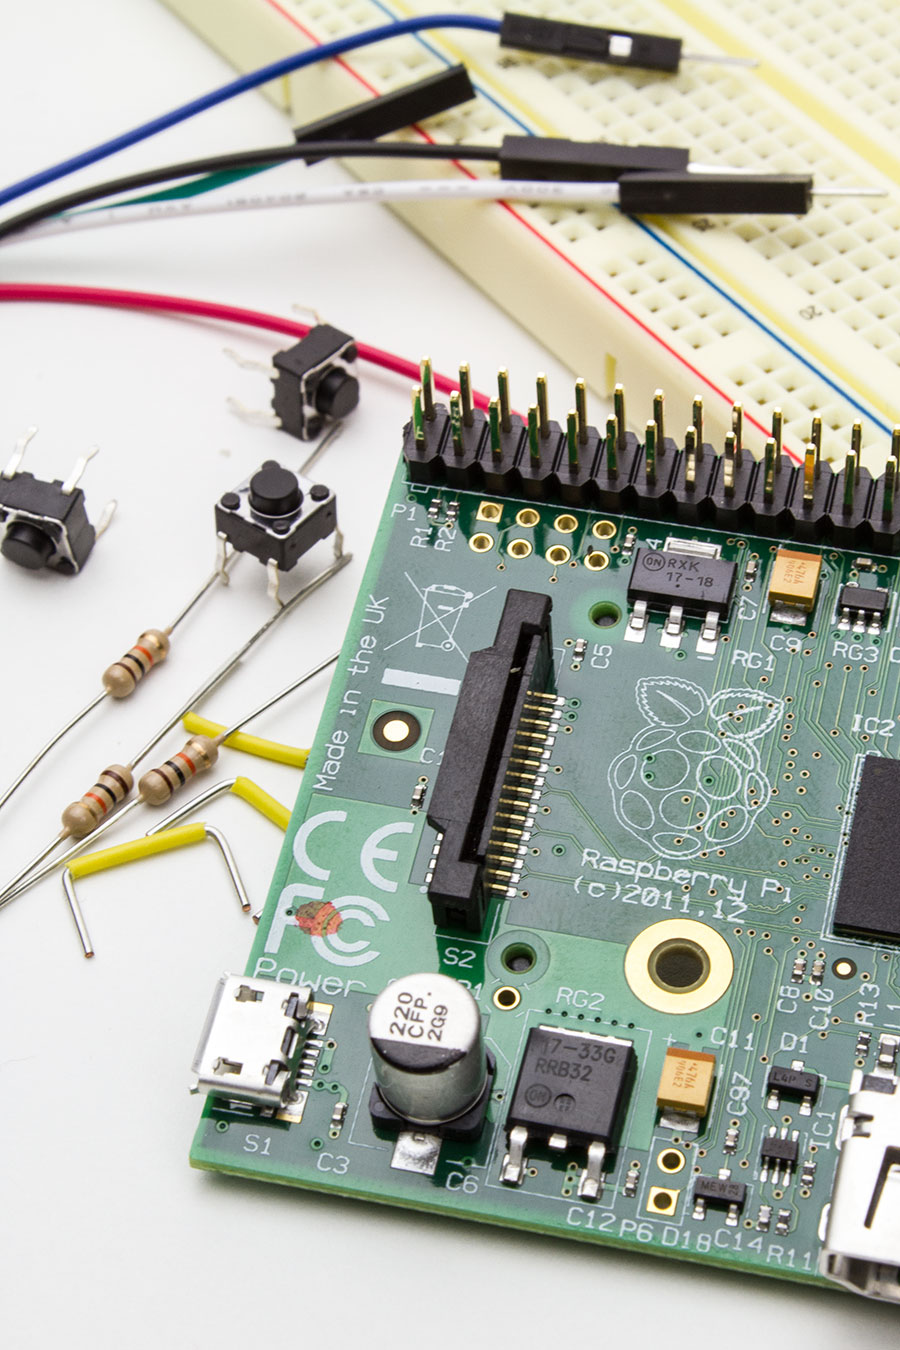
In this simple breadboard build, we’ll use a Raspberry Pi and the sound functions of the Pygame module in the Python programming language to make a soundboard. A soundboard lets you trigger the playback of sounds when you push its buttons.

You’ll also need a few uncompressed sound files, in WAV format. You can record or download your own, and there are a few sound files preloaded onto the Raspberry Pi in /usr/share/sounds/alsa/ that you can use for testing. We even collected a few public domain sound effects from The Internet Archive that you can download here.These will give you some fun files to play with right away.

M33_RaspberryPi_Diagram

MAKE Volume 33 features our special Software for Makers section covering apps for circuit board design, 3D design and printing, microcontrollers, and programming for kids. Also, meet our new Arduino-powered Rovera robot and get started with Raspberry Pi. As usual, you’ll also find fascinating makers inside, like the maniacs on our cover, the hackers behind the popular Power Racing Series events at Maker Faire.

Try your hand at 22 great DIY projects, like the Optical Tremolo guitar effects box, "Panjolele" cake-pan ukelele, Wii Nunchuk Mouse, CNC joinery tricks, treat-dispensing cat scratching post, laser-cut flexing wooden books, sake brewing, growing incredibly hot “ghost chili” peppers, and much more.

On newsstands now, by subscription, or available in the Maker Shed

Buy now!

Project Steps

1. Breadboard the circuit.

Using a female-to-male jumper wire, connect the Raspberry Pi’s ground pin to the negative rail on your breadboard.

With another female-to-male jumper wire, connect the Raspberry Pi’s 3.3V pin to the positive rail on your breadboard. Insert the 3 pushbutton switches into the breadboard, all straddling the center trench.

Now with standard jumper wires or small pieces of hookup wire, connect the positive rail of the breadboard to the top pin of each button. Next, add the pulldown resistors. Connect the bottom pin of each button to ground with a 10K resistor.

Connect each button’s bottom pin (the one with the 10K resistor) to the Raspberry Pi’s GPIO pins using female-to-male jumper wires. For this project, we use pins 23, 24, and 25.

M33-raspi-code-diagram

2. Work on the code.

Create a new directory in your home directory called soundboard. Open that folder and create a file there called soundboard.py (or download it here). Open soundboard.py and type in the following code:


import pygame.mixer
from time import sleep
import RPi.GPIO as GPIO
from sys import exit
GPIO.setmode(GPIO.BCM)
GPIO.setup(23, GPIO.IN)
GPIO.setup(24, GPIO.IN)
GPIO.setup(25, GPIO.IN)
pygame.mixer.init(48000, -16, 1, 1024)
sndA = pygame.mixer.Sound("buzzer.wav")
sndB = pygame.mixer.Sound("clap.wav")
sndC = pygame.mixer.Sound("laugh.wav")
soundChannelA = pygame.mixer.Channel(1)
soundChannelB = pygame.mixer.Channel(2)
soundChannelC = pygame.mixer.Channel(3)
print "Soundboard Ready."
while True:
try:
if (GPIO.input(23) == True):
soundChannelA.play(sndA)
if (GPIO.input(24) == True):
soundChannelB.play(sndB)
if (GPIO.input(25) == True):
soundChannelC.play(sndC)
sleep(.01)
except KeyboardInterrupt:
exit()

Go to the command line and navigate to the folder where you’ve saved soundboard.py and execute the script with Python:
$ sudo python soundboard.py

After you see “Soundboard Ready,” start pushing buttons to play the sound samples.Depending on how your Raspberry Pi is set up, your sound might be sent via HDMI to your display, or it may be sent to the 3.5mm analog audio output jack on the board.

To change that, exit the script by typing CTRL+C and executing the following command to use the analog audio output:
$ sudo amixer cset numid=3 1

To send the audio through HDMI to the monitor, use:
$ sudo amixer cset numid=3 2

Of course, you aren’t limited to just 3 sounds; you can add quite a few more. Just add the files to the soundboard directory and update the code accordingly.

M33_RaspberryPi_UseIt

About Python

  • Python (python.org) is a great first programming language; it’s clear and easy to get up and running. More importantly, there are a lot of other users that you can share code with and hit up for questions.
  • Guido Van Rossum created Python, and very early on recognized its use as an accessible first language for computing. In 1999 Van Rossum put together a widely read proposal called “Computer Programming for Everybody” that laid out a vision for an ambitious program to teach programming in the elementary and secondary grade schools using Python. More than a decade later, this is actually happening with the coming of the Raspberry Pi.
  • Python is an interpreted language, which means that you can write a program or script and execute it directly rather than compiling it into machine code. Interpreted languages are a bit quicker to program and have a few side benefits. For example, in Python you don’t have to explicitly tell the computer whether a variable is a number, a list, or a string; the interpreter figures out the data types when you execute the script.
  • The Python interpreter can be run in 2 ways: as an interactive shell to execute individual commands, or as a command-line program to execute stand-alone scripts. The integrated development environment (IDE) bundled with Python and the Rasp-berry Pi is called IDLE.