M38-Photographing-small-objects-fig-K_big

This project first appeared in MAKE Volume 38, on pages 64–67.

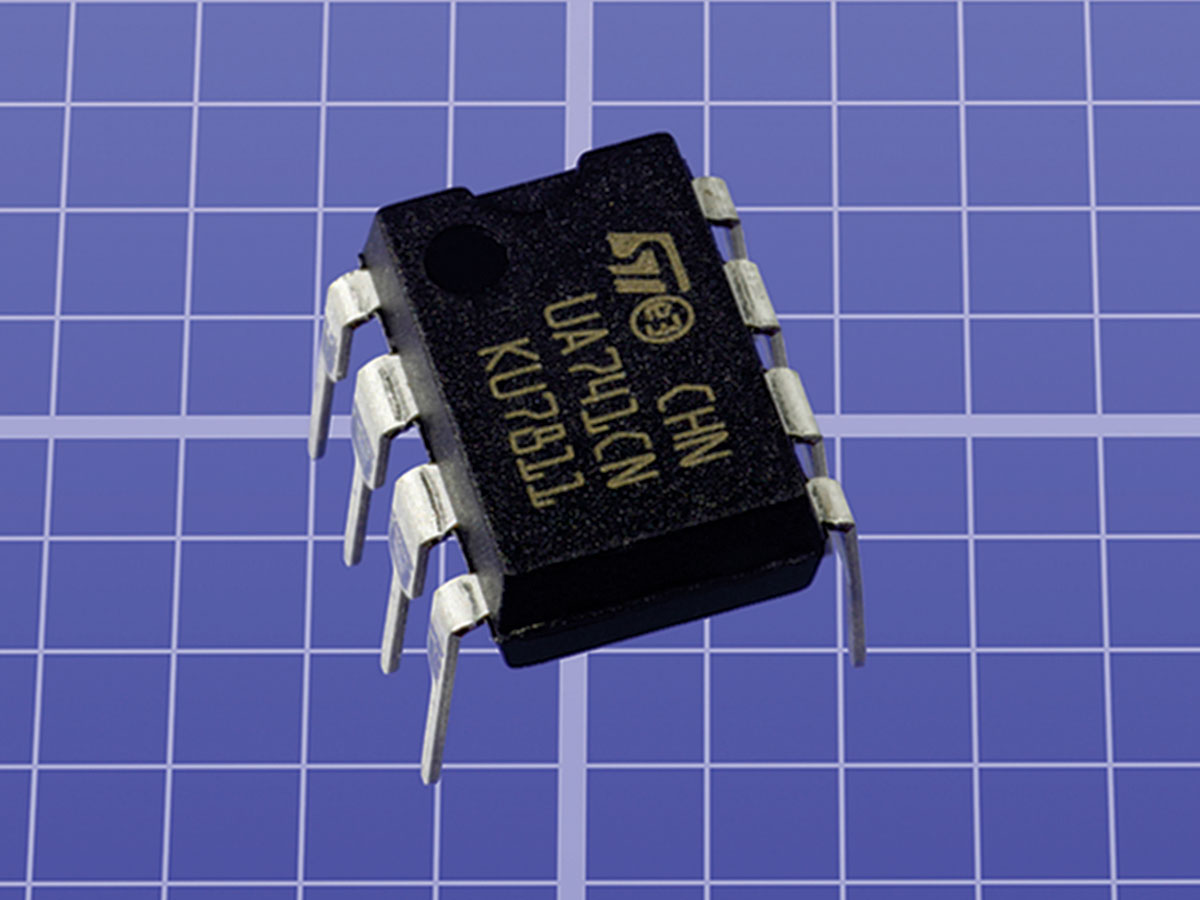
Taking pictures of small objects is a useful skill. If you’re selling something on eBay, or you want a permanent record of a crafts project, or you own something valuable that should be photographed for insurance purposes, you’ll want it to look as good as possible. For Make More Electronics (the sequel I’m now writing to Make: Electronics), I wanted especially clean photos. This entails controlling two primary variables: lighting and background. In addition, I wanted to have a grid that shows the scale.

I addressed the issue of lighting in LED Photo Lights back in MAKE Vol 34, but controlling the background is trickier. With Photoshop you can select the object and remove it from the original background, but everyone knows that this is a time-consuming chore—even when using plugins that claim to make it easy.
A workaround is very simple. Since you’re dealing with an inanimate object, it will sit there while you make a second exposure, exactly aligned with the first, and optimized to make selection easier. In other words, you make a silhouette.

M38 Photographing small objects Diagram

Downloads

  • Download our virtual grid: Coming Soon!

Project Steps

Set up the shot.

Buy a pane of glass two feet square, and tape the edges to reduce the risk of cutting yourself. Support the pane at the corners only, so that light can enter at the sides.

Place the object that you will be photographing on the pane.

Insert colored paper under the glass to create a background. Choosing the color is important. You can change it later in Photoshop, but some of the original color will have reflected up onto the object, and if this cast doesn’t match a subsequent background, it won’t look right.

Elevating the object on a glass pane has the advantage that its shadow will be projected through the glass to one side, so that the camera won’t see it. You can also swap background colors very easily.

Take dual exposures.

With your camera on a tripod, and a remote shutter release, make a couple of test exposures before fixing the exposure manually to take your final picture.

Substitute a sheet of white paper under the glass.

Switch off all your lights except one, and angle it down about 45 degrees, so that the white background is fully lit.

Shade the object with a piece of card to darken it while you take your second picture. Because the exposure was set manually, the camera won’t try to compensate for the bright white background by dimming it.

NOTE: Avoid touching the camera or the table between shots. Any small vibration will prevent your two pictures from aligning properly.

If you want to add a grid, remove the object and substitute a sheet of graph paper on top of the glass. Take a picture of that, and the photography phase is complete.

Add a virtual grid.

To get a really sharp, clean effect you need to make a “virtual” grid that is purely digital (image 1). I created mine with a drawing program, and saved it with a transparent background. When I open it in Photoshop it has a checkerboard pattern identifying the transparent areas.

Open the photograph that you took of the piece of graph paper (image 2). Note the foreshortening and perspective.

Paste the virtual grid as a layer over the graph paper, and use Edit →Transform →Distort to make the grid match the perspective (image 3). Copy the virtual grid layer and close both documents without saving.

Open the picture of your object, and paste in the virtual grid (image 1). It becomes Layer 1.

Convert the grid to 30% gray by moving the dark end of the diagonal line in the Curves palette till the numbers show an input of 0 and an output of around 175 (image 2).

Using the Layers palette, change Opacity to 35% and set the grid layer property to Color Dodge (image 3). This colorizes the gray lines.

That’s it for the grid. You can hide that layer for the time being.

Natural selection.

Now you’ll select the object in the photograph.

Open the silhouette picture, select all, copy, and paste it into your main document as Layer 2.

To heighten the contrast, move the dark end of the diagonal line in the Curves palette horizontally till you see Input 100, Output 0. Now move the light end of the line horizontally so that the data for that point are Input 150, Output 255.

Using the magic wand in “Contiguous” mode, on one layer only, with a 30% tolerance, select the black silhouette of the object.

With the lasso, include any lighter areas inside the object that escaped automatic selection.

Hide Layer 2, and you should see your selection exactly aligned with your object on the background layer. Simple!

With the background layer active, copy and paste to duplicate the object on Layer 3. If you’re happy with it, trash the silhouette on Layer 2.

Background check.

Now you can create a new, clean background.

Deselect your object, hide layers 1 and 3, and make the background active.

Choose the gradient tool, and edit the existing gradient. Sample the darkest part of the background color for one end of your gradient, and the lightest part for the other end. You can adjust these colors, but not too much.

Drag the cursor across the background, replacing the whole area with your gradient. This wipes out the picture of your object, but you already pasted it onto Layer 3, so you don’t need the original anymore.

Resequence the layers so that your object, on Layer 3, is above the other layers. Make the object and the background visible.

Finishing touches.

The color balance and tonal range of your object can be adjusted in the usual way. You can adjust the opacity of the graph-paper layer, or leave it out completely. You can also adjust Hue/Saturation/Lightness of your background, so long as it remains close to the original background color. Matching the colors will help to hide any fringe of colored pixels around your object that were accidentally selected with it.

The end result is a clean photograph with no shadows. If you prefer some artificial shadow, use the burn tool on the background, or airbrush a shadow onto an extra layer immediately above the background. I think it’s easier to get something the way you want it by creating it from scratch than if you’re trying to fix a version that isn’t the way you want it.

This system for photographing small objects satisfies the basic requirements, and is so much quicker than selecting an object by other means. Also, if you don’t show people this guide, they’ll have a hard time guessing how you got that shadowless effect against a background of a curiously perfect grid.