CNC_Workshop_1H2A1939

This article appeared in Make: Vol. 40.

One of my big projects this year was to open a Makerspace for kids in a low income area of San Jose, California (washingtonmakerworkshop.org). There was a small garage on the property, but we needed a larger structure where the classes could meet. We figured a 14-by-16-foot space (224 square feet) would be about ideal.

I researched a number of quick-build designs but didn’t really find one to meet my needs, so I ran the idea by my friend Lendy Dunaway, who’s involved in the Young Makers program (youngmakers.org) and is an expert fabricator. In Lendy’s shop, his signature piece of equipment is an industrial-size CNC router with a 5-by-10-foot cutting bed. He offered to design an inexpensive structure using custom-made trusses with very little scrap wood left over.

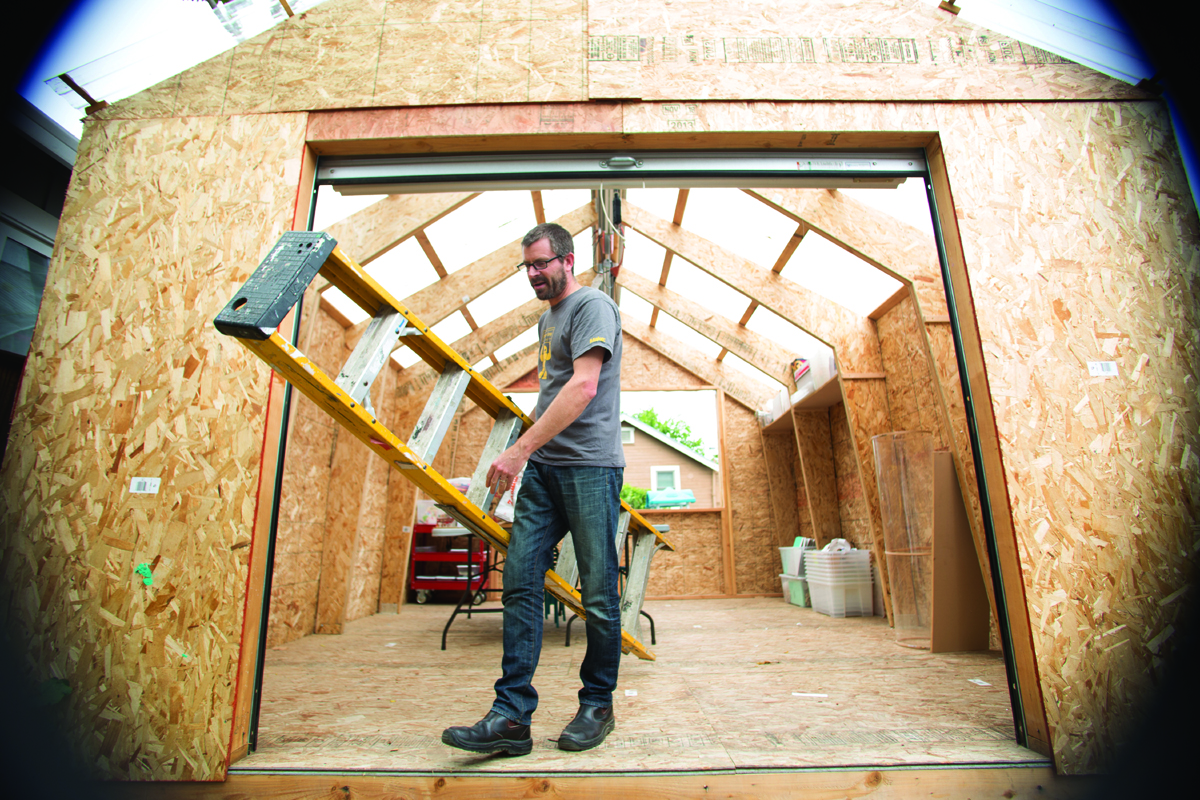
Here the results of our design and building process: the CNC Makerspace Shed. The shed is big enough to seat 16 people comfortably at worktables, and it can accommodate a huge 8-foot-high roll-up door. While we use it for a makerspace, with a transparent roof to admit natural light, it can easily be customized into something that works for you — and whatever your needs or weather conditions may require.

Project Steps

Cut the truss parts (CNC option)

First, download the zipped folder of all the plans and drawings from this link.

Open the DXF drawing osb-contours.dxf and transform it to toolpaths using your favorite CAM software.

Then cut the truss parts out of 10 sheets of 7/16″ OSB using a CNC router. Each sheet, along with four 2×4s, makes one truss.

Cut the truss parts (hand option)

NOTE: If you don’t have access to a CNC router, you can cut the OSB truss parts with a circular saw or even a handsaw.

Assuming that you’re not worried about which side is facing out, the 2 largest parts are exactly the same. Cut a sheet of plywood down the middle, fold the second half over onto the first half, and secure with 3 screws.

Follow hand-cutting diagrams 1–5 in the plans you downloaded, measure and cut the 2 stopped cuts that form the inside angle of the large corner pieces. Then measure and cut the remaining upper triangles off to form the outside angle of the corner pieces.

Repeat with a second sheet. Now you’ve got 4 large corner pieces and 8 drops (4 right triangles and 4 long trapezoids).

Assemble the 8 drops into 4 matching pairs using 2 screws each. Follow hand-cutting diagrams 6–13 to measure and cut the 4 remaining parts, each from the correct pair of drops. Now you have the skins for 2 halves of a complete truss.

Build the trusses

Cut the 2×4s according to the cut diagram 2×4 Dimensions 2.jpg.

Glue and screw the trusses together with the 2×4s sandwiched in between as shown here, using 1-5/8″ screws and following the screw pattern in the DXF drawing.

Rout the edges of the trusses for a neat finished look.

Build the brackets

Find some large scrap “angle iron” at a metal yard and cut it into 40 pieces 6″ long. Anything bigger than 2-1/2″ on each side will work. We found some nice aluminum angles that were 2-1/2″×3″. Cutting your own should save a good deal of money.

Measure, mark, and drill a pair of 11/32″ or 3/8″ holes through each side of each bracket as shown, centered to (roughly) match the spacing shown on the DXF drawing. (Your angle iron may vary.) All holes should be “mirror-images” so that the brackets will line up with one another, no matter which way you install them.

Build the floor structure

Place 12 piers on the ground in the locations designated on the plans and level them. A laser level can be really handy. Dig out or add shims where needed to get them all nice and level.

Frame your floor structure on top of the piers as shown in the diagrams, using 2×6 joists and joist hanger brackets.

TIP: A “positive placement” nail gun is helpful for installing the joist hangers (the nail tip protrudes so you can see exactly where you’re driving it), but it’s not required.

Lay the flooring

Cut 4 of the 23/32″ OSB panels down to 5′ 10- 5/8″ long.

Then screw down all the 23/32″ panels to the floor joists in the pattern shown here, using 15/8″ screws.

Raise the trusses

Screw the angle brackets into the floor joists in the locations shown, using 3″ lag screws with washers. I built a little jig the width of the trusses to make sure the brackets were the right distance apart.

Mark the 16′ ridge beam to match the spacing of the angle brackets on the floor, so that the trusses will line up correctly from the beam to the floor. Then bolt the remaining angle brackets to the beam using 3-1/2″ bolts, nuts, and a washer on each side (2 washers per bolt).

NOTE: Having a ridge beam that’s not warped helps a lot in getting things lined up!

Raise the trusses (cont'd)

Mark and drill all trusses with slightly oversize holes to line up with your bracket holes, Now raise, hold, and bolt the trusses into place through the top brackets and bottom brackets, using 3-1/2″ bolts (or 2-1/2″ bolts for the trusses at the ends of the building). Raising the trusses requires the help of friends. You need someone in the middle holding up the ridge beam. We clamped the trusses together temporarily to hold them while we got things lined up. This gets a little tricky, especially 12′ up on a ladder.

Install the 2 end trusses first, then the middle truss, and then the final 2.

Finish the structure

Once all the trusses are bolted in place, install 2 sheets of OSB horizontally on the bottom of each side. Before screwing them in, use a level to make sure the trusses are vertical. The plywood should fit perfectly on the 16′ length of the workshop.

Two additional sheets of OSB or plywood can be added to each side to fully enclose the sides of the structure.

Roof, doors, and windows

The shed is structurally complete, but it won’t keep the weather out yet.

For natural light, we put clear plastic panels on the roof. Inadvertently, though, we created a greenhouse that was so warm it was virtually unusable. I ended up putting in rigid foam insulation on the sunny side. That did the trick!

The ends can be framed and finished however you wish. We put in an 8′-wide, 7-1/2′-tall roll-up door on one side (about $500 online), and on the other side, two huge 4′- wide by 5′-high “barn door” windows that swing open for ventilation during warm days.

Finishing touches

The trusses provide a perfect setup for lots of built-in custom shelving. We’re also planning on installing a storage loft on the end opposite the roll-up door. The inside is light, airy, and a very pleasant workspace.

We added pull-down power cords and hanging work lights in the middle of the workshop. Right now we’re using folding tables and stools but eventually we’d like to add flexible custom worktables. Also in the works are a giant whiteboard and a large LCD monitor for presentations.