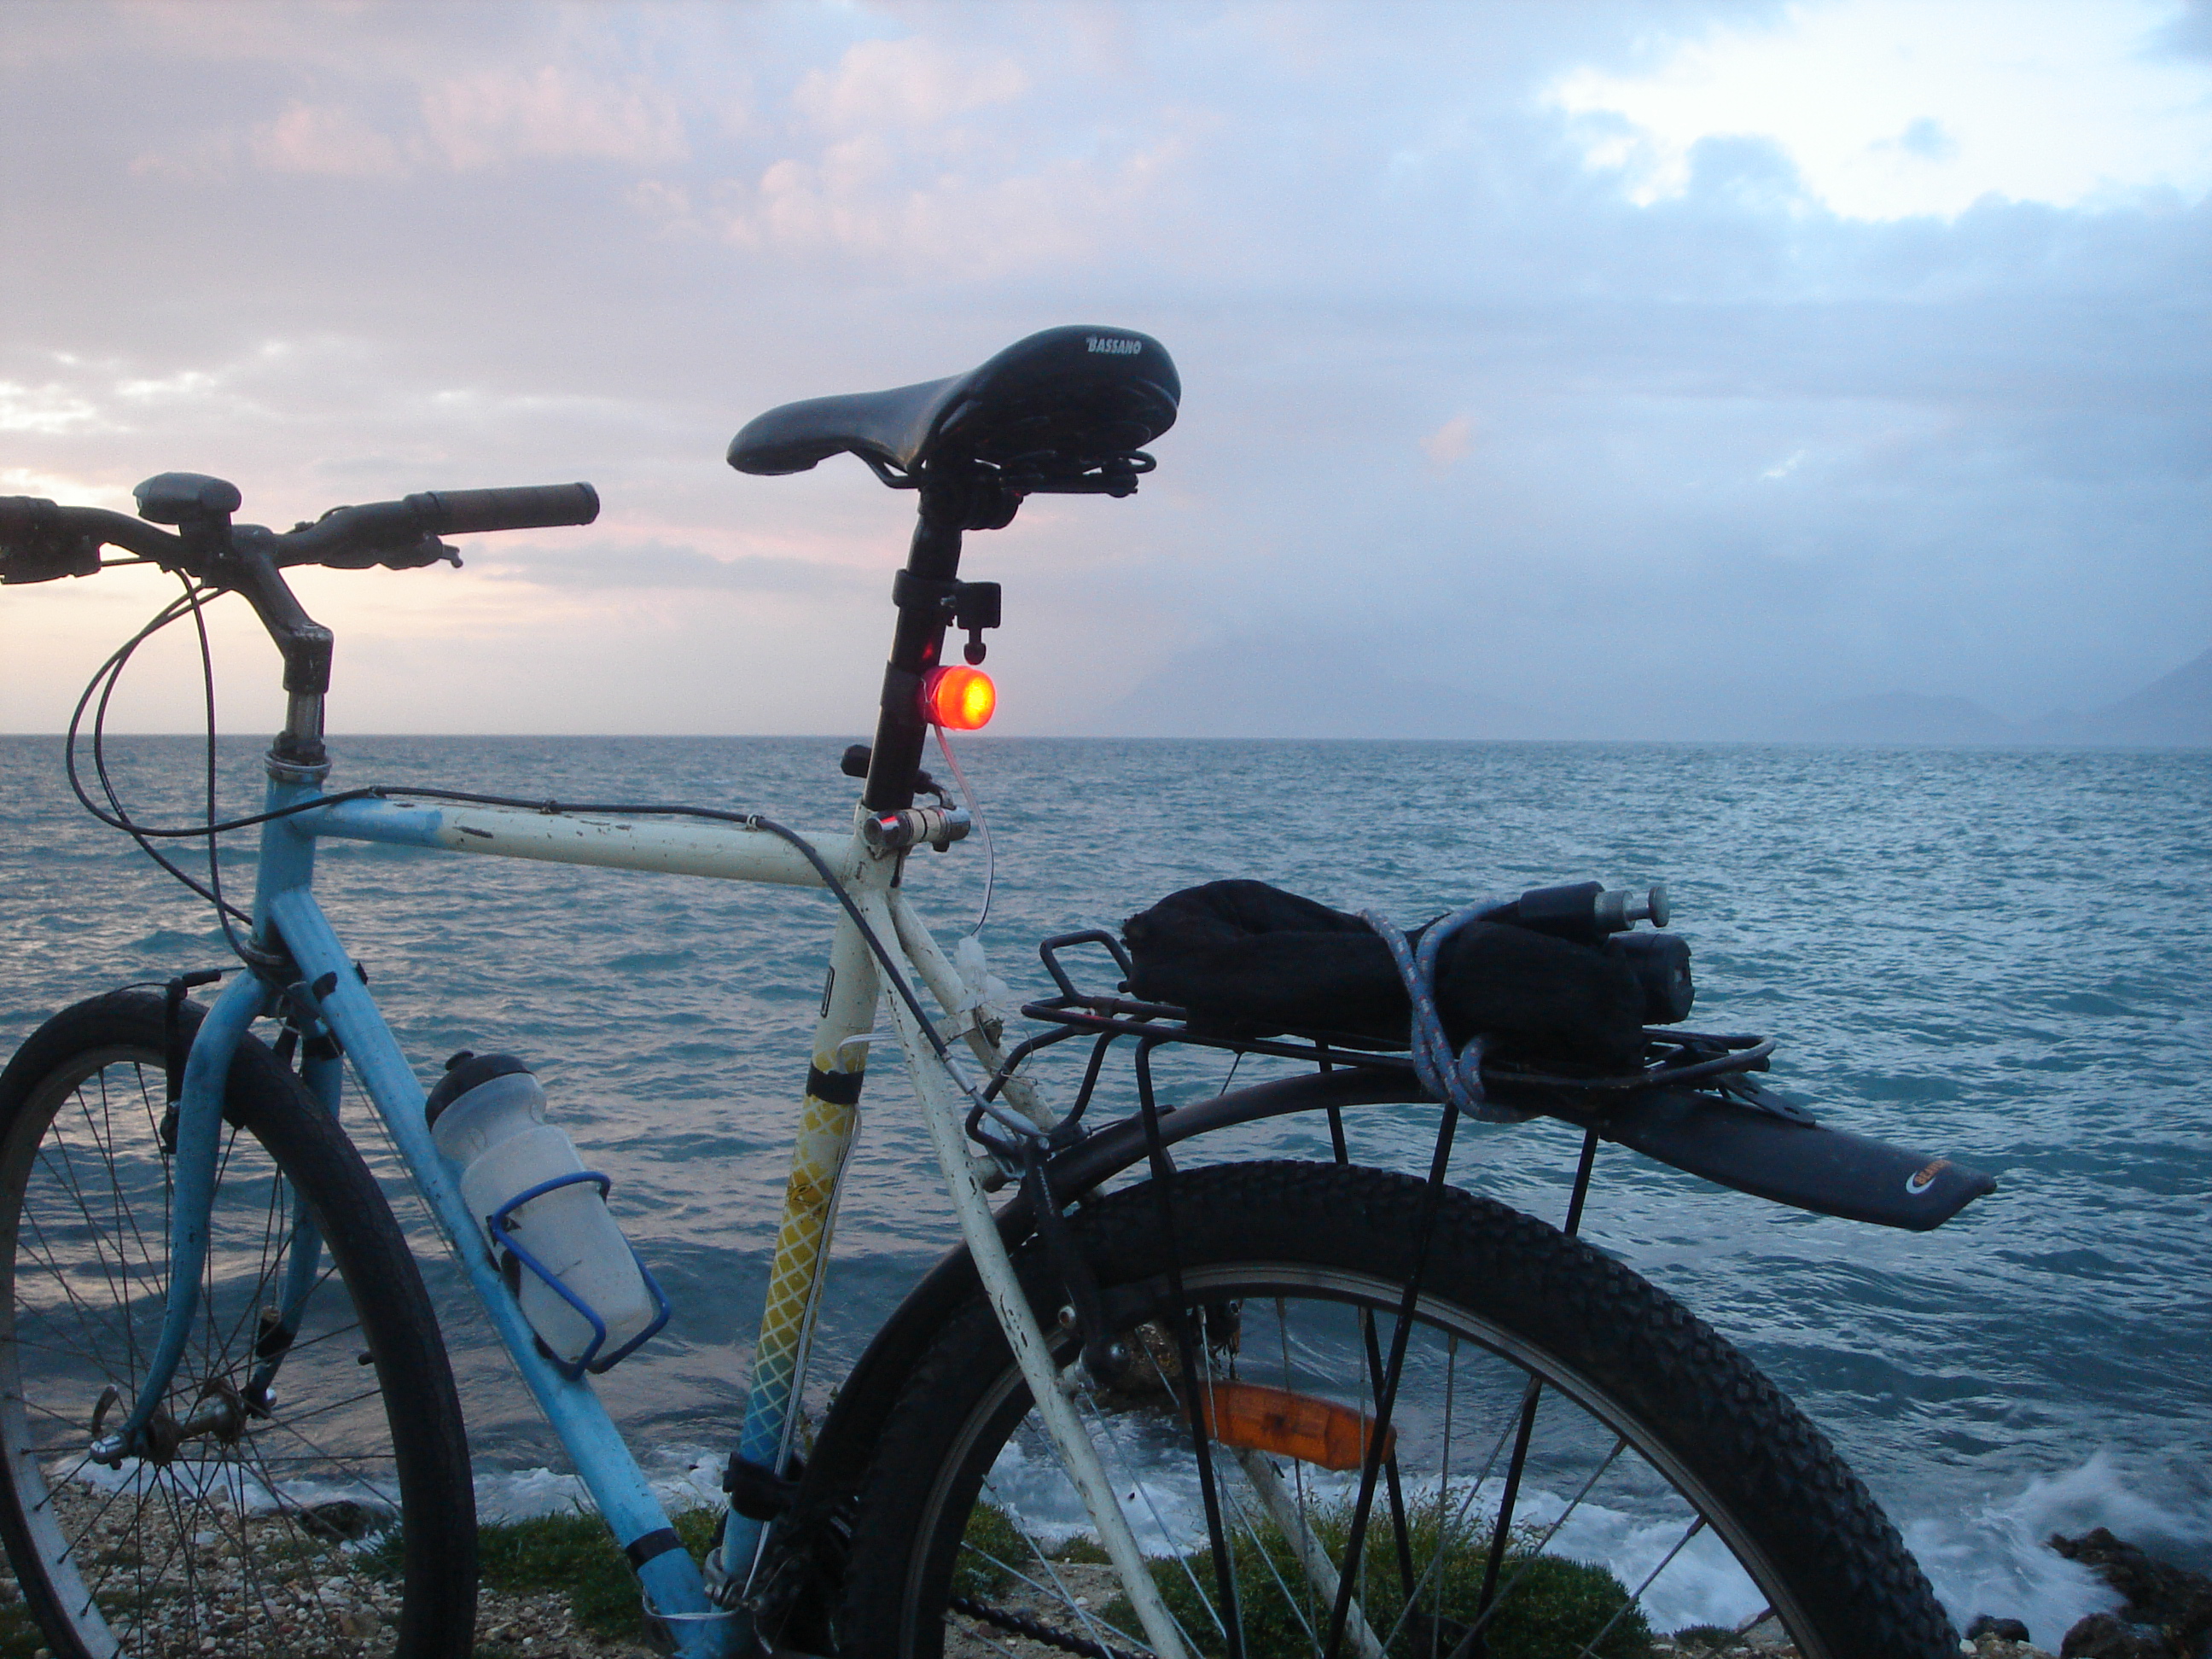
Leave the light aside for a moment to start making the sensor.
First, cut a piece of a stick. Its width depends on the distance between your sensor and your magnet. If you want to put it on the fork, the distance is small so you need a thinner stick. If you want to place it on the back triangle the distance is greater, so you need a thicker stick.
When you find one, cut it a few centimeters longer than your reed switch. Then, drill a hole (big enough so the twisted cable can go through) all the way through the stick, lengthwise, somewhat near the edge.
Now, we will use a big piece of the cable (from the same stock we used to go through the cap) . This will connect the light with the sensor. Use needle nose pliers to hold the reed switch so you can twist its end together with one end of the cables (without pliers you will break it instantly). Slide it through the hole in the stick until it comes out the other end. When it does, twist it together with the other end of your cable. For extra security, you can use some tape to stick the two cable inside the holes.
Place the magnet close to the wood. When the wires are connected, the LED should light up.


