BurkerAutomata01


[youtube https://youtu.be/ndRWsoCl6rk]

Perhaps the most famous automaton, the fabled Turk, ended up being a clever hoax, not a true automaton. To see an honest historical automaton, one needs to visit the Franklin Institute in Philadelphia, Pennsylvania, USA, where Maillardet’s Automaton is displayed. This automaton, built around 1800, is a masterpiece, able to write three poems and draw four drawings!

BurkerAutomata03

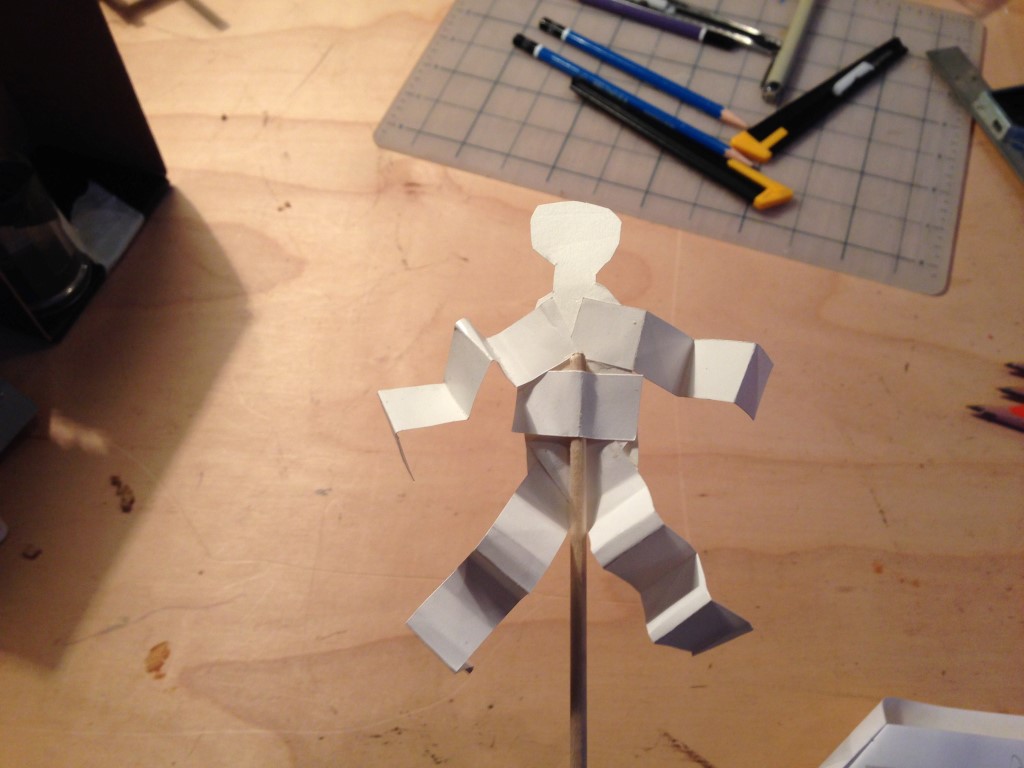
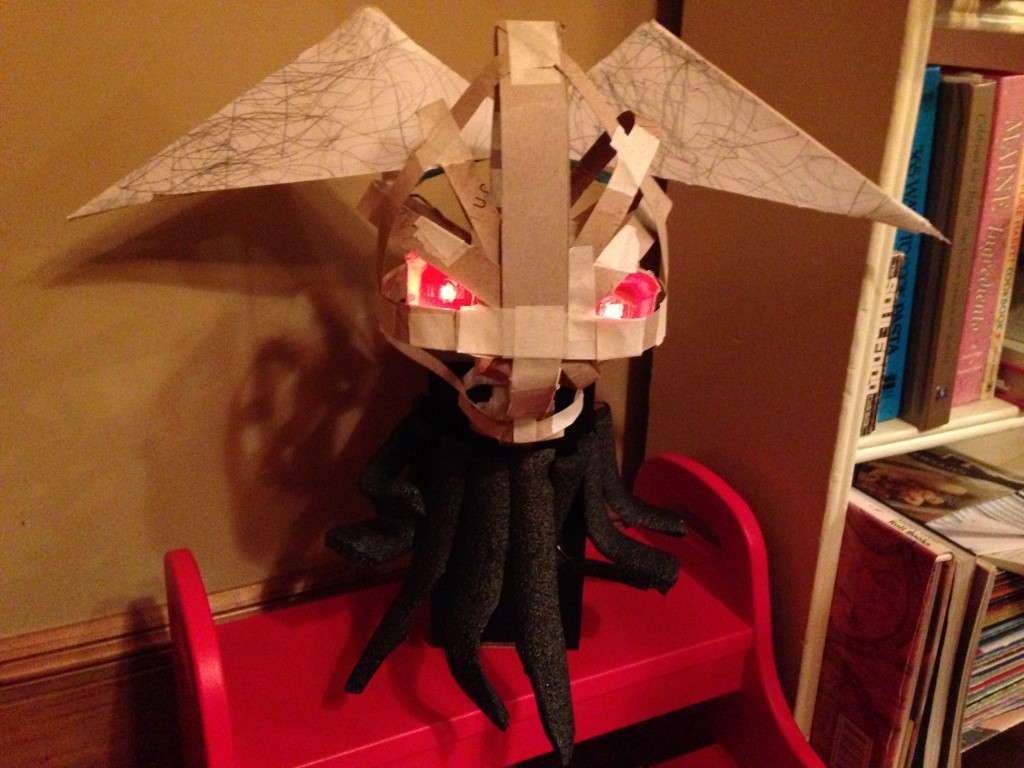
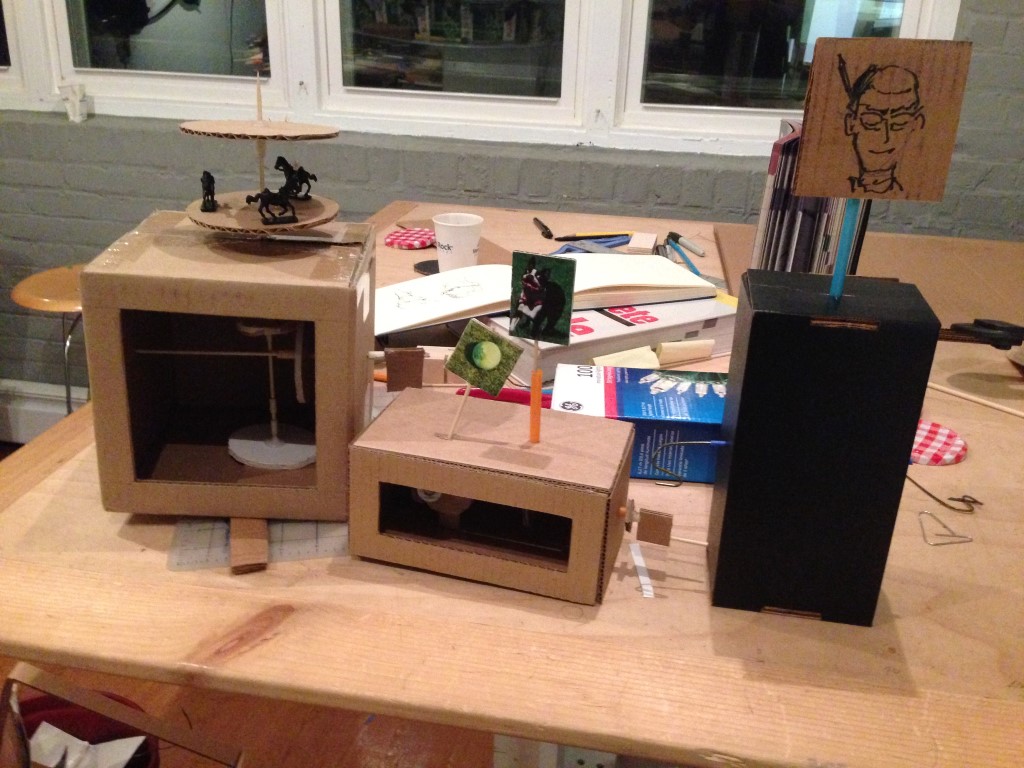
Our first cardboard automaton will be less ambitious than Maillardet’s Automaton but more real than The Turk. Building automata is a great engineering challenge that scales from child maker to adult in its complexity. It varies in the types of materials from which it is built and the story the automaton tells through the machinery’s movements.

Anyone interested in building automata should start by reading The Exploratorium’s helpful PDF on the subject. This guide contains a bill of materials for constructing cardboard automata as well as images of five different movements and the assembly of cams and cam followers necessary to achieve the motions. People interested in teaching others how to build automata should watch The Tinkering Studio’s archived Google Hangout on Making and Tinkering with Automata.

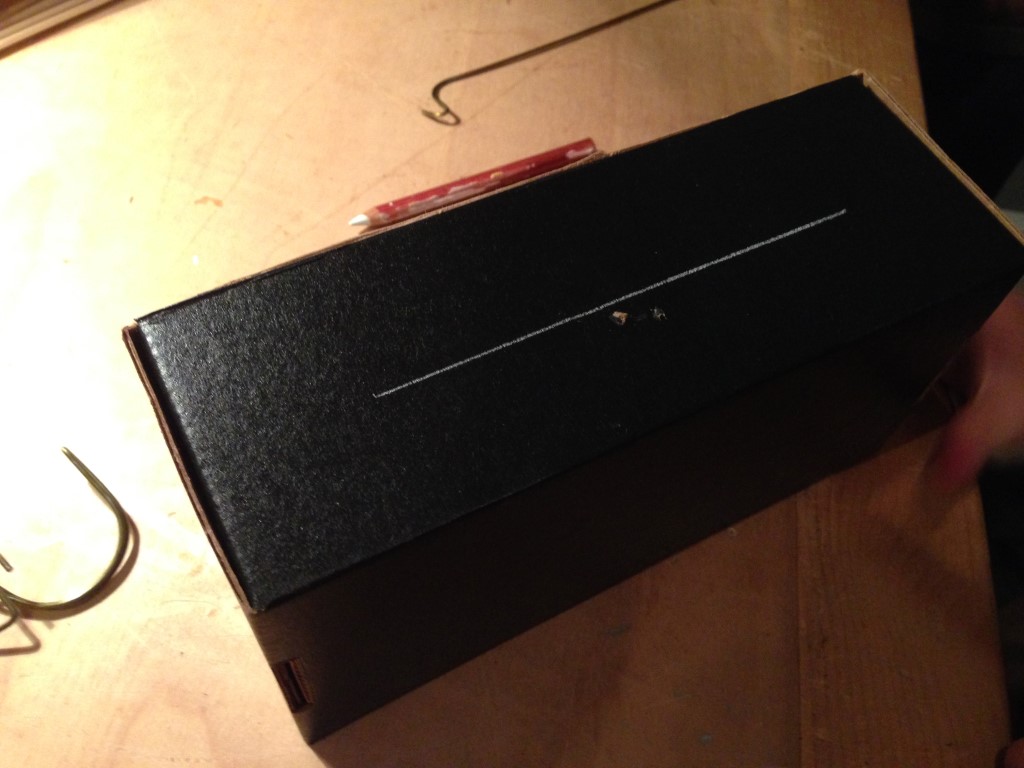
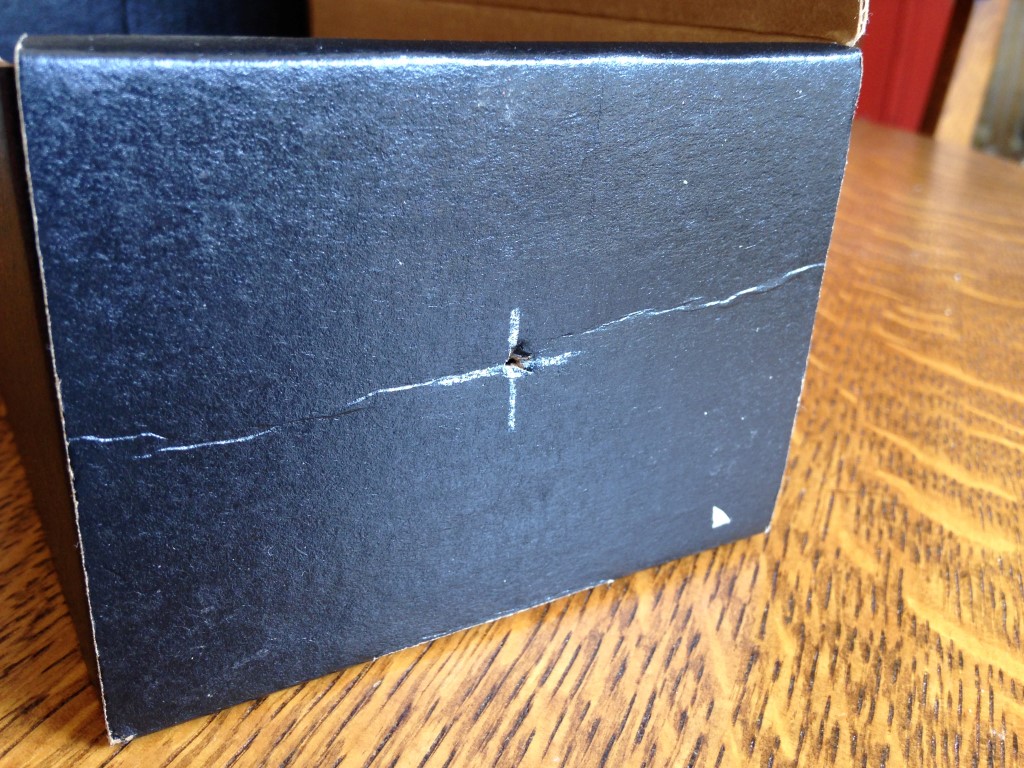
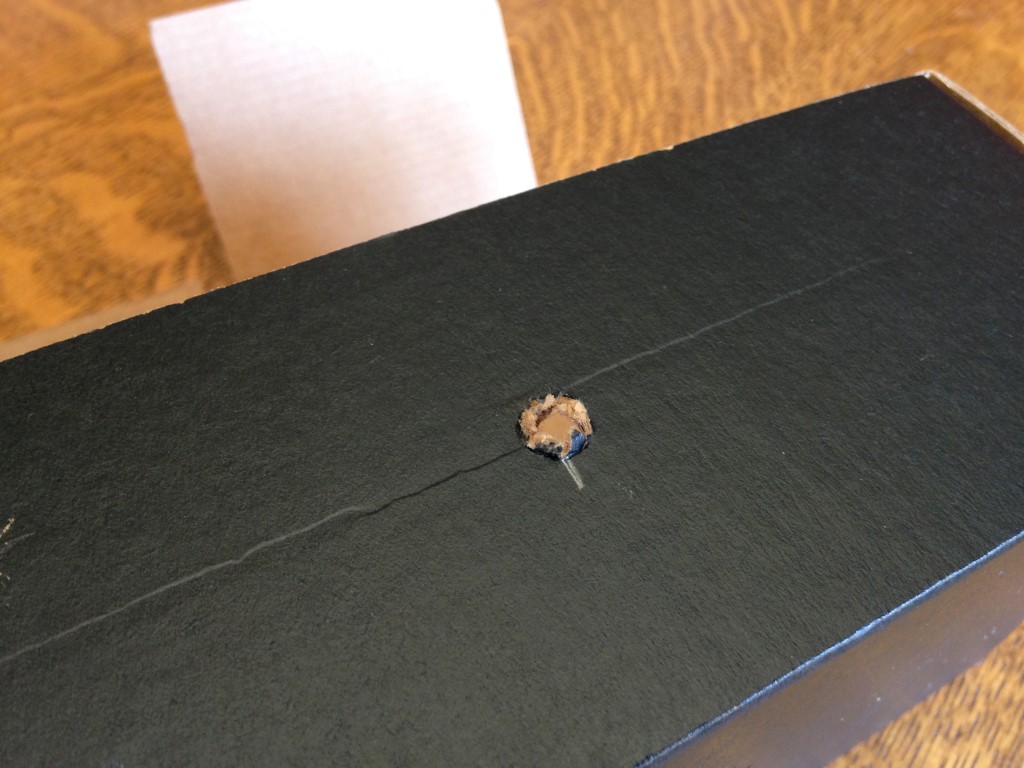
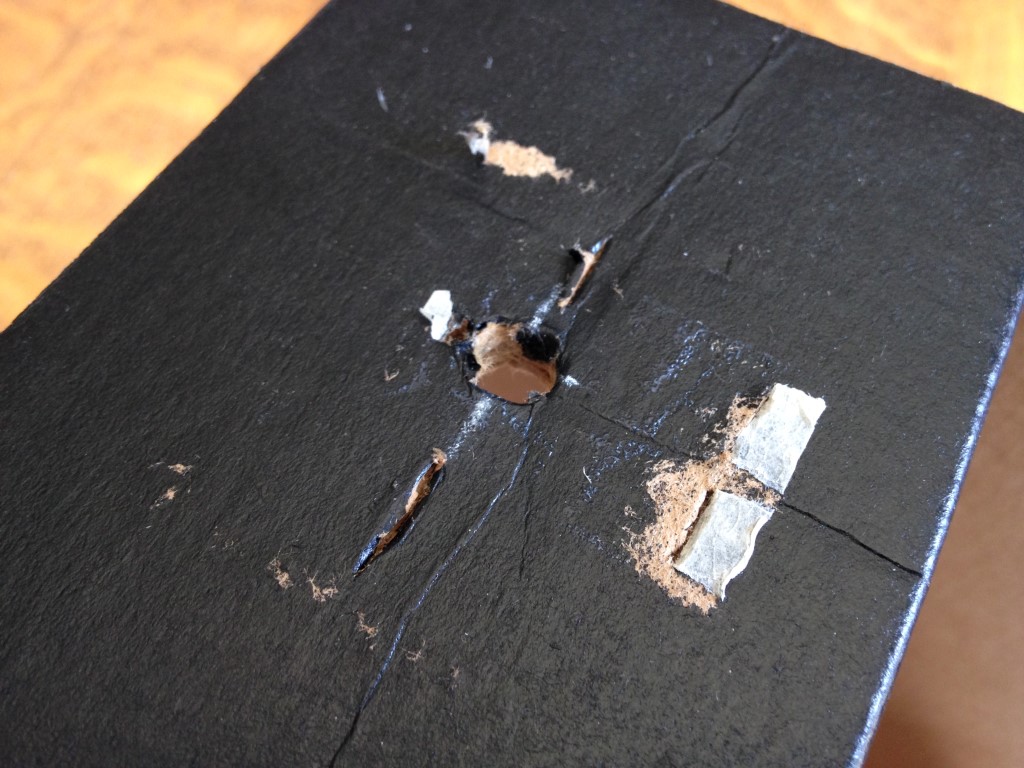
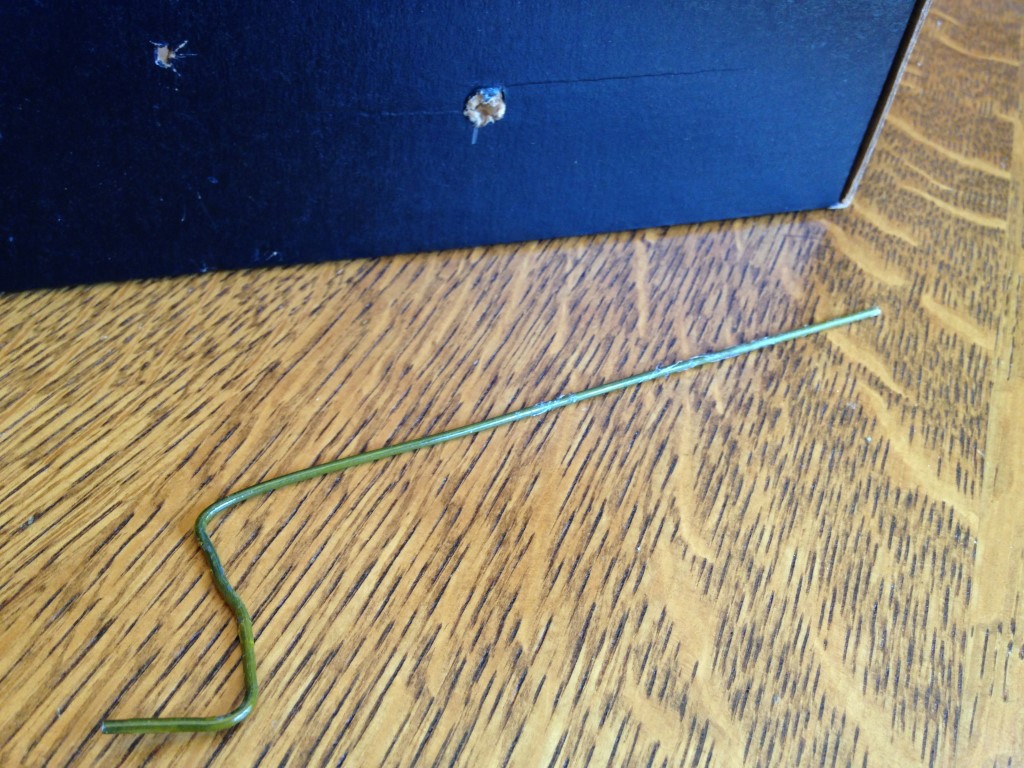
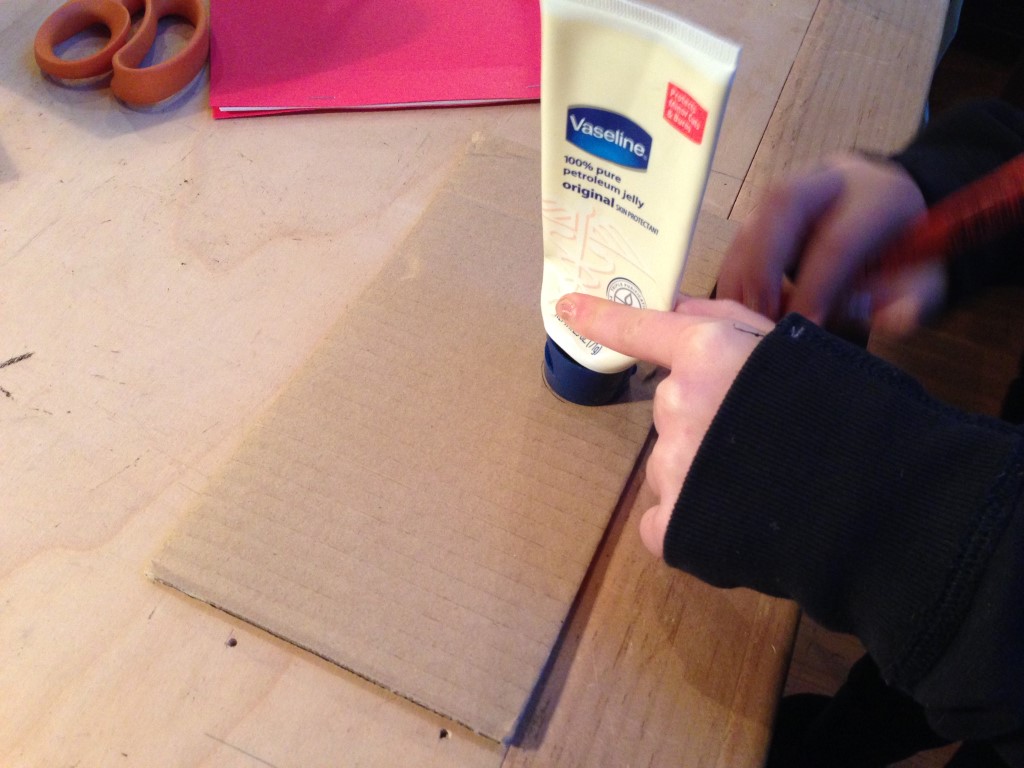
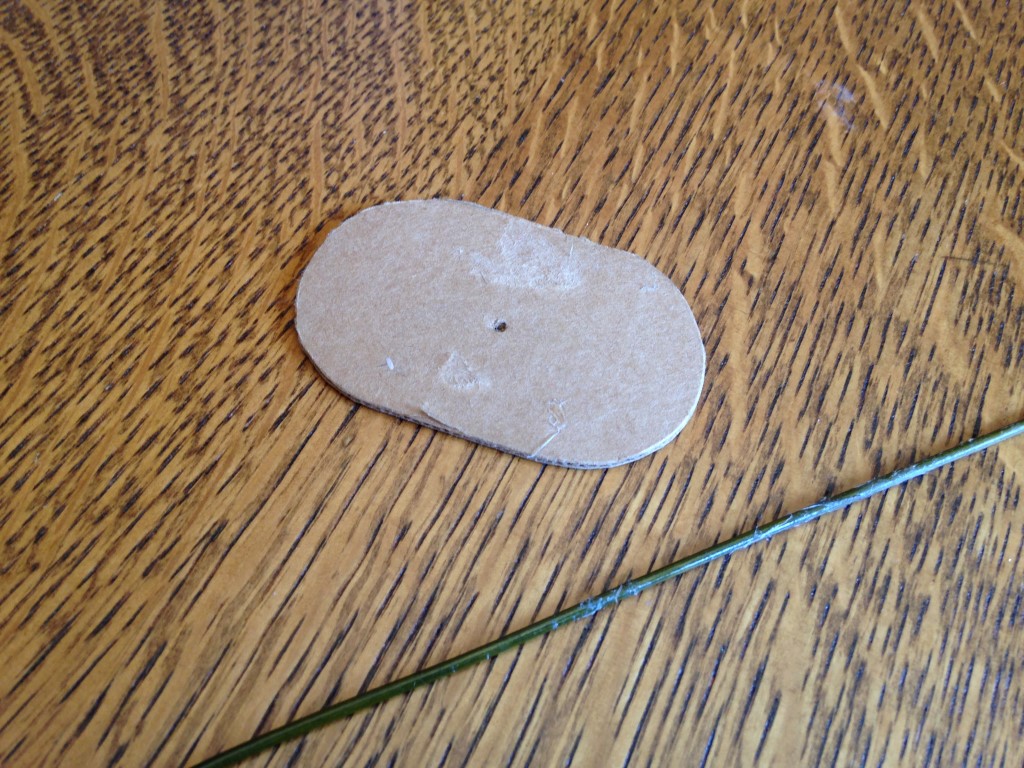
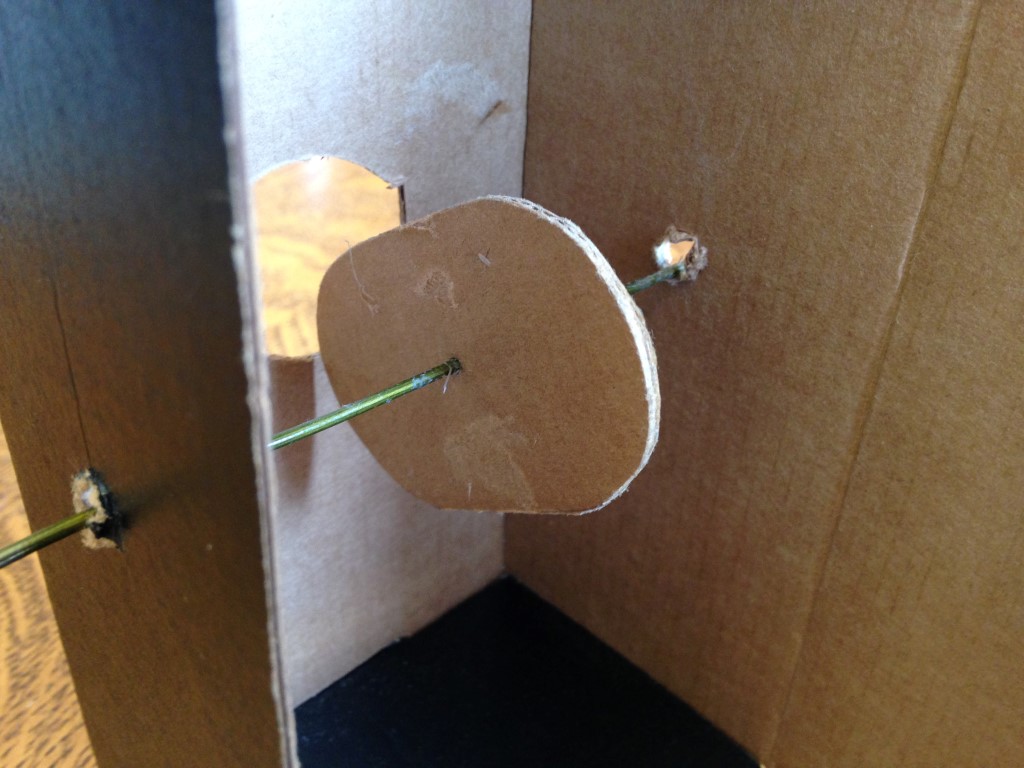
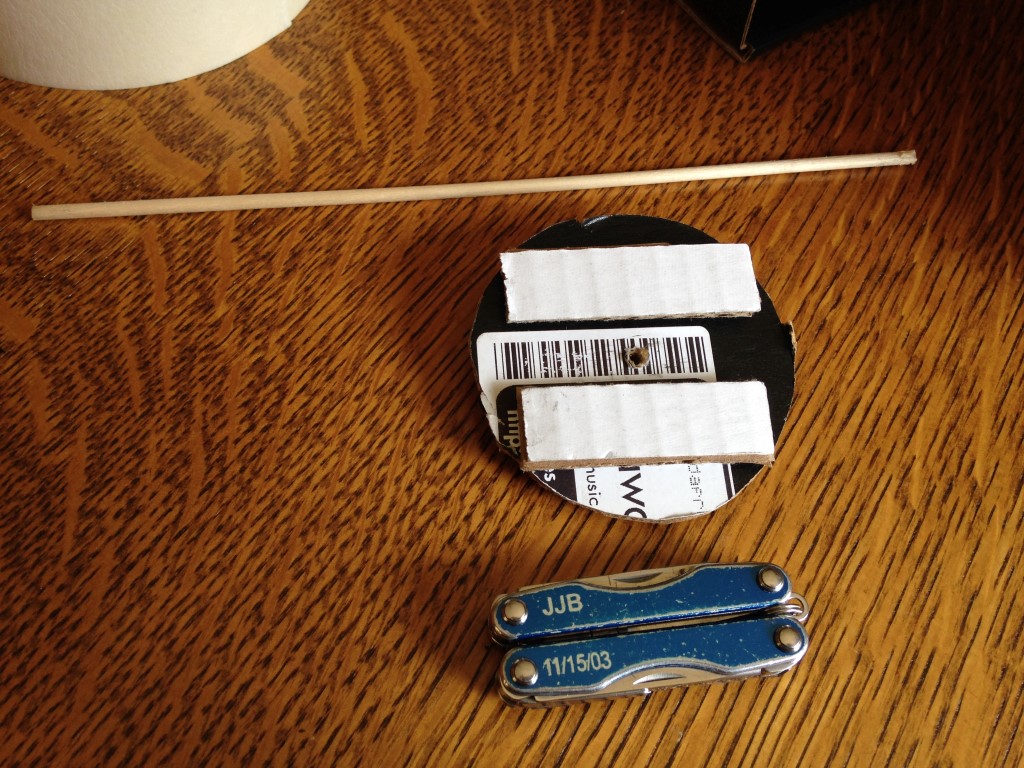
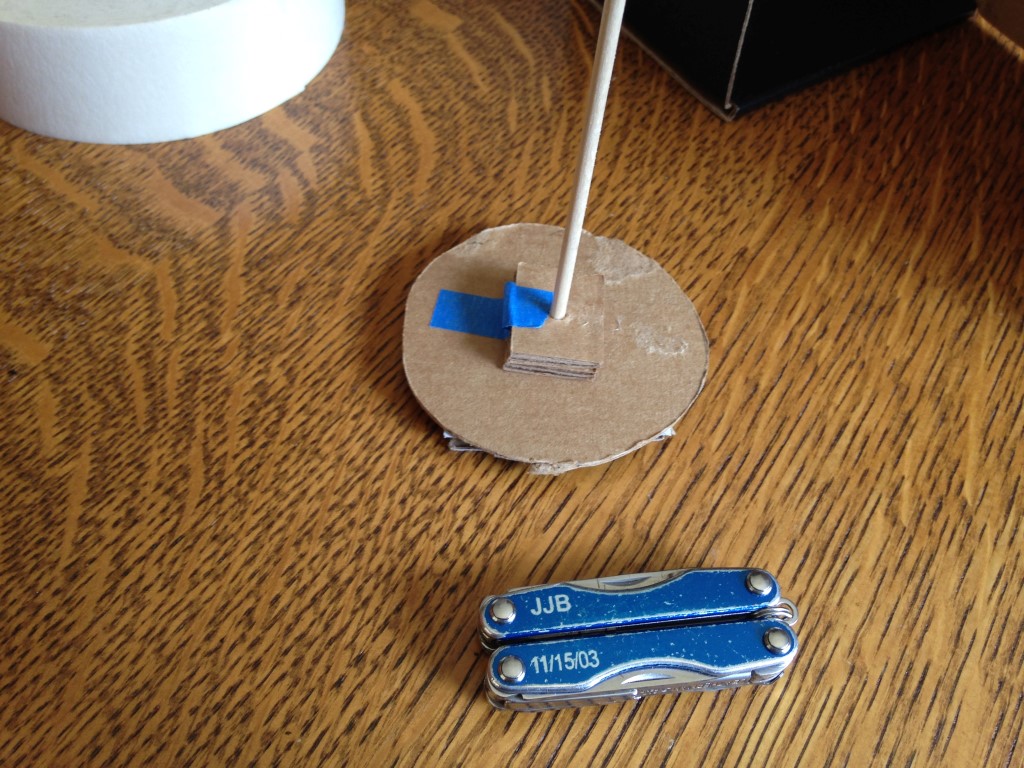
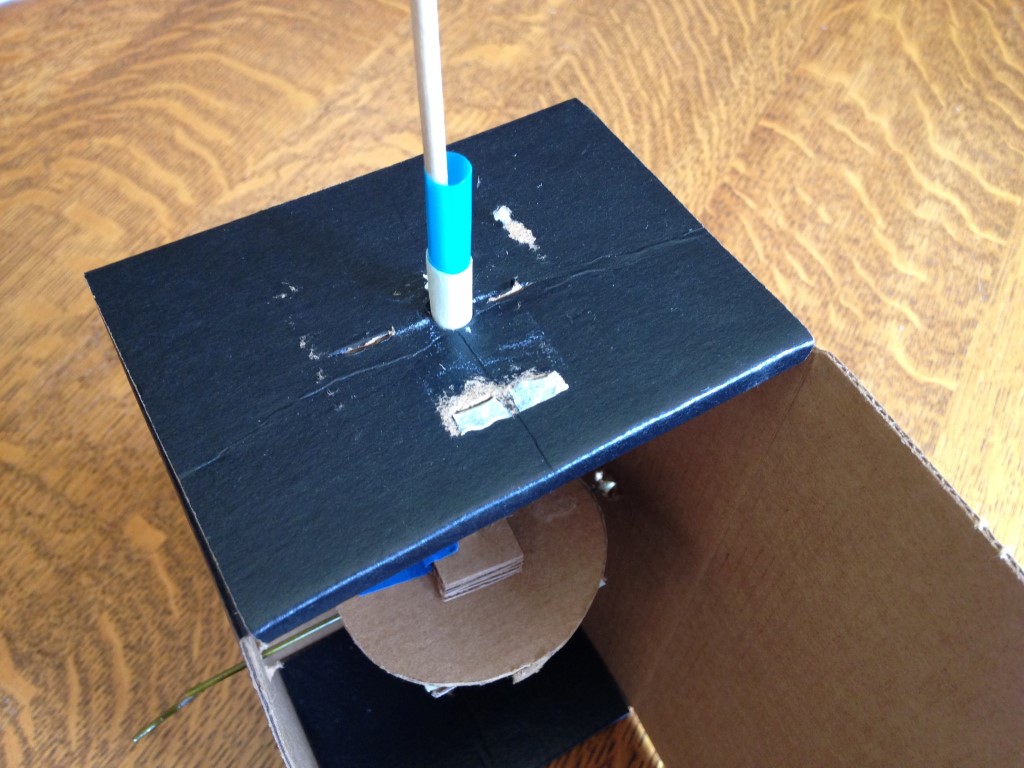
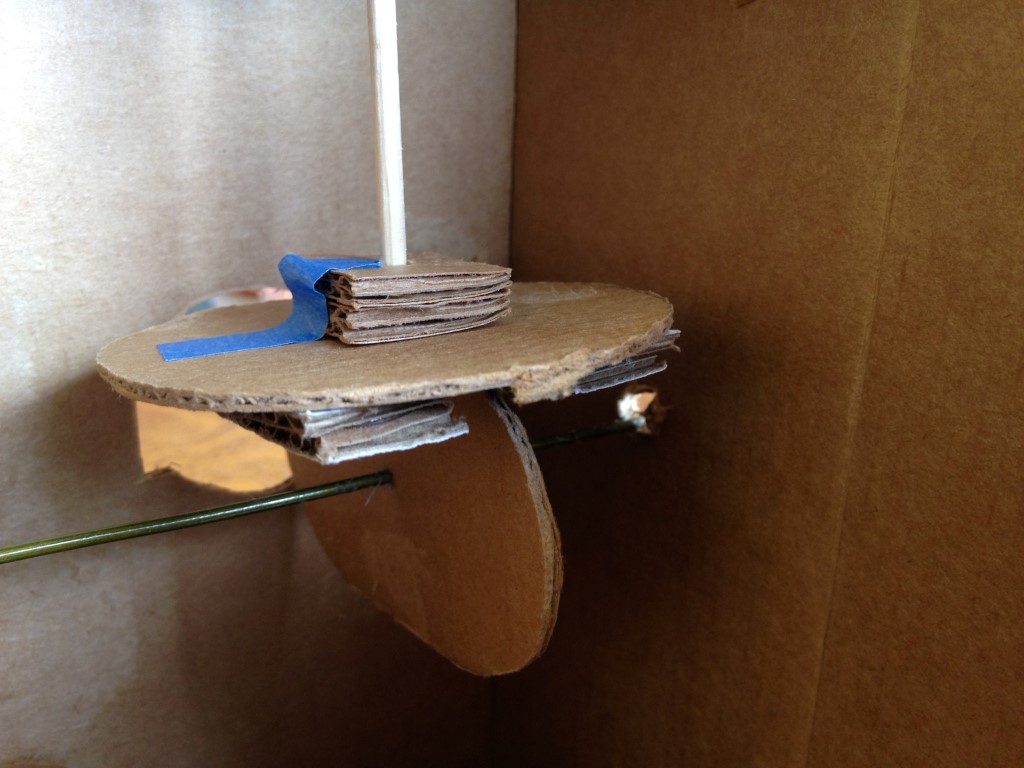
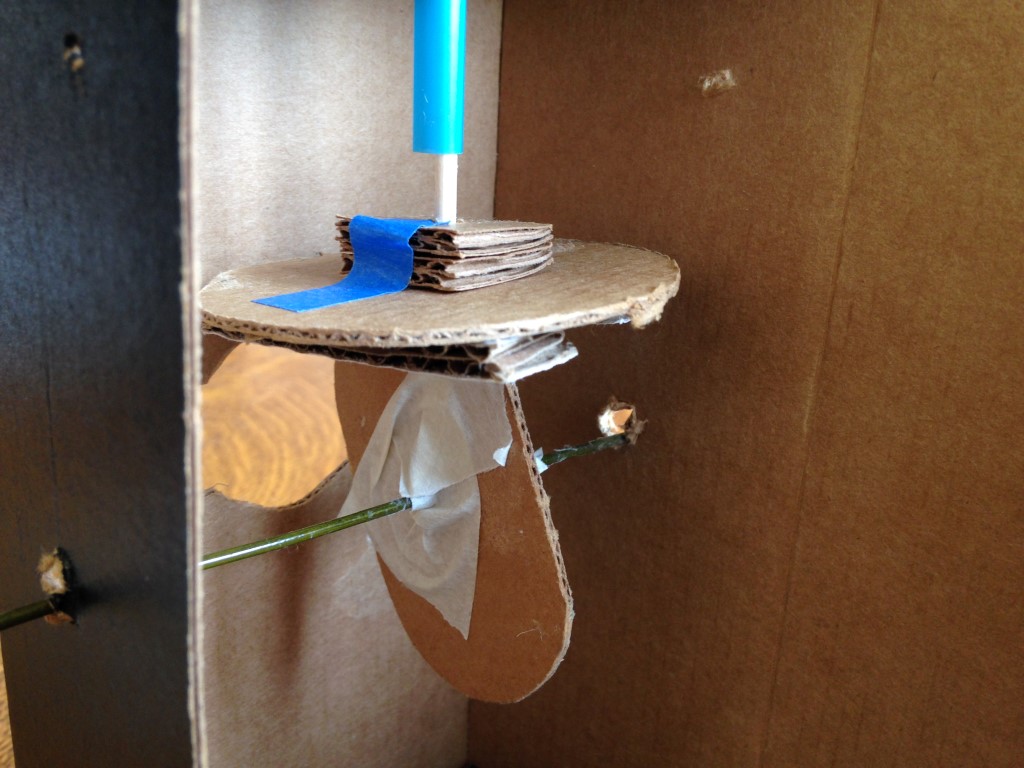
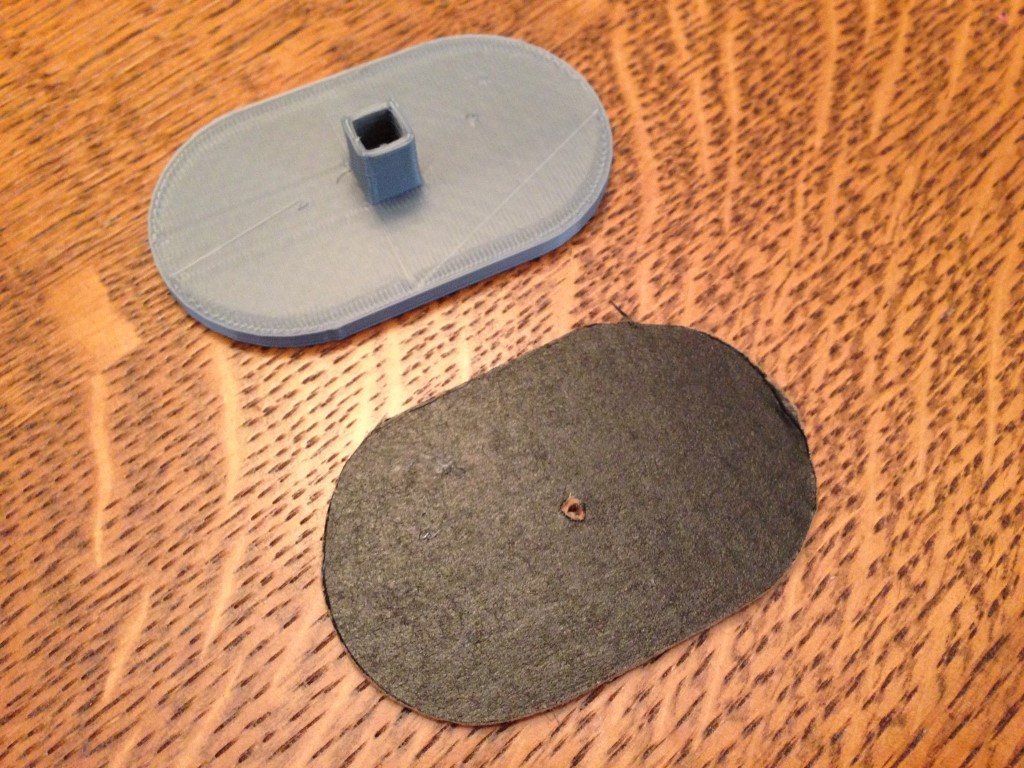
Our simple automaton will have a single oval-shaped cam, a cam follower with a simple addition that restricts its movement to up and down with a design more simple that The Exploratorium’s, and room to grow the automaton into something fantastic.

westport-faire-image
Want to see more? This and many more interesting things will be at the Westport Mini Maker Faire!

Project Steps

Prepare to drill

Find the center of the box on two opposite sides using your ruler. Use the pencil to mark the center of the box.

Find the center of the box on the top using your ruler. Use the pencil to mark the center of the box.

Drill the box

Use the drill and a small bit to drill a hole in the center of the side of the box on both sides. Drill a hole a about the same diameter as the drinking straw in the center of the top of the box, too.

Cut the hanger

Cut a piece of wire shirt hanger that is longer than your box is wide. It will fit through the two holes you drilled in the sides of the box.

Prepare the cam

Use a small circular cap or similar object, your ruler, and pencil to draw an oval shaped cam on a piece of cardboard. Draw half circles on either end separated by a short rectangle.

Cut out the cam. Poke a small hole in the center of the cam for the wire shirt hanger to pass through.

Insert the wire shirt hanger into one of the holes on the side of the box, through the hole in the cam, and back out the other hole in the side of the box.

Insert the drinking straw into the box

Cut a short piece of drinking straw. Wrap the center of the straw in a couple of passes of masking tape.

Insert the drinking straw into the hole on the top of the box, about half way down the masking tape.

Prepare the bamboo skewer

Remove the sharp end of a bamboo skewer.

Prepare the cam follower

Using the same techniques from step 4, create a slightly larger cam follower by tracing a circle on a piece of cardboard. Cut out the cardboard cam follower. Cut several small square pieces of cardboard. Puncture each square with the awl. Hot glue the stack of squares to one side of the circular cam follower, at the center of the circle.

Turn the cam follower over. Cut several thin strips of cardboard as long as the cam follower is wide. Hot glue them to the bottom of the cam follower. These guides help keep the cam follower straight over the cam. If you do not mind the follower moving up and down and turning around you need not include these strips.

Turn the cam follower back over. Insert the bamboo skewer in the holes in the small squares.

Insert the cam and cam follower

Working from inside the box, insert the cam follower bamboo skewer through the bottom of the drinking straw and through the top of the box. Position the cam follower over the cam.

Secure the cam to the hand crank shaft with some masking tape.

Take it to the next step

Secure the camTake your automata the next step by developing a character or story to go with the automata’s movement. A character with floppy limbs works well if it is jumping up and down, the motion this automata makes. to the hand crank shaft with some masking tape.

When you have a character or a story that the movement of the character tells, try upgrading your automata to use more durable materials in its construction. The cardboard box could be replaced with a cigar box. You could try 3D printing replacement cams and other parts.

Enhance the design of your automata by making the machinery “disappear” in the design. Use lightweight materials if you are sticking to cardboard cams and followers, since additional weight will eventually make your cam spin on the drive shaft.