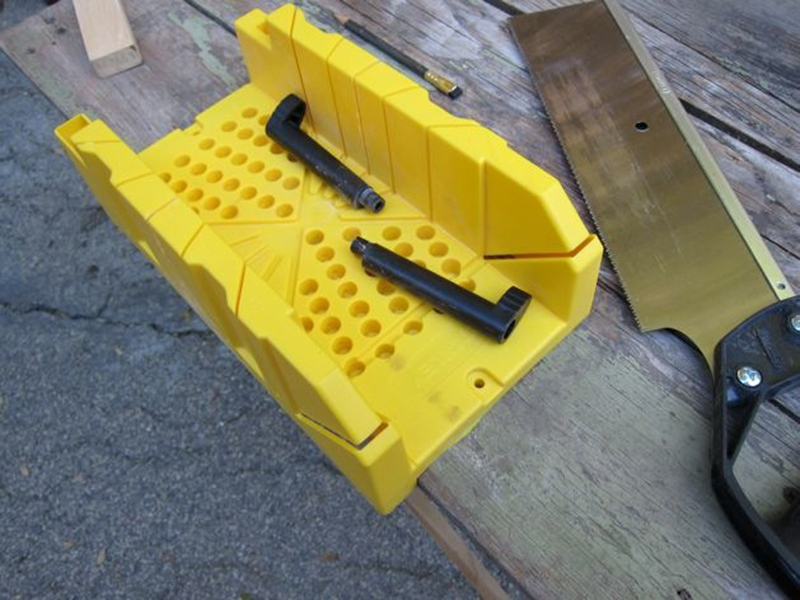
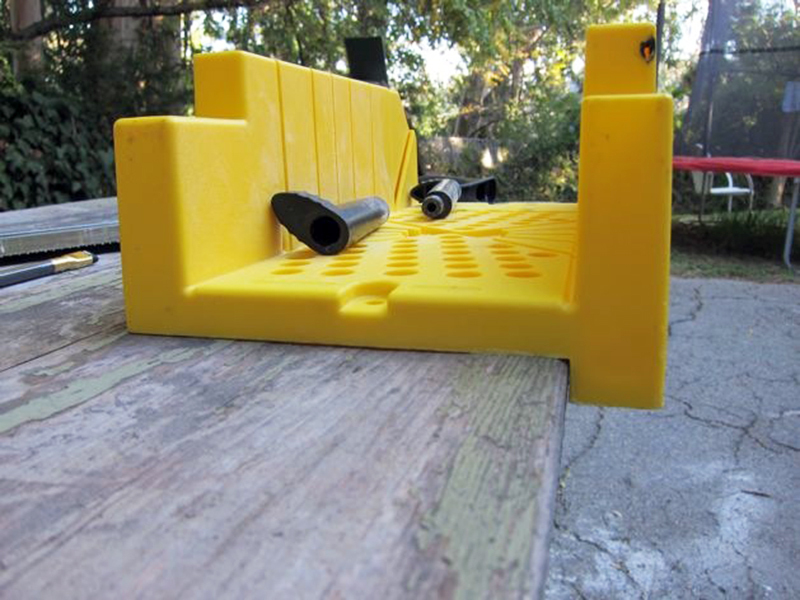
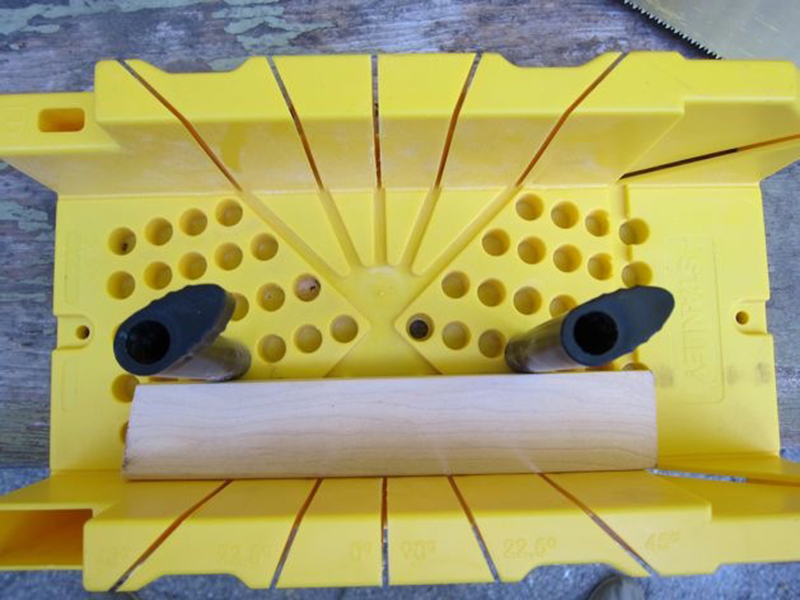
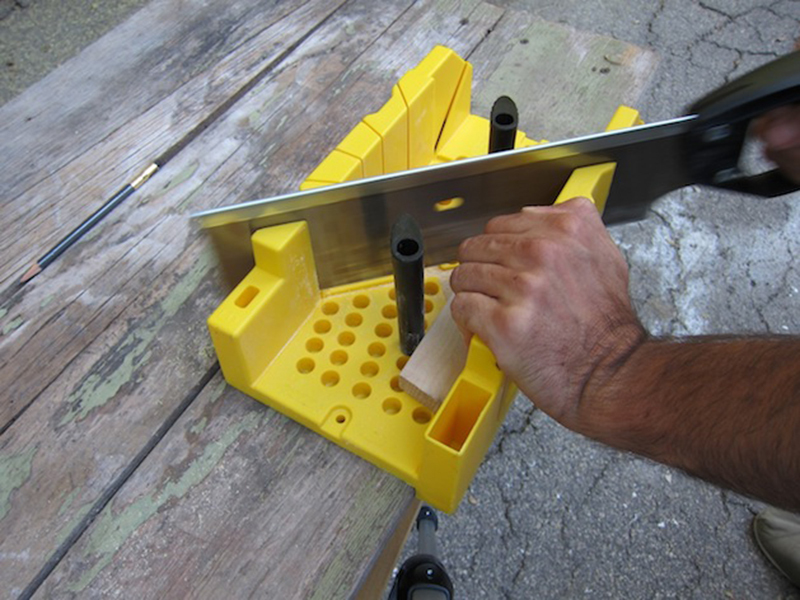
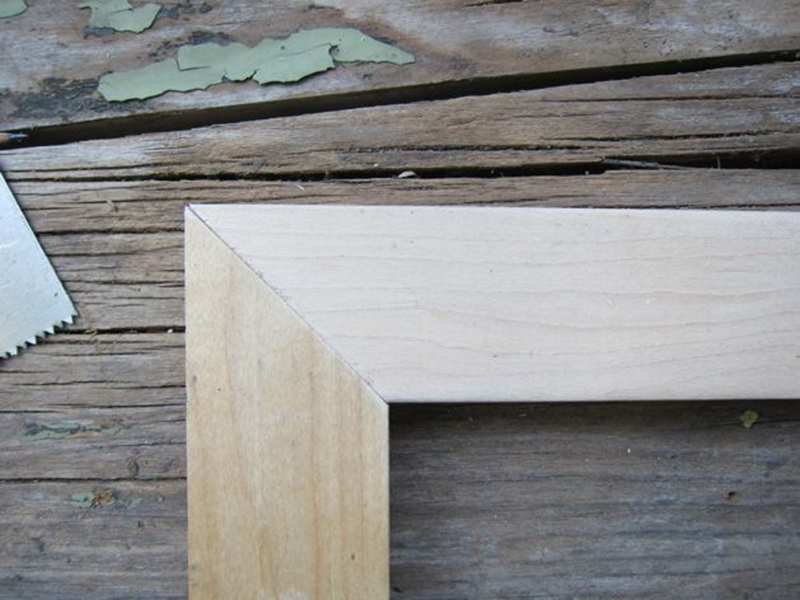
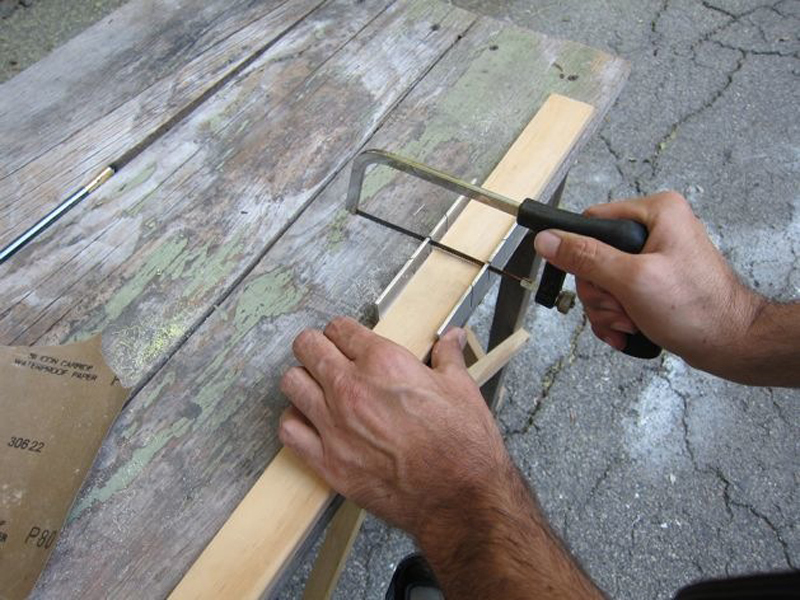
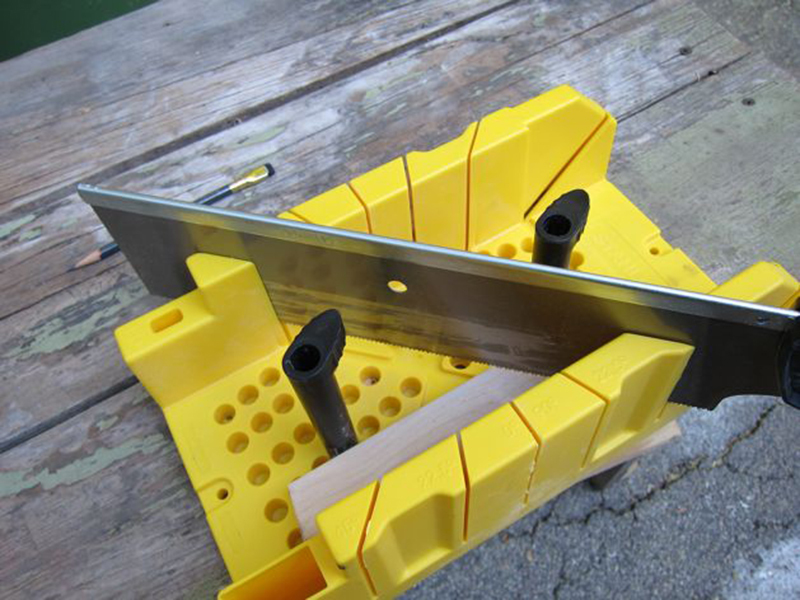
It’s possible to draw a fairly straight line with a pencil, but if you want to be accurate, you must use a ruler or straightedge to guide the pencil as you draw. Similarly, if you want to saw a piece of wood (or plastic, or PVC pipe) so that the cut is as straight as possible, you need a tool to help you guide the saw. A ruler won’t help (don’t try, you’ll just ruin the ruler). Instead, an inexpensive tool called a miter box (sometimes spelled mitre) will do the trick. In this article, I’ll explain what a miter box is, and how to use it.
Technique originally posted on CRAFT.
Steps
Step #1:
Next


- Shown here is a Stanley 20-112 Clamping Mitre Box. They cost about $15, including the saw. I usually replace mine once a year or so, because the saw's teeth get dull and the guide slots get chewed up over time.
- You can see the lip on the bottom of one side of the miter box. The lip is meant to hang over the edge of the table so the box doesn't slip when you are sawing. If you are serious about not wanting the box to slip, you can anchor it to the workbench by inserting screws into the two holes on either side of the box.
- The two black plastic cam pins make it easy to secure the wood in the box. Just pick holes that are close to the wood, insert the pins, and twist until they are tight.
- Notice that the slots in the miter box are set at 45-degree, 90-degree and 22 1/2-degree angles. You can buy more expensive miter boxes that let you set any angle you want, but I've never made any cuts that weren't 45- or 90-degree angles.


