Photos by Amanda Kerzman

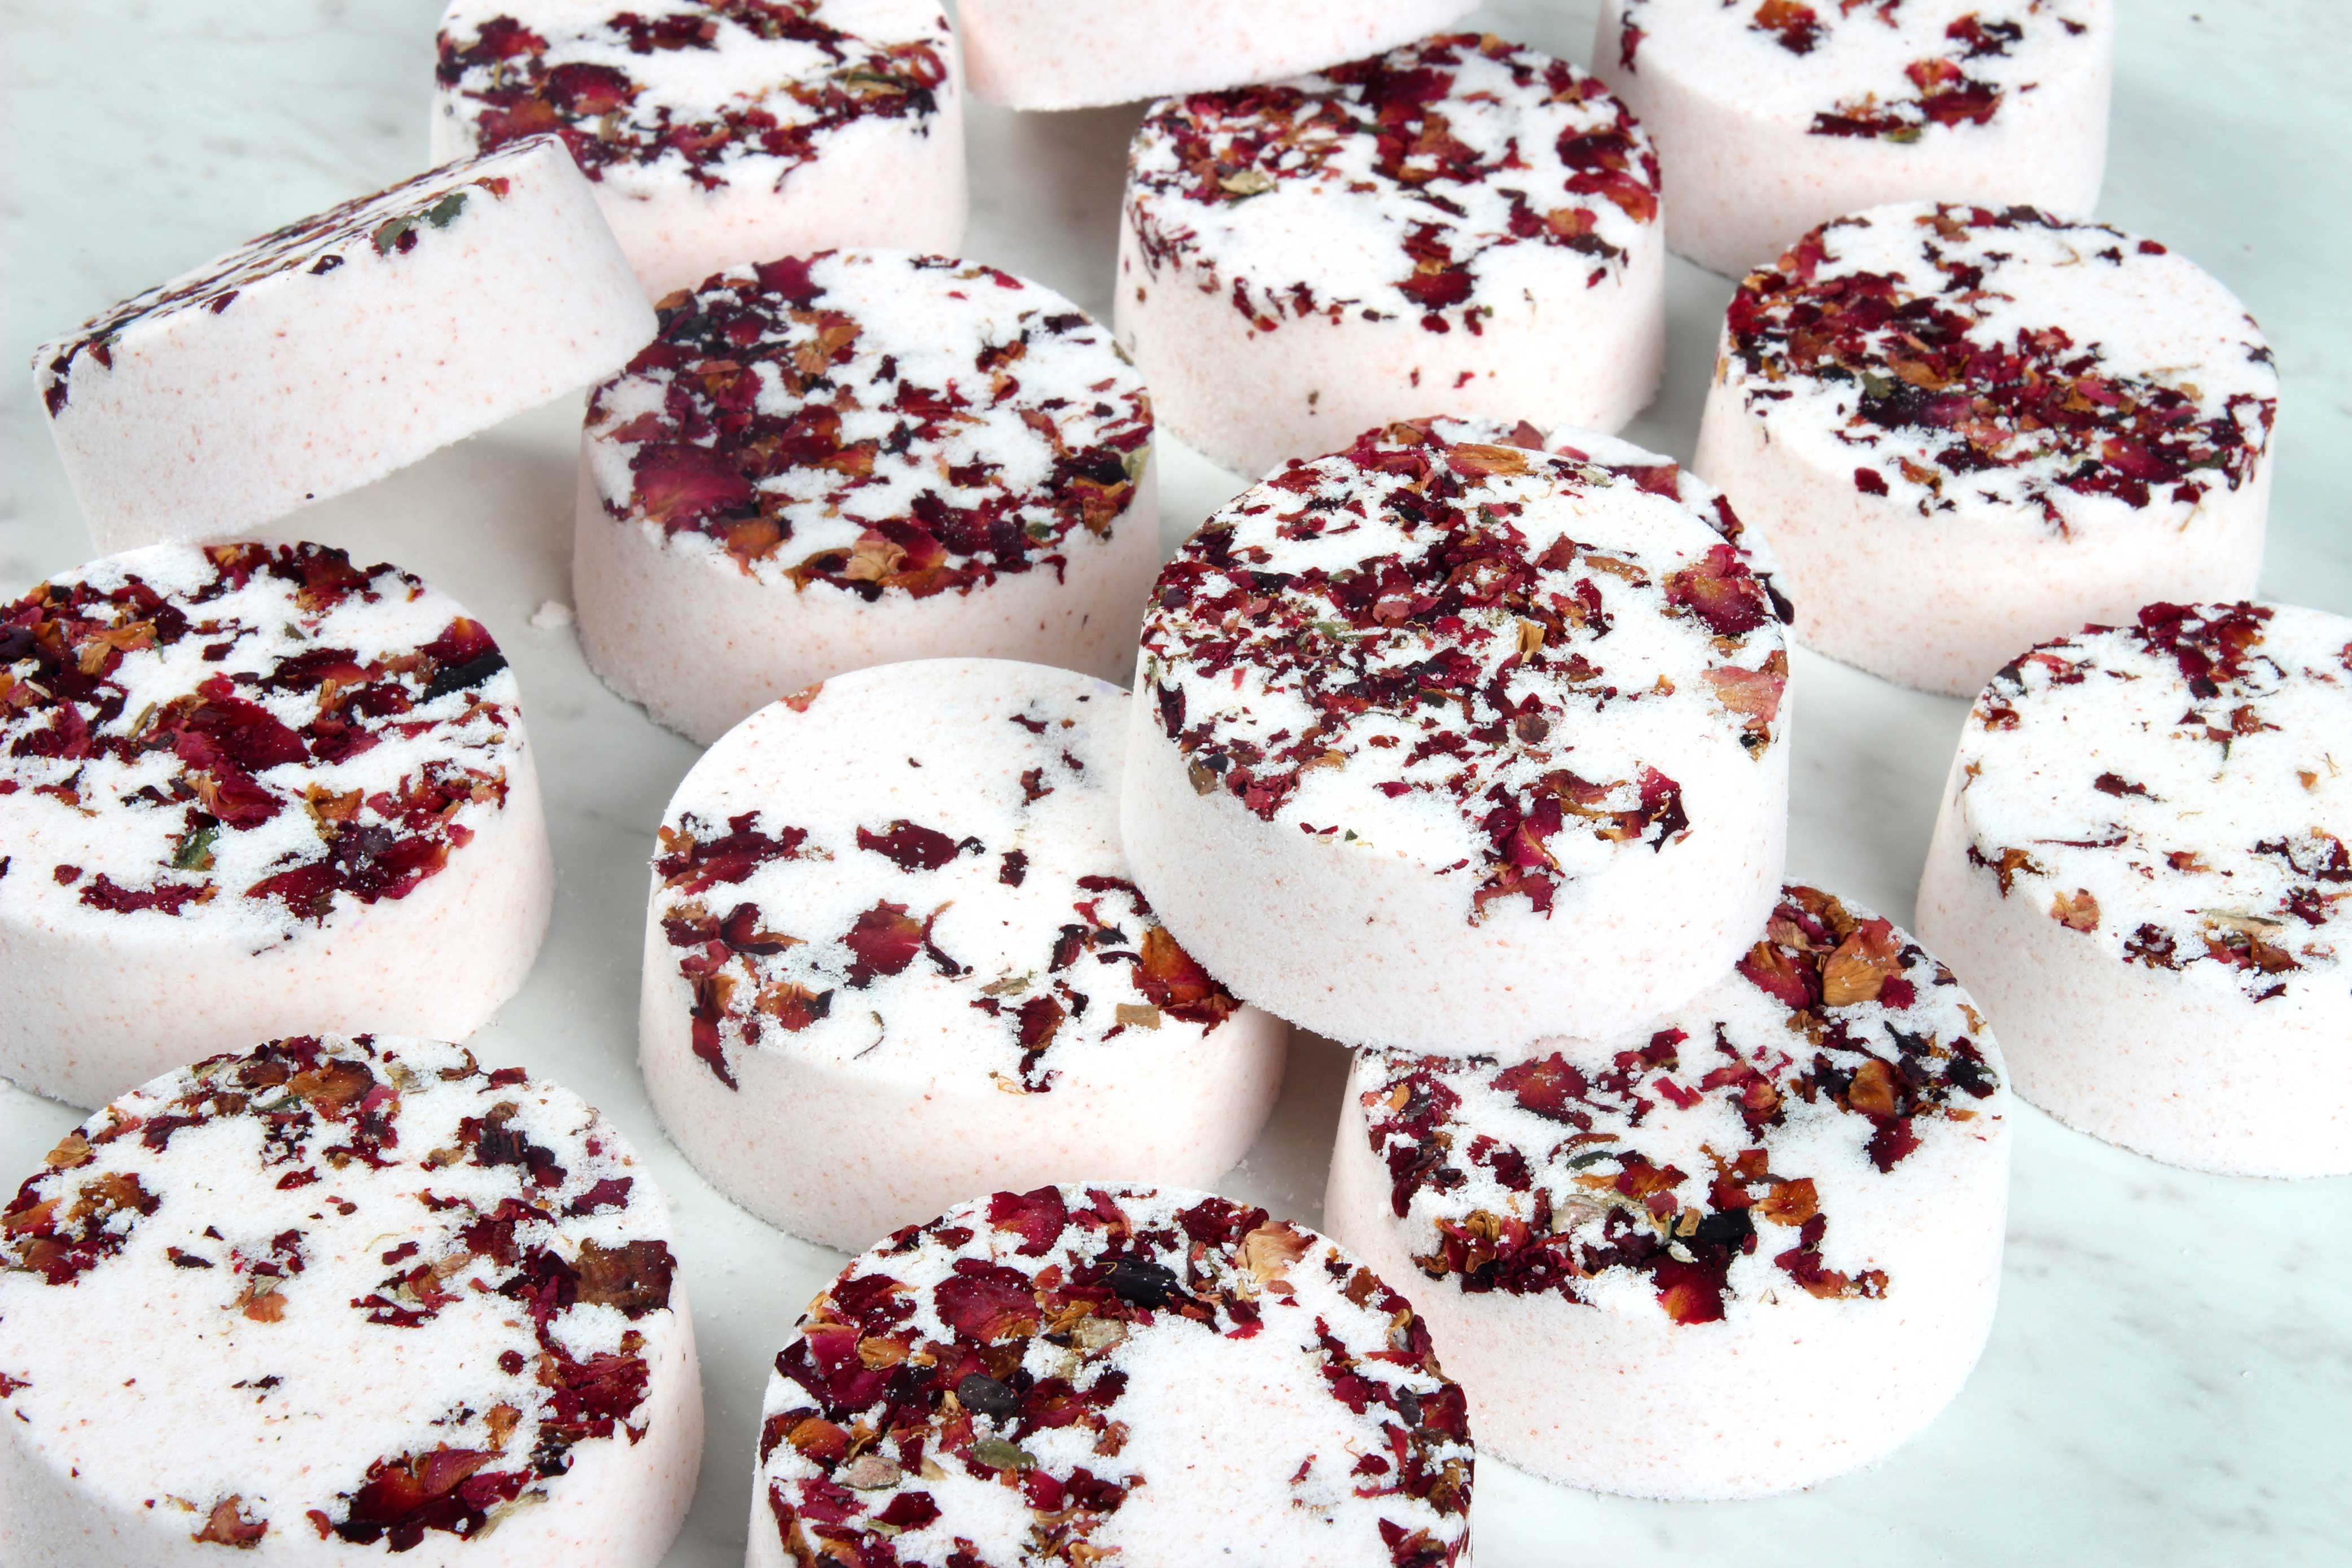
After completing this project you will have about 15 natural bath bombs to keep for yourself of share with others. This recipe is perfect for beginners interested in making their own bath bombs. You will discover how simple and fun it can be to create your own bath bombs and learn the basics to start creating your own recipes.

Project Steps

PREP

Pour the witch hazel into the 8 oz. bottle and attach the spray top. Witch hazel wets the bath bomb mixture and helps you get the perfect moldable texture.

Place the bag of coconut oil in the microwave and melt it in 30-60 second bursts. It can also be melted in a pot of boiling water. Just make sure the bag does not directly touch the bottom or the sides of the pot or the plastic can melt.

PREPARE THE MOLDS

Sprinkle a small handful of rose petals in the bottom of each bath bomb mold. Don’t cover the bottom completely or the petals will not stick to the bath bomb mixture. Set the molds aside.

ADDING THE DRY INGREDIENTS

Add all the baking soda (sodium bicarbonate) and citric acid into the large mixing bowl. To get rid of clumps in the mixture, push the powder through a strainer or break it with your fingers. Thoroughly stir the ingredients together.

Note: Citric acid has a tendency to take off nail polish, so wear the gloves to protect your manicure.

ADDING THE SEA SALT

Add the pink sea salt to the baking soda and citric acid. Stir to combine.

POURING WET INGREDIENTS

In the small glass container, add the melted coconut oil and essential oil. Use the dropper to add the polysorbate 80. Use a spoon to mix the liquid ingredients together.

ADDING WET INGREDIENTS

Add the liquid ingredients to the dry ingredients. Use your hands to thoroughly mix them together.

BATH BOMB CONSISTENCY

Check the consistency of the bath bomb mixture. The ideal texture is similar to wet sand and should hold its shape when squeezed in your hand. If it’s too dry, use one hand to spritz the mixture with witch hazel and your other hand to mix. Make sure to spritz different areas of the mixture and spritz the mixture at the bottom of the bowl.

ADDING THE MIXTURE TO THE MOLDS

Once you reach the right texture, drop the mixture directly into the molds (on top of the rose petals) and press down to avoid clustering.

CONTINUE ADDING THE MIXTURE

Add more bath bomb mixture and press it firmly into each mold until full. Only fill each mold to the inside lip or the lid will not snap closed. Use your fingers to smooth the back of each bath bomb.

KEEP FILLING!

Continue filling each mold with bath bomb mixture. Work carefully but quickly so the bath bomb mixture doesn’t dry and harden in the bowl.

DRY YOUR BATH BOMBS

Once all the molds are full, allow them to dry with the lid off for at least 3-4 hours (or just overnight).

PACKAGING YOUR BATH BOMBS

Place the lid on each mold to give away or store for later.

USE IT

To use, drop the bath bomb into a hot bath. Enjoy!