Img_5397

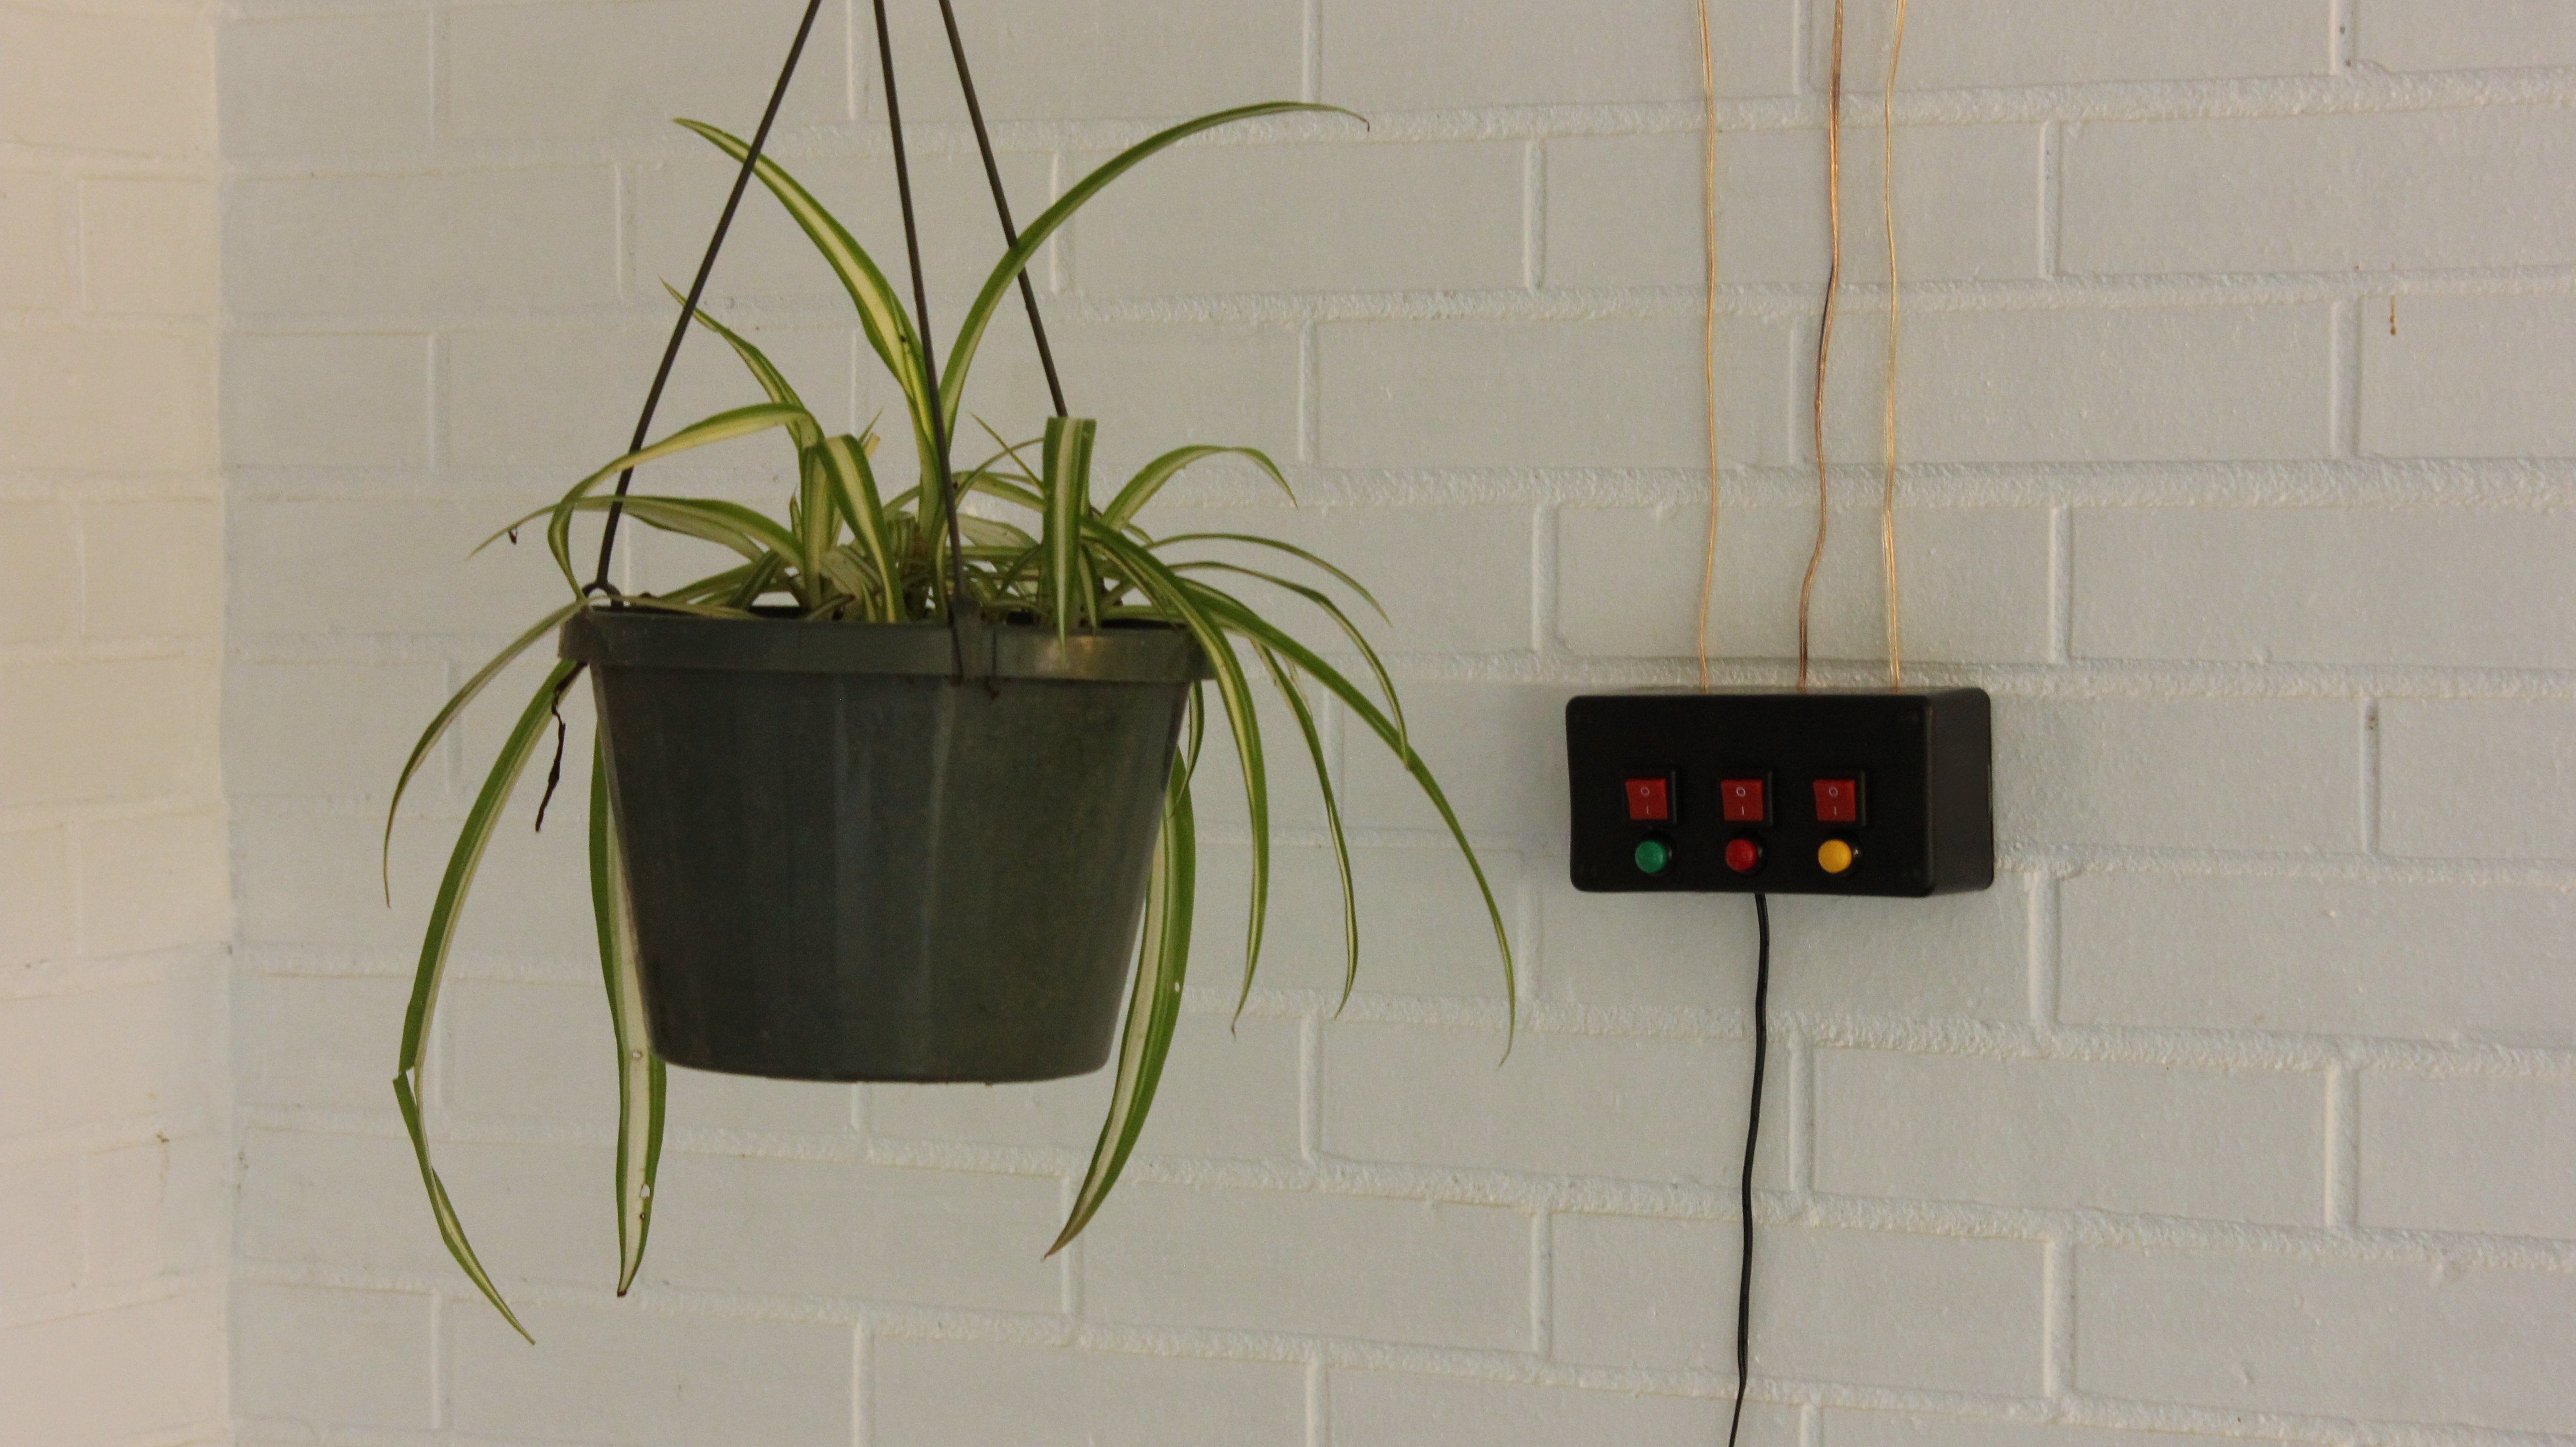
Hanging plants are a great way to add some green around your house. But there are a lot of great locations for hanging plants that are just too inconvenient to utilize. For instance if you have really high ceilings, you don’t want to have to get up on a ladder every day to water them.

So I designed a simple system for raising and lowering hanging plants with an electric motor. That way you can raise them up to the desired height. Then whenever you want to water them, just press the button to lower them down to a convenient working height.

YouTube player


Project Steps

Select a motor

The first thing that you need to do is select a DC motor. I recommend using a gearhead motor. This is a DC motor that has a gearbox already built onto it. This greatly increases the amount of torque that the motor has. All the gearing also makes it much harder to manually turn the shaft of the motor. This is very good when you want to hang something from the shaft because you don’t want the plant to pull itself back down as soon as you turn off the motor.

The most important feature to consider is the torque rating of the motor. This will determine the weight of the plant it will be able to raise. Torque ratings are usually listed in either in-lbs, cm-g, or N-m. This is the force that it can apply at a certain distance from the center of the shaft. For instance a 10 in-lb torque can apply 10 pounds of force at a distance or 1 inch, or a force of 1 pound at a distance of 10 inches from the center of the shaft. So figure out how much your plant weighs with the soil wet. Then measure the radius of the shaft. Multiply these two together, and this will tell you the minimum torque that your motor would need in order to raise your plant. I recommend getting a motor that is much stronger than this so that it won’t stall in operation. Remember to match the units of your calculation to the units of the motor’s rating.

Build or purchase a small box for a winch housing

Next we need a small box to serve as the housing of the winch. You can purchase small plastic boxes at most hardware stores or electrical supply stores.

You can also build a box out of wood or metal. For a simple tutorial on how to make a basic wooden box, check out this Instructable.

Drill holes in the winch housing for the motor

In order to mount the motor to the winch housing, we need to drill a few holes. We need one large hole for the shaft of the motor and we need 4 small holes for the mounting screws. All of these holes need to have exactly the right spacing between them so that they will line up with the motor.

The easiest way to mark the locations for the holes is with a piece of clear plastic. Start by cutting a large hole in the plastic for the shaft. Then fit the piece of plastic onto the motor so that it sits on the front face where the mounting screw holes are. Hold the plastic onto the face of the motor, and using a needle or a drill bit, poke a hole in the plastic at the center of each screw hole. When you are done you will have a template of the holes that you can use to mark the hole locations onto the side of the winch housing.

Hold the plastic template up to the side of the winch housing and use a pencil to mark the location of each hole. Then use your drill to drill the appropriate size hole in each location.

Make the winch shaft

In most cases, the shaft of your motor will not be long enough to act as the shaft of the winch. So you will need to extend it by adding a piece of aluminum tubing.

Start by using a saw or Dremel to cut the tube so that it is the same width as the winch housing. Then line one end up with the shaft of the motor and mark where the pin hole will line up. Drill a small hole through the tube in this location. If you have trouble getting the hole started, you can first dent the tube with a nail. This will create a small recess where the drill bit can sit and bite into the side of the tube. Insert a small machine screw through this hole and tighten a nut on the other side.

If your motor doesn’t have a pin hole on the drive shaft you may need to attach the tube with glue.

Mount the motor onto the winch housing

Now we need to make one last hole in the winch housing so that we can mount the motor and the shaft. The shaft of the winch needs to be supported on both ends. One end will be supported by the motor. To support the other end, we will drill a hole in the housing opposite the motor so that the wall can support it. To reduce friction, I also added a skateboard bearing.

Start by measuring the location of the motor shaft hole. Then, in the same location on the opposite side, drill a small guide hole. Using a 7/8 hole saw, cut a 7/8 hole centered on the first hole. Before drilling, I put a piece of masking tape over the wood. This helps to keep the wood from splintering when drilled. Take the skateboard bearing and glue it into the hole that you just made.

Once the glue is dry, insert the shaft through the center of the bearing. Then secure the motor in place with the mounting screws.

​Cut a hole in the winch housing for the rope

Now you need to cut a hole in the winch housing for the rope. Because I was using bass wood, I just cut a rectangular hole with a knife.

Connect the motor to the switch

Now you are ready to connect the motor to the switch. In order for the switch to control the motor in both directions, we nee to use a DPDT (double pole double throw) switch. The center pins are connected to the terminals of the motor and the outer pins are connected to the power supply. The outer pins are wired in the opposite polarity from each other. That way the switch will change the polarity of the motor when it is flipped.

The best kind of switch to use is a three position switch where the center position is off (not connected to any of the outer pins). If you have a two position switch, then you will need to add a momentary switch that will act as the on/off button. This is what I had to do.

Assemble the control panel

The last part that needs to be constructed is the control panel. To make this, mount all of the switches onto the front of a plastic housing. Then cut slots in the sides for the power cords and wires.

You can set up as many switches as you want. Each switch will control a different plant winch. I set up three sets of switches because I wanted to control three hanging plants.

Mount the winch to the ceiling

To attach the winch to the ceiling, I used two drywall screws. To prevent the wood from cracking or splitting I drilled pilot holes in the winch housing and the ceiling. Then I put the screws through the winch housing and into the ceiling.

Mount the control panel to the wall

How you mount the control panel will depend on the kind of wall that you want to mount it to. If the surface is wood or drywall, you can use plain wood screws. If the wall is brick or cement you can use masonry screws. You can also use glue.

There are a number of glues that you can use. Hot glue will bond to brick but you need to use a lot of it. Other glues such as Gorilla Glue will have a stronger bond, but it takes a while to set. To hold it in place, you can tape the control panel to the wall while the glue sets. You can also use a combination of hot glue and other glues. Hot glue can hold it in place while the stronger glue sets.

Use your motorized plant hanger to raise and lower your plants

Now just attach your plant to the string and your motorized plant hanger is ready to use. Press the down button. Then, if you are using a two position switch, press the momentary switch . Your plant will lower until it is at a good working height so you can easily water it.

To raise the plant back up, just press the up button, and press the momentary switch if you are using a two position rocker switch. Then the motor will pull the plant back up. You can hook up as many plants as you want. You just need a switch for each one.