assembled

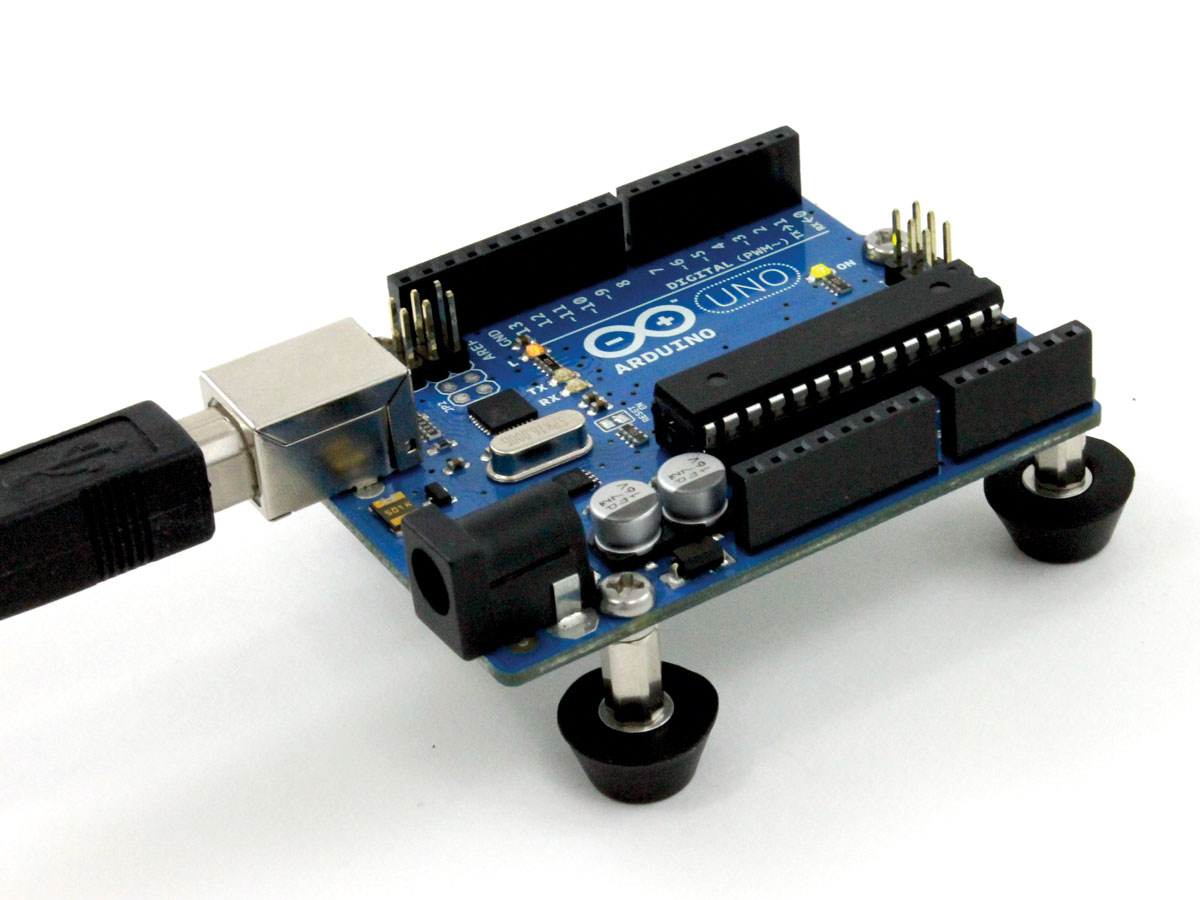
When working with Arduino and other boards, most people just set the bare PCB down on the bench, hook up cables and components, and go. As long as your benchtop isn’t made of metal, and as long as you’re careful, this can work fine. But it’s not ideal.

Clipped leads and other random metal bits tend to get underneath the board, where they can short across the exposed solder points, causing erratic behavior and even damage. Plus, those bare points will scuff up a nice benchtop pretty fast.

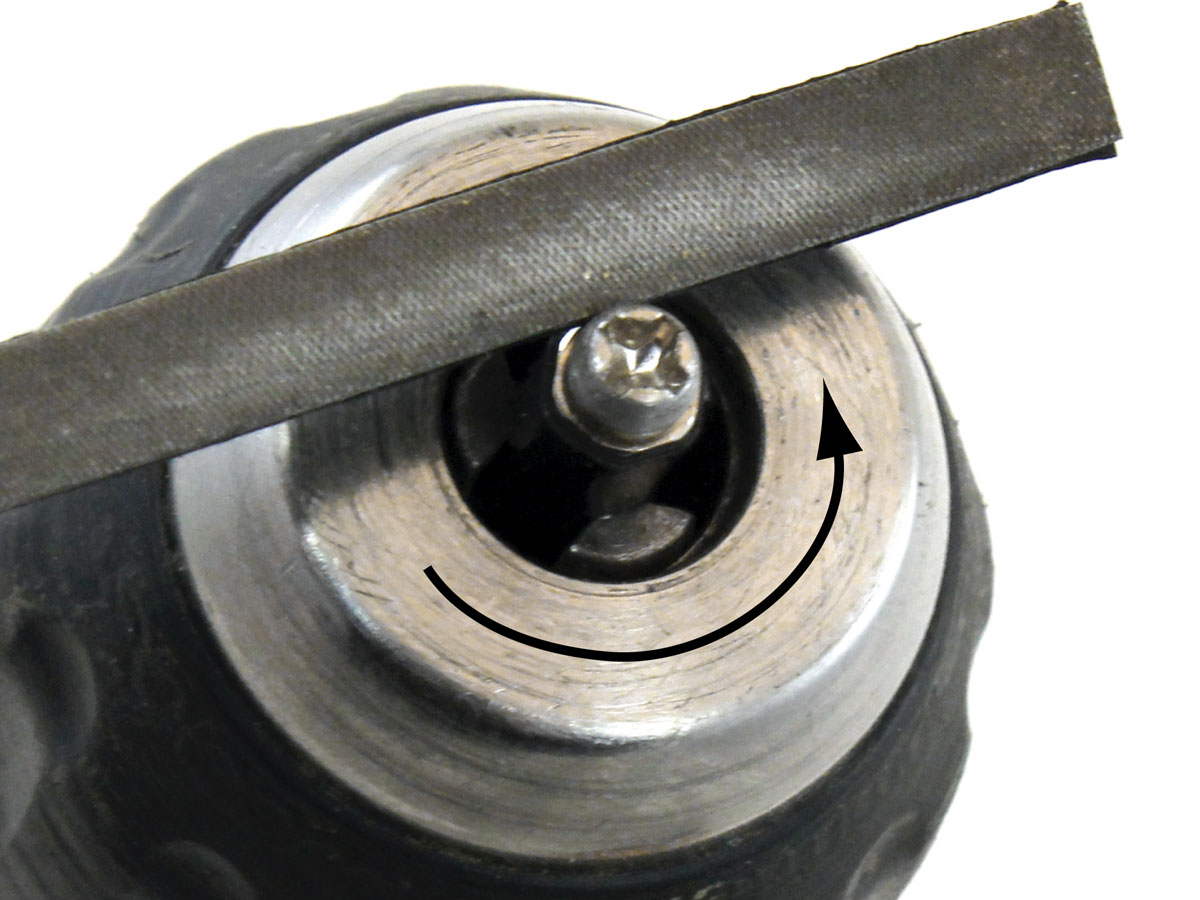
You could put the thing in a case, but most dev boards have wires coming in from all sides — cases end up being more hole than wall. It’s cleaner and easier to just give your board a lift by adding rubber feet built from off-the-shelf hardware.

Boardfeet-illo

Project Steps

Make a special screw (Arduino only)

The Uno REV3, Mega, and other Arduino boards have a minor design flaw in the mounting hole nearest the USB port — the nearby pin headers are too close to clear any standard screw head. To fix, just turn one of your screws tightly into one end of a loose standoff, wrap the standoff in electrical tape to prevent marring, and chuck it into a handheld drill or drill press. Fire up the drill, then use a small file (with one face taped to make it “safe”) to turn down the screw head to 0.175” / 4.4mm or so.

Mount the standoffs on the board

Pass four screws through the mounting holes from the component side. Slip a lock washer over the threads on the solder side, then add the standoffs and tighten down.

Install the feet on the standoffs

Put a lock washer, then a flat washer over the threads of each of four screws before passing it through the recessed bumper from the bottom. Add a second flat washer on top of the bumper, then thread the screws into the free ends of the mounted standoffs. Tighten securely, and you’re done!