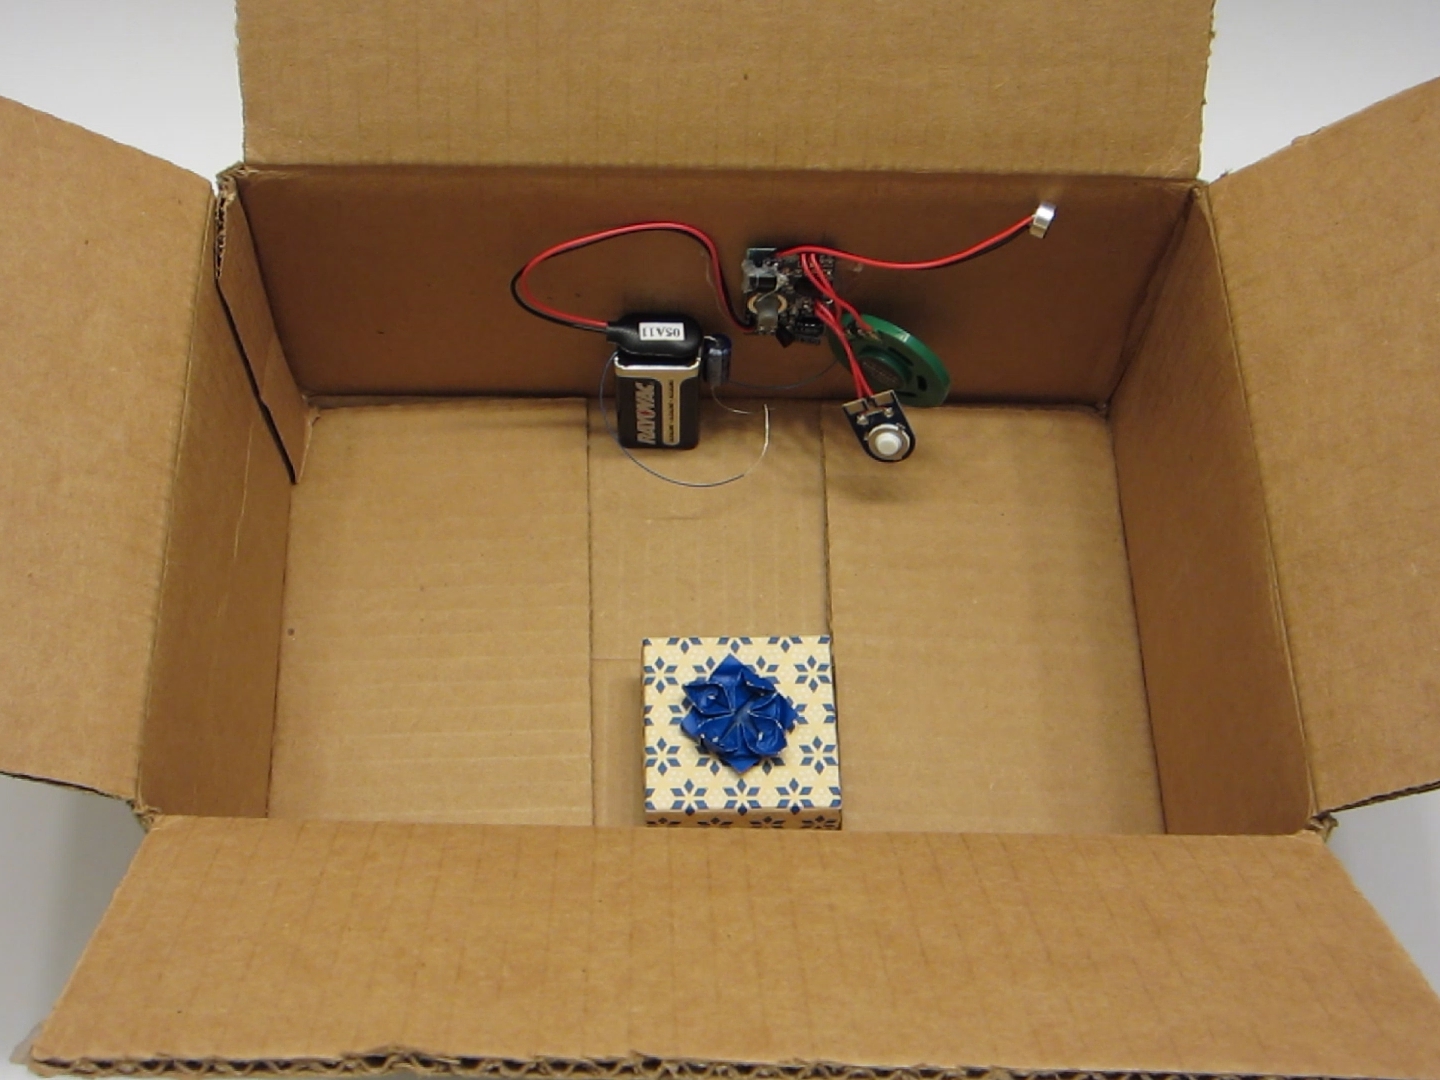
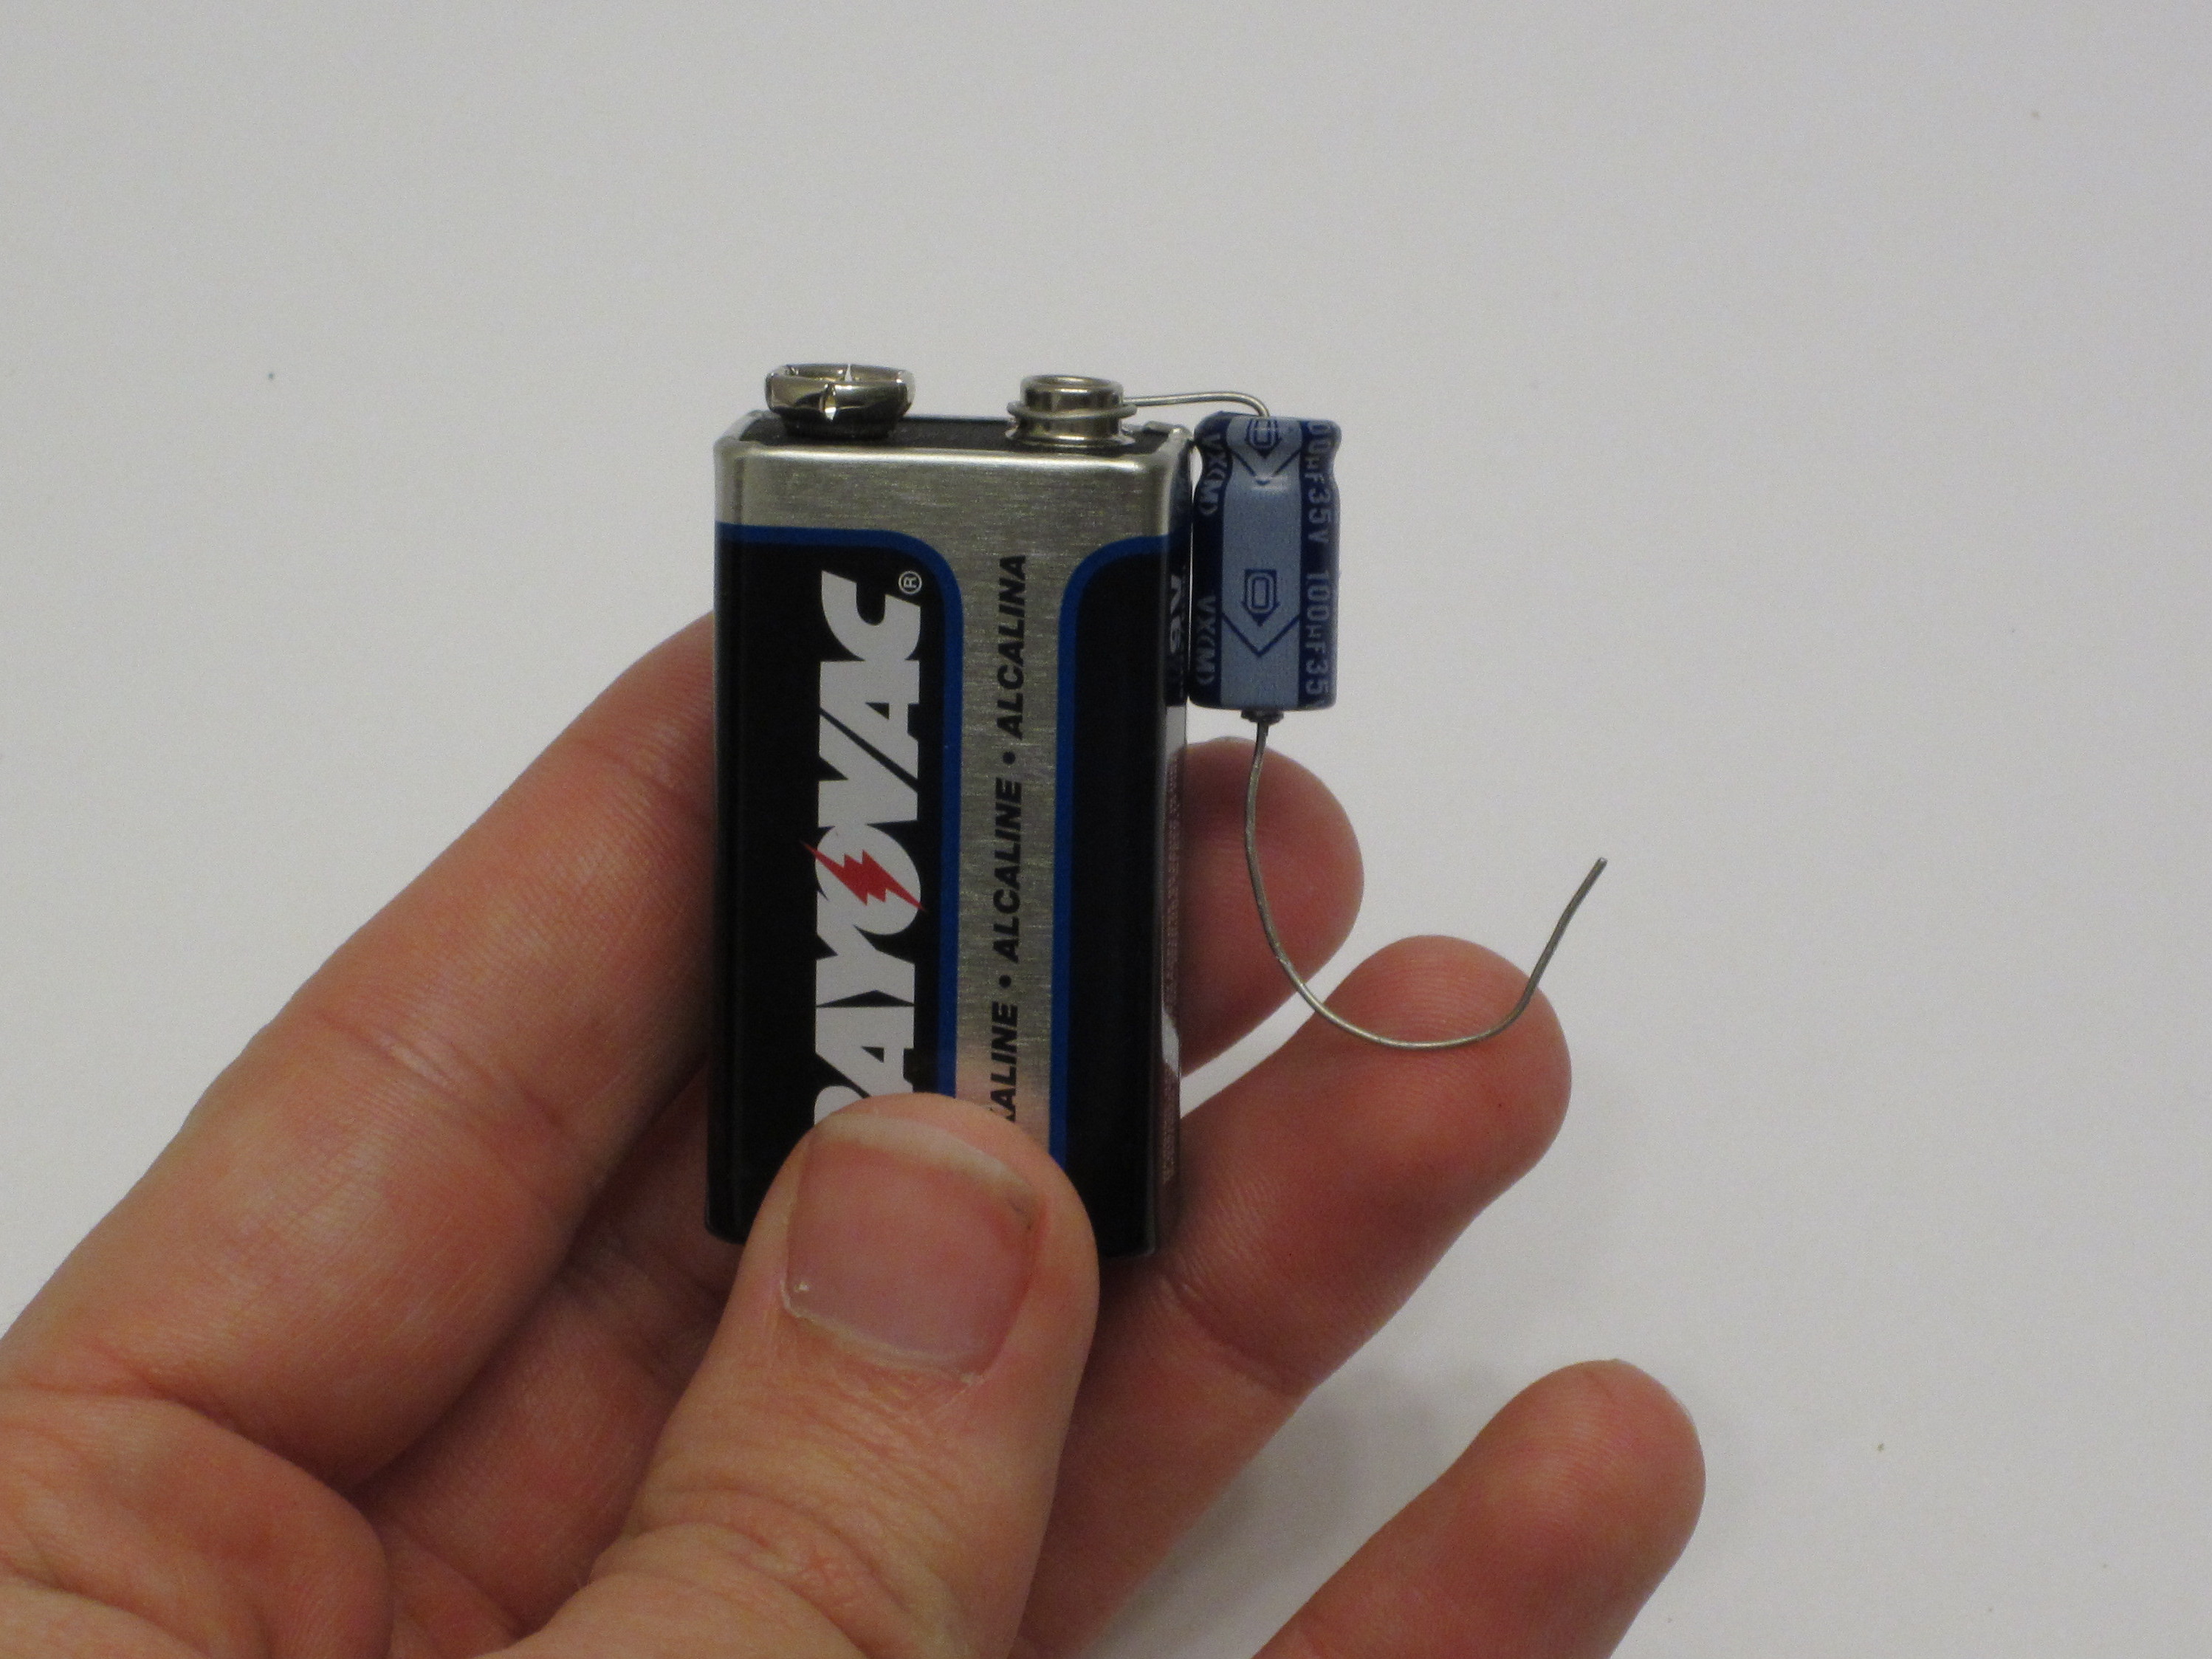
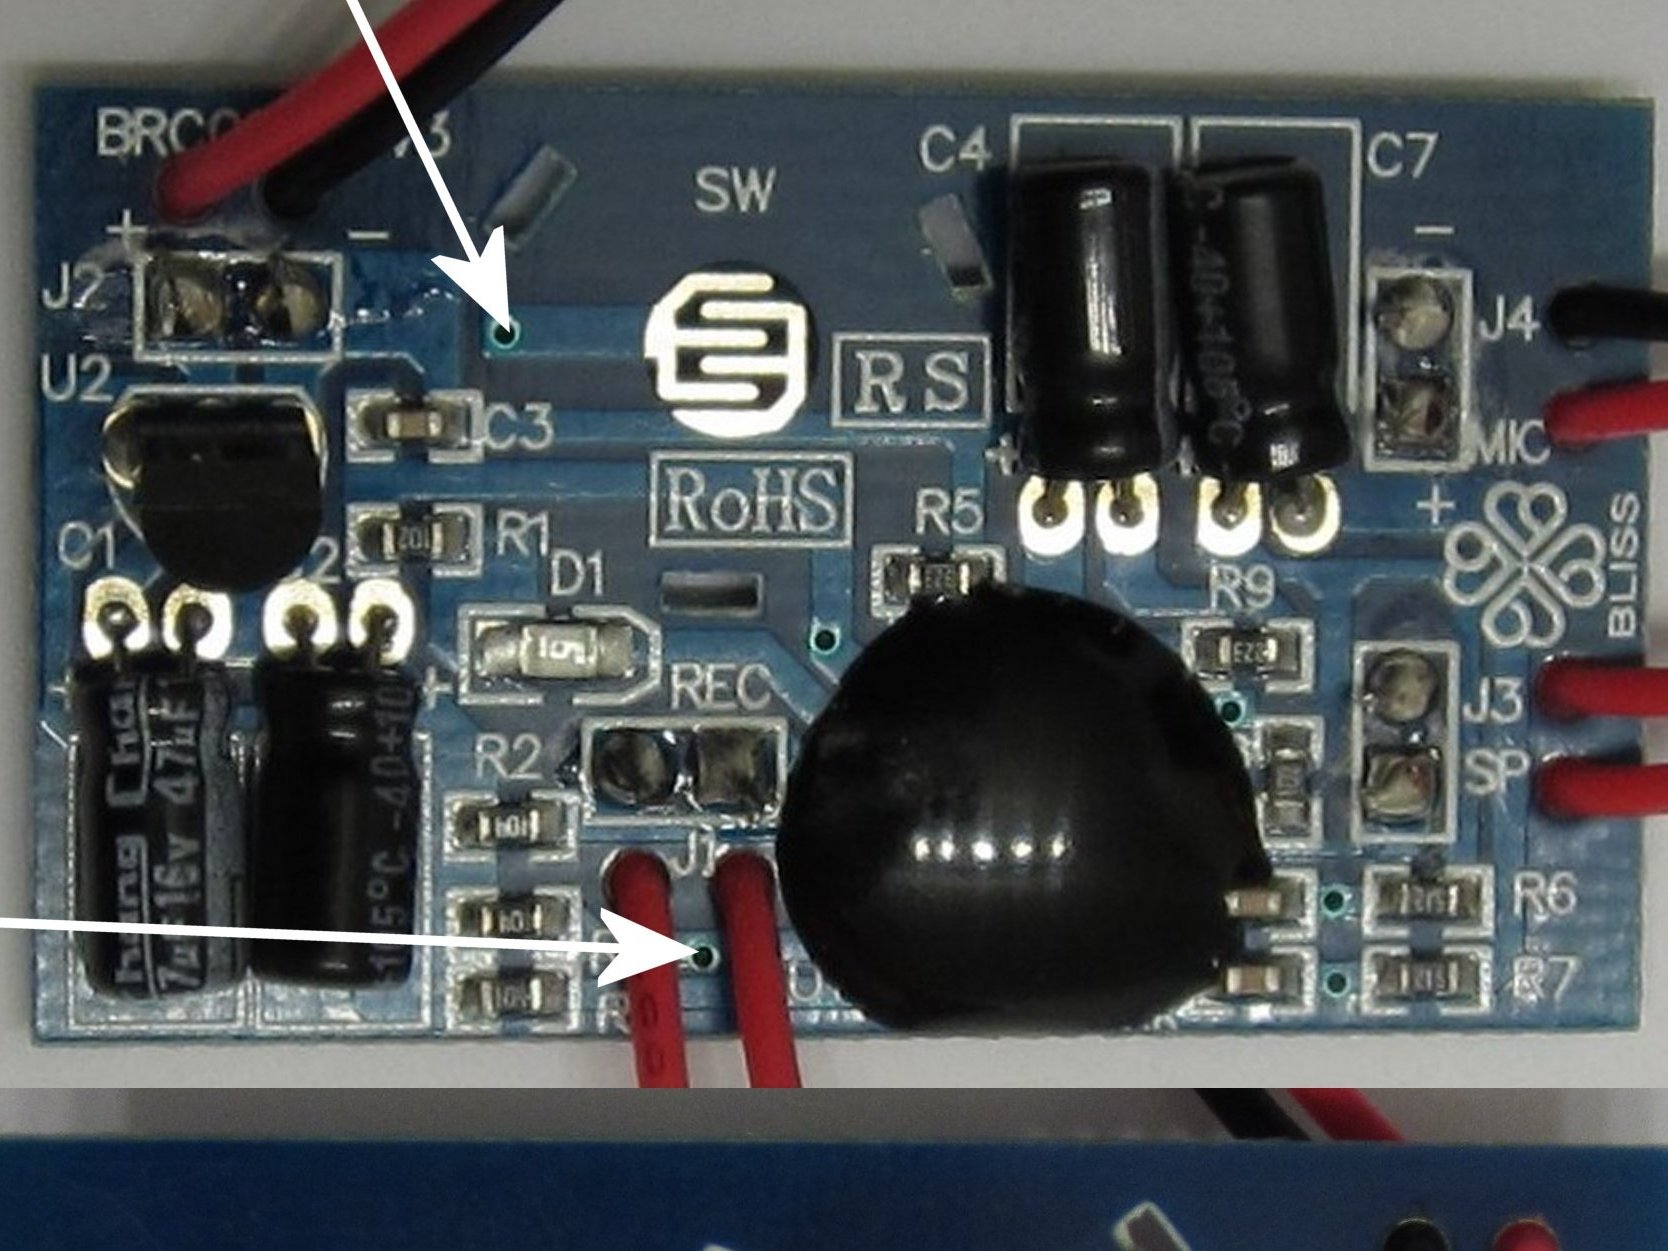
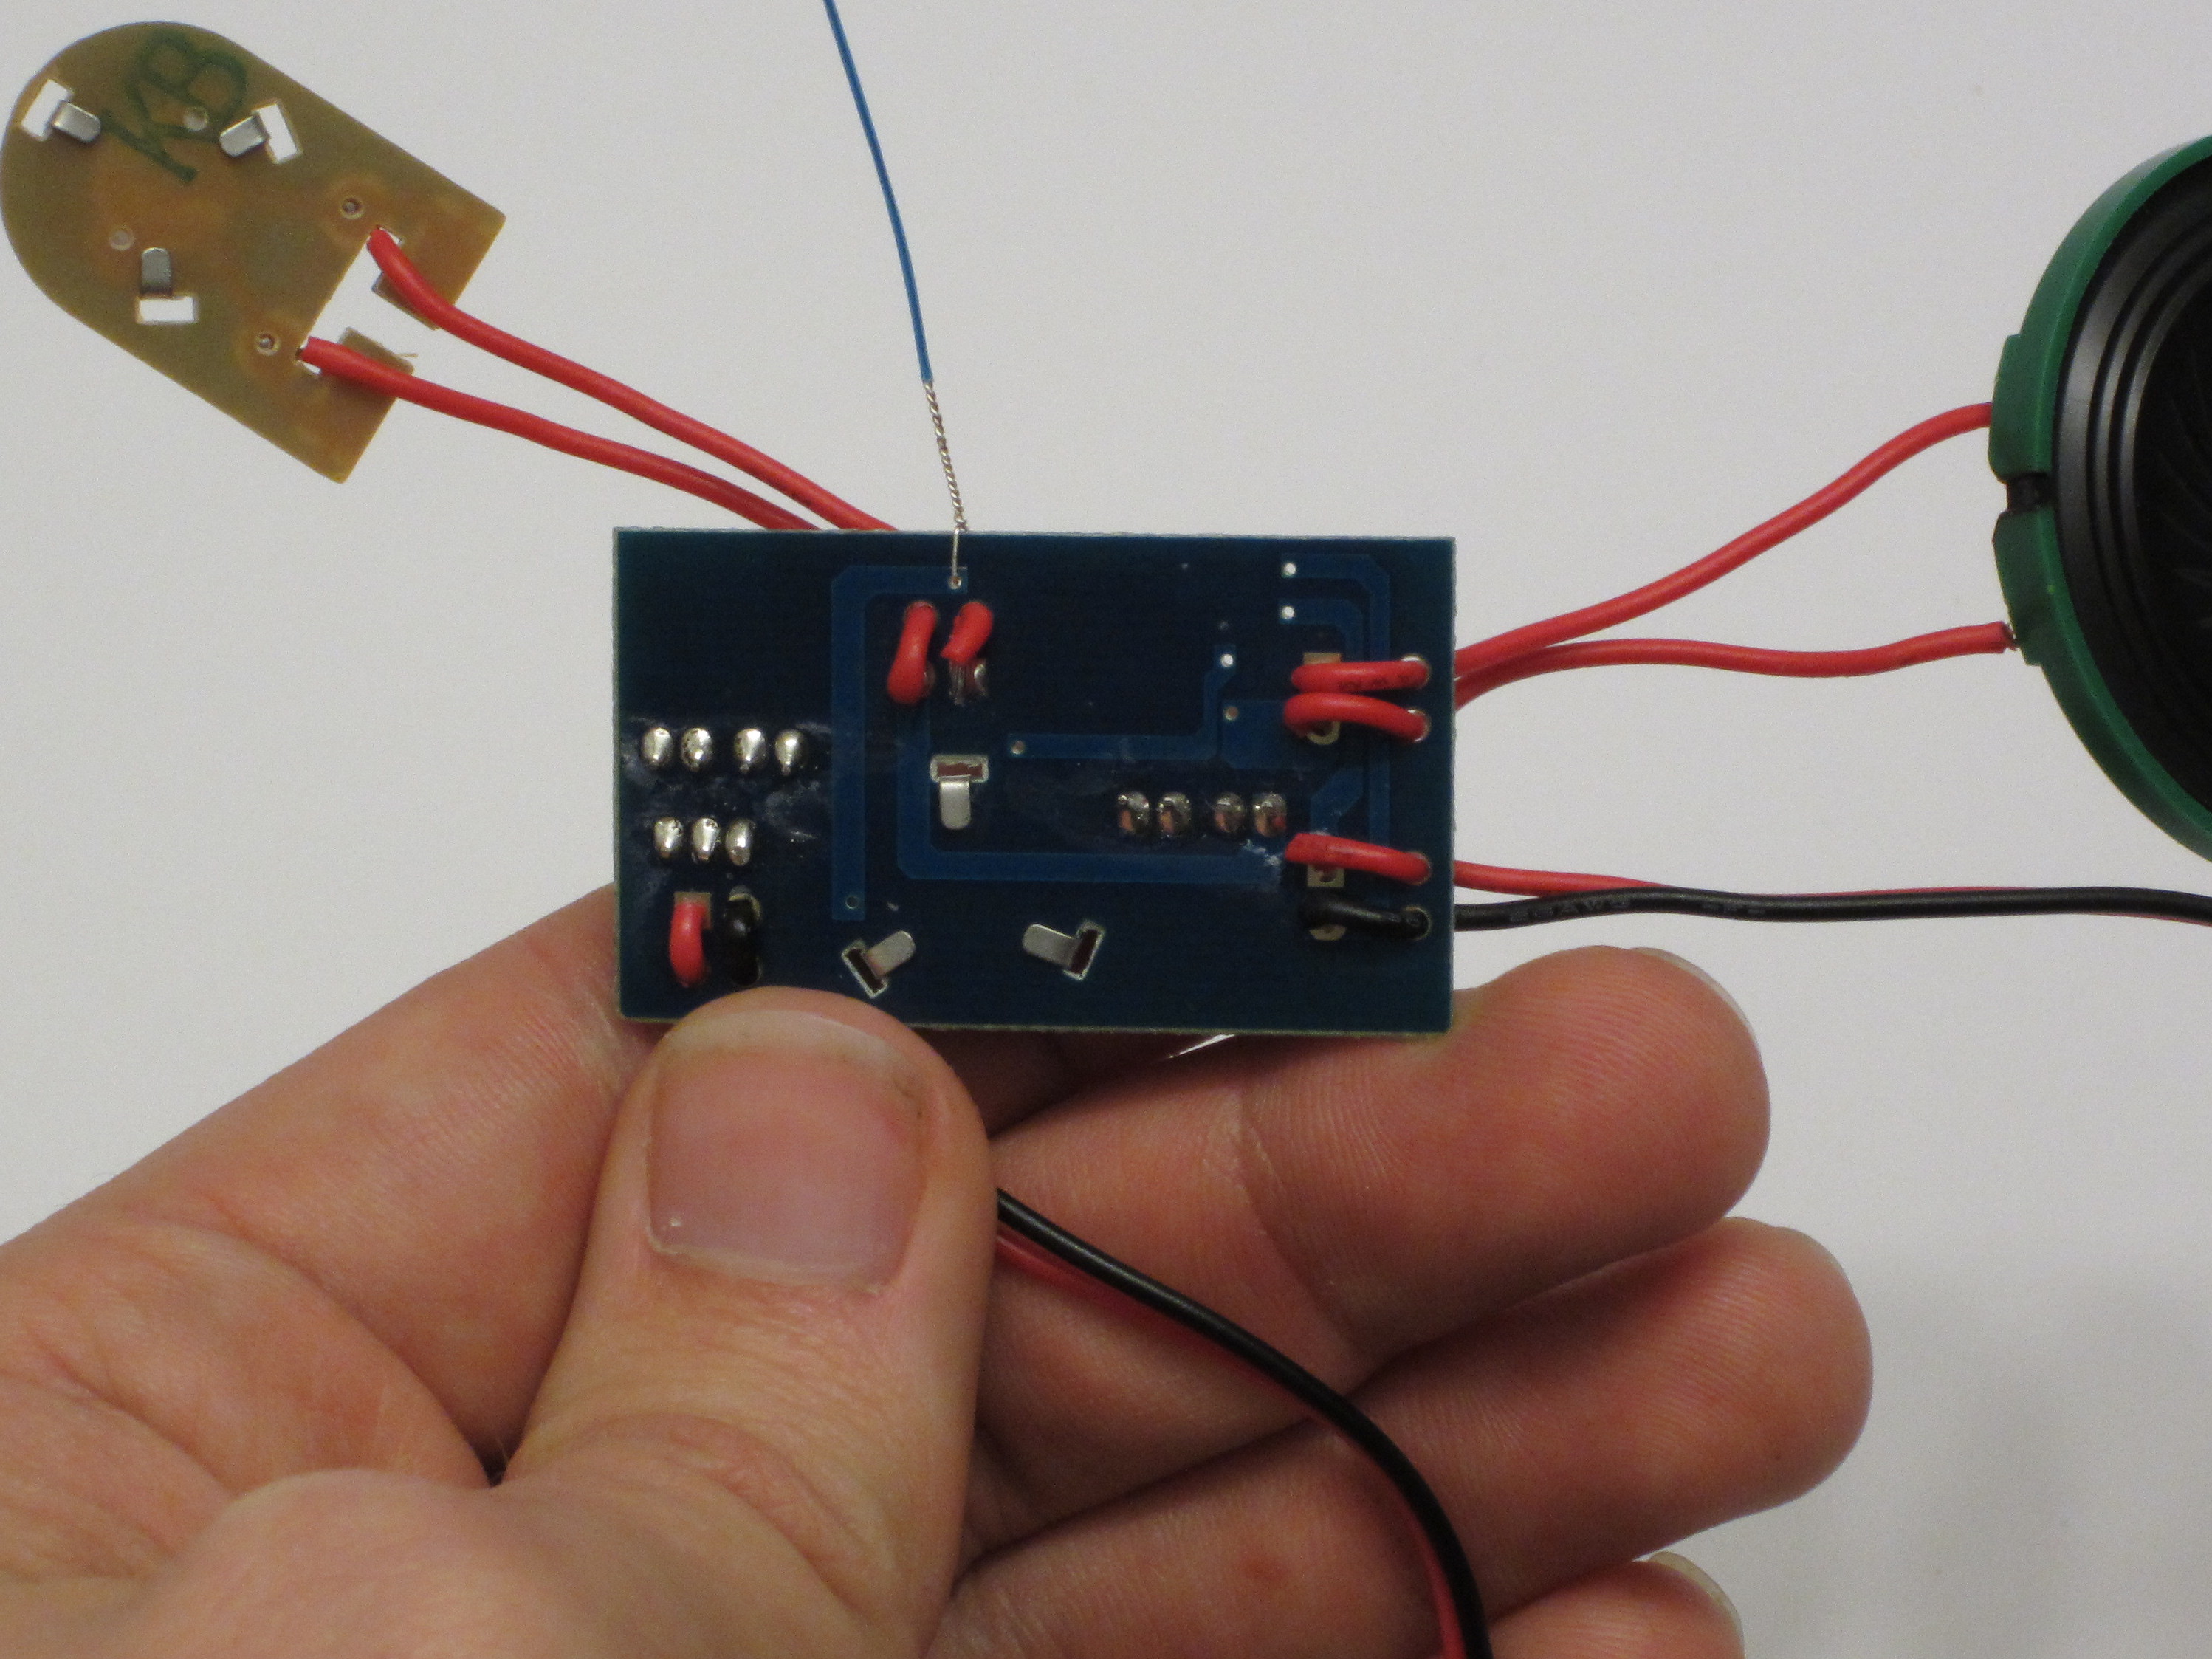
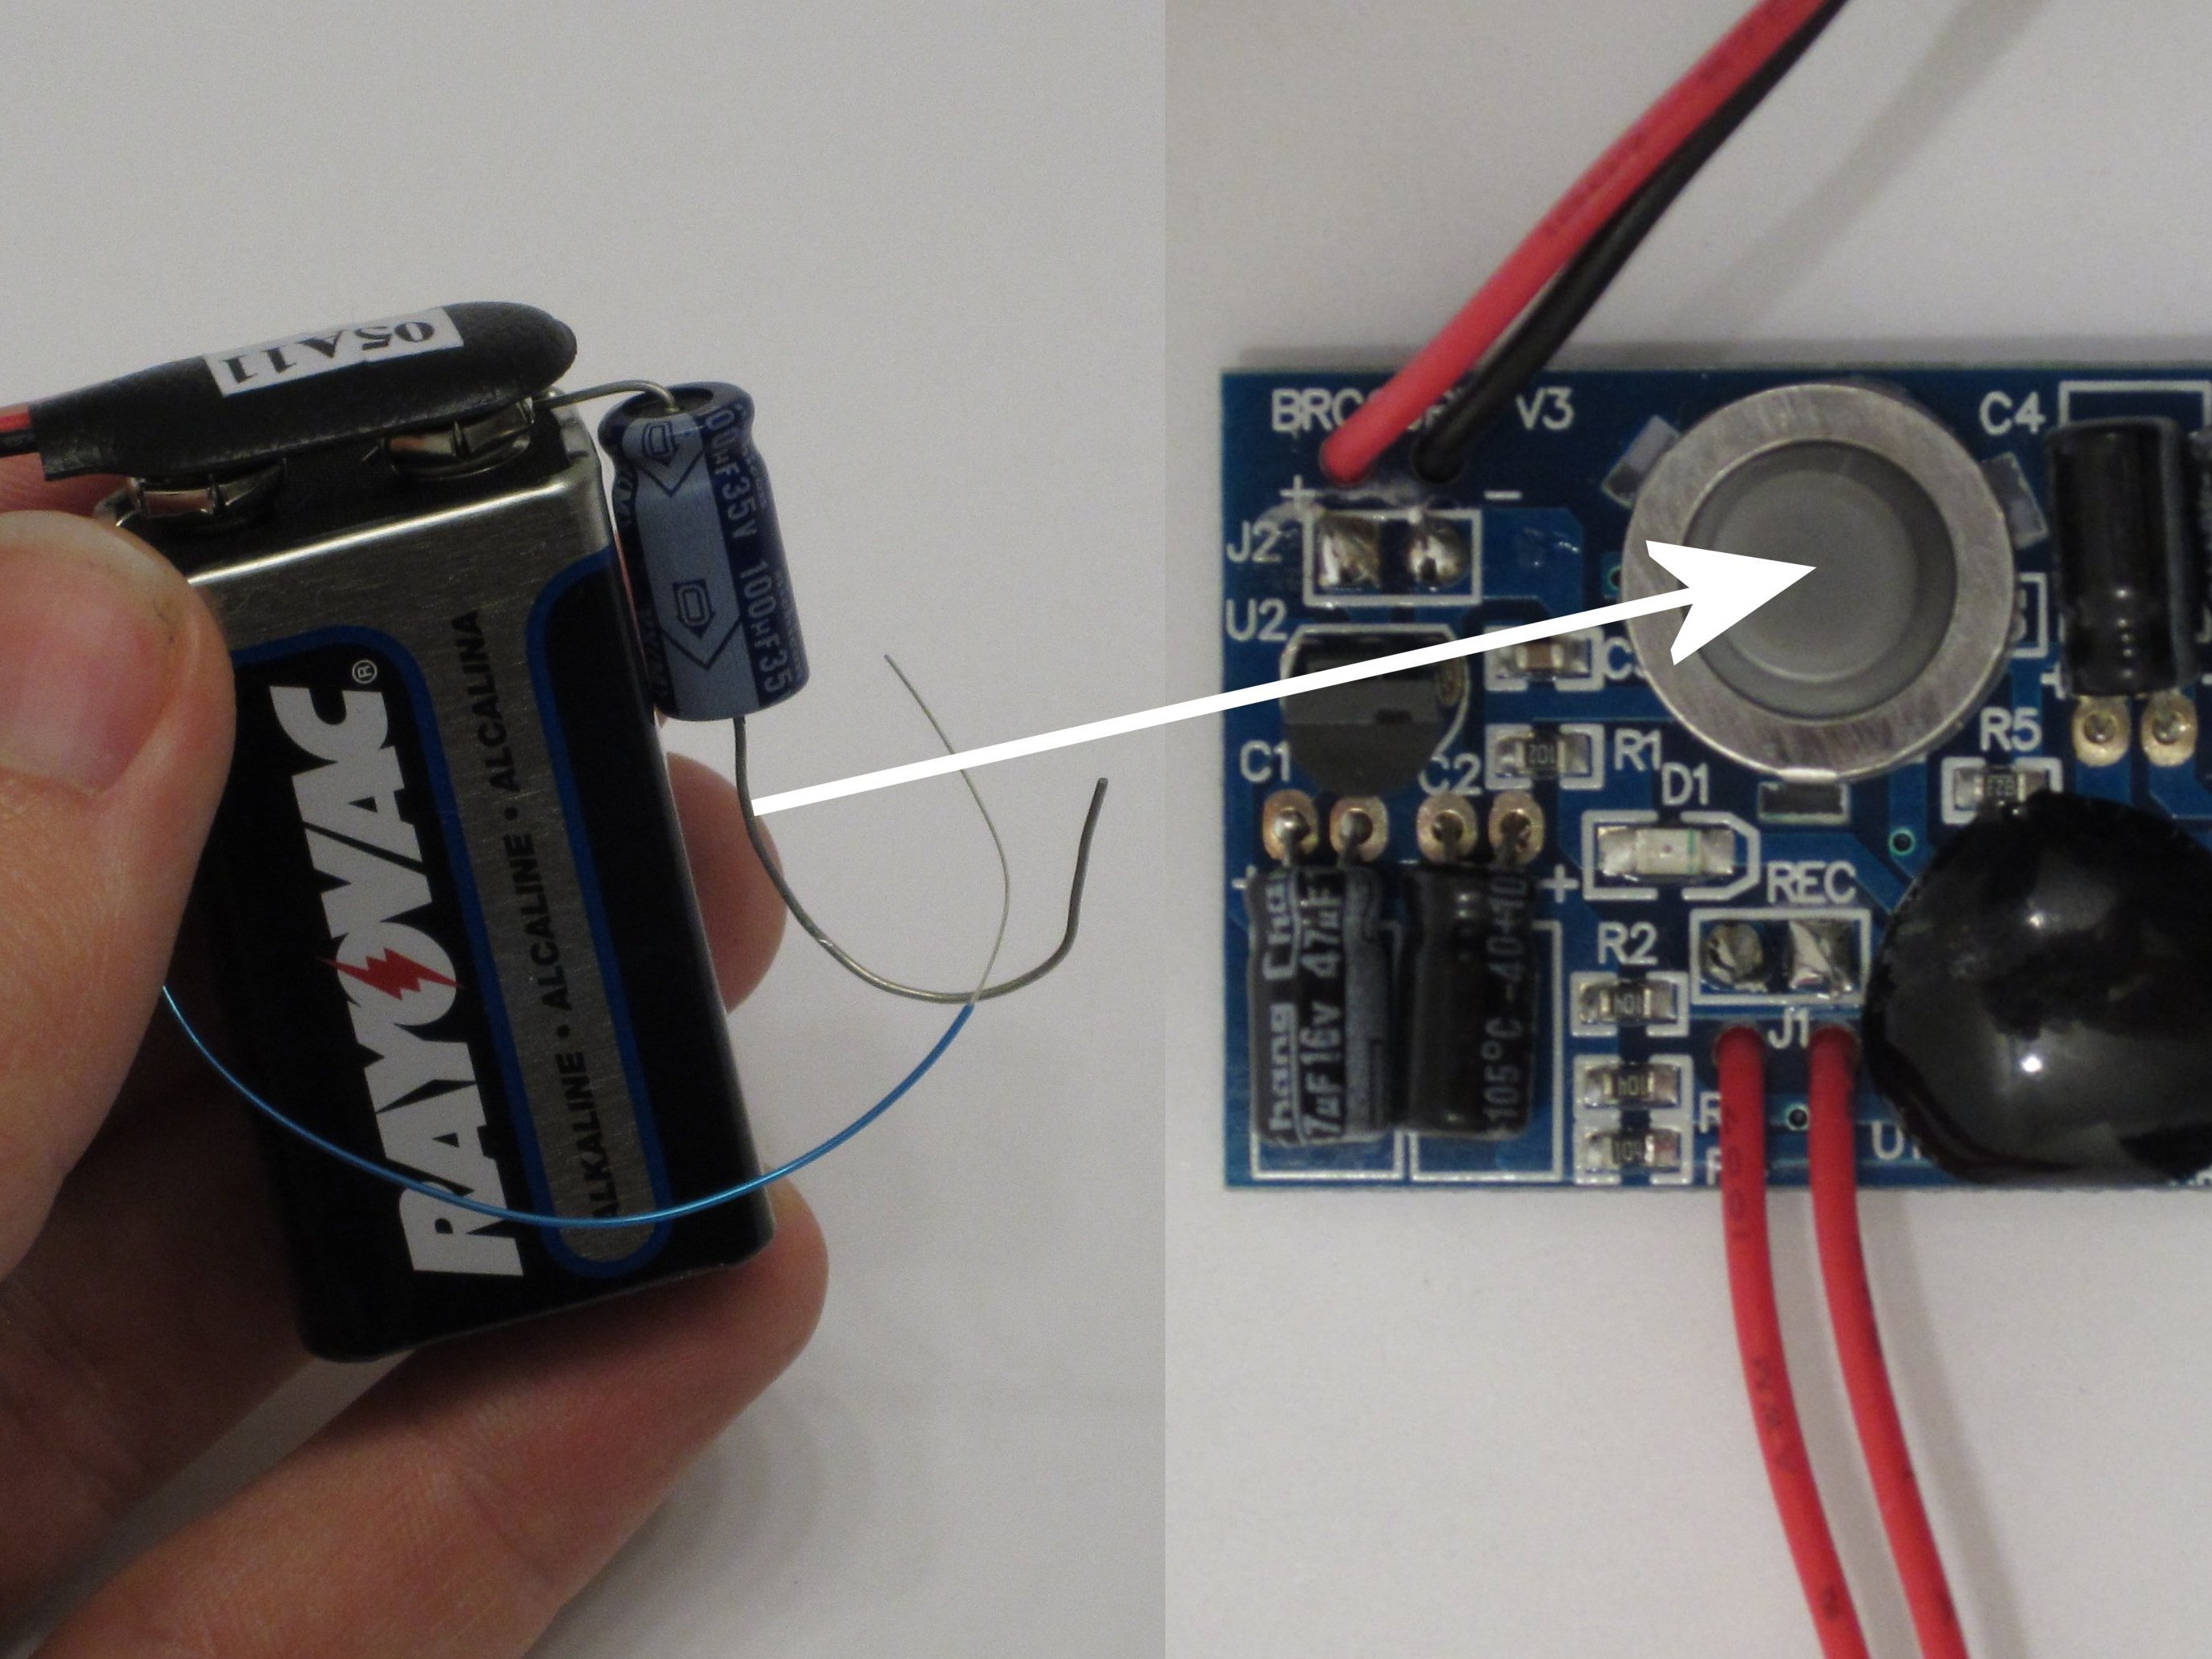
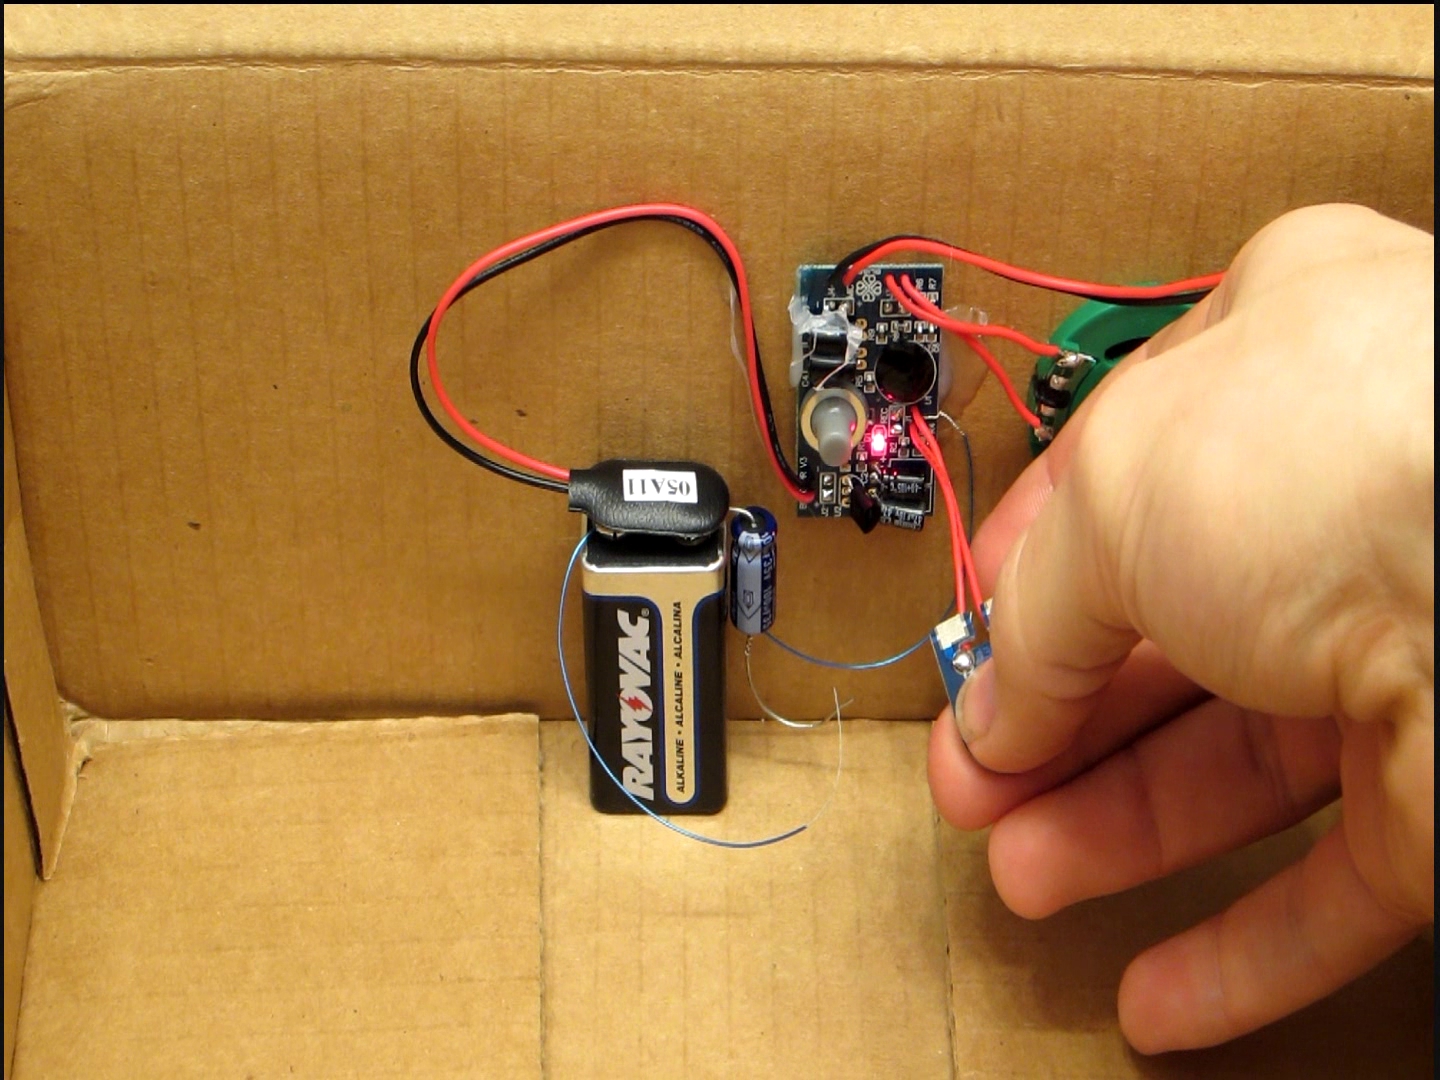
At the heart of this project is the Radio Shack 9V Recording Module. This device records and plays back up to 20 seconds of sound. In this project I show how to modify it to make it motion sensitive.

Project Steps

Begin forming the shake sensor.

Start by wrapping the positive lead of the capacitor around the positive terminal of the battery. Be careful not to make contact with the metal casing of the battery. This can create unwanted shorts. Then bend the negative lead of the capacitor into a “J” shape. This will form half of the shake sensor.

Attach the magnet wire.

To form the other half of the shake sensor, remove the insulation from the ends of a 3 inch piece of magnet wire and insert it into the negative terminal of the battery. Then attach the battery connector. This will hold the wires in place.

Bend the wire to shape.

Bend the magnet wire into a hook shape and position it as close as possible to the negative lead of the capacitor without making contact. When shaken, these two wires will make contact and activate the play function.

Locate the Play pin.

The play function is activated when the Play pin on the chip is connected to ground. This is normally accomplished by pressing the Play button. If you remove the button, you can see the connections on the board. In this project, we are going to bypass the button and use the shake sensor to make this connection. If you follow the lines on the board, you will see two holes that are connected to the Play pin where we can make our connection.

Attach a wire to one of the holes connected to the Play pin.

Take the second magnet wire, and remove any insulation from the ends. Insert the one end of the wire into either of the two pin holes indicated in the previous step. You don’t need to solder the connection. Just loop the wire through the pin hole and twist the wire against itself until it is tight. This should make a sufficient connection.

Connect the wire from the board to the negative terminal of the capacitor.

Then we need to connect the free end of the wire to the negative terminal of the capacitor. Remove any insulation from the end of the wire. Then twist the end of the wire around the negative terminal of the capacitor. When shaken, the wire on the shake sensor should connect the negative terminal of the battery with the negative terminal of the capacitor. The wire between the capacitor and the board connects the Play pin to ground and activates the Play function. To test the sensor, shake it to make sure that it activates the play function properly. If not, you probably need to adjust the position.

Attach the device to the inside of a box.

Once your device is working, use hot glue to attach it to the inside of a box. Once in place test it again to make sure that it is still working. If not, you may need to adjust the position of the wire.

Record the chosen sound.

Press the Record button and record the desired sound effect. The stranger, the better. Hot glue the actual present to the inside of the box so that it doesn’t roll around and mess up the shake sensor. Then finish it off by wrapping up the present and setting it out for your intended victim. When they try to shake their present, they will get a big suprise.