stand7
stand9

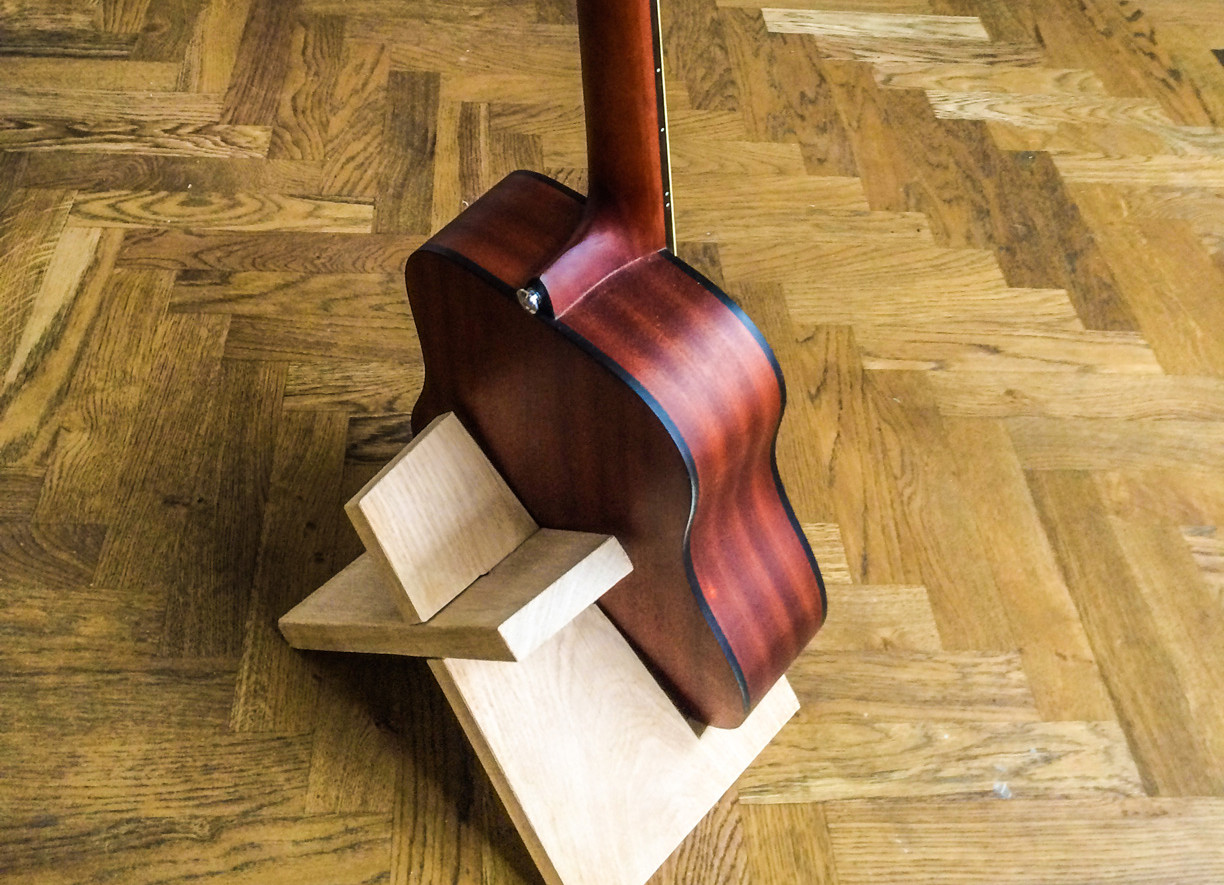
Musical instruments made out of honest materials like wood or copper are often beautiful and created with great craftsmanship. So why should the stuff that we display those instruments on be made of flimsy plastic pieces of ugliness? This question — and the fact that I didn’t have a place to put the new guitar my girlfriend gave me — drove me to design this wooden guitar stand.

With just one board, two holes, and seven cuts you can have an elegant looking, sturdy stand to display your guitar. You can very easily disassemble it to take it with you and you can finish the wood any way you like.

I personally like the design because of the symmetry, simplicity, and effectiveness, but above all the building process is really quick and a lot of fun. Because there’s very little waste and there are just two nearly identical pieces; the moment you make that last cut and the board falls into those two weird L-shapes, it feels like you’ve magically created the simplest jigsaw puzzle in your life.

Project Steps

STEP 1: TRANSFER THE TEMPLATE ONTO YOUR BOARD

gitaarstandaard
stand1
stand2

Print the template on an A4 sized piece of paper and punch some holes in it on strategic points so you can draw inside those holes on the wood. You can customize the template if you like but keep track of the important measurements like the width of the slots and their equal yet opposite distance to the vertical center of the board.

STEP 2: DRILL TWO HOLES

stand3

Drill two holes with a drill of the same diameter as the thickness of the board; in my case this was 25mm (1′).
I wanted to keep the holes round and just off-center to ensure a snug fit but you can square them off if you like.

STEP 3: THE MIDDLE CUT

stand4

Use a fine handsaw or a jigsaw to work inwards from the hole to get a starting point for the large middle cut. This way you won’t have to cut any corners but it does require some patience :-).

STEP 4: LAST CUTS AND SANDING

stand5
stand6

Finish the large middle cut and the slots first to keep the structural integrity of the wood intact whilst working on the last two cuts. These you can easily make starting from the outside of the board towards the middle cut. Then when the pieces come apart, try to fit them together. Sand the two slots until you feel like they nicely interlock and finally sand and optionally oil, paint or varnish both pieces to perfection!

Conclusion

Although I personally really like the fact that you only have one material in this design, you might want to add some felt on the parts that touch your guitar in case you’re afraid of scratching your instrument. The oak I used feels really soft after sanding however so I think I’ll be fine without any extra additions.