YouTube player

A data logger is a device that is left to run for long periods of time, making regular measurements of external sensors.

We’ll be using the Arduino microcontroller and a homemade “shield” (an Arduino accessory board) to create a device that gathers data on light-brightness in an area and how it changes over time.

Project Steps

Gather the parts.

Arduino UNO, Printed Circuit Board (RS# 276-158), 10KΩ resistor 1/4W, IC: 74AHC125, pin headers, SD card socket (see main parts list), 9v battery and clip. Hookup wire (3 colors).

You’ll also need a 3.3v regulator. Be sure to check the pinout as they can vary between brands and packages.

I cut the pins down into 4 pieces; 1 of 6 pins, 2 of 8 pins, and 1 of 10 pins. (If you have an older Uno, you can trim the 10 pin header down to 8 to fit.) I inserted these into the Arduino, as in the third photo. It is important to start with the pins like this, as it allows you to align the protoboard with the slightly off-grid spacing of the Arduino headers.

Note that the first photo shows a couple of extra capacitors and LEDs that are optional.

Adding the pins.

I then placed the perfboard on top of the pins, and marked where I wanted to trim down the board.

Trimming the board is optional if you have a large enough enclosure.

Once the board was cut down, I soldered the pins into place.

Adding a 9V battery.

I’m going to use an external battery to power the logger, so I hooked up a 9V snap connector to the Vin and Gnd pins on the Arduino board.

You can see the connection points on the Arduino picture; pass the wires through from the back of the board and solder them on to the front.

Adding 3.3V power for the SD card.

The SD Card works on 3.3V power. Although the Arduino provides a regulated 3.3V pin, it is better for the data logging circuit to have its own supply. In this step we’ll connect a 3.3V regulator to the 5V pin.

In the second image, the ground is on the left, the 5V input is the middle lead, and the 3.3V output is on the right.

I hooked this up to the 5V and Gnd pins on the Arduino, and extended the ground using some stripped hookup wire.

I finally added another piece of pre-stripped wire to the 3.3V output of the regulator.

If you check the output of the regulator unloaded, don’t be surprised if you read slightly lower than 3.3V. Once you add a load (the chip and card socket) this will return to a steady 3.3V.

Finally, put the 10uF capacitor on the output of the regulator, with the positive lead connected to the output and the negative lead connected to ground.

Adding the SD card socket.

We are going to wire up the card socket using the lower 8 pins in the photo (evenly spaced).

The upper three pins are used for detecting if a card is inserted; we will not be using these.

Place the card socket on the perf board so that only one pin touches each square of copper.

Hold the socket down with tape and solder the ground connections first, before attempting the pins (see the third photo).

Wiring the 74AHC125 chip.

Rather than give a step by step account of each wire, it’s probably easier to supply a diagram and let you run the wire connections from that. Use stripped hookup wire as shown in the second photo.

Communication from Arduino pins 10,11,12 & 13 are passed through the 74AHC125 level shifter chip and out to the card socket (at 3.3V). This will protect the SD Card from being damaged by the Arduino’s 5V logic levels.

You will need to run a 10KΩ resistor (brown, black, orange, gold) from +5V to pin 9 on the 74AHC125 chip.

Pin 12 is connected to the card socket directly. Even though the HIGH signal is only 3.3V this is still enough to register as HIGH to the 5V Arduino.

The only problem I had was with faulty solder joints. Be sure that your soldering is good before moving on to the next connection. Test each connection end-to-end with a multimeter if necessary.

Adding the sensor.

I had a selection of light dependent resistors (LDR) available. Testing with a multimeter, I found a 100KΩ LDR that gave a range of 100KΩ in darkness down to about 50Ω in bright light. I wired this in series with a 100KΩ fixed resistor to create a voltage divider circuit.

Here’s how a voltage divider (second image) works: if the LDR is in bright light, the resistance in very low on the bottom half of the circuit, pulling the pin down to ground. In darkness the voltage at the pin would be 2.5V since there is an equal drop across both resistors. The readings will range from 0 to 512.

I’ve drilled 2 small holes in the lid of the enclosure, passed the LDR legs through, and wired in the resistor. The white wire goes to Gnd, the red goes to +5V, and the yellow wire goes to A0 on the Arduino.

Adding a battery pack.

Initially, I tested the logger with a single 9V battery, but run-life was only about 24 hours. Instead, I opted for a much bigger battery pack. This one is 12V total but still uses the standard 9V style connection pins.

After an initial run, it occurred to me that wiring two 4 AA battery packs together in parallel would be much more efficient than the single 8 battery pack. It might actually be possible to hack the 8 battery pack I have to deliver 6V with twice the current.

I attached the Arduino and shield to the lid using some hot glue. You might want to make this more permanent using bolts.

Programming and logging.

First, program the Arduino with the logging sketch. You can download the sketch at GitHub. You will also need the Arduino Time library. Follow the instructions there for installing the library.

Put the SD card in the socket, and connect the battery pack. At this point the Arduino will start to run, initialize the SD card, then wait to be initialized.

We’ll just use the Arduino Serial monitor to communicate with the data logger. The Arduino is now waiting for the the letter ‘T’ to be transmitted via the serial connection, followed by the current time stamp to start with (see second image).

The timestamp needs to be in Unix epoch time format; use this online converter to get the current epoch time. Type T, then the time in the serial monitor, then return to send the characters to the Arduino. The logger will be off and running, taking a sample every 15 seconds and sending it back over the serial monitor (see third picture). The values will also be written to the SD card.

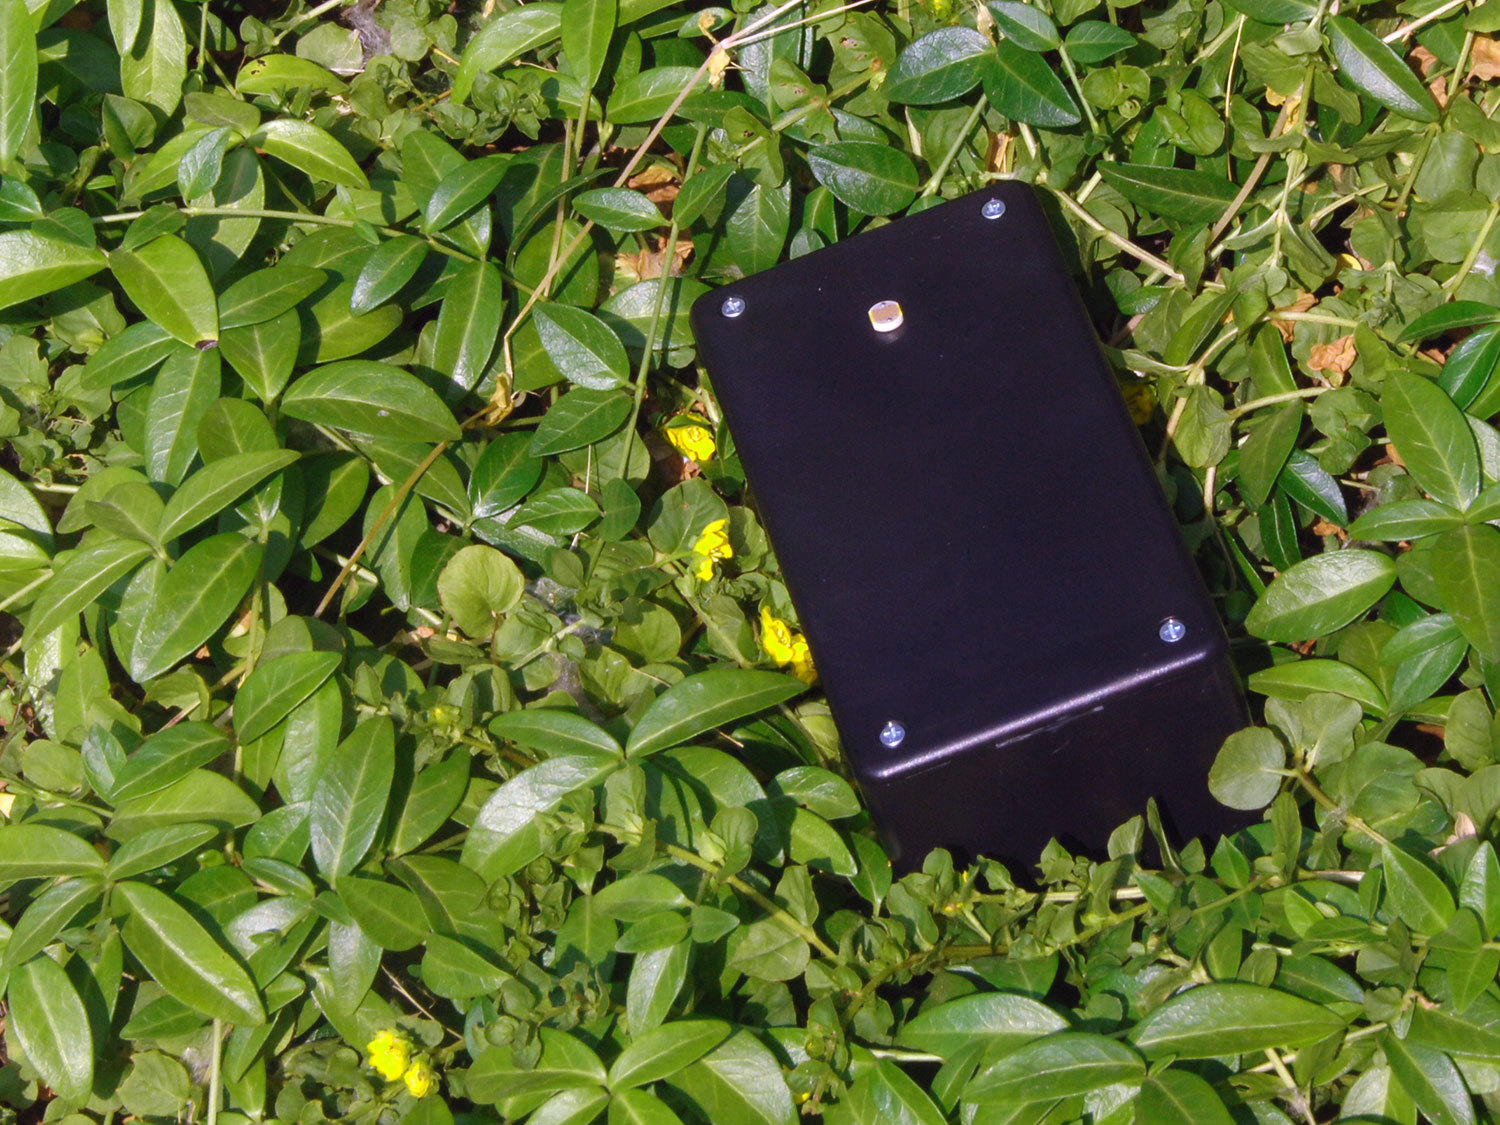
To install in the field, remove the USB cable, close up the enclosure, and leave it in the place where you want to log light levels. Make sure the light dependent resistor is exposed to the light and not covered up!

Visualizing the data.

Having collected the data, the next task is to get it into some kind of usable form.

The output is a comma-separated list of date, time, and sensor data. You can load it into Excel and get a graph quite quickly, but you’ll notice that it doesn’t handle the dates very well, and that the data is upside down; extreme sunlight gives 0 resistance in our sensor, and a reading of 0.

What I find interesting about the results are the nighttime readings. It shows the effect of the neighbor’s security lighting throughout the hours of darkness.

Improvements

This is very much a bare bones data logger, and would benefit from a few improvements.

Add a Real Time Clock chip: Setting the time from the host PC each time you do a run is OK, but it would be better to have the electronics handle the time data all by itself. There are a couple of options for this described in the Arduino Playground:

Realtime clock DS1307

Realtime clock DS1306

Wire up the 6 analog outputs to sockets and create a range of sensor types (light, temp, current flow, water flow etc…)

Here is a neat webpage that shows how to build a variety of analog sensors (via Arduino Playground)

Power consumption: lowering the sample rate (once per 5 minutes for example) and inserting a switching regulator between the 12V pack and Arduino would be more efficient. (A cheaper alternative would be to wire two 4 AA battery holders in parallel).

Conclusion

In this guide we added persistent storage to an Arduino and turned it into a data logging tool. There are a great many different sensors available (light, heat, sound, motion), so what you log is limited only by your imagination.

If you build a Sun Logger (or any other type of data logger), we'd love to hear about it and how it was useful to you in the comments below.