There’s no better way to scare up some excitement than to incorporate animated props into your haunted house. Adding movement to props isn’t difficult or expensive, but it does require learning a few new skills.
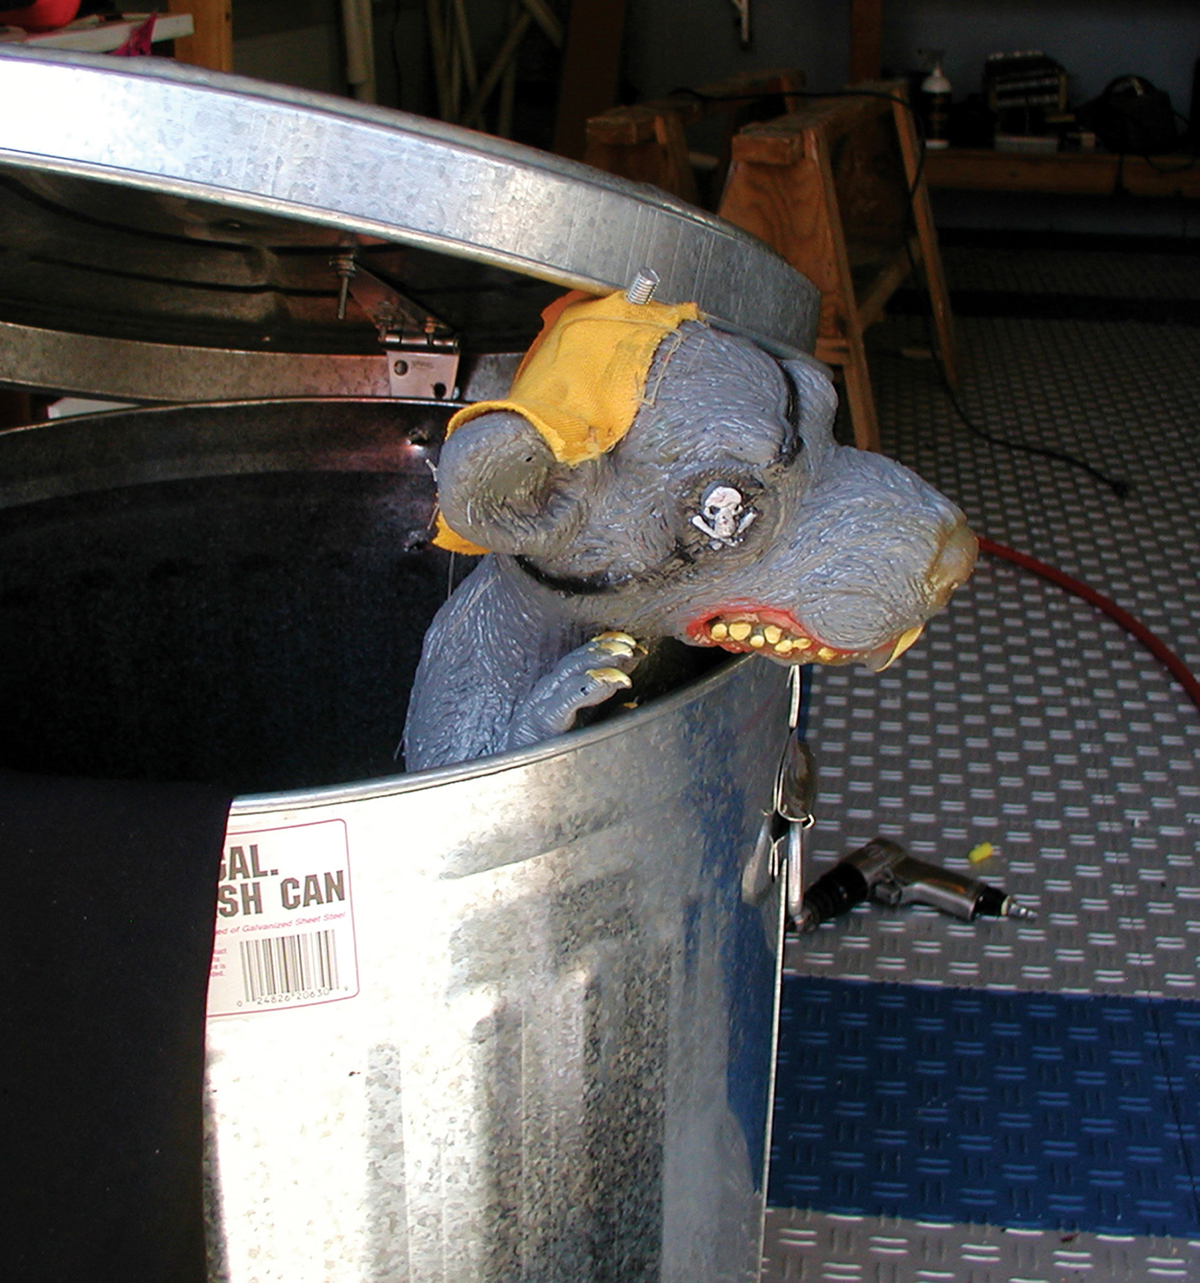
One basic animated prop is called Trash Can Trauma, attributed to Long Island, N.Y., appliance dealer Carl Chetta. TCT uses compressed air to extend a cylinder-mounted fright prop out of a nondescript-looking trash can when unsuspecting victims draw near. Done well, TCT always surprises.
Trash Can Trauma is an electro-pneumatic prop. This may sound technically daunting. It merely means that energy is used to manipulate and position objects, and the signals that tell the prop when to operate are transmitted electrically. In this case, the energy transfer medium is compressed air.
Choose your materials
Trash Can
Choose carefully; if the can is too short, it won’t conceal the pneumatic cylinder and fright prop when the cover is on. I used a 32gal galvanized can because it was inexpensive and big enough to work in easily. It also makes a terrific clanging sound when it activates.
Pneumatic Cylinder
You have some latitude in choosing your cylinder. The bore (diameter) determines the force with which the cylinder extends and retracts for a given air pressure. The stroke is simply the length of the cylinder rod extension. Depending on your concept, a shorter or longer extension may be appropriate.
Air cylinders may be single-acting or double-acting. Single-acting cylinders use air pressure to extend the piston, and a spring to retract the cylinder when the air pressure is removed. A double-acting cylinder uses air pressure in one direction to extend, and air pressure in the opposite direction to retract.
While this may seem more complicated than a single-acting cylinder, in practice it’s probably easier to use. Double-acting cylinders are a bit less expensive and allow you more control options to make your prop more lifelike.
You’ll need to mount your cylinder to a framework hidden inside the trash can. Nose-mounted cylinders use a nut to secure the cylinder onto a bracket that can be simply mounted on a wooden framework (Figure A, next page).
Bottom-mounting and pivot-mounting cylinders are also available. All types work equally well, but each requires a different mounting design.
Vendors such as Grainger (grainger.com) and McMaster-Carr (mcmaster.com) carry an extensive inventory of cylinders and other pneumatic parts. A new 1″-diameter cylinder with a 12″ extension costs around $40. Also, inexpensive air cylinders may be available from industrial surplus vendors or online at places such as eBay.
Alternatively, Evilusions (evilusions.com) and other vendors sell prepackaged pneumatic kits that provide advice and everything you need, short of the trash can.
Solenoid Control Valve, Body-Ported
The solenoid valve controls air entering and leaving the cylinder. When voltage is applied to the electrical contacts on the solenoid, air is directed through the body of the valve into one end of the cylinder. The air pushes on one side of the piston inside, extending it. The air trapped in the opposite end of the cylinder exhausts through the muffled exhaust port on the valve body. When the voltage is removed, the solenoid valve moves to its rest position, directing the air to the other end of the cylinder and retracting the piston.
There are many types of solenoid valves. The type I used is called a 2-position, 5-way, 4-port valve. That’s a mouthful, but it’s the type most commonly used to make pneumatic cylinders extend and retract.
Solenoid valves are designed to operate on either 12V DC or 120V AC power. A 120V AC valve can plug directly into the wall, but 12V DC systems are safer and therefore preferred. A small wall transformer may be used to provide the 12V DC power (Figure D).
Solenoid valve ports come in different sizes to accommodate different volumes of air. For most haunting applications, 1/4″ NPT ports provide adequate capacity.
Push-to-connect fittings
Push-to-connect (PTC) tube fittings are easy to use. Simply insert the polyurethane or nylon tubing into the collet, and twist. Voilà! You have a high-integrity, airtight fitting.
You’ll need 2 PTC fittings sized to connect the 1/4″ tubing to the solenoid valve body, and 2 PTC fittings to attach the 1/4 ” tubing to the air cylinder. Those fittings may be 1/4″, or a different size, depending on the materials you’ve purchased. Determine the size of the threaded holes in your components prior to purchasing the push-to-connect fittings.
Speed Control Muffler Fittings
A speed control fitting limits the amount of air exiting the cylinder. This allows you to control how fast the piston extends or retracts.
The muffler section quiets the escape of the air, making the prop more realistic. Use fittings sized to fit in the exit ports of your solenoid valve, typically 1/4″, but check your solenoid before purchasing the speed control valves.
Trigger
I used a commercially made mat switch to trigger the movement of the cylinder. When a person steps on the mat, it closes the circuit and energizes the solenoid. This in turn sends compressed air into the cylinder and activates the prop’s motion. Alternative triggers could be a handheld pushbutton or an infrared sensor.
Scary-Looking Fright Prop
This can range from a painted styrofoam head with a fright wig, up to a professionally rendered latex sculpture. Styrofoam heads are available at beauty supply stores and are quite inexpensive. Online suppliers of fright props carry extensive inventories of detailed latex heads and torsos.


