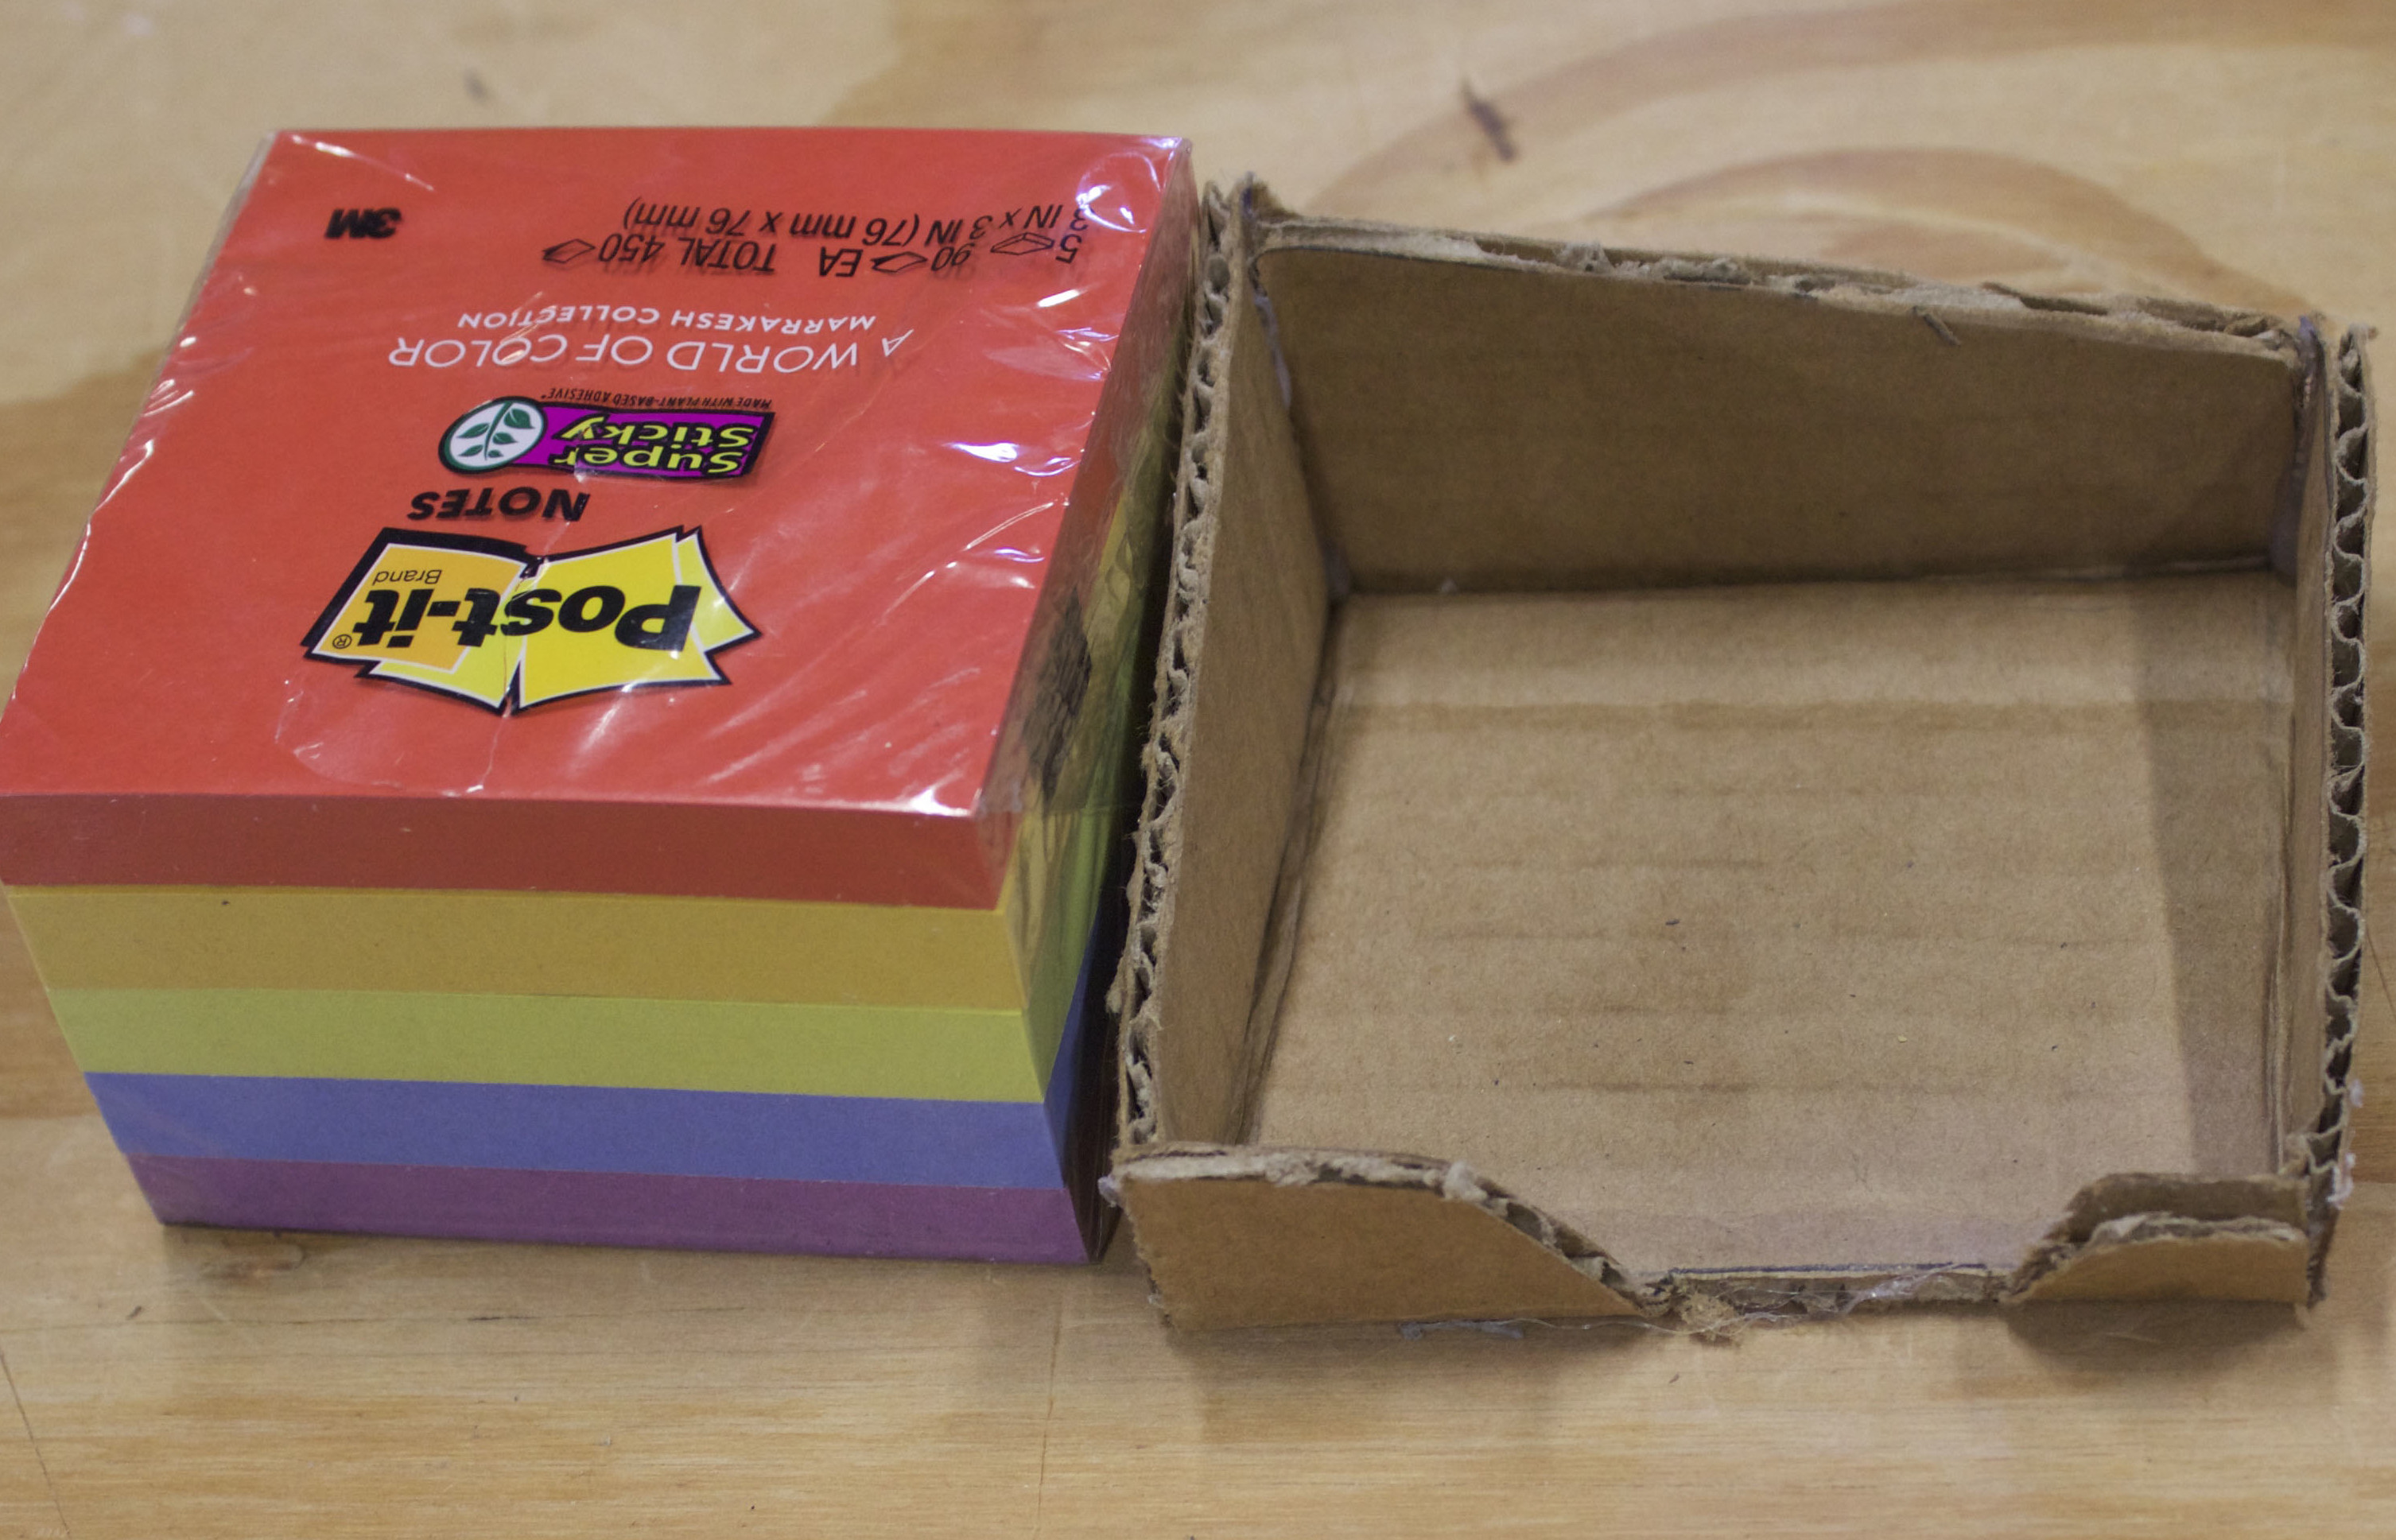
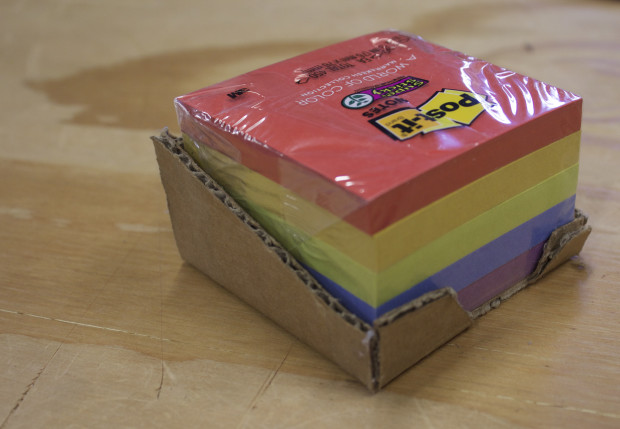
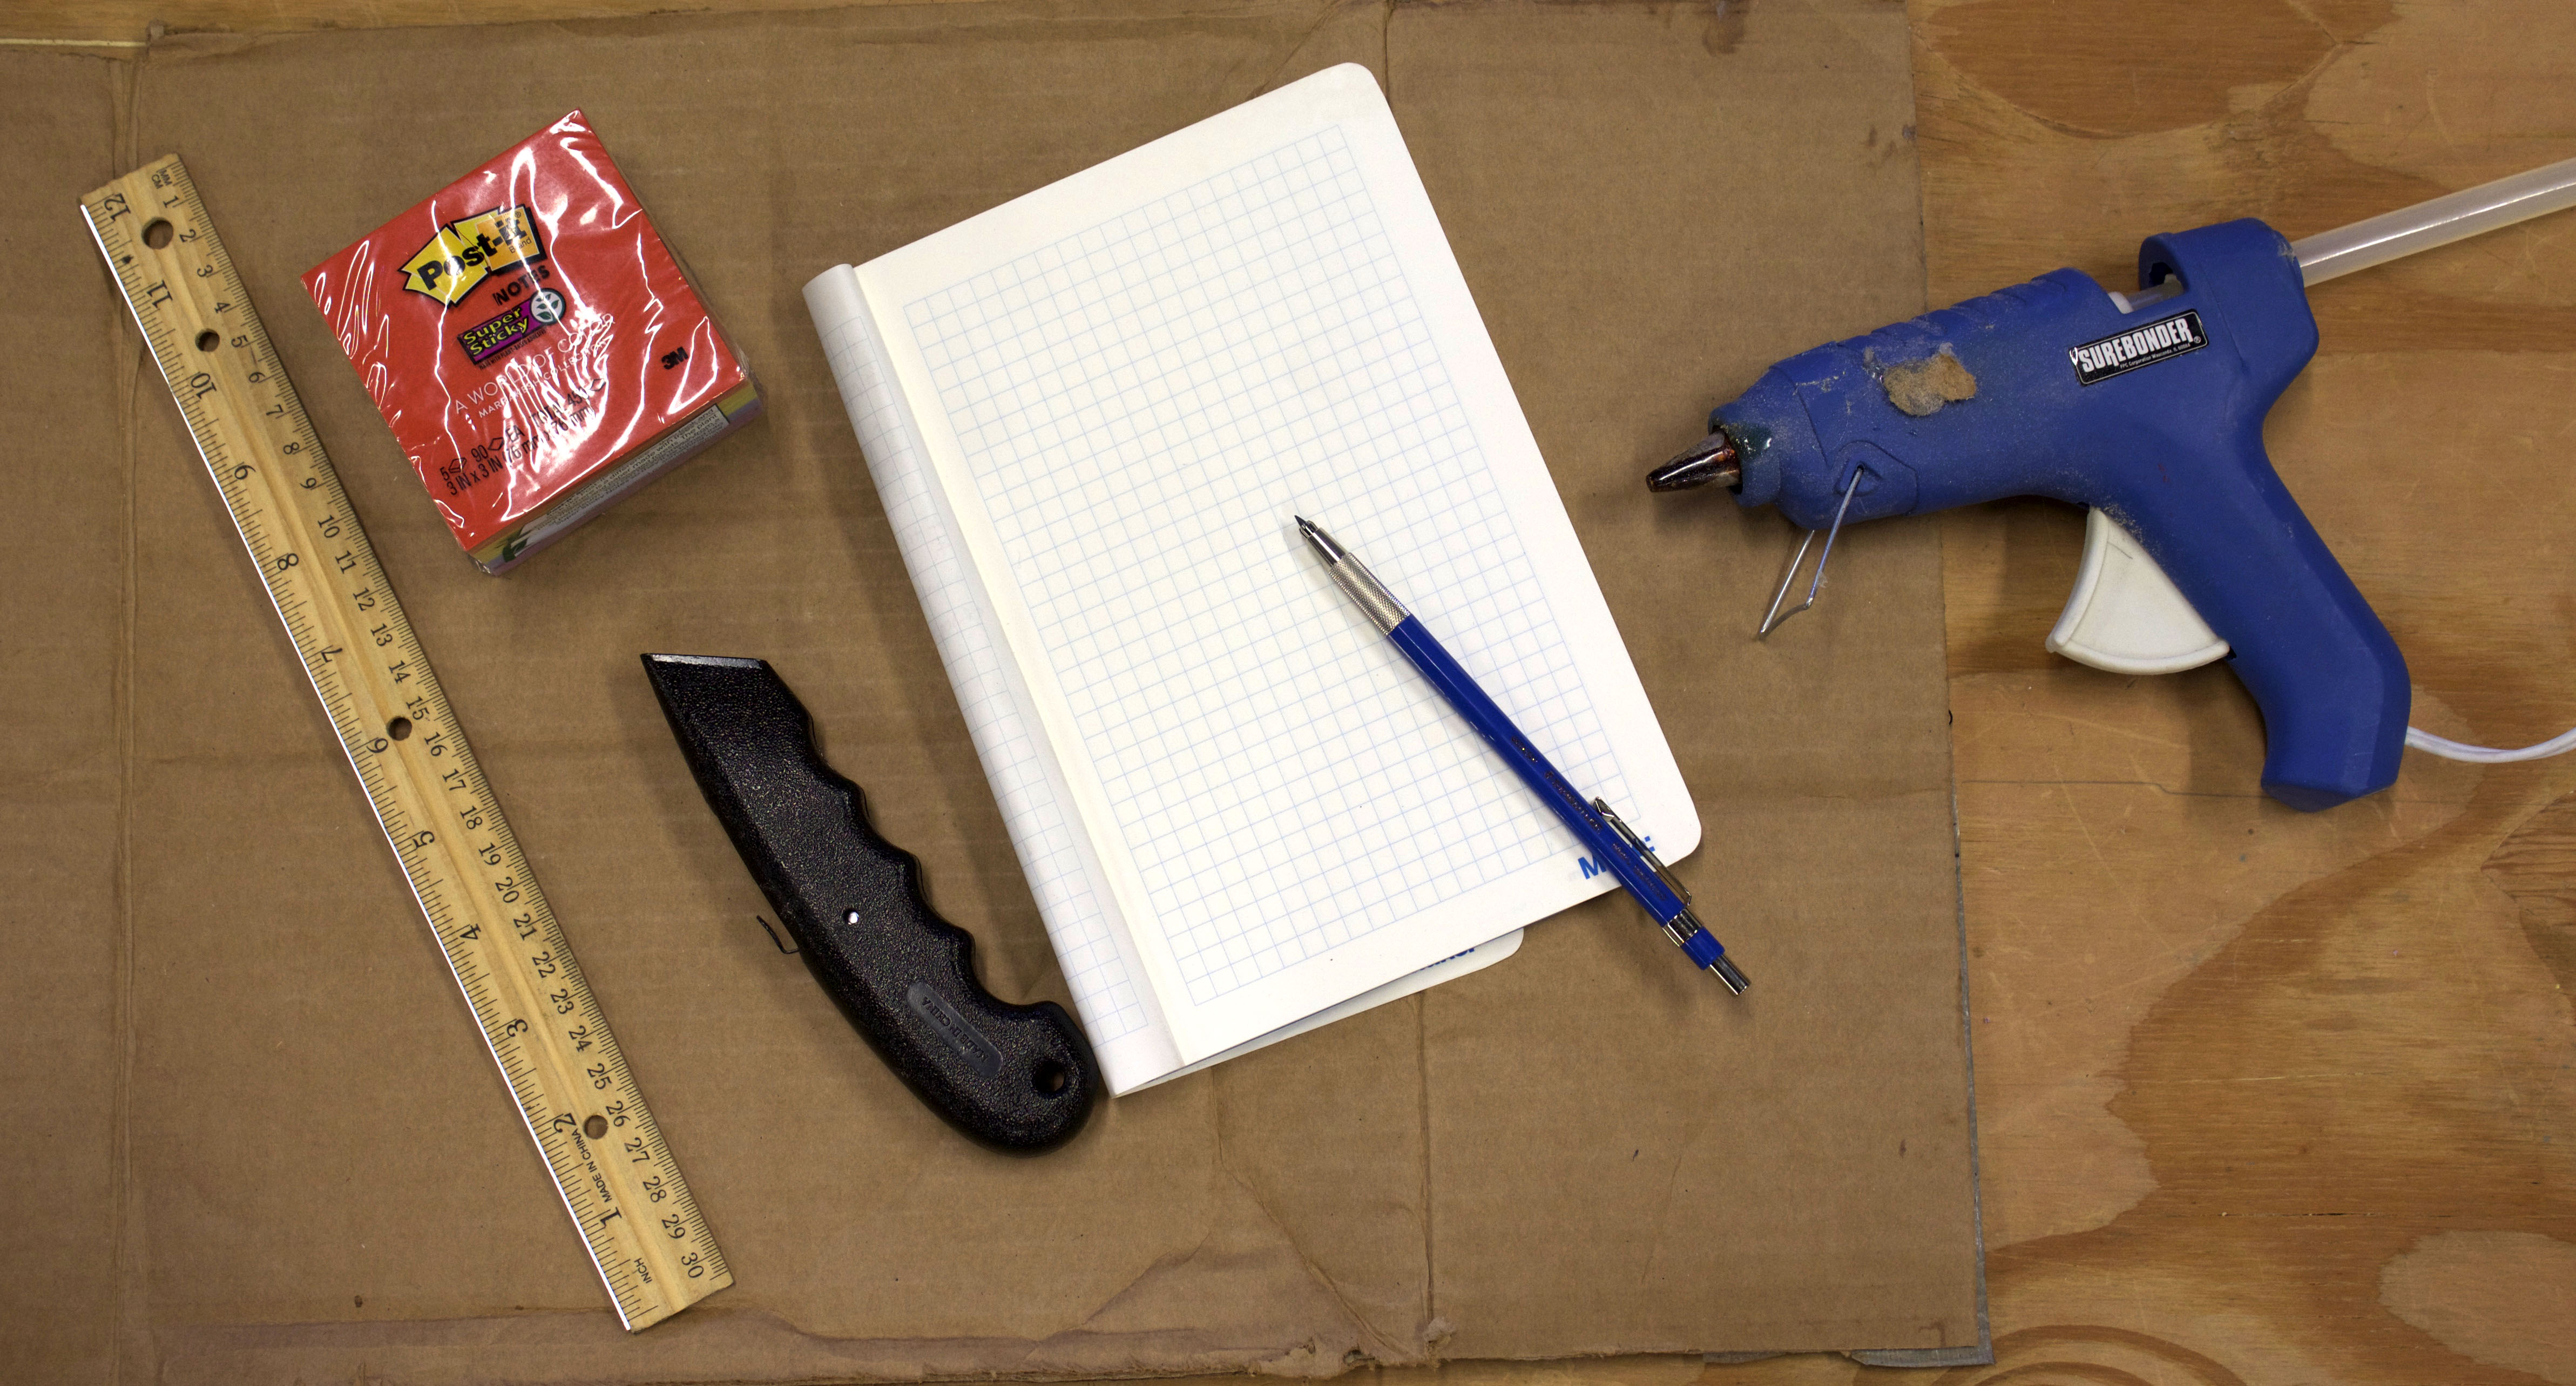
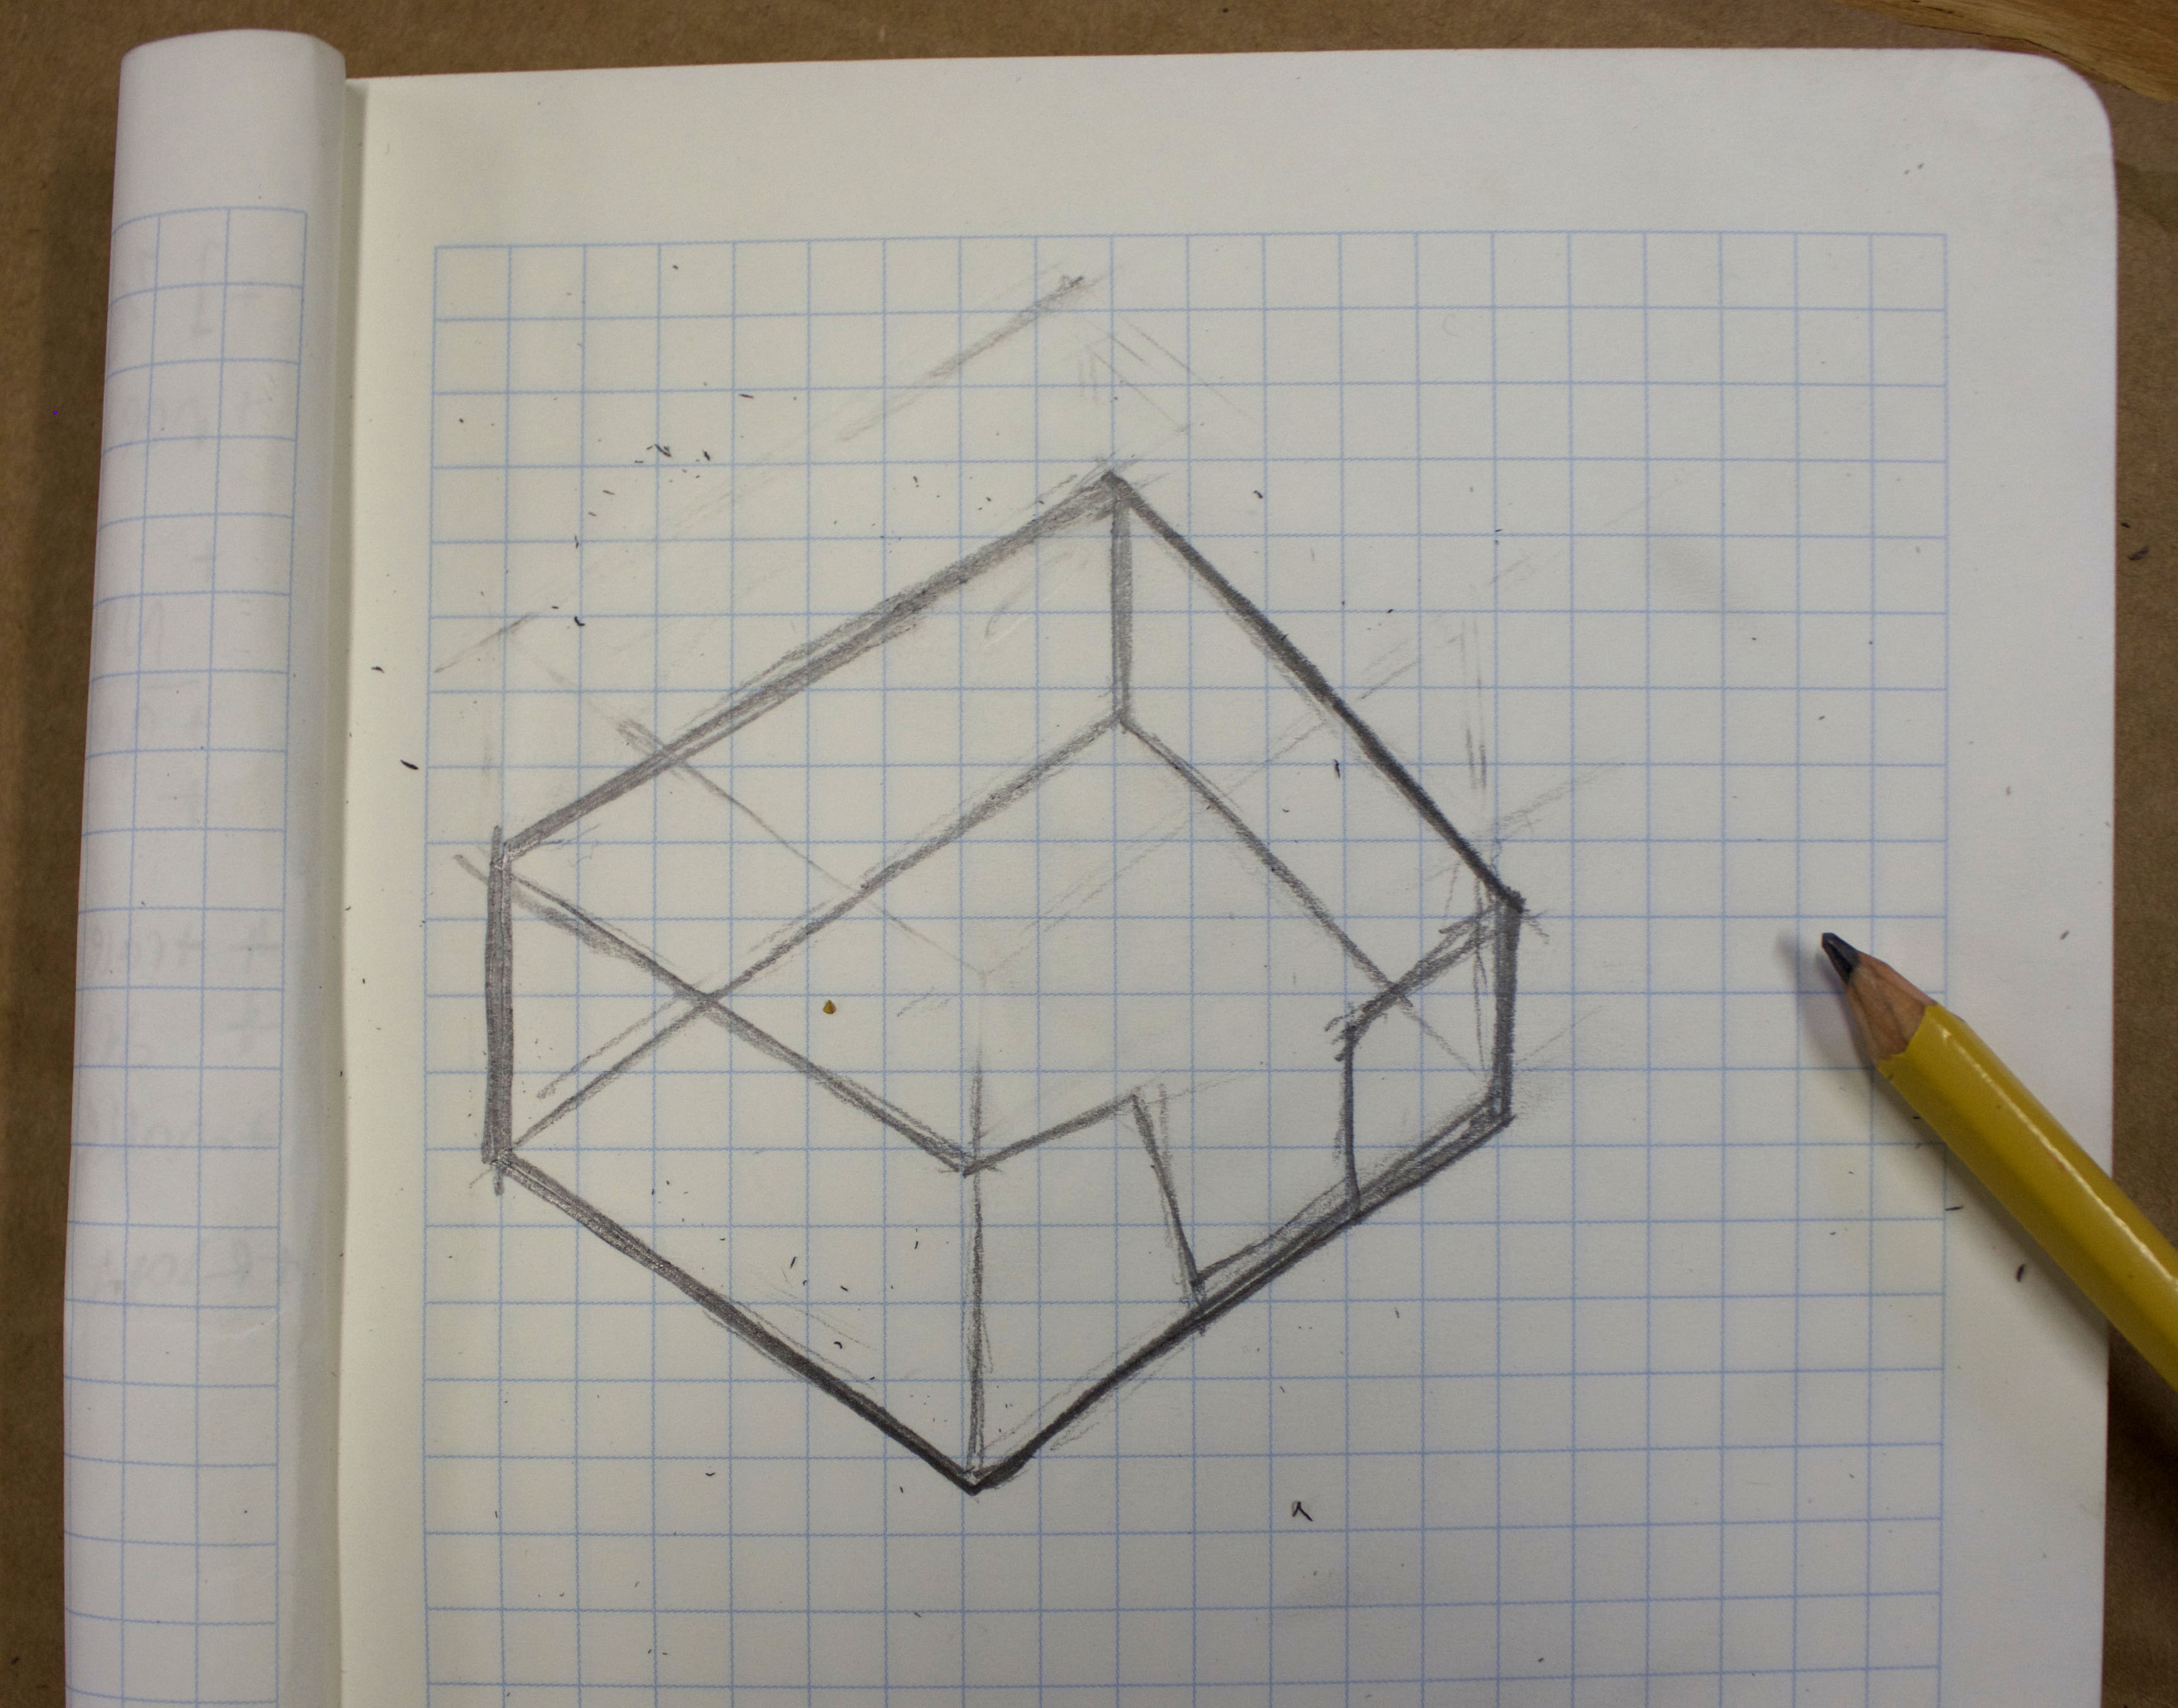
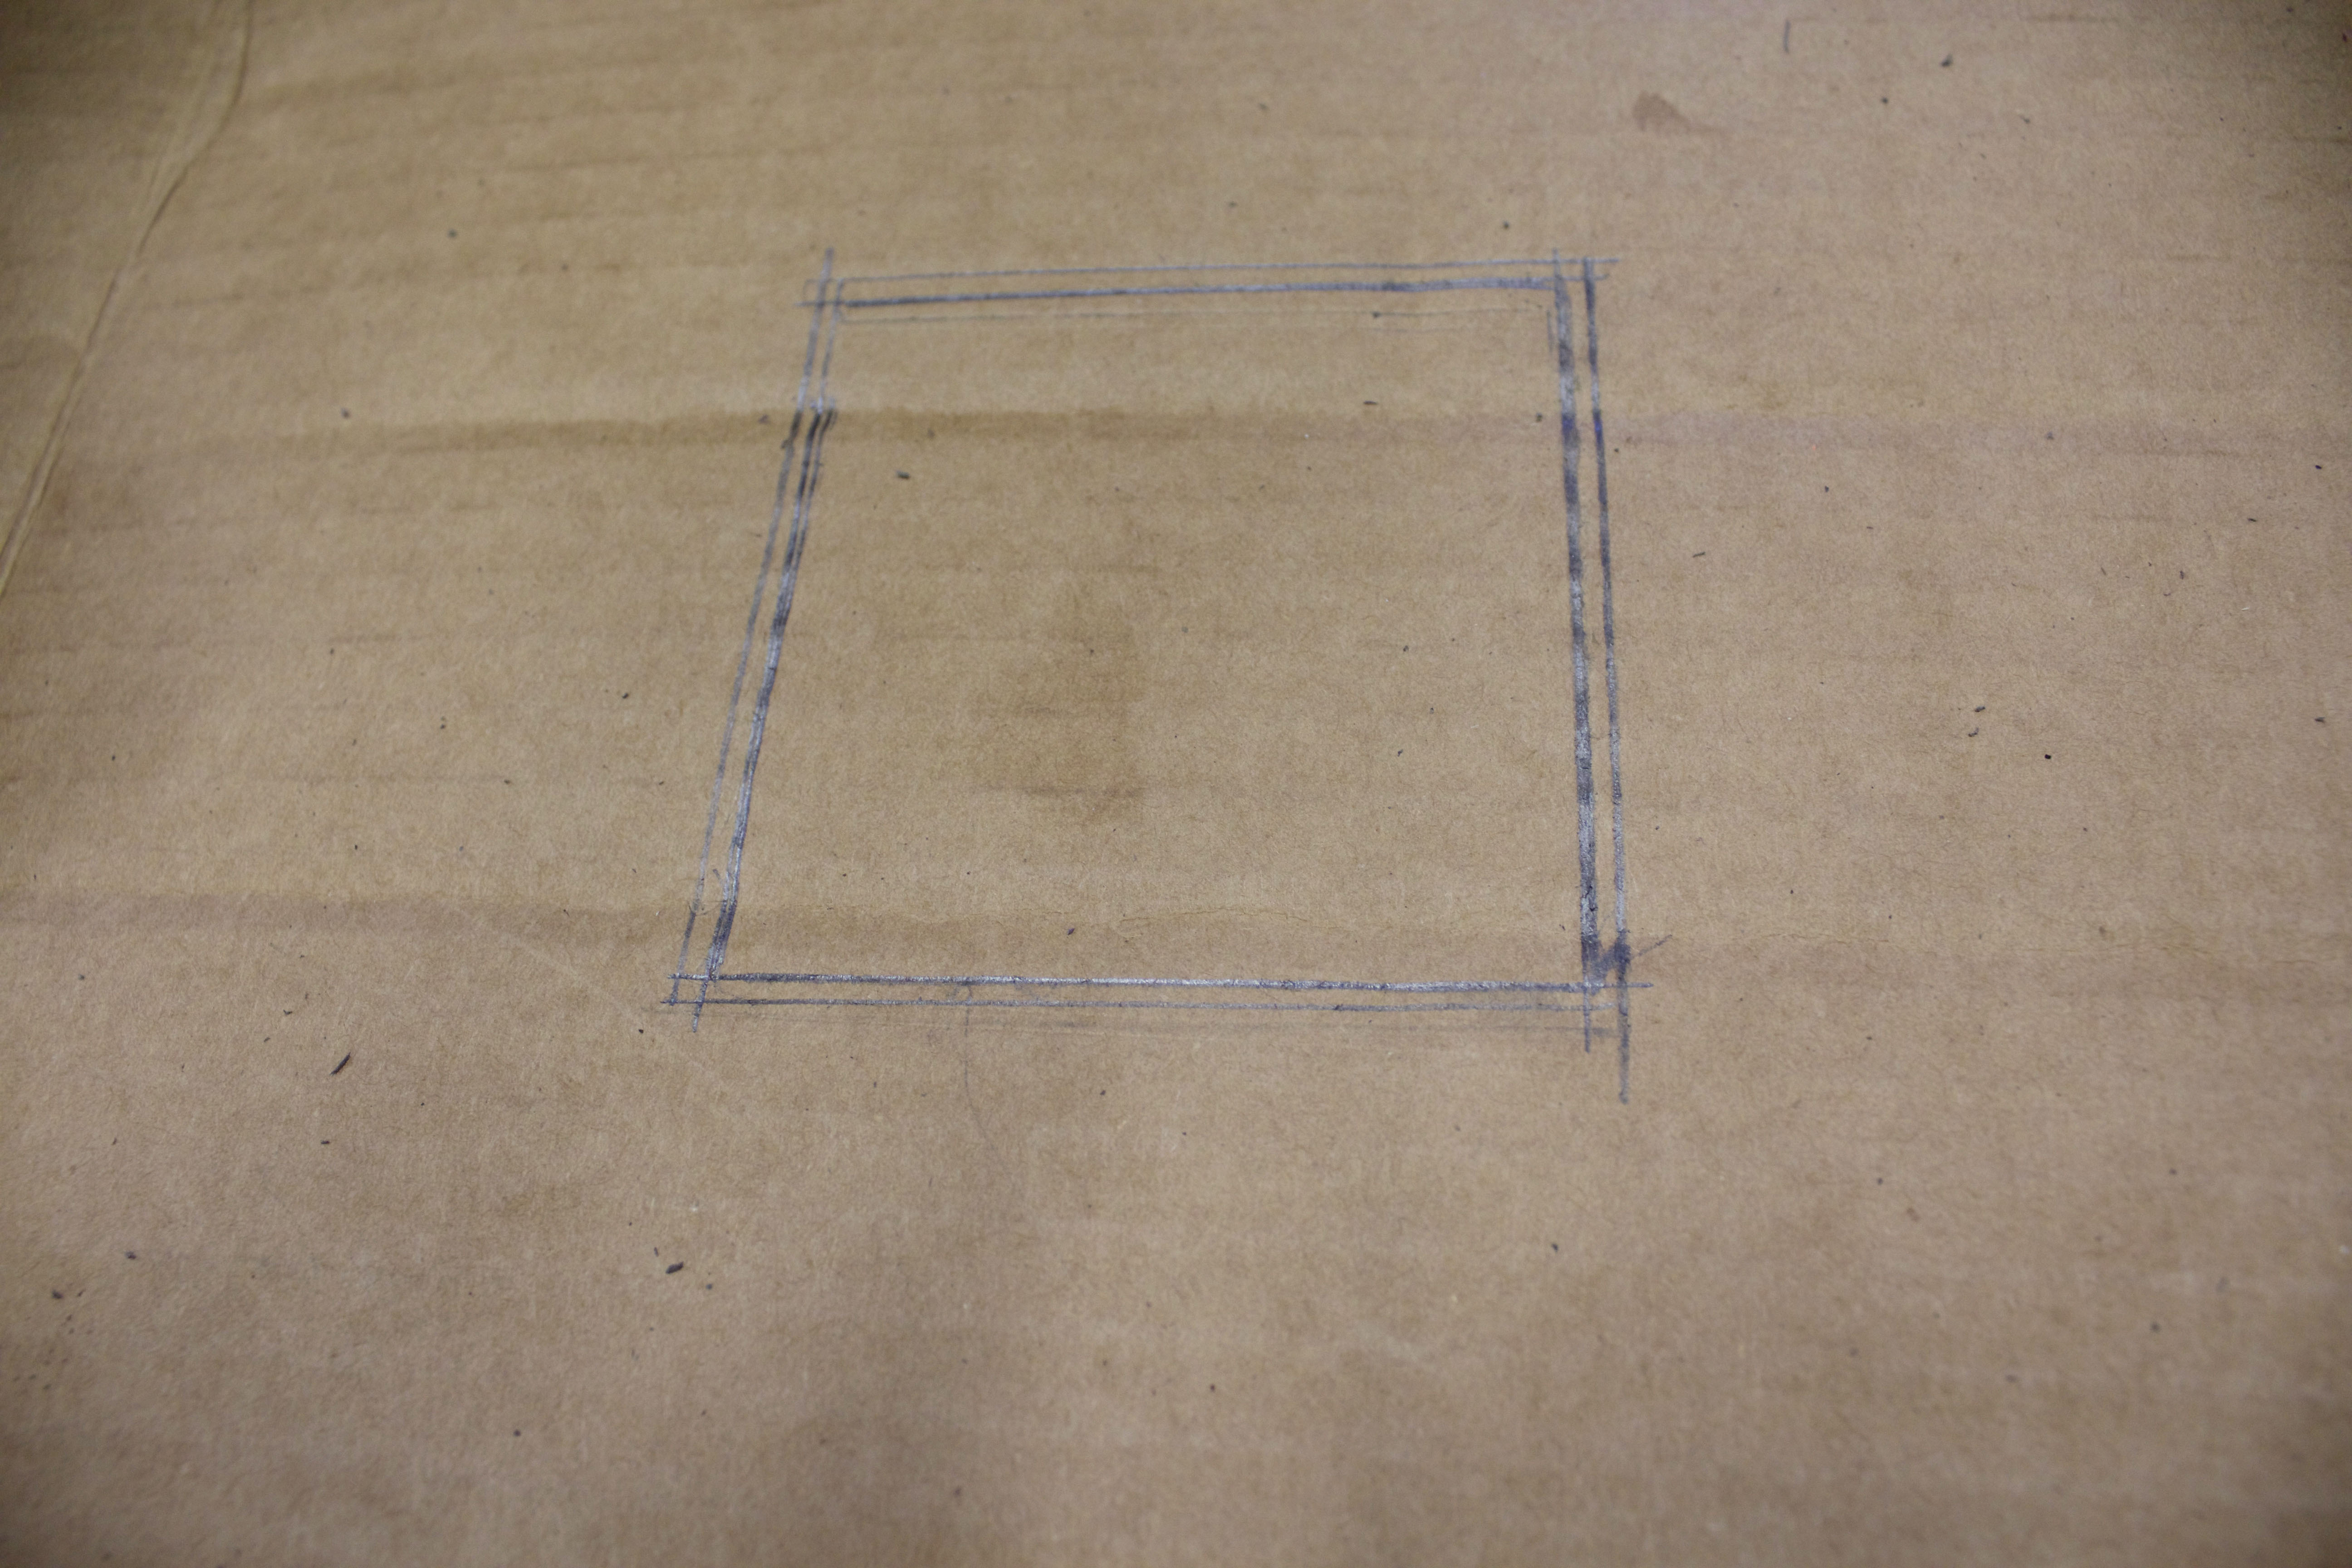
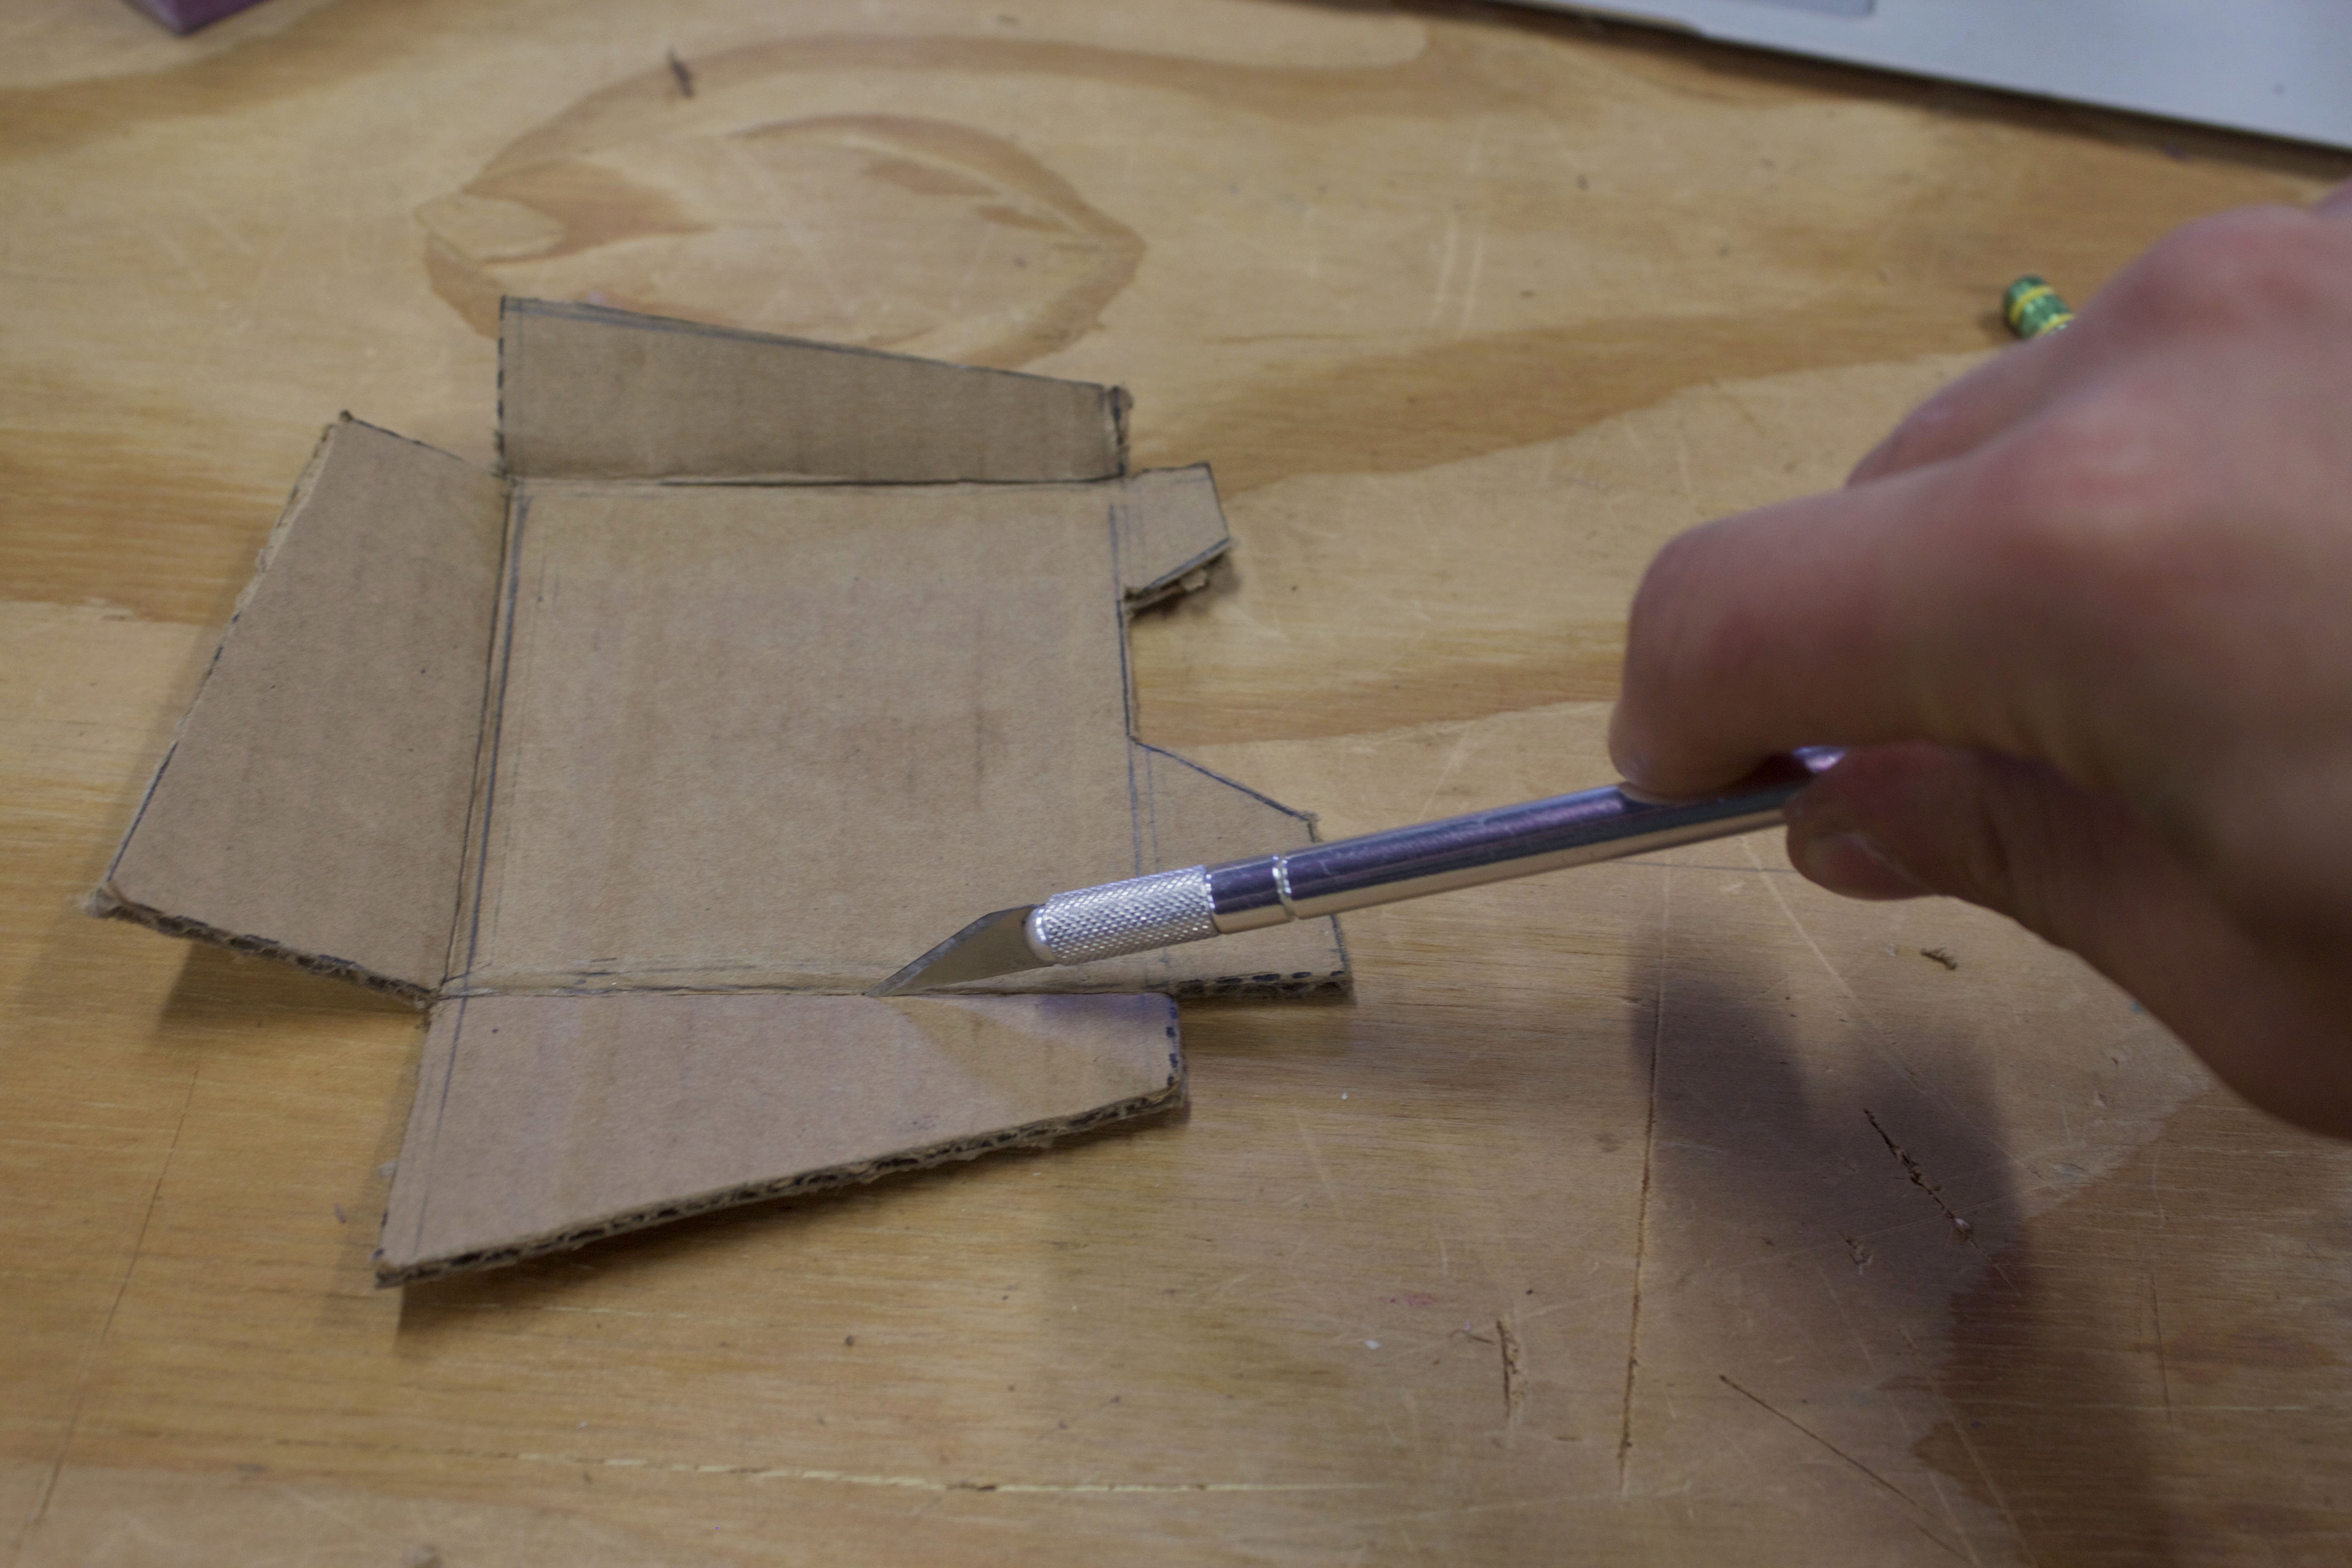
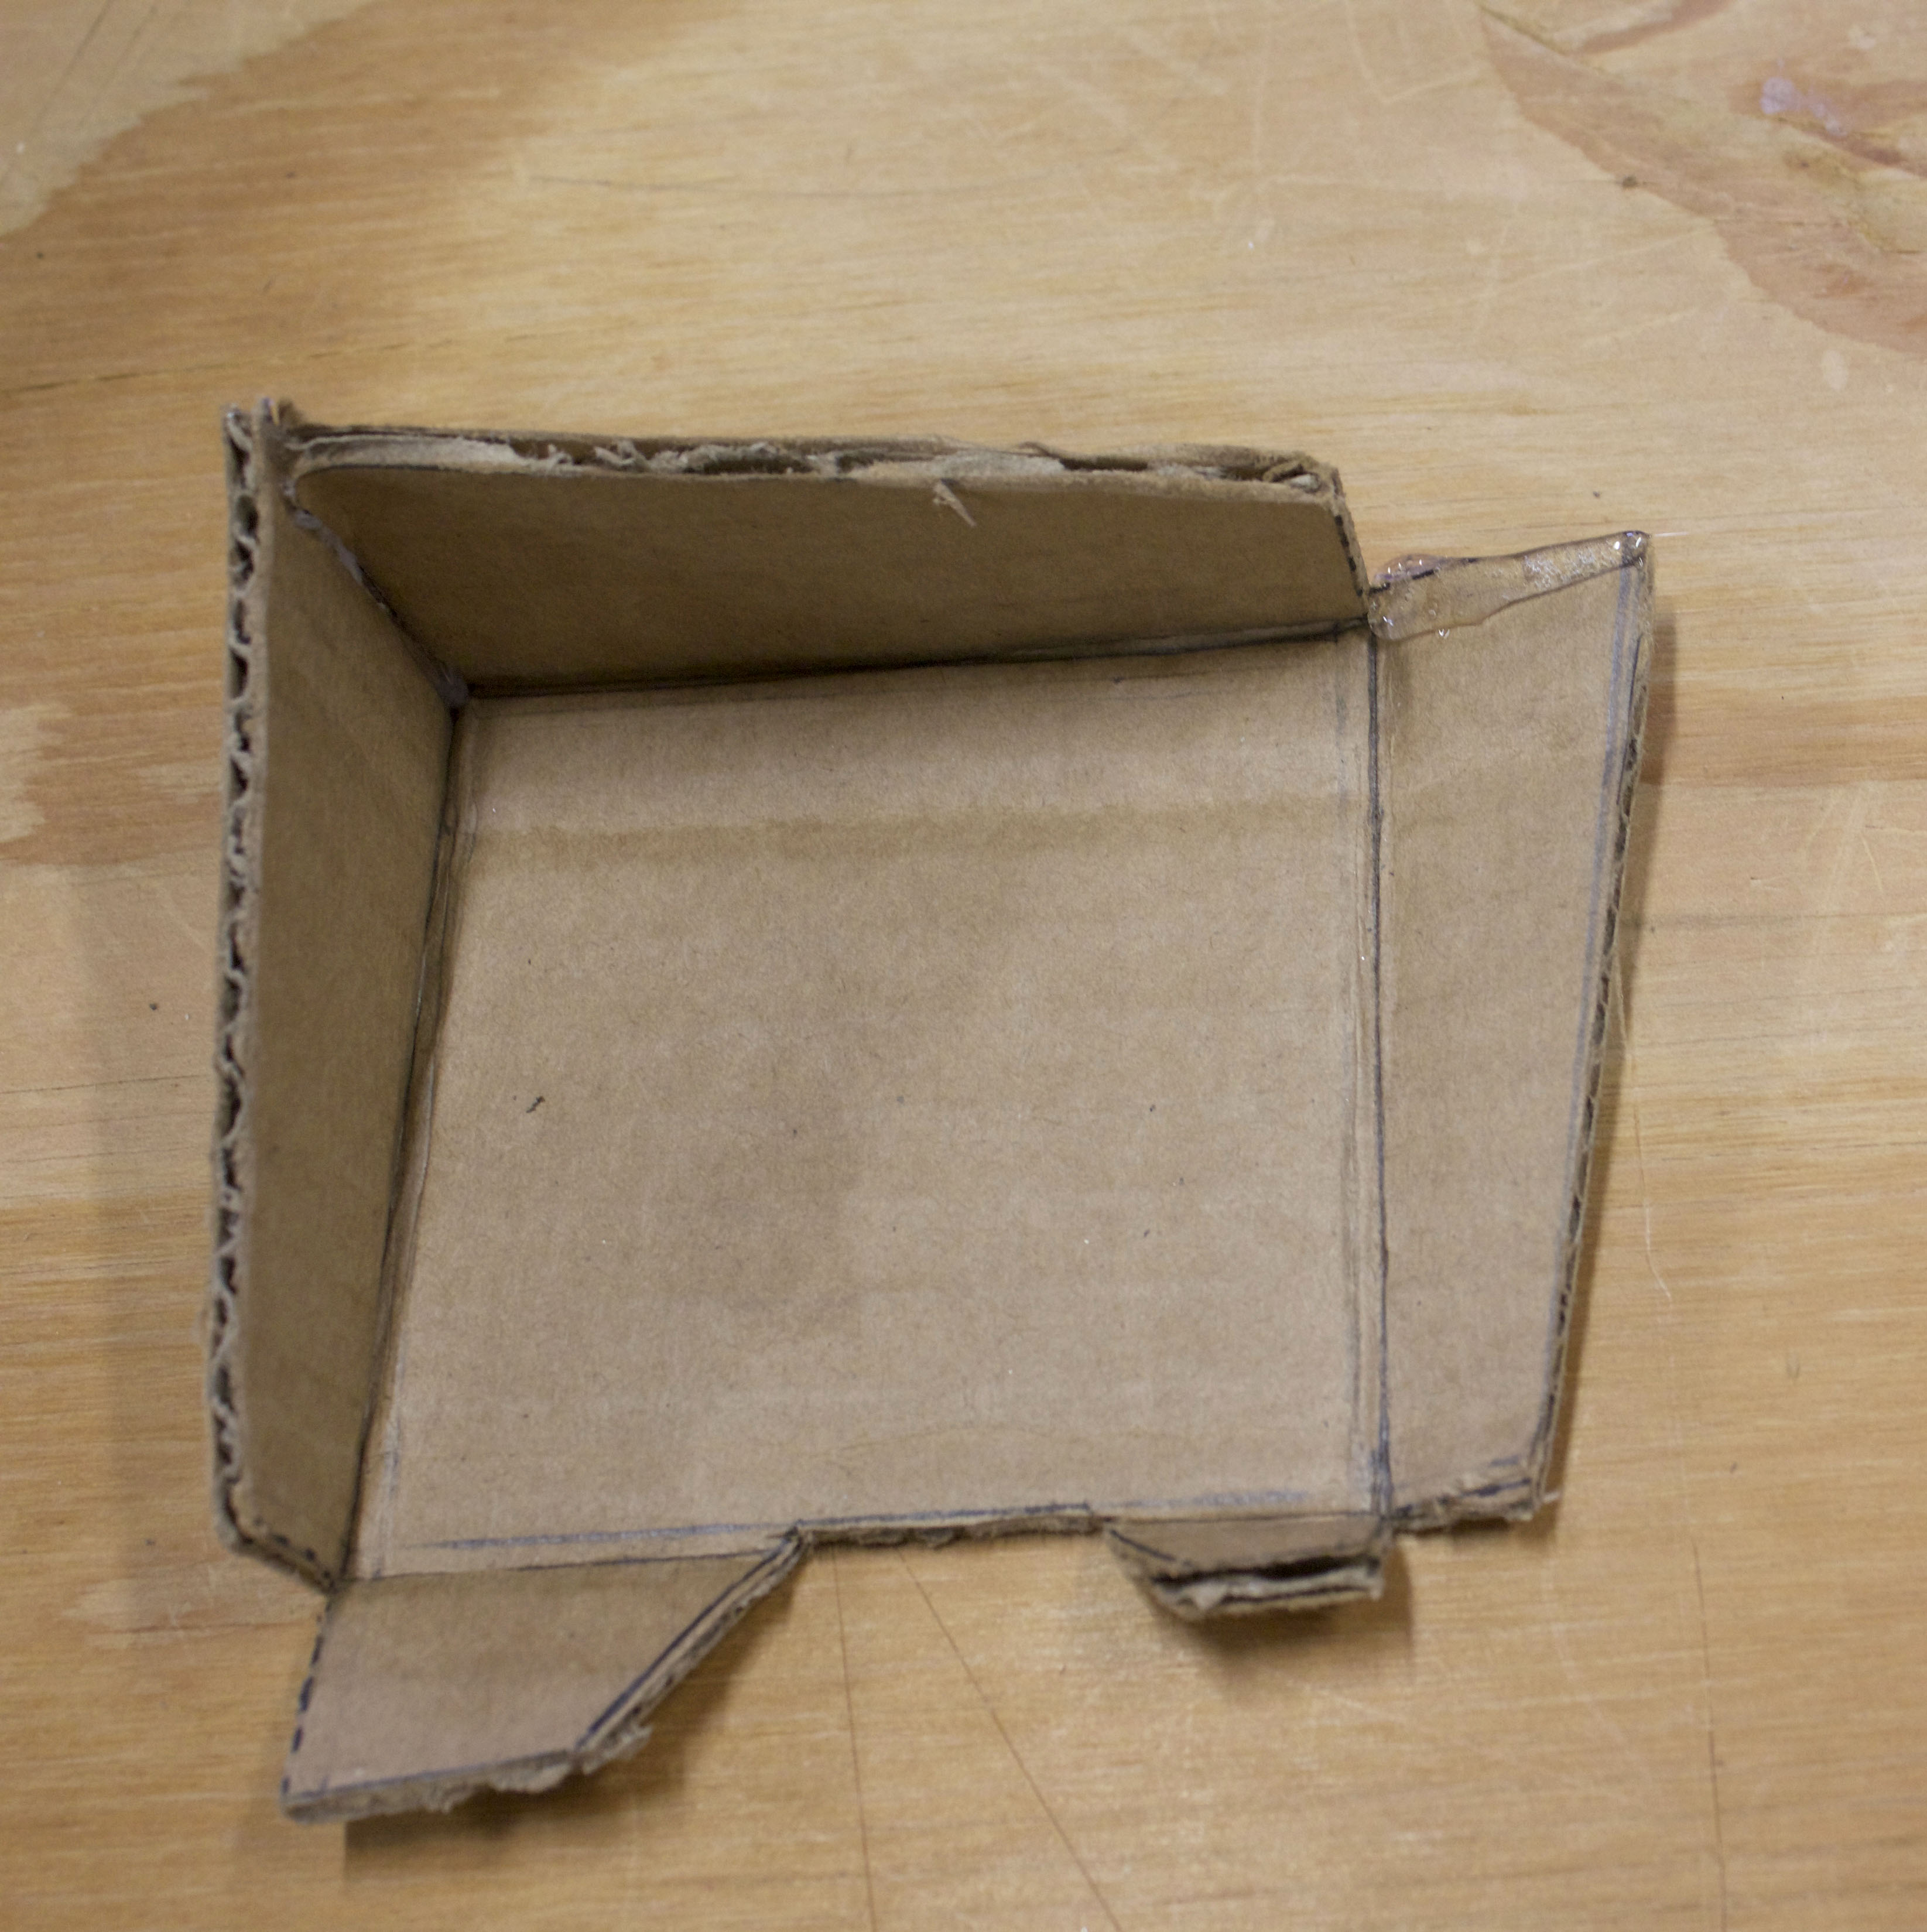
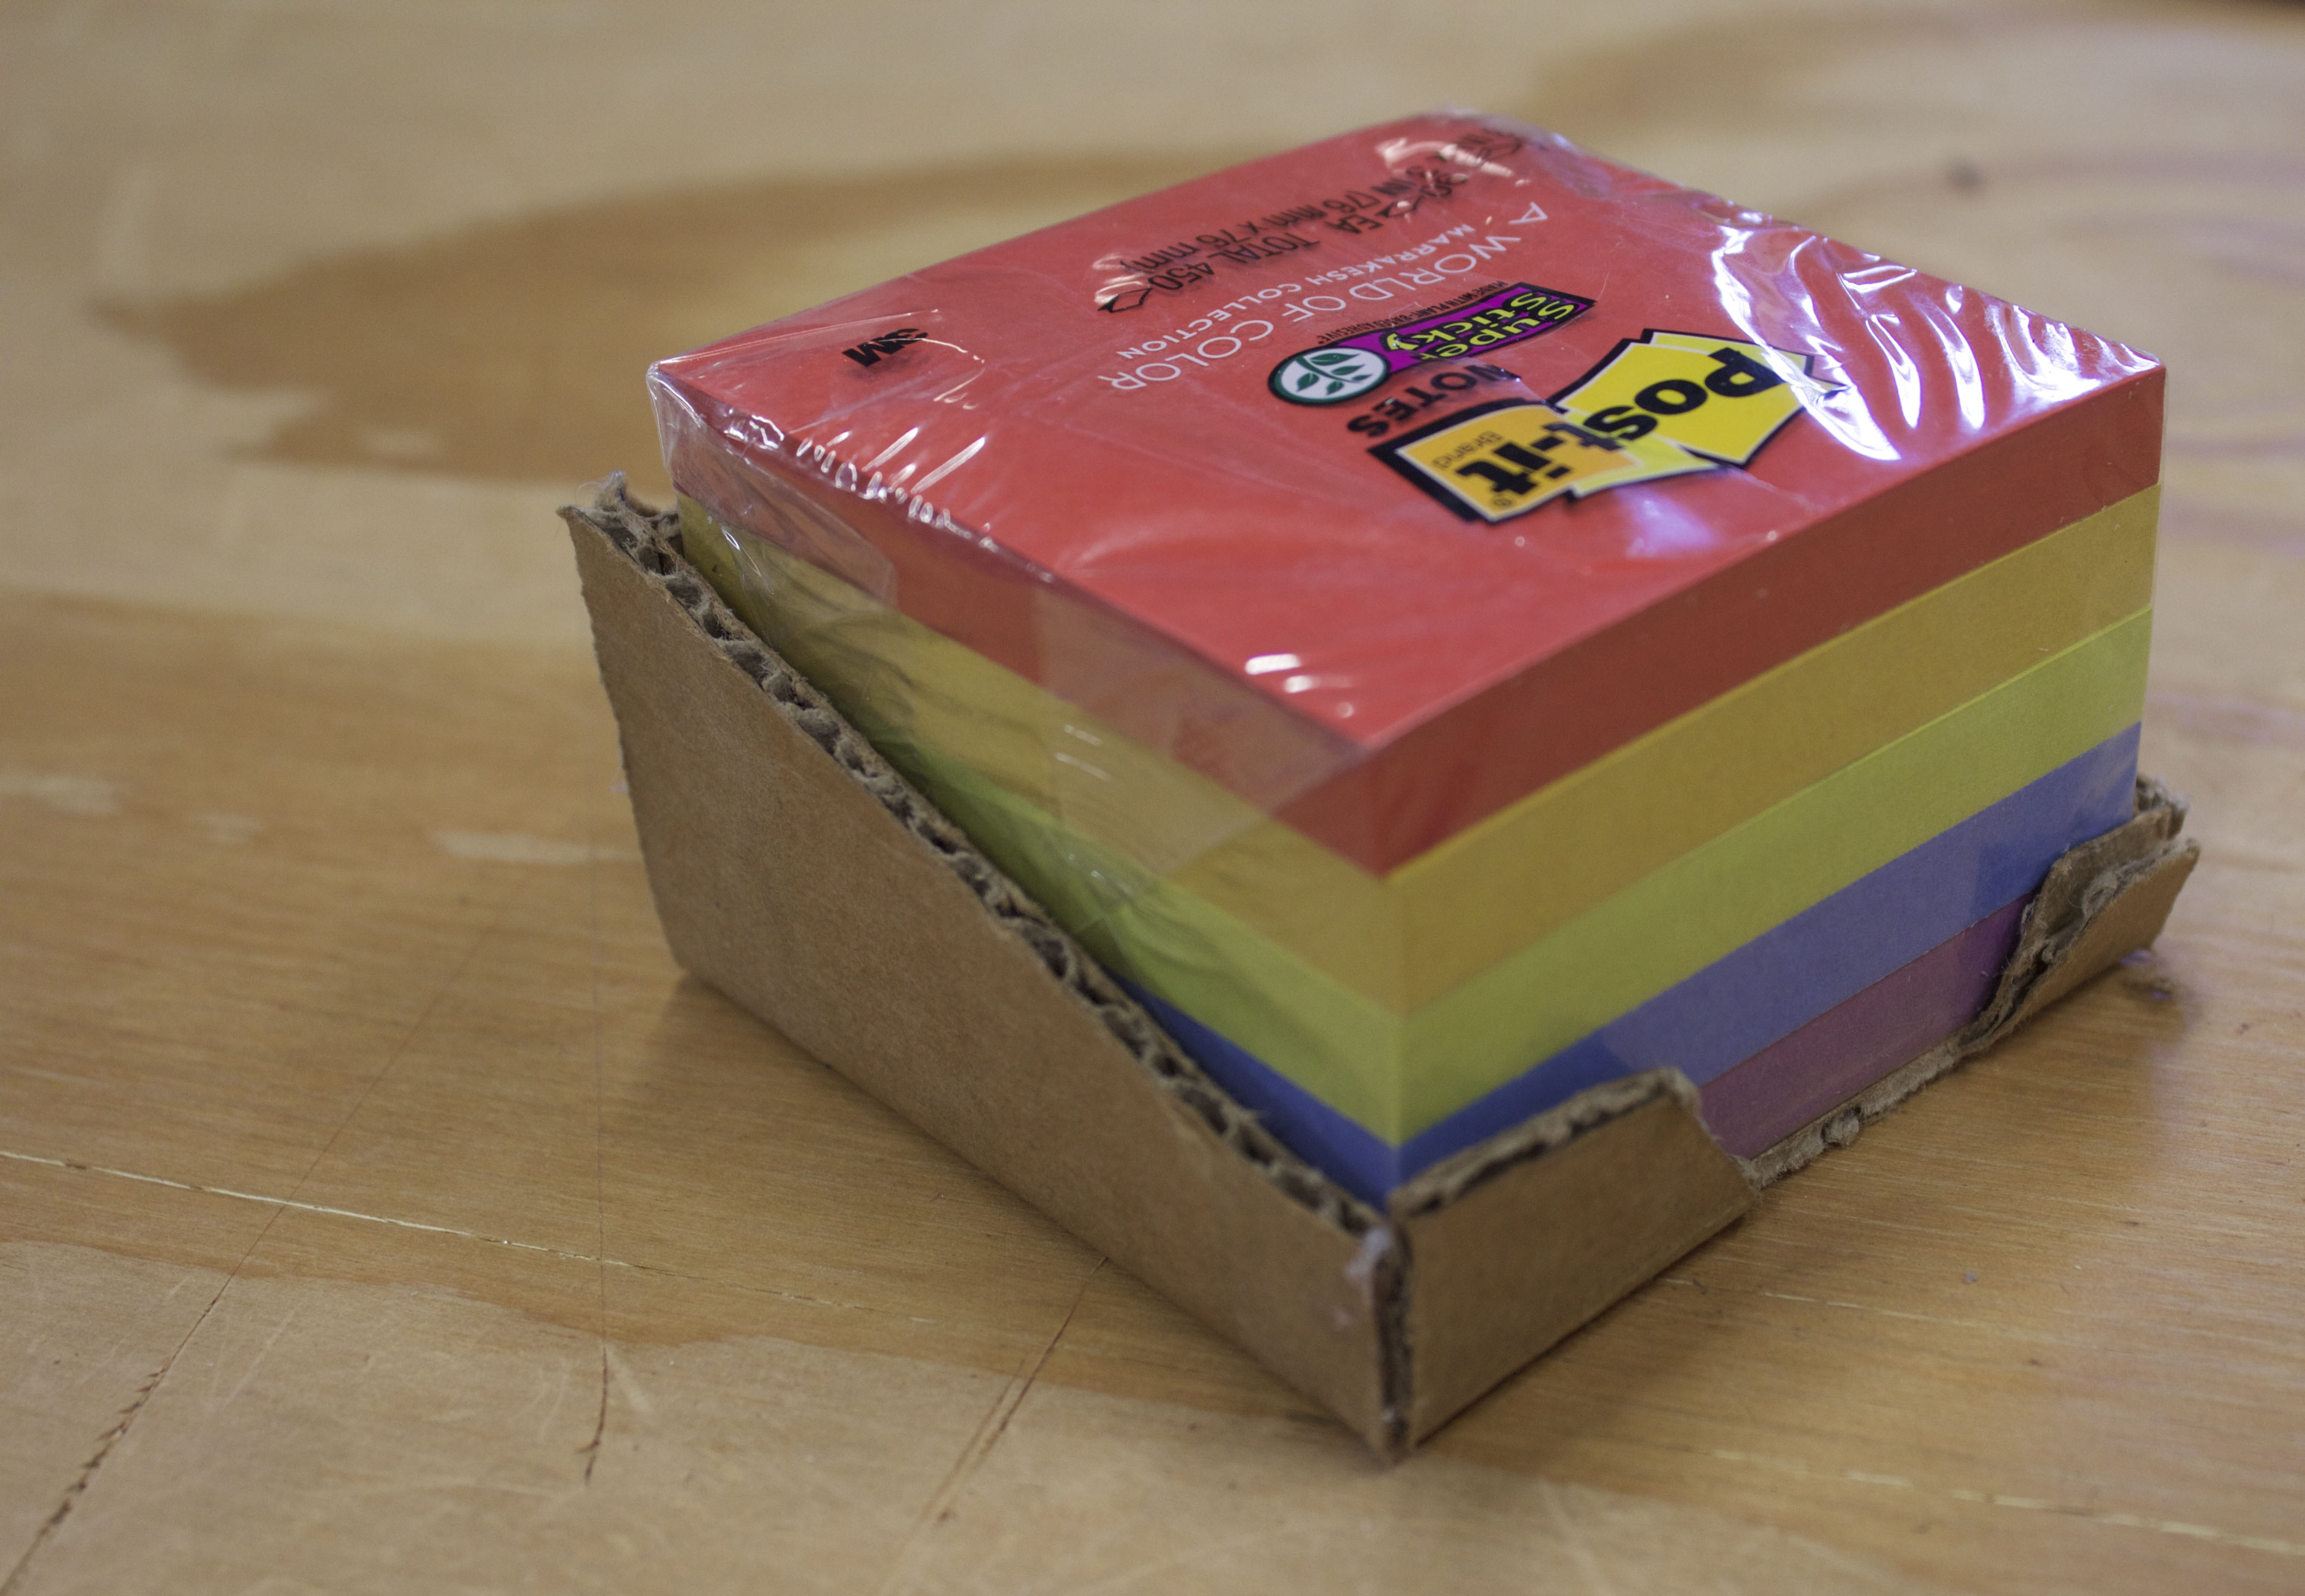
This tutorial is meant to show ways of easily figuring out tolerances for simple items with cardboard instead of using 3D printing or other time consuming processes. This process is more responsible, and more efficient. Each model will take no more than 15 minutes start to finish and the materials can be found in your recycling receptacle.
As a furniture-maker and designer I am often looking to house specific items. Fitting items can be a tricky task. Measuring the dimensions of your item is a great place to start. However, you can not simply make the housing for the object the same size as the object itself. There is always a period of trial and error where you are adding and subtracting dimensionality in order to find the perfect fit for your object.
Yes, you could tweak the dimensions of your 3D model and print several housings with varying dimensions until you find the enclosure with the perfect fit. This is one way to do it, however this is at the cost of precious resources and hours of time. I am providing this tutorial as an addition to your 3D printing process.
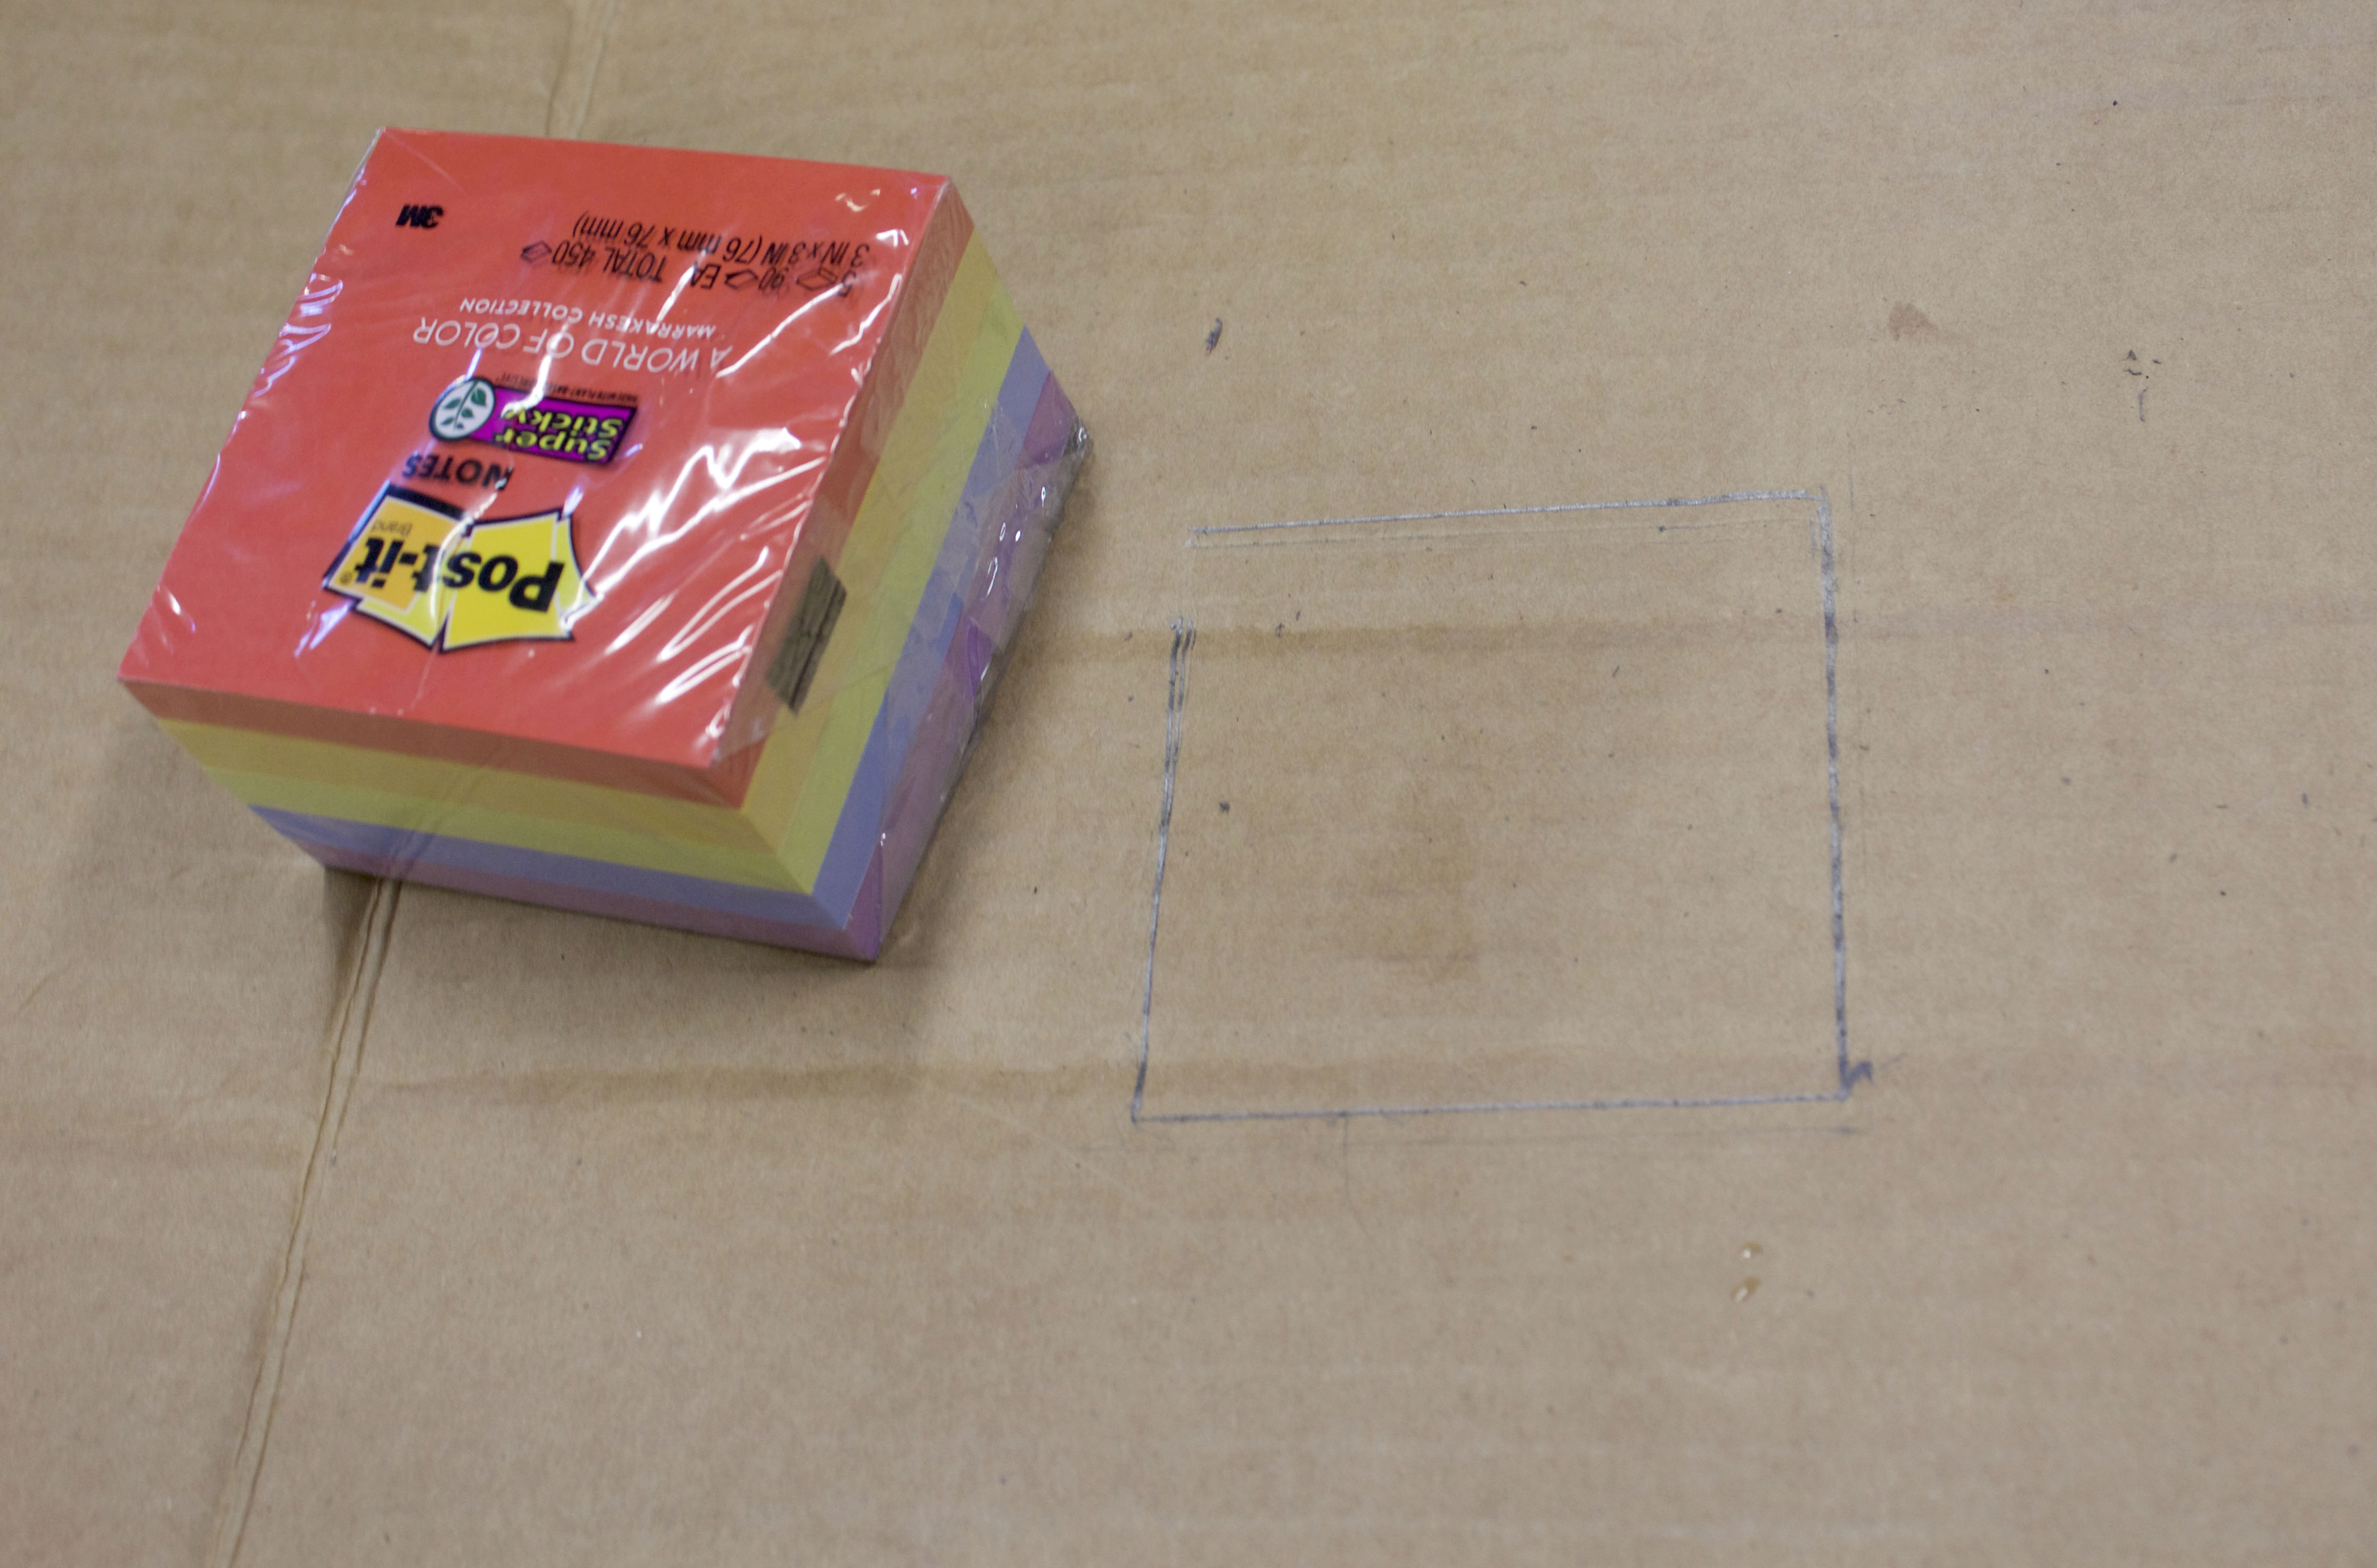
In this tutorial I used a stack of Post-it notes, although most items with simple geometries can be prototyped using this tutorial. For items that have more complex geometries 3D printing is an excellent choice, but keep in mind that it is not a necessity to print out the entirety of the object. You can easily get away with figuring out the tolerances only printing out 20 percent of the item.
I will be doing more posts on other quick ways to prototype. I think of model making as a way to sketch in the three dimensions. I look forward to elaborating on this idea in future posts. I am excited to share simple and cheap ways to prototype organic shapes.


