Slide rules are simple devices that can do some very complex mathematical calculations. They put into use some of the theory you learned about logarithms in high-school algebra.

The Slide Rule Museum has a template to make a model slide rule. I took that and transformed it into a piece of functional jewelry.

This will be made entirely from paper/cardstock. Advanced crafters can apply the same concept to wood and wood veneers, machined metals, or formed plastics.

Note that accuracy of the instrument is limited to the medium, construction method, and skill of the operator.

Project Steps

This project illustrates creating a large bangle. The prototype just turned out that size. You can scale the PDF of the slide rule graphic to be smaller if you want a thinner bangle or sized for a man’s bracelet.

Download the PDF to make a papercraft slide rule from the Slide Rule Museum site.

Look for the “Scales to make a Mannheim Slide Rule – K,A,B,L,C,D – Kinsman” and click on the image to access the PDF in your browser.

Print out on regular letter size paper. The graphic will also be our guide to construct the bangle.

Make a bangle big enough for your hand to pass through and small enough so it does not fall off.

You need a round form to create the cardboard tube that is the basis for the bangle.

I am using a large peanut butter jar, 4 inches in diameter, as my form. Soup cans were way too small and I couldn’t find any PVC pipe that was ideally about 3 1/2 inches outside diameter.

You could take a soup can and start wrapping newspaper around it to get the right diameter needed.

Start the prepwork for the project. Cut the cardstock into strips that are the height of the papercraft slide rule.

I used several colors of cardstock. When laminated, it will give a multi-colored layer look at the edges.

Wrap the jar in plastic wrap. This keeps it clean from the glue. I wrapped it several times to even out the surface so that the cardboard tube could slide off of the jar past the ridge it had at the bottom of the jar.

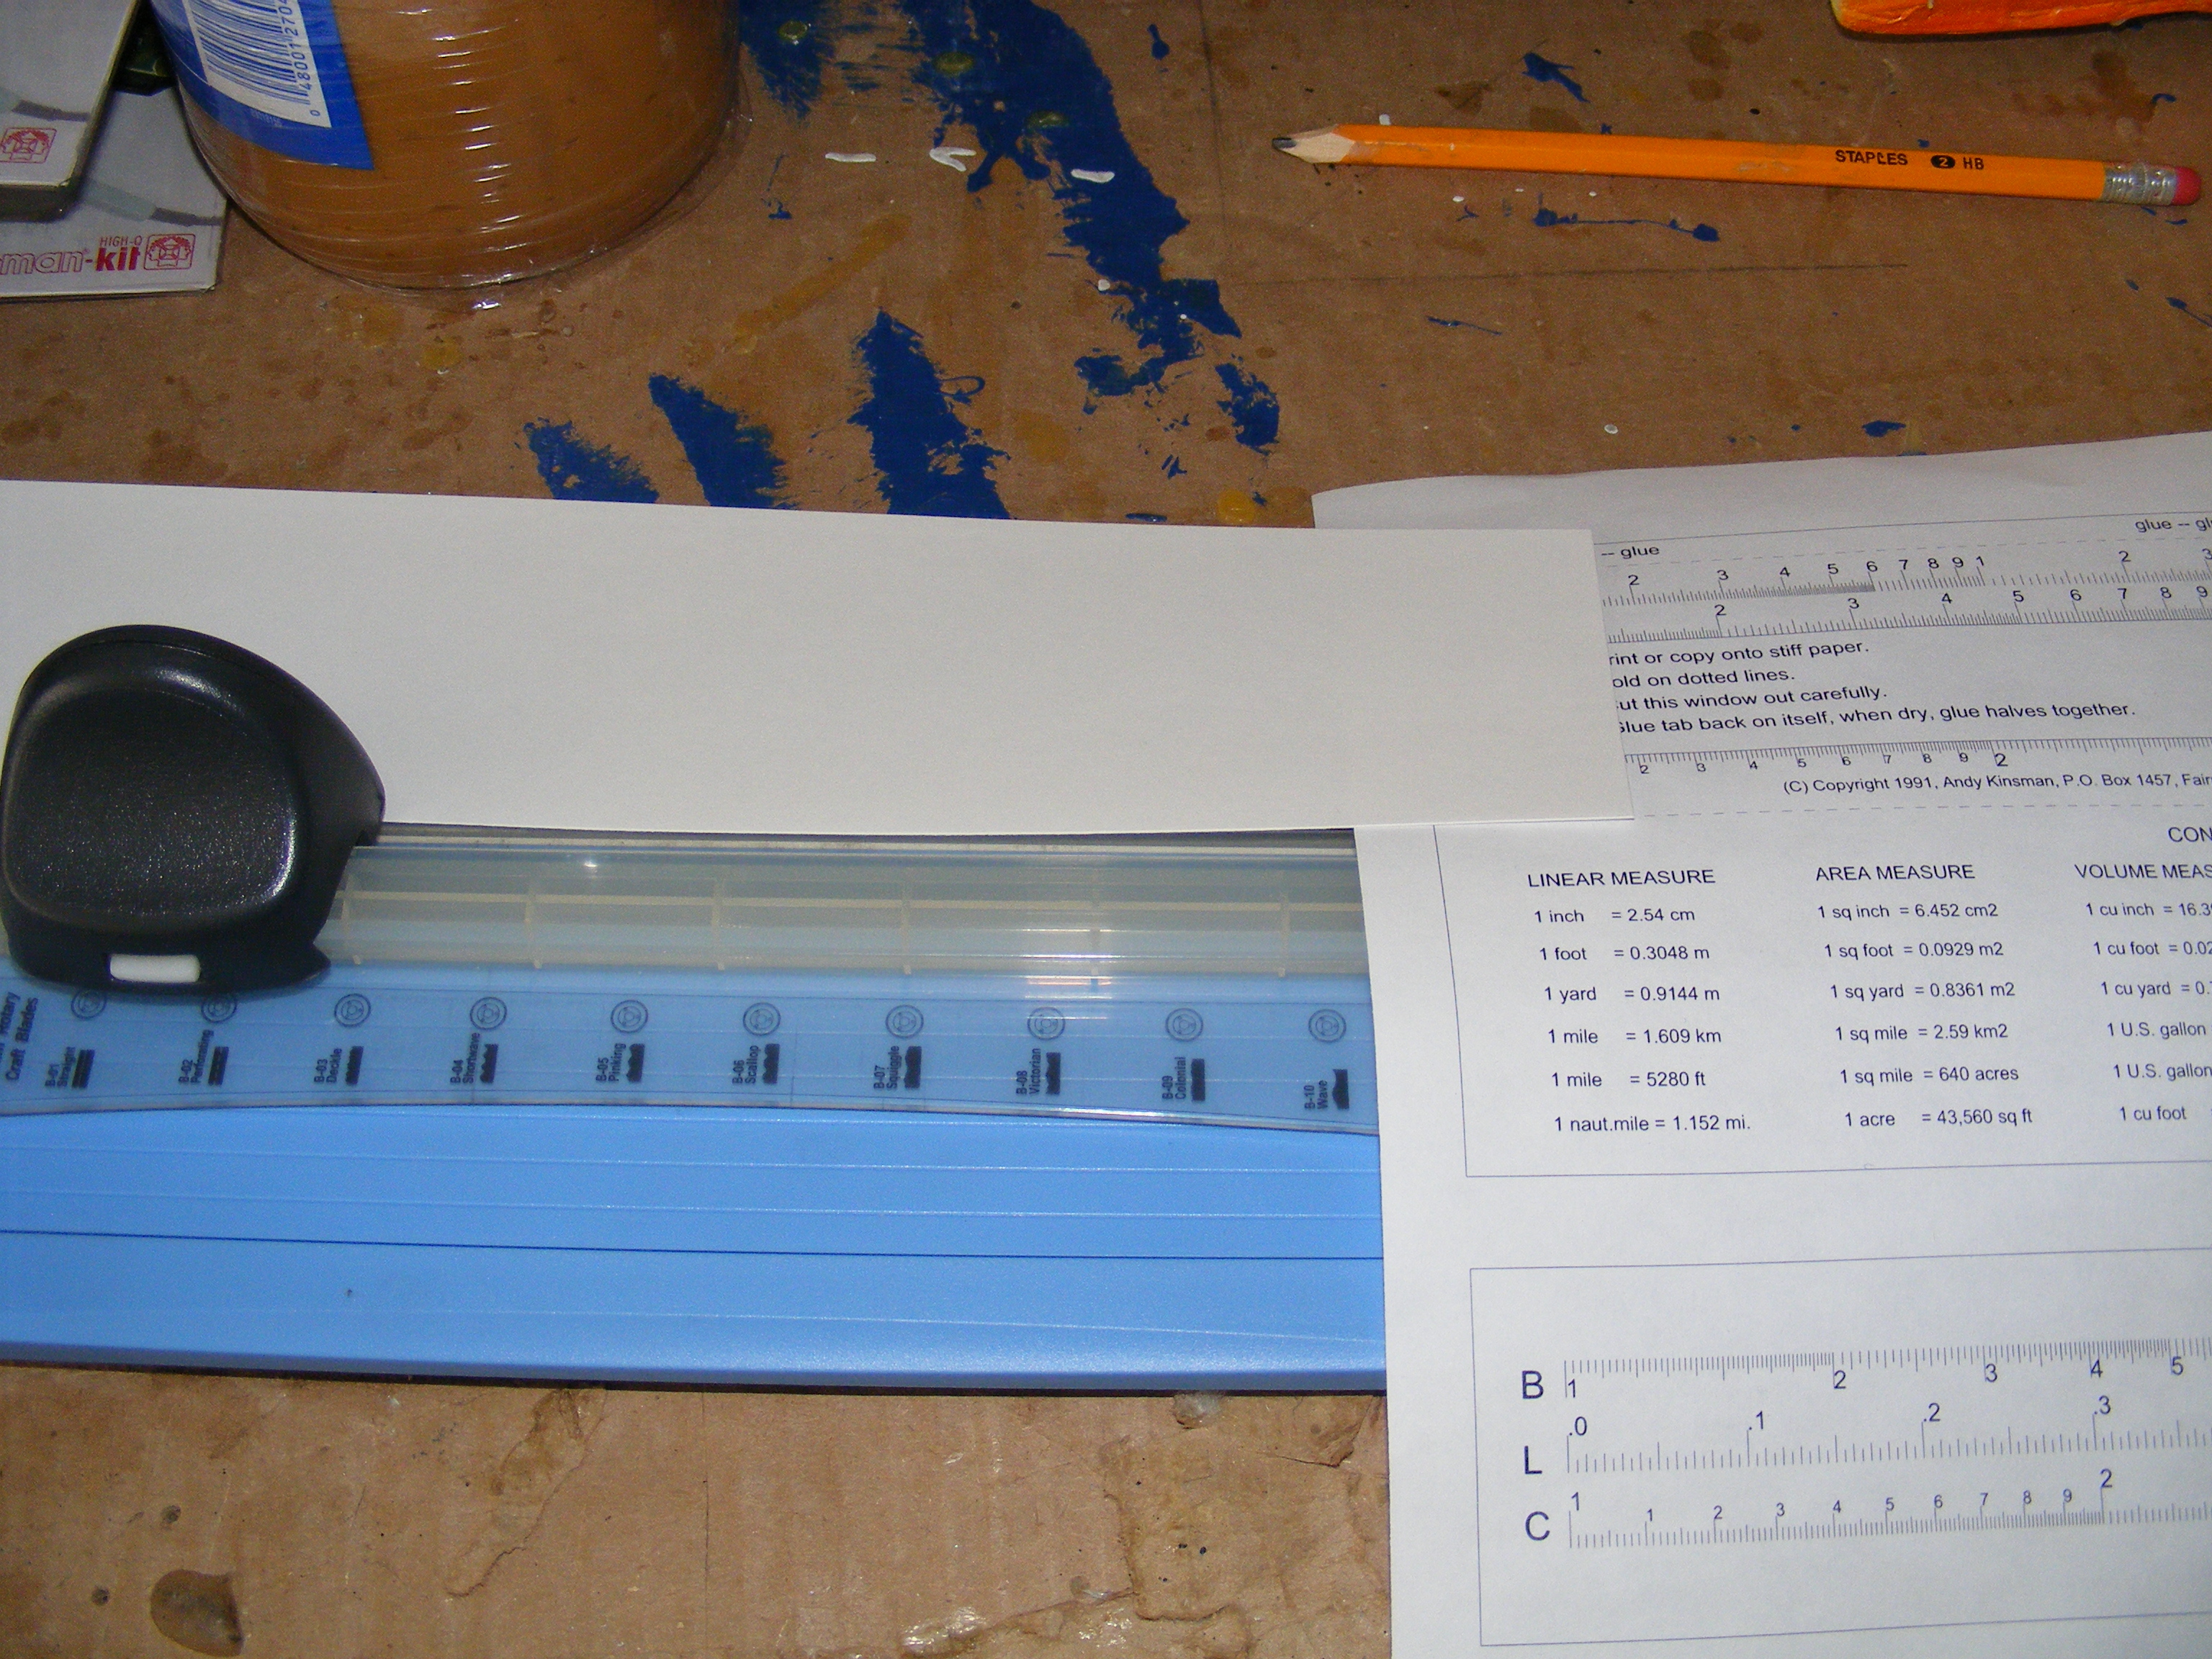
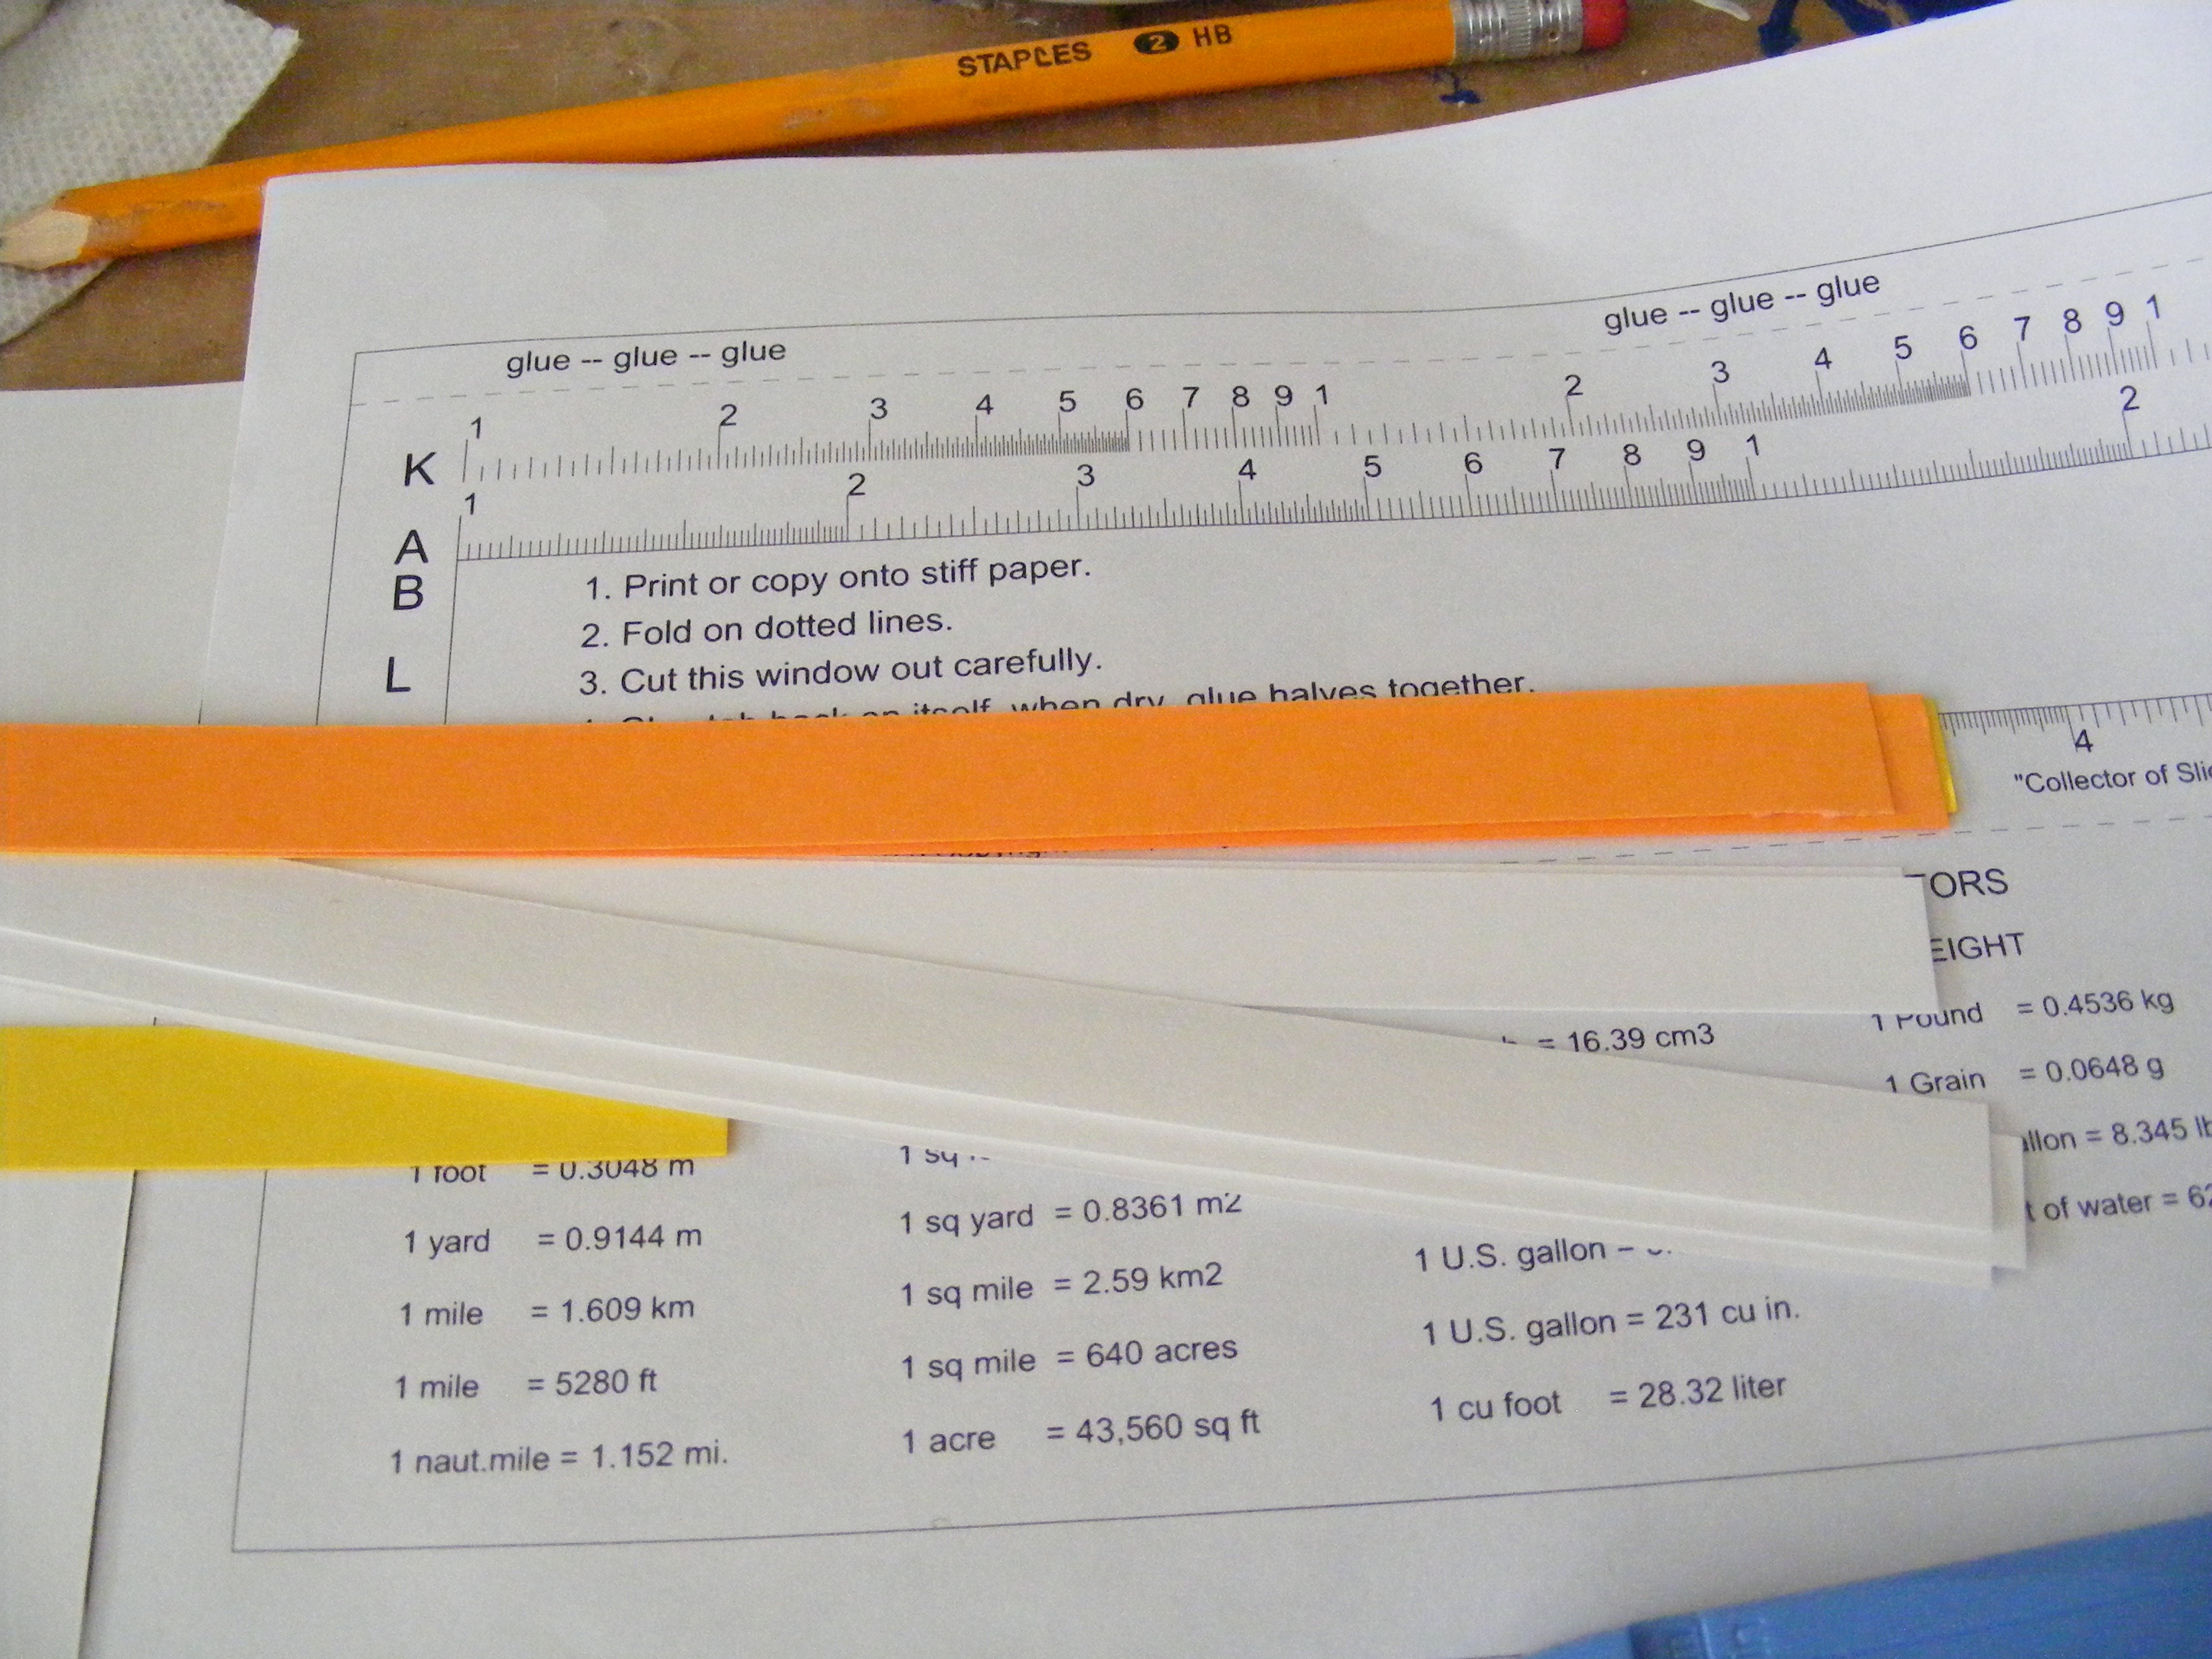
Glue two strips by overlapping on the end about an inch. A single strip did not wrap entirely around the jar and this helps to glue the strips in place.

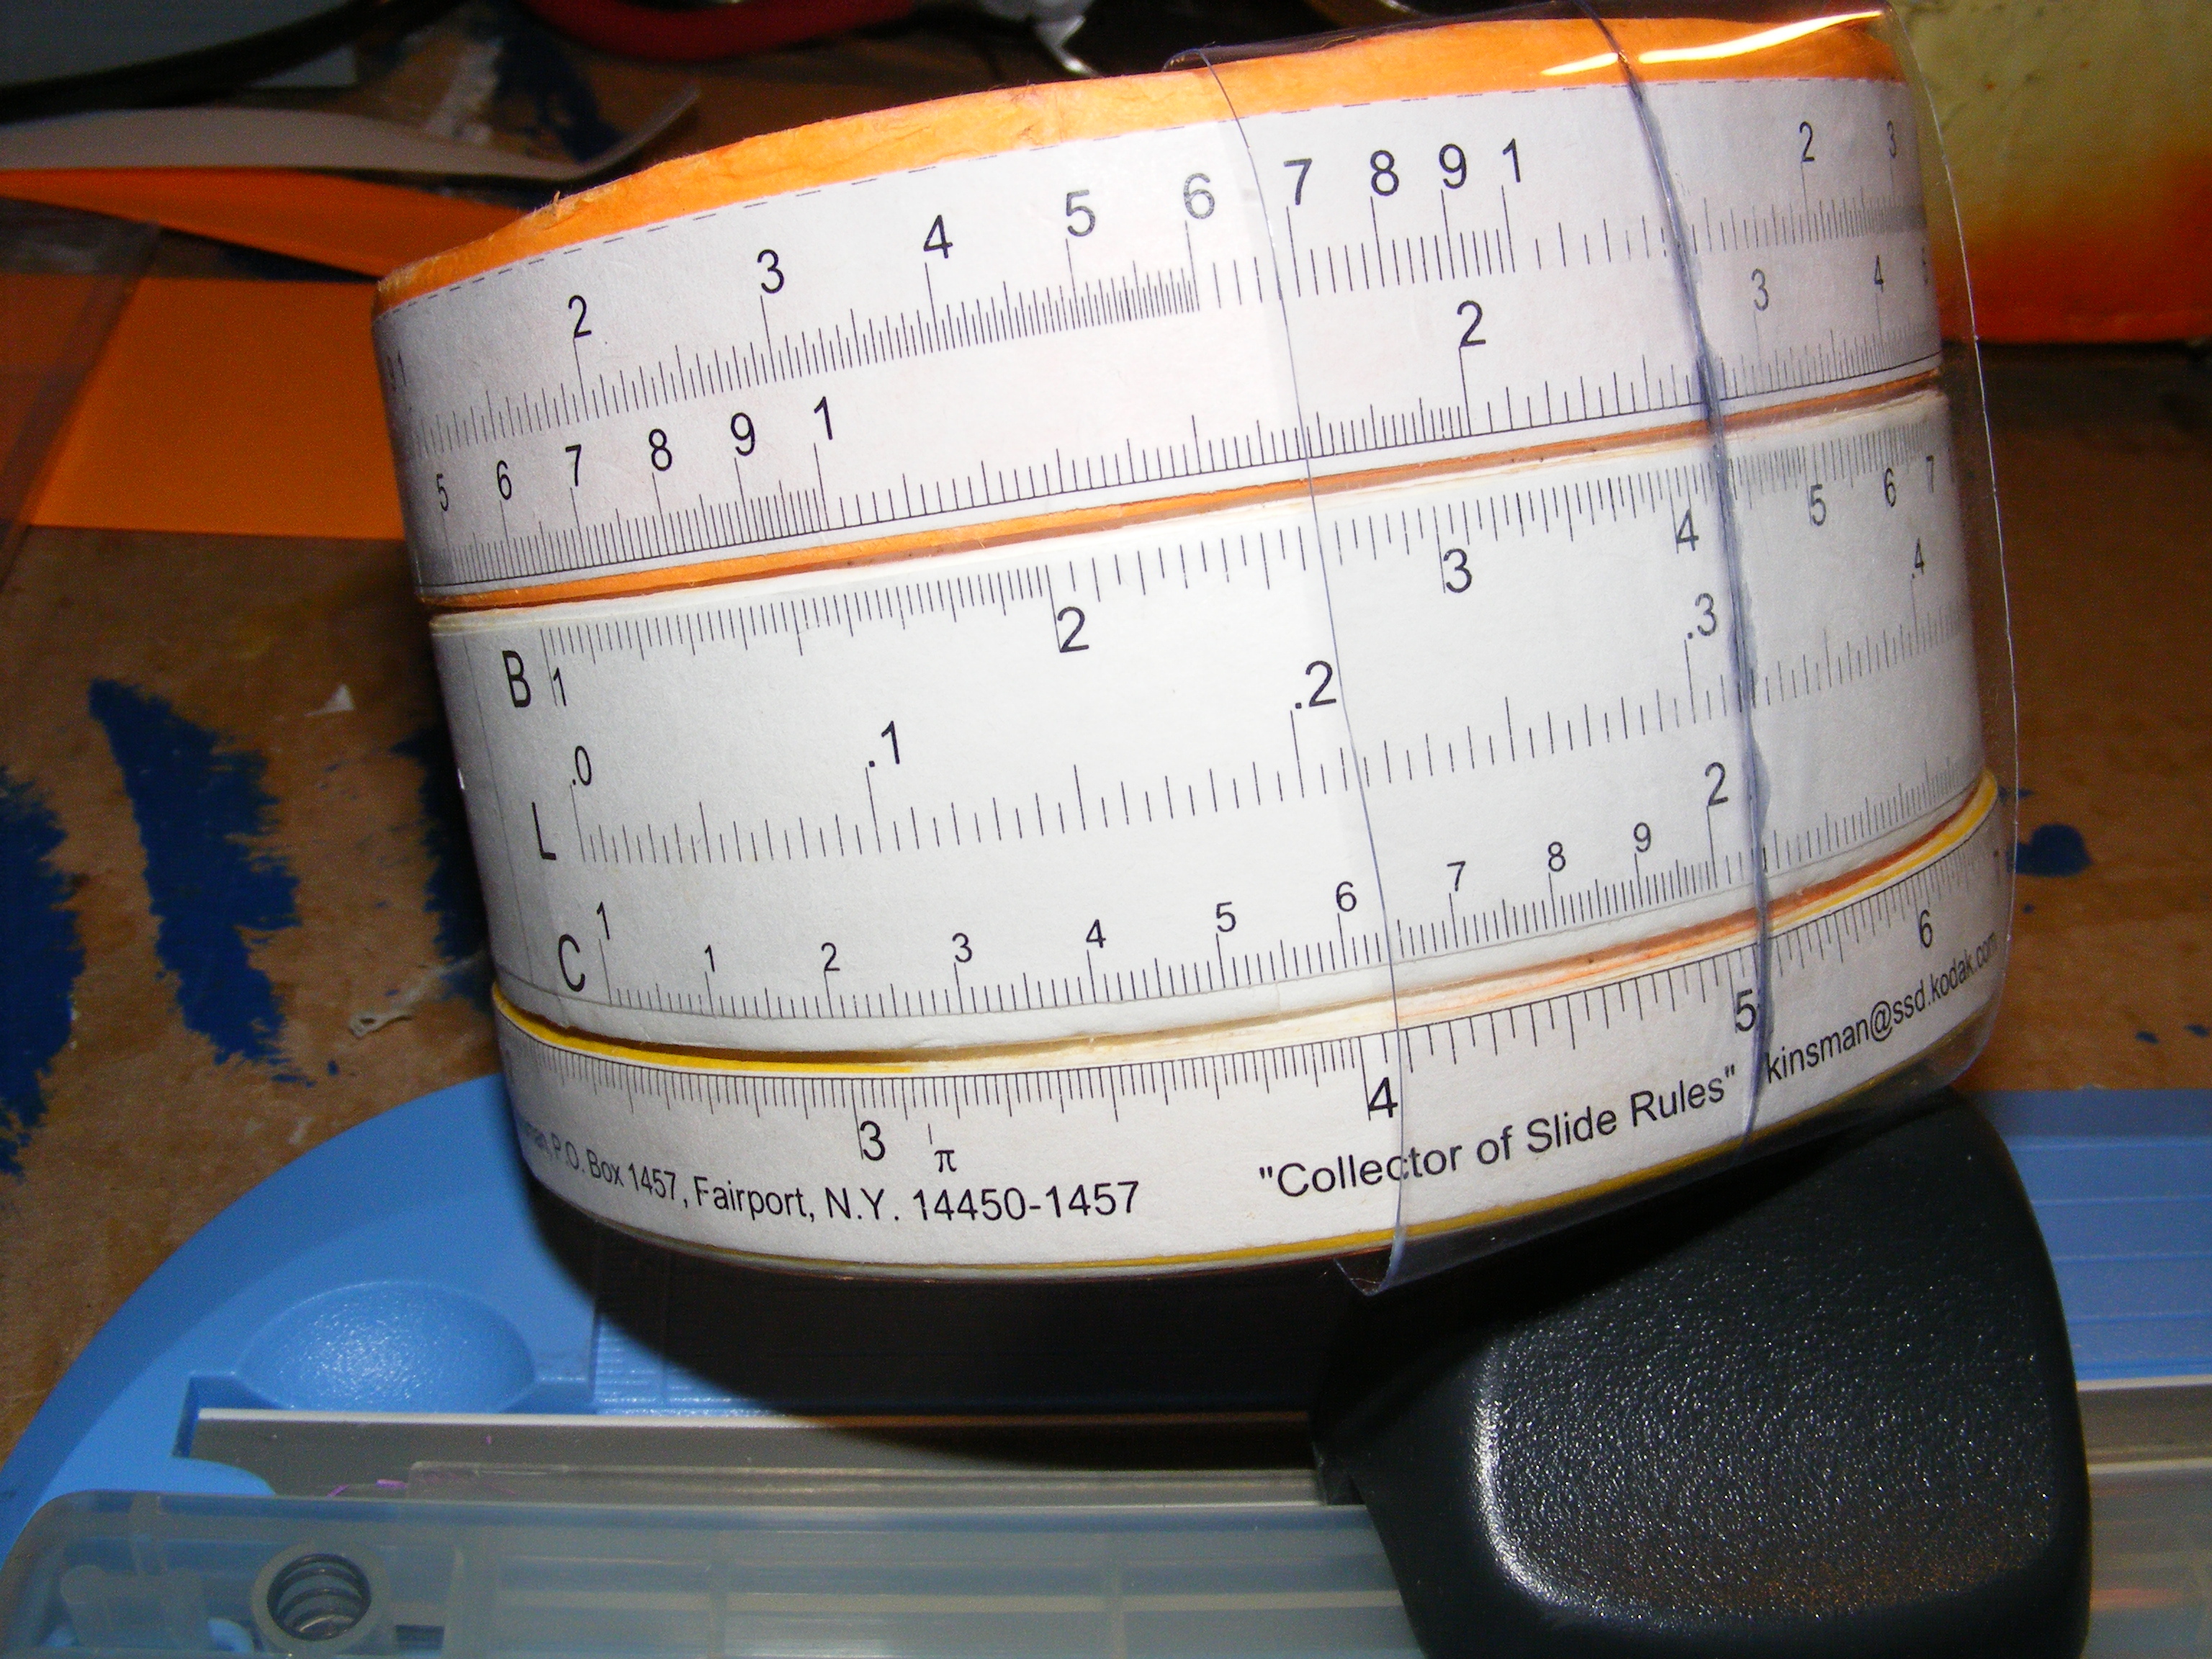
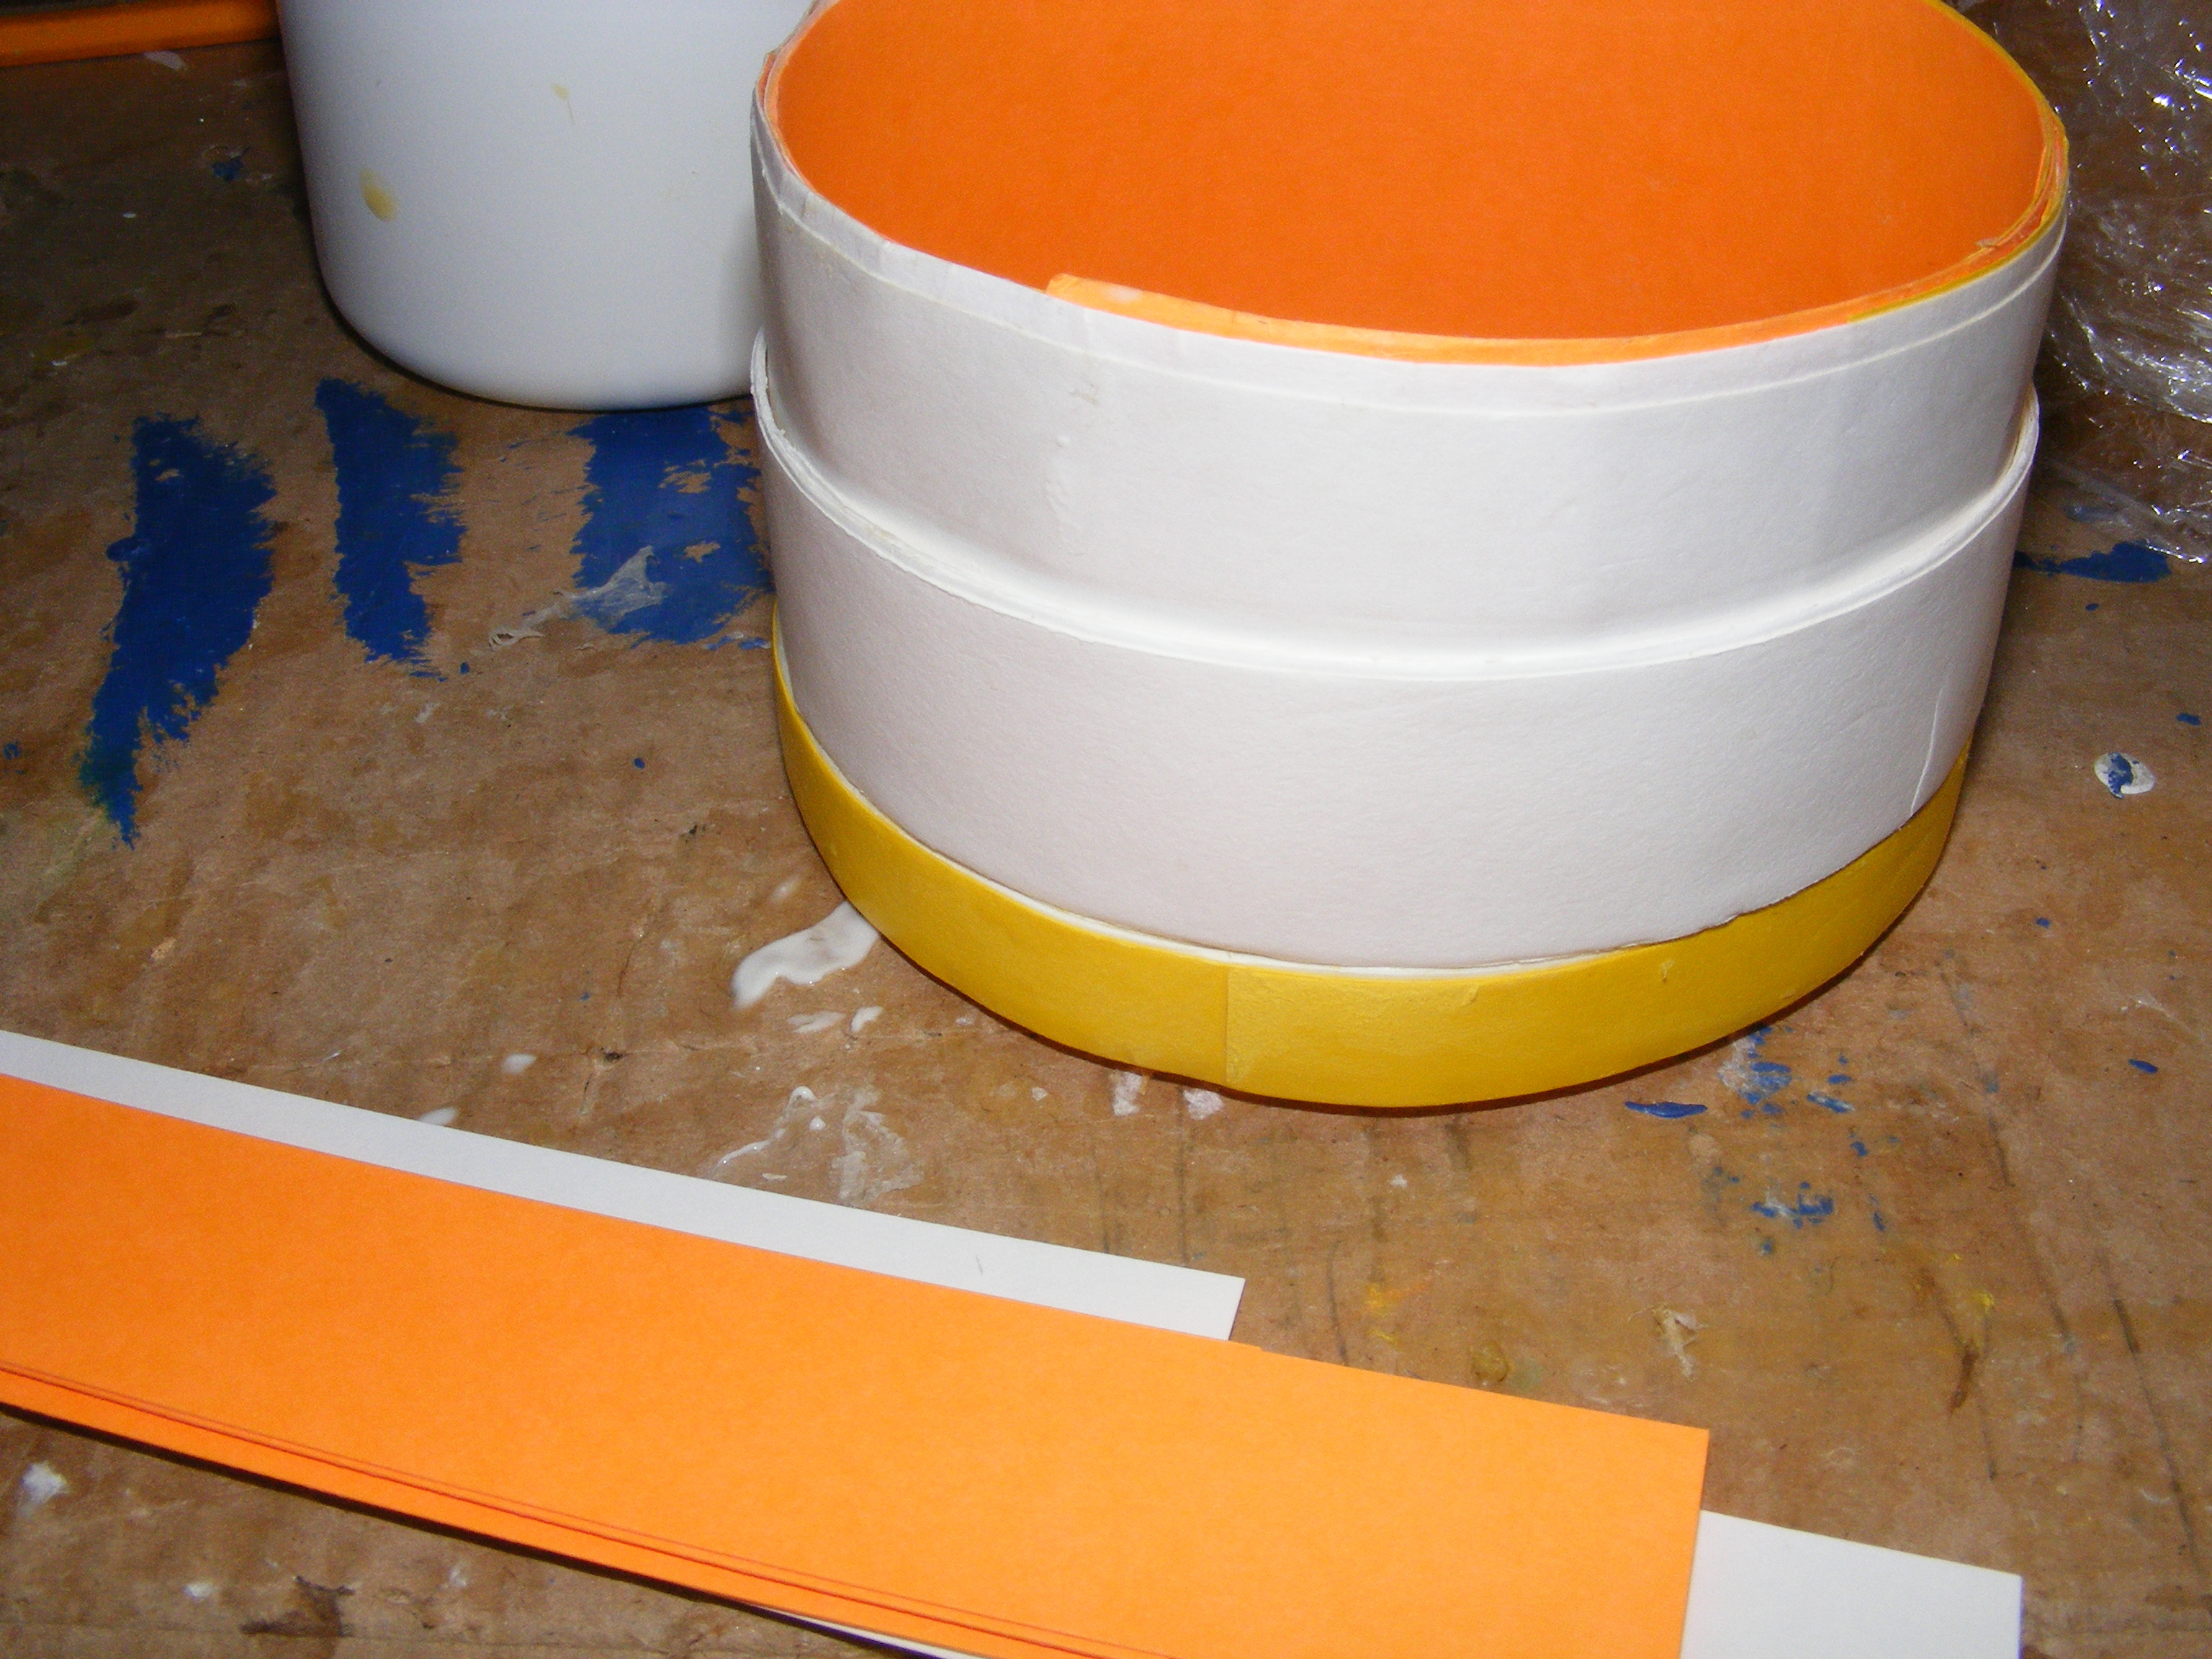
Glue a layer of cardstock around the jar. Don’t snug it up too tight but keep it close enough to conform to the jar.

Continue gluing on the cardstock strips but butting the end to the last edge glued down. This will prevent bumps in the cardboard tube. Coat the entire strip with glue to laminate it to the previous strip. Smooth over to get rid of air and glue pockets.

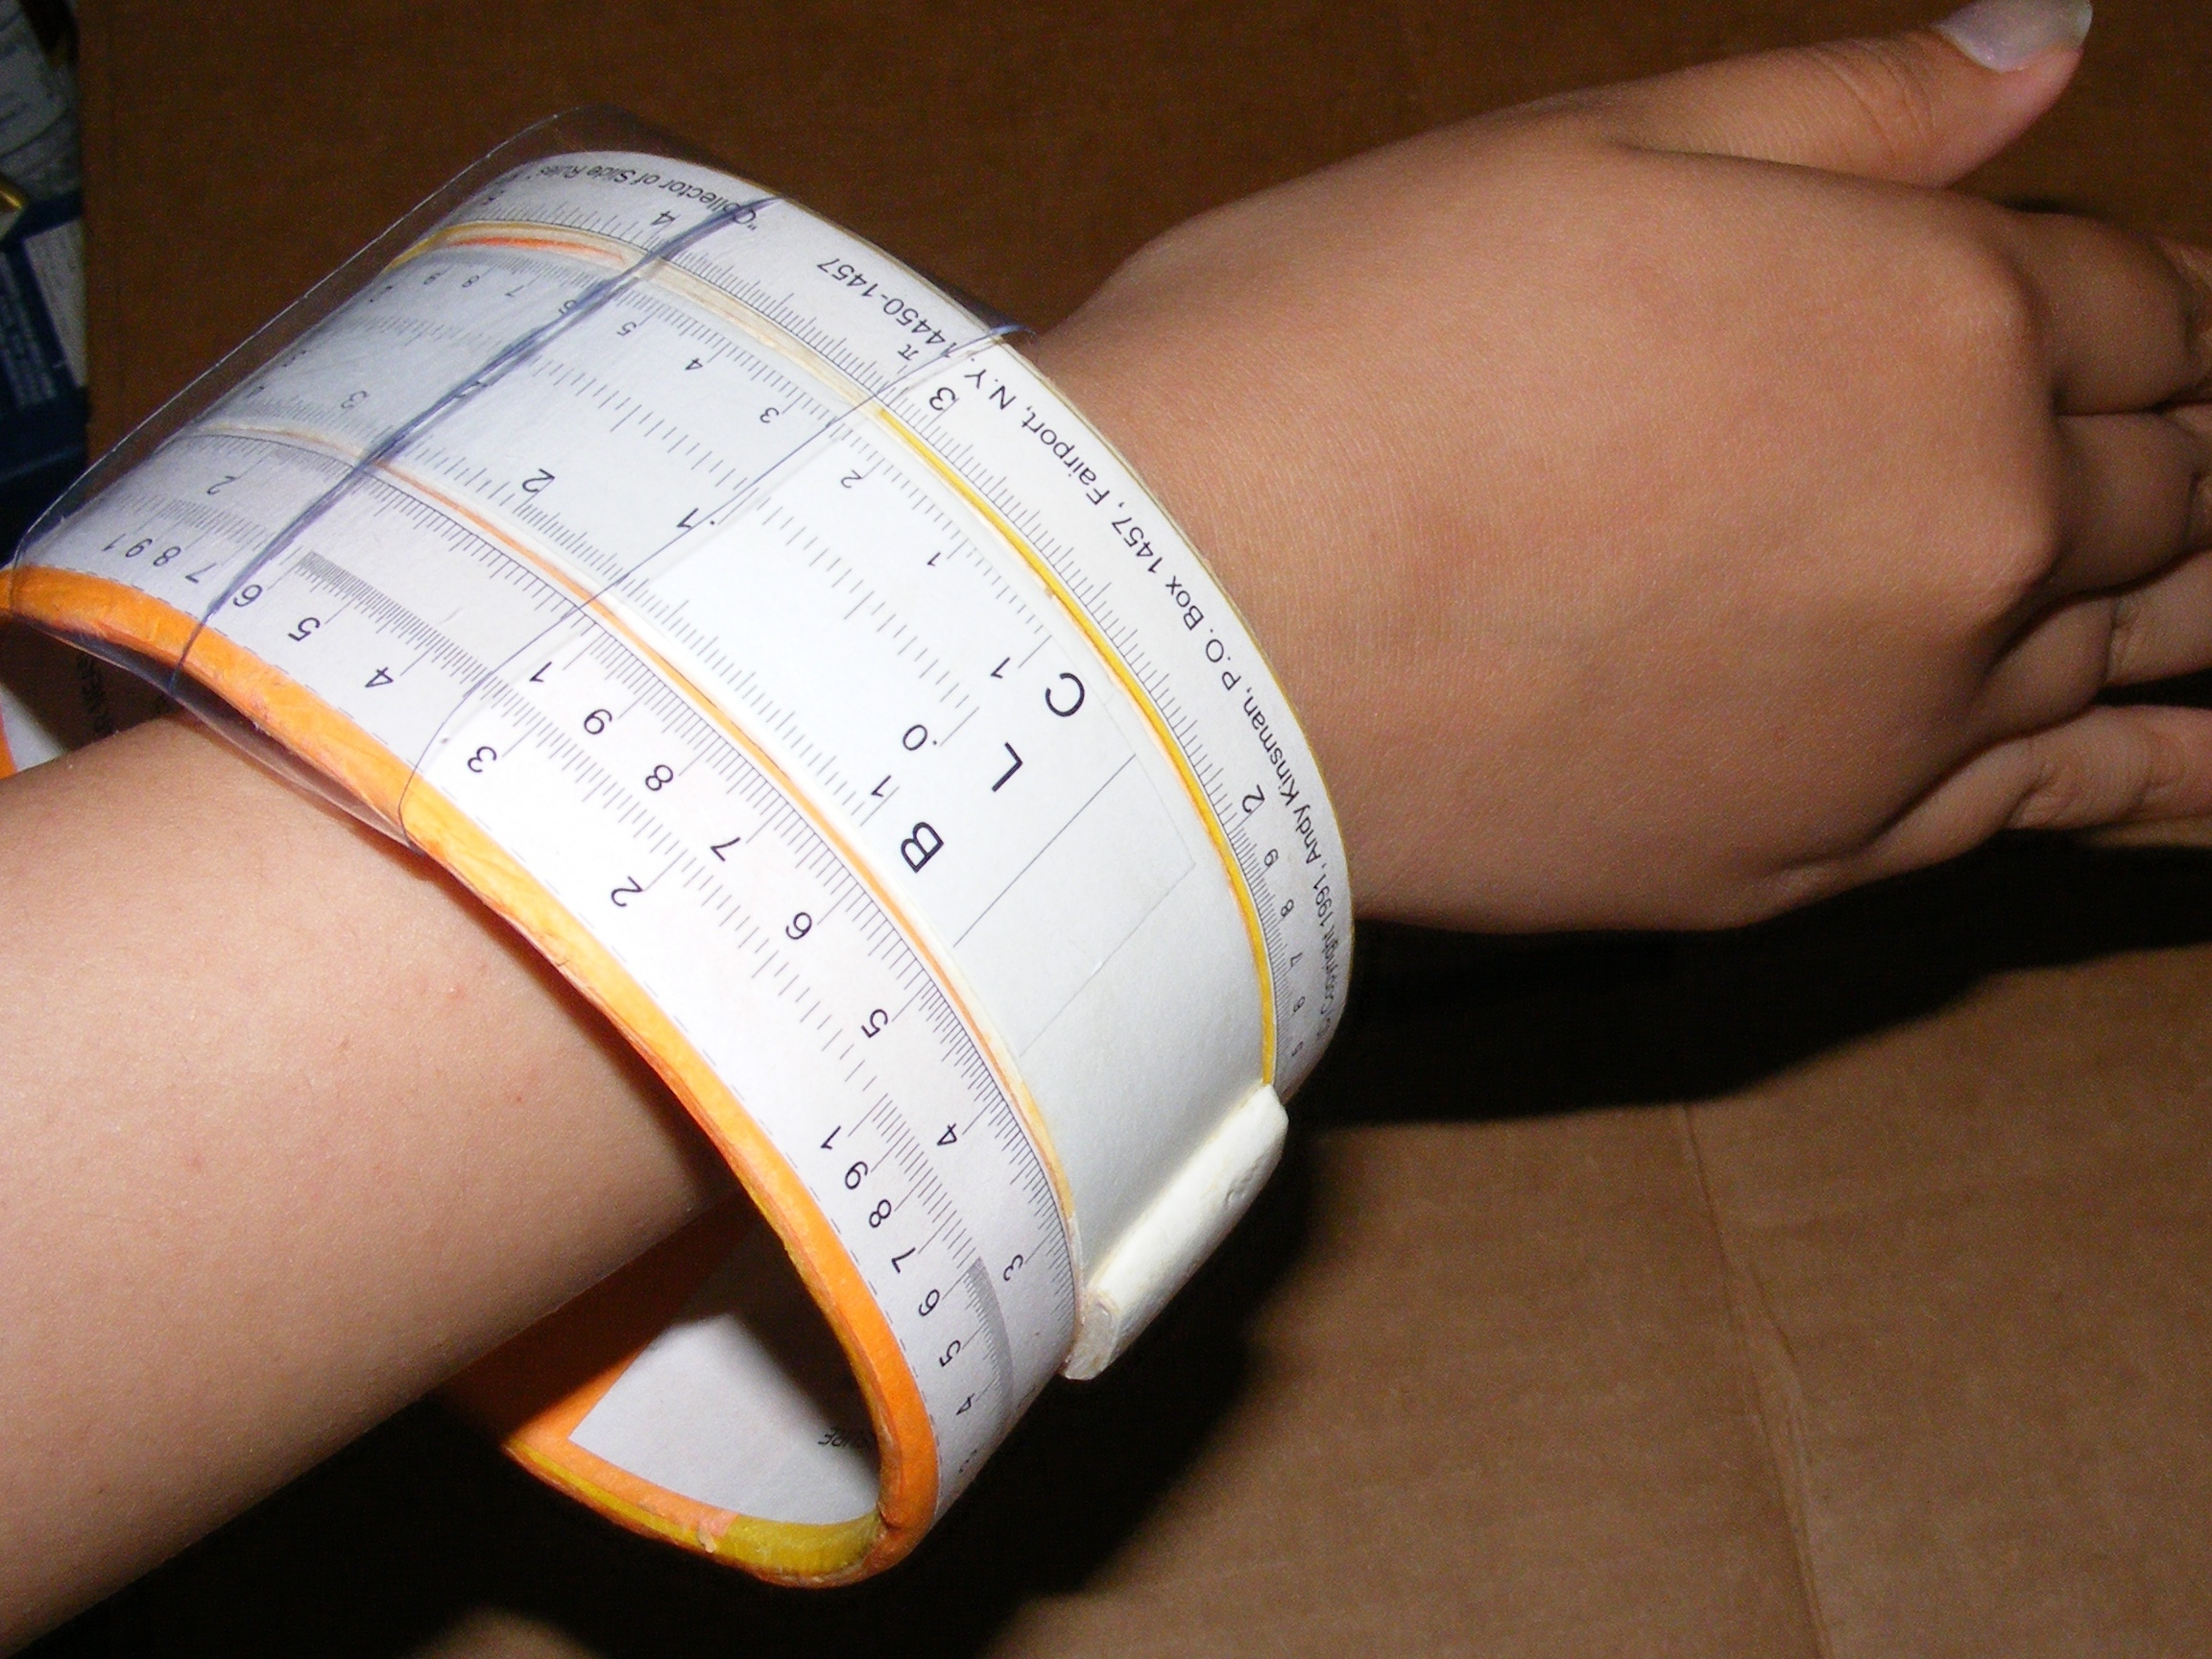
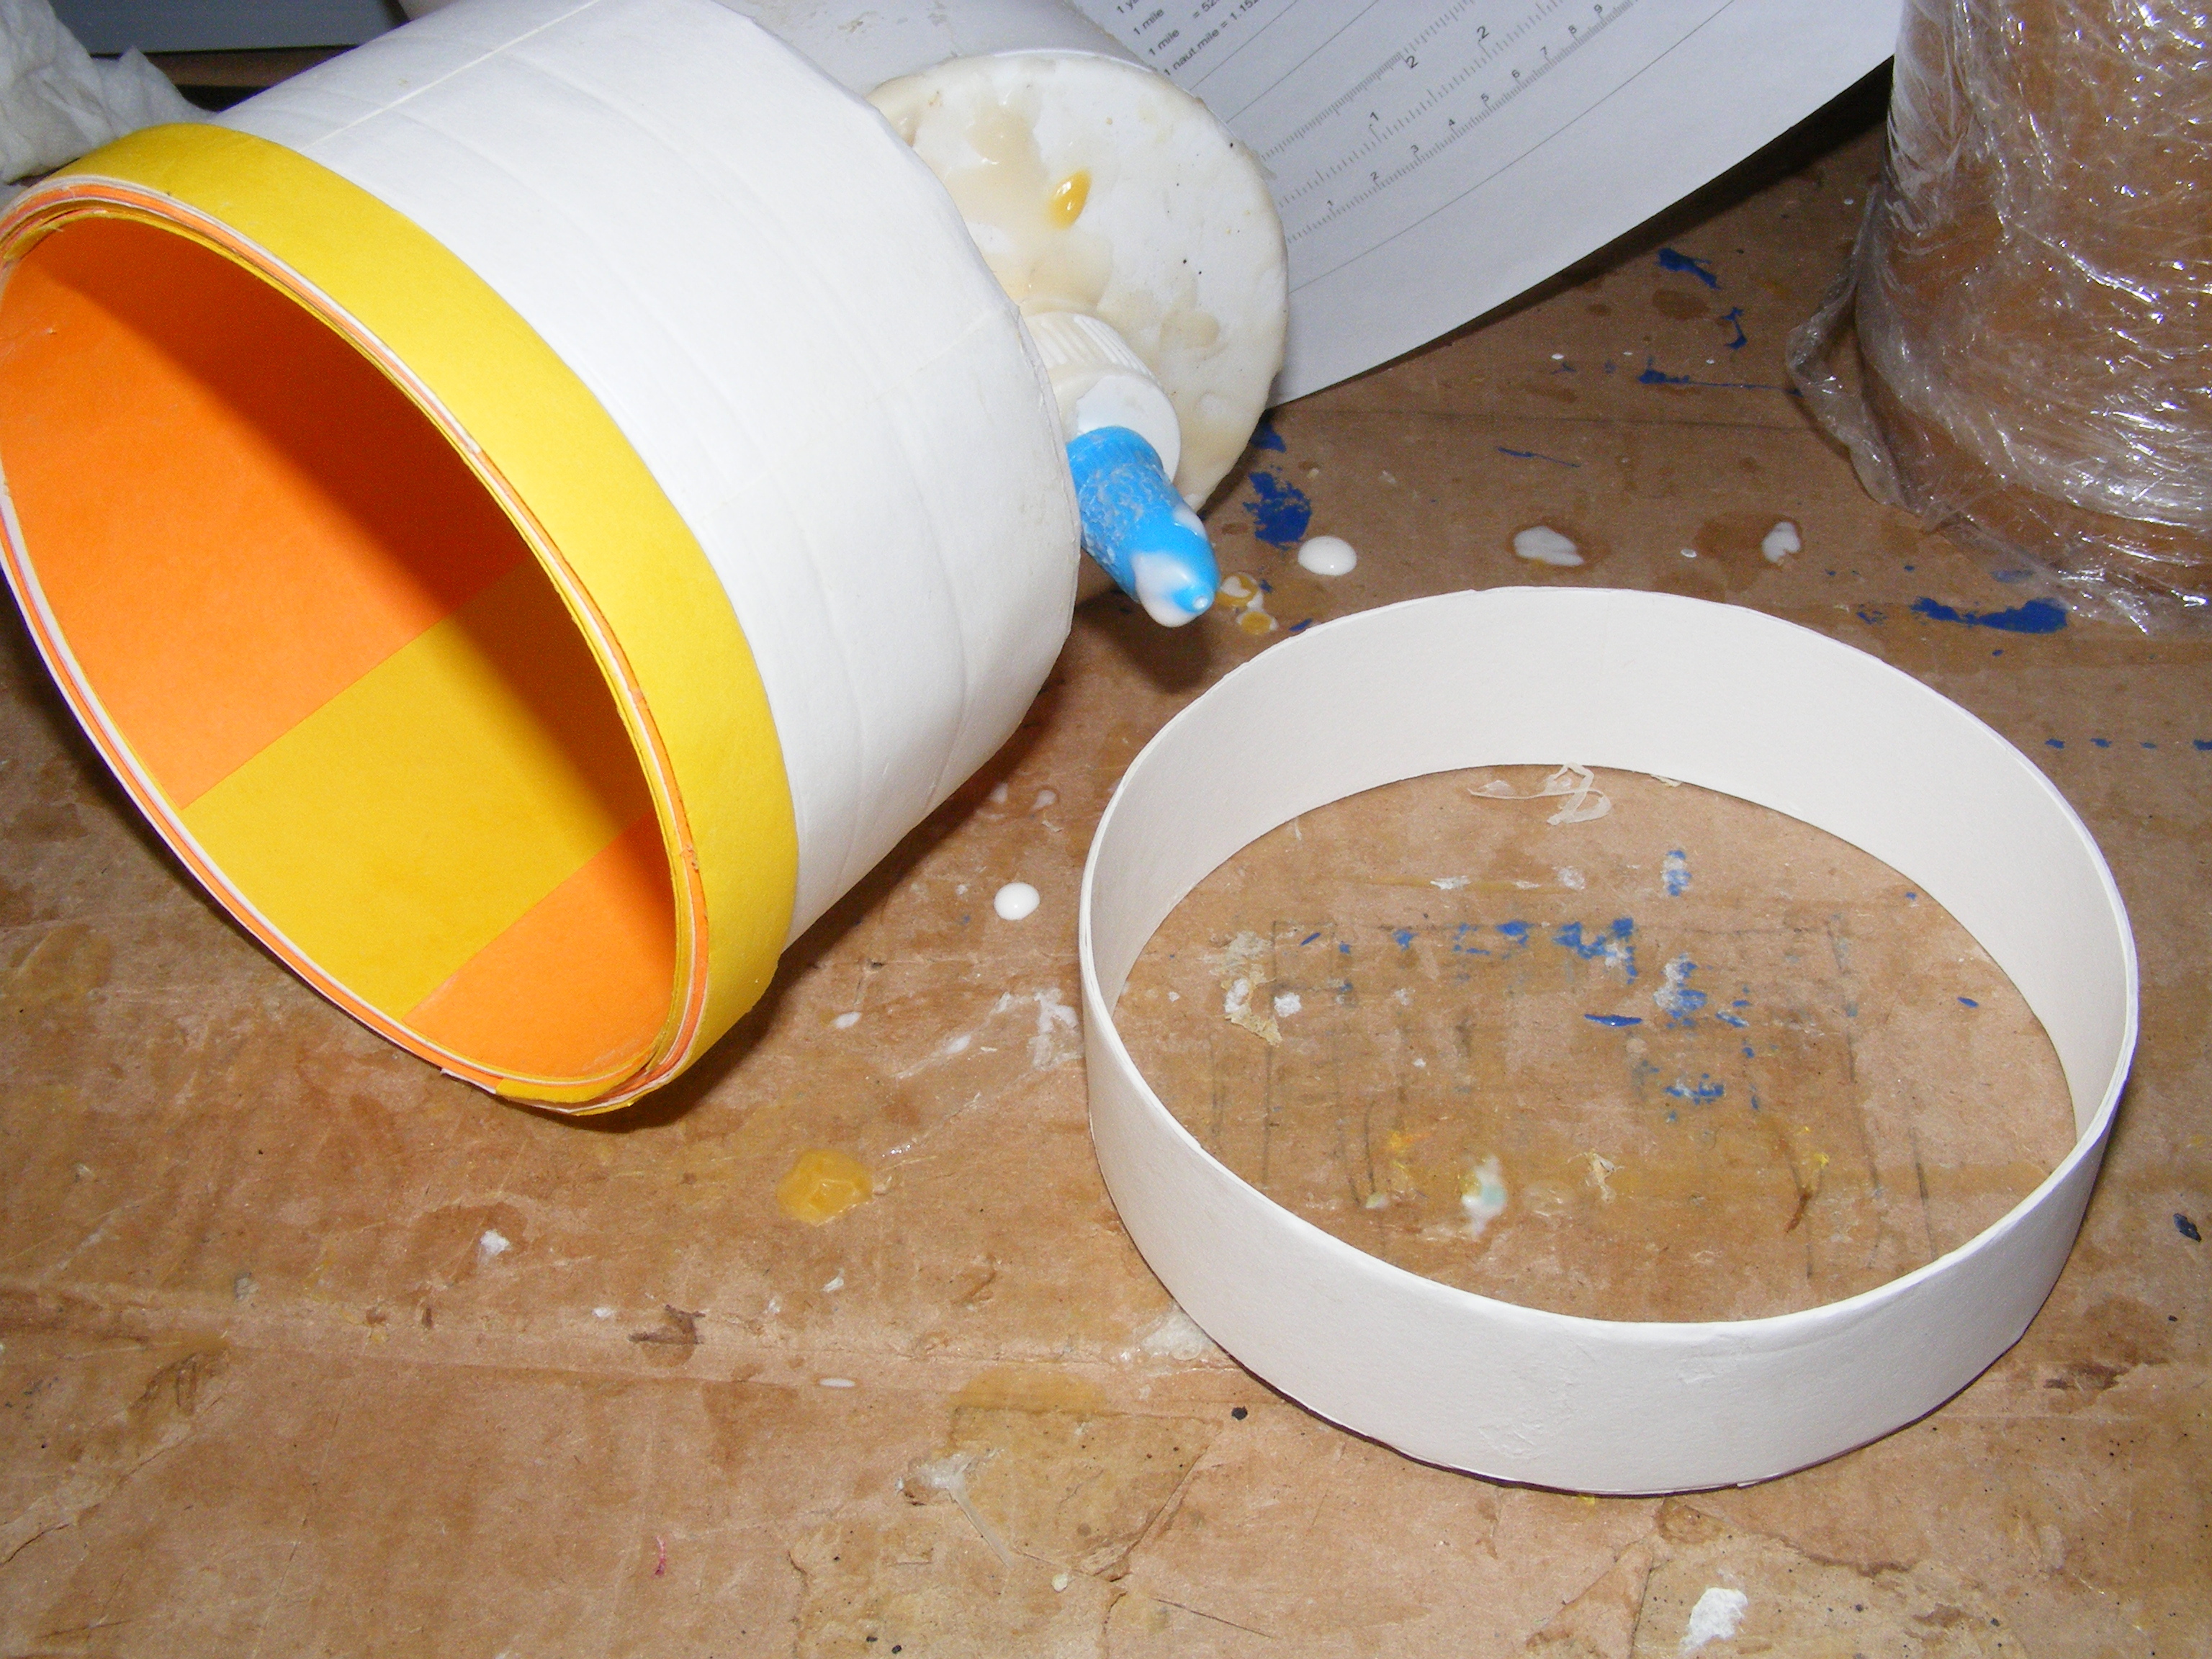
When you have two or three layers, slide off to test that you can get it off the jar.

Position back on the jar and continue adding layers of cardstock. I think I had about a 9 layer lamination. You get a feel for how thick your lamination should be if it is fairly stiff when it is removed from the jar. It will become stiffer as the glue dries.

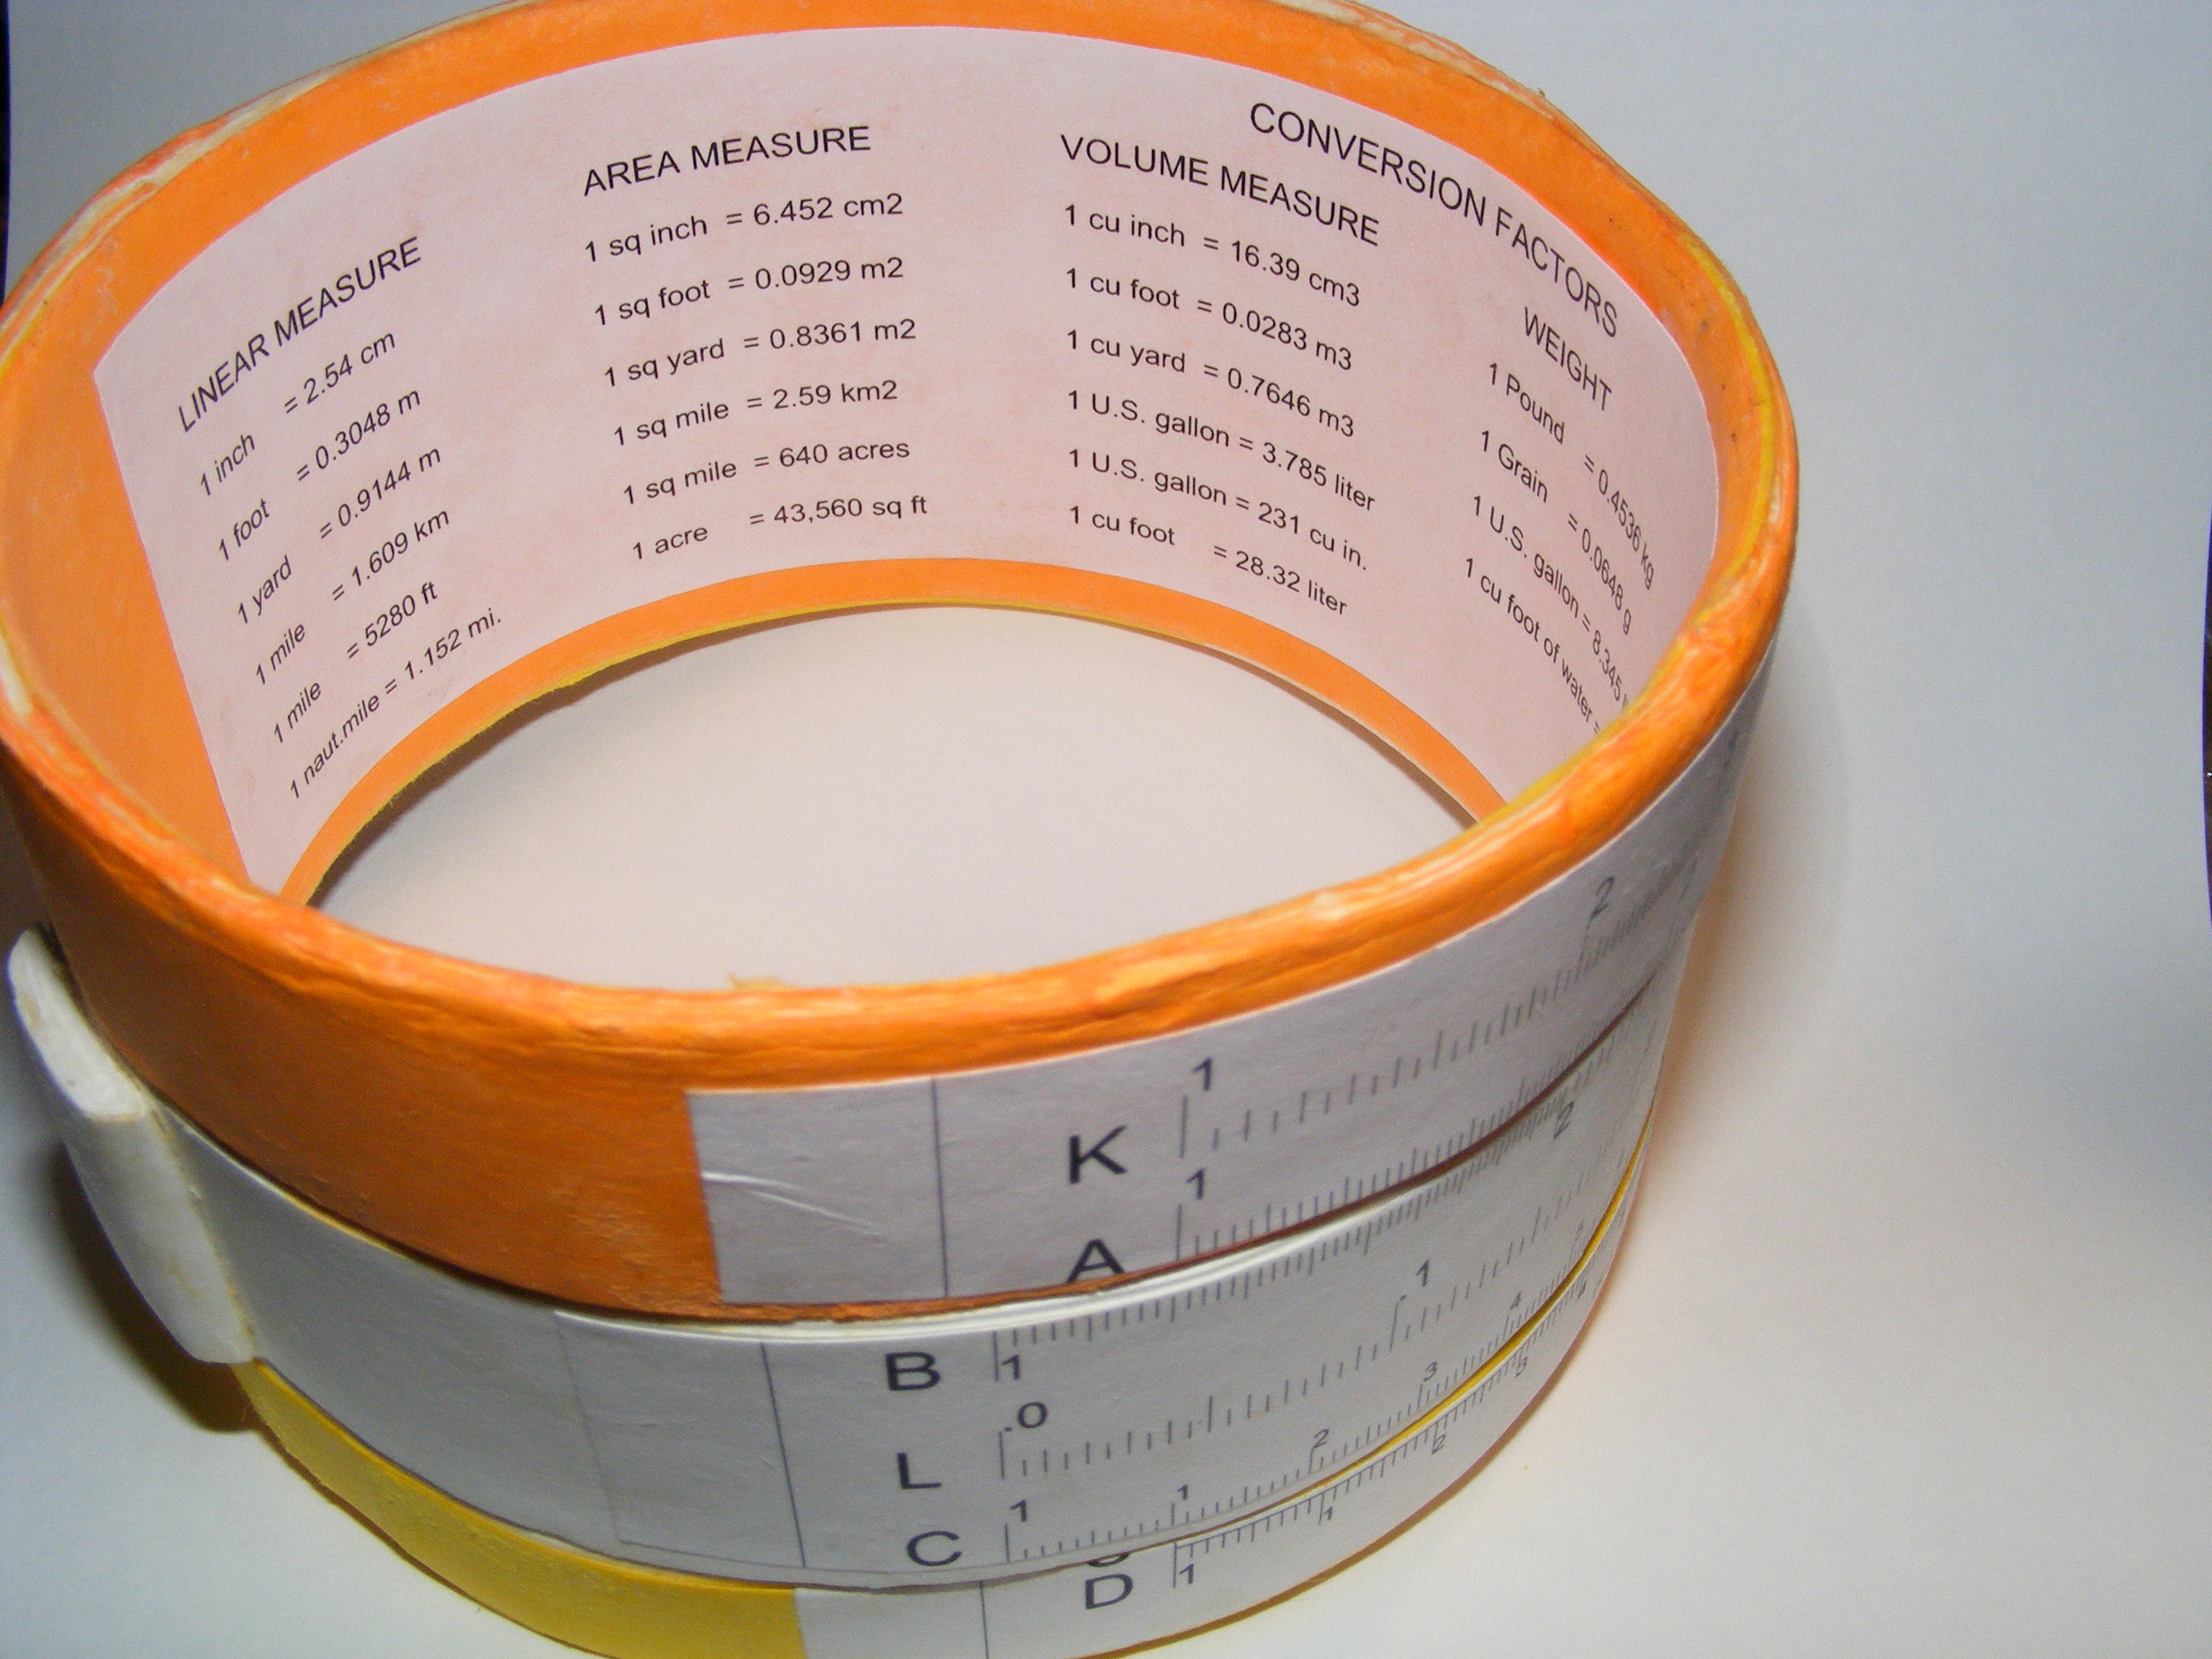
When the tube is still wet, you can work the edges with something like a marker barrel or tool to burnish the edge so it has a smoother finish.

While the main tube is drying, you can start cutting out the bottom portion of the slide rule graphic.

Use that to size the strips that will form the bottom rim of the slide rule bangle.

From now on, the construction needs to be fairly neat so that you line up all the edges of your strips when glued down. It will increase the accuracy of your final product.

Build up the bottom rim till it is about double the thickness of the main tube.

From the template cut out cardstock strips sized to match the slide rule middle slider part.

This time, we need to make a ring that will be free from the main tube so it can rotate. With the lamination strip, glue only at the point where it makes a ring onto itself and allows it to move freely.

Continue to laminate cardstock strips until it reaches the thickness of the base rim.

From the template, cut cardstock strips the size of the top portion of the slide rule model.

Glue on to the main tube to form the top rim of the bangle. This is also the locking ring for the middle slider ring.

I used a painter’s tool to burnish the joint and edges where the middle ring slides. This is to make the middle ring turn more smoothly.

Apply the middle slider graphic to the middle ring.

I had some space on the ring where the graphic did not cover. I put on a thumbtab to help with sliding the ring. It is just several layers of cardstock folded over and glued.

Apply the graphic for the bottom portion of the slide rule.

Line up the middle slider ring.

Apply the graphic for the top portion of the slide rule.

Cut out a piece of plastic from some scrap packaging that will be the clear marker slider.

Use a screw tip or awl to scratch a straight line into the plastic.

Mark it with a marker. Wipe away the excess ink so that the scratched line is highlighted.

Fold over the bangle and tape to secure ends on the back. The indicator marker should be able to slide on the bangle.

Stuck at a boring party and need to calculate your escape trajectory? Use your handy slide rule bangle bracelet.

You can always be fashion-forward with this slide rule bangle.

Go and make the more advanced slide rules with other scales.

Use this technique to make a cryptex bangle bracelet. Wear an enigma.

Conclusion

This project can be adapted to make a wood, metal, plastic or ceramic bangle/bracelet. Since the scale markings are intricate, it may require a laser cutter or other method to print directly on the material used.