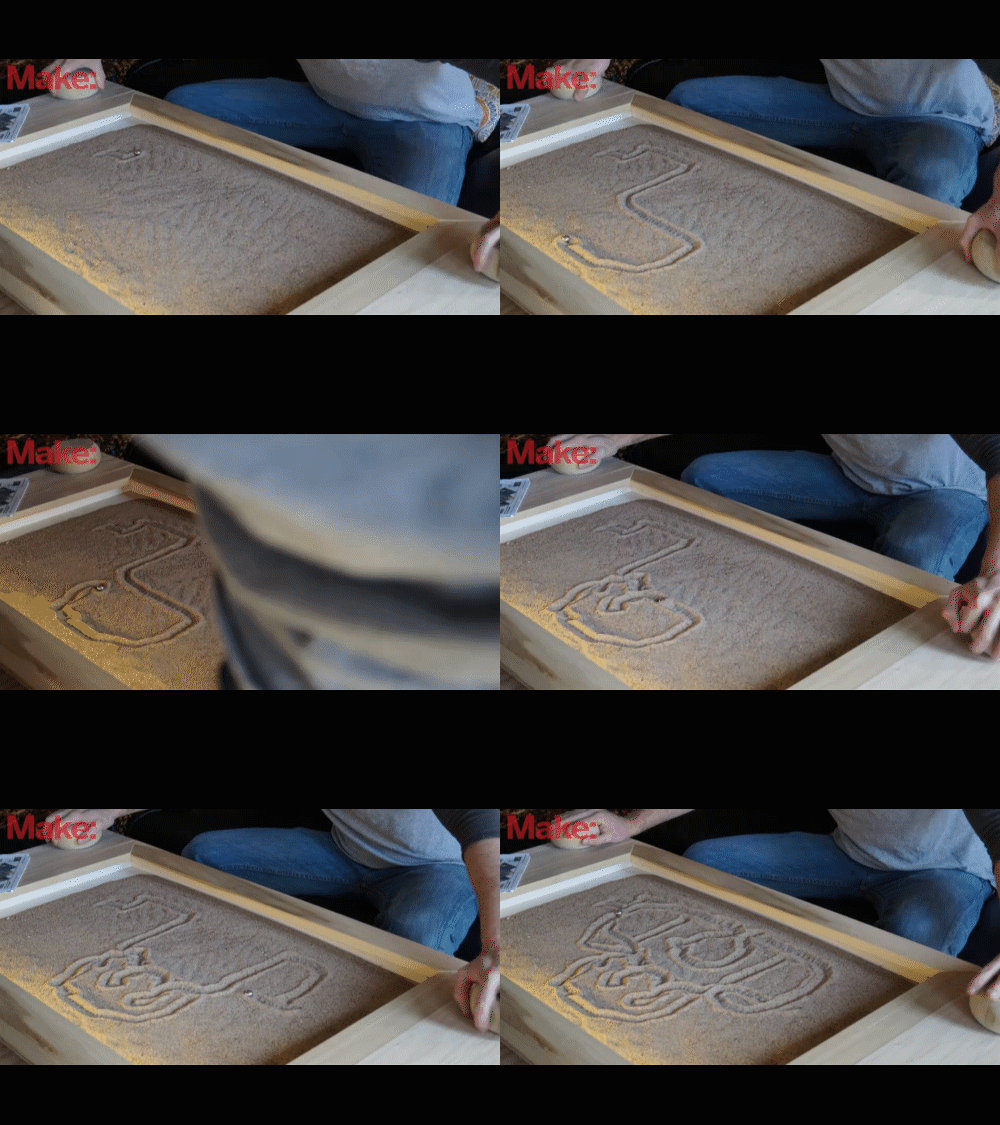

I’ve had this project kind of bouncing around my brain for a long time. I wanted a coffee table that worked like a giant etch a sketch. On the visual side though, I didn’t just want a giant etch a sketch. The image of a zen garden kept popping up when I would envision this project.
After a bit of research, it would appear that I wasn’t the only person who had these ideas. There are some other really cool projects out there like the Zen Table and the giant motorized zen display you can see at Maker Faire . Both are incredible, but both are also motorized, rare, and expensive.
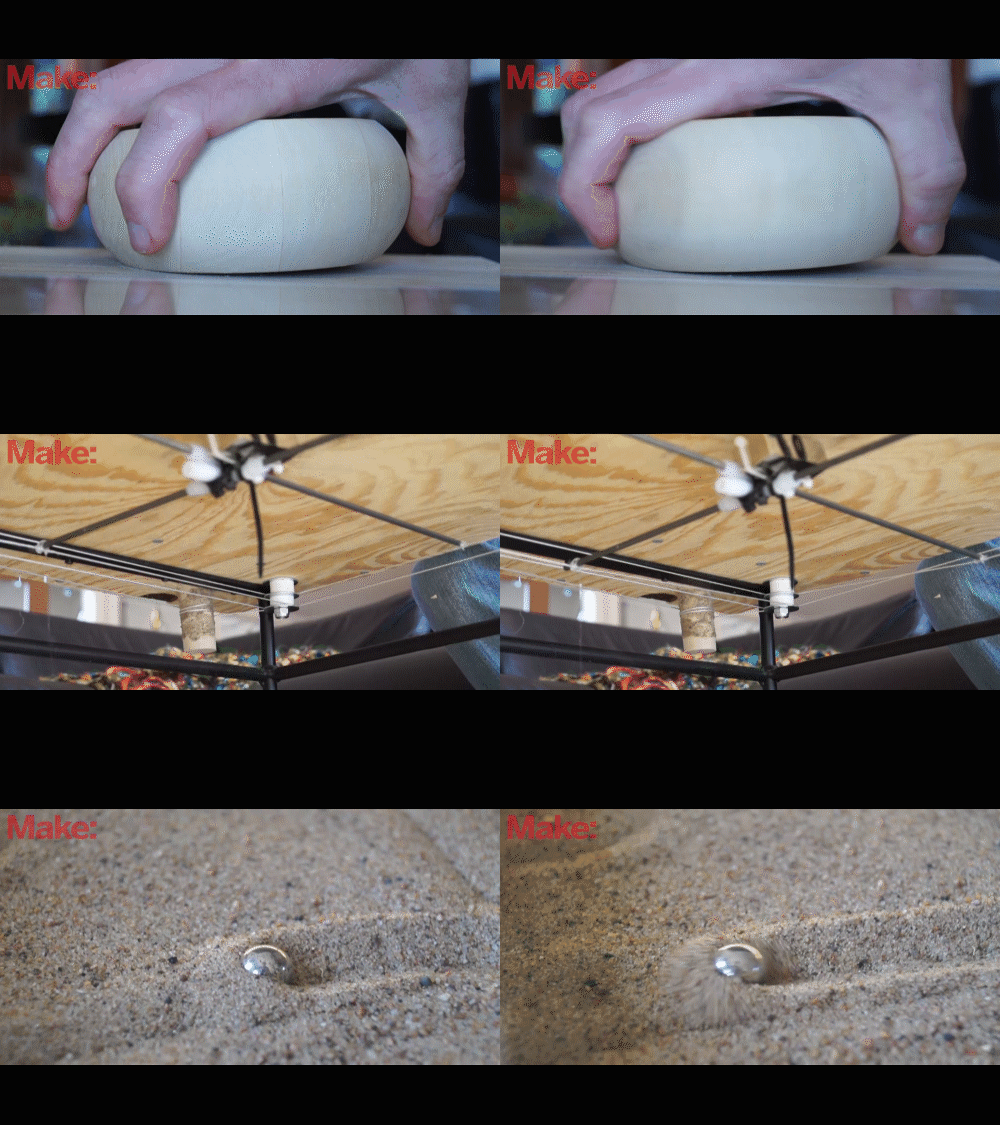
Ultimately, I wanted mine to work just like an etch a sketch with two giant knobs you could turn to move the ball bearing through the sand.
To achieve this goal, I needed to figure out how I was going to make all the bits and pieces function. Luckily, we made a video on this very subject a long time ago!

As you can see, I basically scaled this concept up and it worked!
Instead of using costly pulleys, I used bits of PVC to make some smooth sliding sections for my string. This worked perfectly fine for a prototype, but ultimately for long-term use, I’d suggest going with actual pulleys.
I kept a project vlog for this entire process. Below, you can follow along as I plan out this project and built it in its entirety, complete with mistakes.

In the first session I outlined what I wanted to do. Then, I spent some time brainstorming how it would actually work. As you can see, I managed to get the motion system nearly completed! At least I was able to prove the concept would work.

In the 2nd episode I started to assemble the table itself. I mounted the legs, which I already had from a previous table, to the system and began adding pieces. It soon became evident that I am somehow incapable of sawing a perfect 45 degree angle, so I finally bought a miter saw. I should have purchased one of those long ago, the cuts are so much better.
I also slapped some white paint into the area where the sand will reside. I was hoping this would not only help seal things to prevent sand from spreading, but also look good.

Episode 3 brings things together a bit visually. Adding the handles that you turn, as well as all the trim pieces, makes it look just the way I wanted.

In this final episode you can see how it all came together… and apart, then together again. My initial system using string functioned for a bit, but ended up loosening up and wasn’t going to work for an extended amount of time. I re-strung everything and added springs into the system to retain tension. At this point, I was ready to reveal it to the world!
ADVERTISEMENT


