This article first appeared in MAKE Volume 38, on pages 50–51.
A maker and a photographer have more in common than you might think. Many photographers build their own gear, and many makers are great photographers. There is so much creativity and innovation at the intersection of these two communities that I decided, back in 2006, to start an entire blog dedicated to chronicling them. Presented below are ten of the cleverest, most inspiring, and most useful maker-photographer projects I’ve seen in my eight years at the helm.
Laser Lens Smartphone Macro Rig
Smartphone cameras have evolved to the point where most of us are carrying semi-pro cameras around in our pockets all the time. One area where they fall short, however, is extreme macro photography, and that’s unlikely to change anytime soon due to the relatively small demand for this kind of photography among most users. But if you’re a macro junkie, this easy hack using the laser lens from an old CD or DVD player makes it possible for your phone to capture amazing close-up details you’ve never seen before. Just perform a “lensectomy” on an old DVD player or optical drive, mount the laser lens on a piece of cardboard for easy handing, and mount it temporarily over your phone’s built-in lens with a bobby pin and/or piece of tape.
Flash BG/Photobomb Projector
Saying goodbye to a beloved SLR is never easy. If your old workhorse camera is past its prime, here’s a fun, clever, useful way to save it from the trash bin.
If you stop to think about it, a camera and a projector are basically the same thing, only in reverse. Instead of tossing your old camera, convert it into a slide projector by fixing a strobe where the back used to be. Since the projected image only exists for a fraction of a second when the flash fires, this device can be used to project backgrounds and other images into photographs that are not visible to onlookers. Equip it with an optical slave strobe (which fires when it detects the light from another flash) you can even “photobomb” other cameras, projecting images into other people’s photographs that will probably not be noticed until the pictures are examined. Use with care!
Ace of Spades “Flashcard”
You know how all party photos look the same? Flat, pale, overexposed faces with red eyes? That’s what happens when you use a direct flash. The strobe head on top of your camera is too bright, and too close to the lens, to provide good lighting in close quarters. Here’s a quick ‘n’ easy fix: attach a playing card to the strobe head with a rubber band. Most of the light gets bounced to the ceiling and walls to provide softer indirect light, while a much smaller part hits the subject directly, removing eye shadows. Rotating the card to face back or to one side will give different results, depending on your environment. Experiment!
Shampoo Bottle Lenscap Clip
Hand to heart, how many times have you lost a lens cap? Left it behind on a bench or on the ground? A common problem, of course, and though there are scads of lens-cap-finders and -minders on the market to combat it, this quick, eco-friendly, DIY version cut from the side of an old shampoo bottle is my personal fave. You can customize the shape to suit your style, and maybe even add a small hole at the bottom to hang your keys while you’re at it. Then just slip it on your neck strap and you’re good to go.
DIY Bokeh
This is probably my all-time favorite photo hack, and certainly the most popular we’ve ever shared on the blog. It’s quick, it’s easy, and it’s so gratifying as to be almost magical. All you need is a piece of cardboard and a sharp hobby knife. Cut out whatever shape you want, put the cardboard over the lens, and shoot through your custom “pinhole.” Any out-of-focus light in the photo will take on the shape you cut into the card. A group at MIT has even developed a way to encode information in these shapes as “bokodes,” which enables ordinary cameras to capture and communicate “hidden” information in all kinds of fun ways.
Shower-head Tilt Shift Lens
Tilt-shift is a photographic effect that can be imitated in software (à la Instagram), but is best as an in-camera effect. It creates a beautiful “miniature” feel, making full-size vistas look like small diorama or model-railroad layouts. Optically, it requires a lens that is slightly off-axis from the camera’s focusing plane which—as you can imagine—is something most manufacturers strive to avoid! Since the internet tilt-shift craze companies like Lensbaby have started providing off-the-shelf tilt-shift lenses, and though I love my Lensbaby I will always have a soft spot for this DIY version made by mashing up a Canon “Nifty Fifty” lens, a shower head, and a heavy-duty rubber glove!
Turkey Pan Beauty Dish
When it comes to taking portraits the light is every bit as important as the camera and lens, maybe even more. Ugly lighting makes even the comeliest subject unpleasant to look at, and conversely, beautiful lighting can make even the ah, less well-formed among us look downright handsome. One of the most useful tools for this purpose is called, sensibly enough, a “beauty dish.” Like a lot of pro-line tools, a purpose-manufactured beauty dish is pricey, and can set you back as much as a couple hundred bucks. You’d be shocked how close an effect you can get from a $3 disposable Turkey pan and a bit of hacking, a technique invented by Megan Abshire. PRO TIP: Take the turkey out of the pan before mounting it on your flash. (Maybe clean it first, too.)
“V-card” Flash Reflectors
Even if you don’t own any fancy lighting gear, you can still get great photographs using low-cost reflectors, which help you move and shape already existing light.
This specific configuration, called a V-card, is freestanding and especially handy (no stands or helpers required), as well as being easy to make. It’s basically just two flat reflectors attached together with a hinge. This version uses hardware-store foam insulation panels for the reflective surfaces and cloth tape for the hinge.
Automated Macro Rail
When you’re taking macro photographs, there’s a complex tradeoff between depth of field, focus, and illumination. The more light you let in by opening the aperture, the smaller the depth of field, i.e. the smaller the range of distances in the image that is well-focused. Getting a very close macro image with a long depth of field is challenging. One of the easiest tricks for doing so involves software “focus stacking;” instead of taking a single image, you take a “stack” of images at various focal lengths, then layer all the images together after the fact to create a single image with a much greater depth of field than could be achieved in-camera. Manually refocusing the lens to get the stack is dicey at best—it’s hard to do without jostling the frame. Some cameras can do automatic focus stacking, automatically taking a series of images focused at a range of distances, but this capability is far from universal. If you have a static subject, one handy low-tech alternative is to leave the camera focus constant while moving the subject gradually towards (or away from) the lens. A system that automatically moves the subject for this purpose is called a “macro rail.” This wonderfully rattletrap homebuilt device uses a PICAXE microcontroller and some spare parts from a dead CD-ROM to create a camera that takes very thinly focused macro photographs. When those photos are stacked (combined) the result is a remarkably sharp macro photo.
Tablet Light Painting for Product Backgrounds
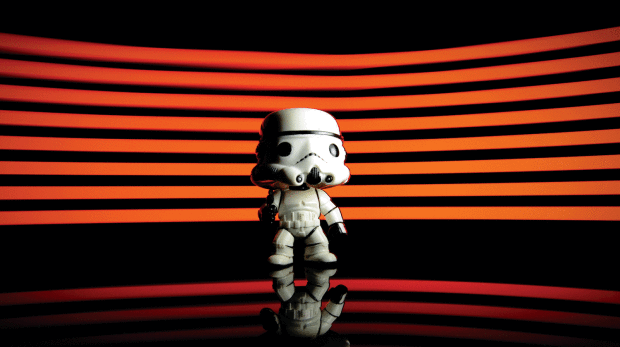
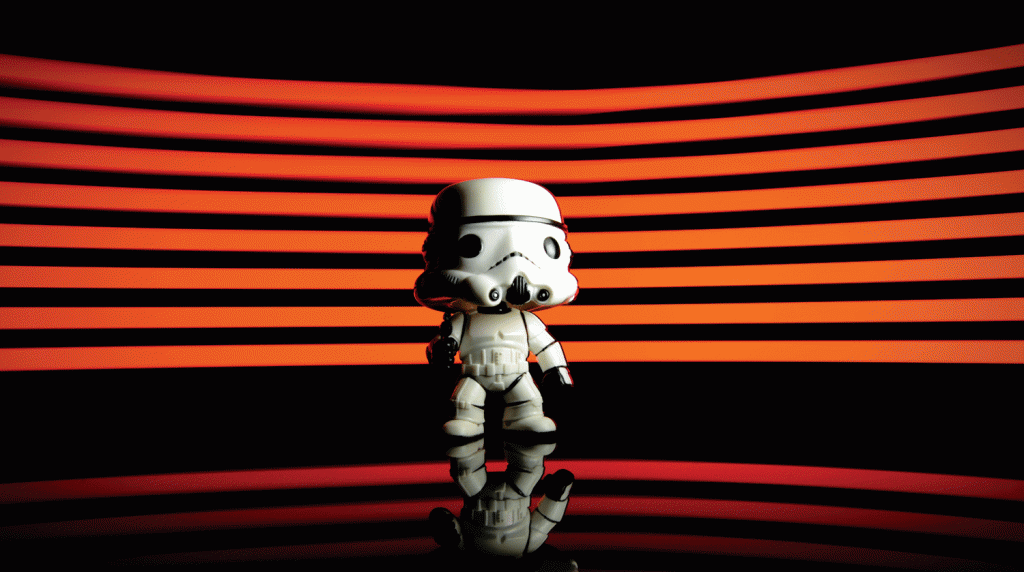
Light painting, in which flashlights, sparklers, LEDs and other lights sources are used to “paint” streaks of glowing light onto long-exposure photos, could have a whole book of hacks unto itself. However, this simple trick of using a tablet or smartphone screen to create a science-fiction look for gadget or product photos remains one of my personal favorites. It gives amazing effects with very little specialized gear. After all, who doesn’t have a smartphone these days? Besides the tablet or other video-enabled device, all you need is a tripod, a dark room, and a camera that can be set to take long exposures. Then you just trip the shutter and “paint” the light from the screen onto the subject by slowly walking or otherwise moving the screen around it.
ADVERTISEMENT


