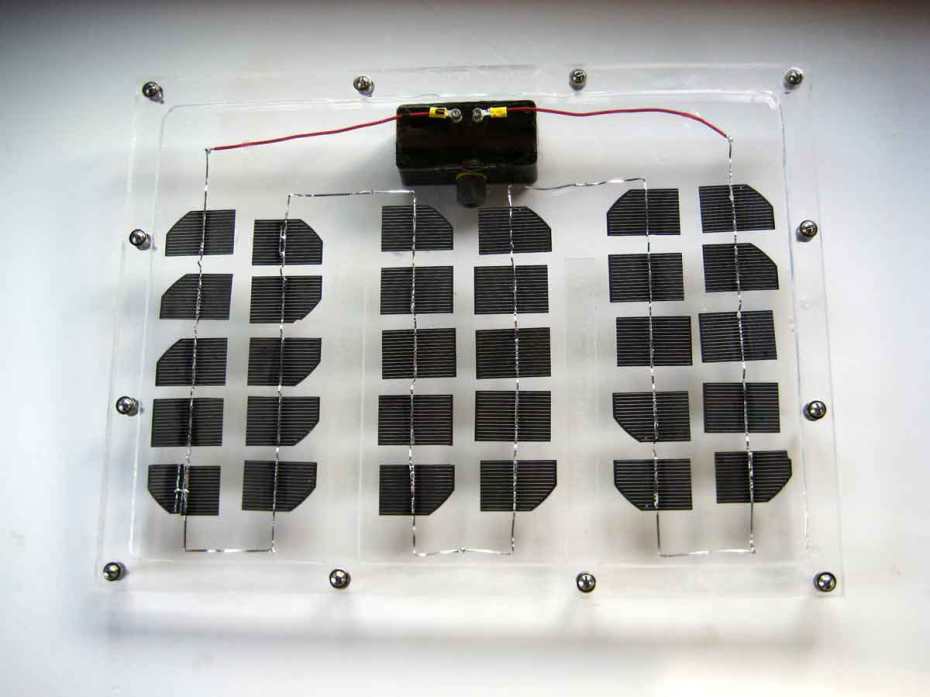
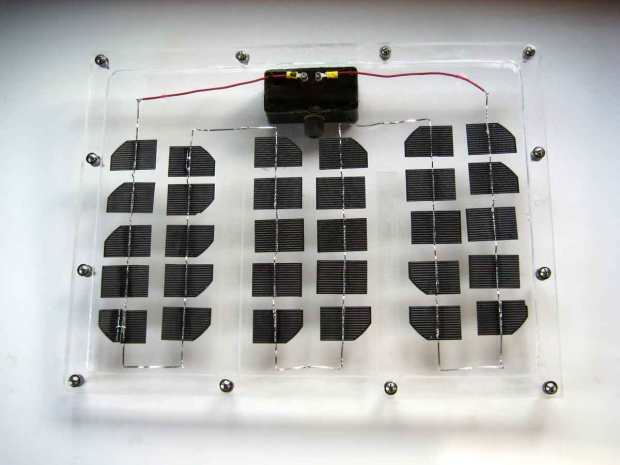
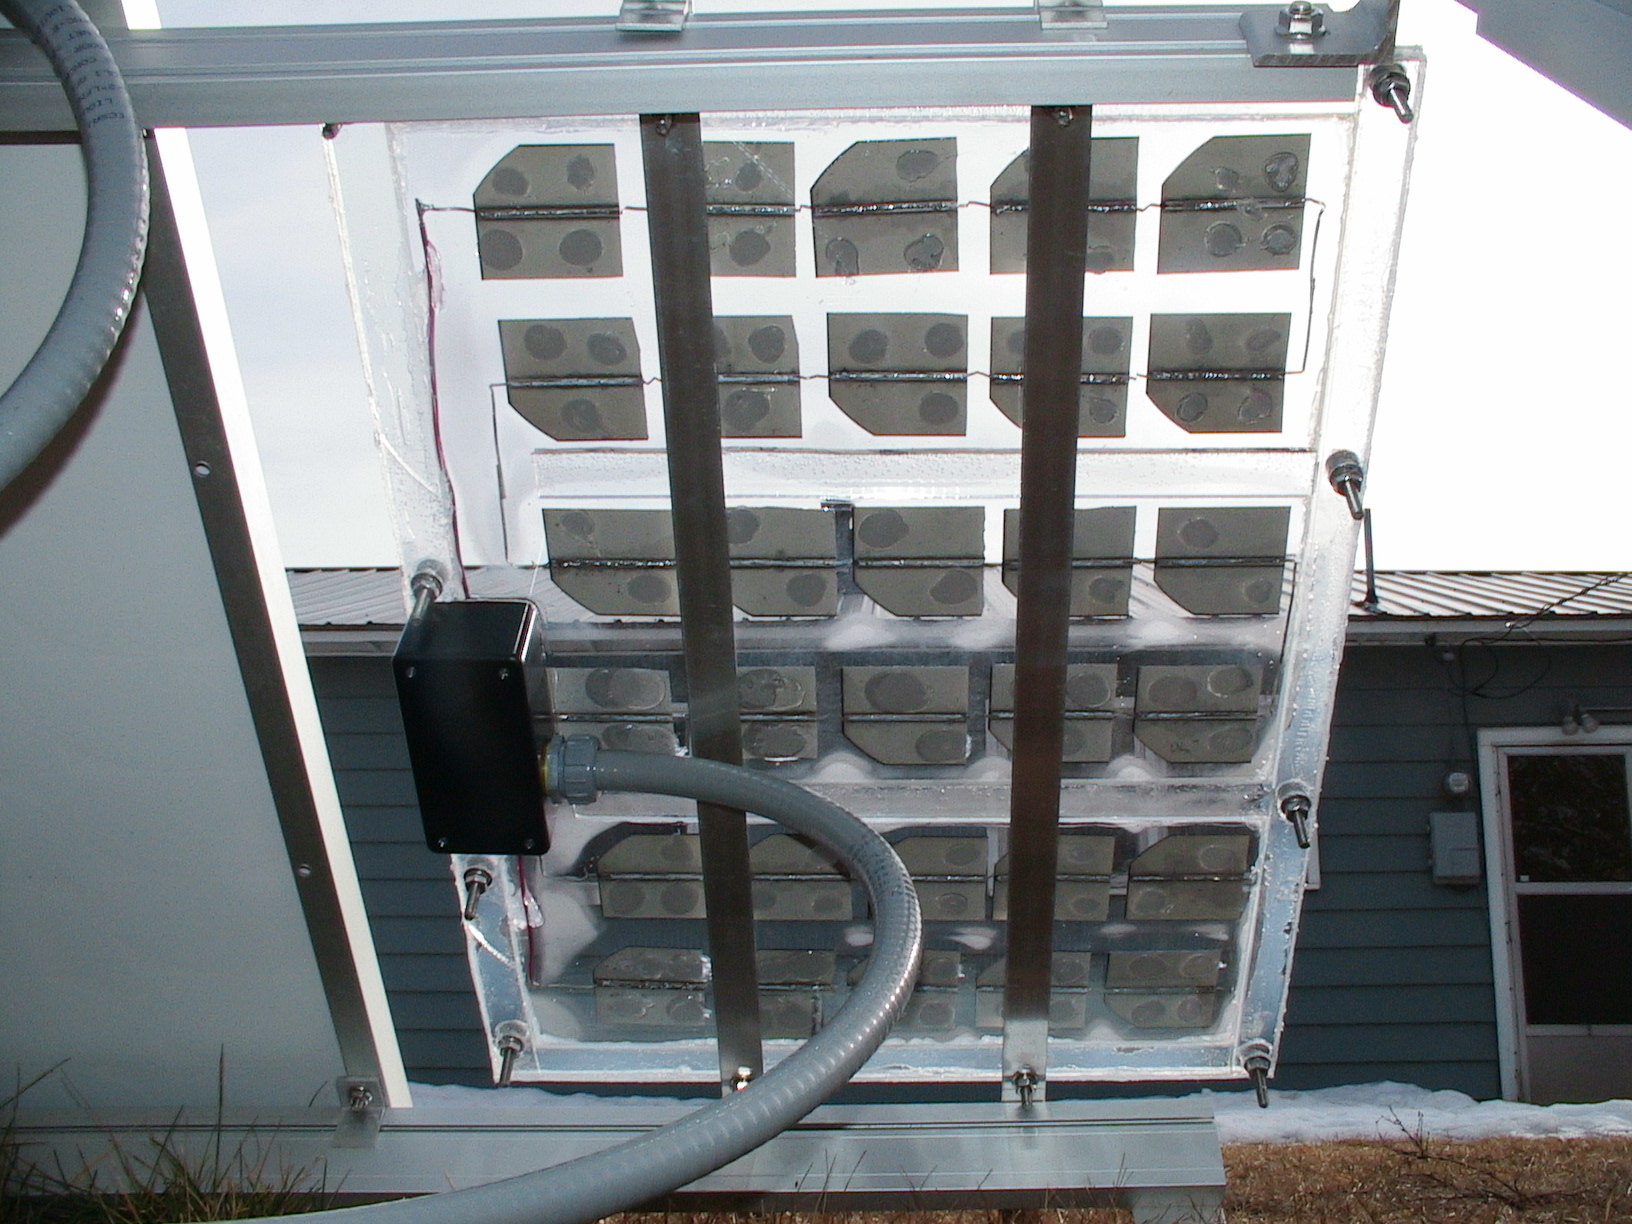
To start, cut the acrylic to the following sizes:
- 2 sheets 18″×24″
- 2 pieces 1″×16″
- 2 pieces 1″×24″
- 2 pieces 1″×10″
If you purchased the acrylic from McMaster-Carr,
it comes in 24″×24″ sheets; you’ll need 2 of them to make all the parts. You can cut them with a jigsaw, but I recommend that you have your local glass company do all your custom cutting. Acrylic is difficult to cut because you have to use the right blade, and cut at the right speed. Many people end up cutting too fast; this results in the acrylic melting and then binding back to itself after the blade has passed.
An alternative is to cut the acrylic with a special acrylic cutting hand blade, which is good for acrylic ⅛” thick or less, but very difficult on our ¼” thick sheets. The method is to score the acrylic on the desired cut line multiple times, then place the sheet on the edge of a solid surface and press down to snap the section off from the rest of the sheet. It’s easier if the score line is farther away from the edge, so that you have more room to press down to snap the sheet.
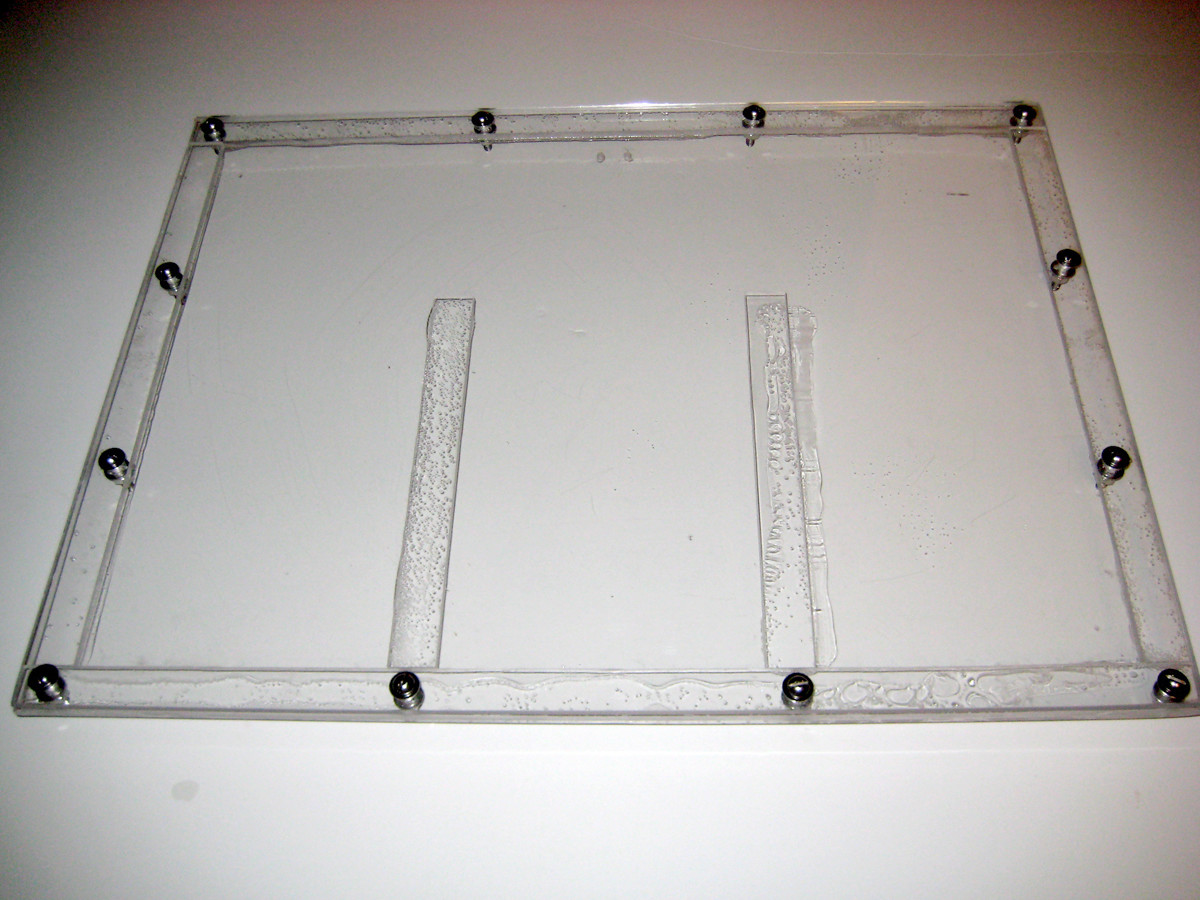
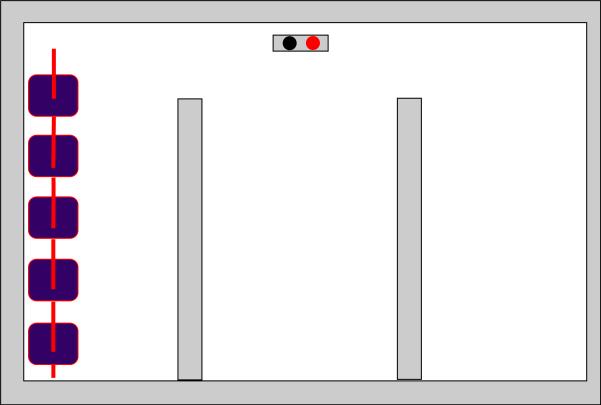
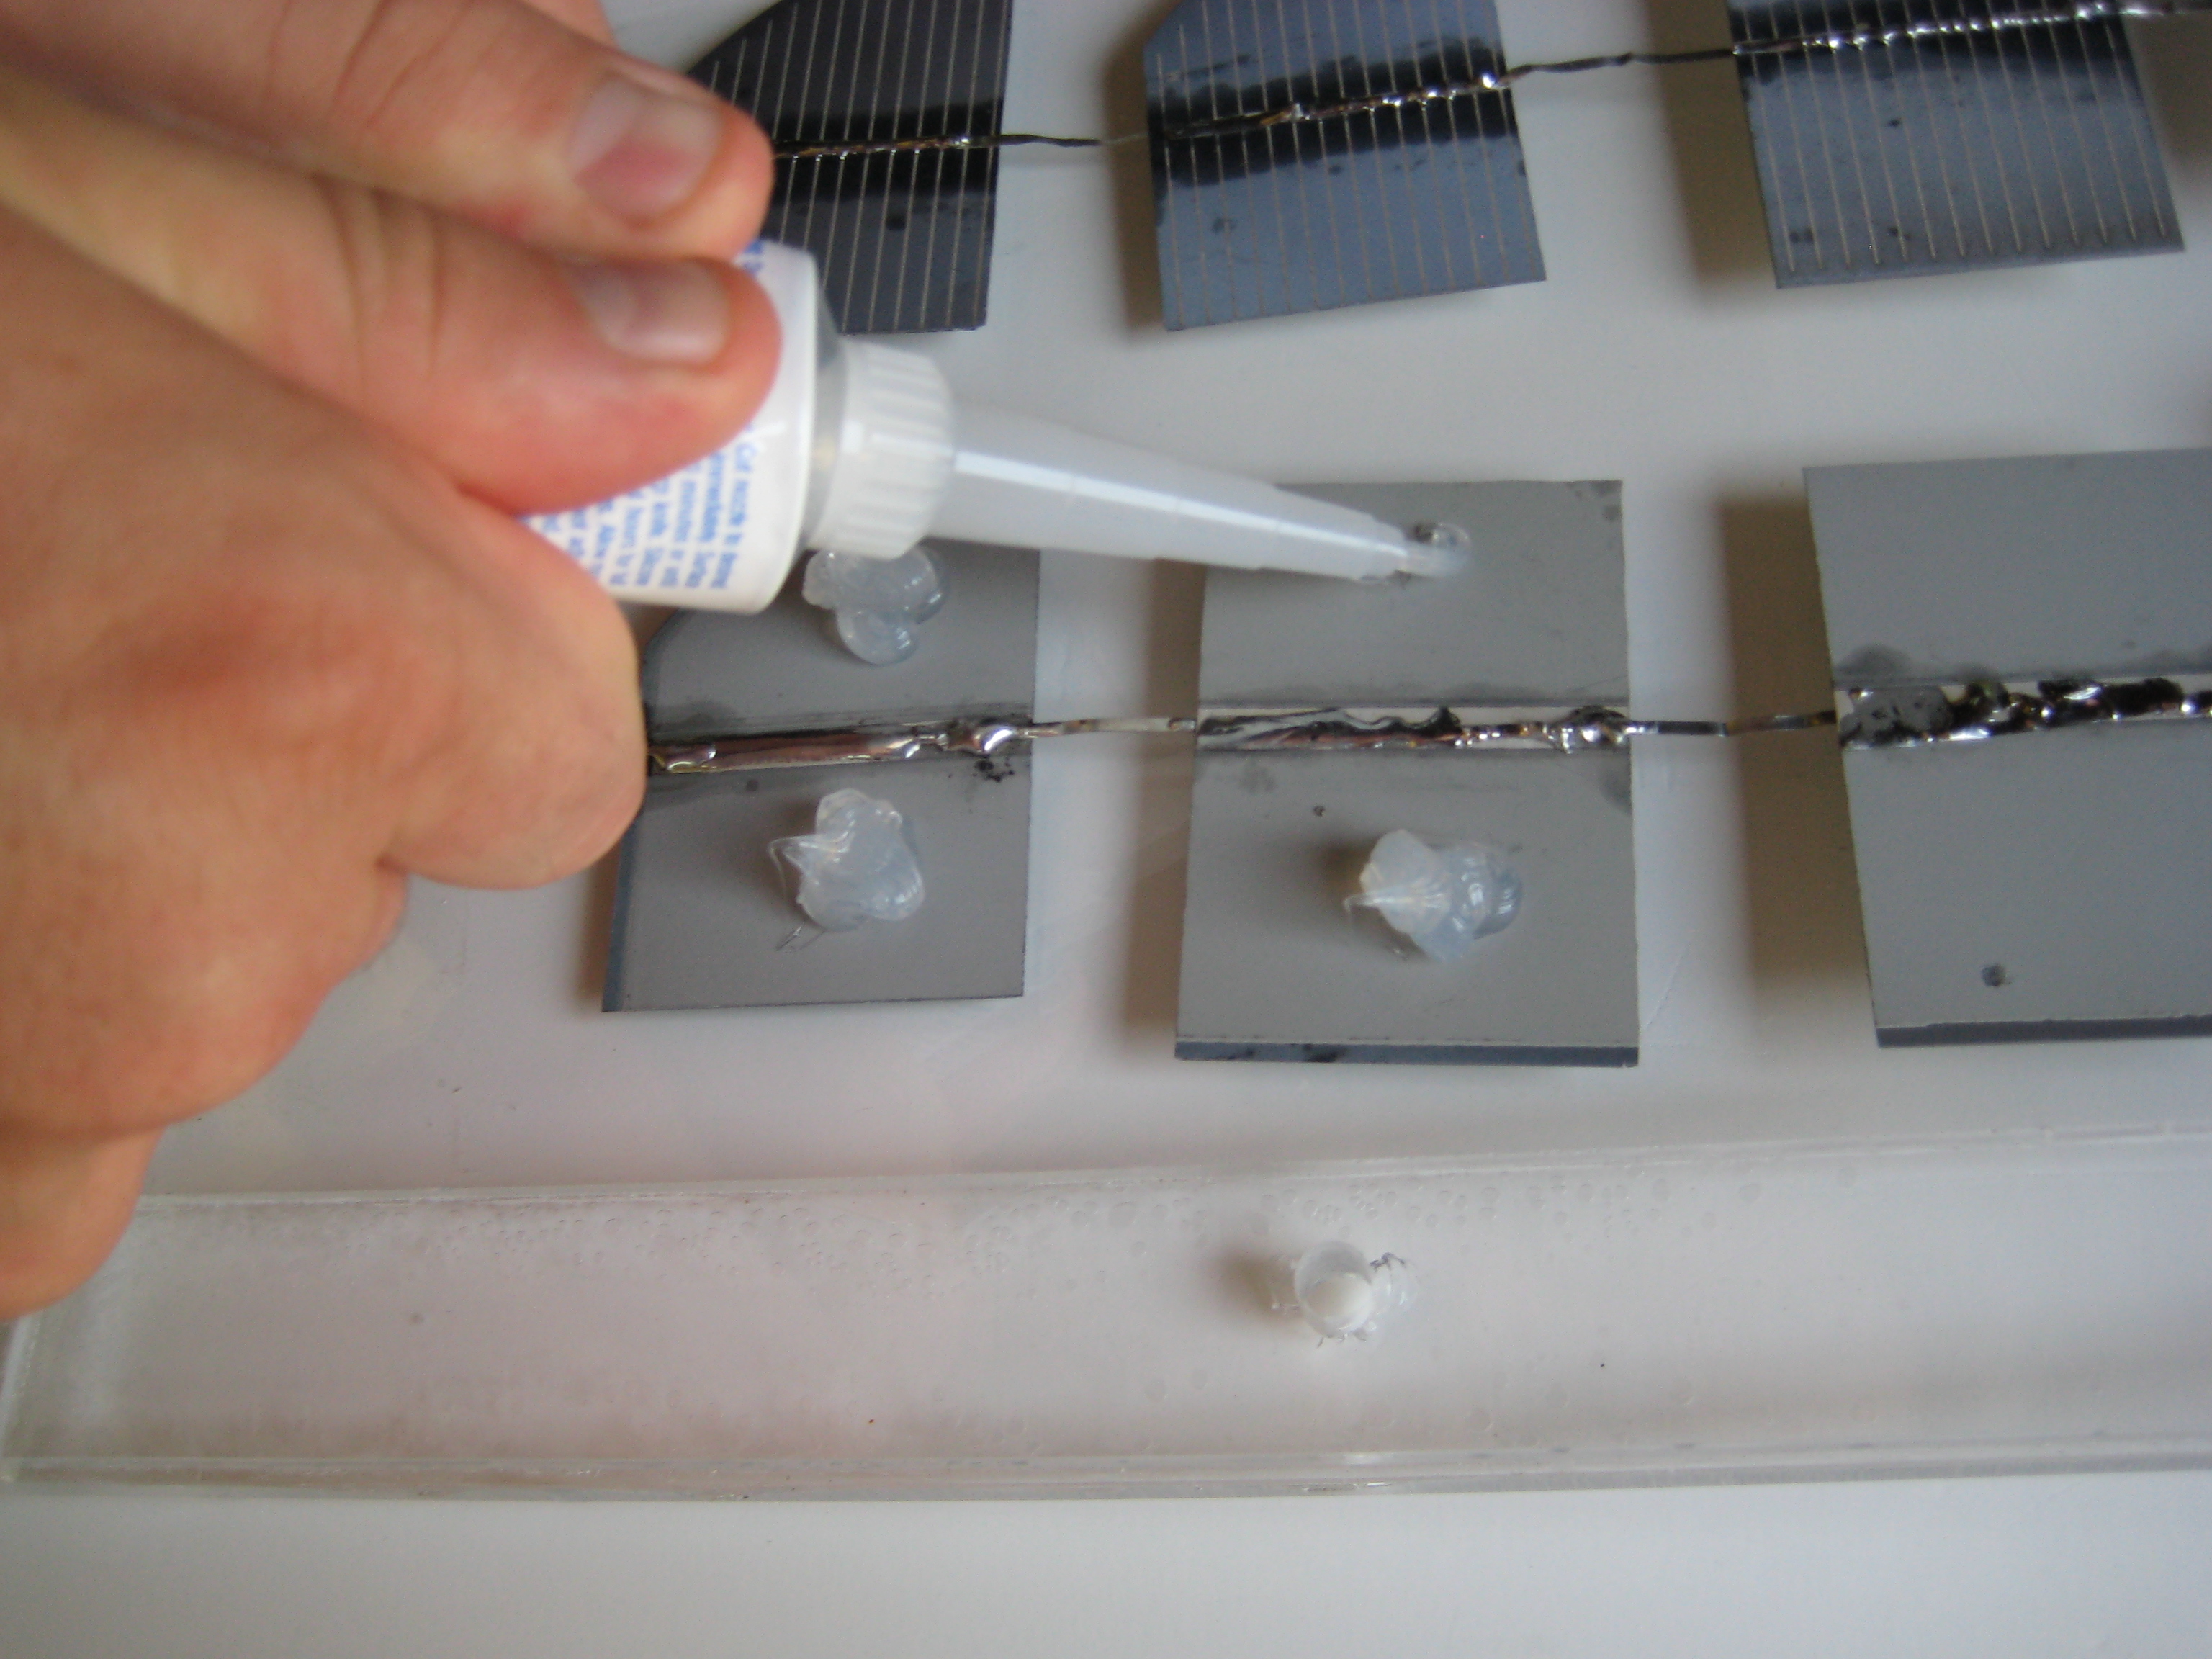
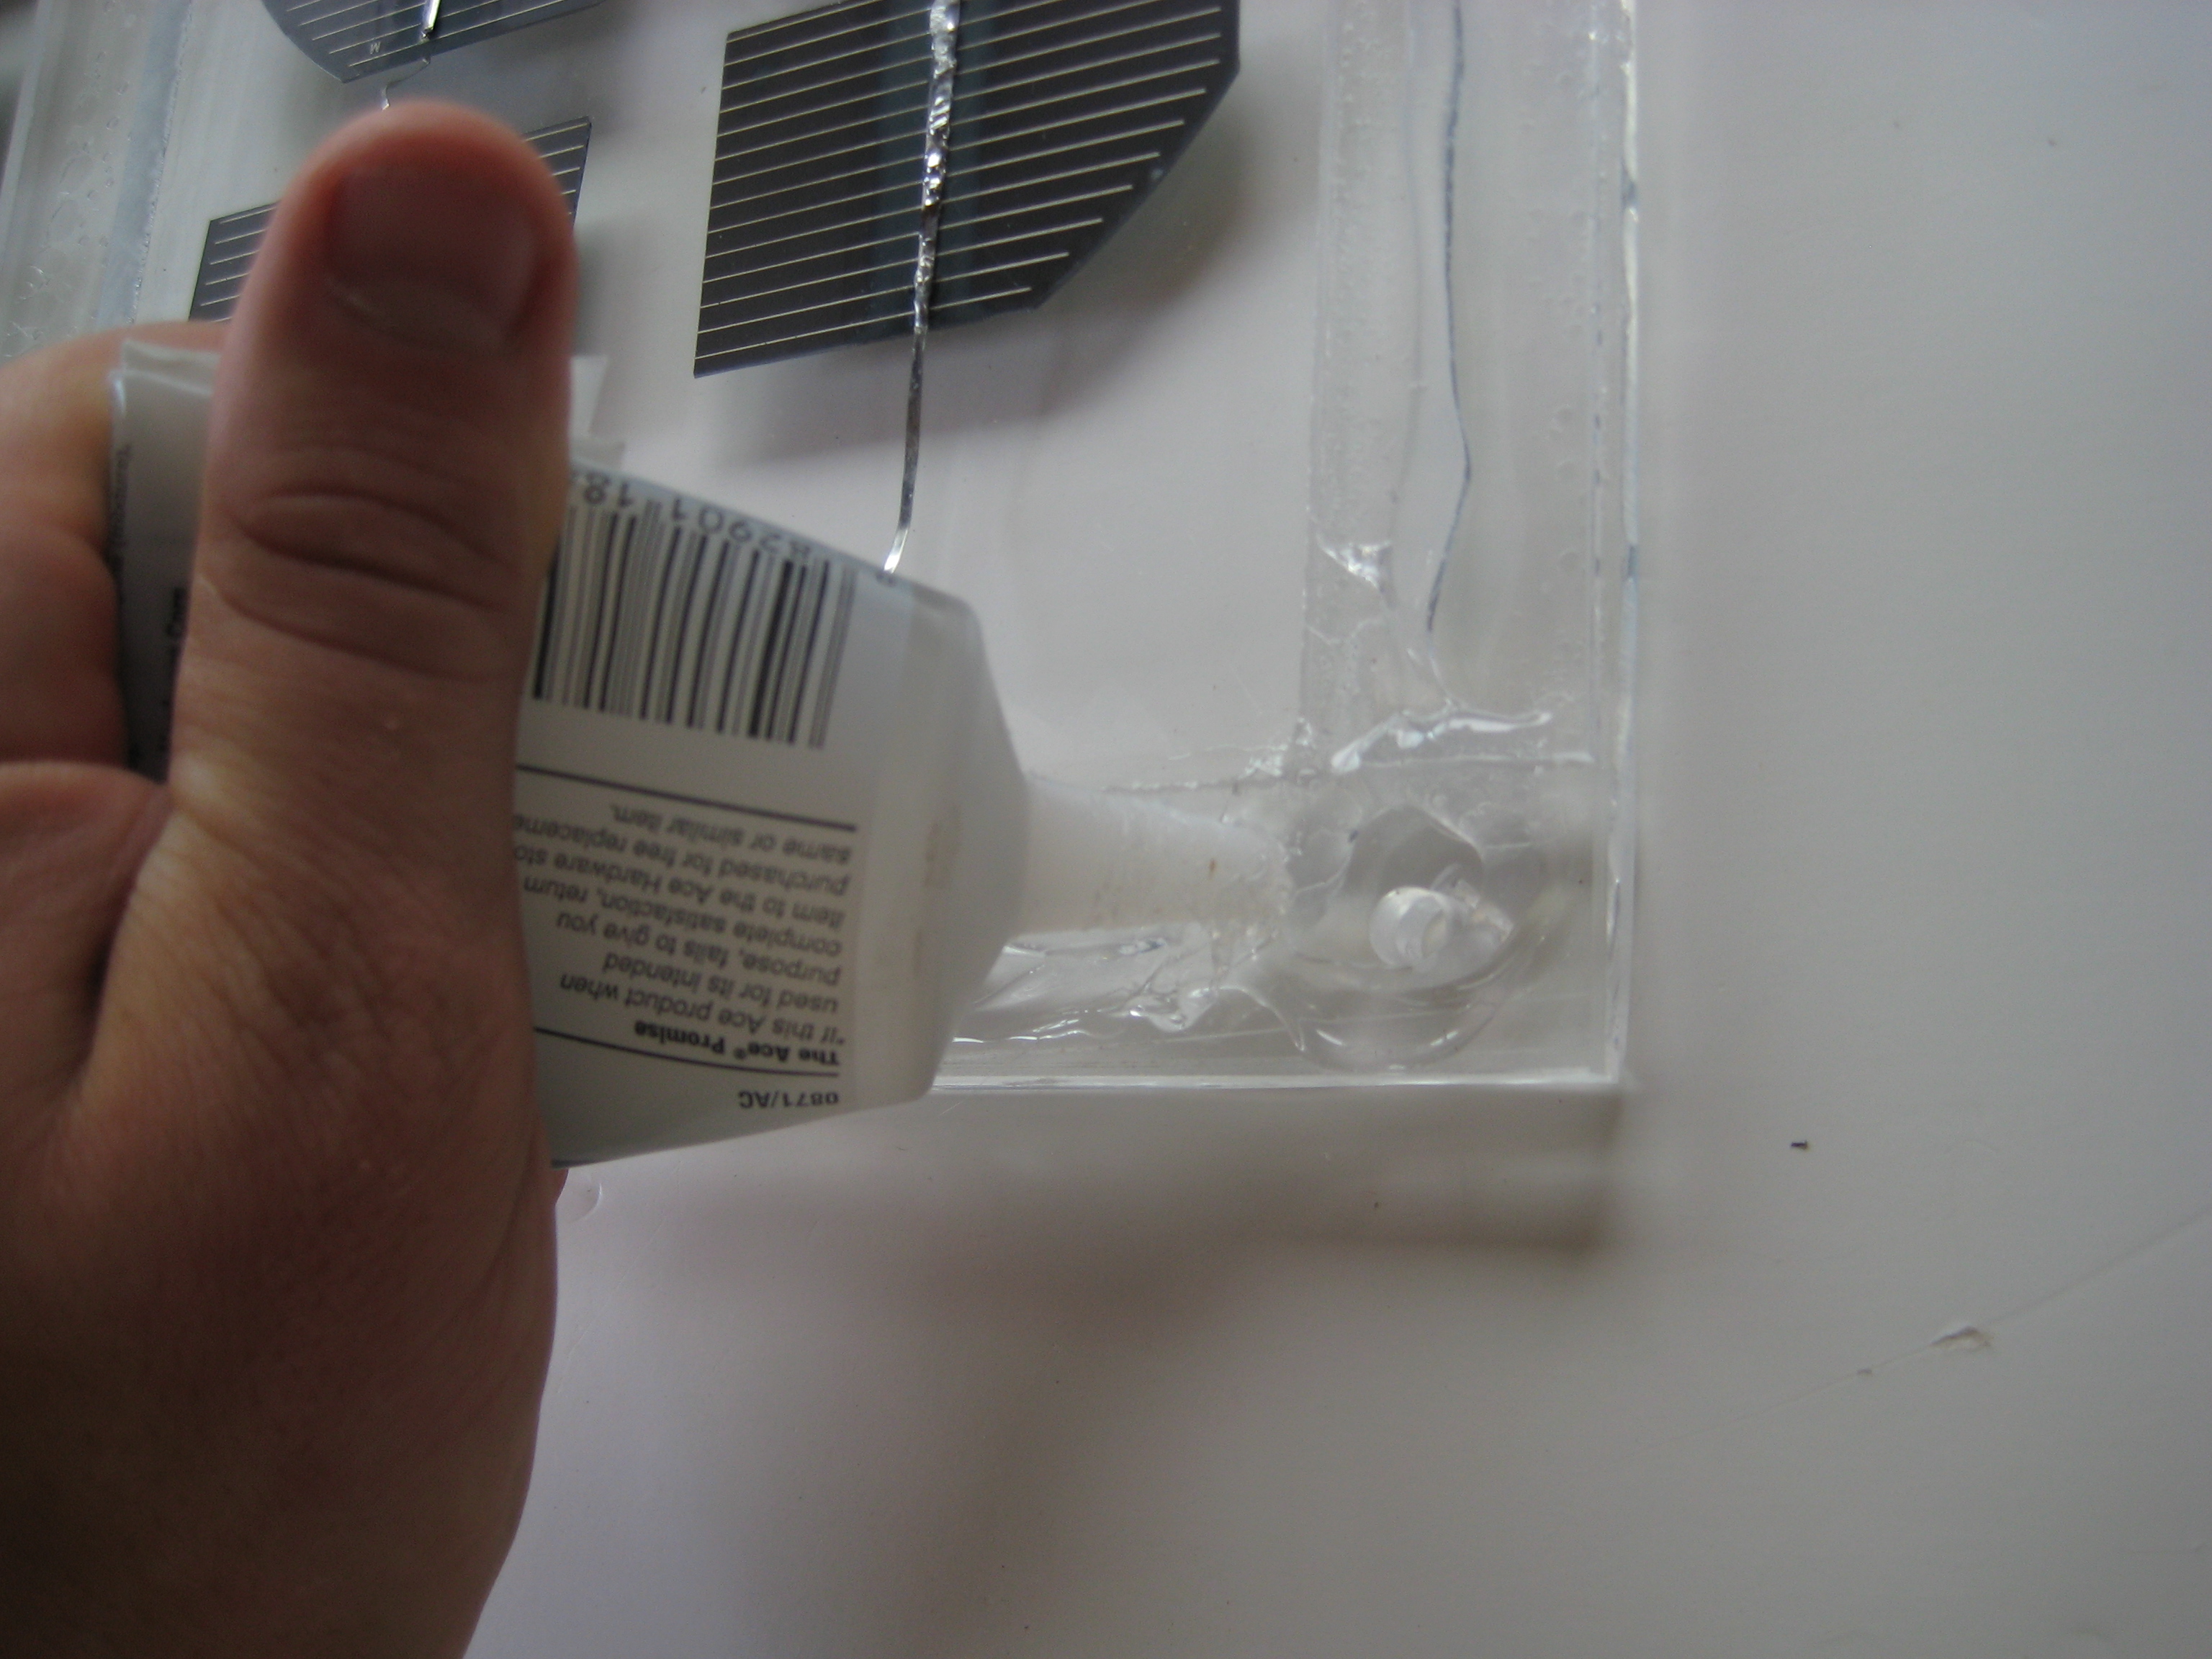
Peel the protective cover off one side of one 18″×24″ sheet. On this exposed side, fit together the two 1″×24″ pieces and the two 1″×16″ acrylic pieces to build a border, and then use the Duco cement to bond the border onto the sheet. Space the two 1″×10″ acrylic pieces evenly across the case, along the bottom 24″ border; I spaced them 6⅝” apart from each other. Note their position, and then use the Duco cement to bond them to the sheet. Let the cement dry according to the directions on the tube.
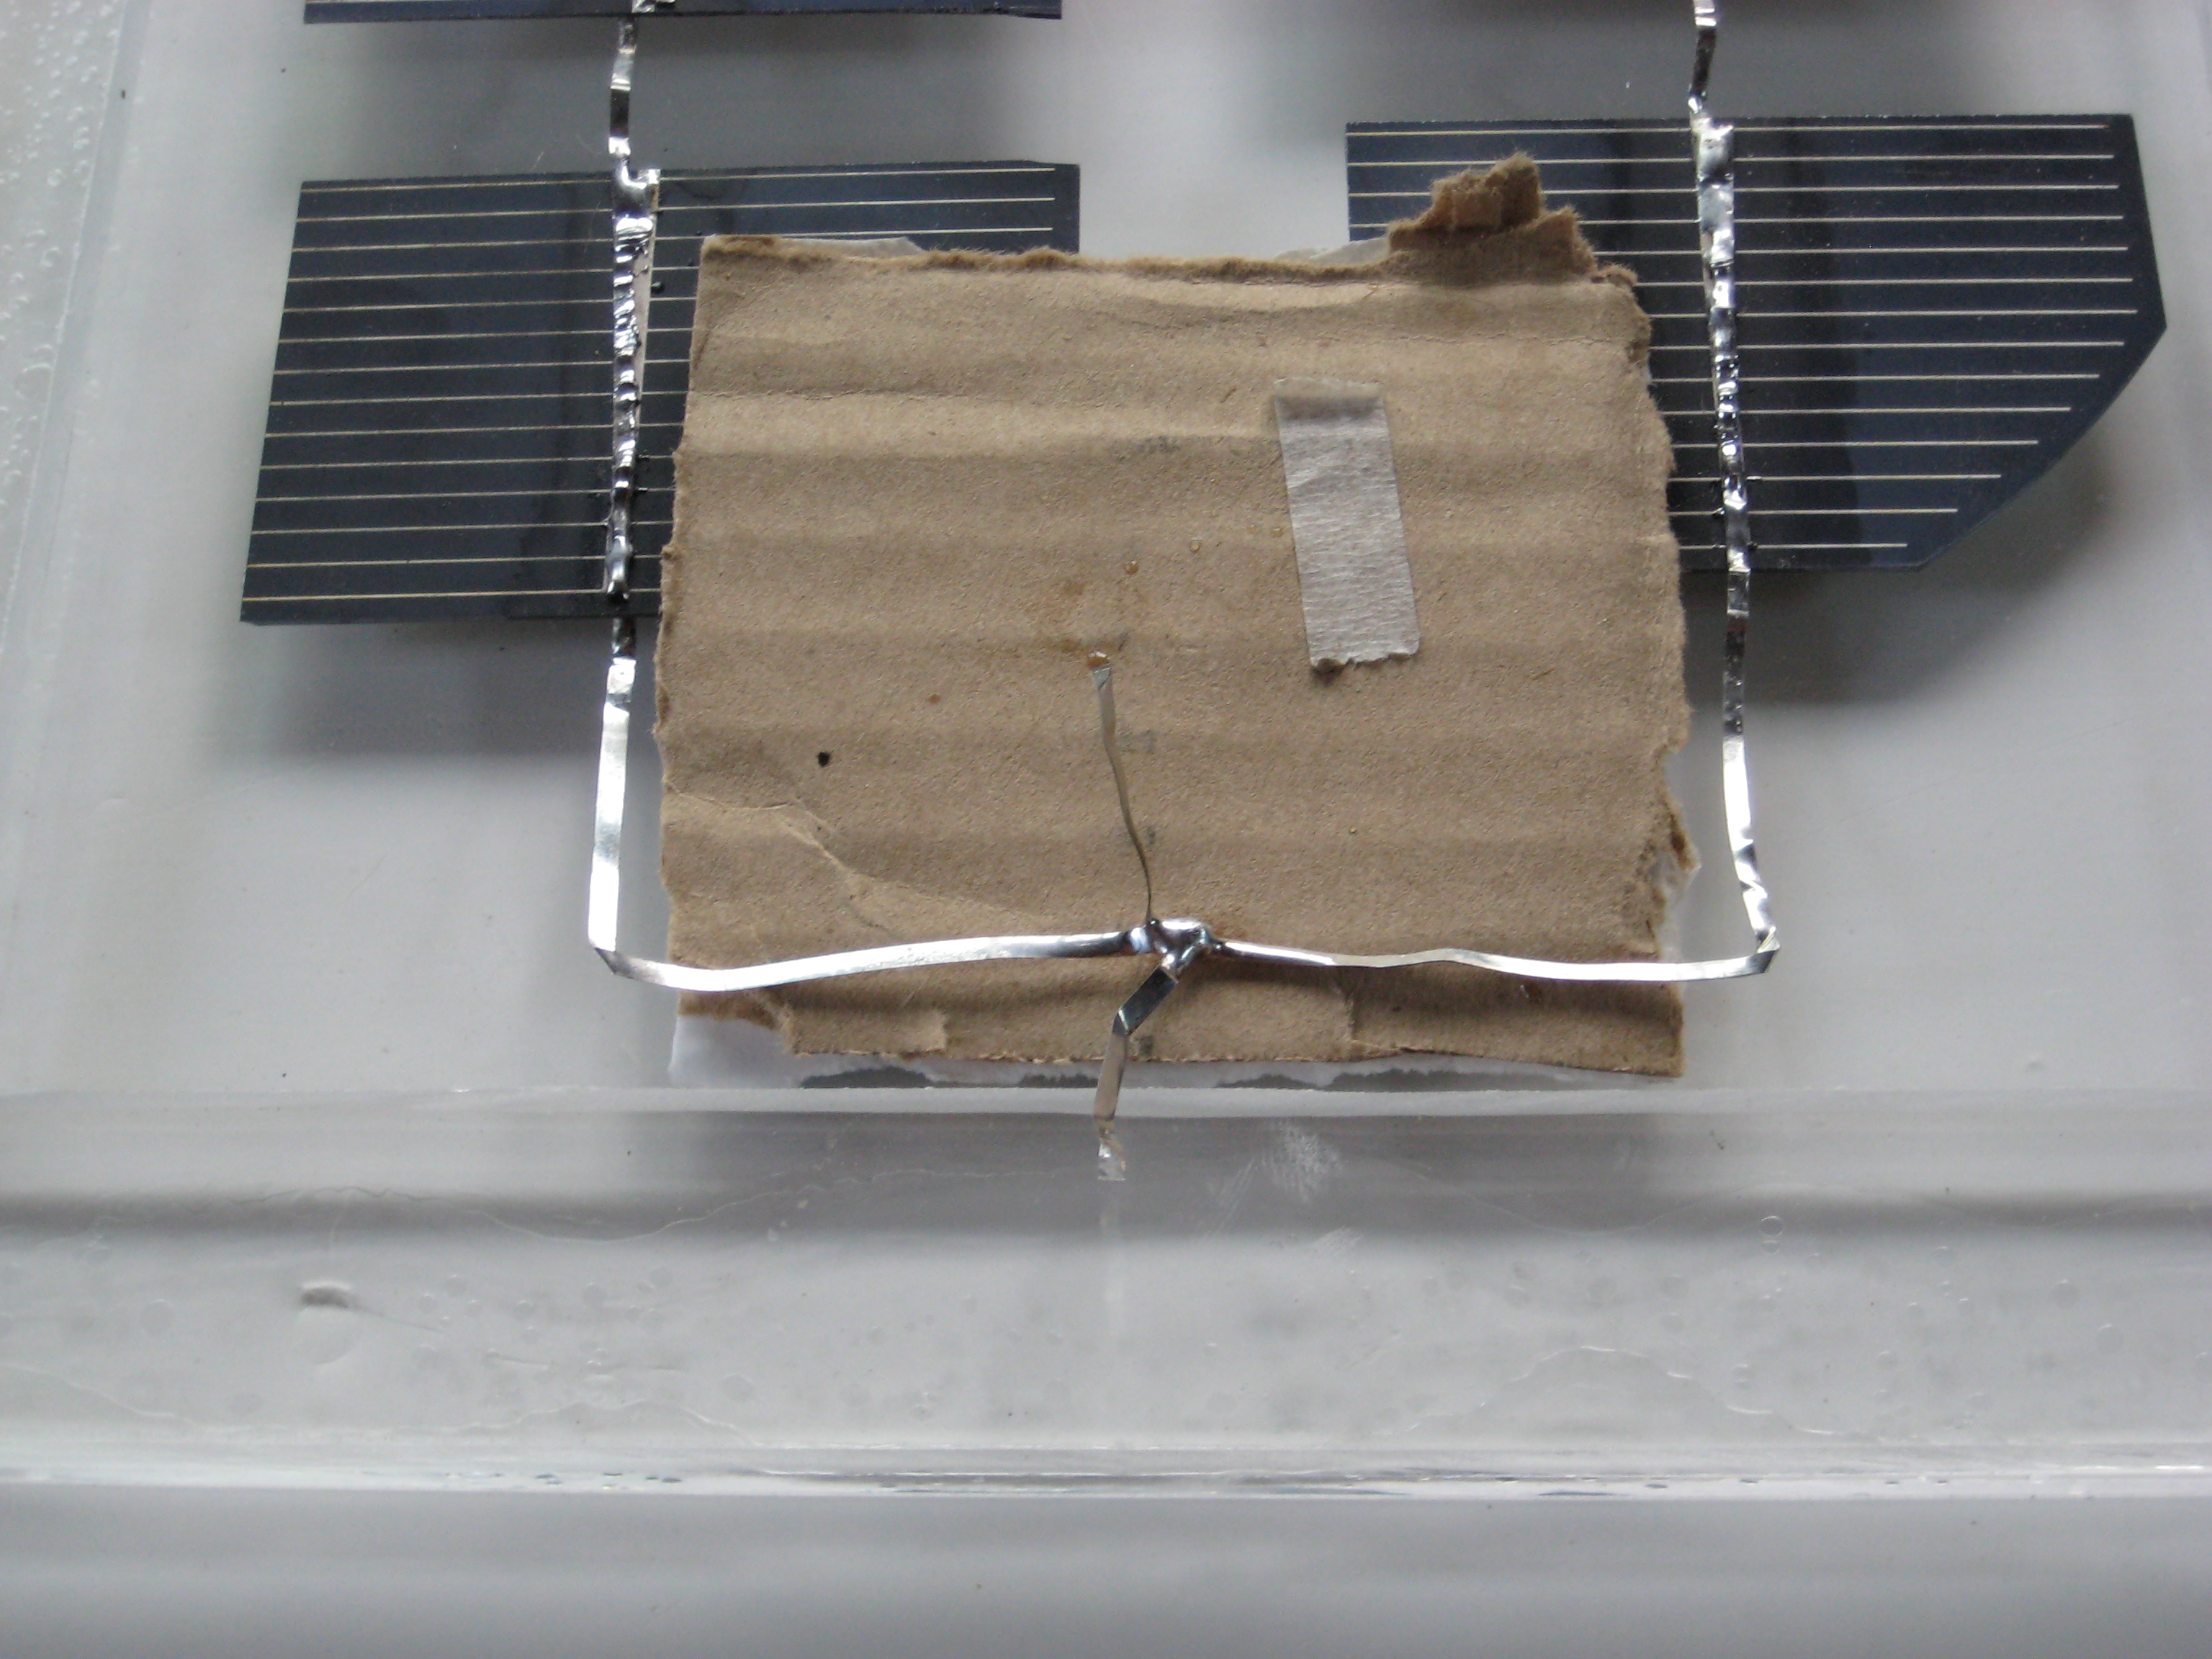
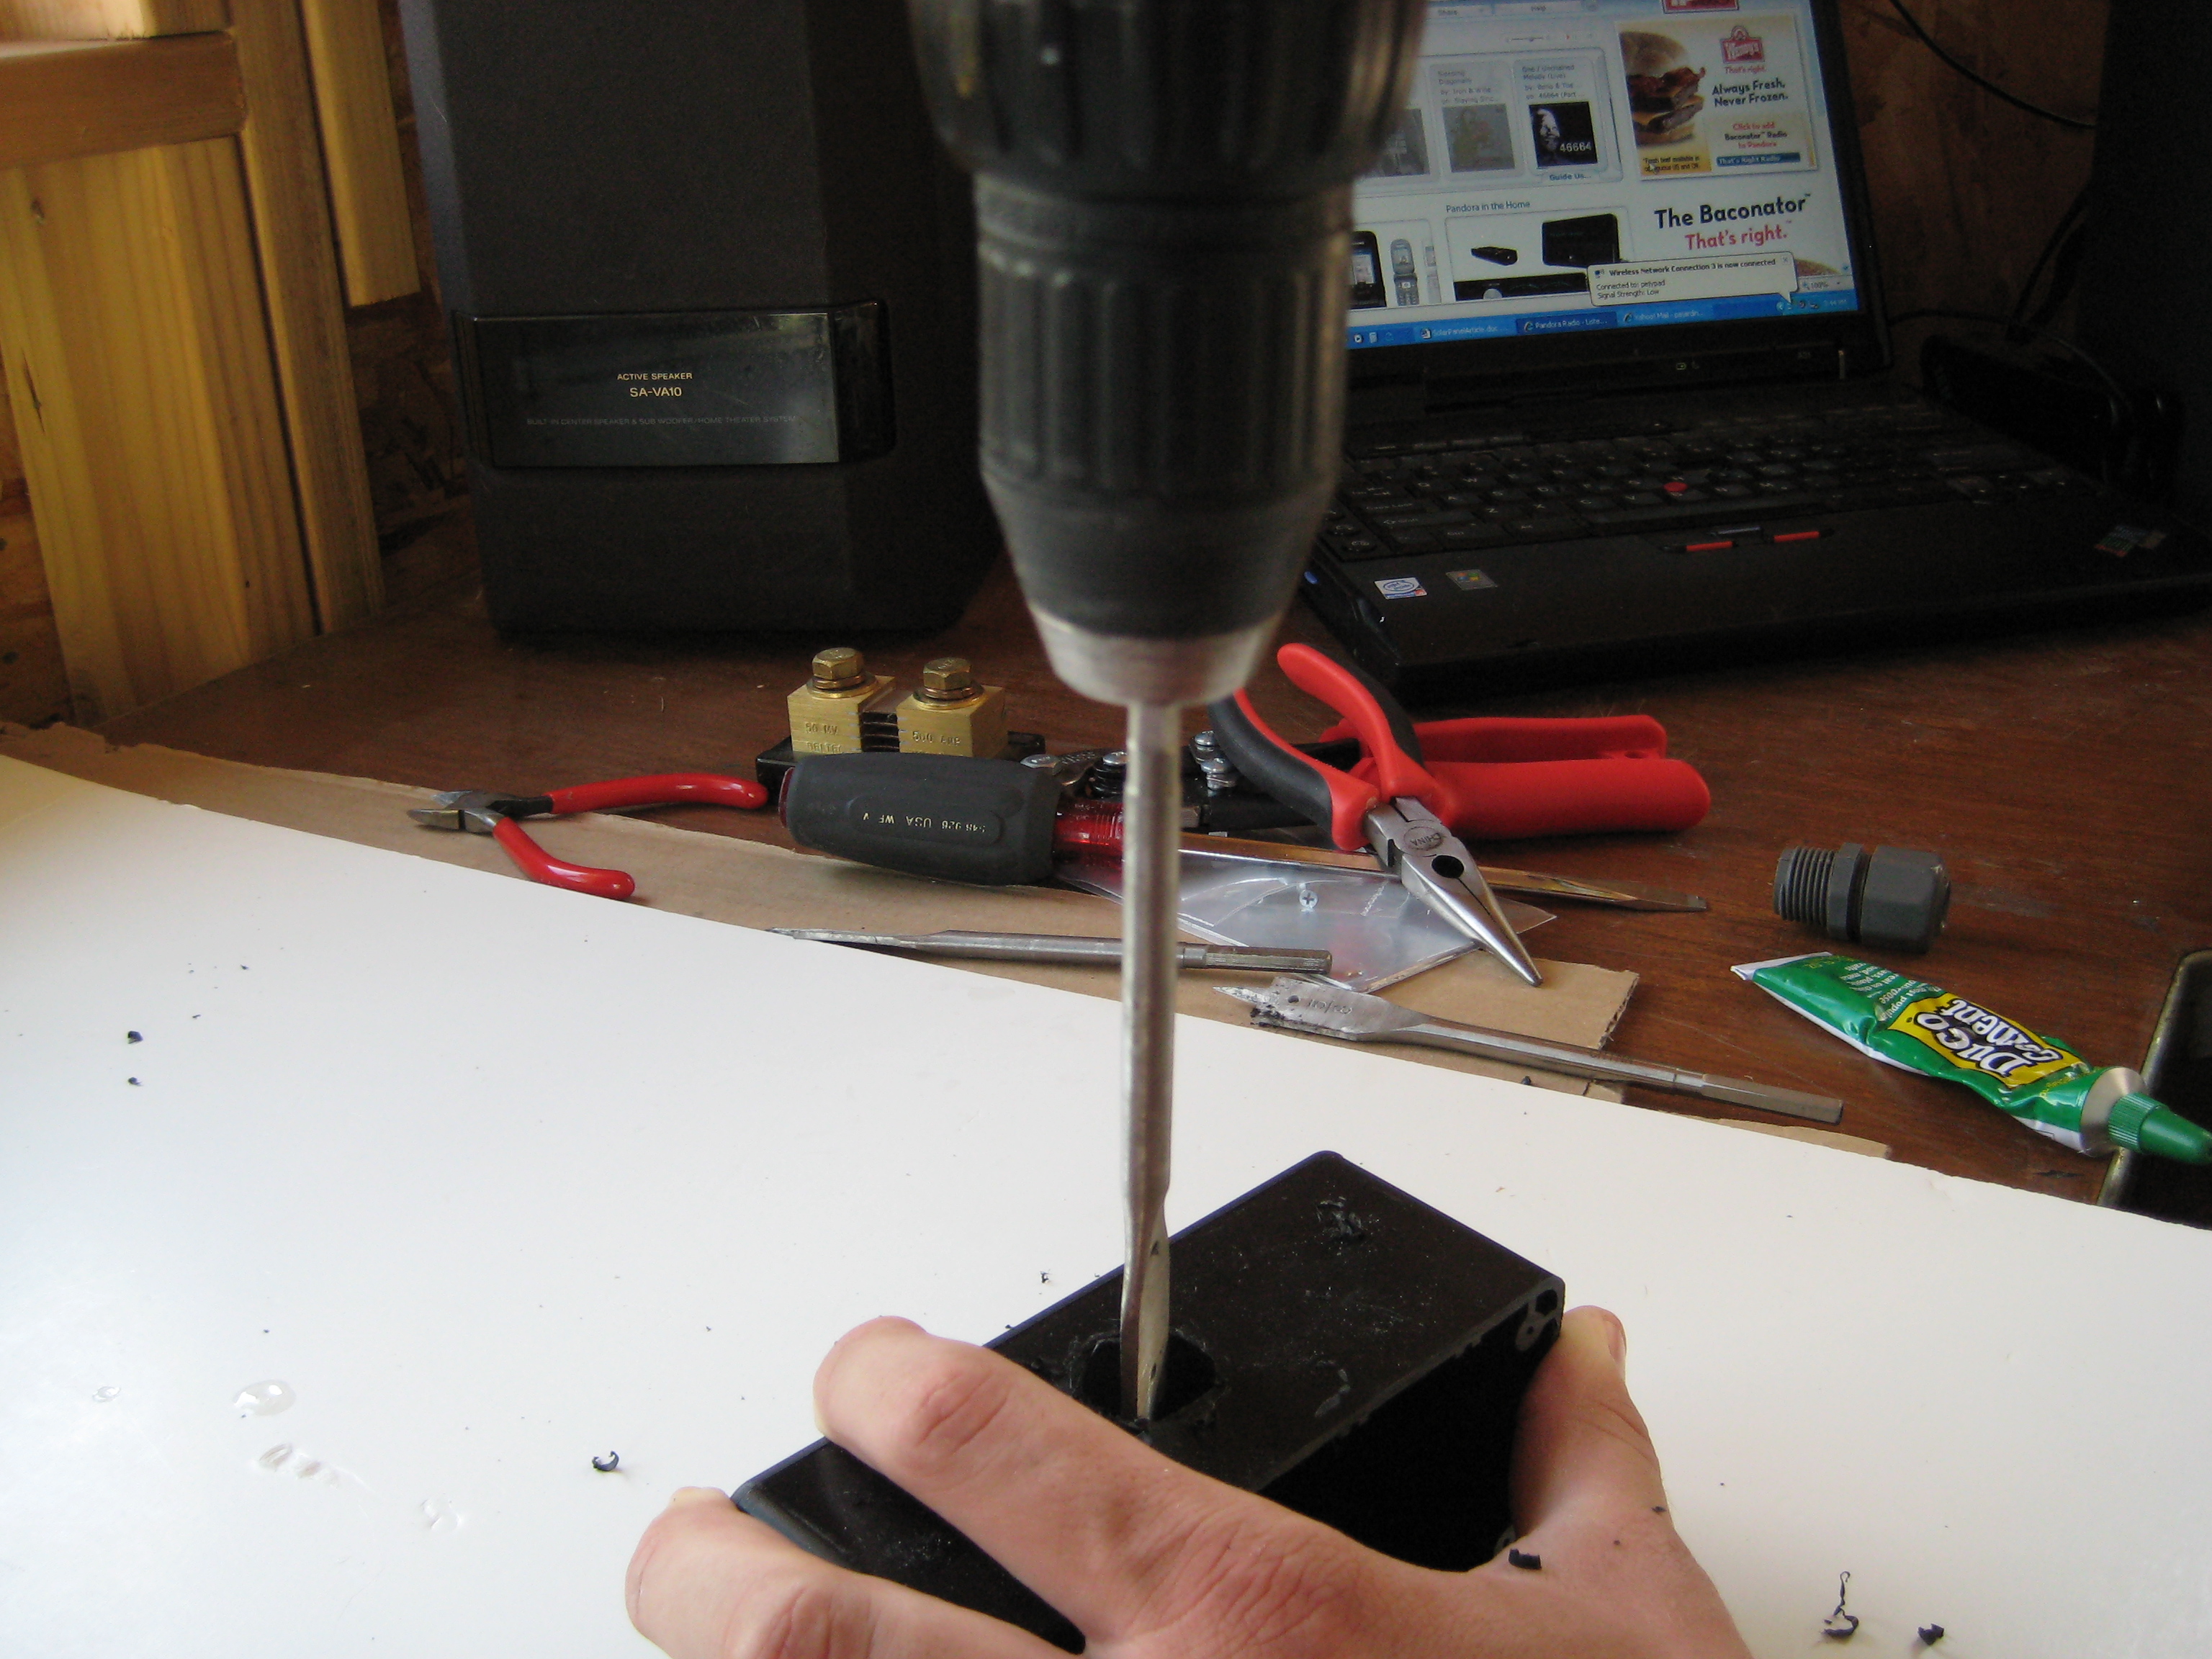
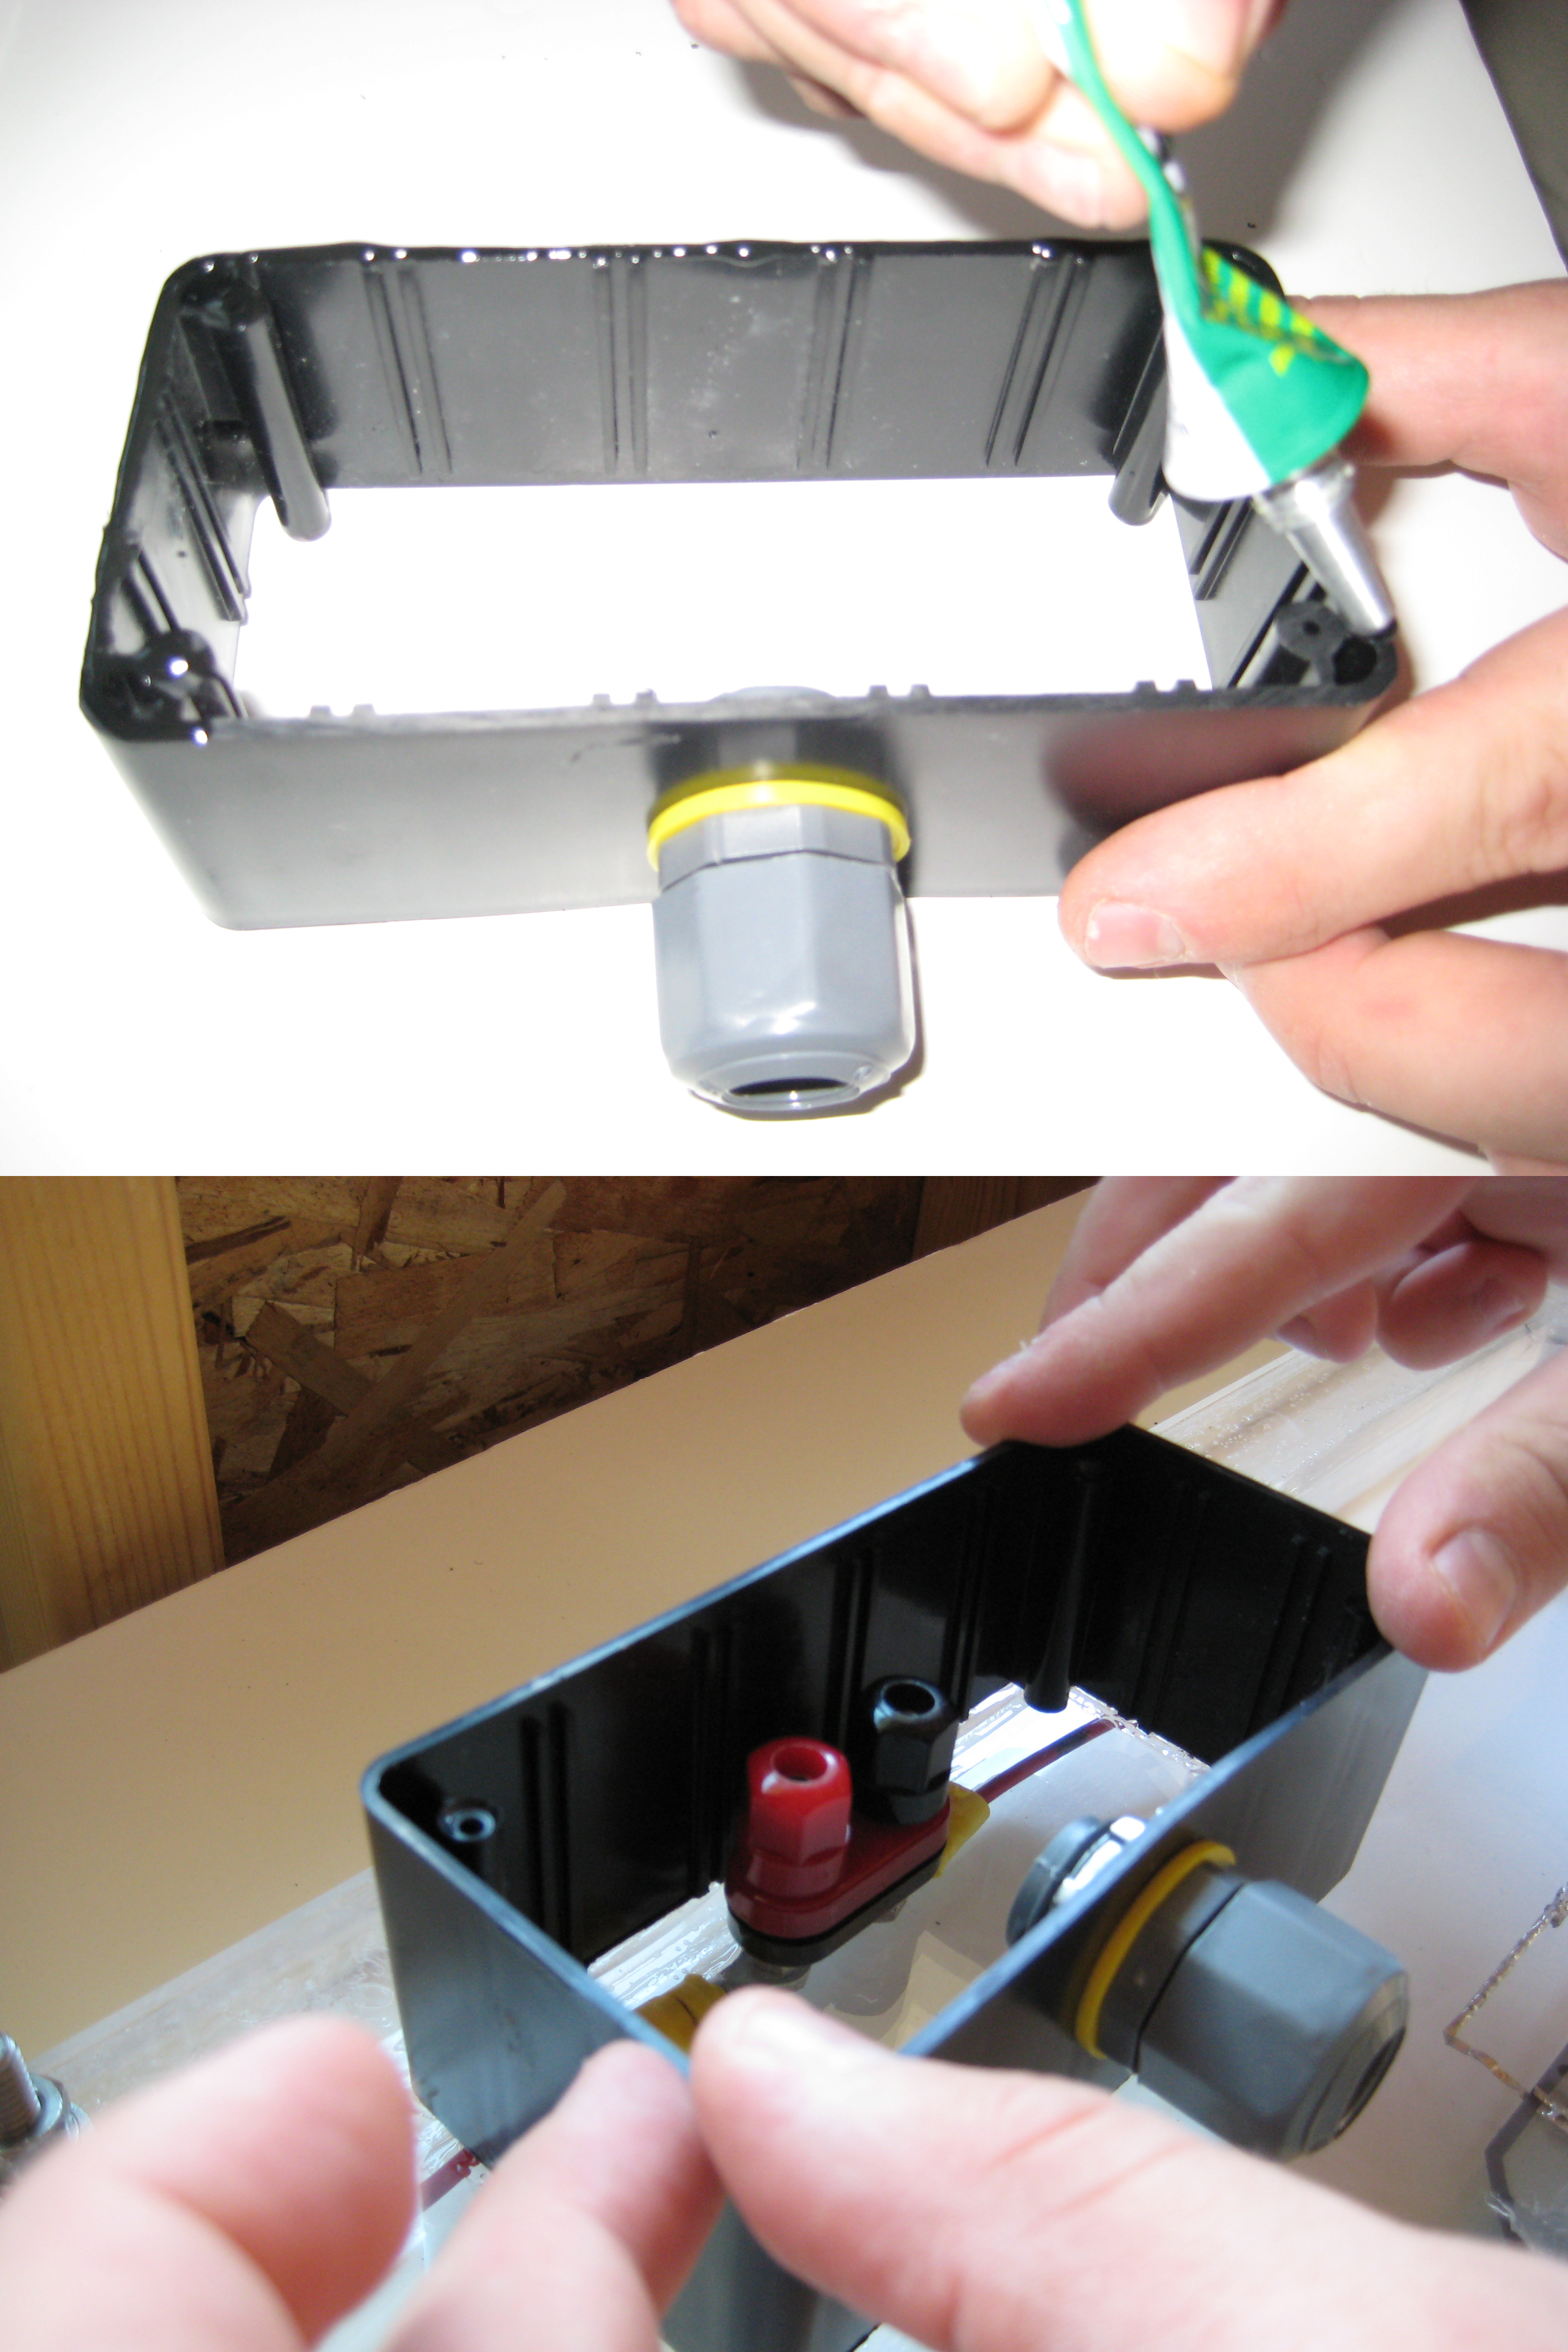
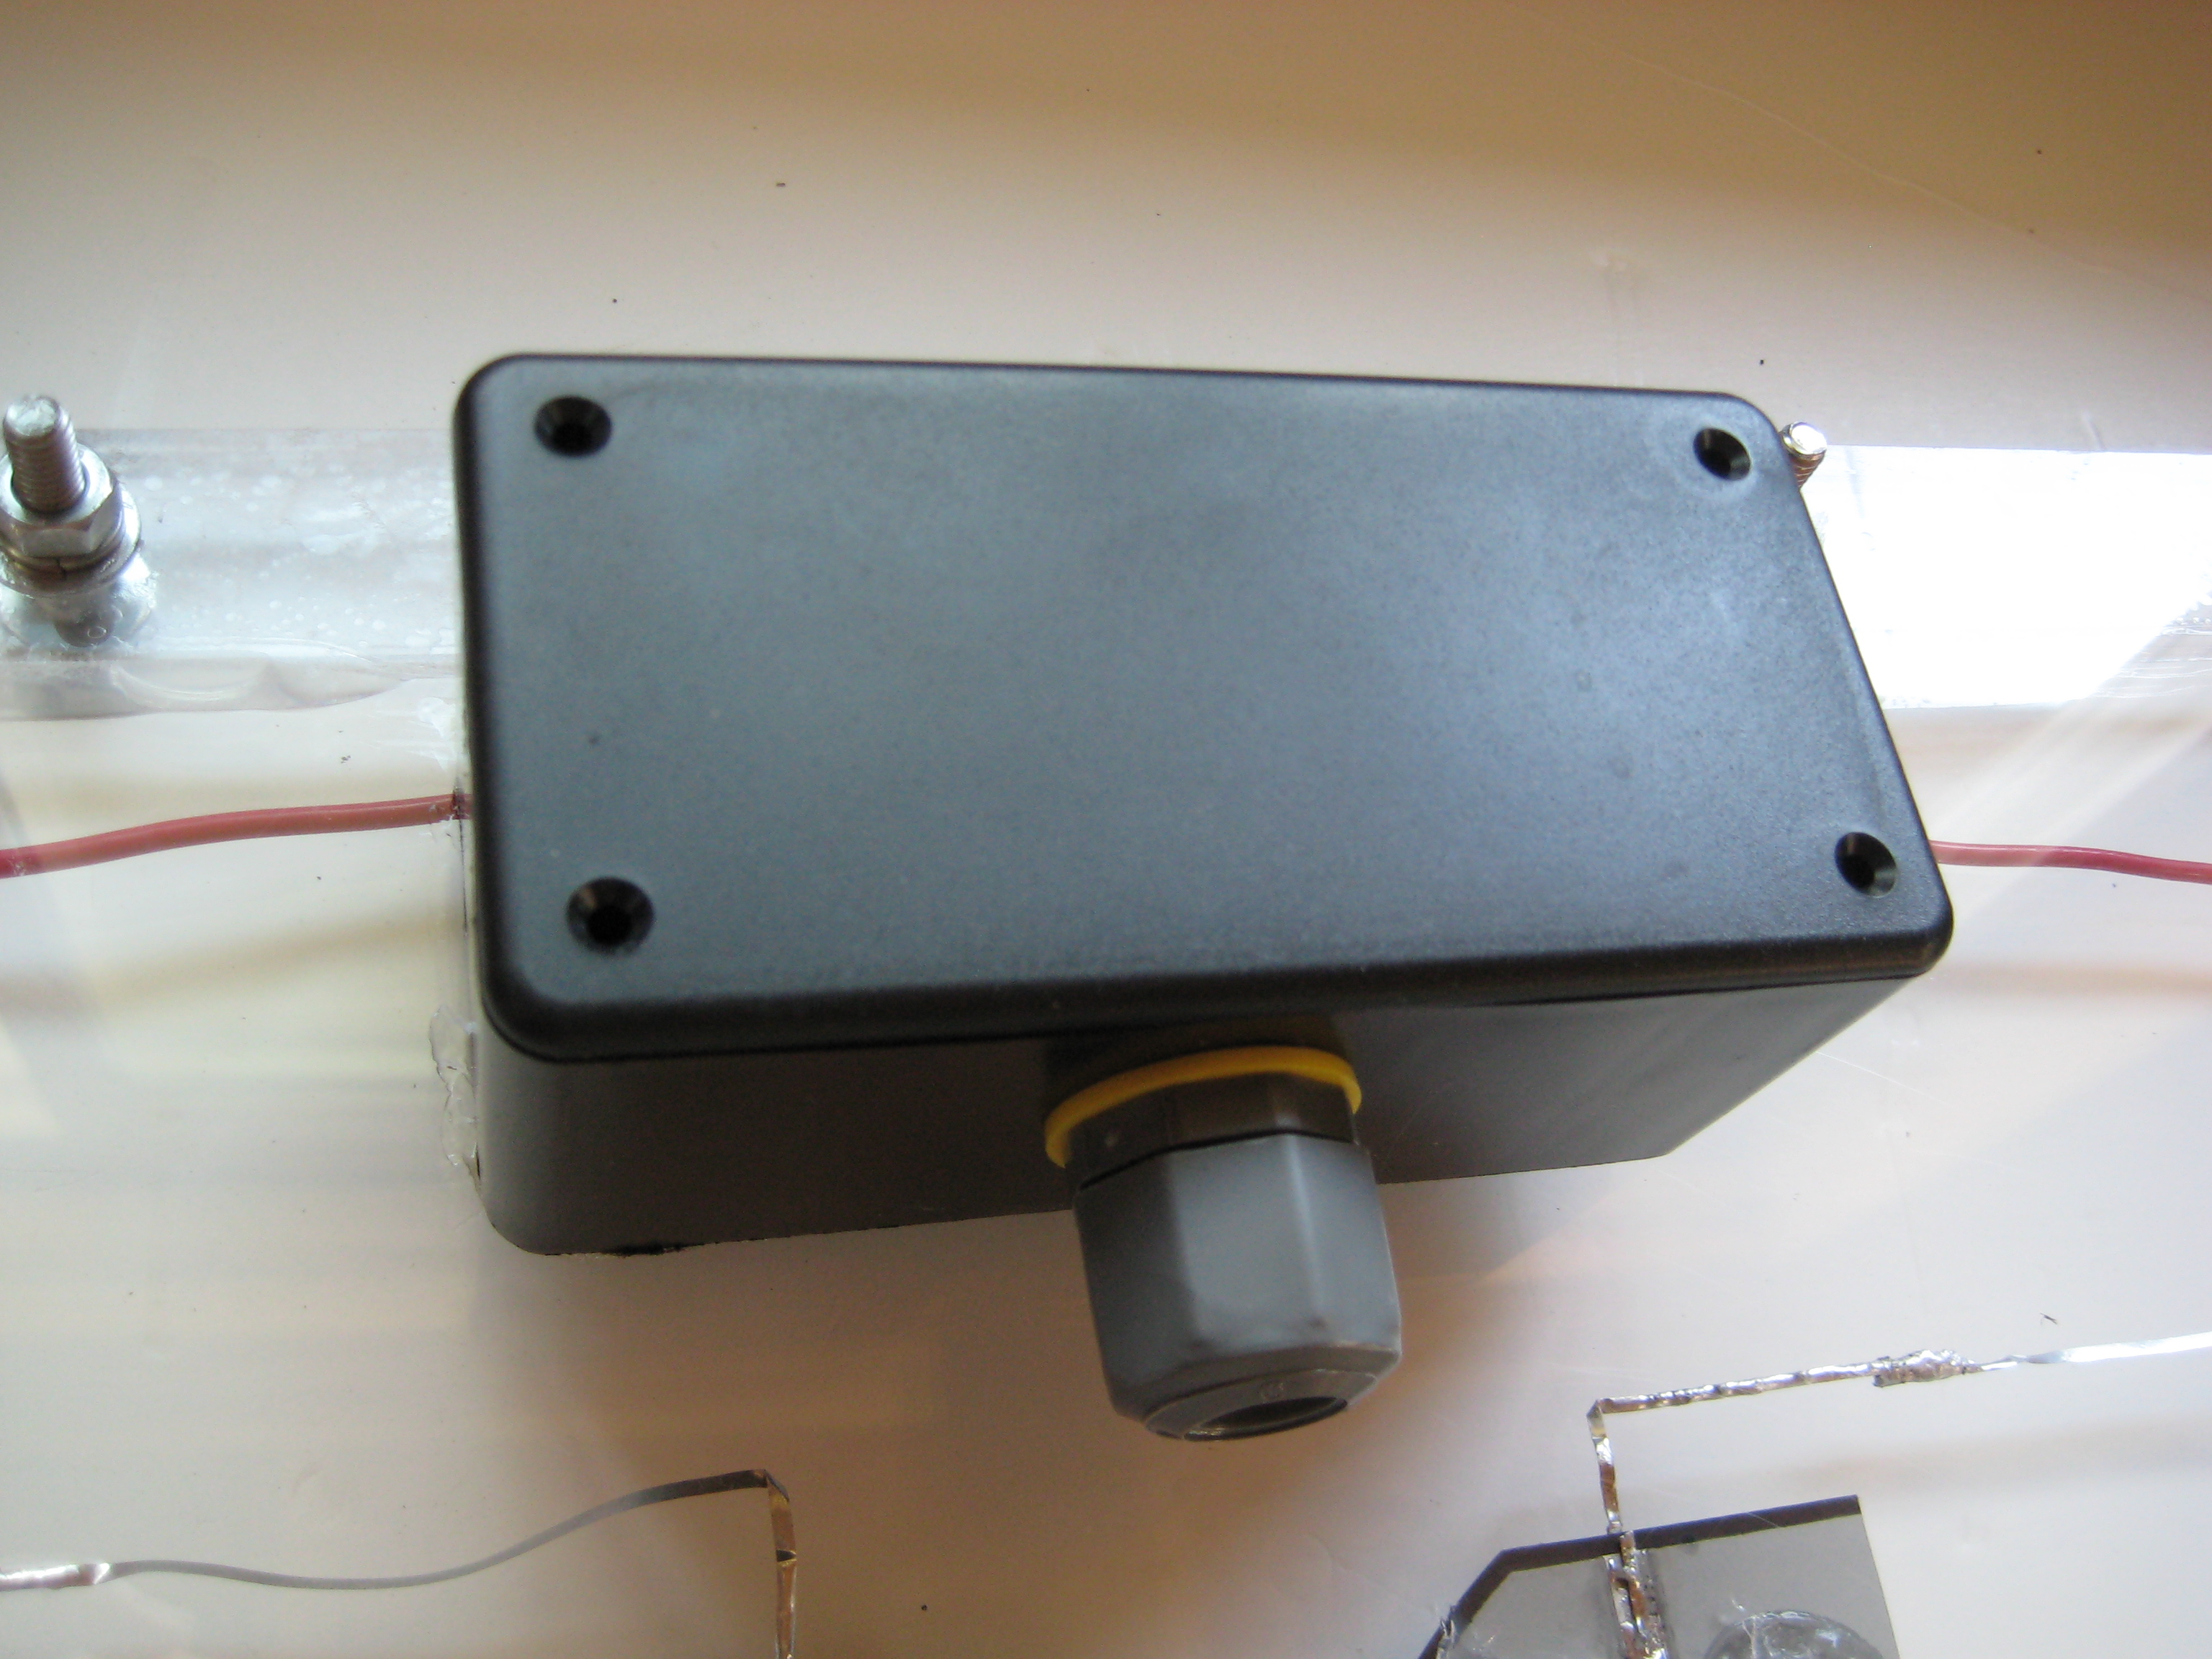
The dual binding post comes with a mounting template on the back of the package. Cut out this template and use it to mark the 2 drill holes on the acrylic sheet, ¾” apart and ½” from the top border edge (see second image for placement). Then use an 11/64″ or 3/16″ drill bit to drill both holes through the acrylic sheet. Insert the binding posts from the back of the acrylic sheet, then tighten the nuts on the binding posts on the inside of the case. You’ll have to clip off the tops of the binding posts to close the case with the top acrylic sheet.
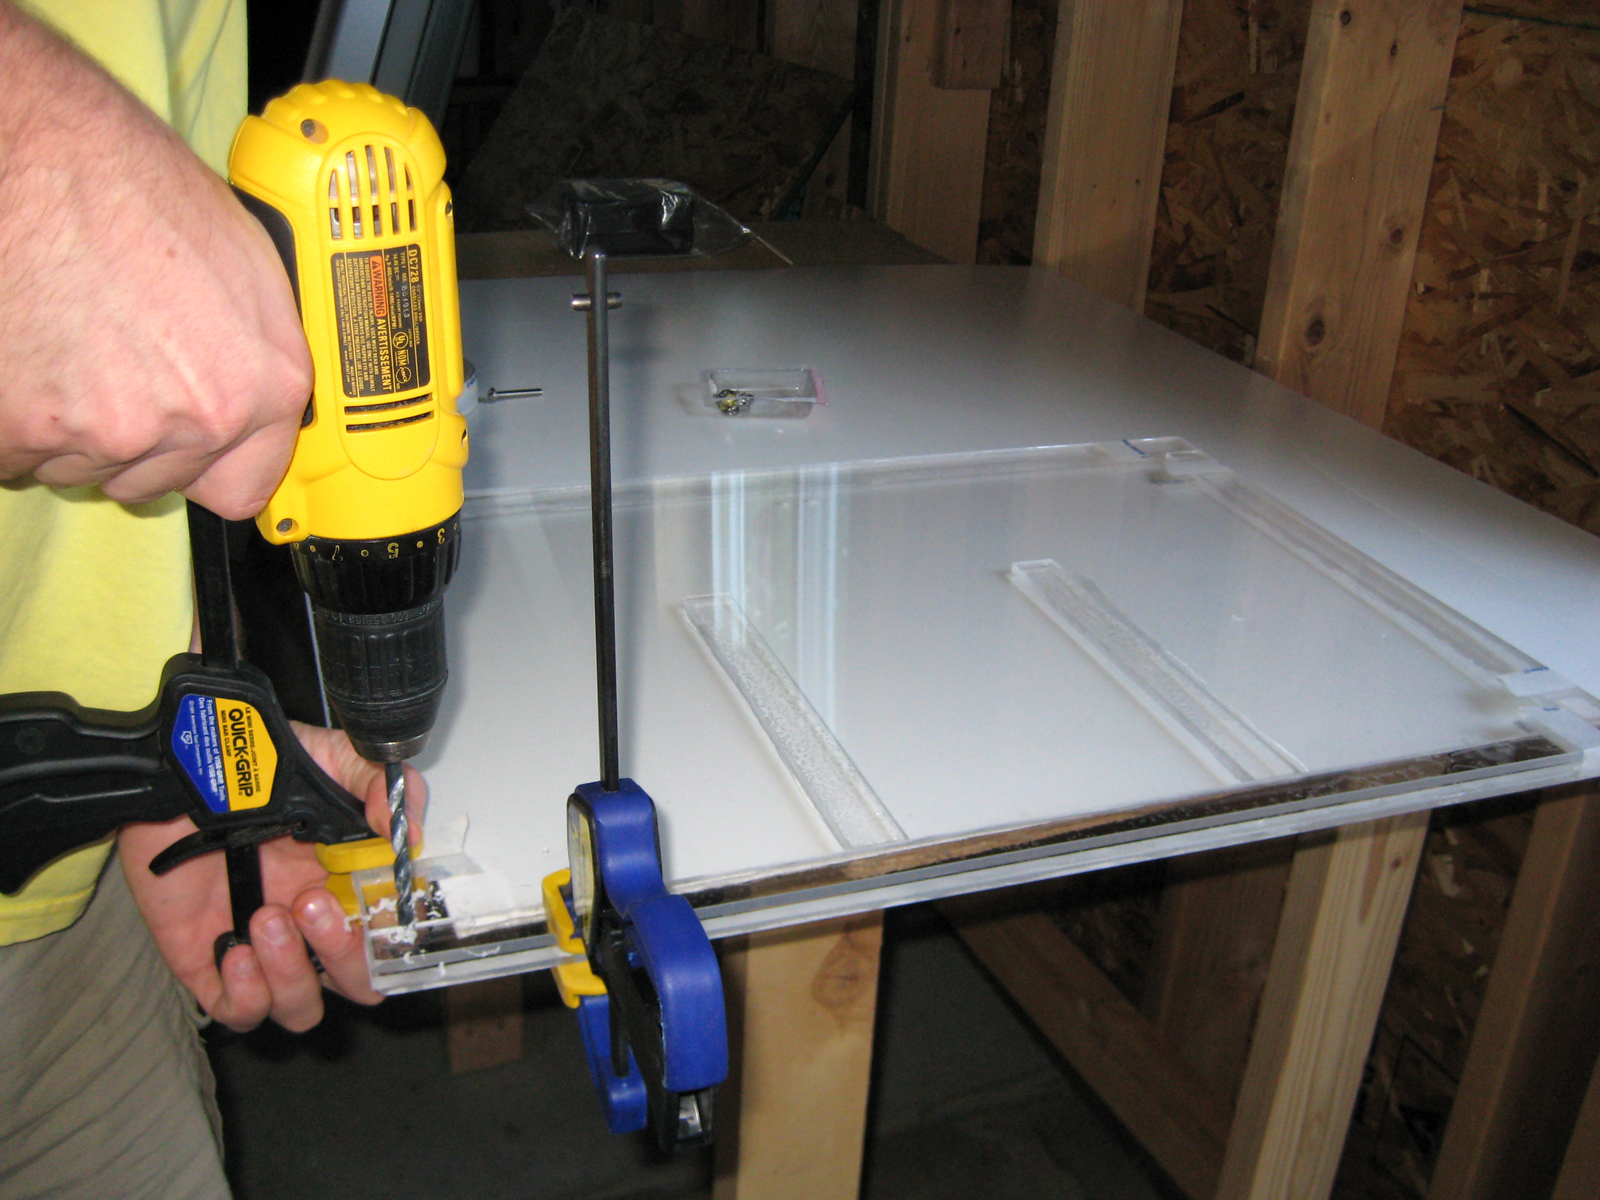
Place the second 18″×24″ acrylic sheet on top of the case, lined up with the edges of the other acrylic pieces. Tape this top sheet down to keep it from moving, and then clamp the whole case with at least 2 one-handed bar clamps to keep it steady during the drilling process.
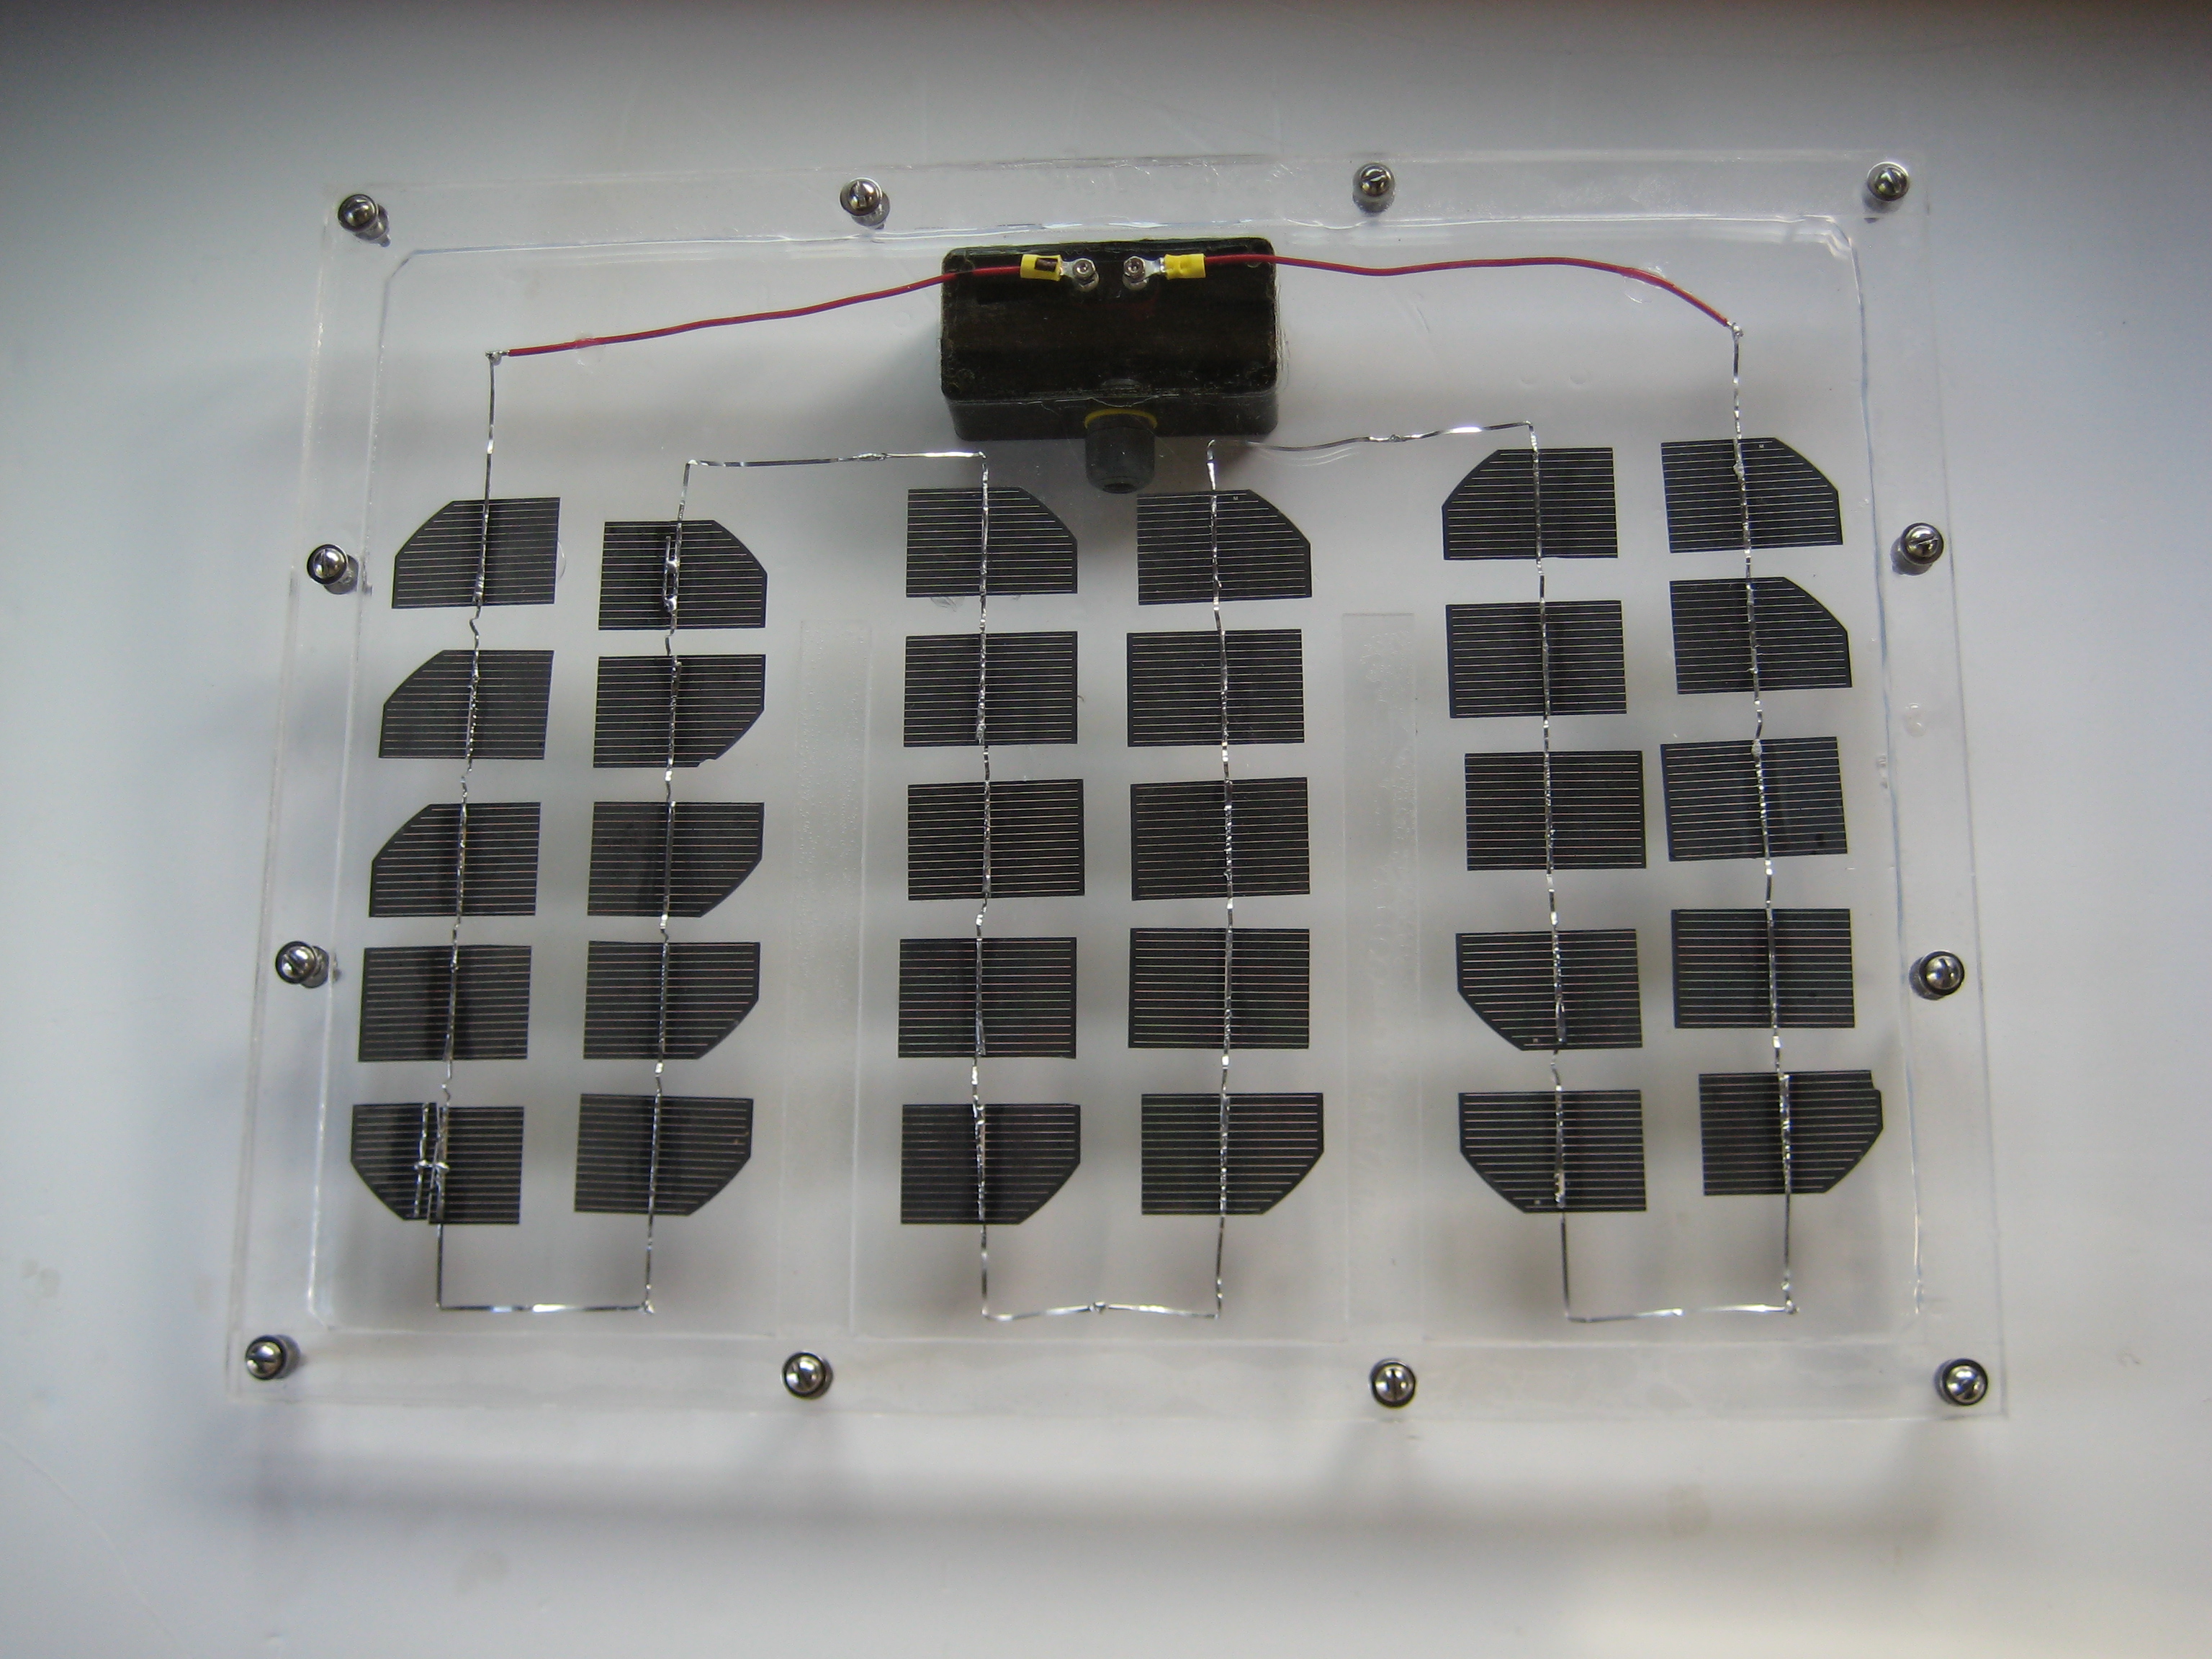
Using a ¼” drill bit, drill holes through the case border in 12 evenly spaced locations. After each hole is drilled, add its stainless hardware. This ensures that the case will line up evenly when you’re done drilling it. You don’t want the top sheet to shift at all during this process.
I also recommend that you start in one corner, and next drill the opposite corner. After hardware has been placed in each corner, I then drill 2 more holes along each side. This leaves a total of 12 bolts in the case. I do this to guarantee that the case won’t leak between the top sheet and the middle border. Congratulations, you now have a waterproof plastic case!


