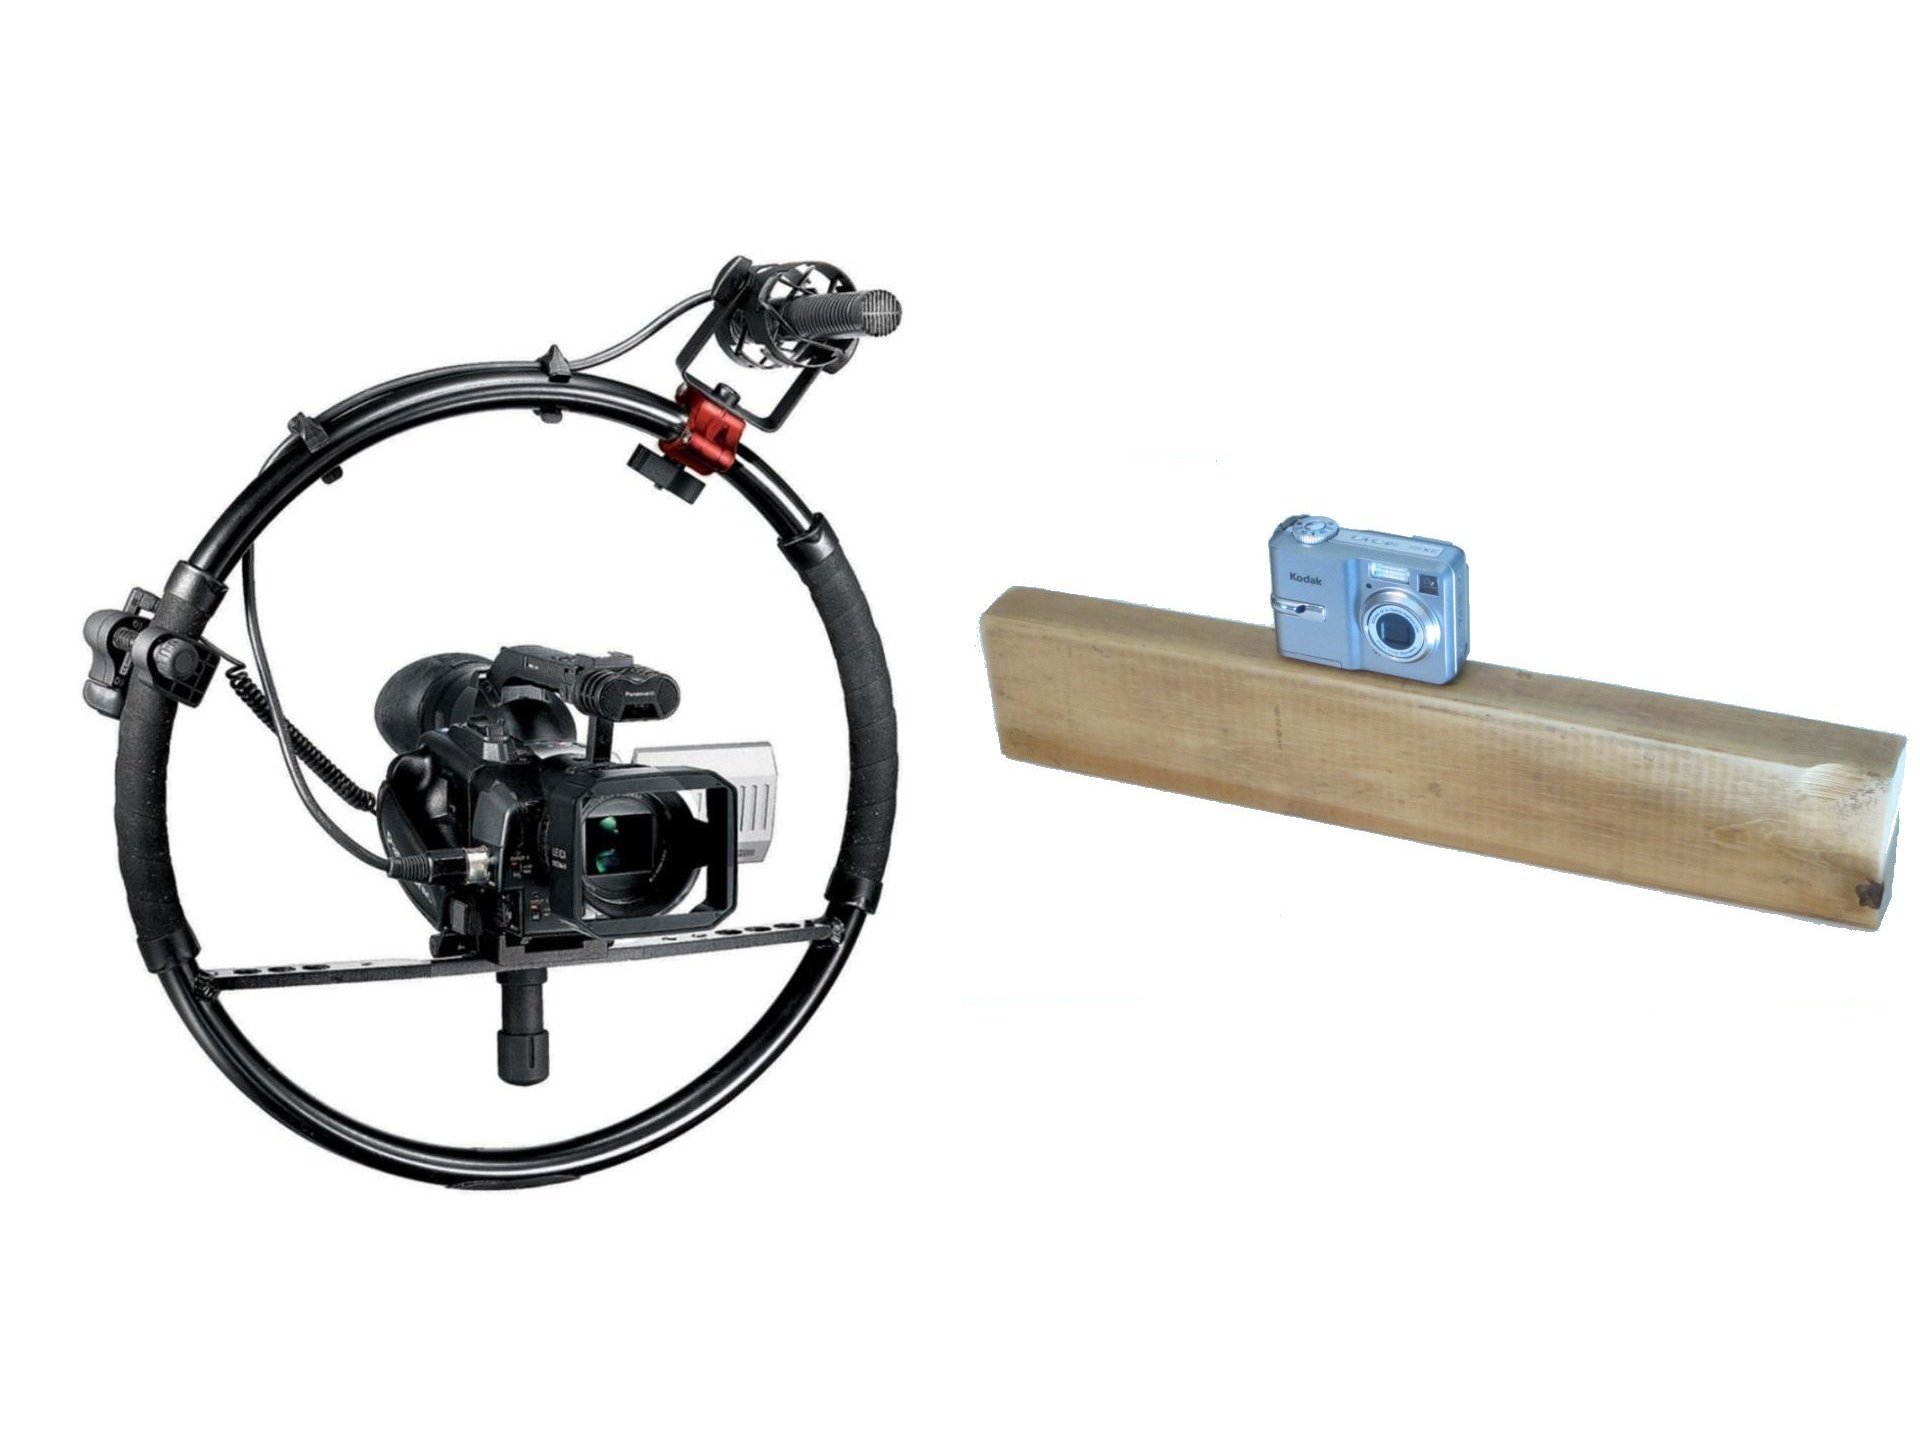
One way to prevent shaking in your moving shots is with a camera stabilizer.

But you don’t need to spend hundreds of dollars on professional film equipment. You can make simple DIY stabilizers out of everyday material that you have lying around.

Here is a video summarizing the project.

What will the next generation of Make: look like? We’re inviting you to shape the future by investing in Make:. By becoming an investor, you help decide what’s next. The future of Make: is in your hands. Learn More.

Project Steps

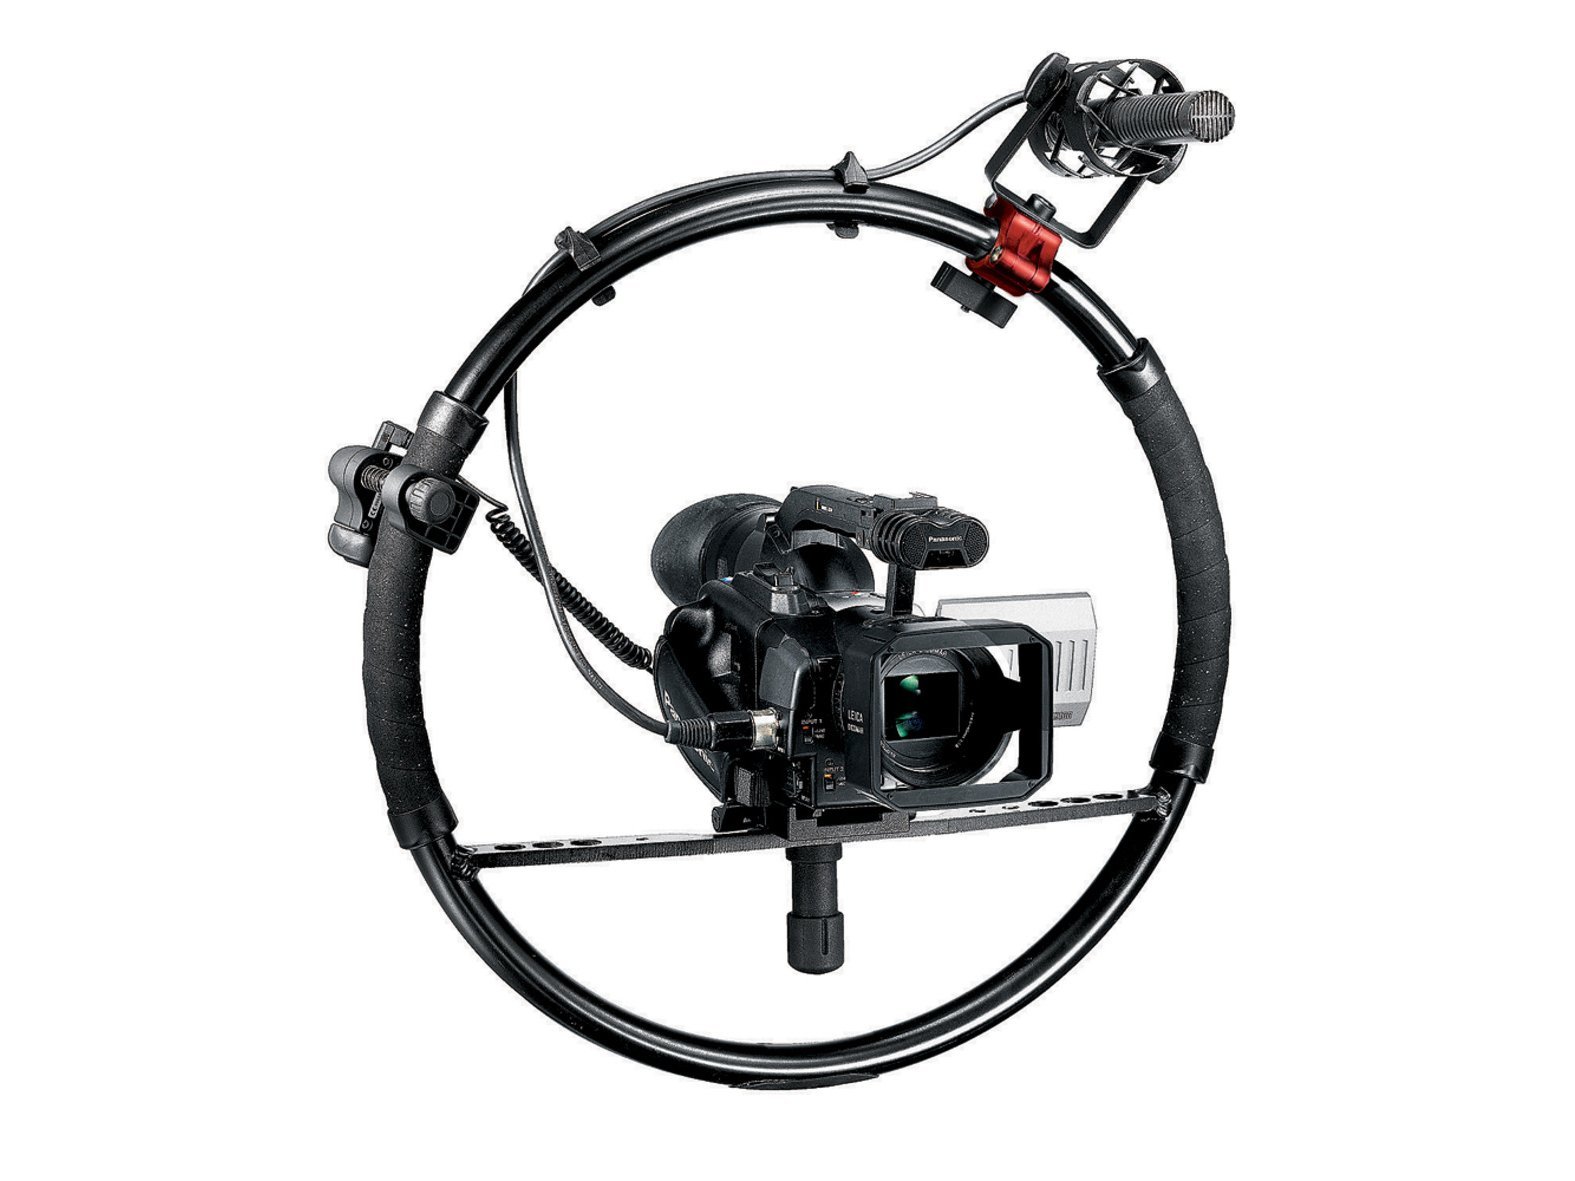
Background: The Fig Rig Camera Stabilizer

The Fig Rig is a popular camera stabilizer that is used in the film industry.

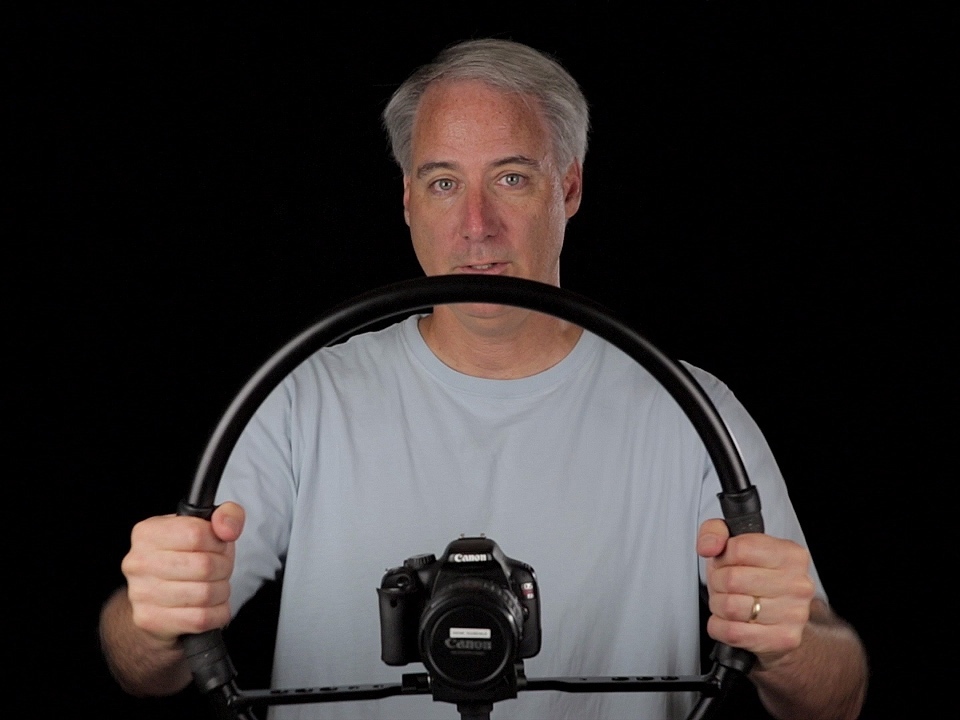
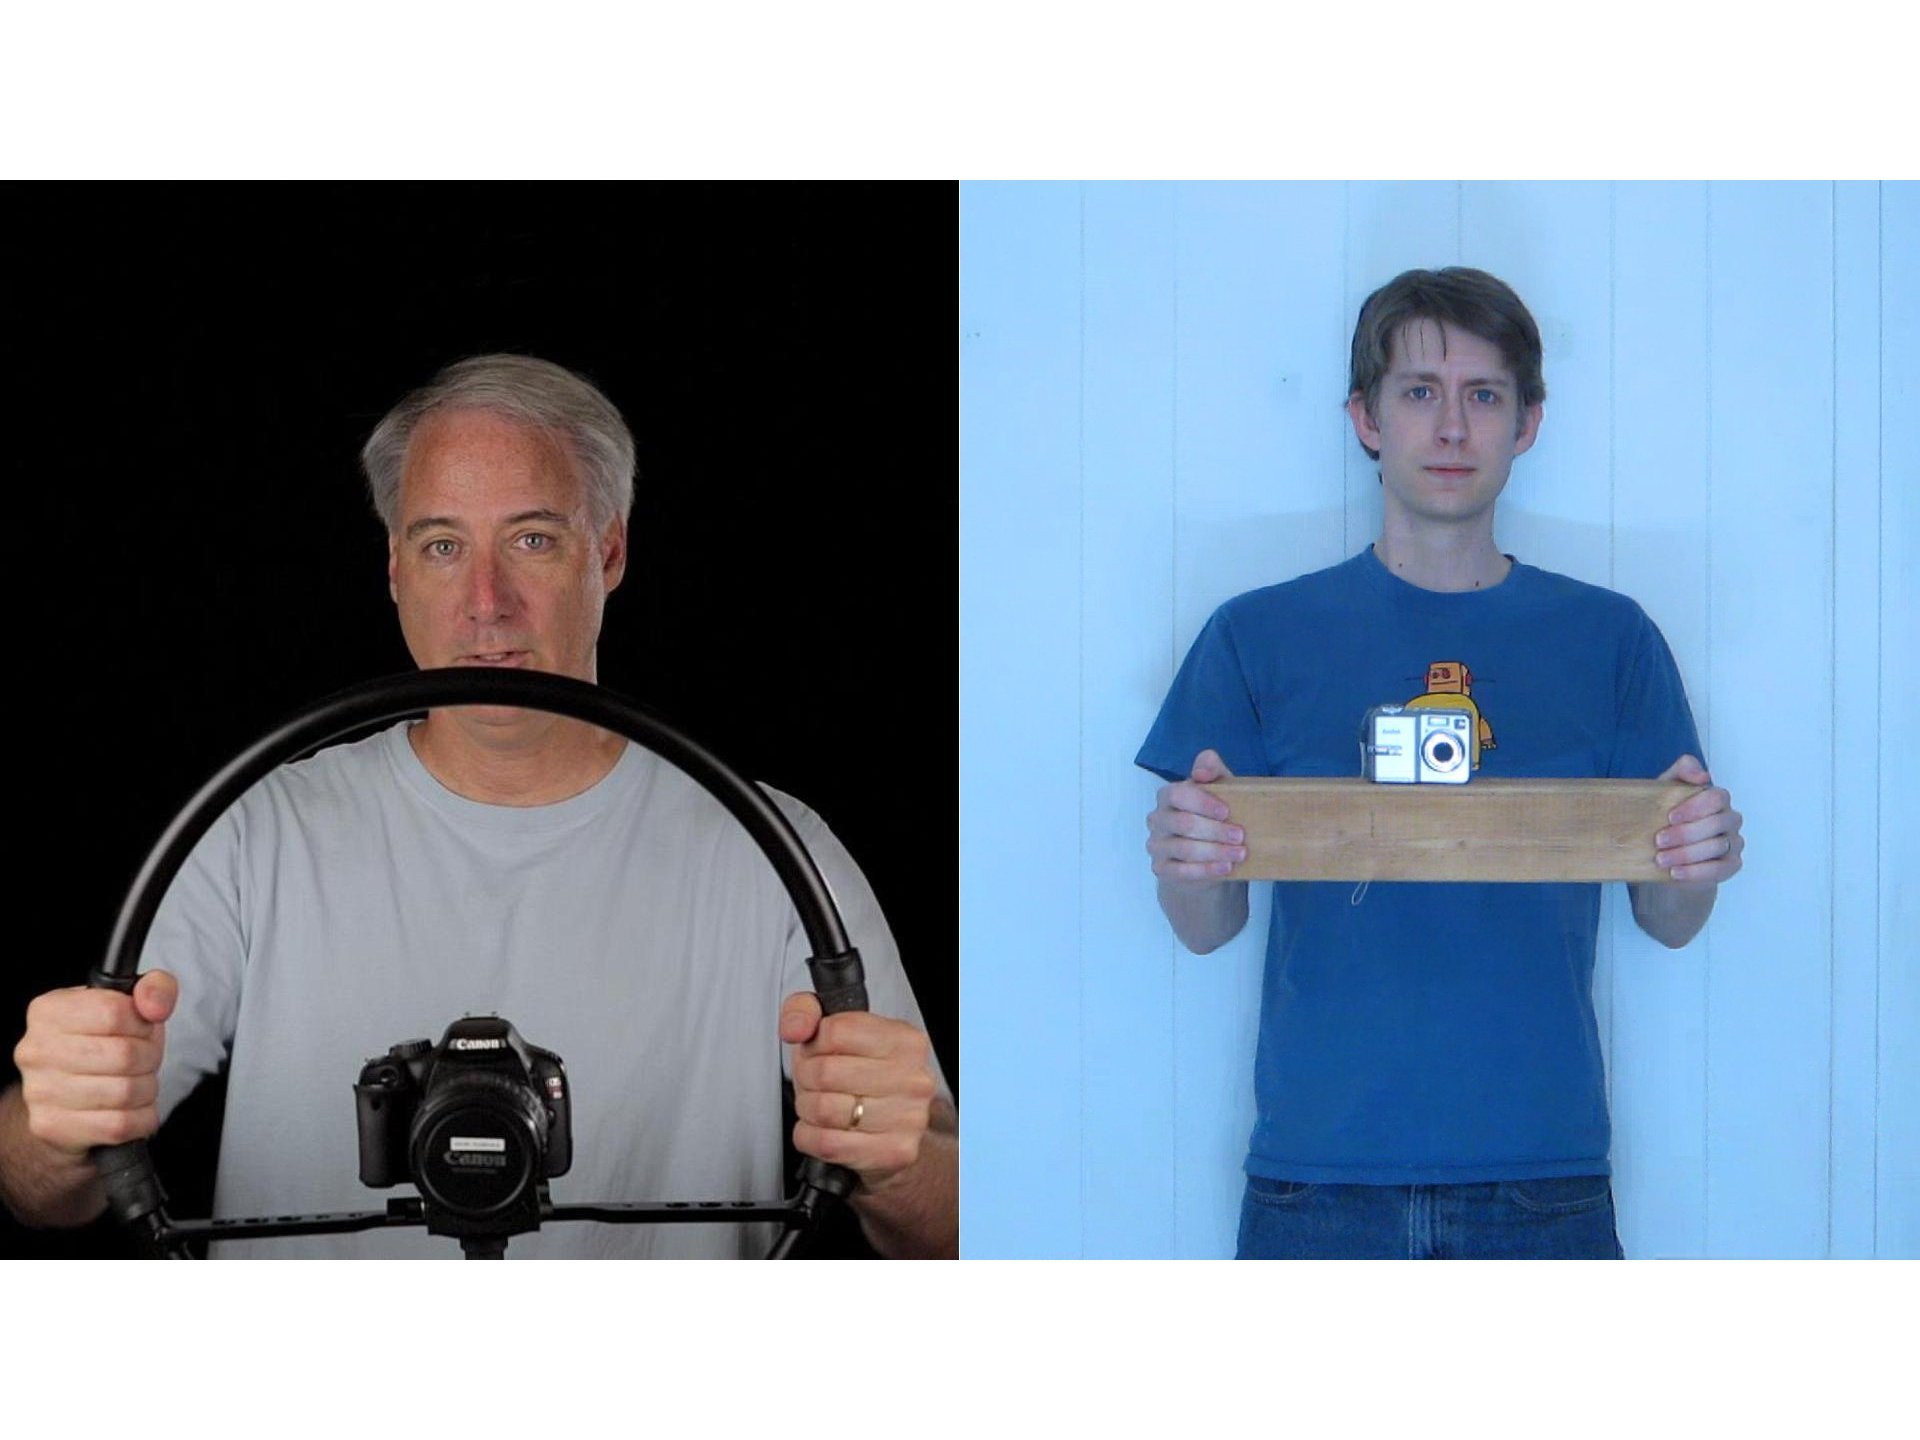
The camera is mounted on a platform at the center of an 18.7 inch (475mm) circle of tubing. The hand grips are located on the right and left side of the rig in line with the camera. By having the hand grips farther away from the camera, the Fig Rig is able to dramatically reduce camera shake that is caused by random hand movements.

It is also a much more comfortable method of supporting the camera. This reduces fatigue on the operator.

A typical point-and-shoot camera is about 4-5 inches wide. So widening the base to 18 inches can reduce the effects of random movements of a hand by as much as 75%. (A 1/4-inch vertical movement on a 4-inch base produces an angle of 3.58 degrees. A 1/4-inch vertical movement on an 18-inch base produces an angle of only 0.80 degrees.)

2x4 Camera Stabilizer

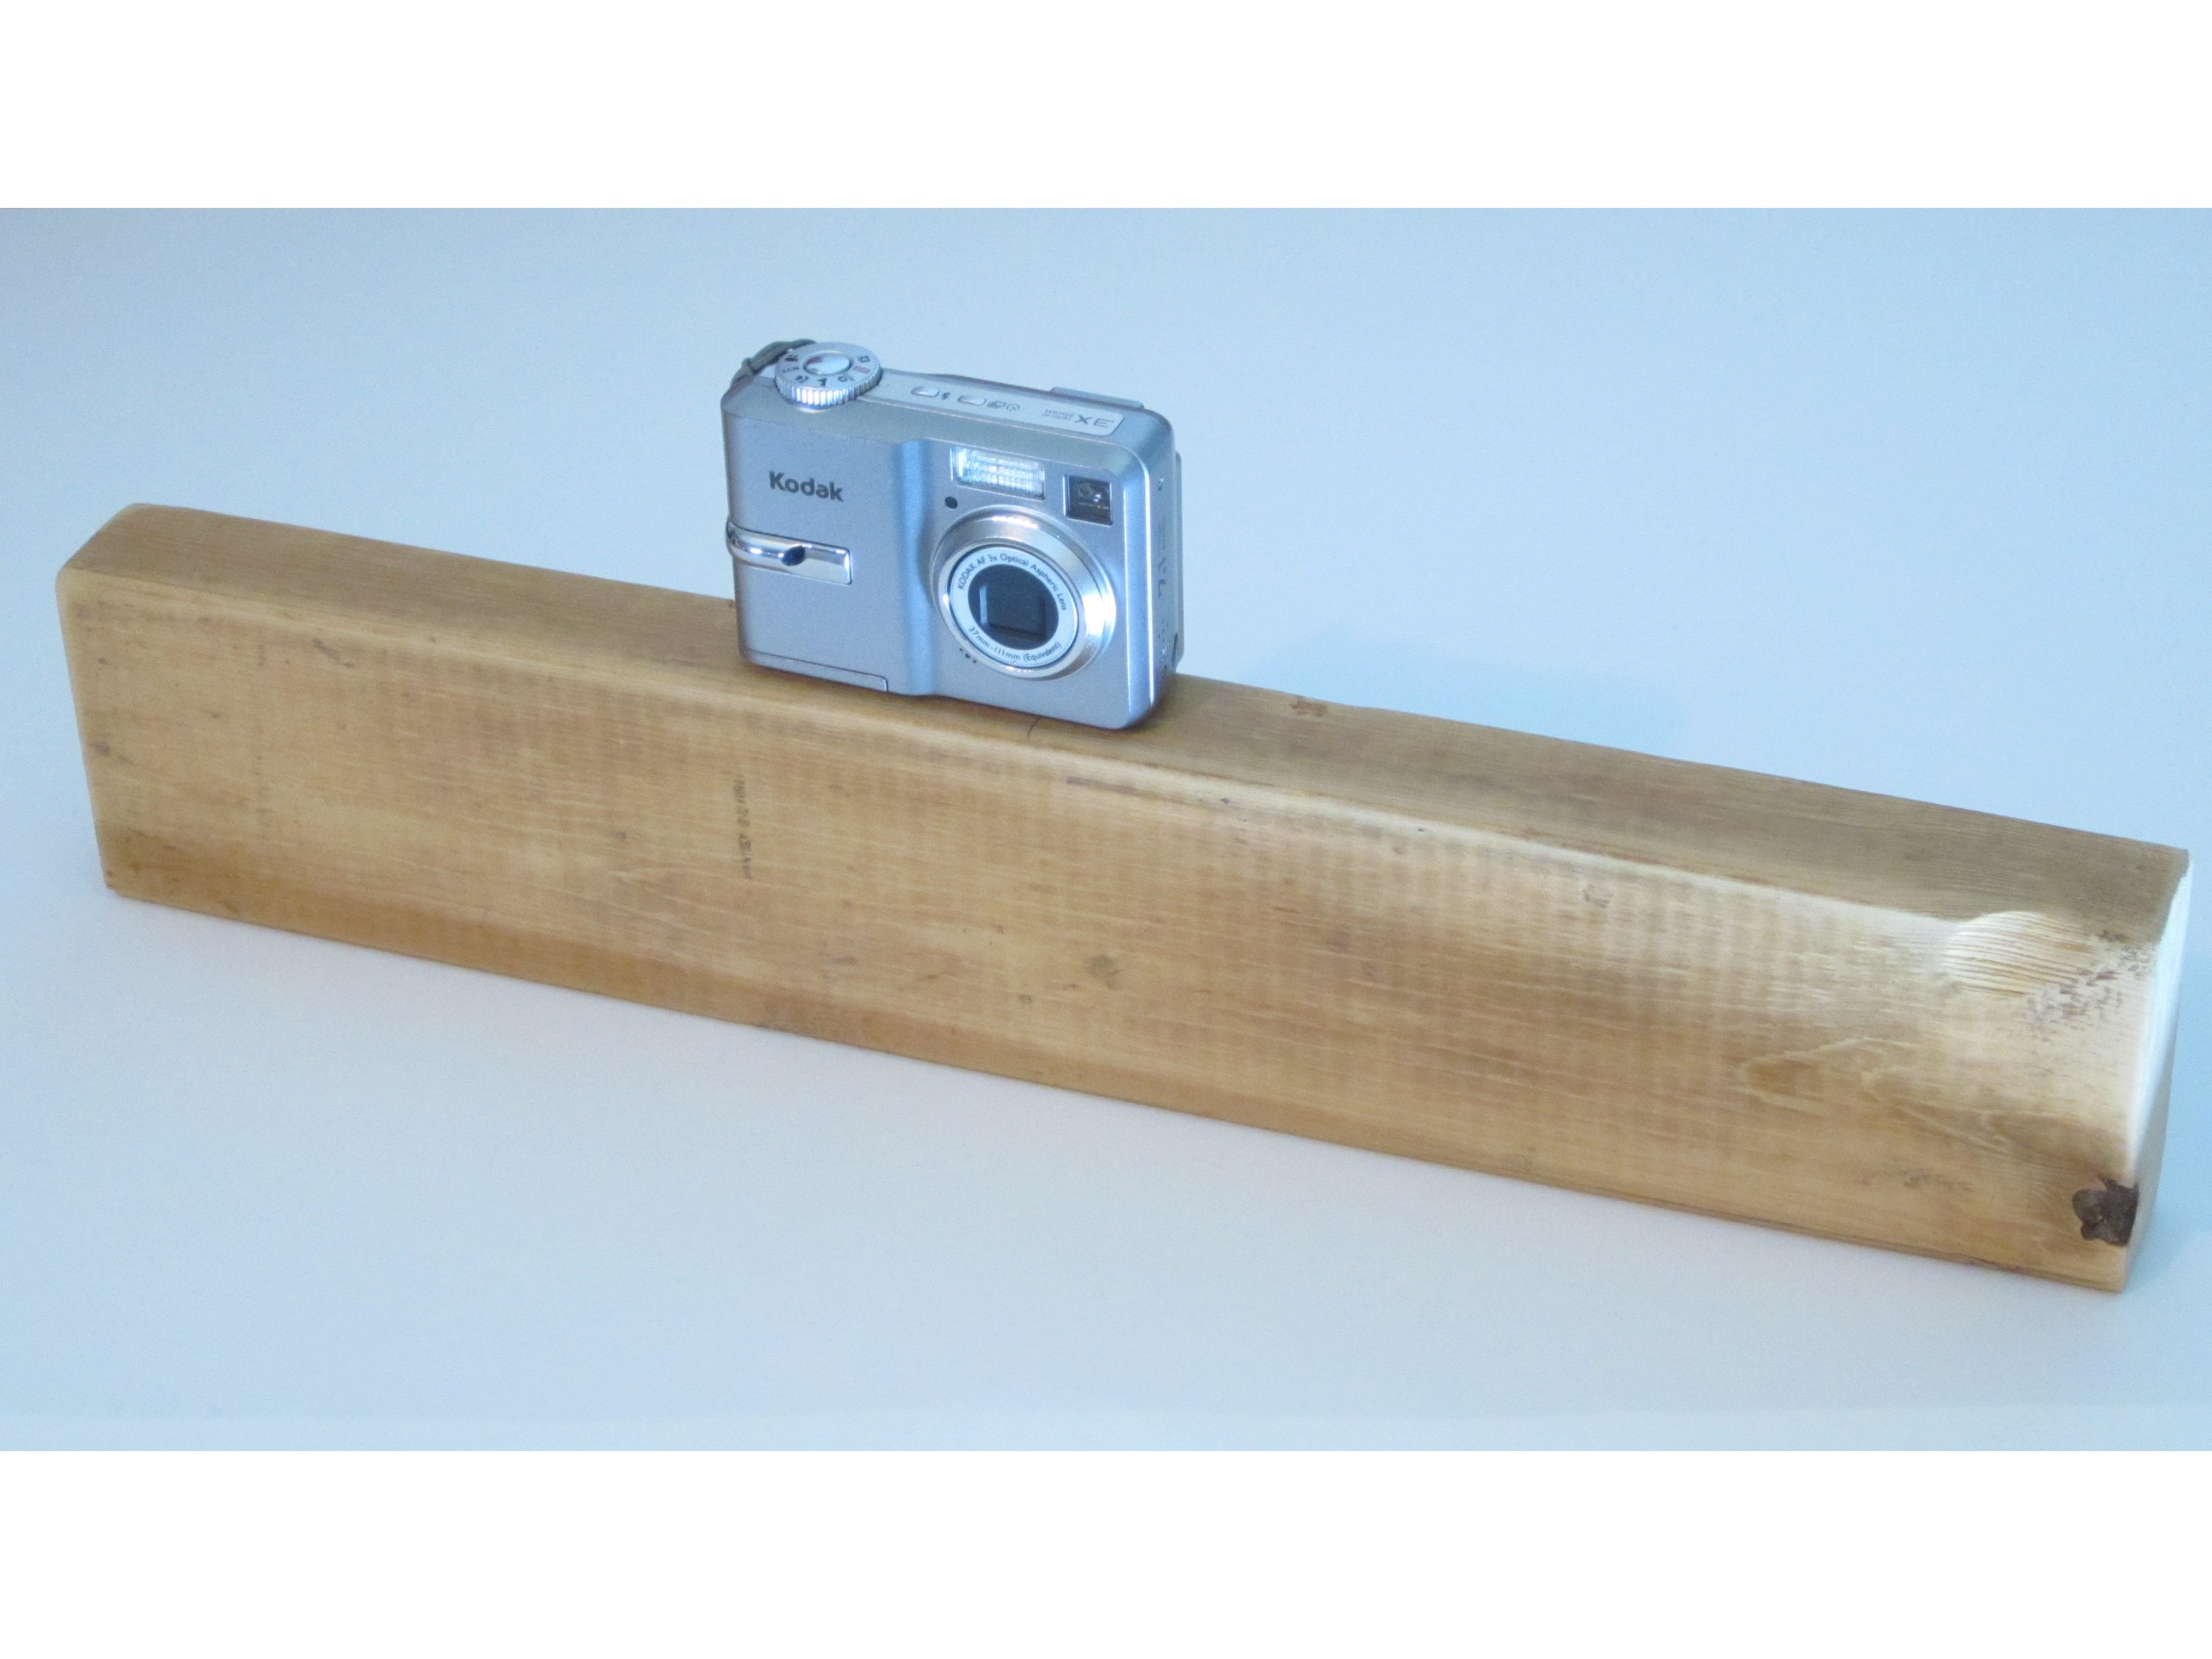
The Fig Rig improves camera stability by spacing hand grips farther away from the camera. This effect can be achieved with any rig that spaces out the hand grips. For example, you can get similar results using only an 18 inch piece of 2×4 and a 1/4 inch bolt.

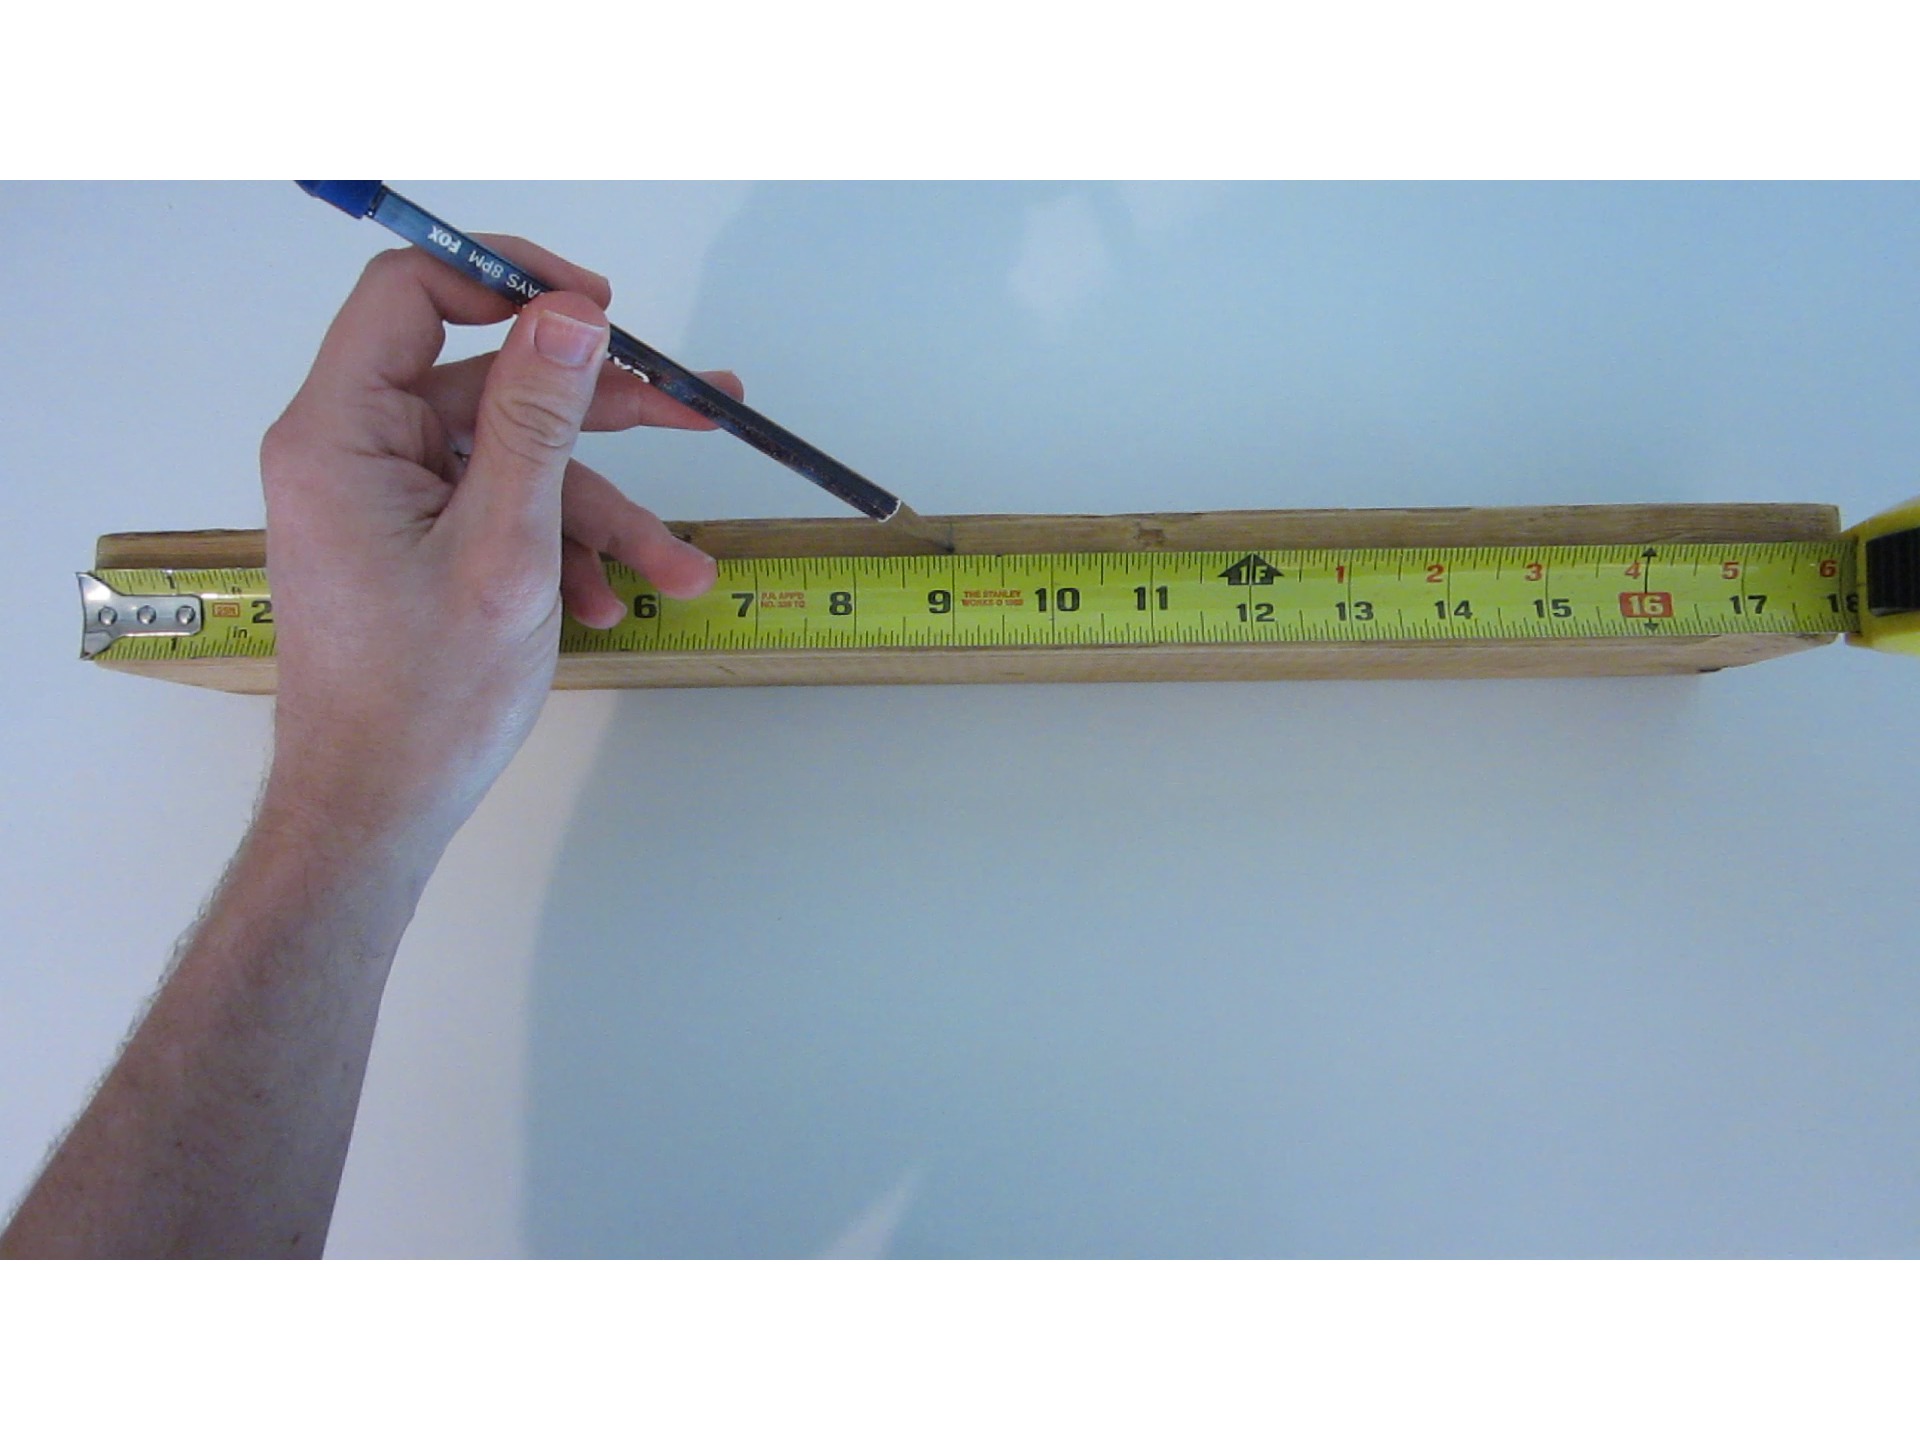
Start by cutting off an 18 inch piece of 2×4. Sand both ends so that you don’t scratch up your hands when using this rig.

Then draw a line down the center of the board (9 inches from either side).

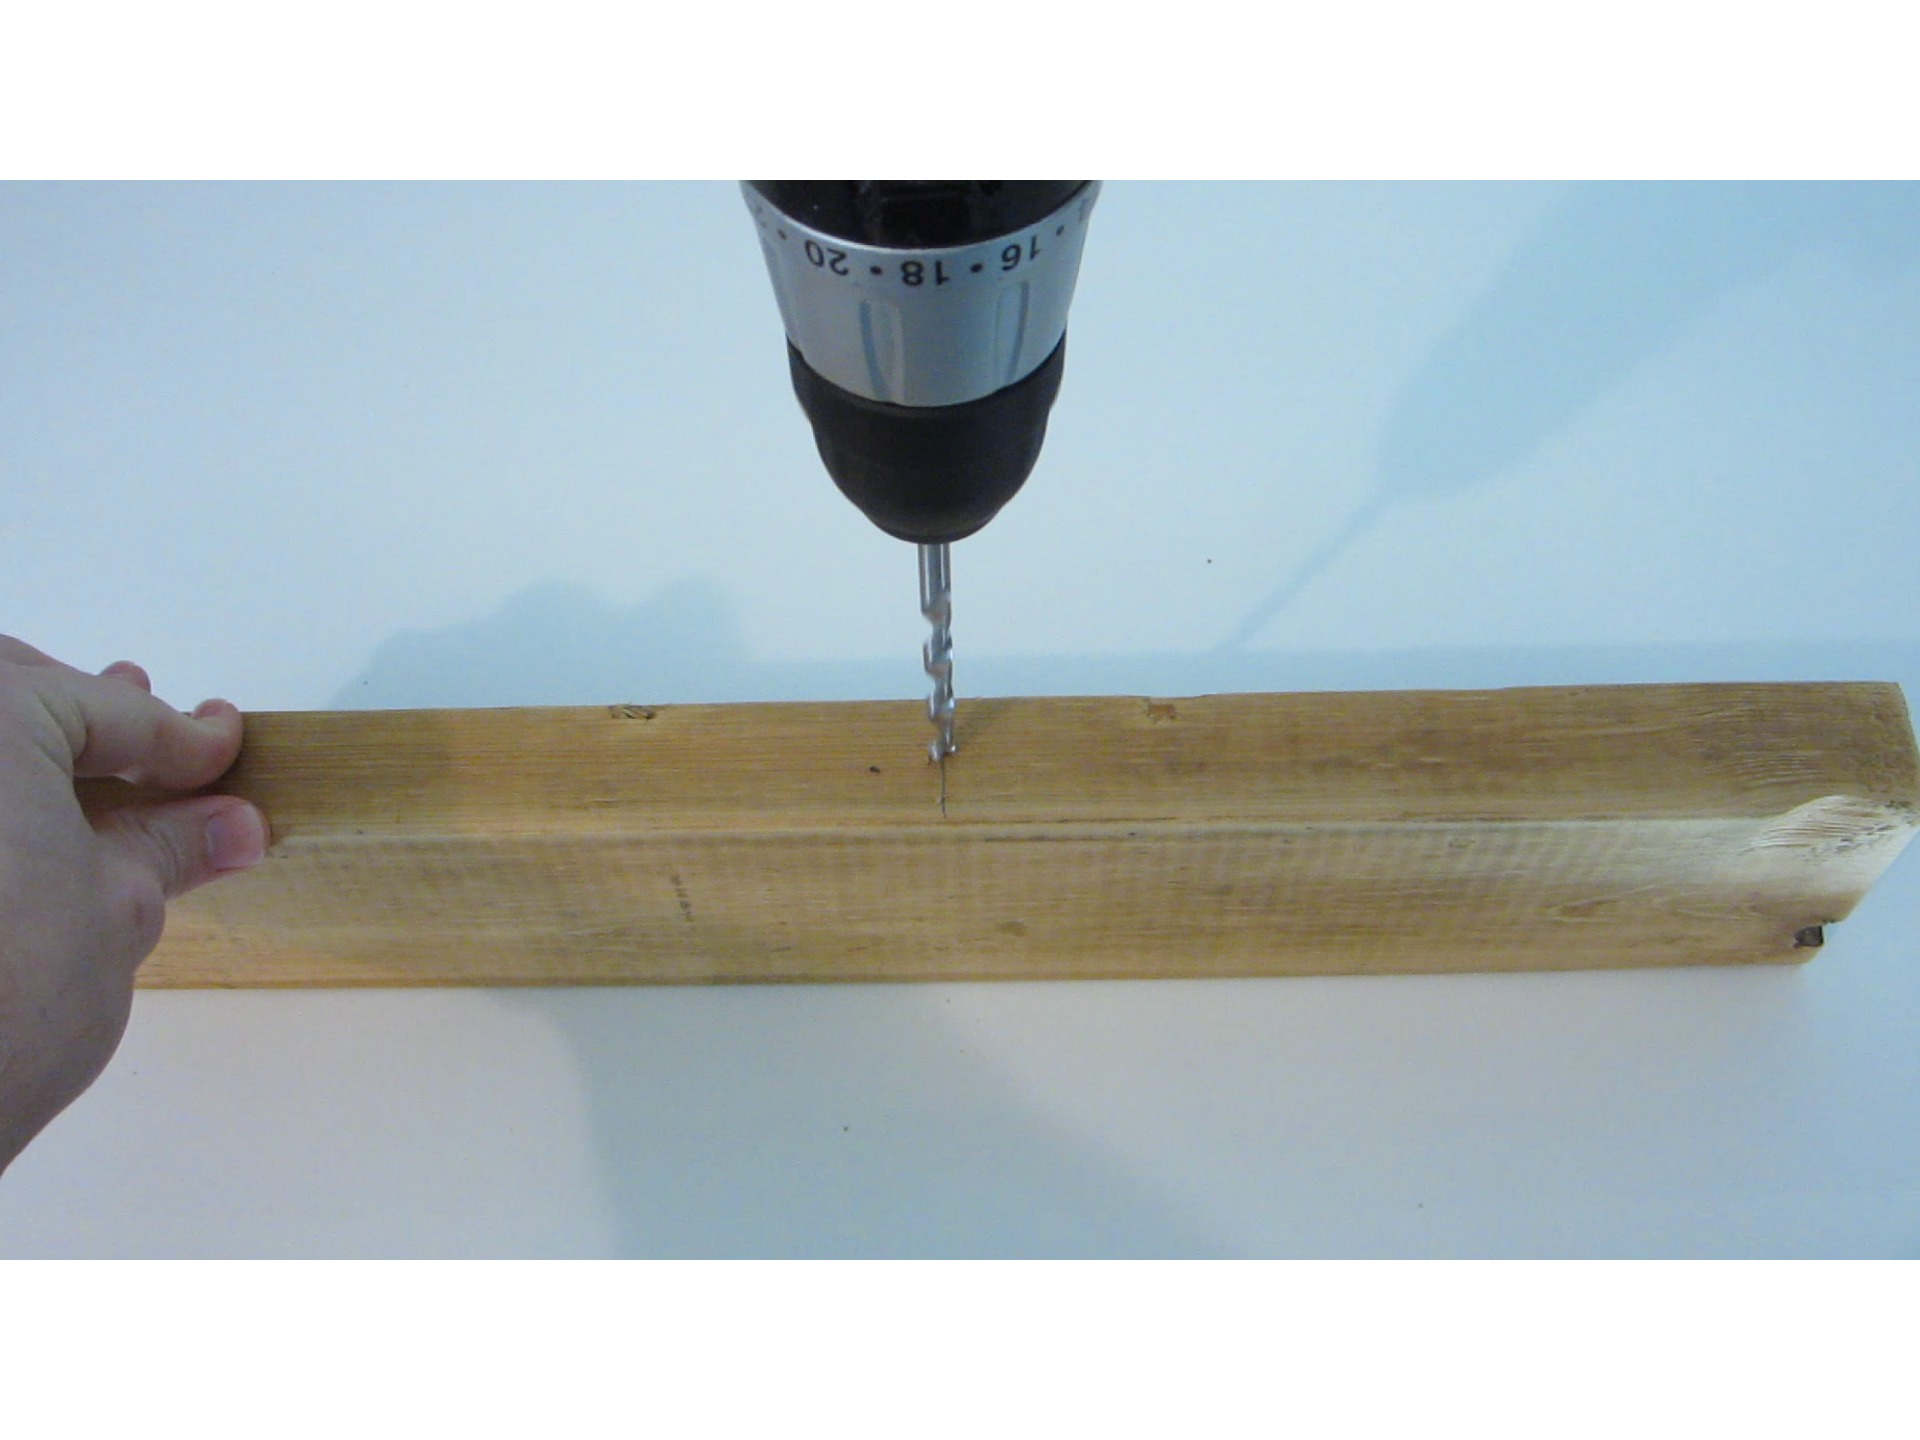
Using a 1/4 inch drill bit, drill a hole straight through the center of the board at this point.

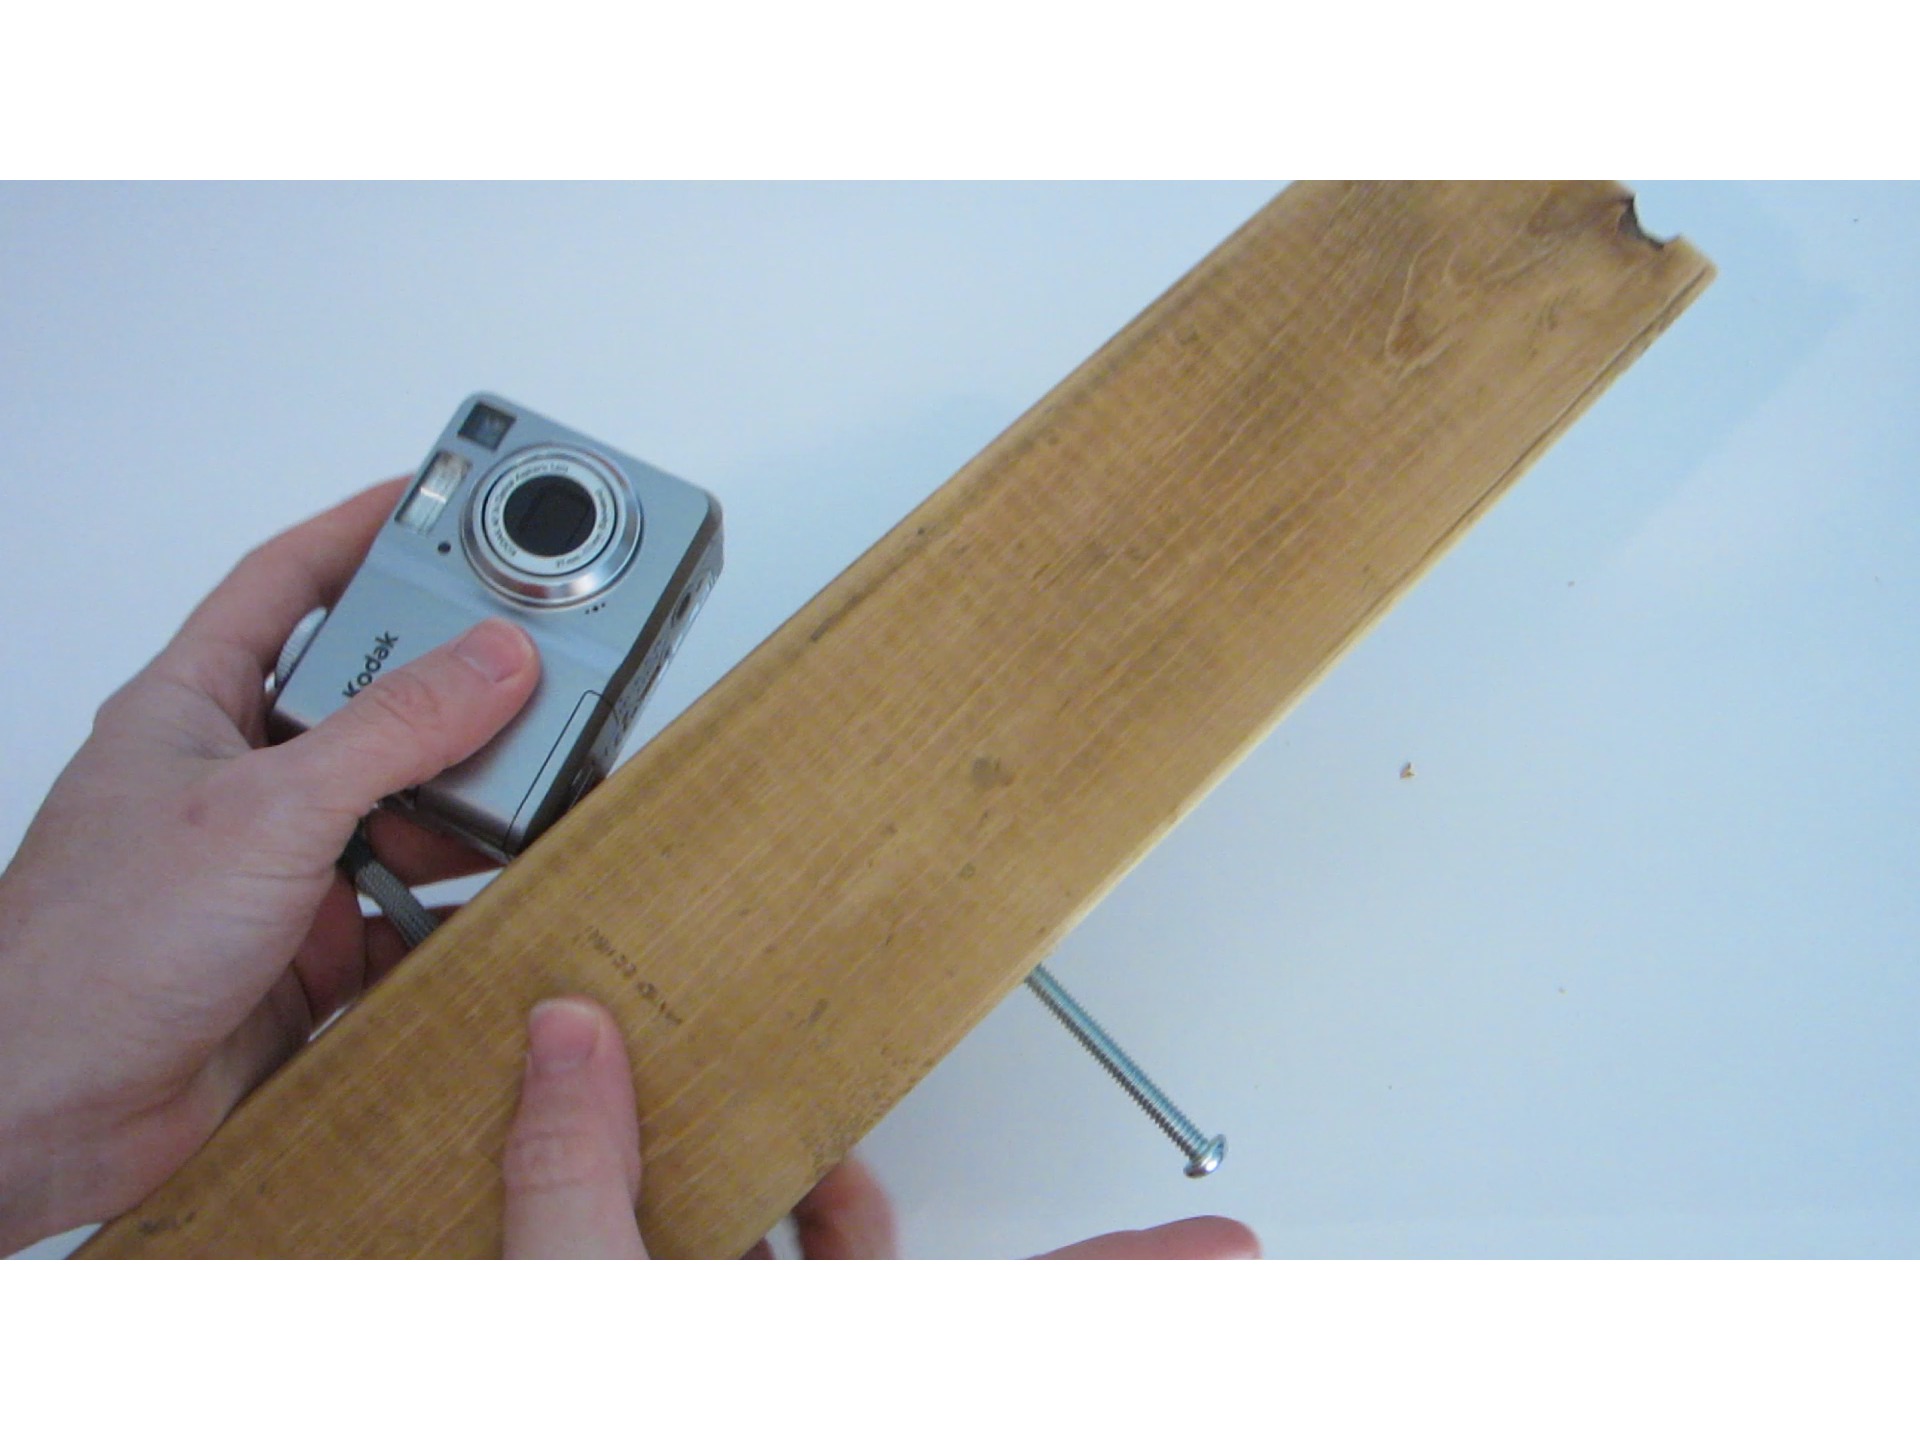
Insert a 3¾” bolt with 1/4-20 threads through the hole and screw on the camera.

If you cannot find a 3¾” bolt, substitute a 3½” bolt and use a 1/2 inch drill bit to counterbore the hole on the bottom side.

Finished 2x4 Camera Stabilizer

This simplified design is not ideal because the hand grips are not in line with the camera. But it demonstrates how easily you can use whatever materials you have lying around to make a basic camera stabilizer.