After building speakers and amps for 20 years, I got into 3D printing last year and wanted to see if it was possible to make a good speaker enclosure this way. After looking at some 3D-printed parts my friend had made, and seeing how strong they could be, I was inspired to try.

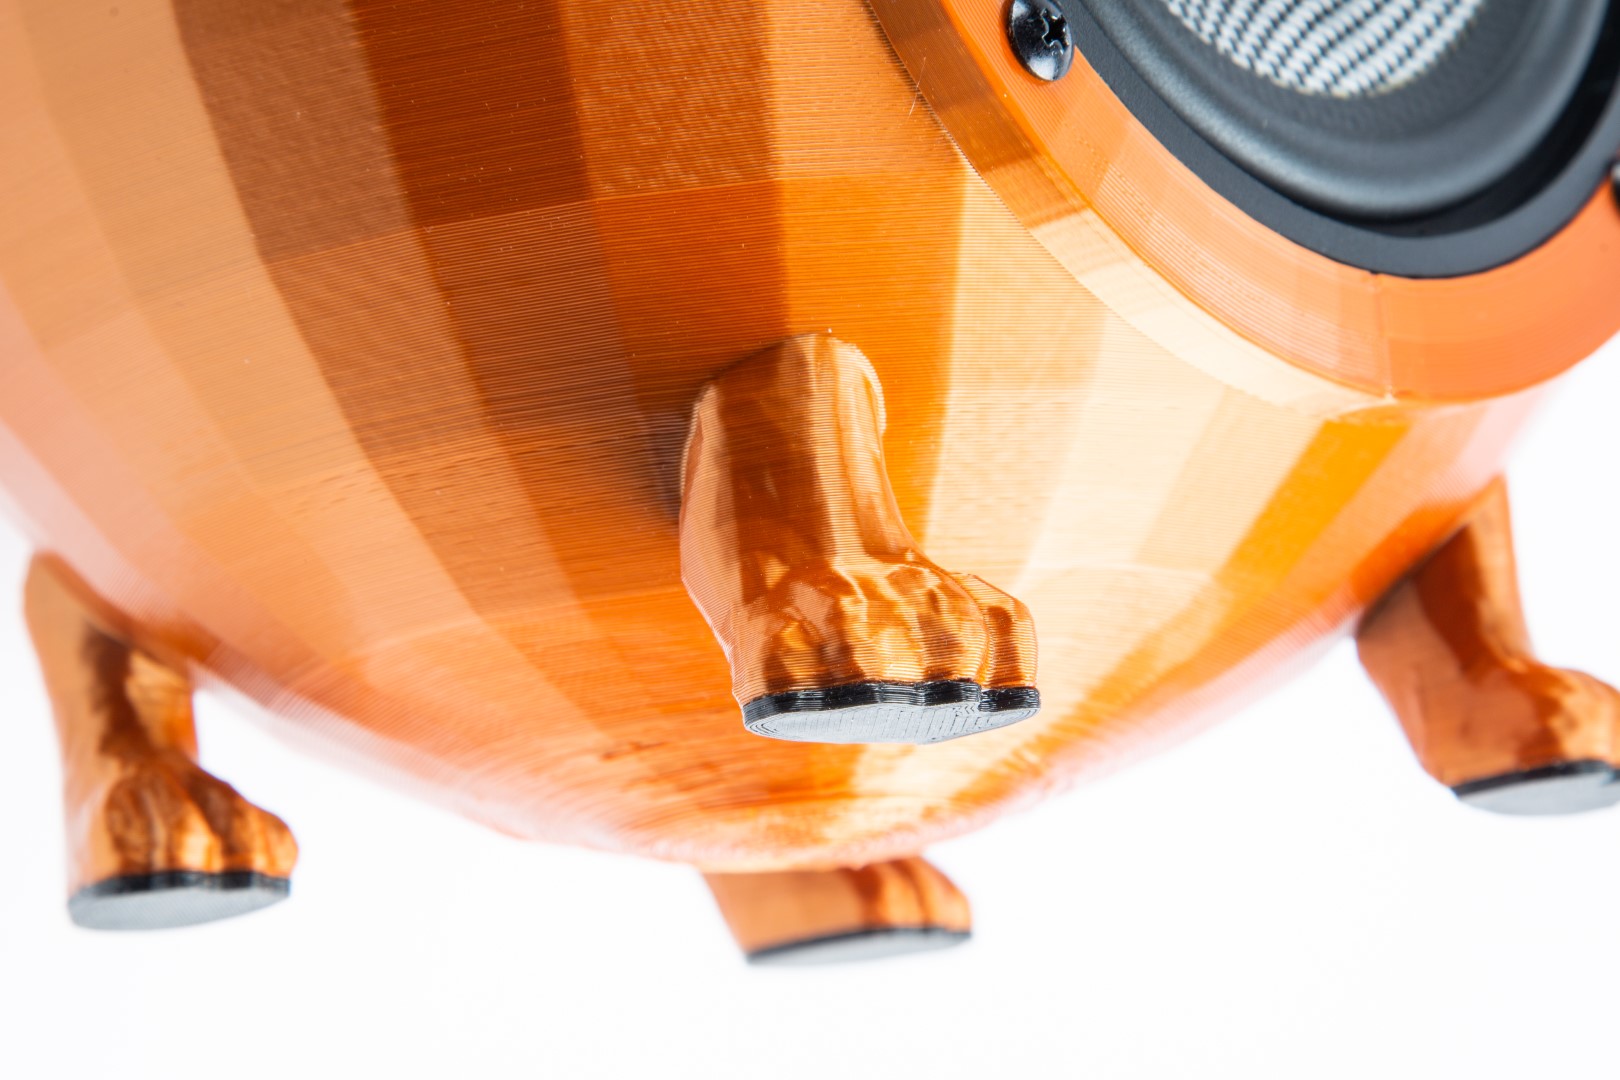
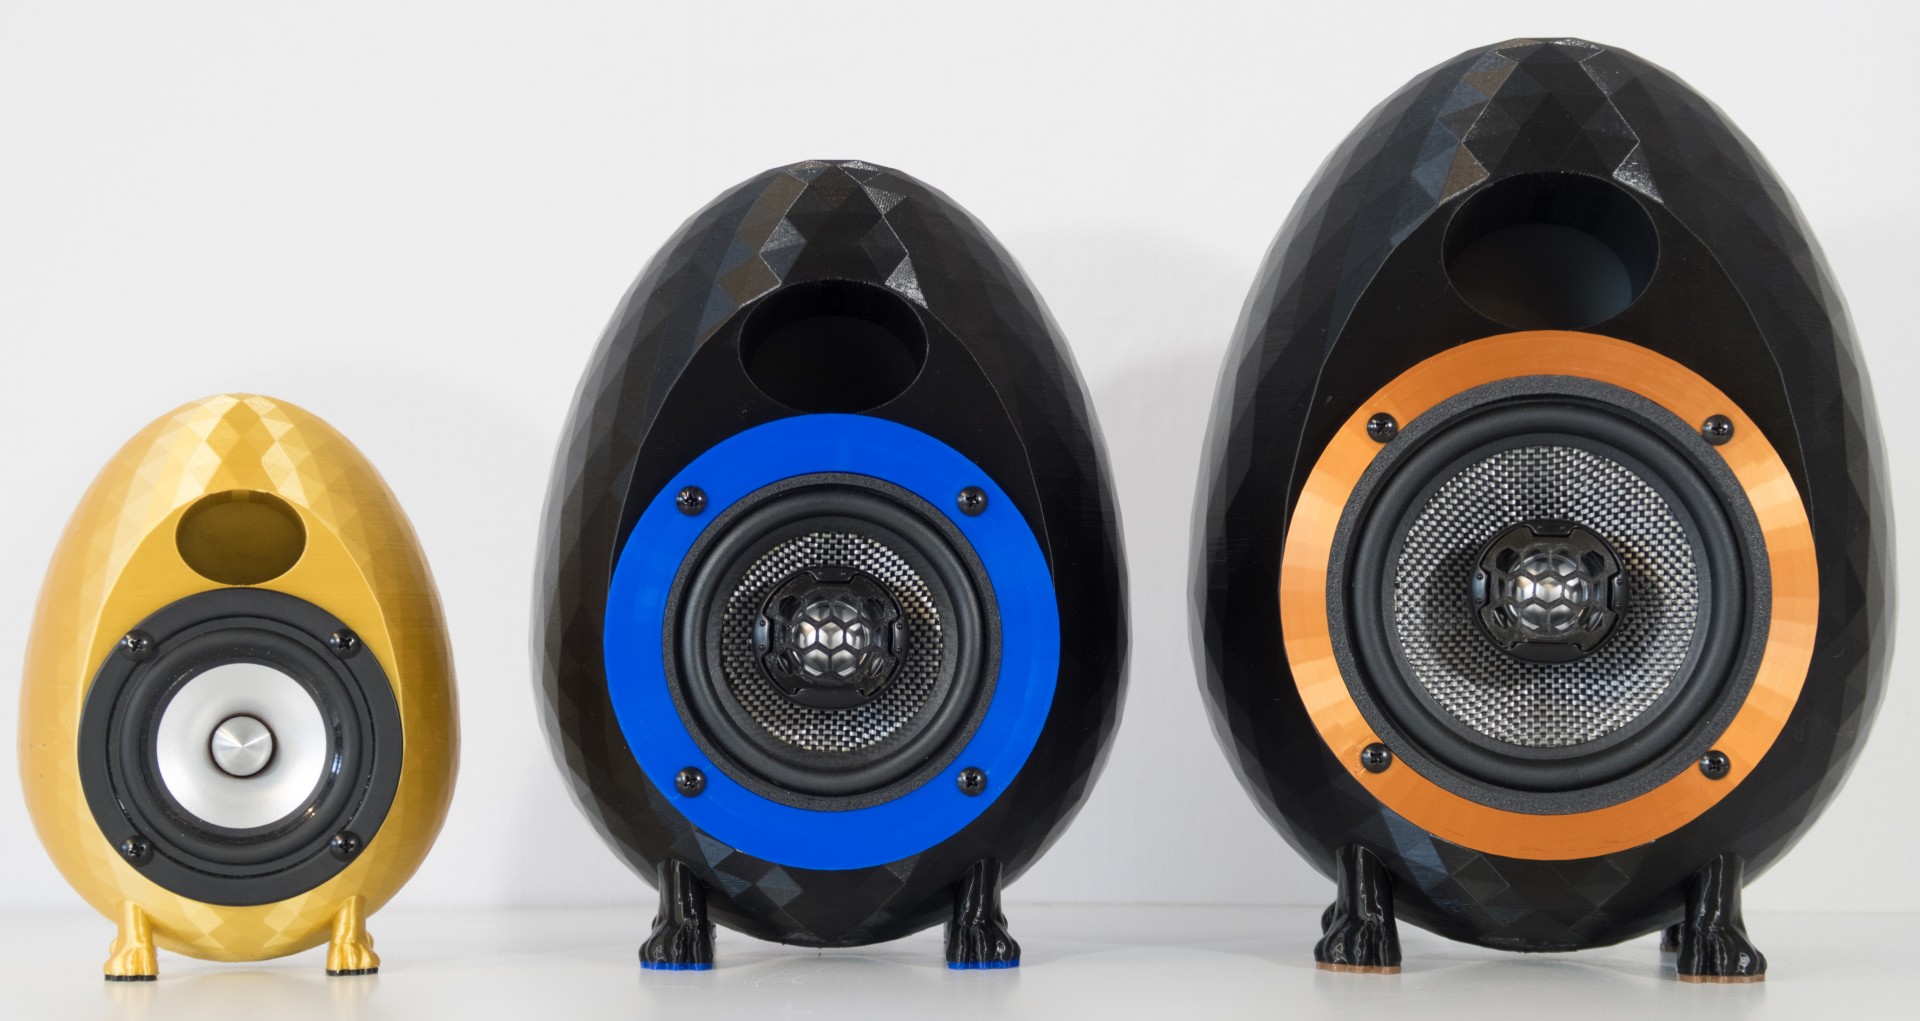
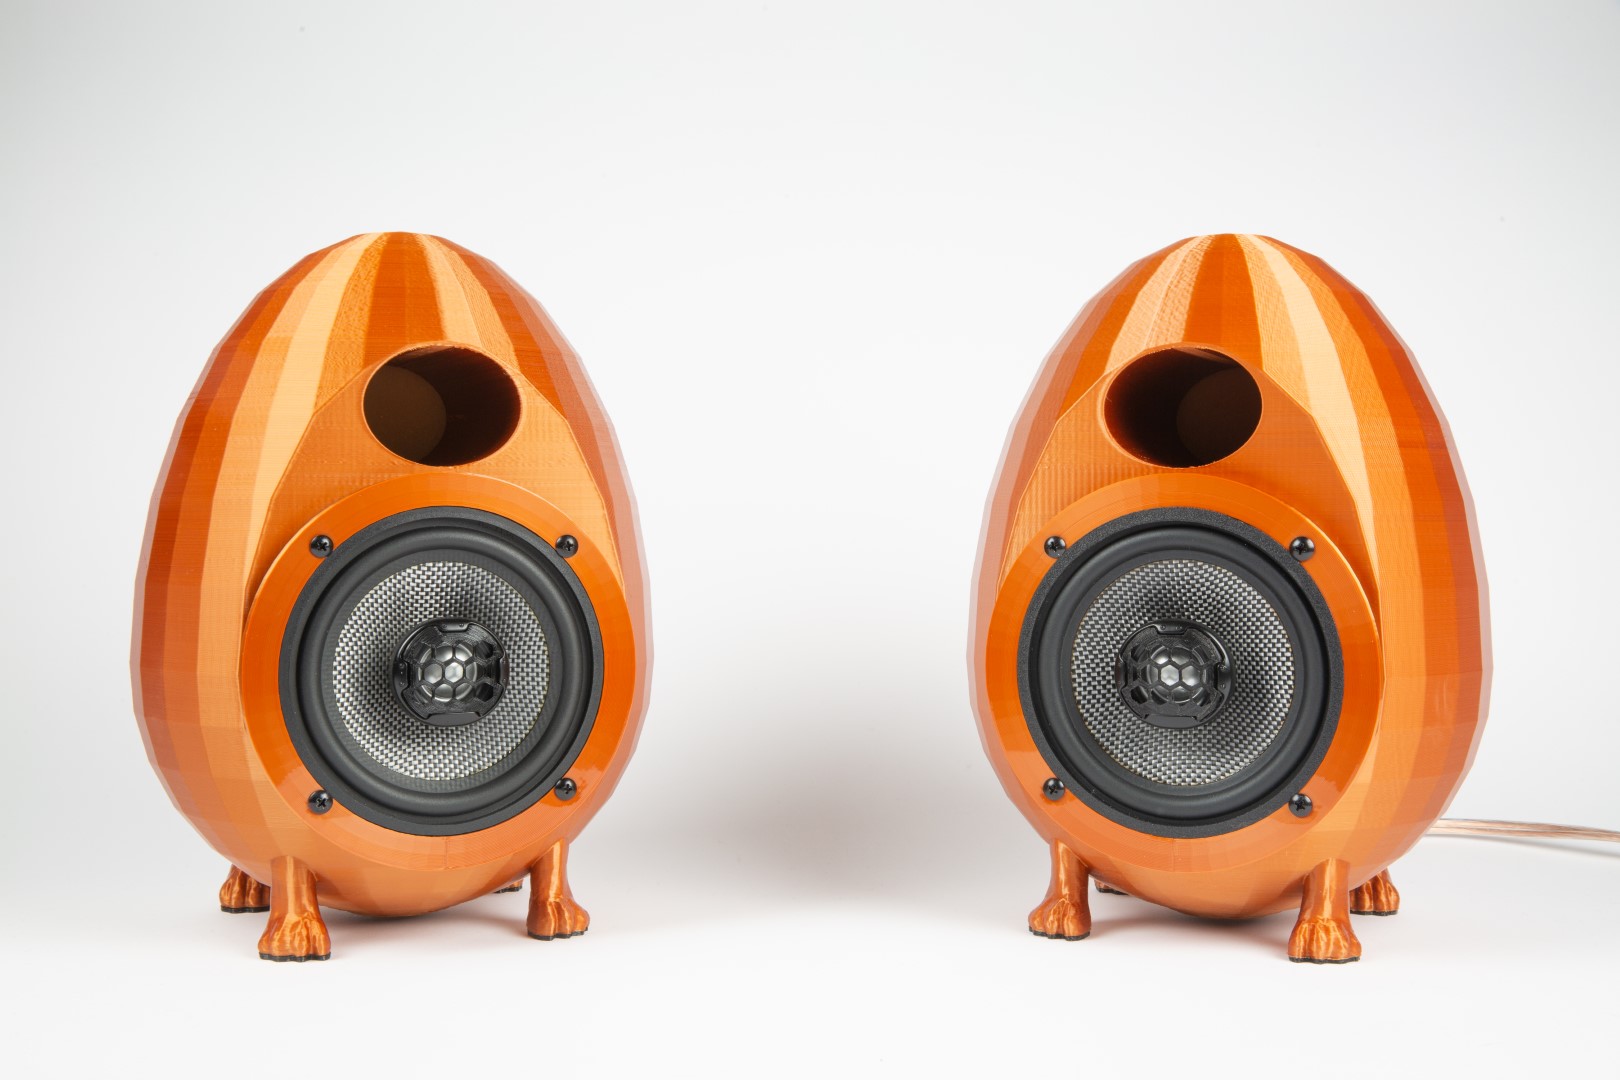
The result: A pair of good-looking speakers that truly sound great, with no sharp corners to impede airflow inside the cabinet. The “egg” has always been one of the holy grails of cabinets in the hi-fi world, but they’re hard to make in a conventional way. Now it’s much easier with 3D printing.

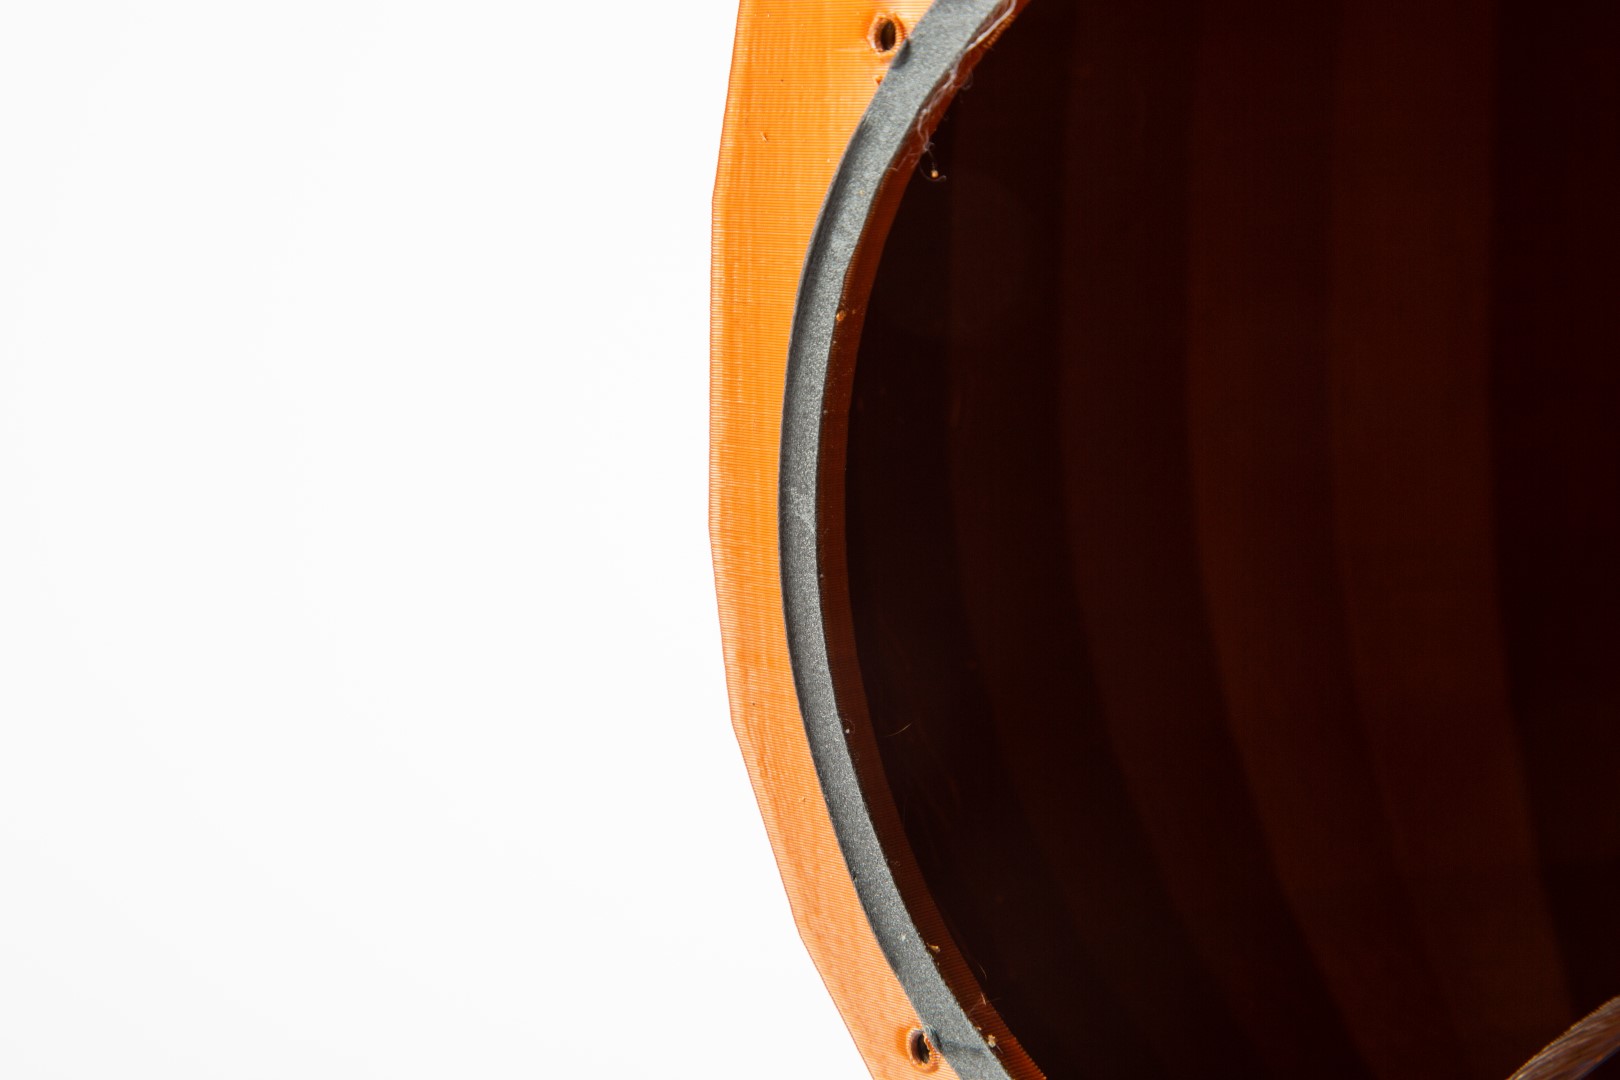
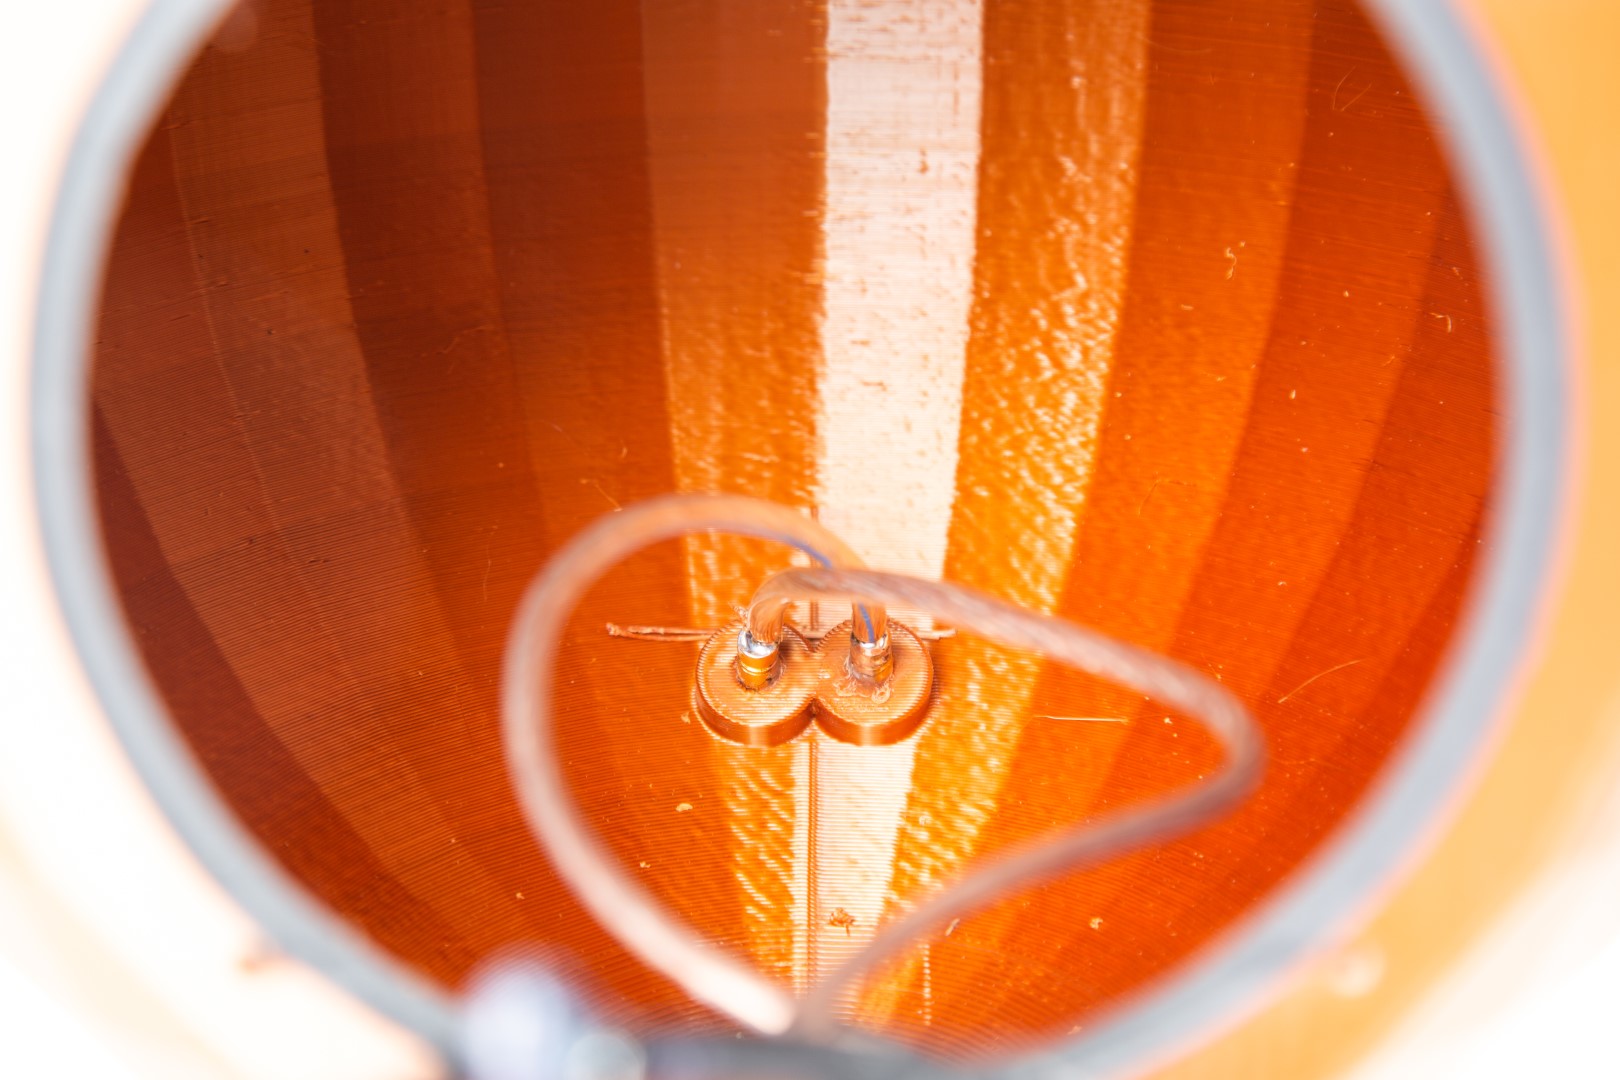
I learned a lot about using infill settings to create an air gap between the inner and outer walls. This helps a lot — instead of just having solid plastic, the air gap dampens the pressure from inside, so the outer wall has less resonance. Material and wall thickness have the biggest effect on holding in the sound pressure, so you get more sound pressure in the listening room.

It’s been a long process in getting the ratios “right” but I’m so amazed at the sound coming from such small speakers. You can make your own pair for about $100. It’s an easy build; only basic soldering skills are required.

BUILD A PAIR OF AUDIOPHILE EGG SPEAKERS

Project Steps

Clean up the 3D Prints

Take a minute to clean up your 3D prints so they look their best. This is a unique speaker cabinet you’ll to want to show off.

Drill out Holes

Drill out 5mm holes for the gold connectors in the back of the egg, for the speaker wire connection. (It’s tricky to print these so they fit perfectly.)

Tap Mounting Holes

Tap 3.5mm threads for the 4 speaker mounting holes, so the plastic won’t separate when you screw in the speakers.

Cushion speaker hole with foam

Put MDM-5 foam around the speaker hole.

Cushion bass port with foam

Put the 10mm foam behind the bass port. It should stay in place by itself.

Solder Connectors to speaker cable

Solder 2 female gold bullet connectors to one end of the speaker cable.

Glue connectors to back of egg

Glue the gold connectors into the back of the egg (remember polarity), from the inside. This step is a bit fiddly, so do some dry runs .

Connect and mount the speaker

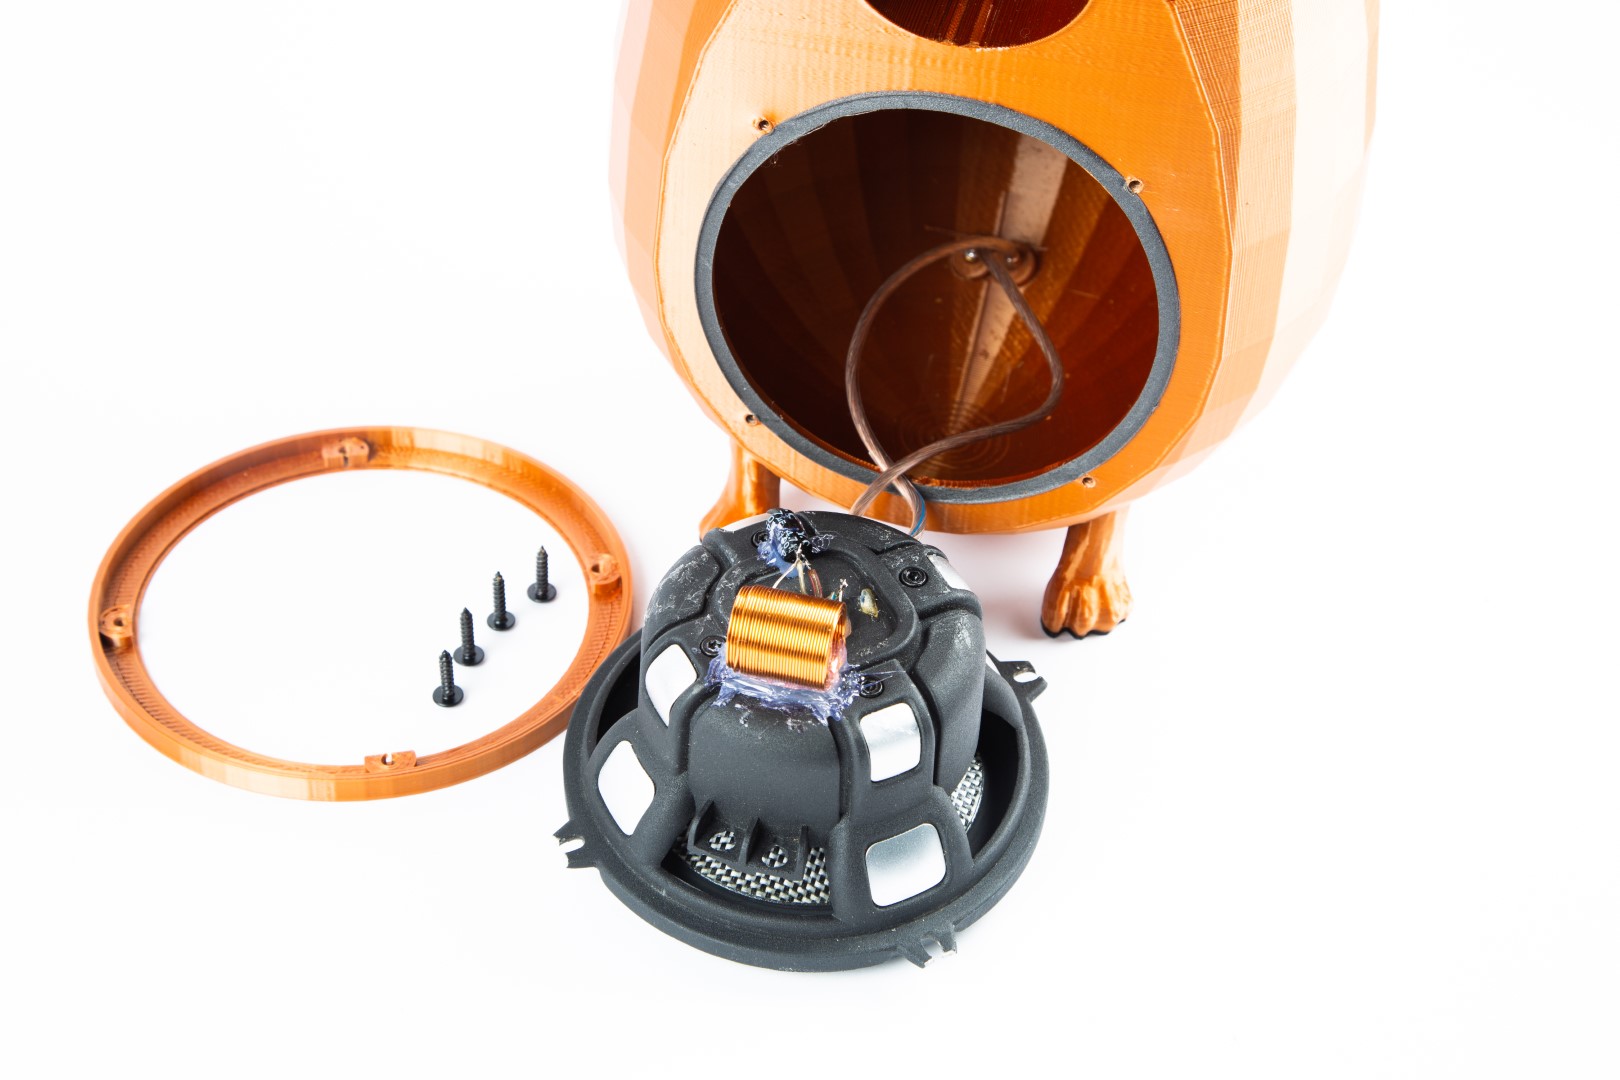
Connect your speaker of choice to the bare end of the speaker wire, then put on the ring, and screw it in.

Glue on feet

Finally, glue on the flex feet.

Your first speaker is done; repeat these steps to build the second speaker.

Conclusion

USE IT

Connect your finished speakers to an amplifier, and enjoy! I’m very happy with the result — it sounds better than any other cabinet I’ve ever had in this size.

There are so many places to go from here. One thing I noticed: my original low-poly model creates some difficulties in having even wall infill-thickness. So I recently created a high-poly model too.

For my next build I’m printing these transparent, and adding WS2812B LEDs so they’ll fill the room with sound and also with every kind of light and color pattern you can think of!

YouTube player


Here’s a look at my newest design, and a video clip of it in action.