YouTube player

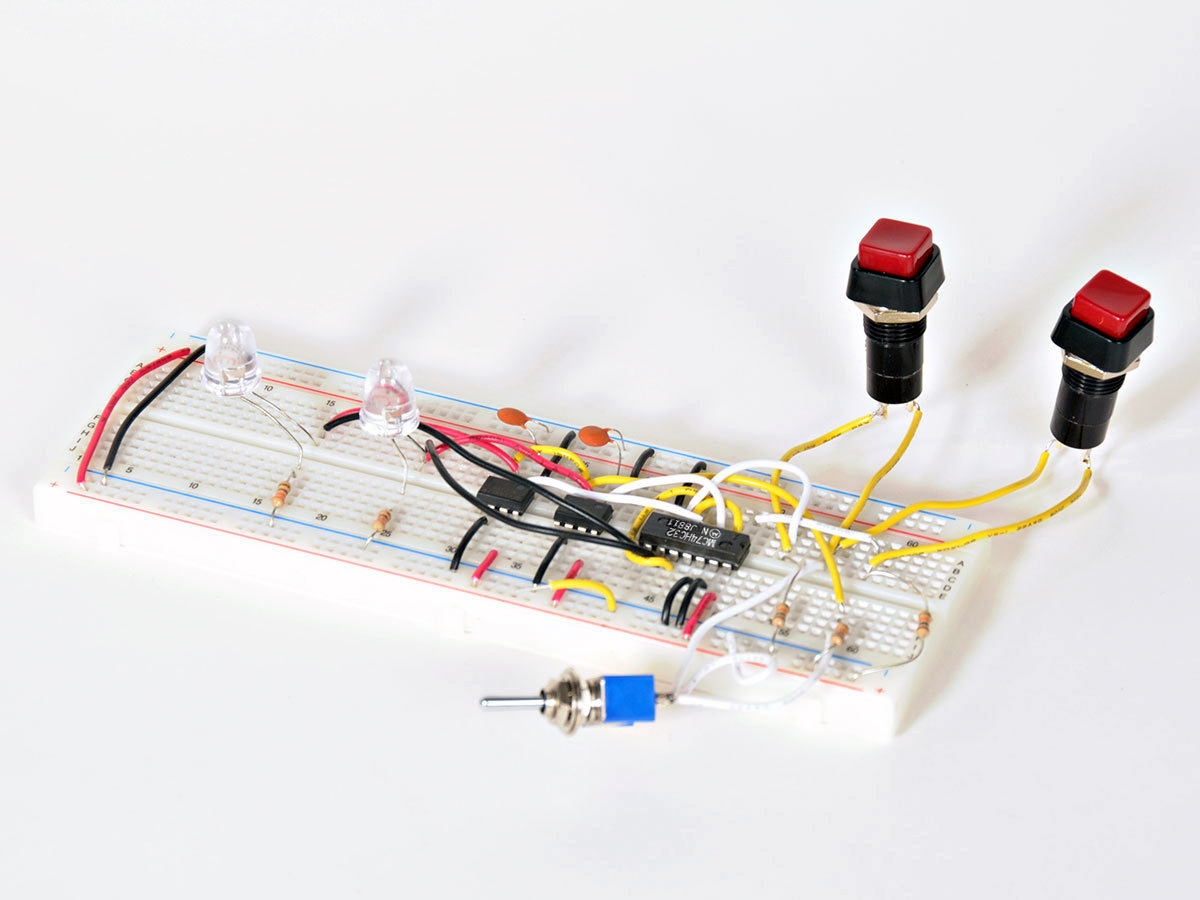
In this project, taken from Charles Platt’s book Make: Electronics, we’re going to breadboard a fairly complex circuit using 555 timers and an OR logic gate.

Using these and some other, common components, we’ll build a game show button system. When one button is pressed, it automatically locks the other one out, until the quizmaster flips a reset switch.

“OR gates” are one of several types of basic logic gates. The logic of ORs are, as the name suggests, if input A or B is true (on), output X is true (on); thus, in this design, if either player presses his or her push button, the circuit will go true (on), locking out the other player’s button, and can only be reset via the toggle switch. This circuit is ideal for two-person quiz contests!

“I’ll take ‘Cool Projects’ for 100, Alex!”

What will the next generation of Make: look like? We’re inviting you to shape the future by investing in Make:. By becoming an investor, you help decide what’s next. The future of Make: is in your hands. Learn More.

Project Steps

Gather Your Parts, Install ICs and Hookup Wire

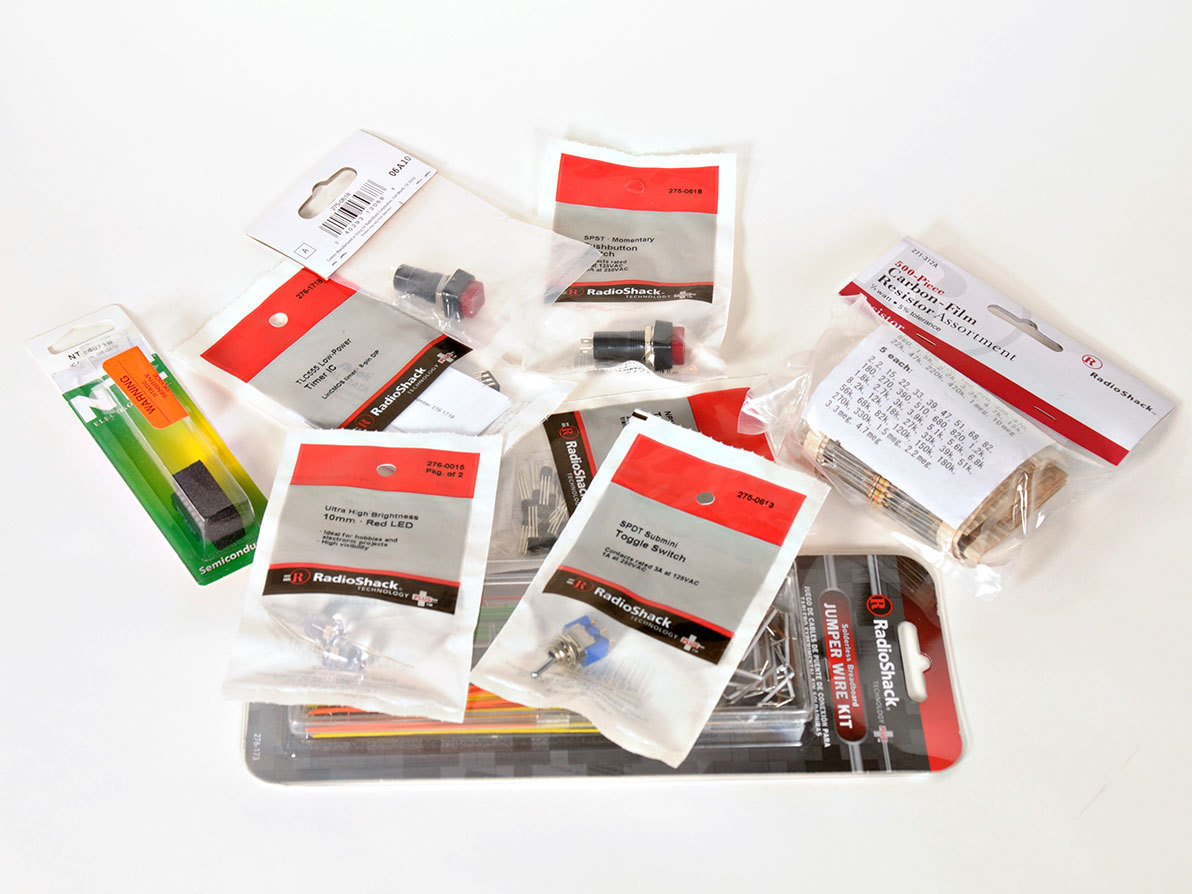
Gather together the required parts along with the breadboard.

Breadboards have positive and negative power rails running along the top and bottom. They are typically marked with a red line for positive (+) and blue (or black) line for negative (-). When you power the board, you can connect a 5-6v battery (or DC power supply) with positive and negative connected to the respective rails.

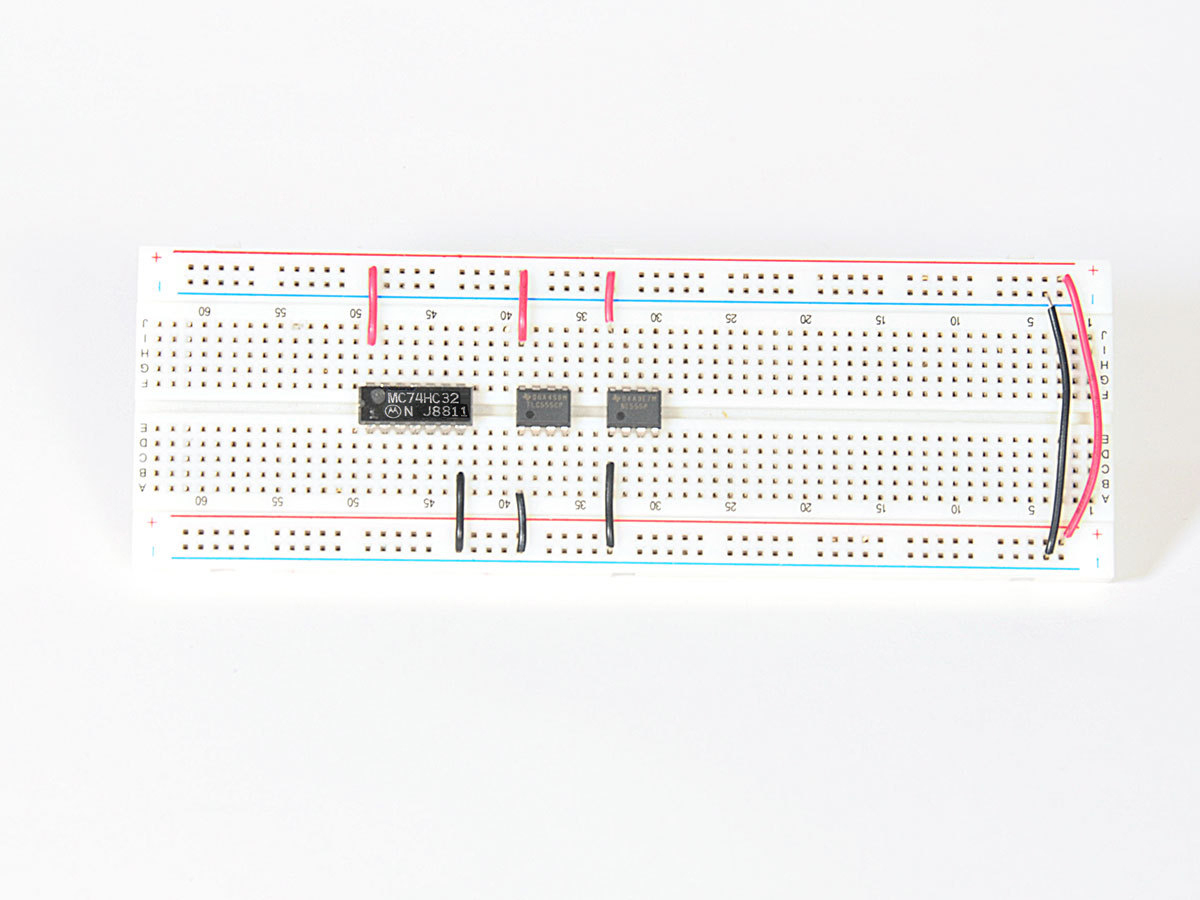
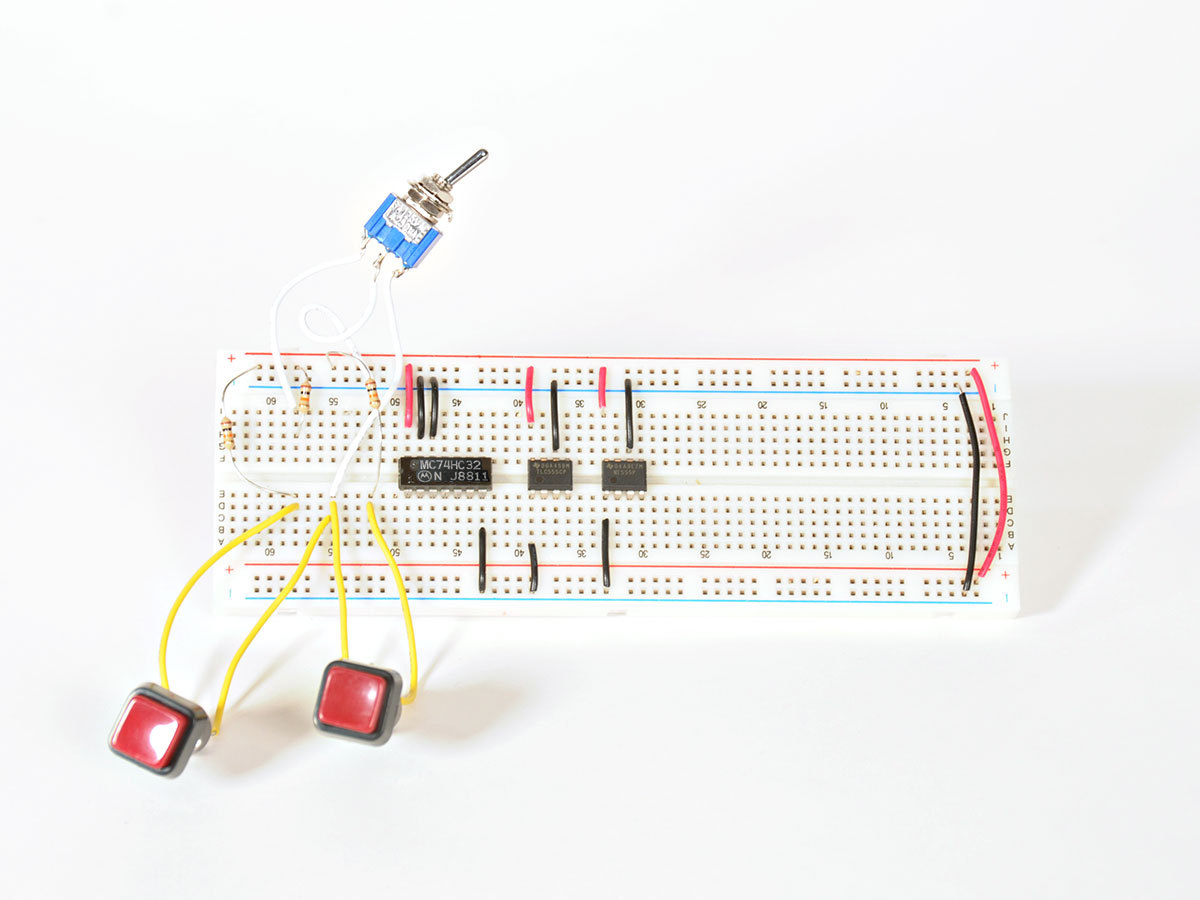
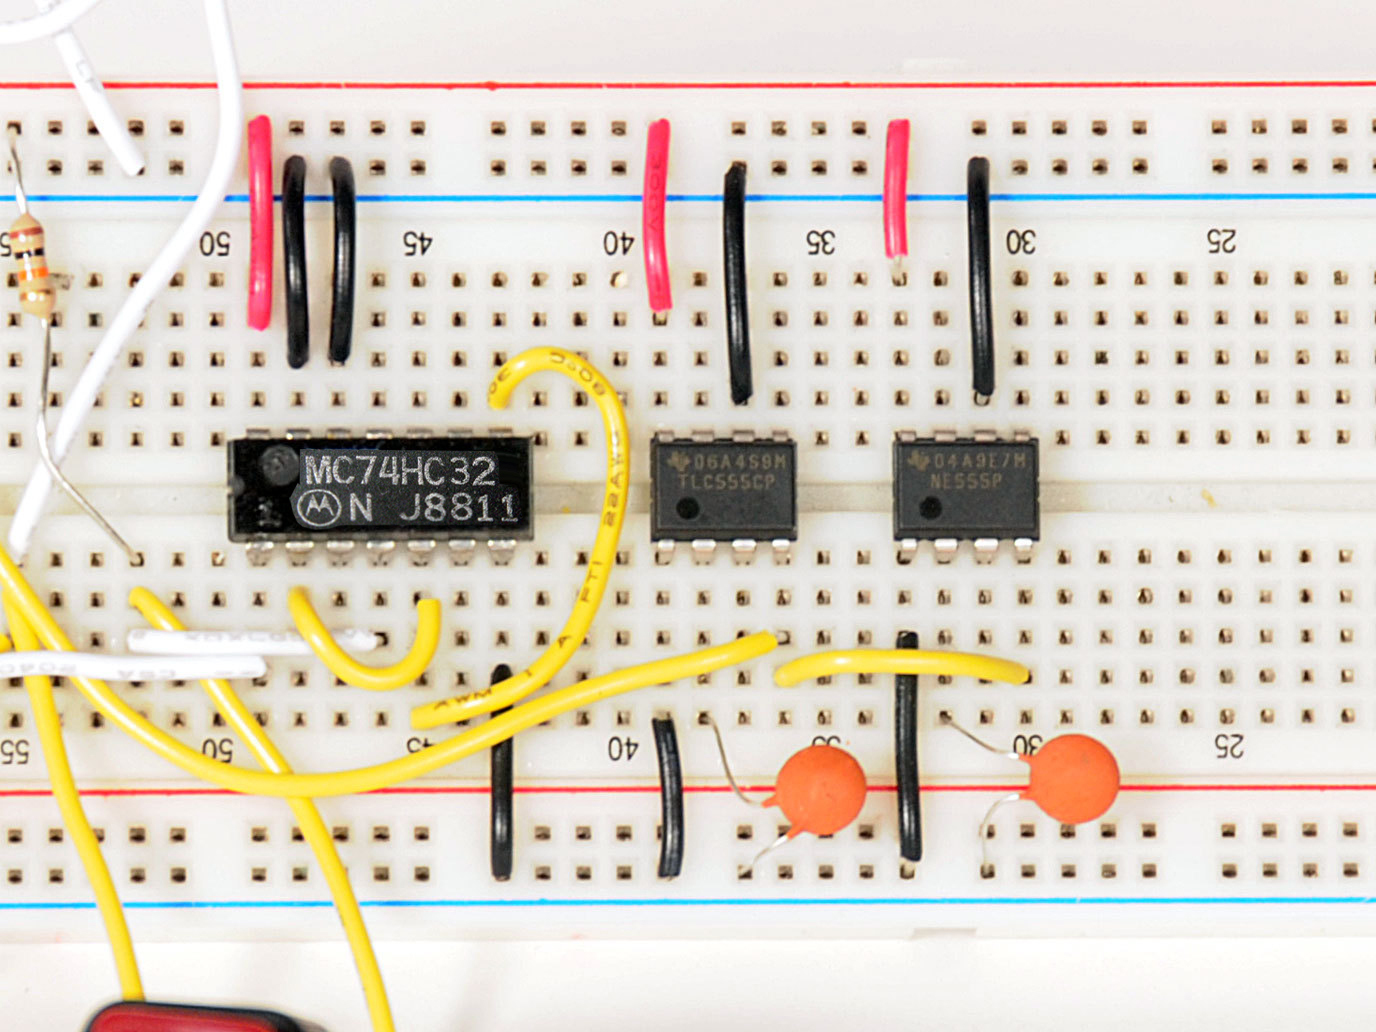
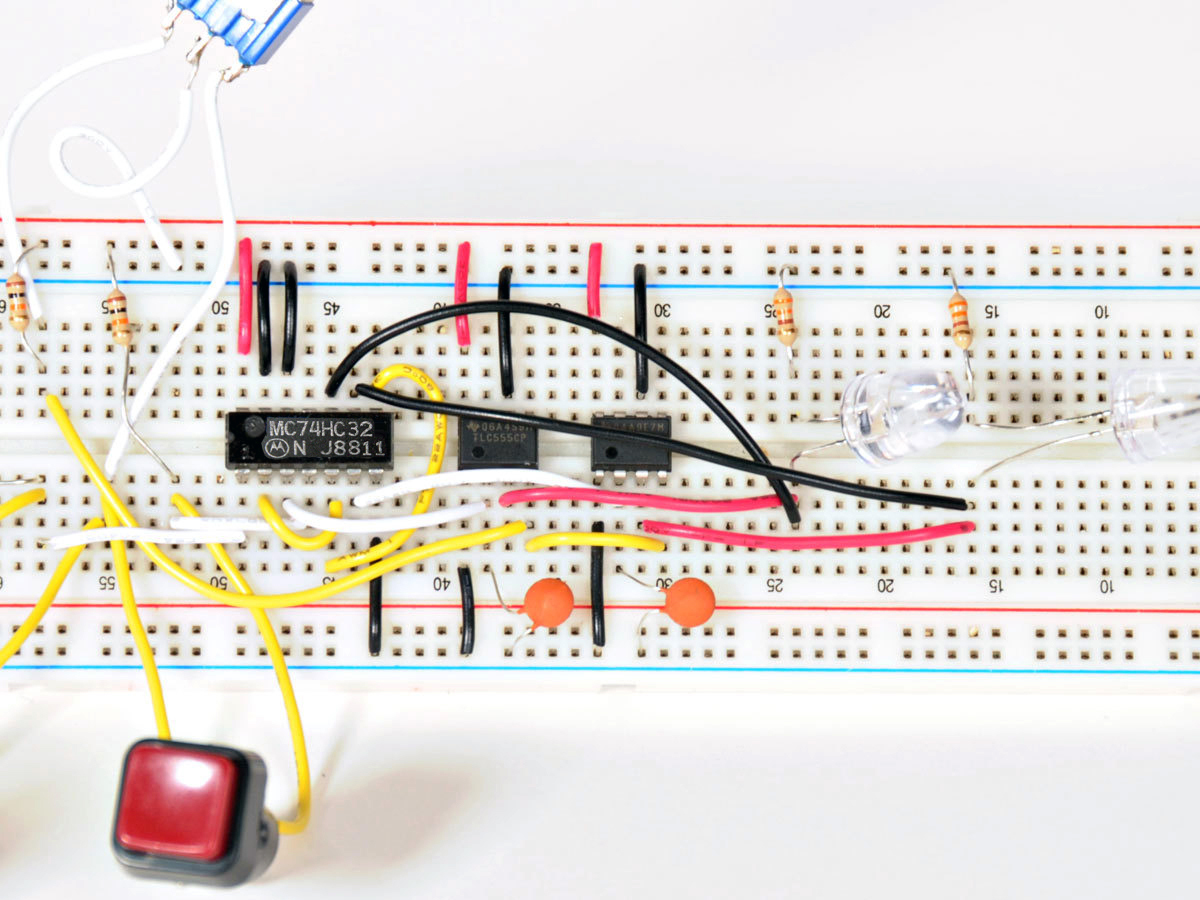
Our first task is to place the 3 ICs (integrated circuits) in line, and be sure they’re in the correct orientation. Using the 22AWG jumper wire, connect power (- is black, + is red). You can see that I’ve connected to the two power rails on either side of the breadboard.

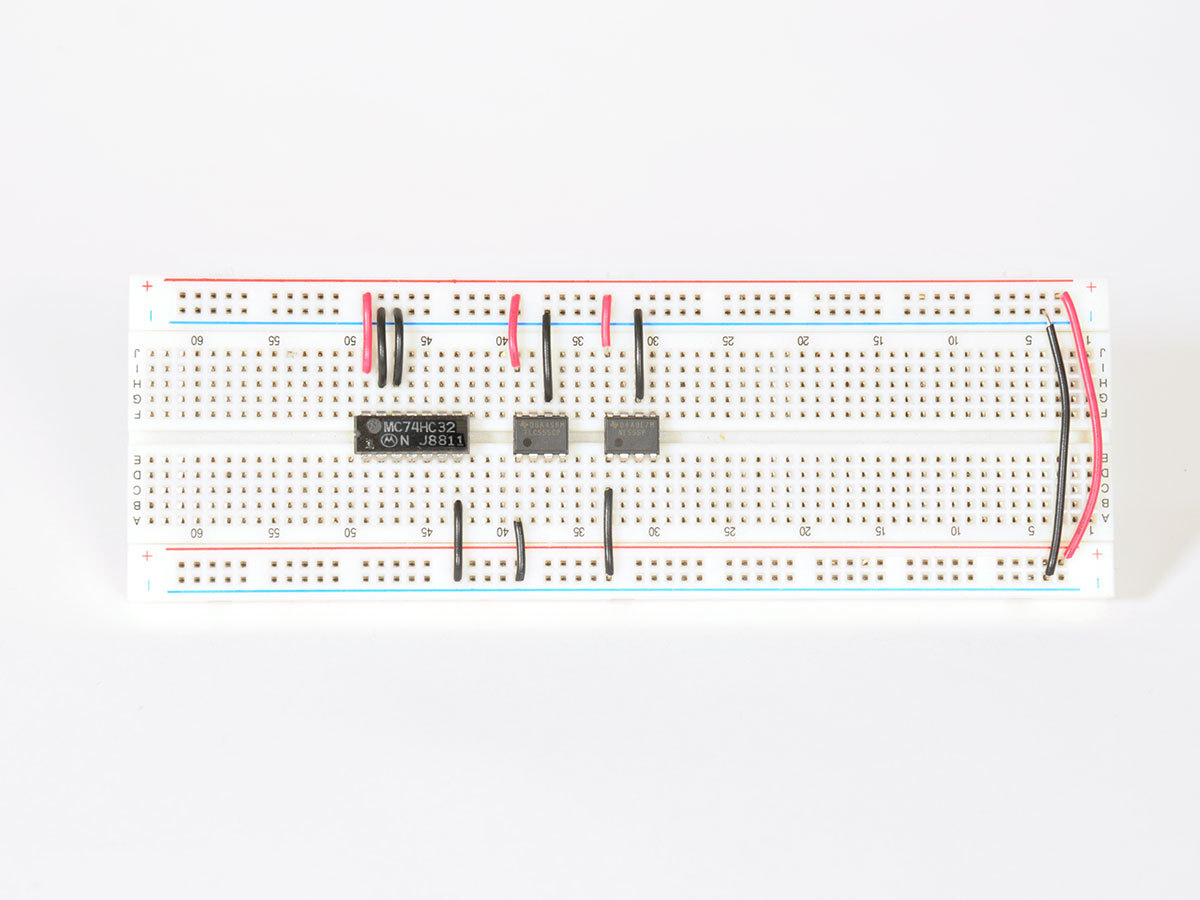
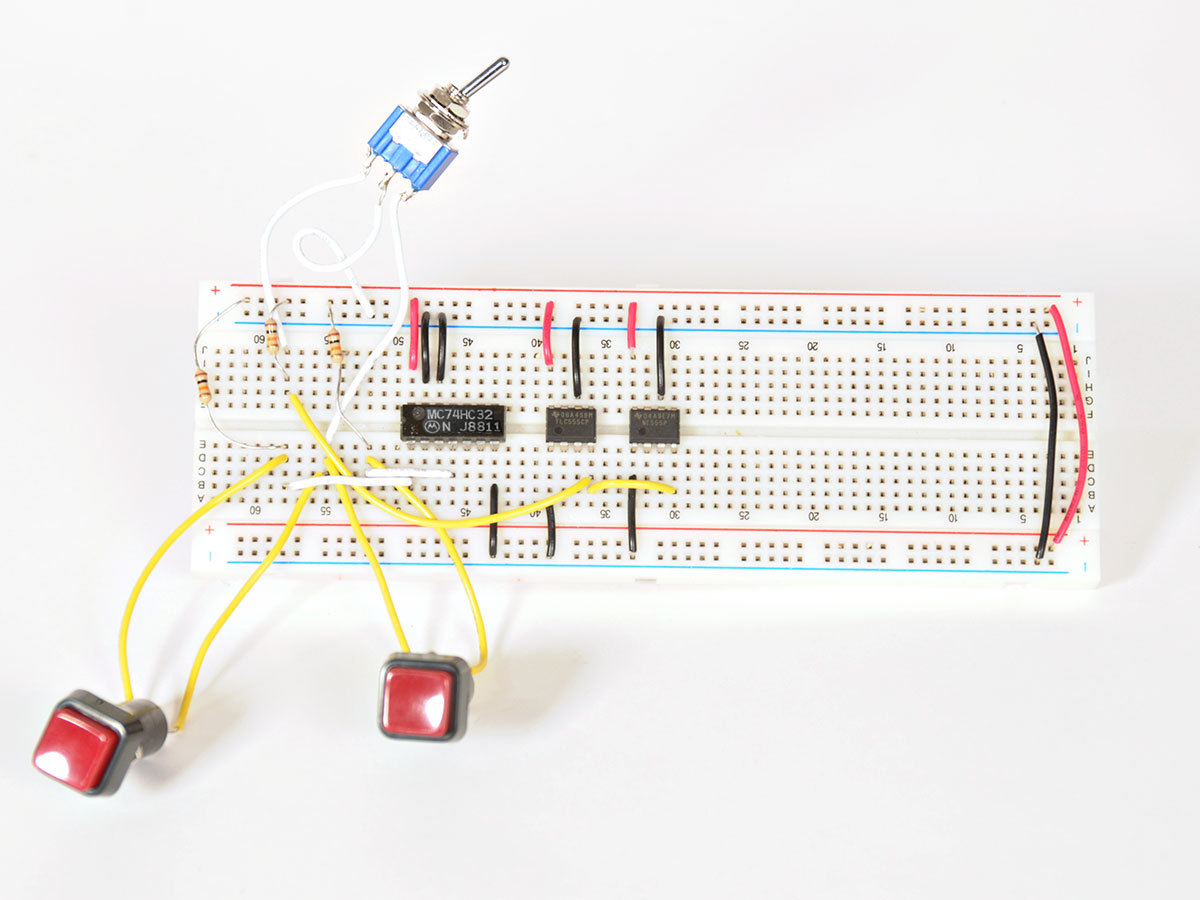
The next step is to add the additional lines to power and ground (third image), again using red for positive, and black for negative.

Install Buttons, Switch, and Resistors

Connect the three 10KΩ 1/4 watt resistors, the SPDT toggle switch (white wires), and 2 push buttons (yellow wires).

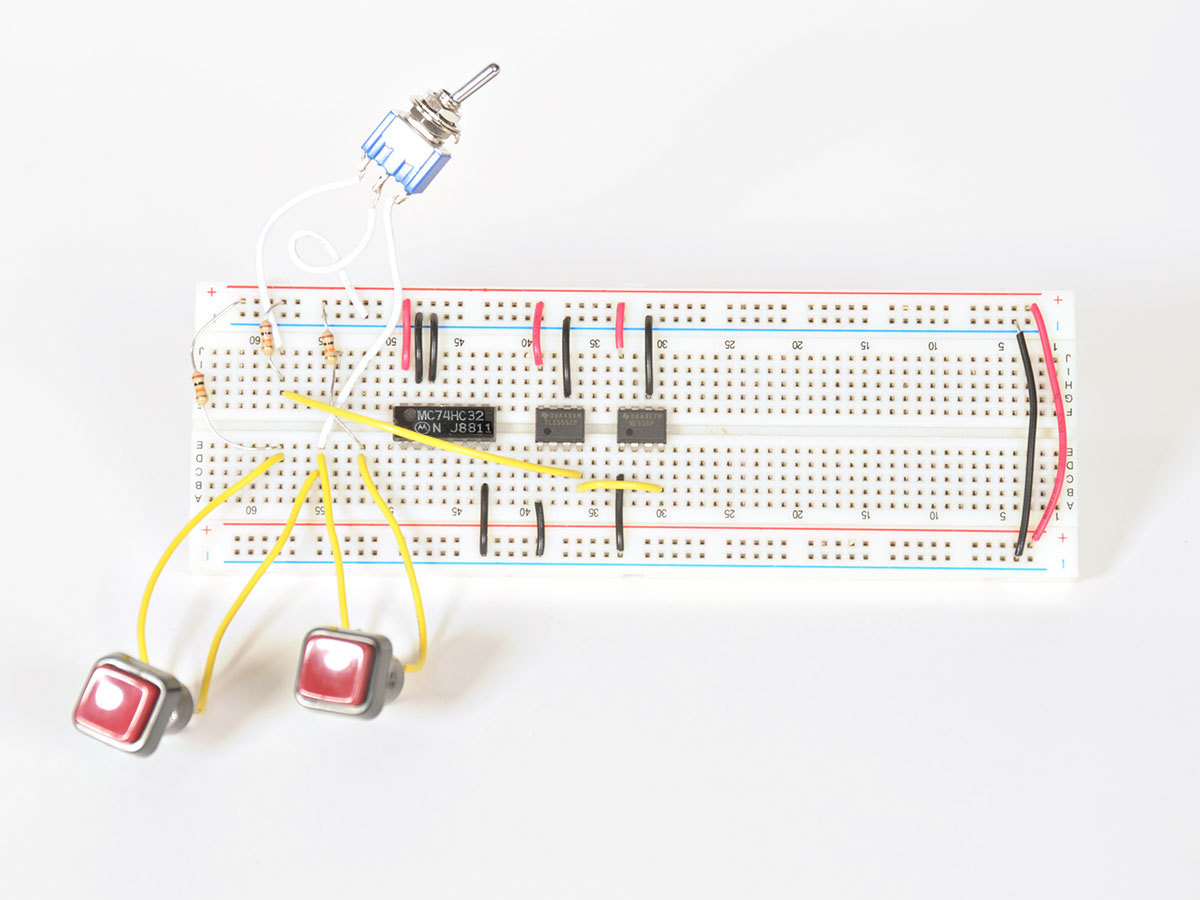
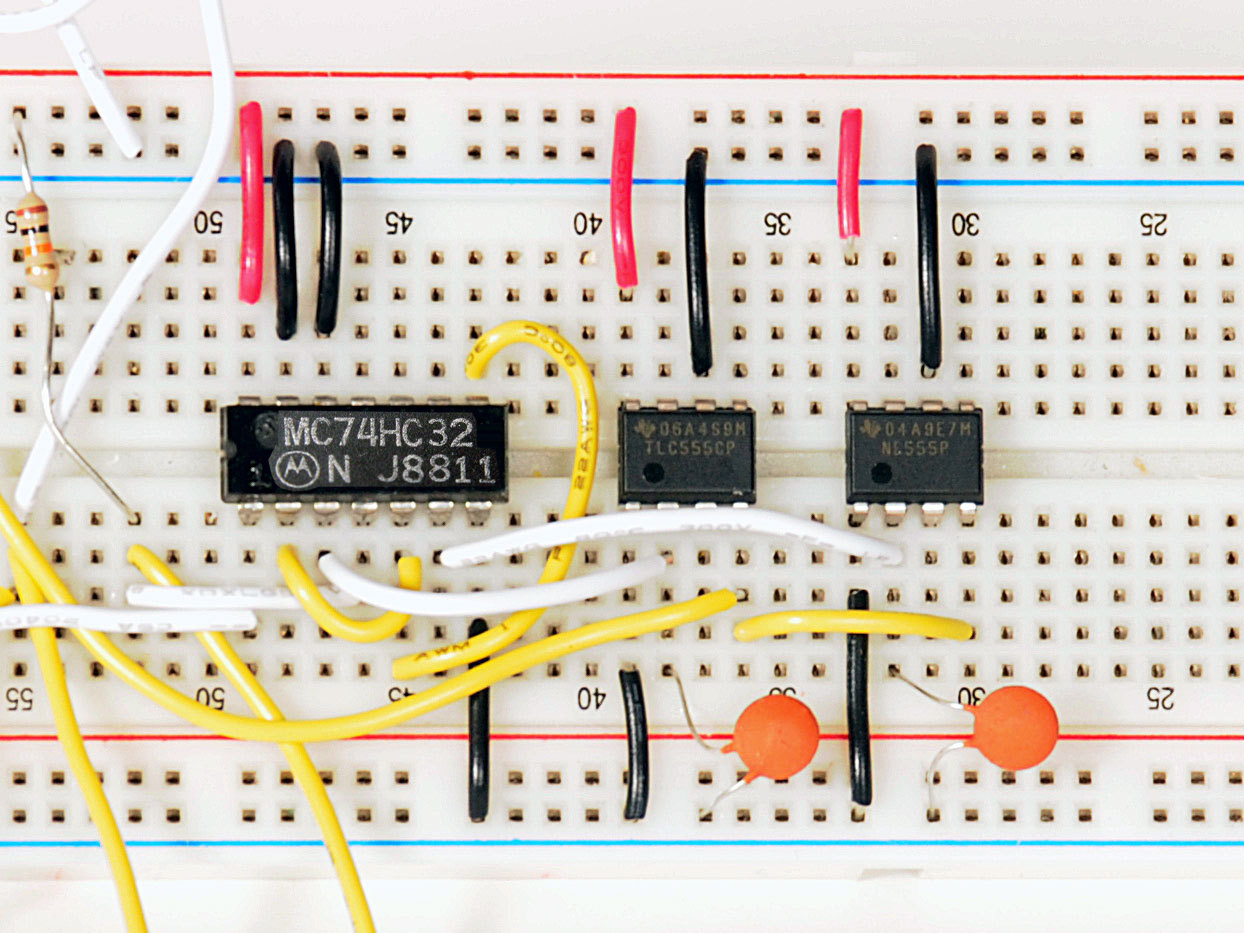
Add two wires to connect the middle 10KΩ resistor to the 555 timers. The longer wire will connect to the first 555 IC, and the shorter wire will jump this connection to the second 555 IC (image 2, yellow wires).

Seen in image 3, we’ve connected the push buttons to the OR-gate inputs via the white wires.

Add Capacitors and Make More Wire Connections

Continue adding more connections (yellow wires) between the OR-gates on the logic chip (image 1).

In image 2, we’ve added the two 0.01μF ceramic disc capacitors – these go from the lower negative power rail, and pin 2 of each 555 timer.

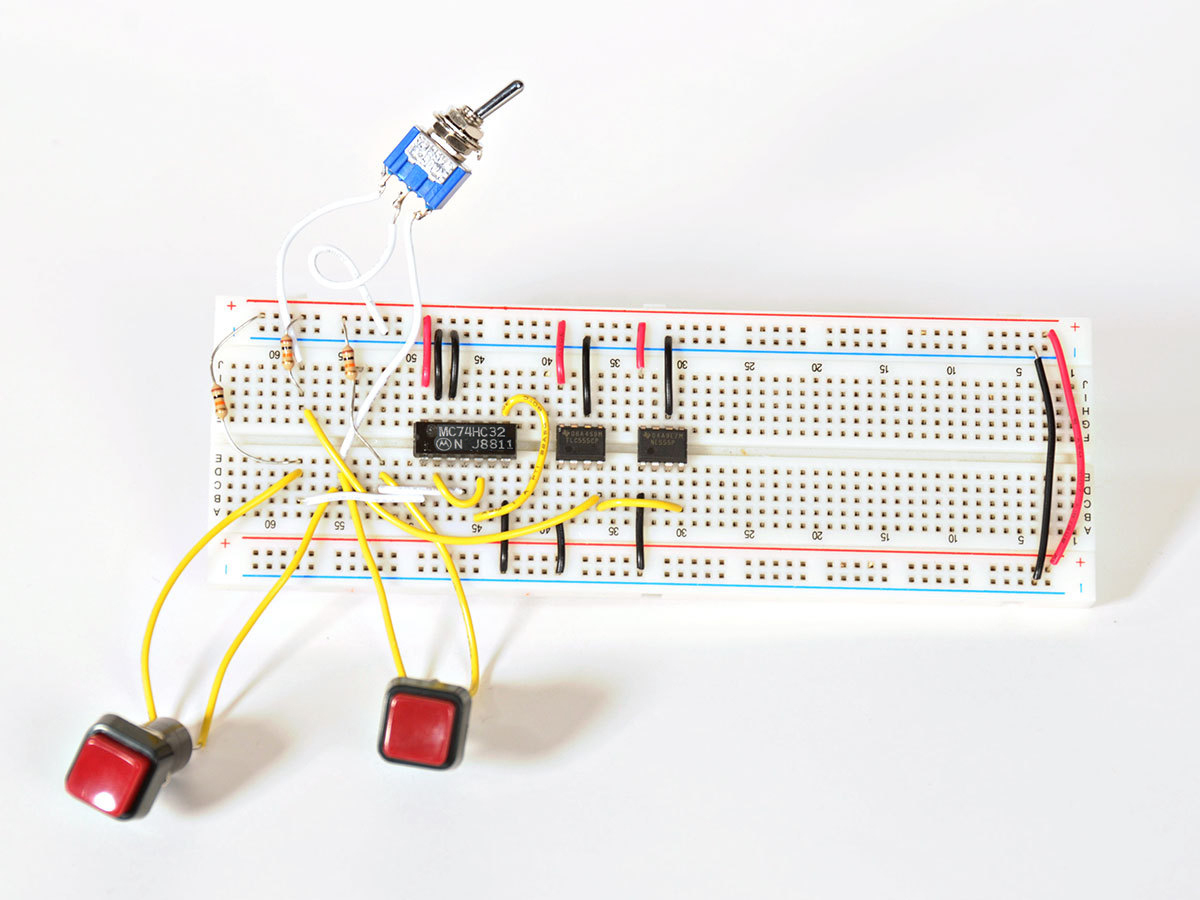
In the final picture, we hooked up two white wires to connect the ceramic disc caps back to the logic chip.

Add LEDs and Finish Your Connections

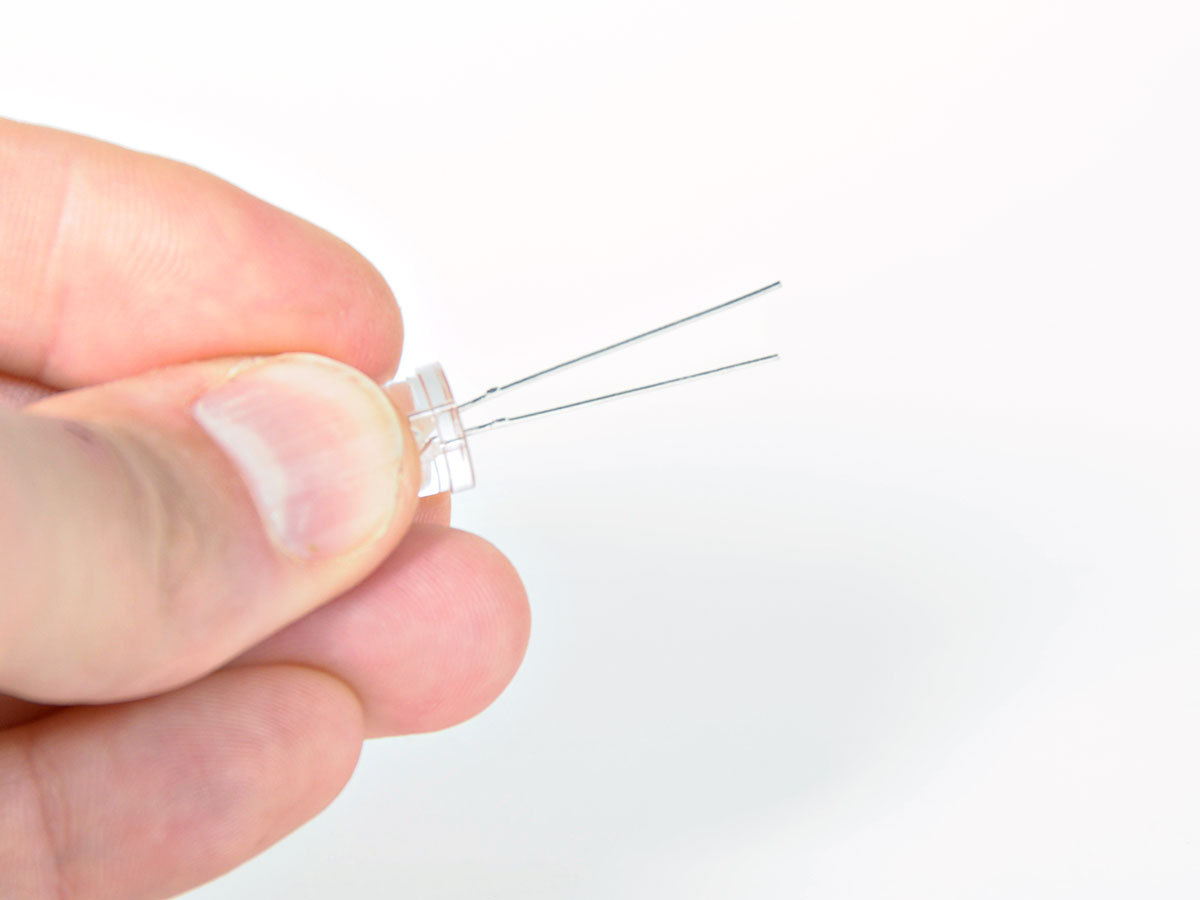
Now get out your LEDs! The longer leg of the LED is the positive (anode) leg – the shorter leg is negative (cathode). In our next step, we’ll connect the anode to the ICs output, while the cathode will connect to a 330Ω resistor and then on to ground.

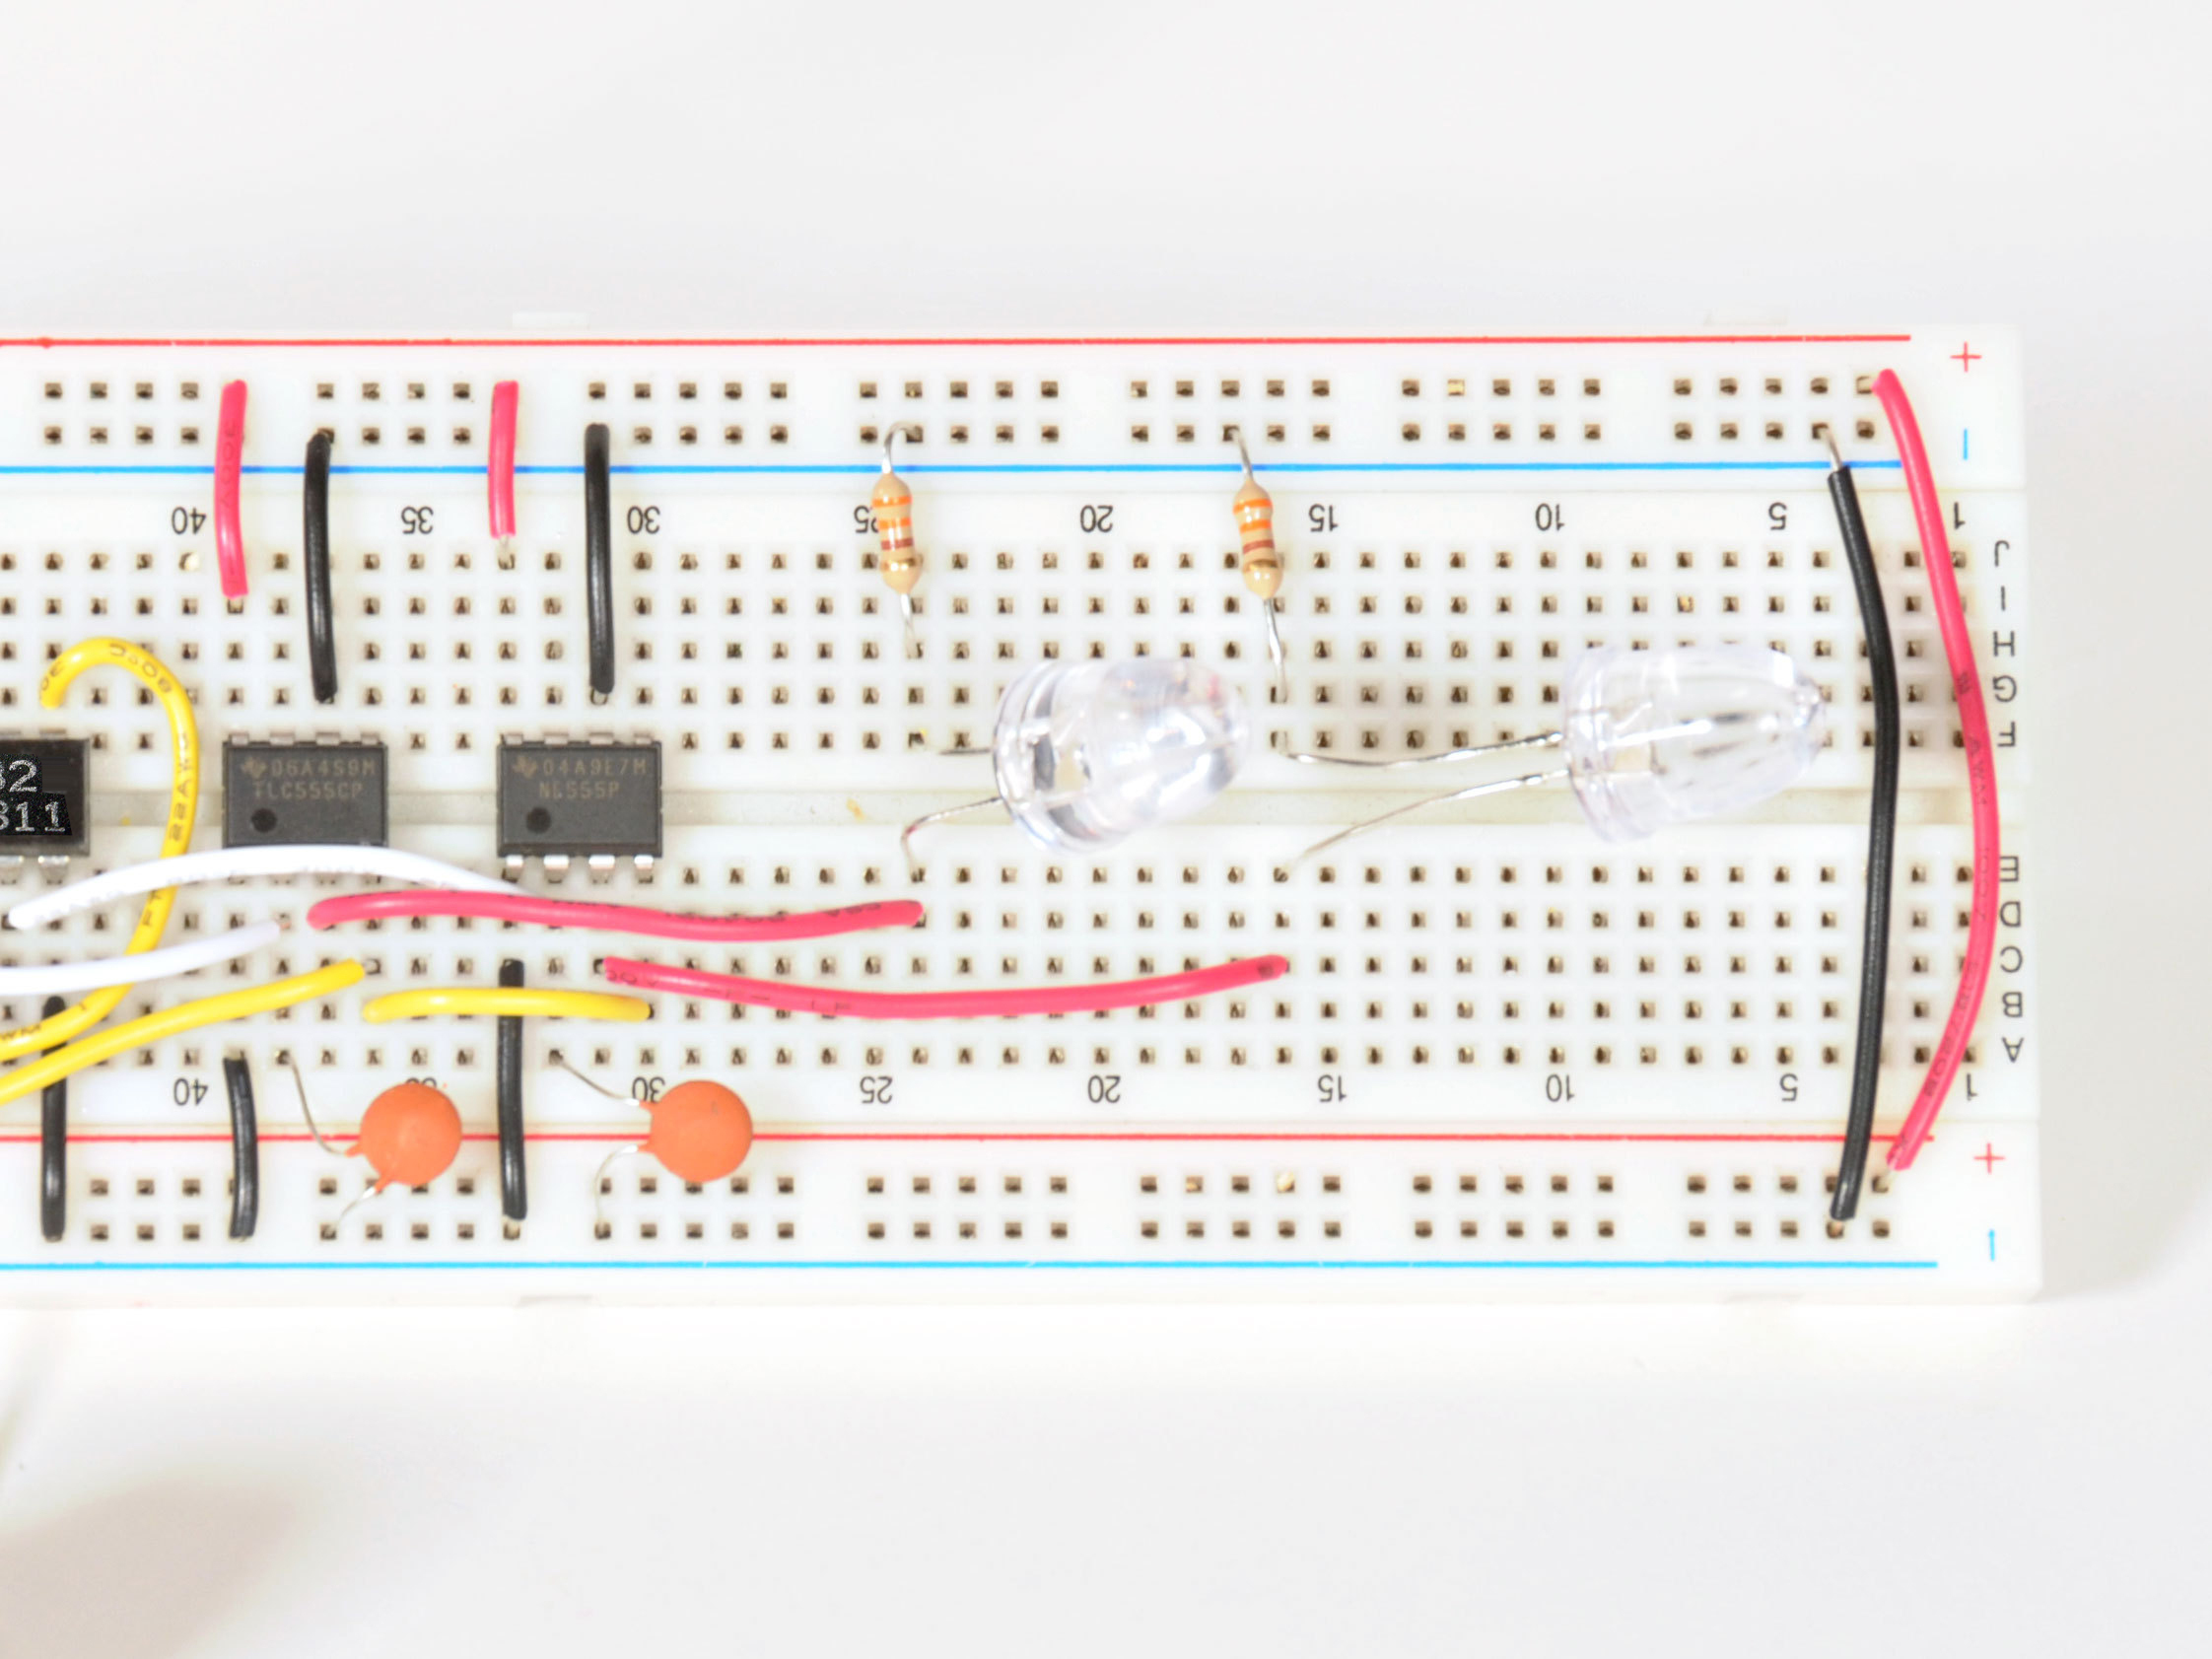
Place the two red indicator LEDs and 330Ω resistors. Finally wire the LEDs to the 555 ICs with 2 red wires (image 1).

Our last connections! Two black wires feed the signal from the LEDs back into the OR-gate logic chip (image 2).

That’s it! Connect up a 5-6v power supply to the breadboard power rails and test it out. Here’s a video showing how the circuit operates: http://www.youtube.com/watch?v=pQC6SLnlc…

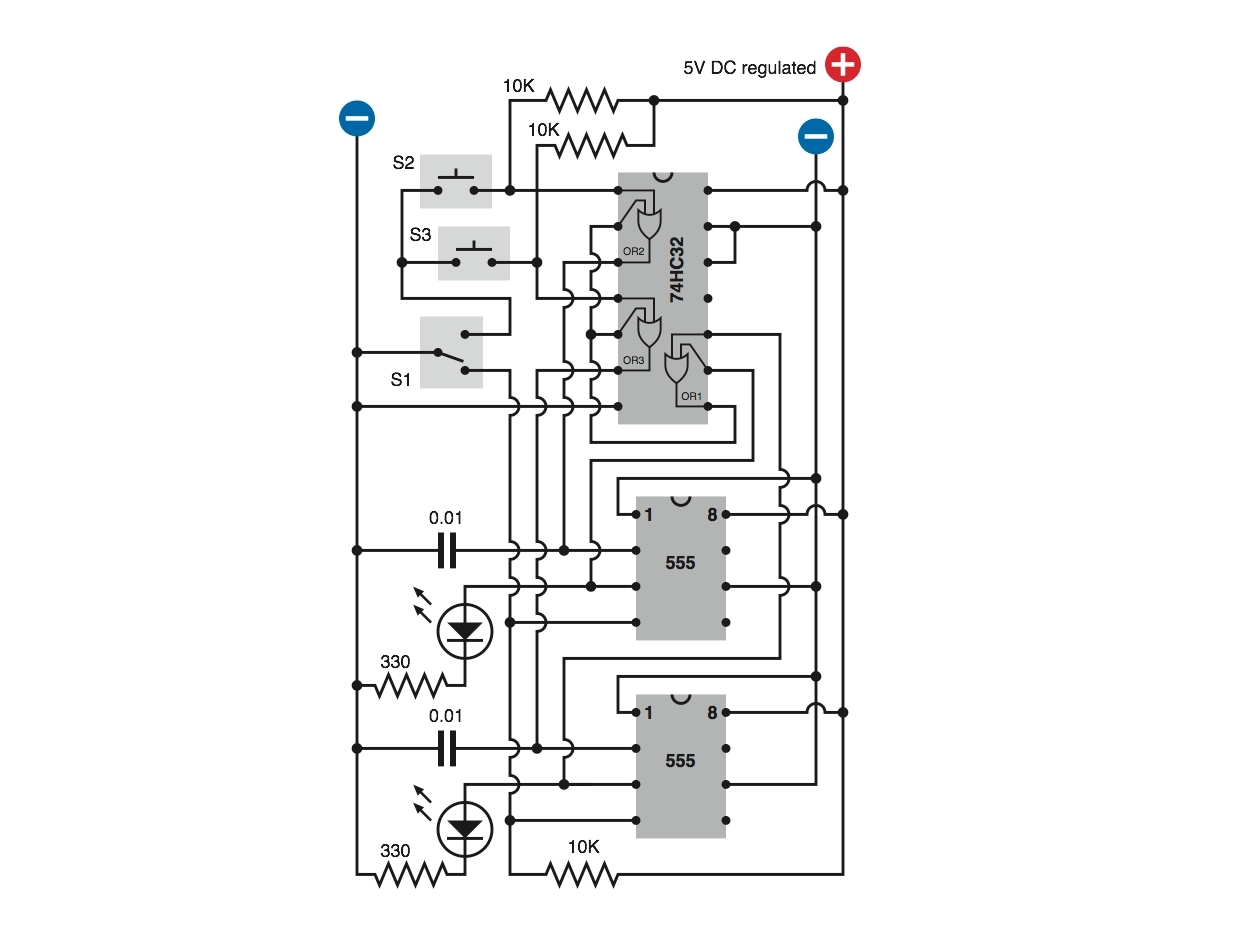
Addendum: The Schematic

Here is the full schematic for the game show buttons.

Conclusion

This project demonstrates that it's possible to implement complex time-dependent circuitry without relying on a microcontroller or computer.

The 555 timer IC is one of the most useful components available, and here we've used it in a latching configuration.