Modern commercial igniters can send a rocket soaring with just a touch of current. When inserted properly they’re very reliable. Unfortunately, they are fragile, and folks new to the hobby sometimes ruin them by inserting them improperly. Packs of spares are expensive, and not all outlets carry them. There’s a cheap alternative: hand-wound Nichrome igniters.

Nichrome is a high-resistance alloy. Run a current through it and it glows red hot. Until the mid ’60s rocket motors came with a length of the wire, which rocketeers cut and shaped into an igniter. If placed correctly they are very reliable. I enhanced the austere original design with a few tricks picked up from old newsletters and personal experience.

Nichrome igniters can only be used with black powder motors, and have one other drawback: they need a lot of current to work. This isn’t a problem if you’re using a 12V launch system powered by a car battery. But they’ll quickly suck the juice out of the alkaline AA cells or 9-volt batteries used in commercial launch panels. Plan accordingly by bringing extra batteries, or test your Maker chops by making a sturdy 12V launch system!

What will the next generation of Make: look like? We’re inviting you to shape the future by investing in Make:. By becoming an investor, you help decide what’s next. The future of Make: is in your hands. Learn More.

Project Steps

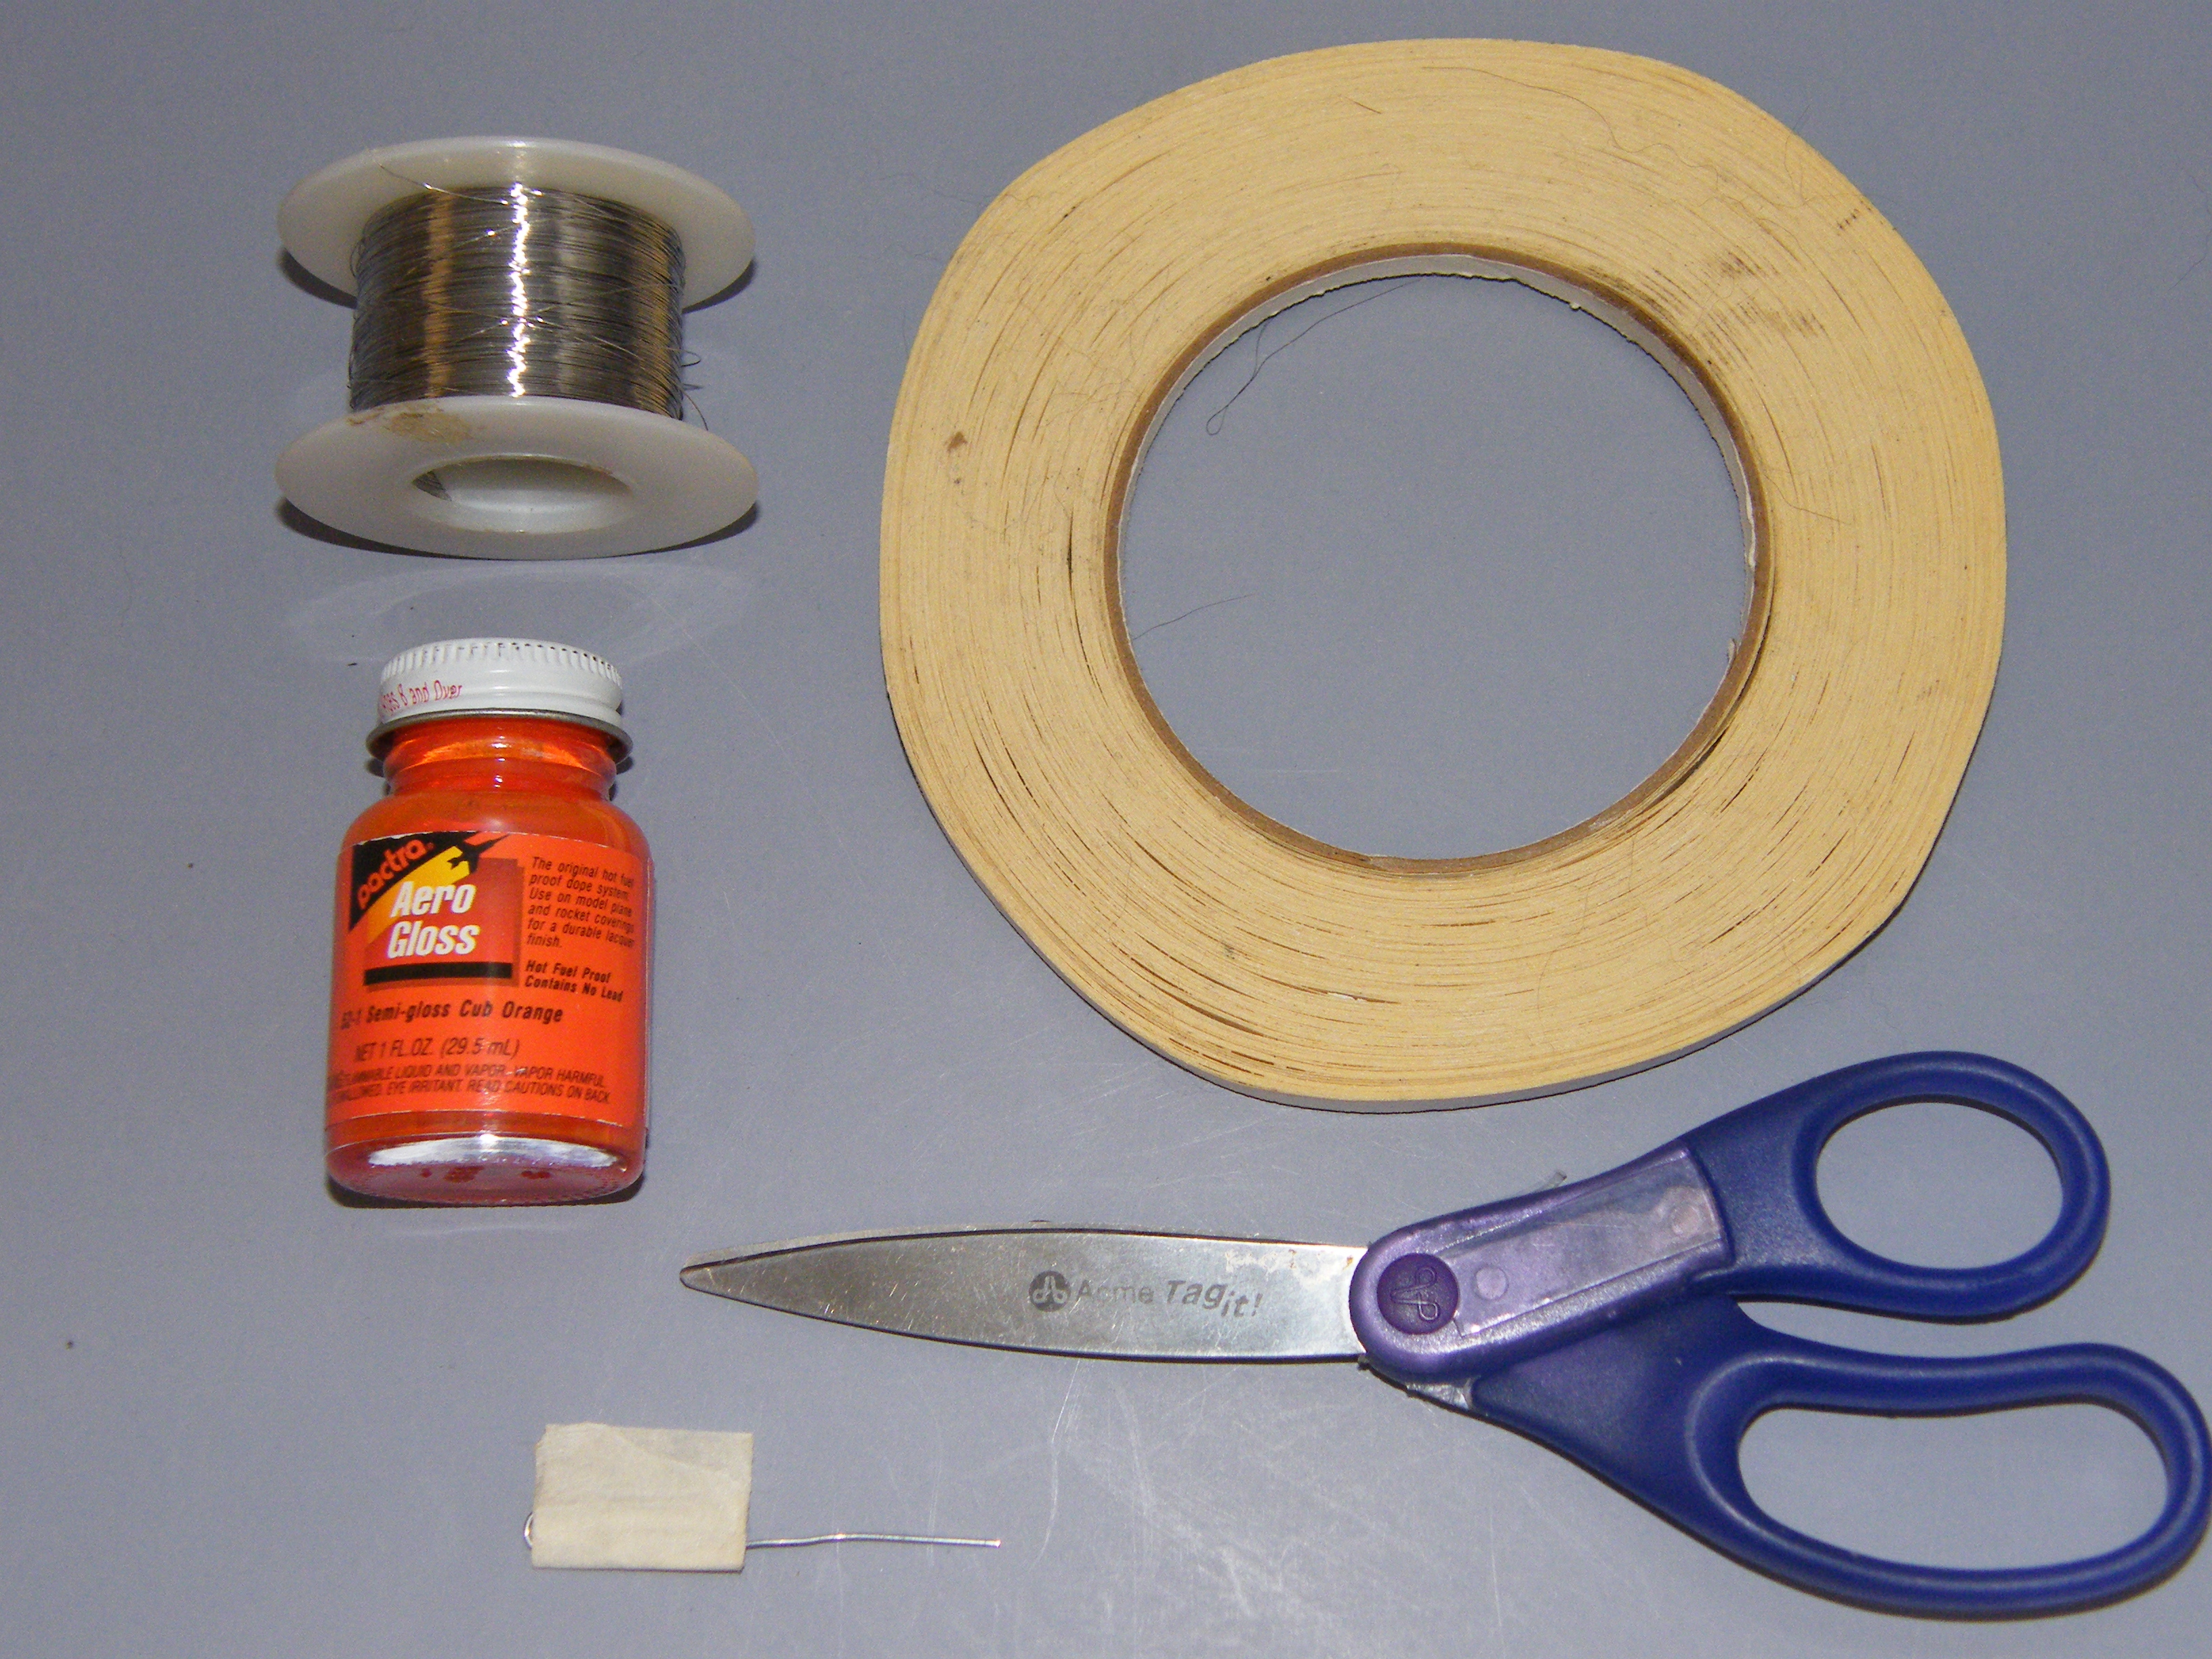
Assemble your tools and parts.

1/4″ masking tape can be hard to find. The freebie mailing labels sent out in charity fundraising letters are a good substitute.

Nichrome wire is most commonly used as the hot “blade” of electric foam cutters. Costs and lengths vary widely. A big roll of nichrome wire makes a good club purchase; it will take your club many years to go through yards of the stuff! Some nichrome alloys include iron; I’ve heard this makes the wire prone to rust, but I haven’t run into that problem myself.

Sample Suppliers:http://jacobs-online.biz/nichrome_wire.h… http://shop.pitsco.com/store/detail.aspx…

Cut your nichrome into 2.5″ pieces. You don’t need to be exact.

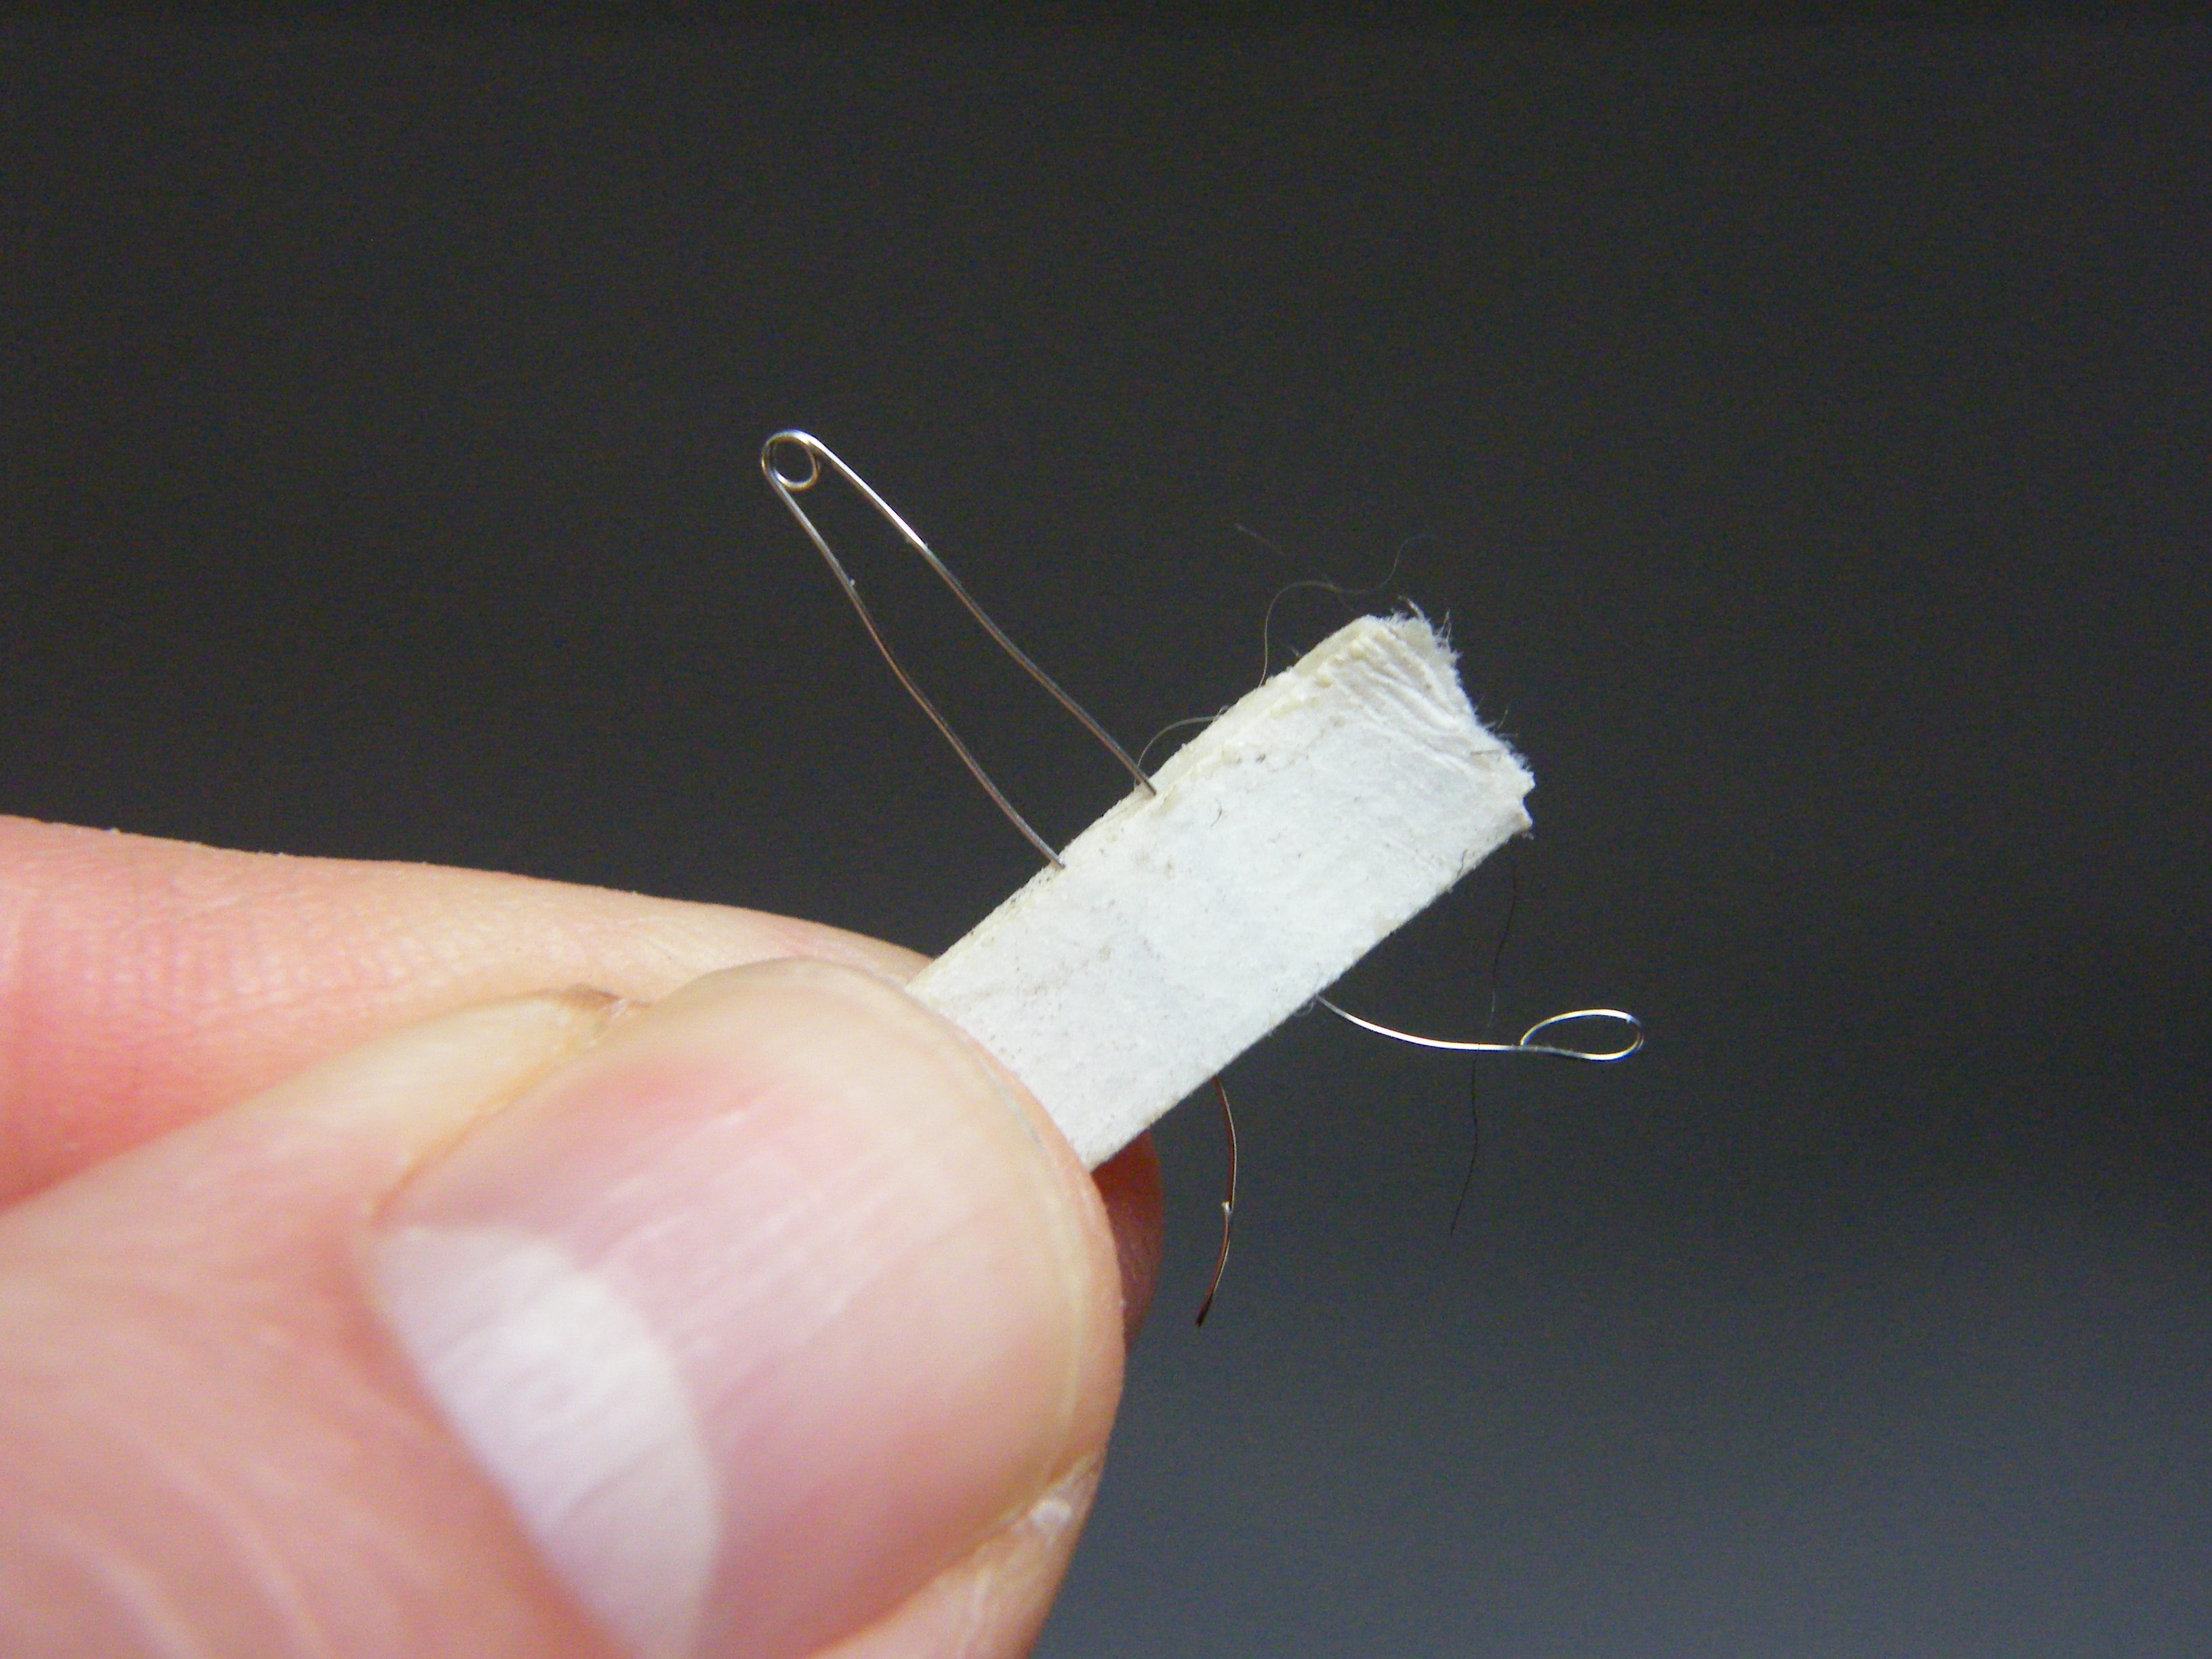
Choose a piece and wrap the middle around the extended “leg” of the paperclip a couple of times to form two neat coils. The coils should be closely spaced but not touching. The legs should be of roughly equal lengths.

While the igniter is still wound around the paperclip, use the pliers to pull the legs tight.

Fold a piece of tape over the legs, leaving about 1/4″ below the tape. The tape gives the igniter some structure, keeps the legs from shorting, and reduces tangling in storage.

Bend about 1/8″ of the end of each leg double; this will give your launch pad’s microclips a better grip on the narrow wire.

When you have a dozen or so igniters assembled, dip the tips in the paint or nail polish. You don’t need to be neat about it; the coating acts as insulation to keep the coils from shorting out when they’re inserted into the nozzle. Lay the igniters on the waxed paper to dry.

A pill bottle or mint tin makes a handy storage spot for igniters and igniter plugs.

Using your custom-made igniters:

Pinch a small piece of tissue-style flameproof wadding and wad it into a little ball the size of a BB.

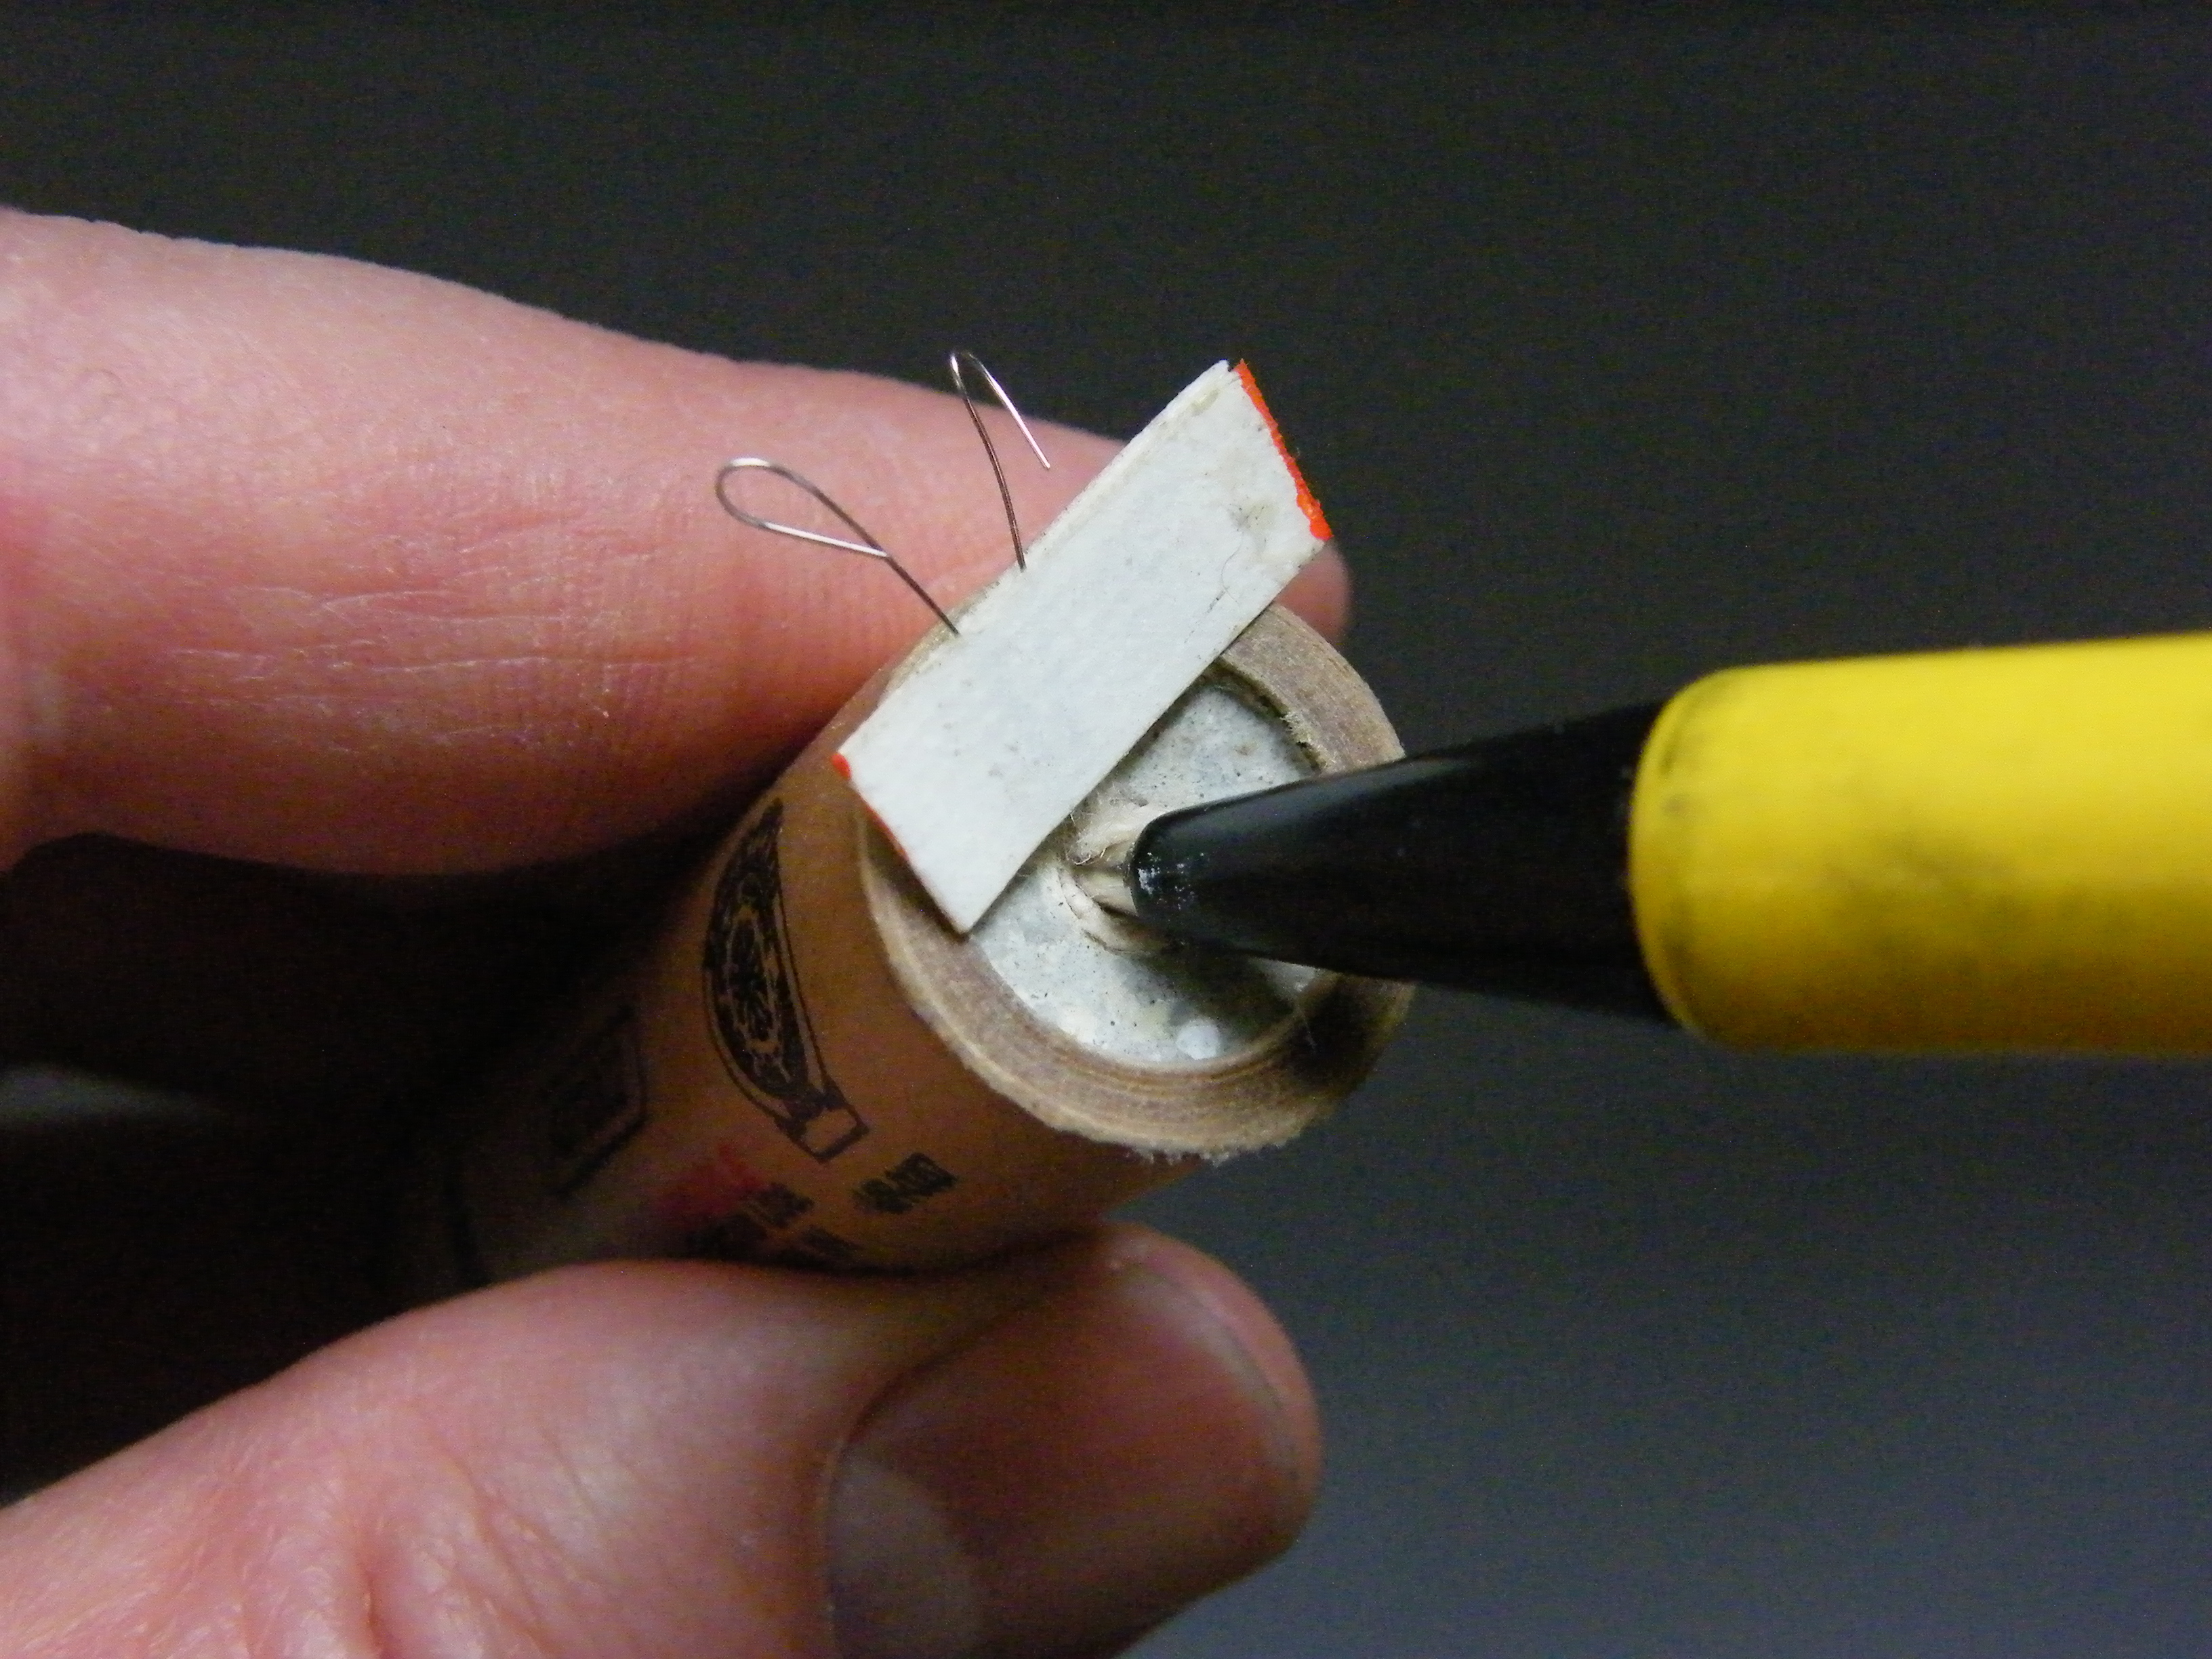
Insert the igniter into the motor nozzle, laying the legs along the “side” of the opening. The coil at the tip should be in direct contact with the black fuel grain.

Press the ball of wadding into the nozzle and then tamp it firmly into place with the tip of a pen or a paperclip. You should be able to pick up the motor by the leads without the igniter pulling out. (You can also use the colored plastic plugs that come with commercial rocket motors. Lay a little pice of tissue wadding over the nozzle and igniter and insert the plug. Be sure to use the correct color! Thanks to Fred Shecter for this tip.)