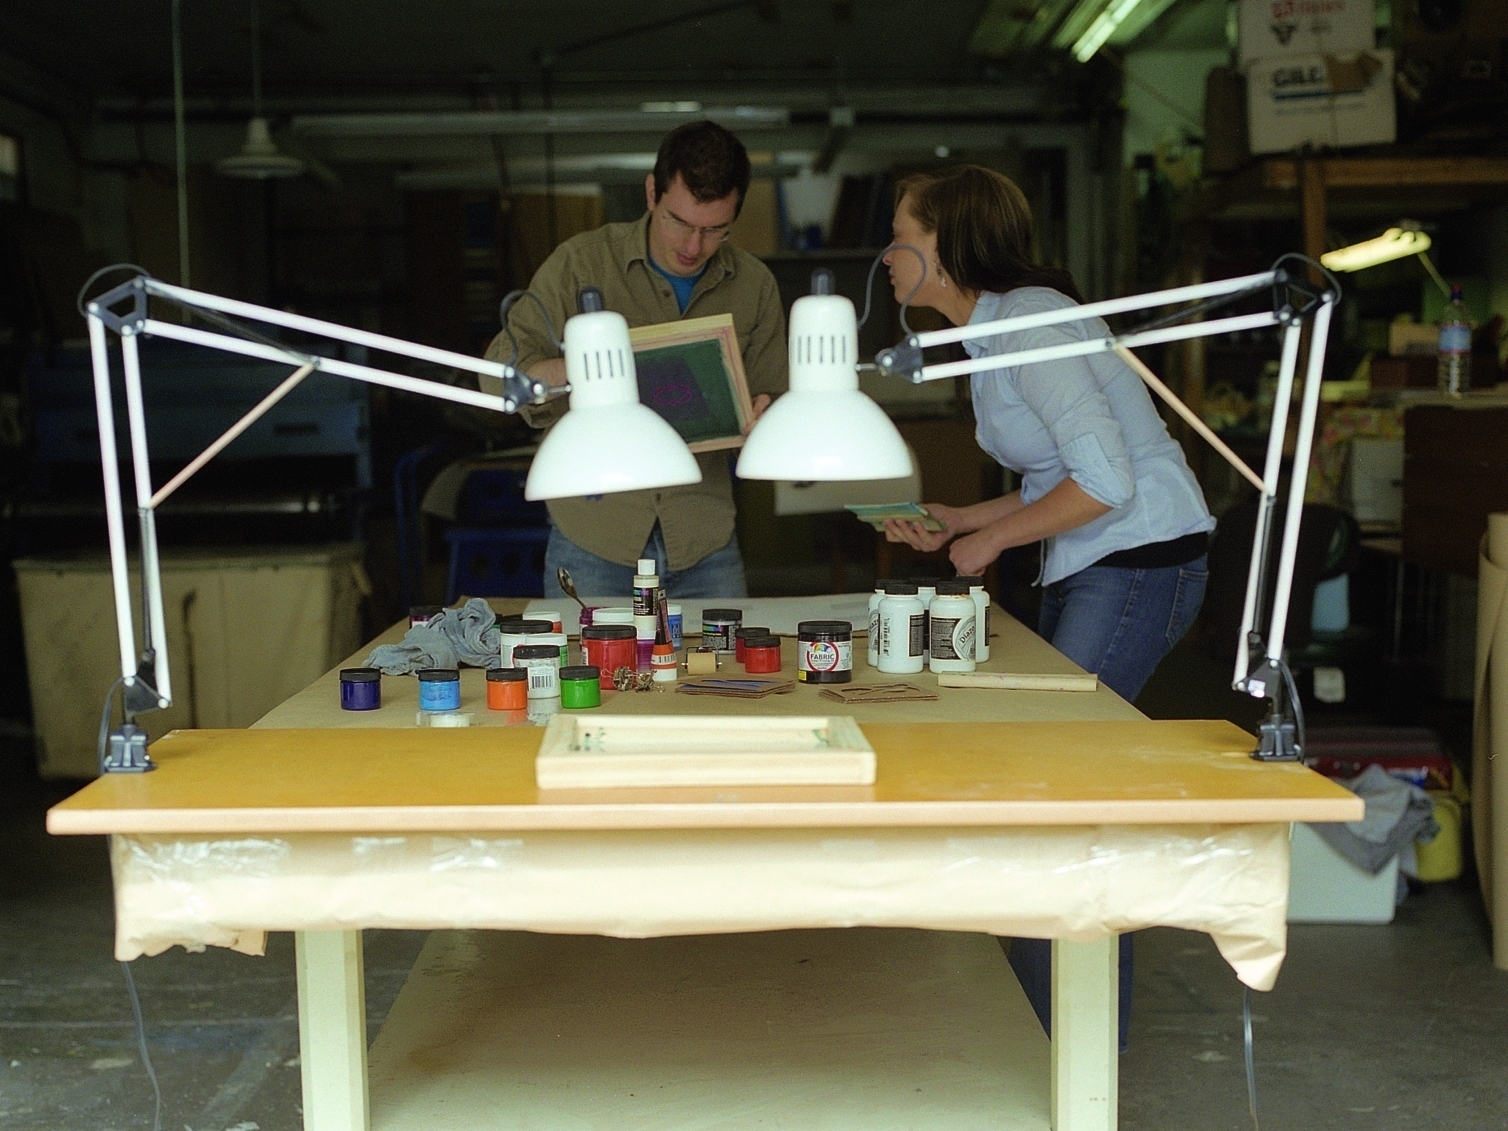
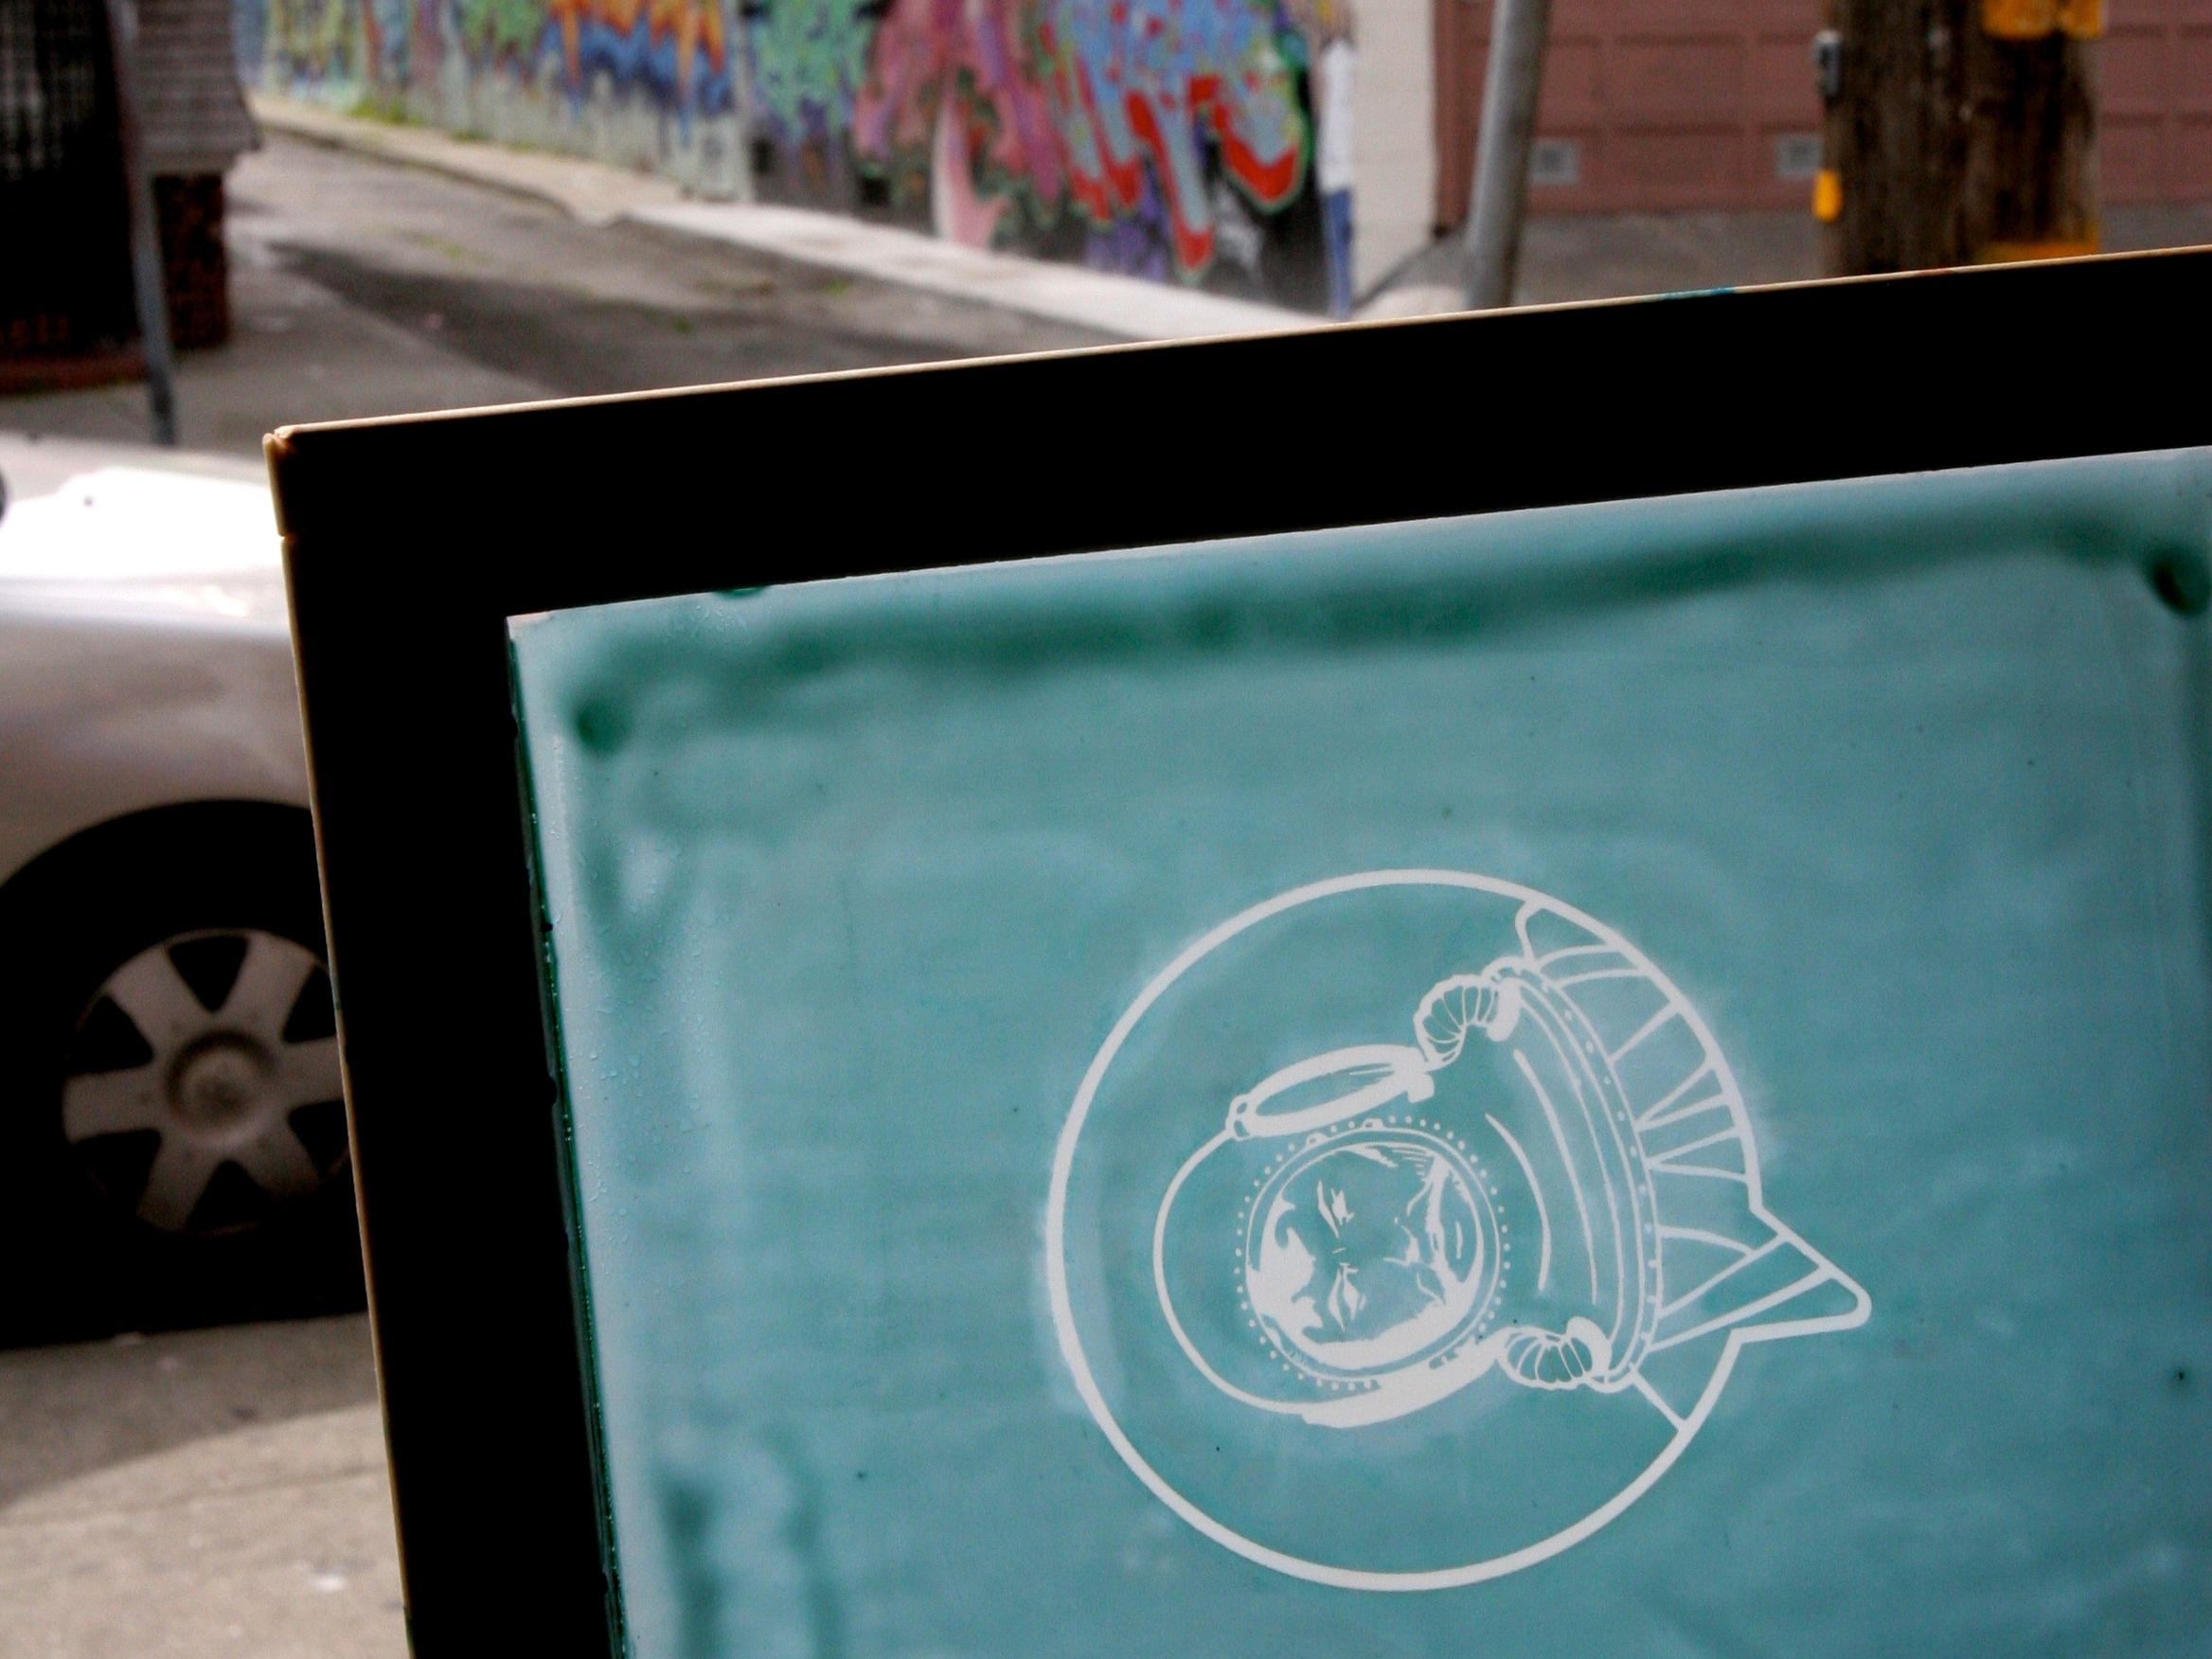
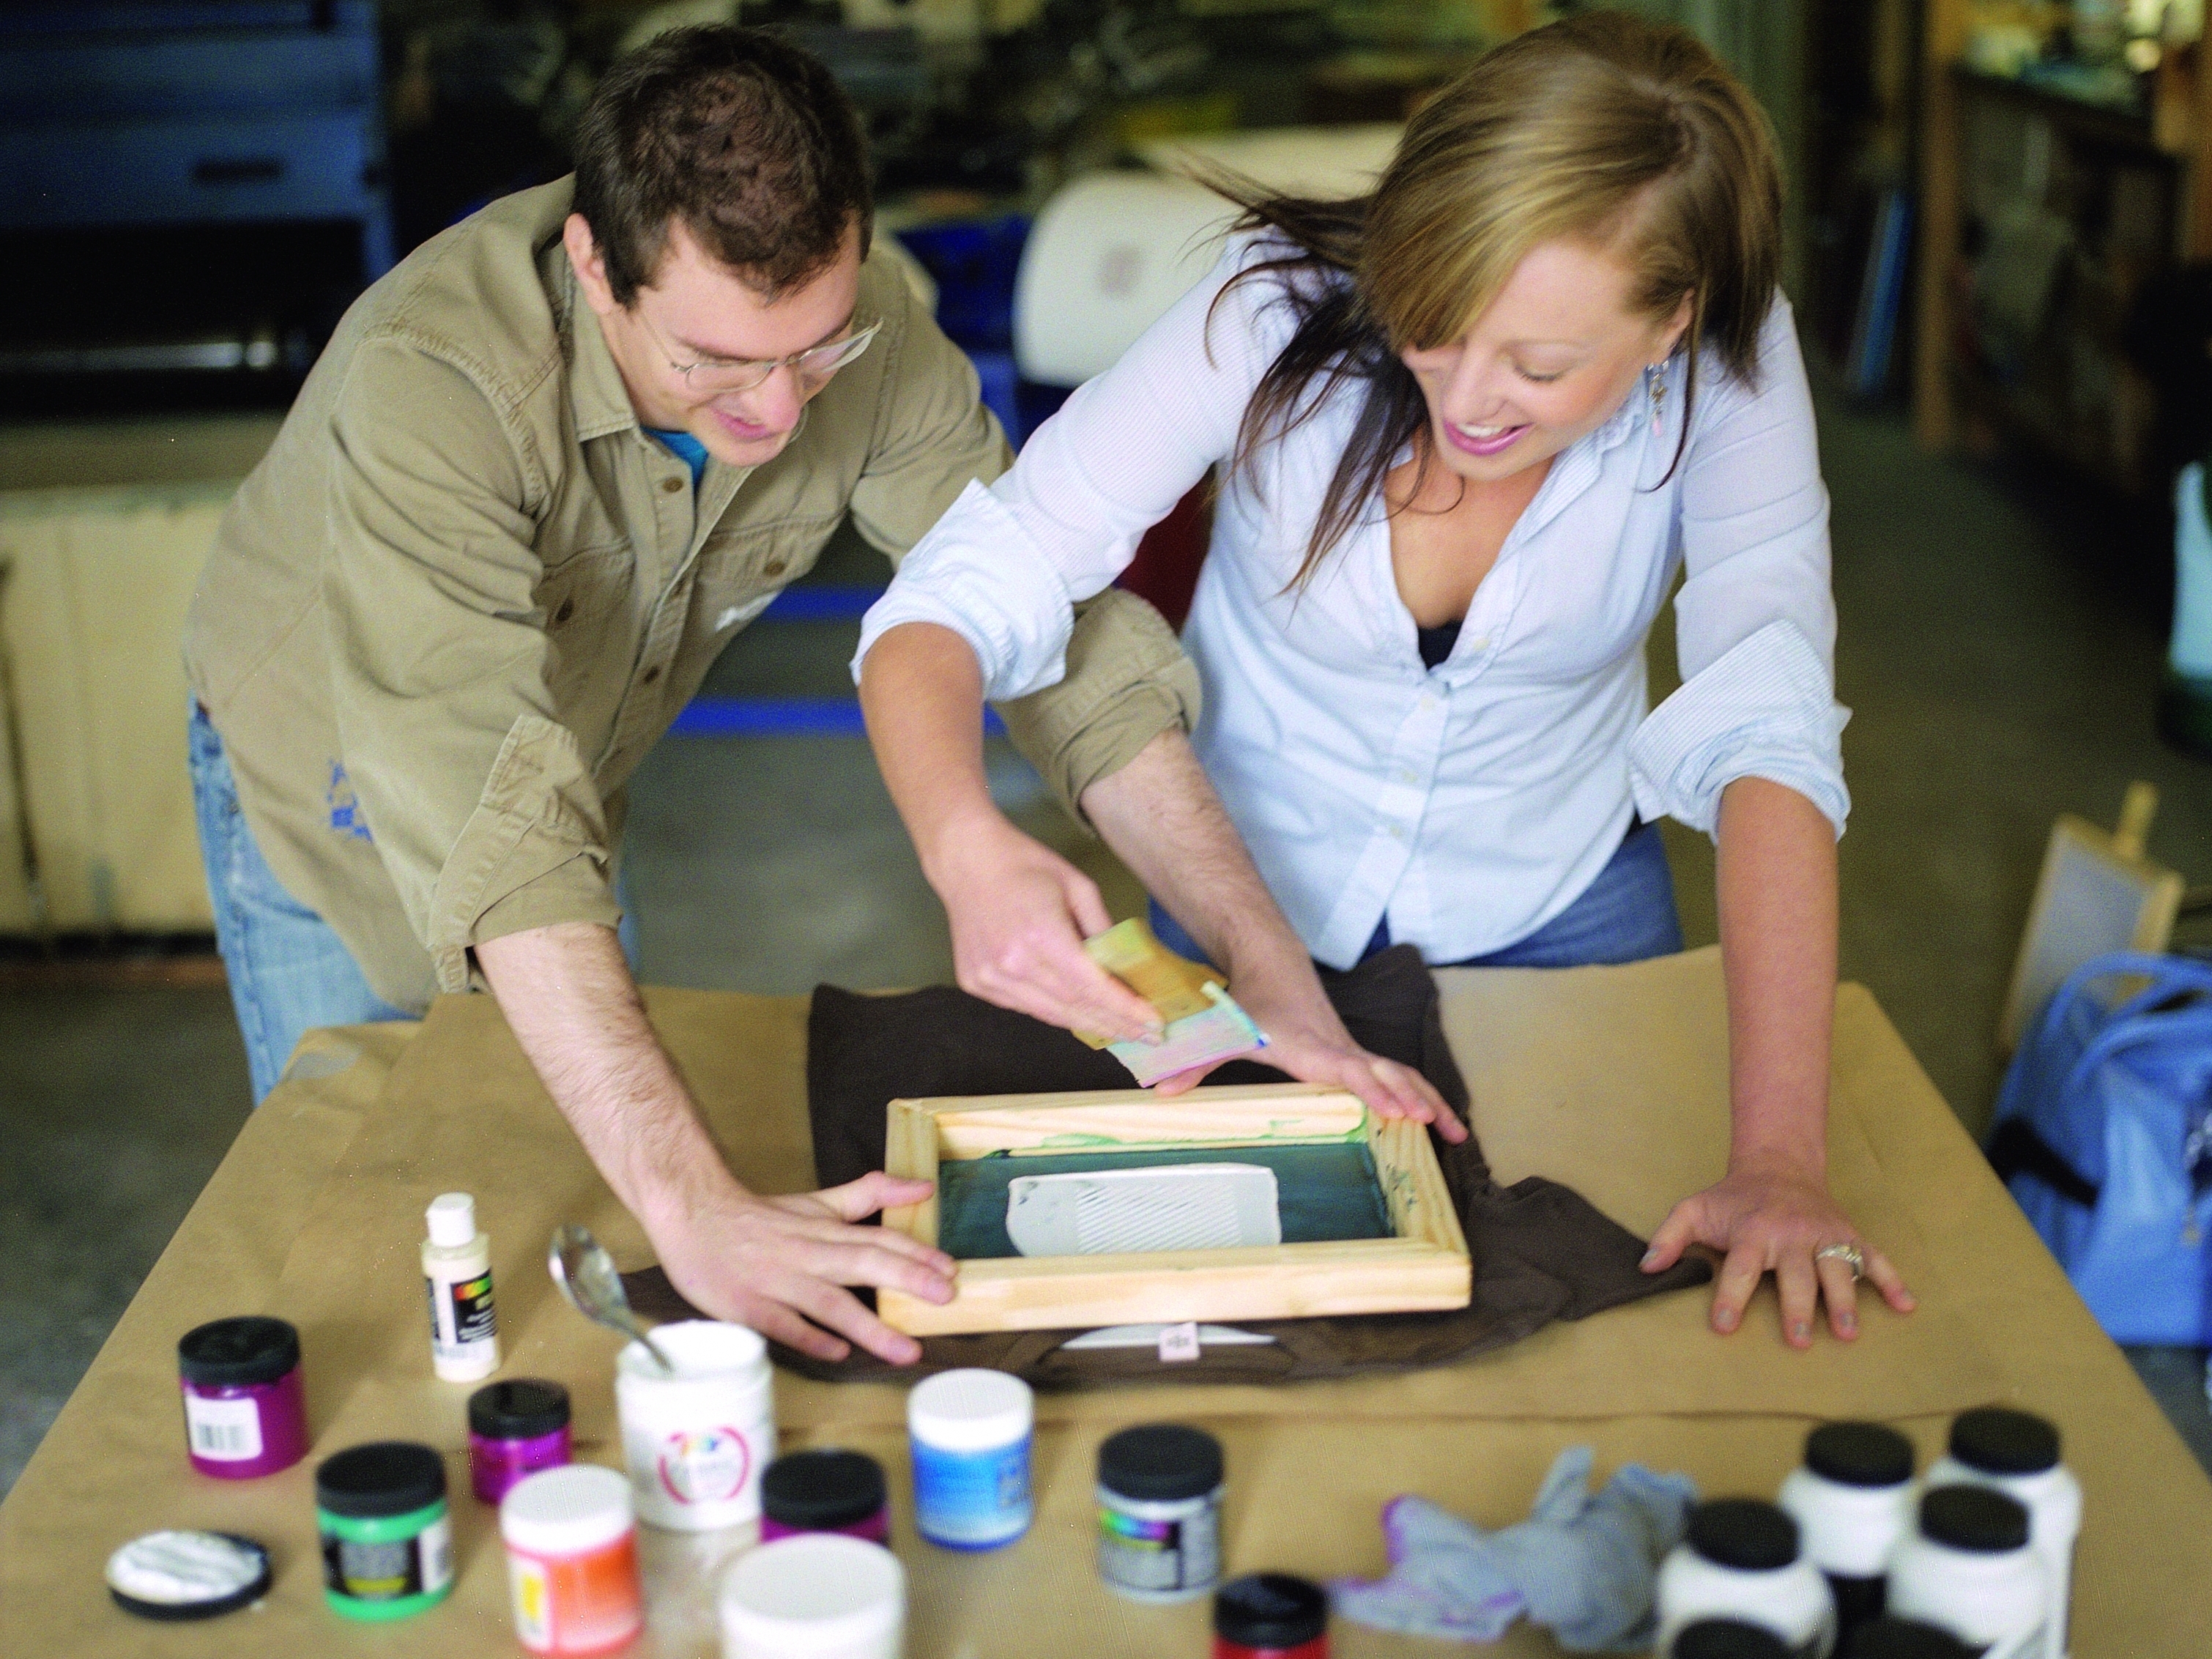
Note: Silk-screening inks are acrylic. They dry quickly, and are water-soluble and transparent. Due to the transparent nature of the ink, it will interact with the color of the object you are printing on (example: blue ink on yellow shirt will turn slightly greener; blue ink on a black shirt will be barely legible). White, black, and a few metallics are the only completely opaque ink colors. White also comes in extra opaque, which I recommend. If you want to print on a dark material, mixing some opaque white into the color will help it stand out.
Now that the screen is exposed, washed, and dried, print it and see how it works. Try it out on paper first.
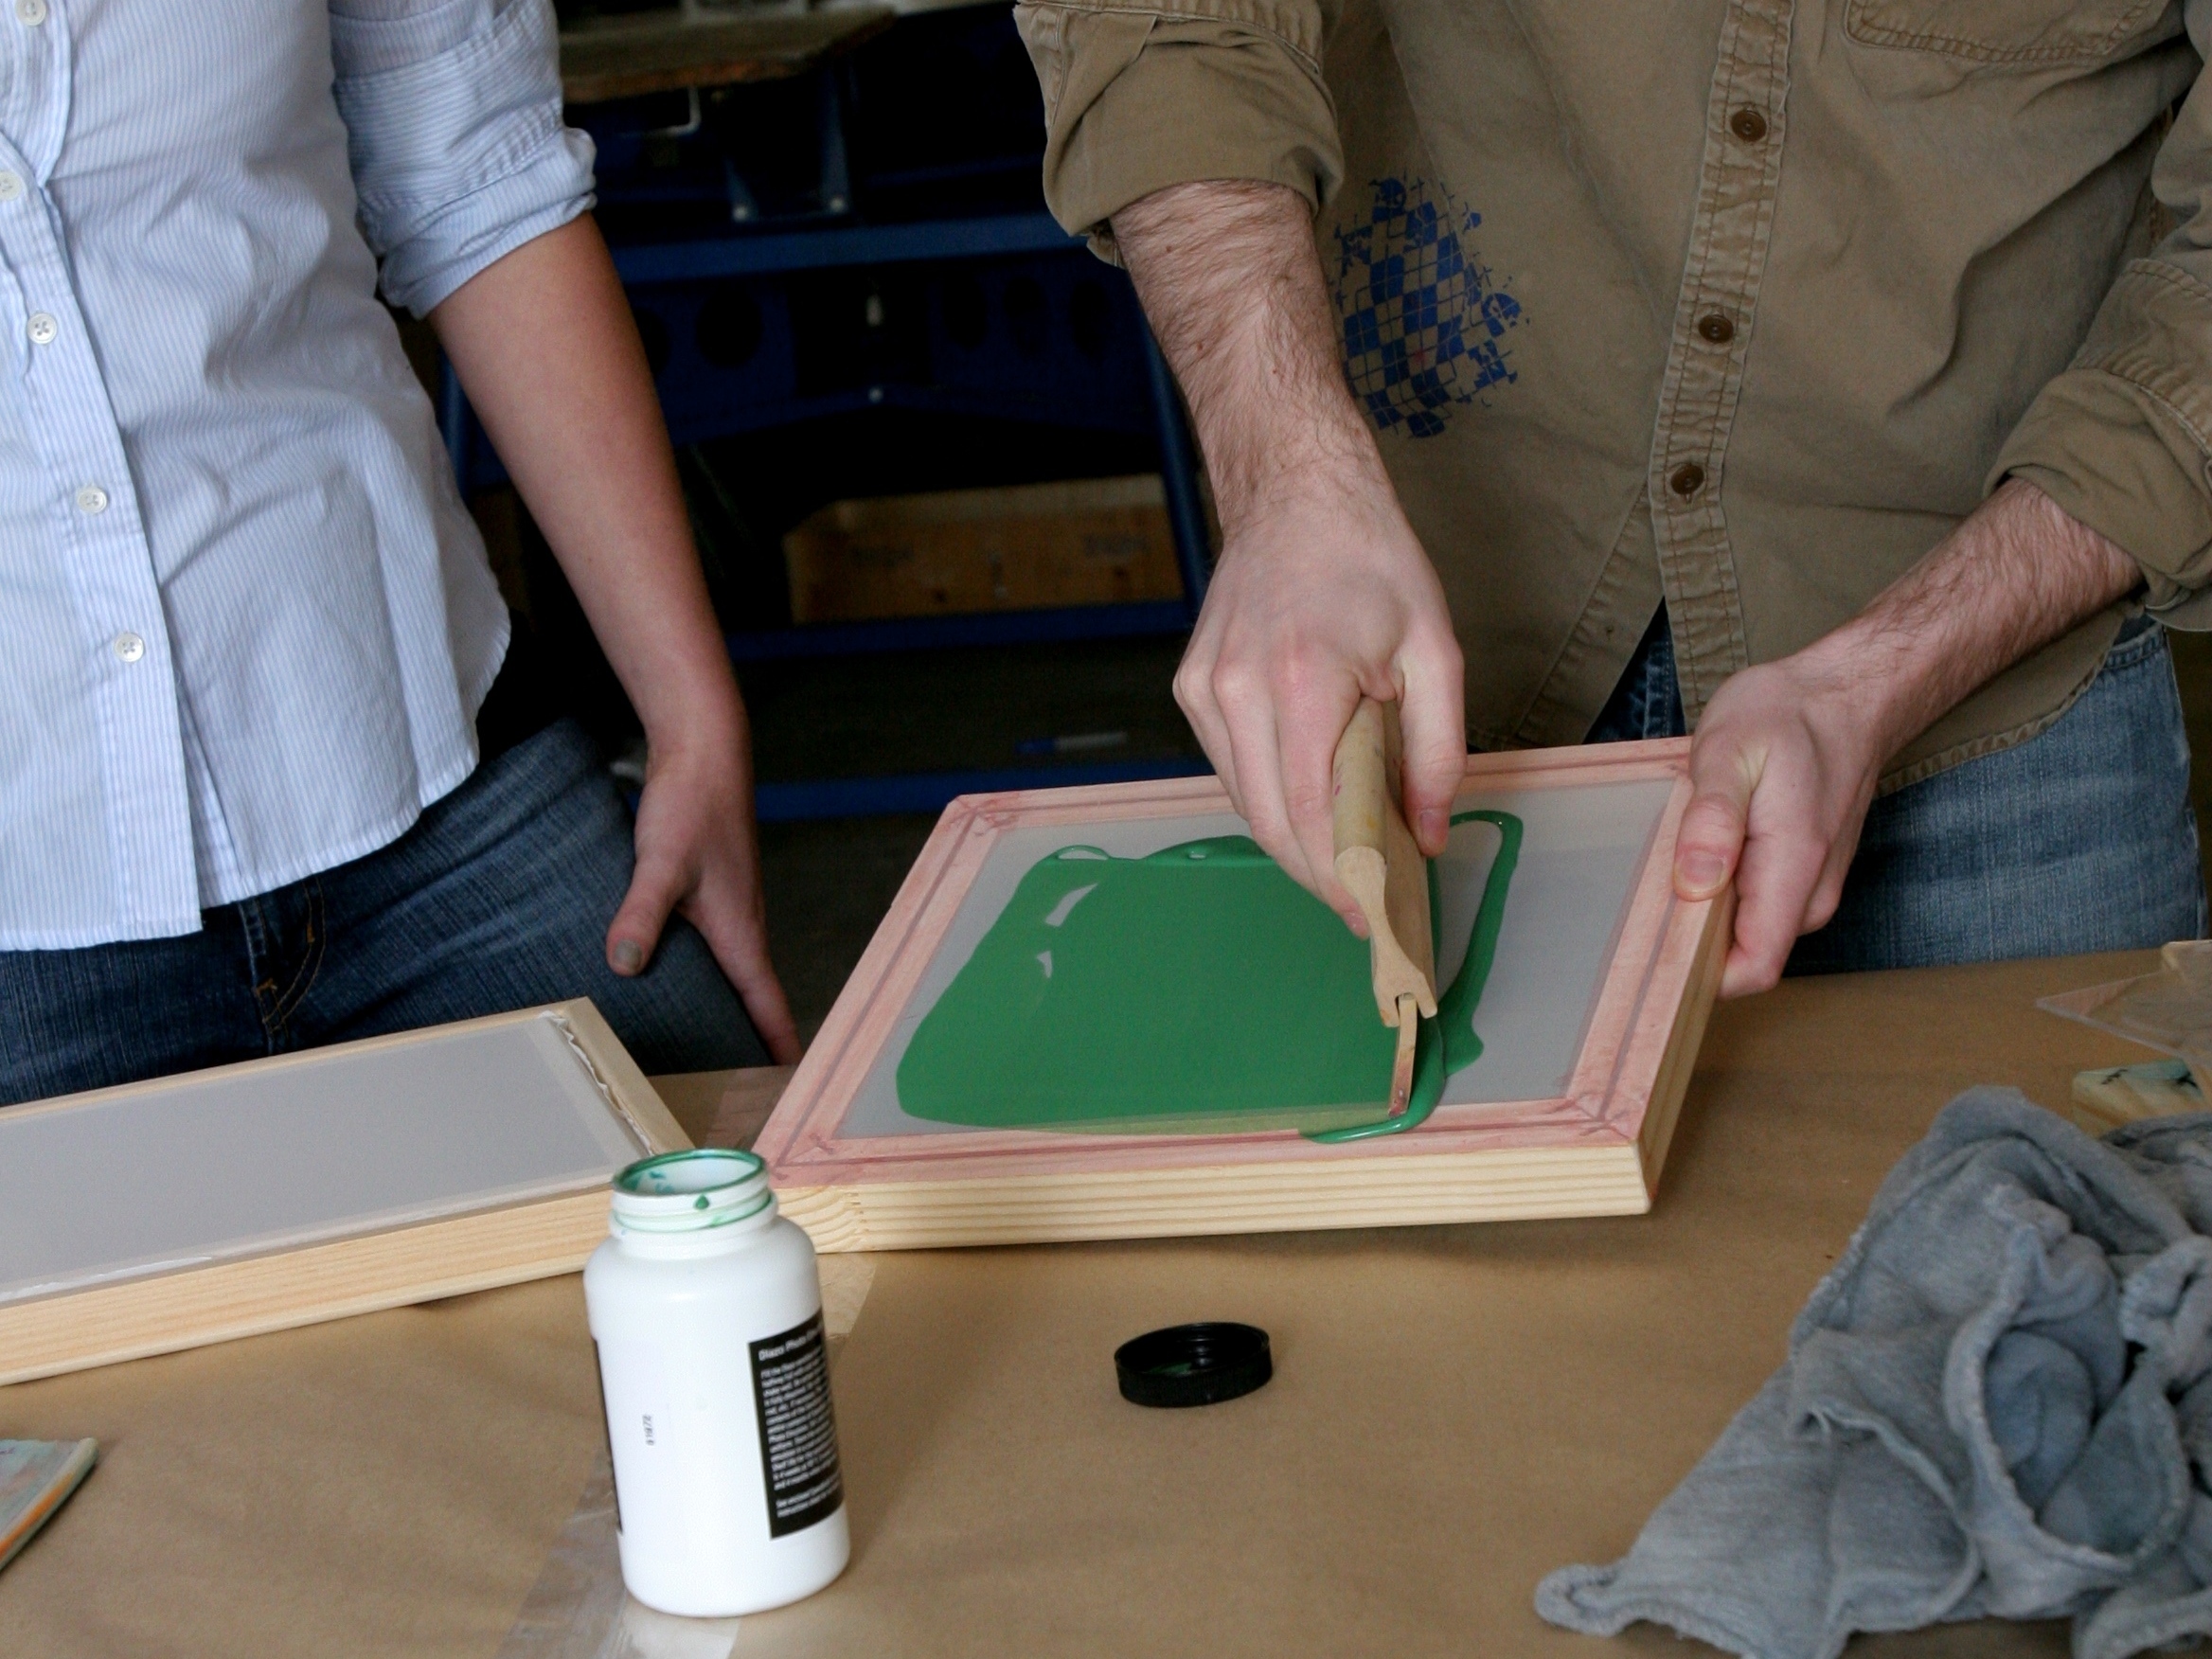
Lay the screen down flat, making sure that your surface is even and flat. With a spoon, put a glob of paint on the screen and spread it the width of your design. Don’t get any on the design itself, just the area above it.
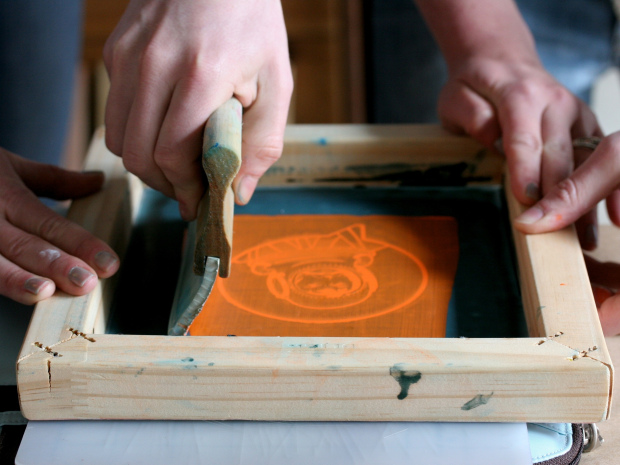
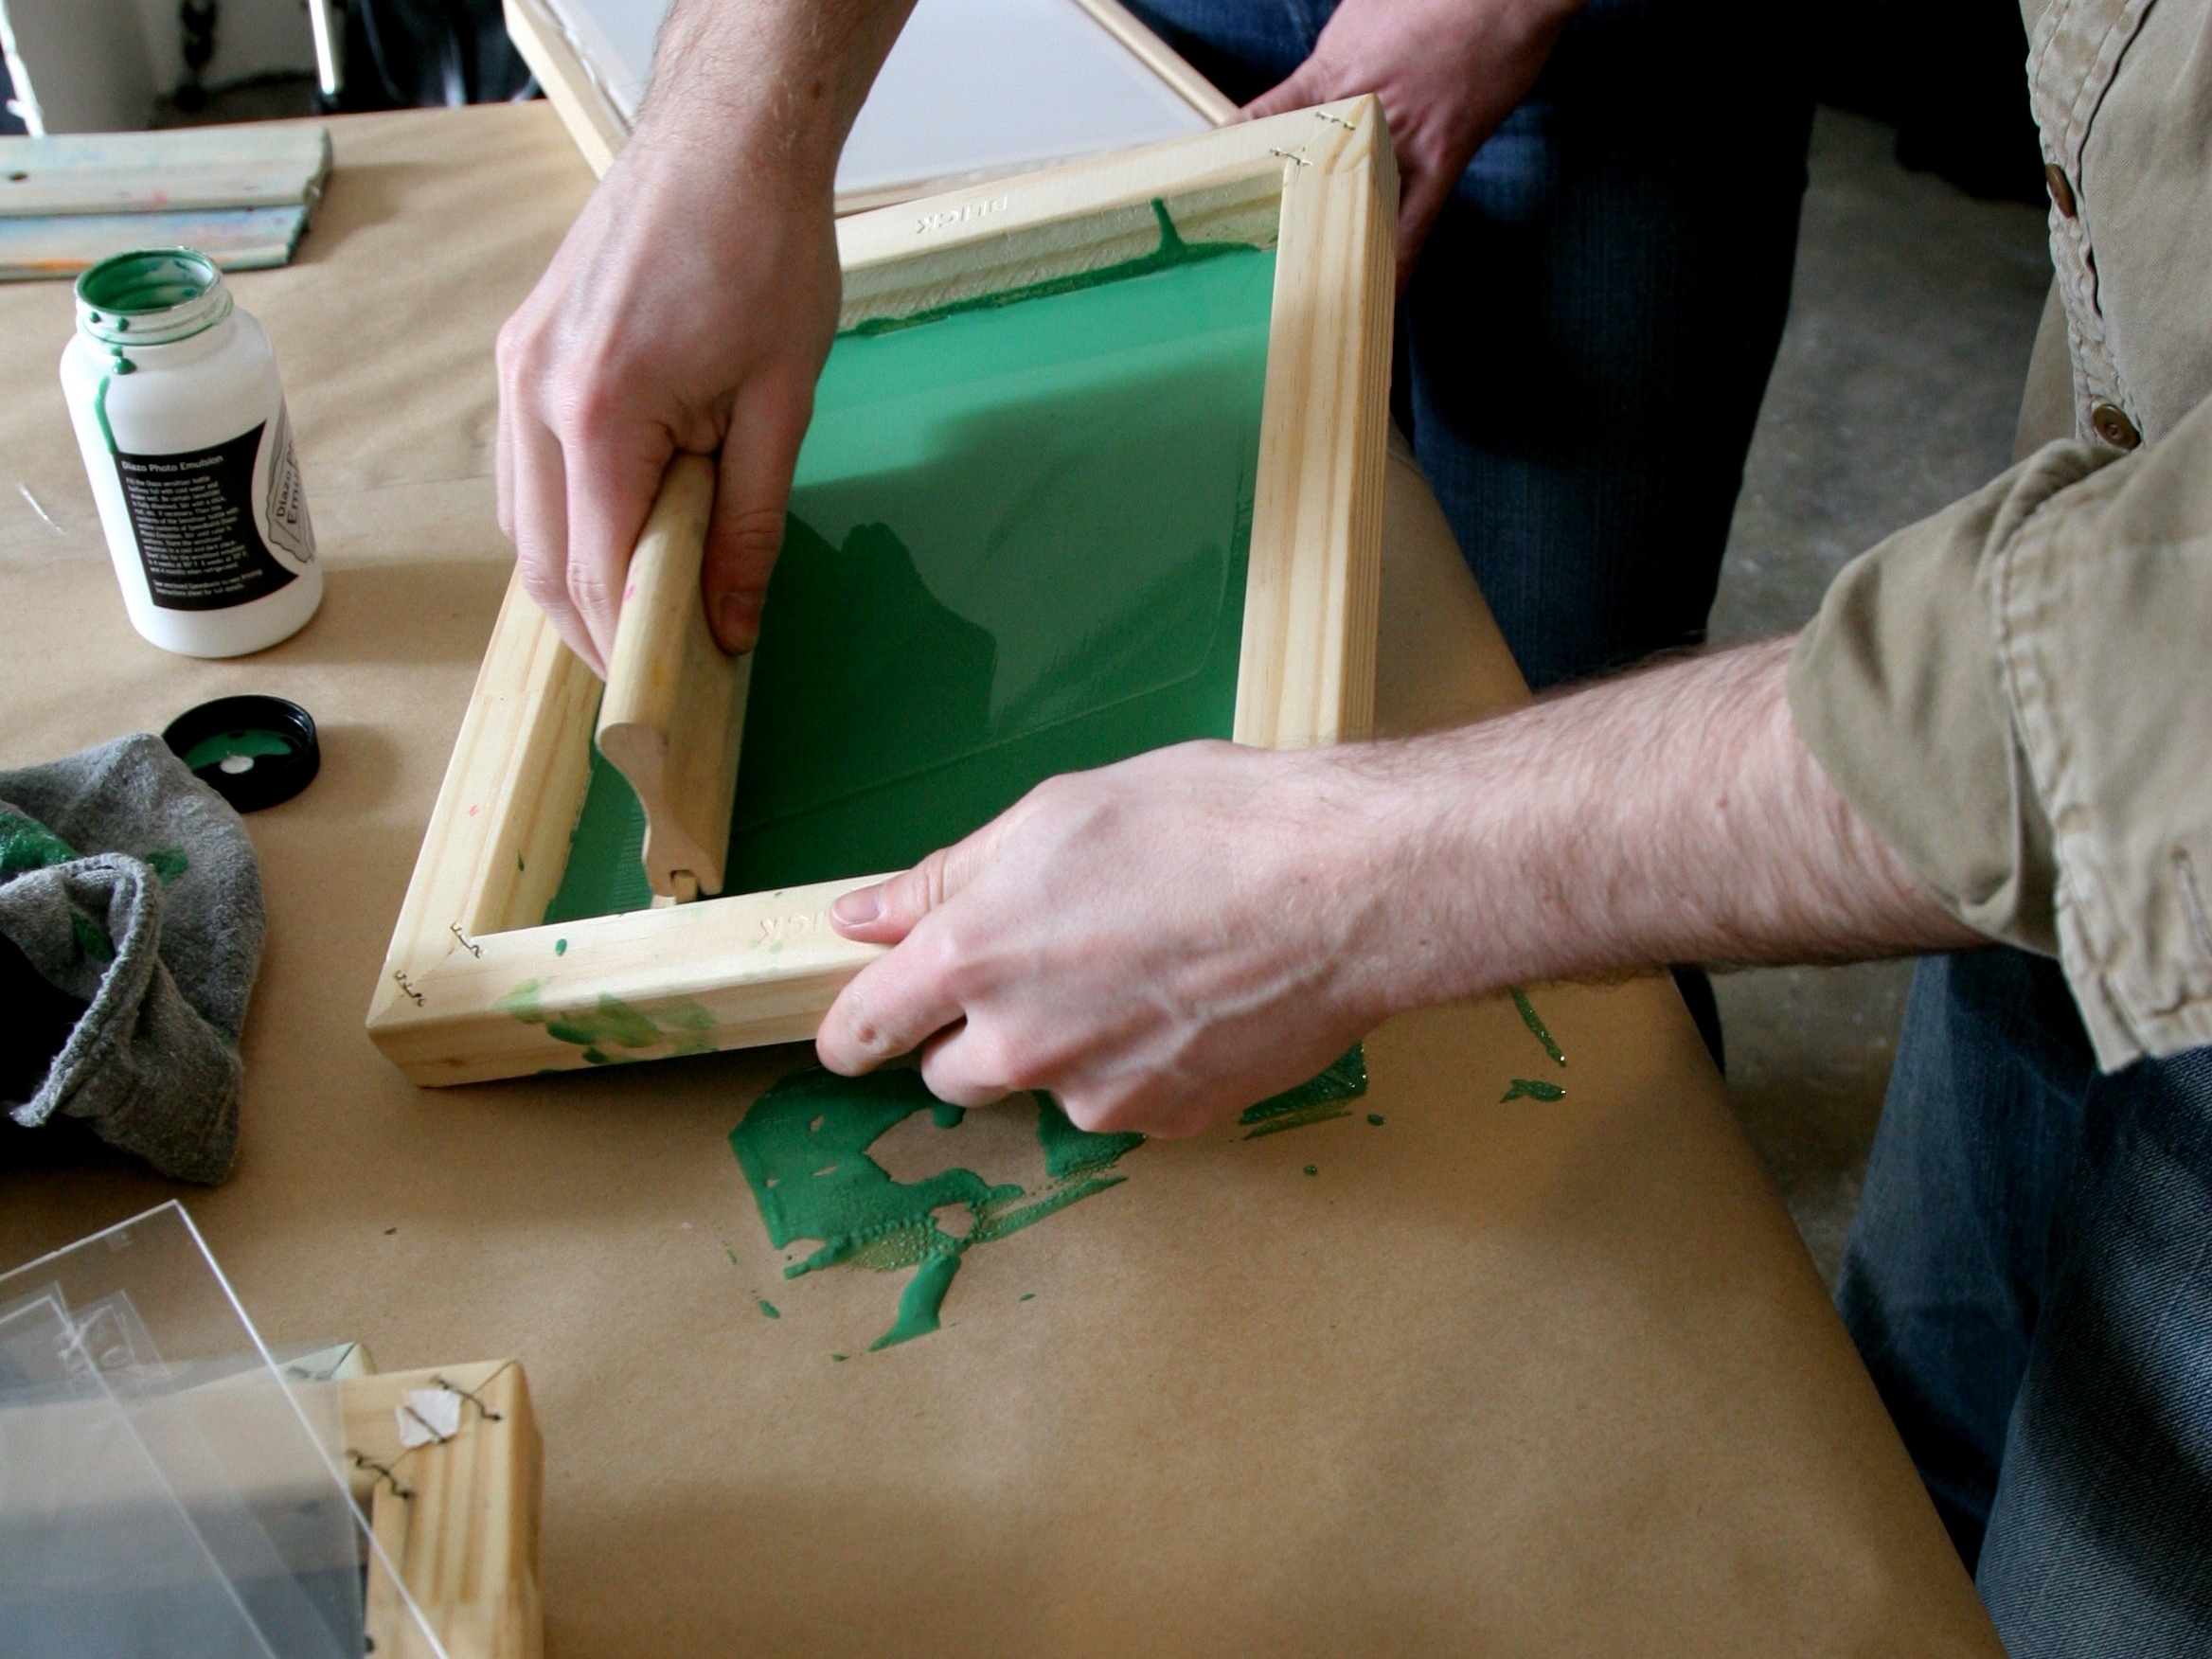
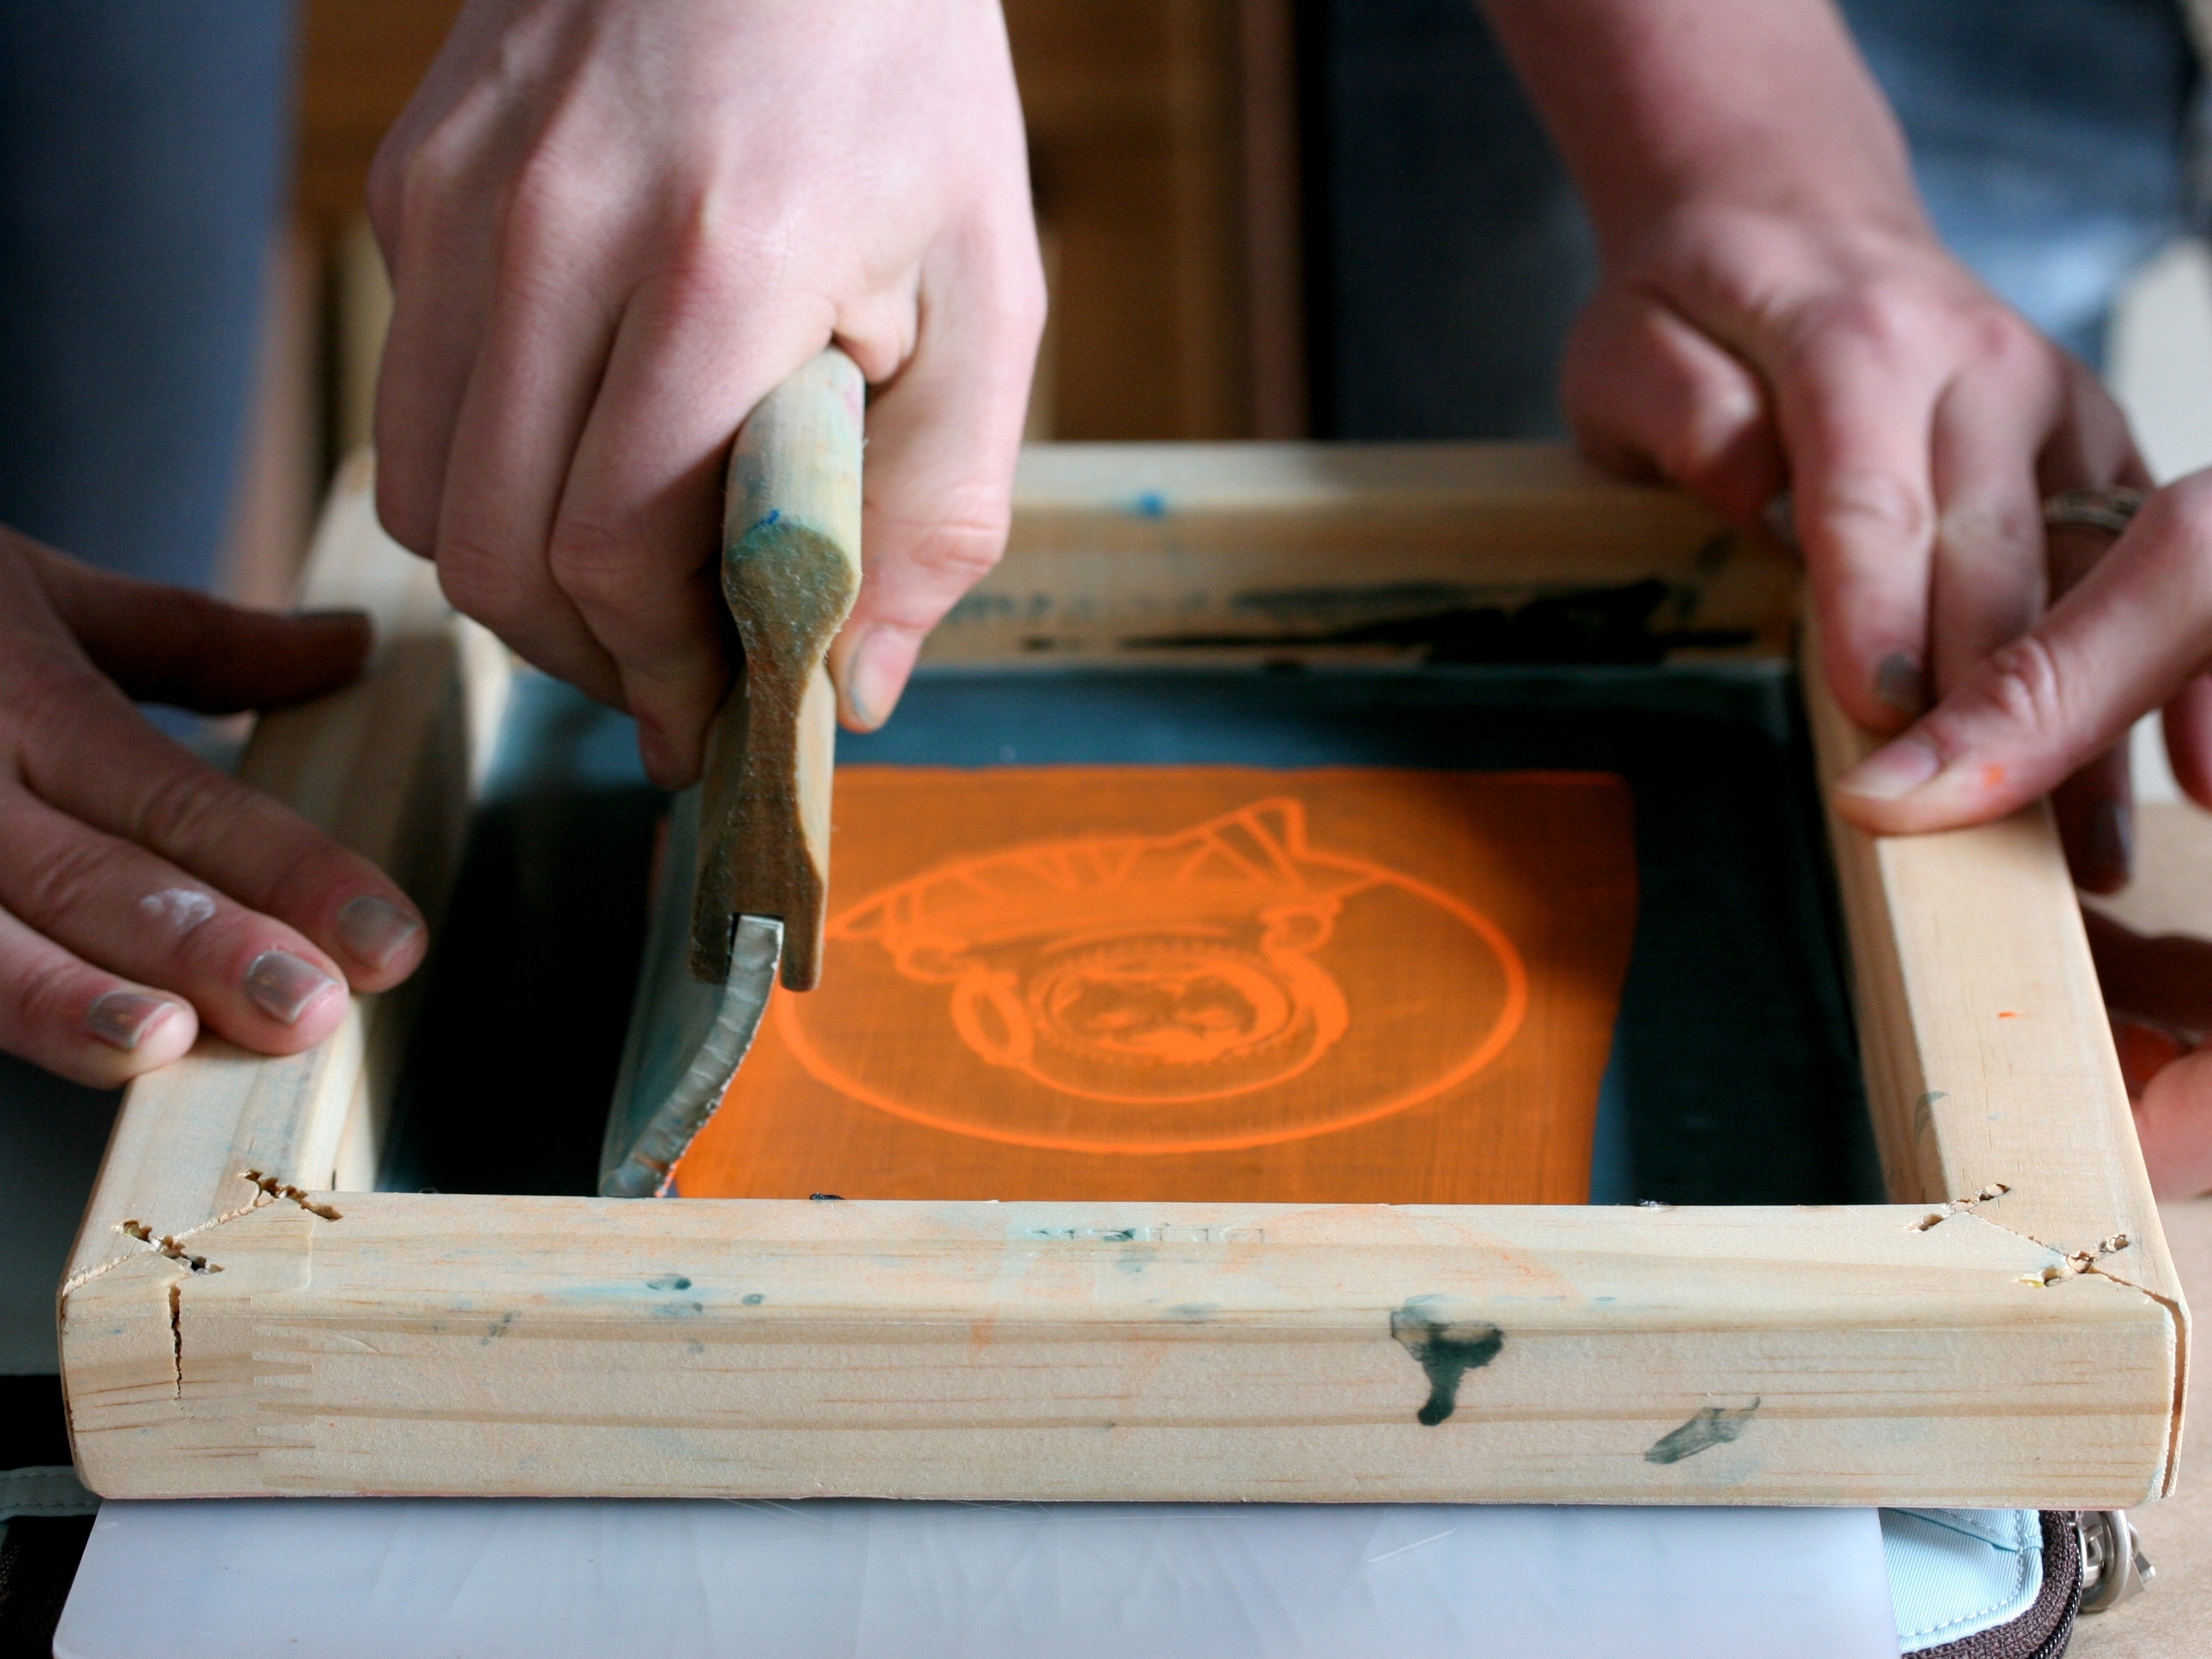
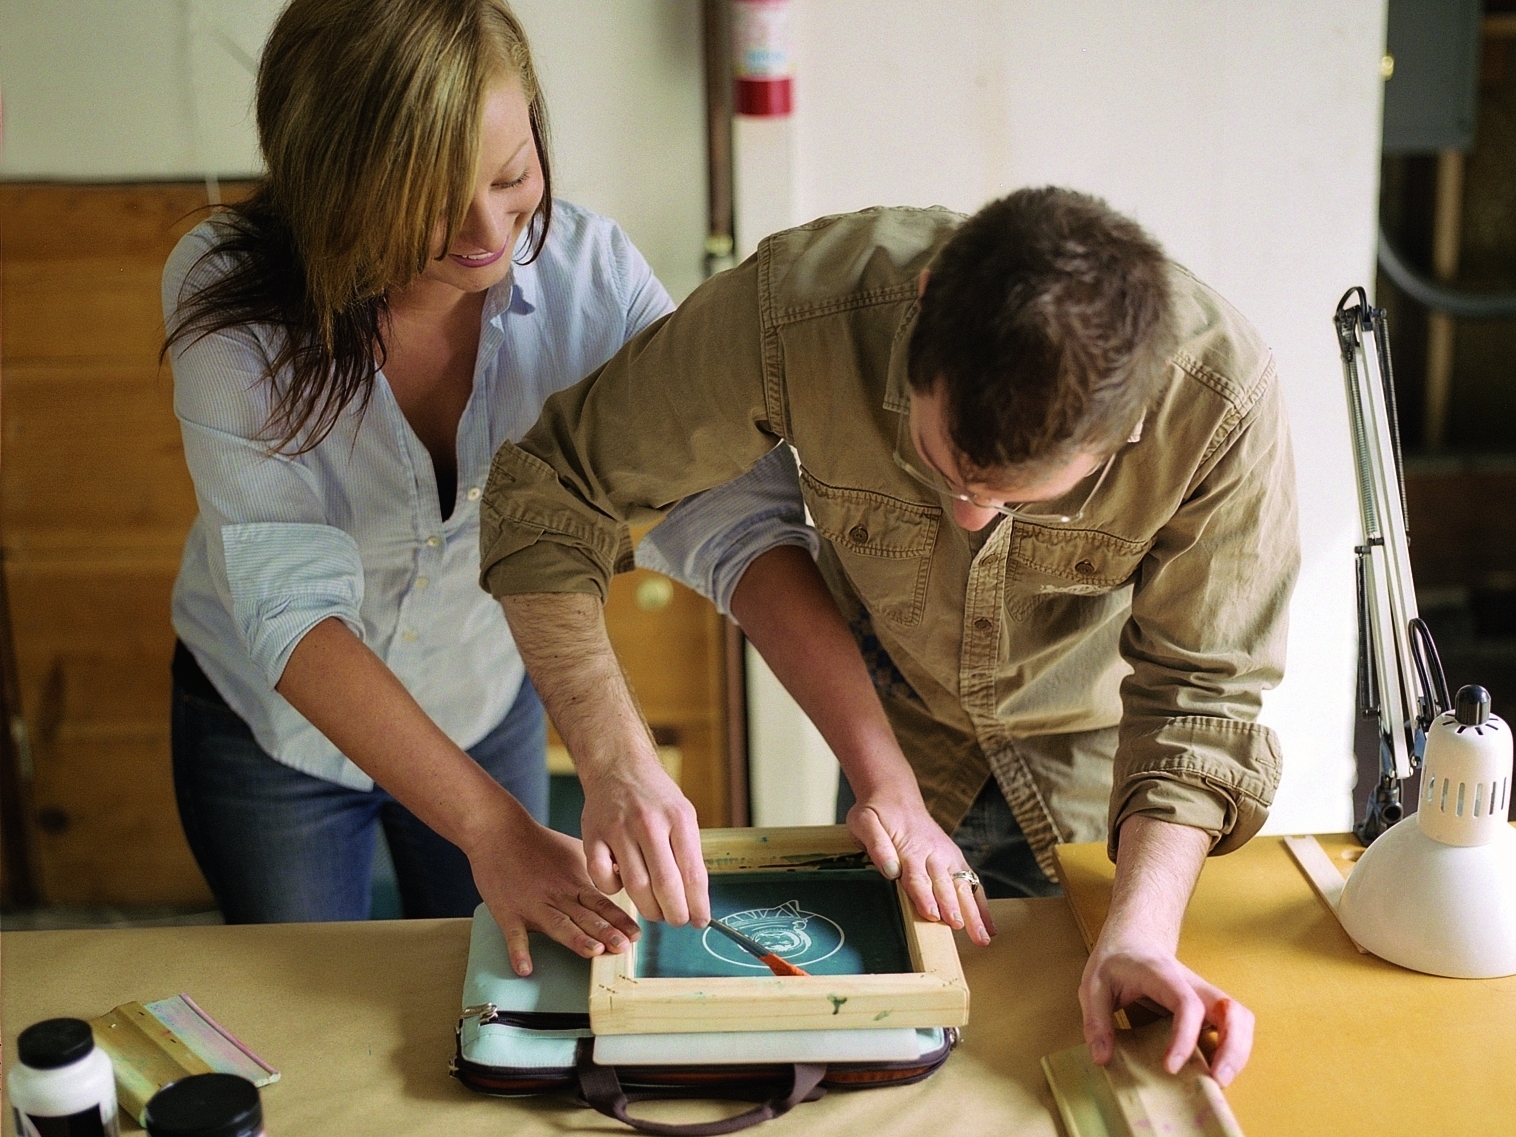
Now the fun part. Hold the screen down firmly with one hand (or have a buddy help hold it). Use a squeegee to pull the ink down to the bottom of the screen. Apply a small amount of pressure to the squeegee as you pull the ink. You will be able to see the paint evenly distributed across the screen.
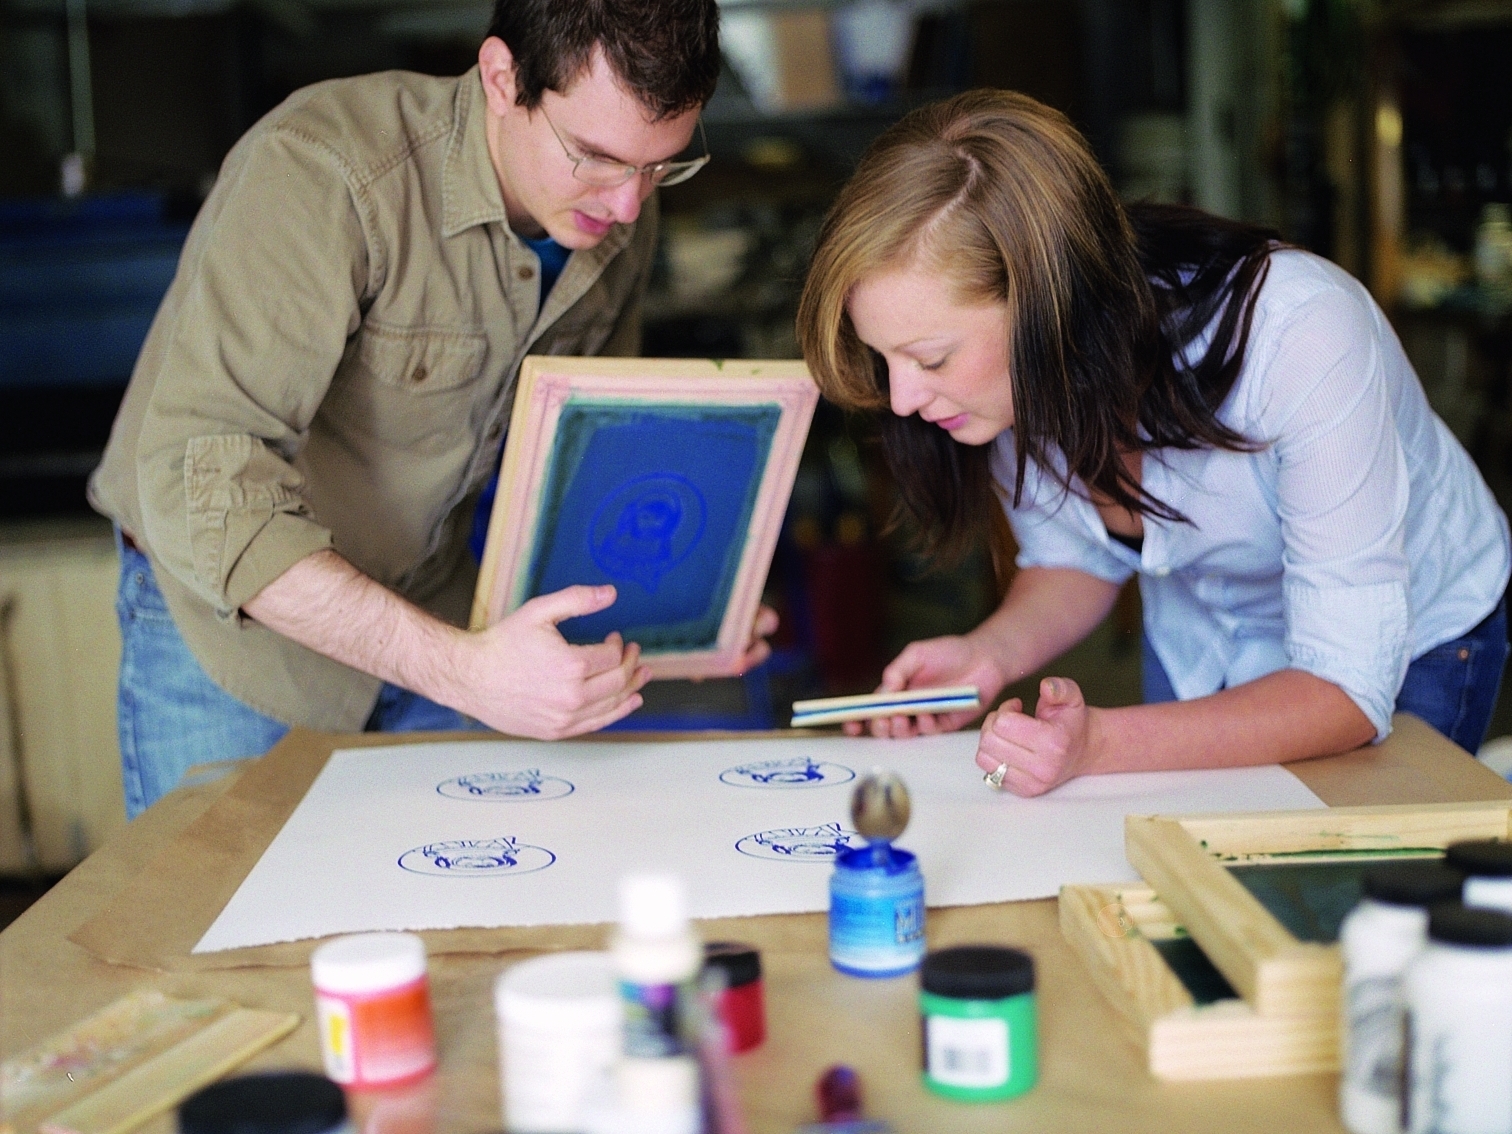
Lift the screen and look at your beautiful print! Be very careful when you lift off the screen. Try to peel it slowly and directly up, so you don’t smudge the fresh ink. It may want to stick to the paper.
It’s as easy as that! Lay the screen down on another piece of paper and do a few more prints for fun.
Note: You should only have to spread the paint downward once, but if you don’t think it’s looking even, give it another pass. With practice, you’ll get a feel for it.
Note: When you pull down, you should feel it evenly sliding over the screen. If it’s grabbing in areas, then there isn’t enough ink in that spot. This is one of the telltale signs that your print needs another pull of ink. If the first pull feels even, it may not need a second pull.


