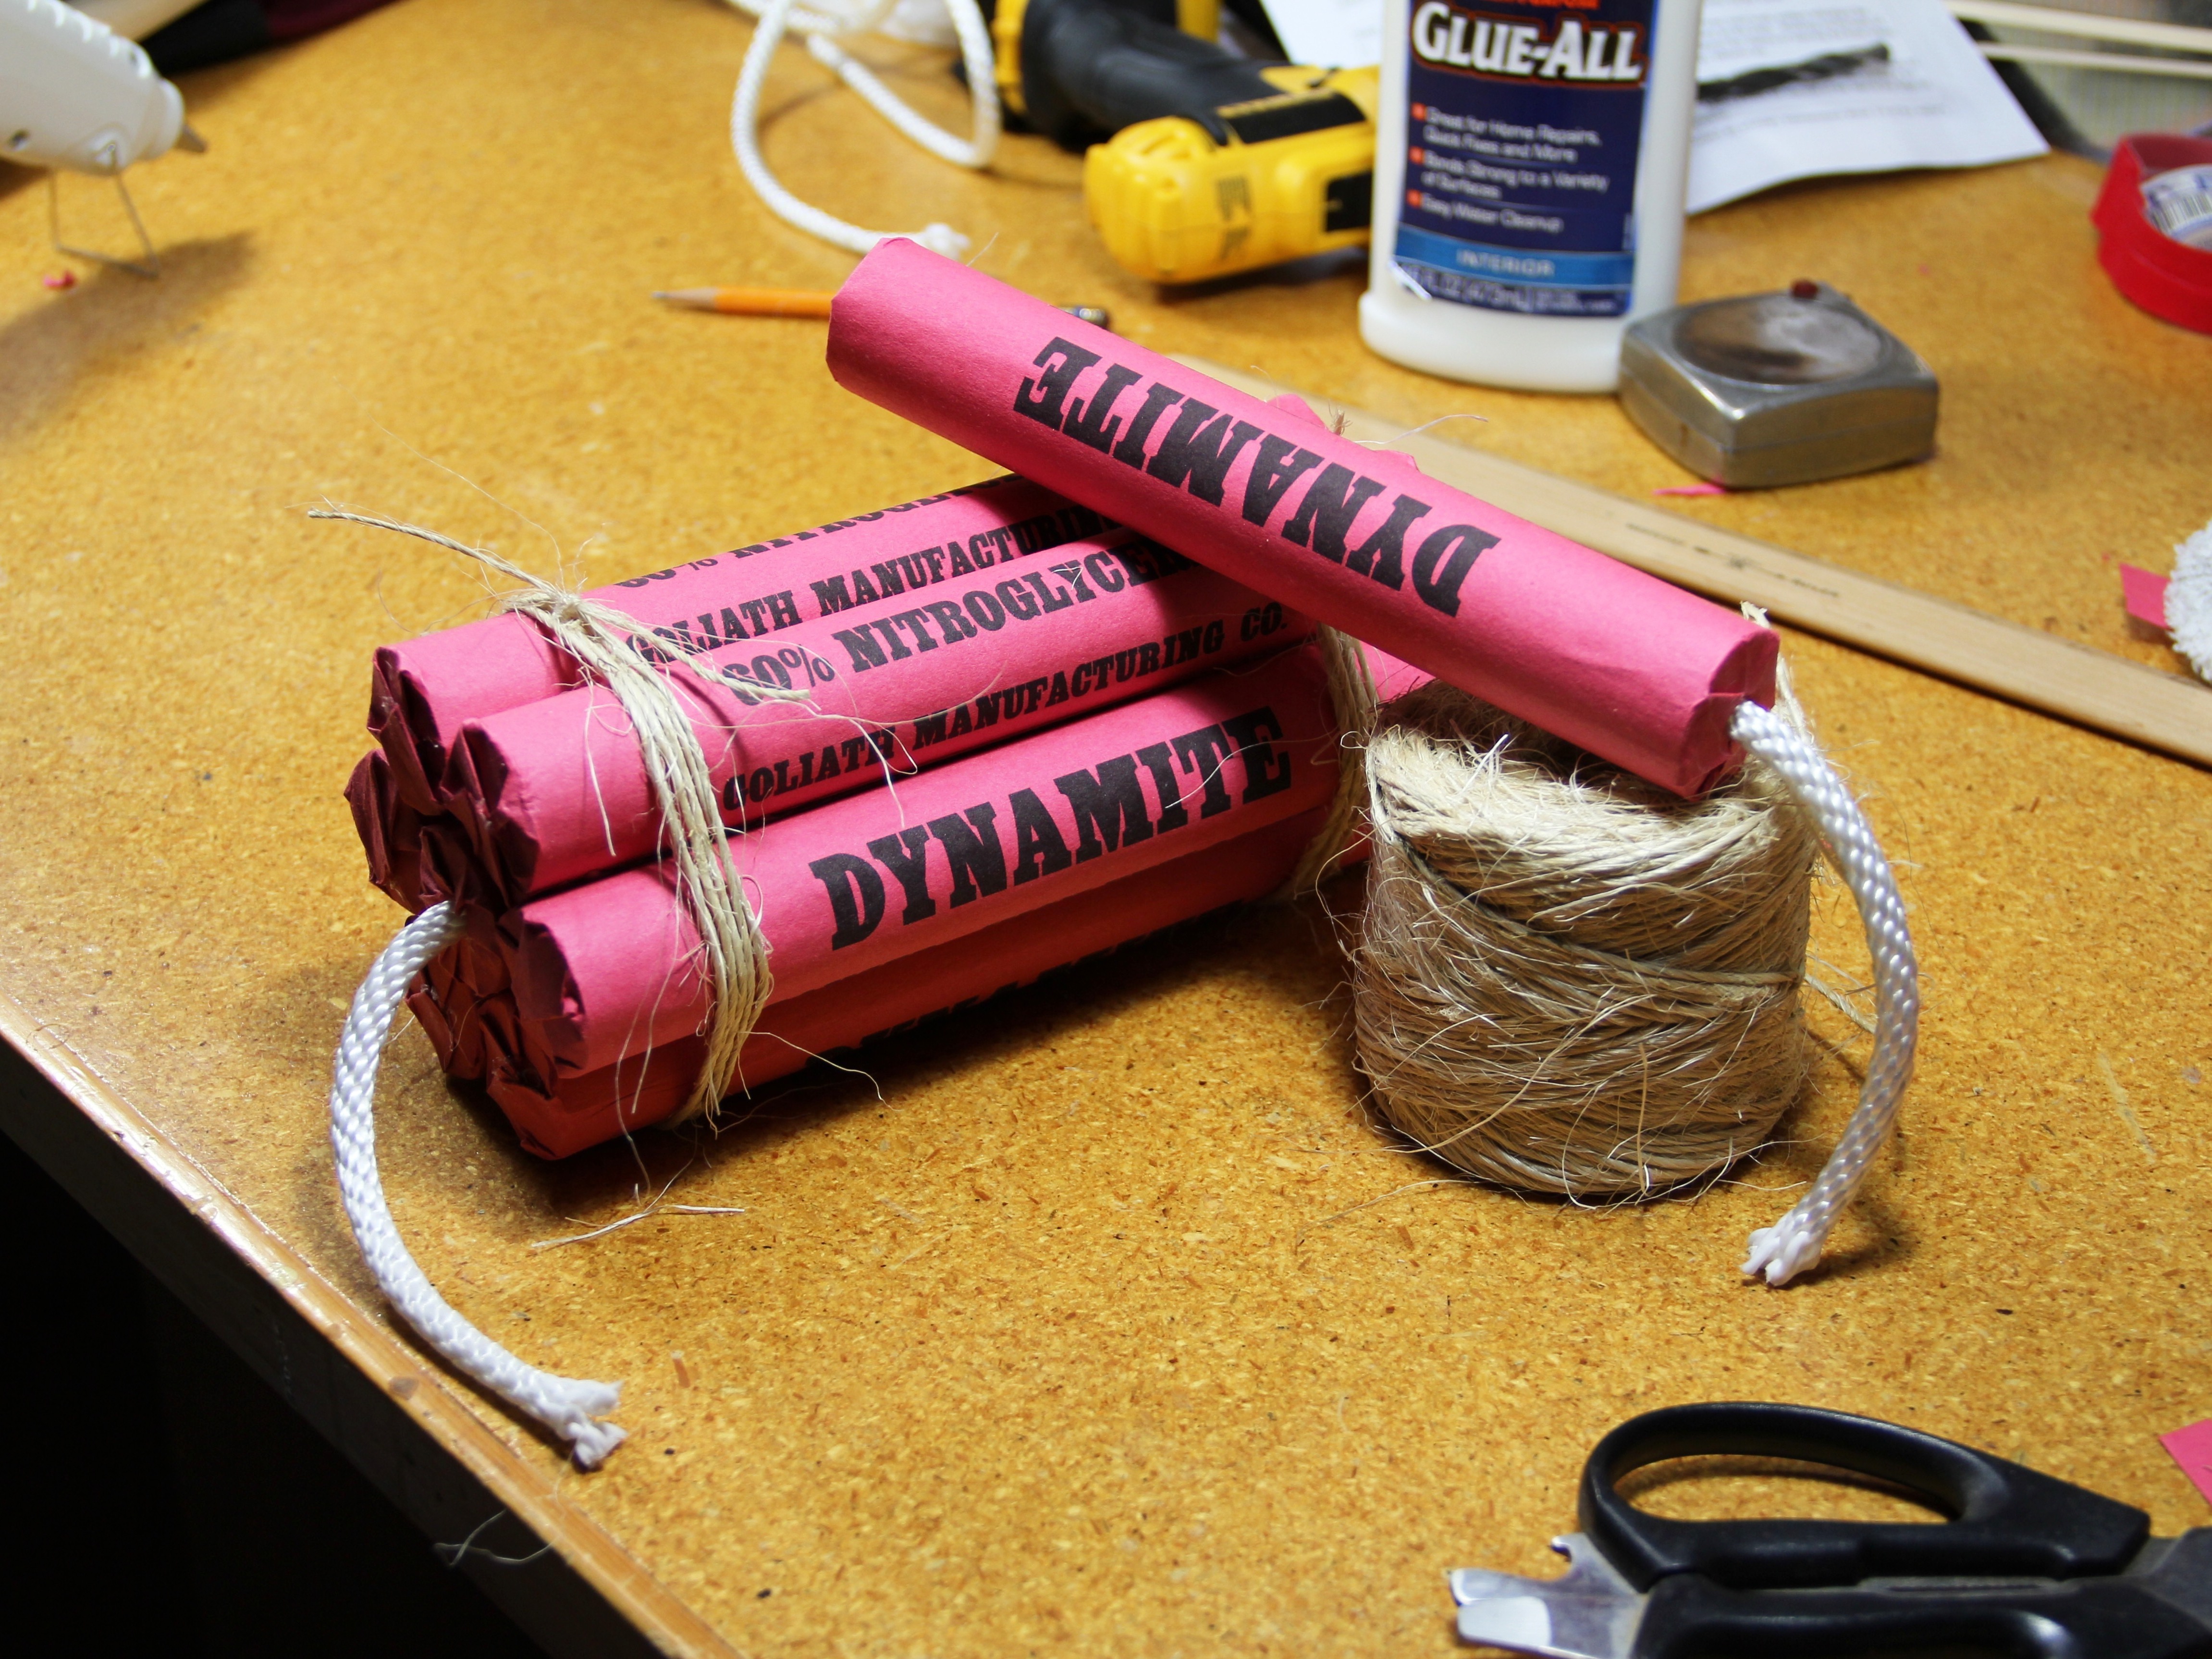
I work as a photographer at an “old-time” photo studio. The most popular theme we offer is the Wild West, and we have the usual selection of props for the period: guns, whiskey bottles, money bags, playing cards and so on. The other day I decided that it would be fun to have some sticks of dynamite as well.
I did a Google image search to find out what dynamite typically looks like and found that its appearance takes a number of different forms depending on the period, manufacturer, etc., so I picked one that is fairly stereotypical.
Dynamite was invented by the Swedish chemist Alfred Nobel and patented in 1867. It consists of nitroglycerin and an absorbent binder formed into sticks and covered with a paper wrapper. A quick check with Wikipedia reveals that the most common standard size for dynamite is a stick 1¼” in diameter and 8″ long.
I designed the wrapper for my dynamite in Inkscape. It’s included here as a PDF file.
Project Steps
Make wood cores and wrappers
Cut your dowel into pieces 8″ long.
Download the PDF file and print it out on colored paper (preferably red because it looks more dangerous, but beige or yellow wrappers are sometimes used also).
I used red construction paper because I wanted its slightly coarse surface. Since construction paper typically comes in sheets that are 9″x12″, I had to trim the paper to 8½”x11″ first so that it would fit in my printer.
After you’ve printed them, cut each sheet in half lengthwise to make two wrappers. Each one will cover a 1¼” dowel perfectly.
Drill hole for fuse
Use a center punch or nail to put a dimple in one end of the dowel and drill a pilot hole.
Enlarge the hole to the desired diameter. I used ¼” cord, so I drilled a 5/16″ hole to provide some clearance.
The hole doesn’t have to be very deep; ½” is plenty.
Glue wrapper around dowel
Turn one of the wrappers over and spread a thin layer of Elmer’s glue along the bottom edge. Don’t go all the way to the ends; just cover an area in the middle that matches the length of the dowel.
Place the dowel on the glued edge.
Turn the assembly over and smooth the edge down with your fingers. If you have used a nice thin layer of glue, it will grab and set in a minute or so. Keep smoothing the edge down until it does.
Spread a thin layer of glue over the rest of the wrapper.
I suppose that you could use a brush for this, but fingers are a lot easier to clean than a brush is!
Spread the glue as thinly as possible so that when you roll it up the glue won’t ooze out from under the edge.
Roll the wrapper around the dowel.
Smooth the edge down as before, and keep smoothing it for a minute or so until the glue grabs.
Finish the Ends
Trim the ends of the wrapper a bit if necessary so that they will fold down over the end of the dowel with no excess.
Start at the edge of the paper and fold the end down a bit at a time as you work your way around.
Glue the end flaps down
Glue the end flaps down with hot glue.
Try not to use too much glue, but if some does ooze out that’s ok. It will just look like the dynamite is leaking nitroglycerin. Mwahaha!
Prepare End for Fuse
On the end that will have the fuse, apply hot glue to the wood and then fold the end of the wrapper down.
Poke the excess paper into the hole with a screwdriver or similar tool.
Add the Fuse
Cut about a 5″ or 6″ piece of braided cord for the fuse. (Unless you’re one of those short-fuse people…)
Fill the hole with hot glue.
Poke the fuse in with a screwdriver.
Put some Elmer’s glue on the free end of the cord and work it into the fibers so that the cord won’t come unraveled. Fuzz the end out a bit before it dries, though; it looks more dangerous that way.
A finished stick of dynamite.
Now make some more!
Make a bundle of dynamite sticks
What do you do when you have several sticks of dynamite? Make a bundle, of course!
Start by laying three sticks side by side. Glue them together with hot glue.3
Add second layer of dynamite sticks
Place two more sticks on top and draw a light pencil line where the sticks meet to help you in placing the glue for the next layer.
Apply hot glue just inside the pencil line on the outer stick, and some on the inner stick as well. Press the new stick into place.
Repeat process on the other side
Turn the assembly over and repeat the process on the other side.
Wrap up the Bundle of Prop Dynamite
Nowadays, bundles of dynamite are held together with adhesive tape, but that wouldn’t look right for the 1880s. Sisal twine will look much better.
Wrap the twine around the bundle five or six times and tie a knot. I put a dab of glue on the knot to keep it secure.
If your bundle of dynamite is going to be handled a lot, glue the string to the sticks with dabs of Elmer’s glue. Apply the glue sparingly and work it in between the strands so that it is not visible when it dries.
Tie the other end of the bundle in the same way.
The Finished Product
The finished product, ready for blasting gold out of them thar hills!