Before you start jumping to all kinds of wrong conclusions about me, let me tell you what I don’t do. I don’t bake my own bread, roll my own pasta, or simmer my own stocks. I don’t make my own yogurt, cheese, beer, wine, or jam. I don’t grow my own vegetables or herbs. I don’t, as a matter of course, can, pickle, bottle, or preserve much of anything. If you imagine my fridge and shelves are full of anything other than what I bought at the supermarket last time I was there, I’m sorry to say you’re sorely mistaken.

I’ve told you all this not because I’m looking for your sympathy (or scorn), but so you can better appreciate the following. I do make my own vanilla extract, and if I can do it, I’m certain you can, too.

There are certainly more scientific ways to go about making vanilla extract, where you use a set ratio of beans to alcohol and let it sit exactly X number of weeks. The beauty of this method, however, is that aside from the very beginning, you’re only using spent beans to make it (which feels delightfully frugal), and once you get the ball rolling, as long as you keep using vanilla beans in your kitchen, you’ll have an unending supply of extract on hand, too.

Also, consider the fact that extract made this way keeps getting better and better with every bottle you produce. Pretty nifty, no?

What will the next generation of Make: look like? We’re inviting you to shape the future by investing in Make:. By becoming an investor, you help decide what’s next. The future of Make: is in your hands. Learn More.

Project Steps

Find good, cheap vanilla beans and a good vanilla extract.

Many websites offer deep discounts for vanilla beans purchased in bulk, where individual beans can end up costing only pennies. I usually buy mine from San Francisco-based Vanilla Saffron Imports; other excellent sources are Patricia Rain’s Vanilla Company (where you can also learn about the politics of vanilla production) and eBay.

I usually buy 1⁄2lb at a time (about 60–80 beans, depending on variety), which lasts me about a year. You’ll probably have a choice between 2 varieties: Bourbon (Madagascar) beans make the deep, round extract most of us are familiar with, while Tahitian beans taste more spicy and floral. Mexican beans, harder to find, are considered by some to be the most fragrant of all. I find a mix makes the best extract.

You’ll need two 4oz (118ml) bottles. Get something good and strong, such as Nielsen-Massey or Penzey’s. Trader Joe’s is fine, too. Just make sure it’s real vanilla — not some nasty cocktail of chemicals — and has a flavor you’ll be happy to find in your own extract. Put 1 bottle on the shelf and start using it. It’s going to take a while for your homemade stuff to be ready, and you’ll need something to tide you over.

The other bottle you’ll be using to kick-start your homemade extract. While this step isn’t strictly necessary, adding commercial extract to your own mixture will help speed the process, helping you attain a usable strength in less time than beans alone. If you don’t have access to high-quality commercial extract, or if you just prefer to make your extract entirely your own, you certainly can — just be prepared for it to take a bit longer.

The classic base for extracts is vodka, but bourbon, light rum, or pure grain spirits also work as long as they contain at least 40% (80 proof) alcohol. Just choose something that doesn’t have too strong a flavor of its own. It doesn’t need to be fancy — just the standard stuff your supermarket sells.

Again, put 1 bottle in the cupboard (no, this one is not to tide you over, so hands off!). This is your “top- up” bottle, which you’ll start using once you start decanting your own extract.

Combine ingredients.

Choose your jar. I recommend something with a wide mouth — a Mason jar is perfect — since you’ll need to reach in there and remove used beans from time to time. Clean it well. Make sure it doesn’t harbor any weird odors.

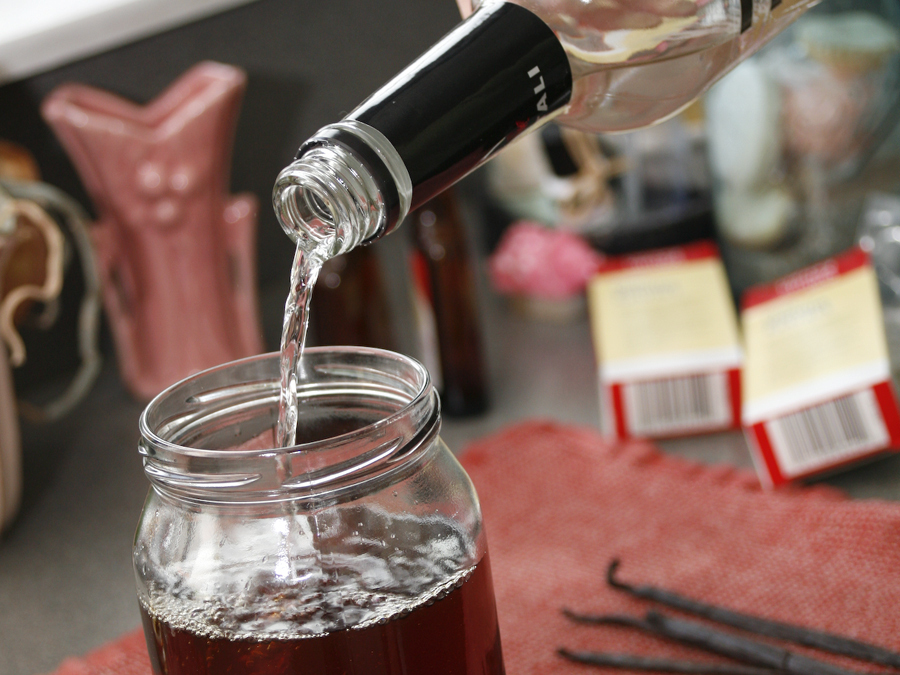
Pour 1 bottle of store-bought extract and 1 bottle of booze into your container, then add some vanilla beans. If you’ve already got some used beans lying around — perhaps in a jar of sugar somewhere? — use those. If you don’t, you’ll have to sacrifice some new ones.

How many you start with is up to you: the more you add now, the sooner your extract will be ready. I started with 4–6 new ones, and added 3–4 used ones per month after that.

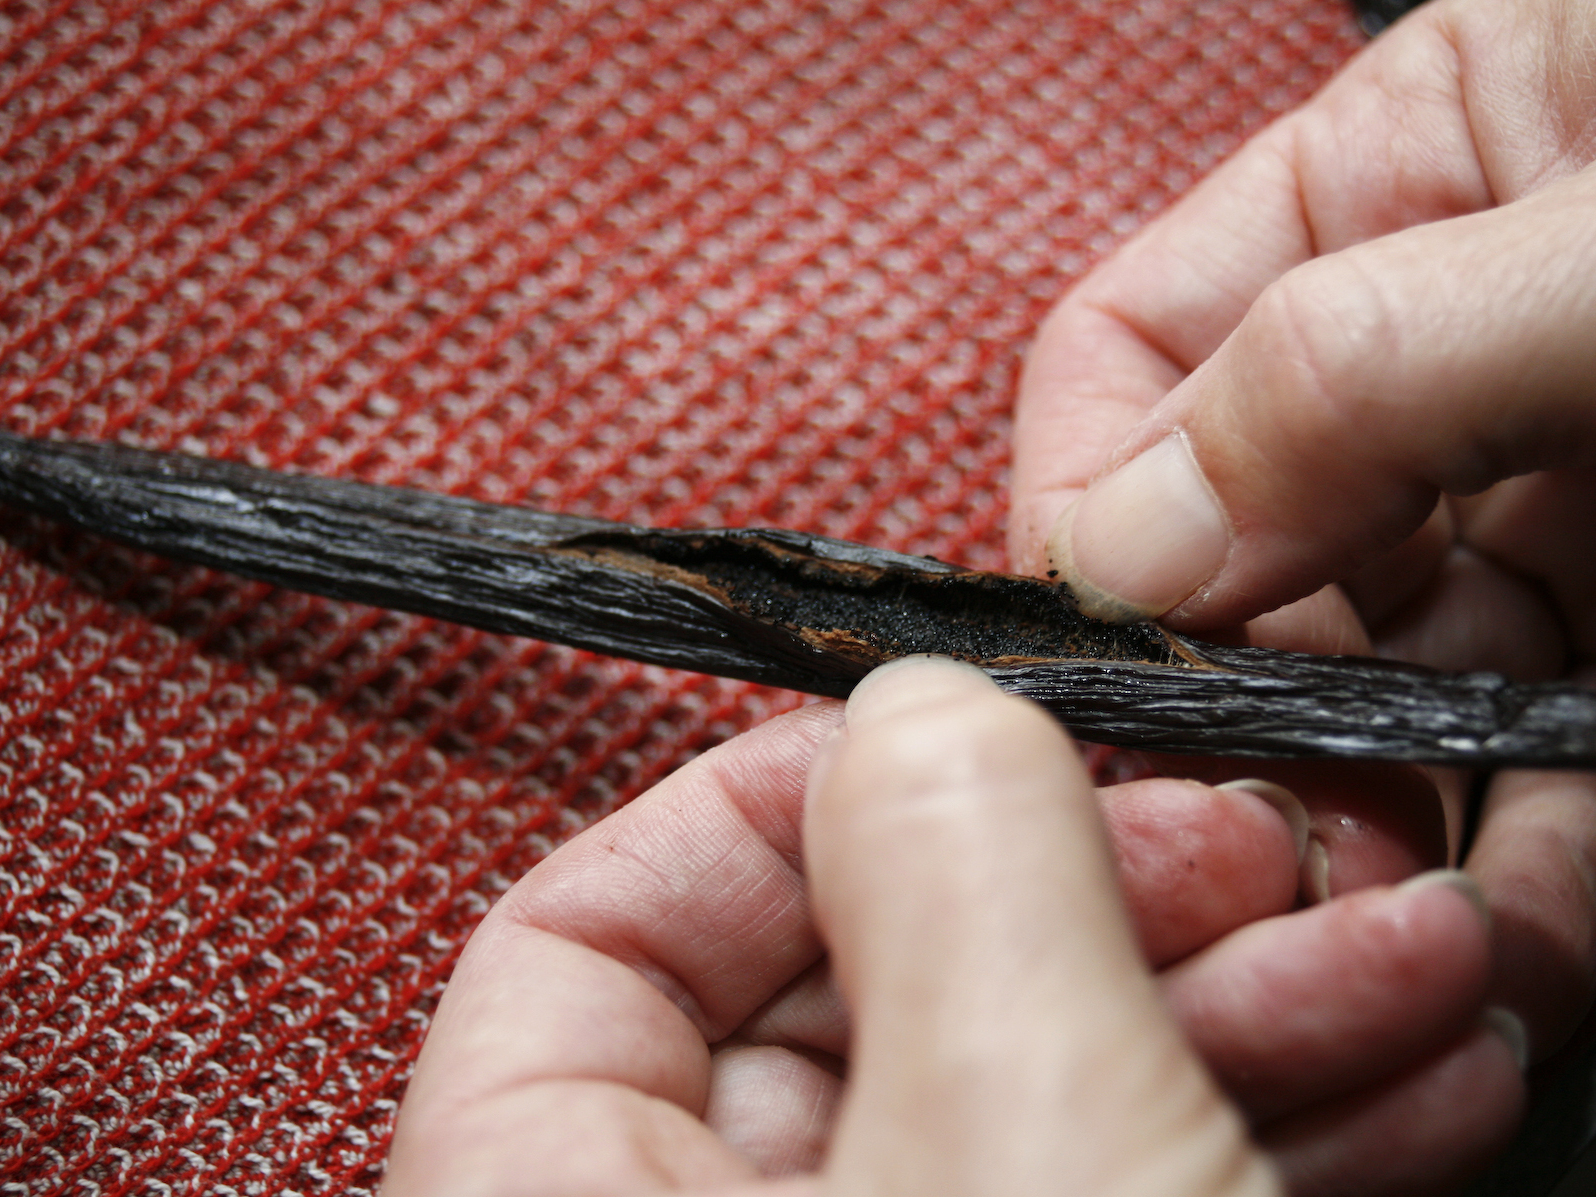
If you’re not supplementing your base with a bottle of commercial extract, you might want to start with double that number. Just split them lengthwise down the middle and throw them in.

Shake and set aside, shake once a week for 6-8 weeks, decant.

Put the lid on tightly and give everything a shake. Now put the container in a cool, dark cupboard.

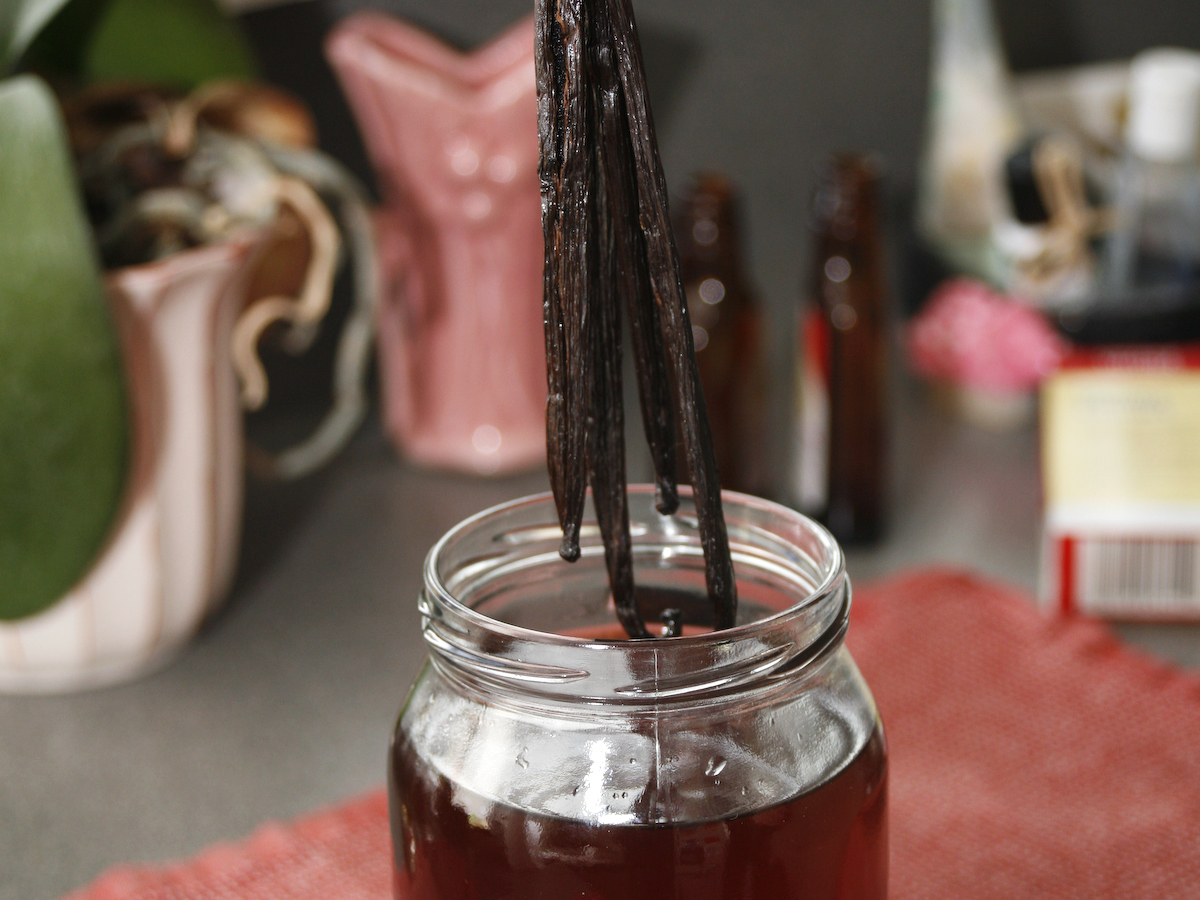
Make lots of cookies, cakes, custards, and ice cream. I’m sure you’ll think of other uses for all that vanilla, but the important thing is that every time you use a bean, throw it in your extract container afterward. If all you’ve used are the seeds, simply throw in the empty pod; if you’ve simmered the entire bean in liquid, give it a good rinse first. Use your nose — if it still smells like vanilla, go ahead and stick it in.

Feel free to poke your nose in and see how things are developing. It will start out smelling powerfully like alcohol, but over time, the vanilla flavors will take over and the boozy smell will almost disappear.

The longer the vanilla beans have to marinate the better. What we’re aiming for is that by the time you’ve finished that bottle of store-bought extract, your own should be rich, fragrant, and ready to start decanting.

When your homemade extract has reached your preferred strength, decant some into your own 4oz bottle (you can even use the handy little store bottle), or multiple little bottles, if you’re going to give some away. Don’t decant it all — make sure there’s enough left to get your next batch started.

Now get out that second bottle of booze you stashed away all those weeks ago and top up the container so it’s full again. You’ll need to do this every time you decant. You can probably leave all the beans in there at this point, but if things start to get too crowded just remove a few of the mushiest ones.

Place the container back in the cupboard to mature for another couple of months and repeat as many times as you like. The extract you get from it will just keep getting better and better.

Conclusion

This project first appeared in CRAFT Volume 07, pages 109-111.