honey cow

Beekeeping is an ancient DIY art, practiced by amateurs and makers for centuries. Anyone can produce natural honey at home by making their own hive. Here’s how to build a cheap and simple beehive called the Honey Cow.

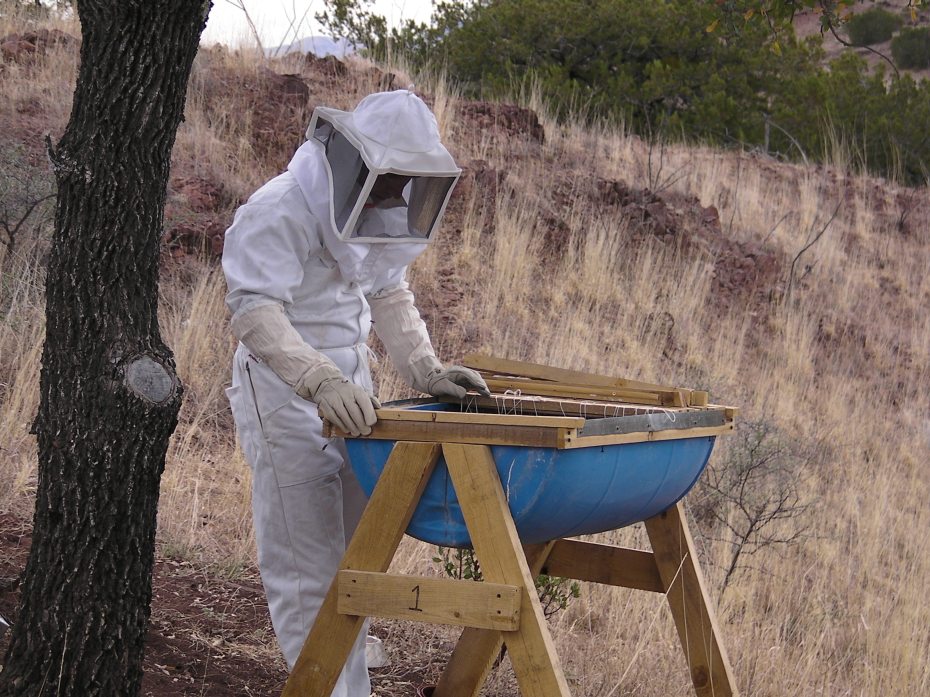
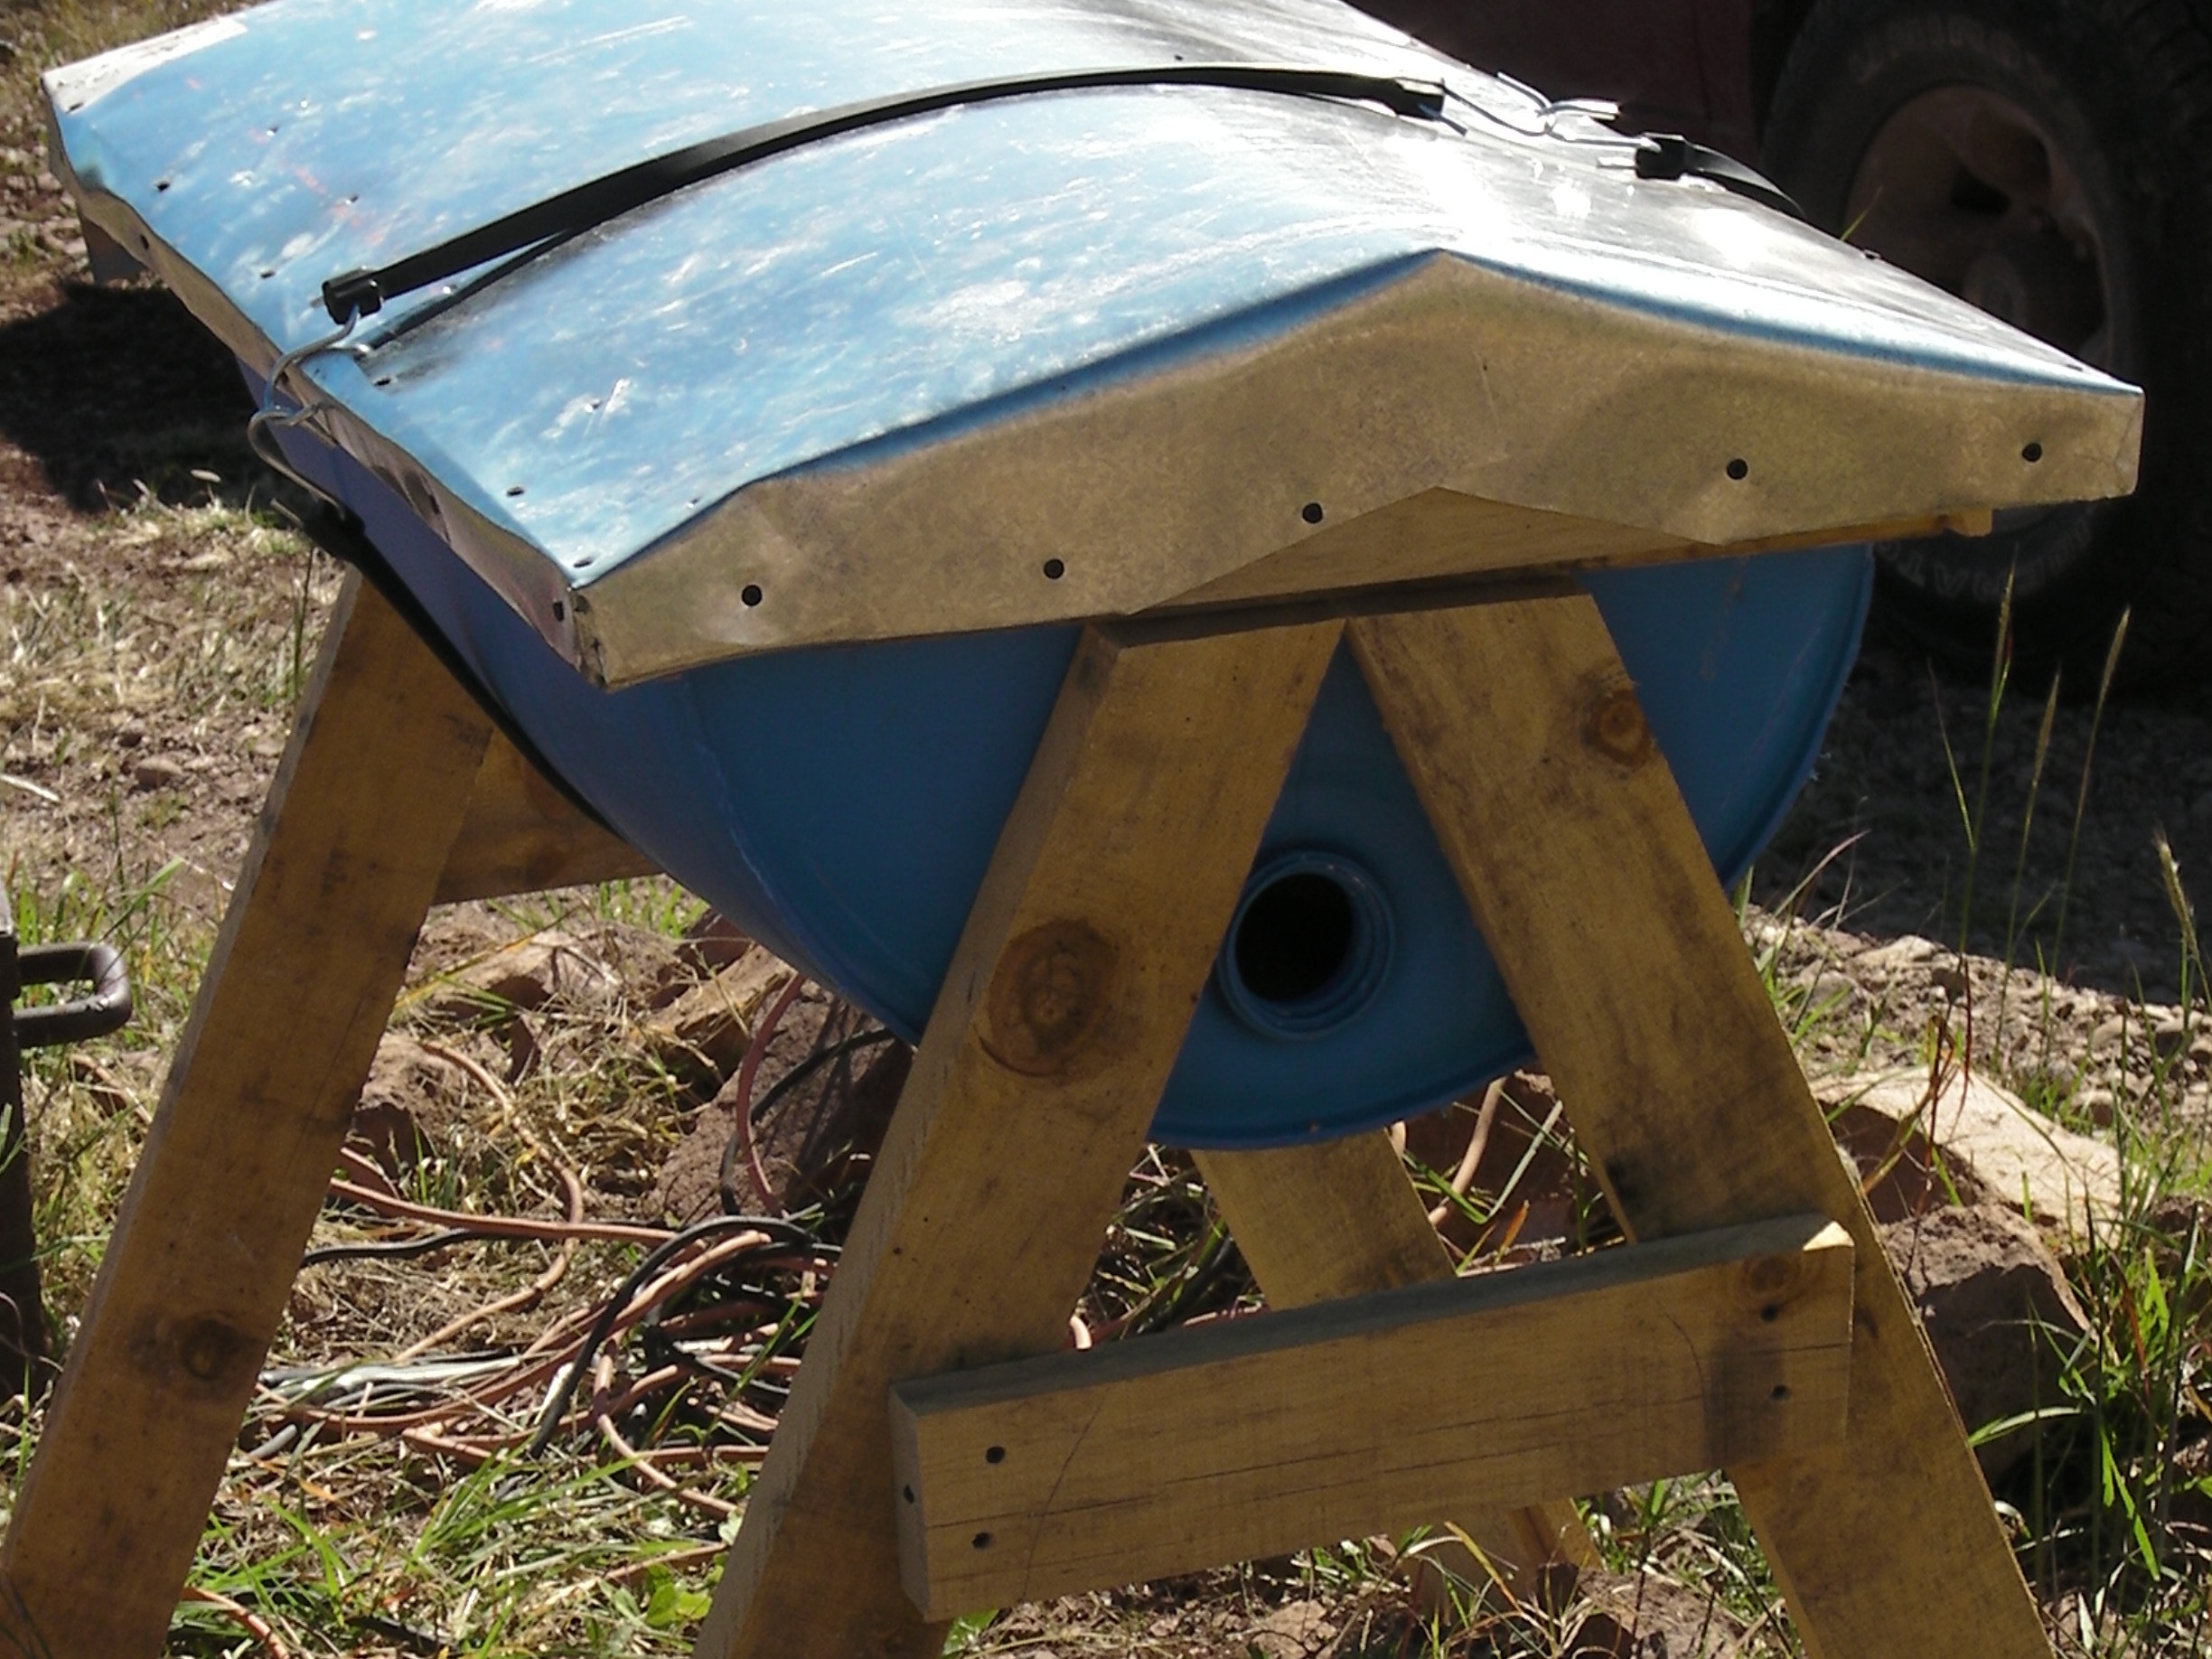
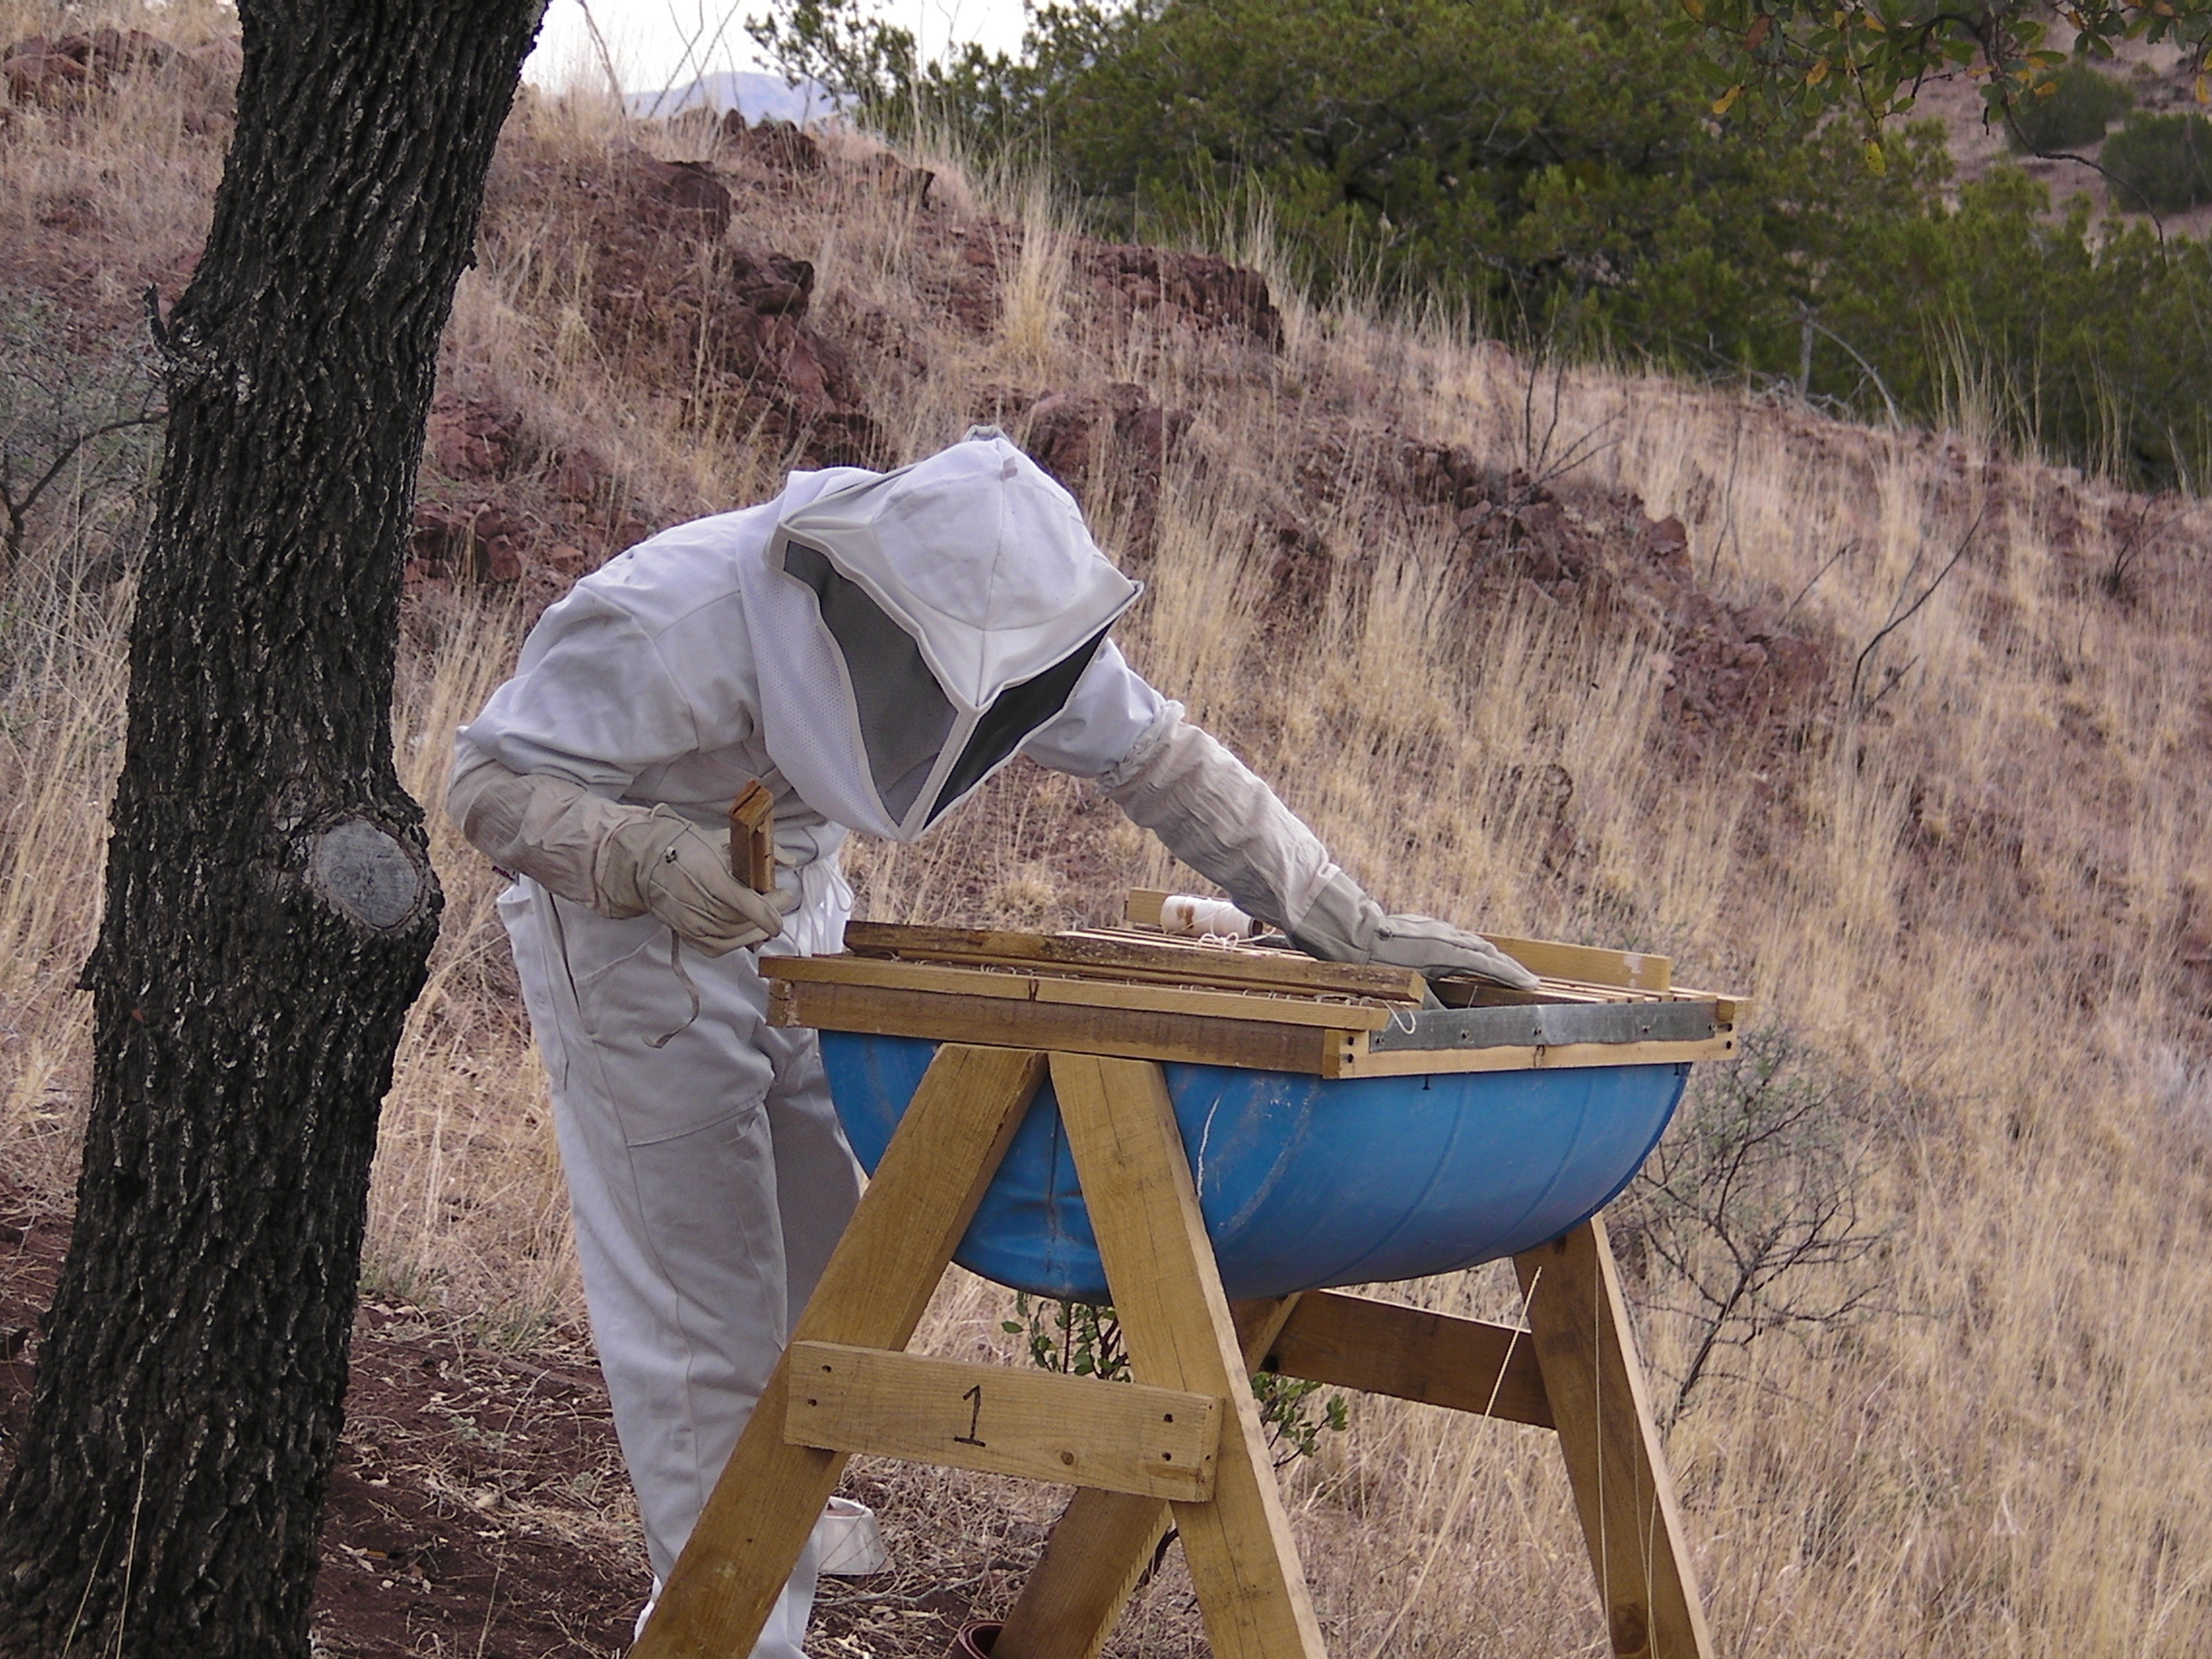
The Honey Cow is designed to mimic nature. Unlike commercial hives, it doesn’t have frames, foundations, or excluders. Instead, it just has top bars, allowing the bees to do what they’d do in a fallen log: build beautiful, natural combs. Because it’s less intrusive to the bees, it’s easier to make and to manage, so it’s a perfect hive for beginners. Once you have a hive, you’ll want to gather a few extra bits of equipment, like a veil, a smoker, and a bee feeder. You can procure bees by capturing a swarm or buying a “package” or nucleus from a fellow beekeeper. After one full summer, you’ll reap the reward: wonderful, homegrown honey.

Project Steps

Make the barrel.

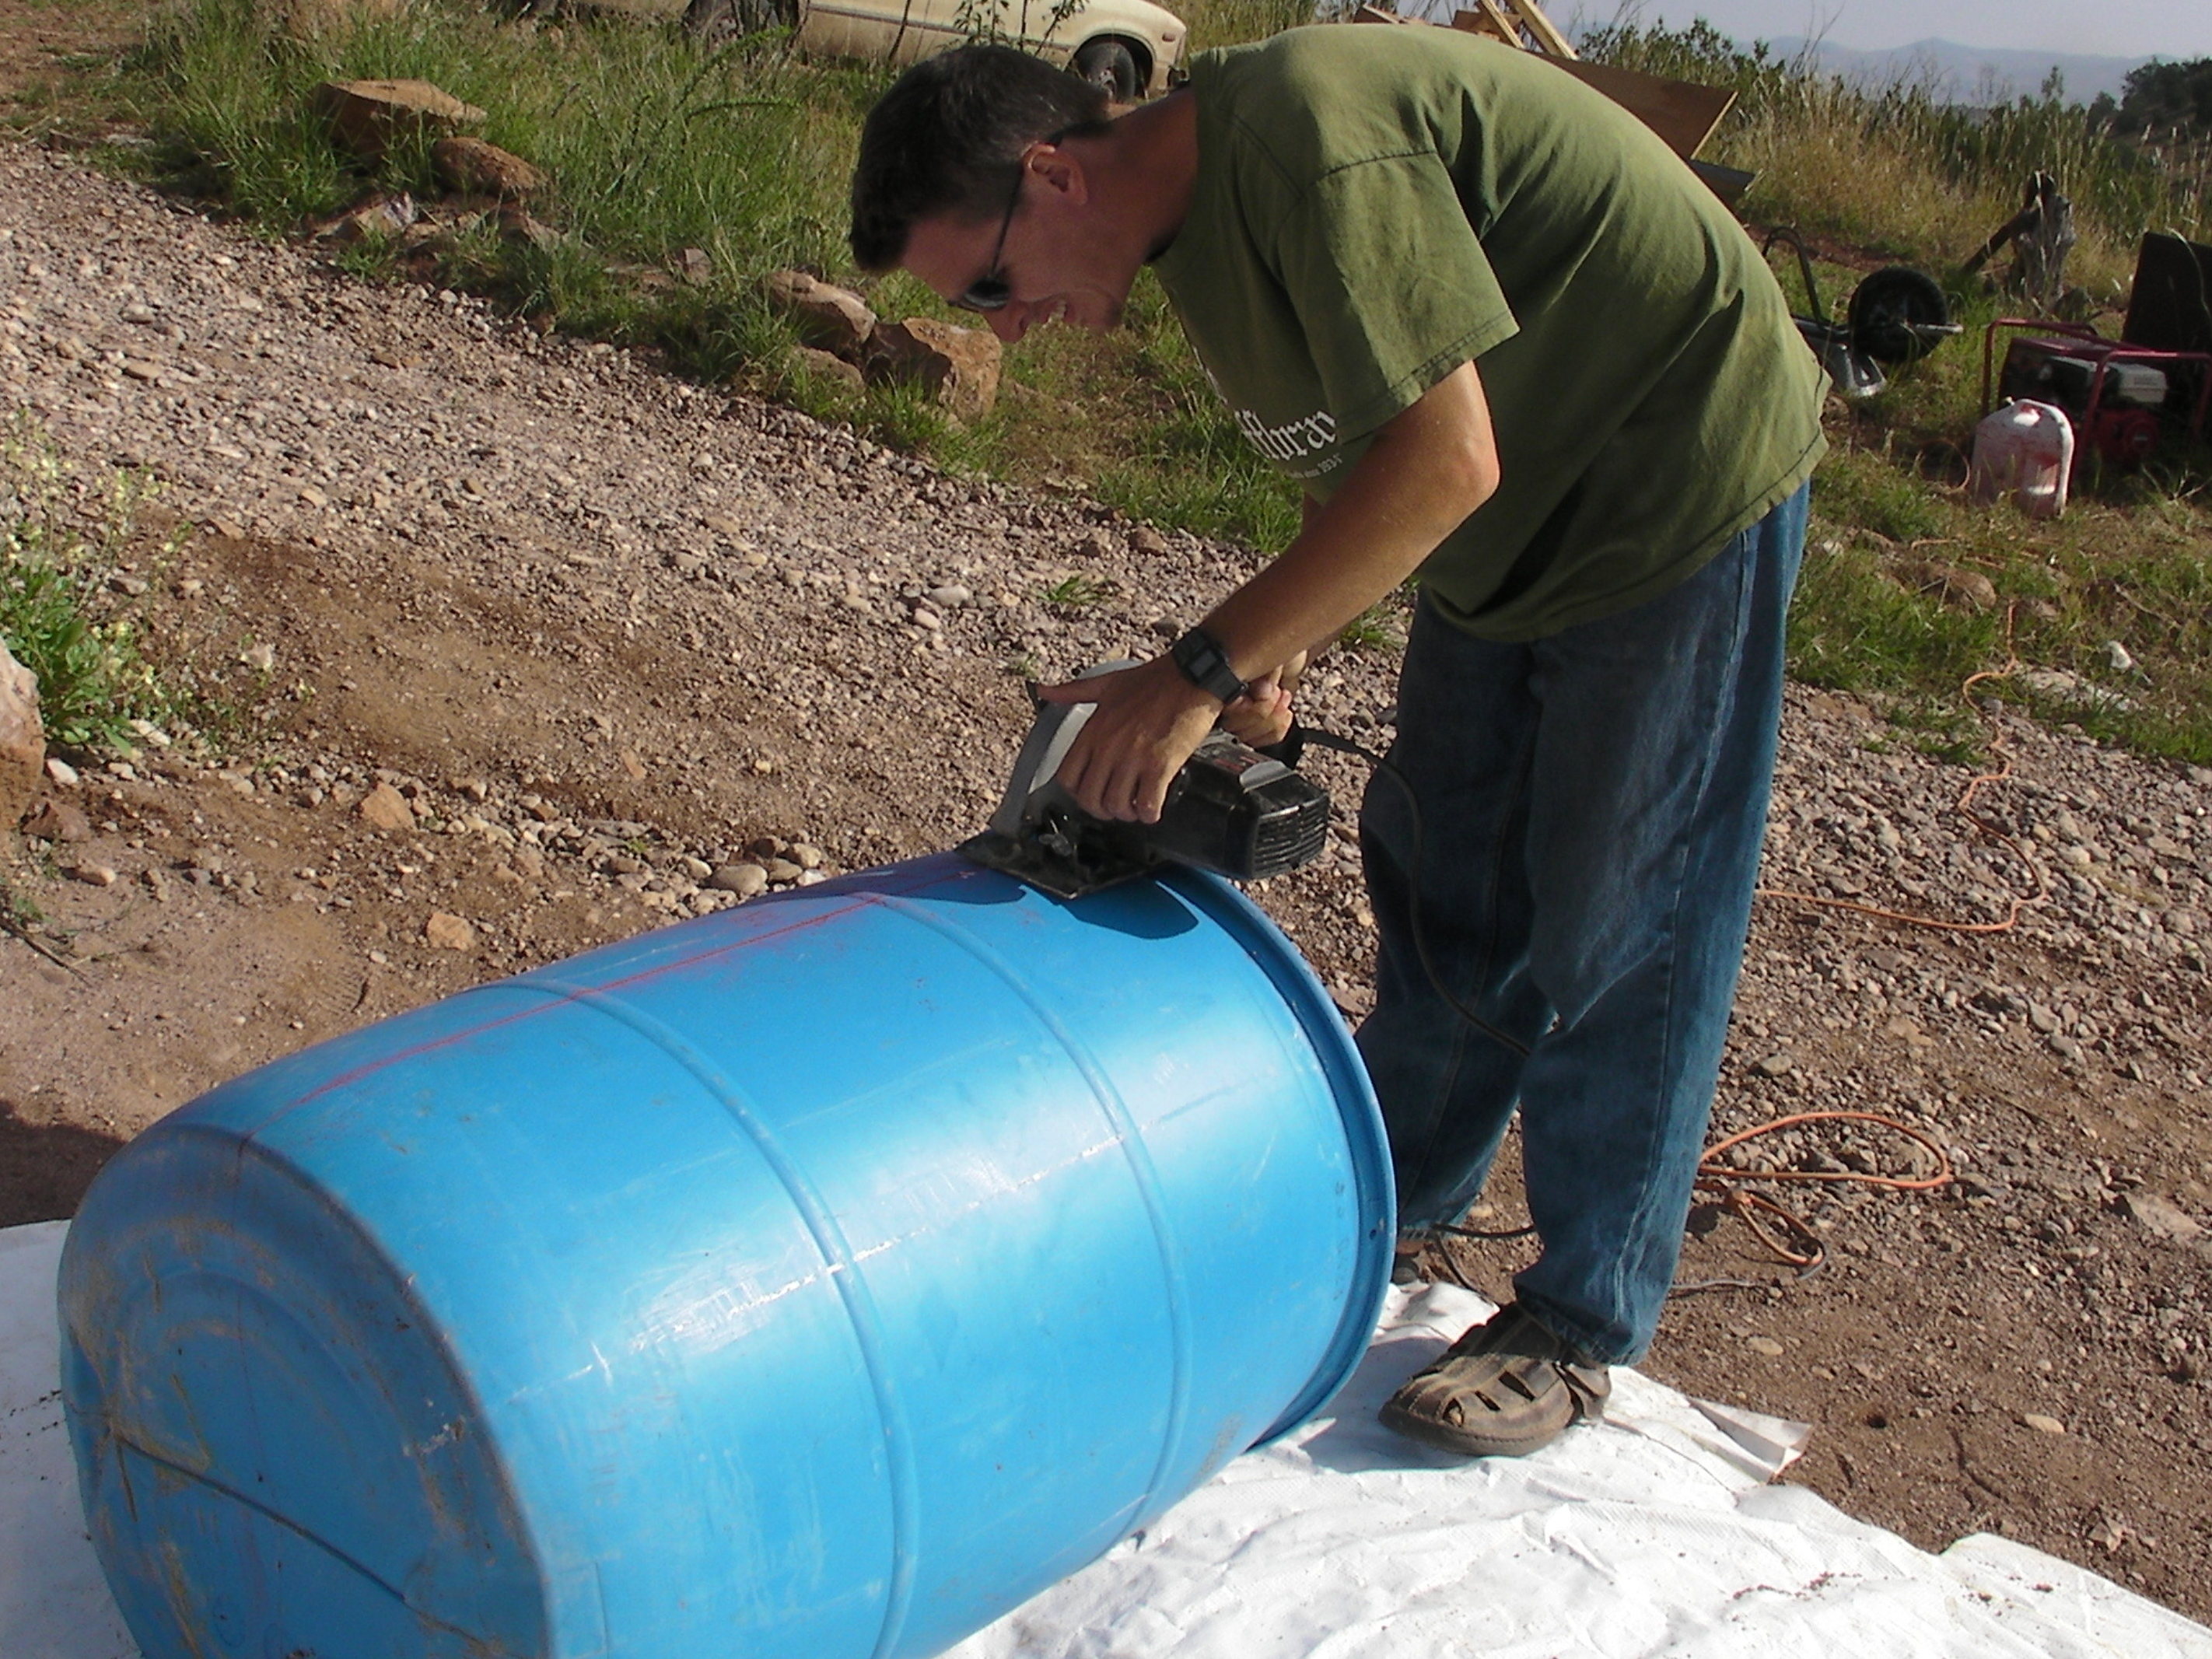
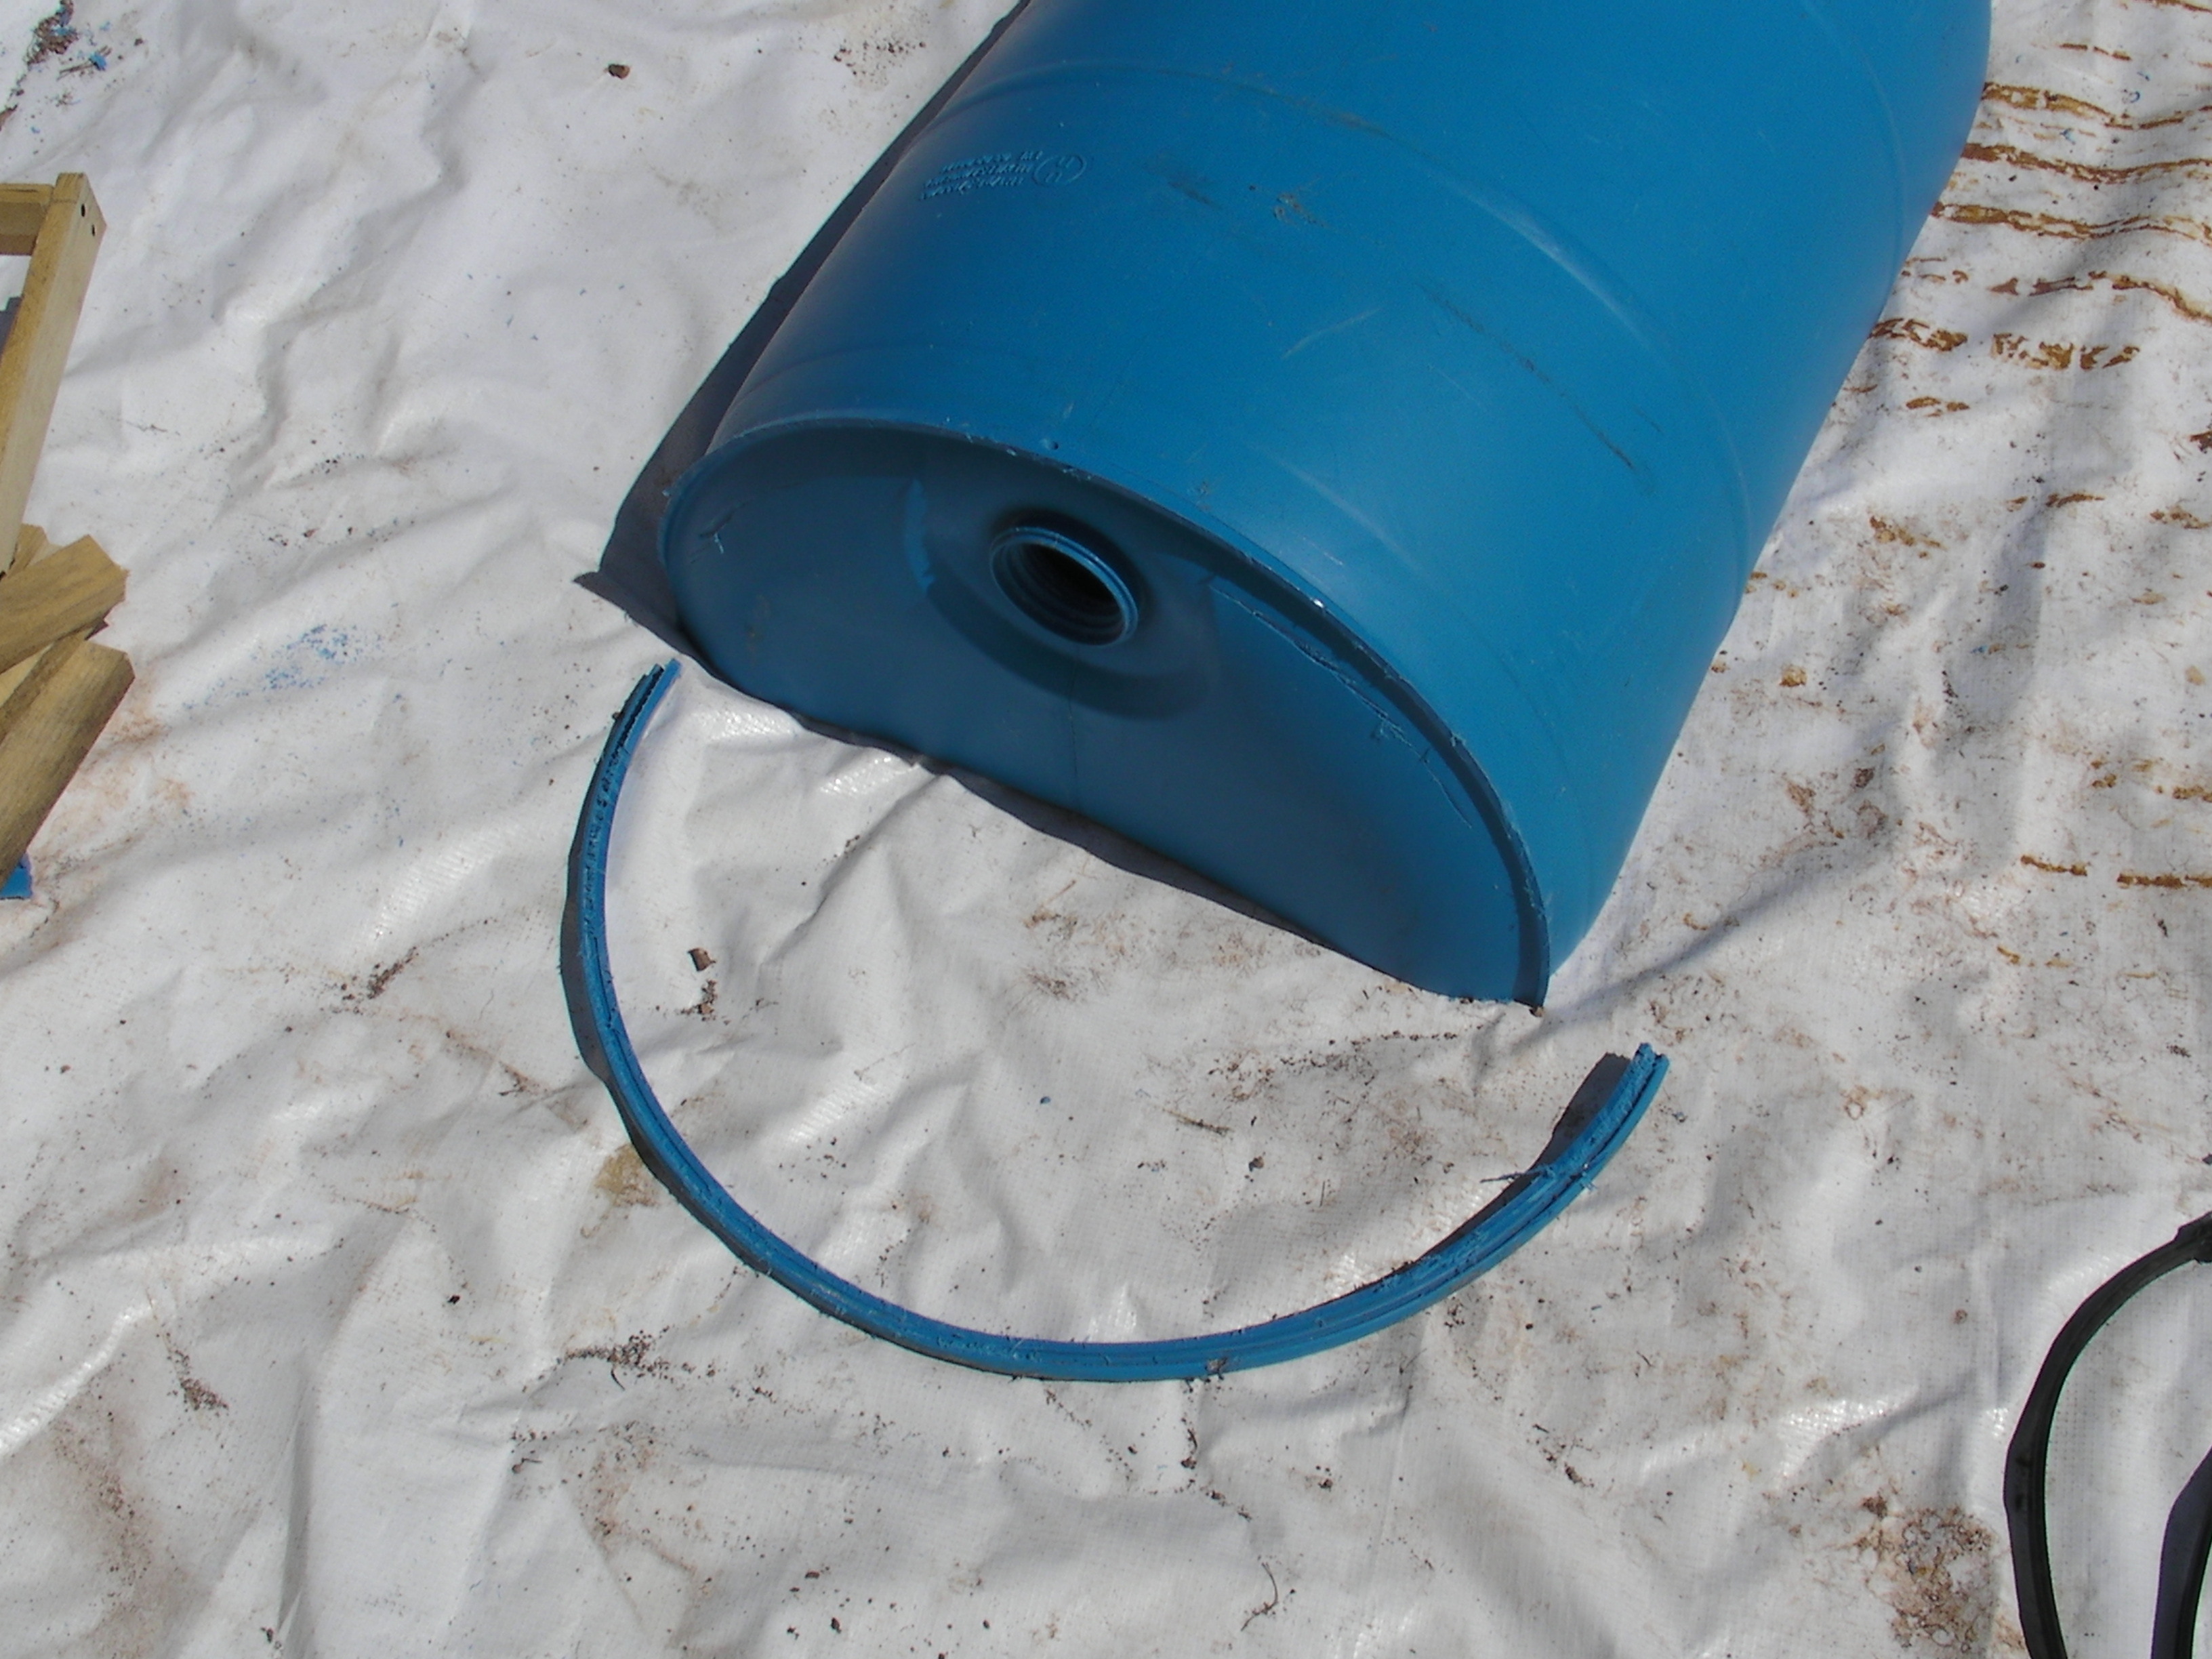
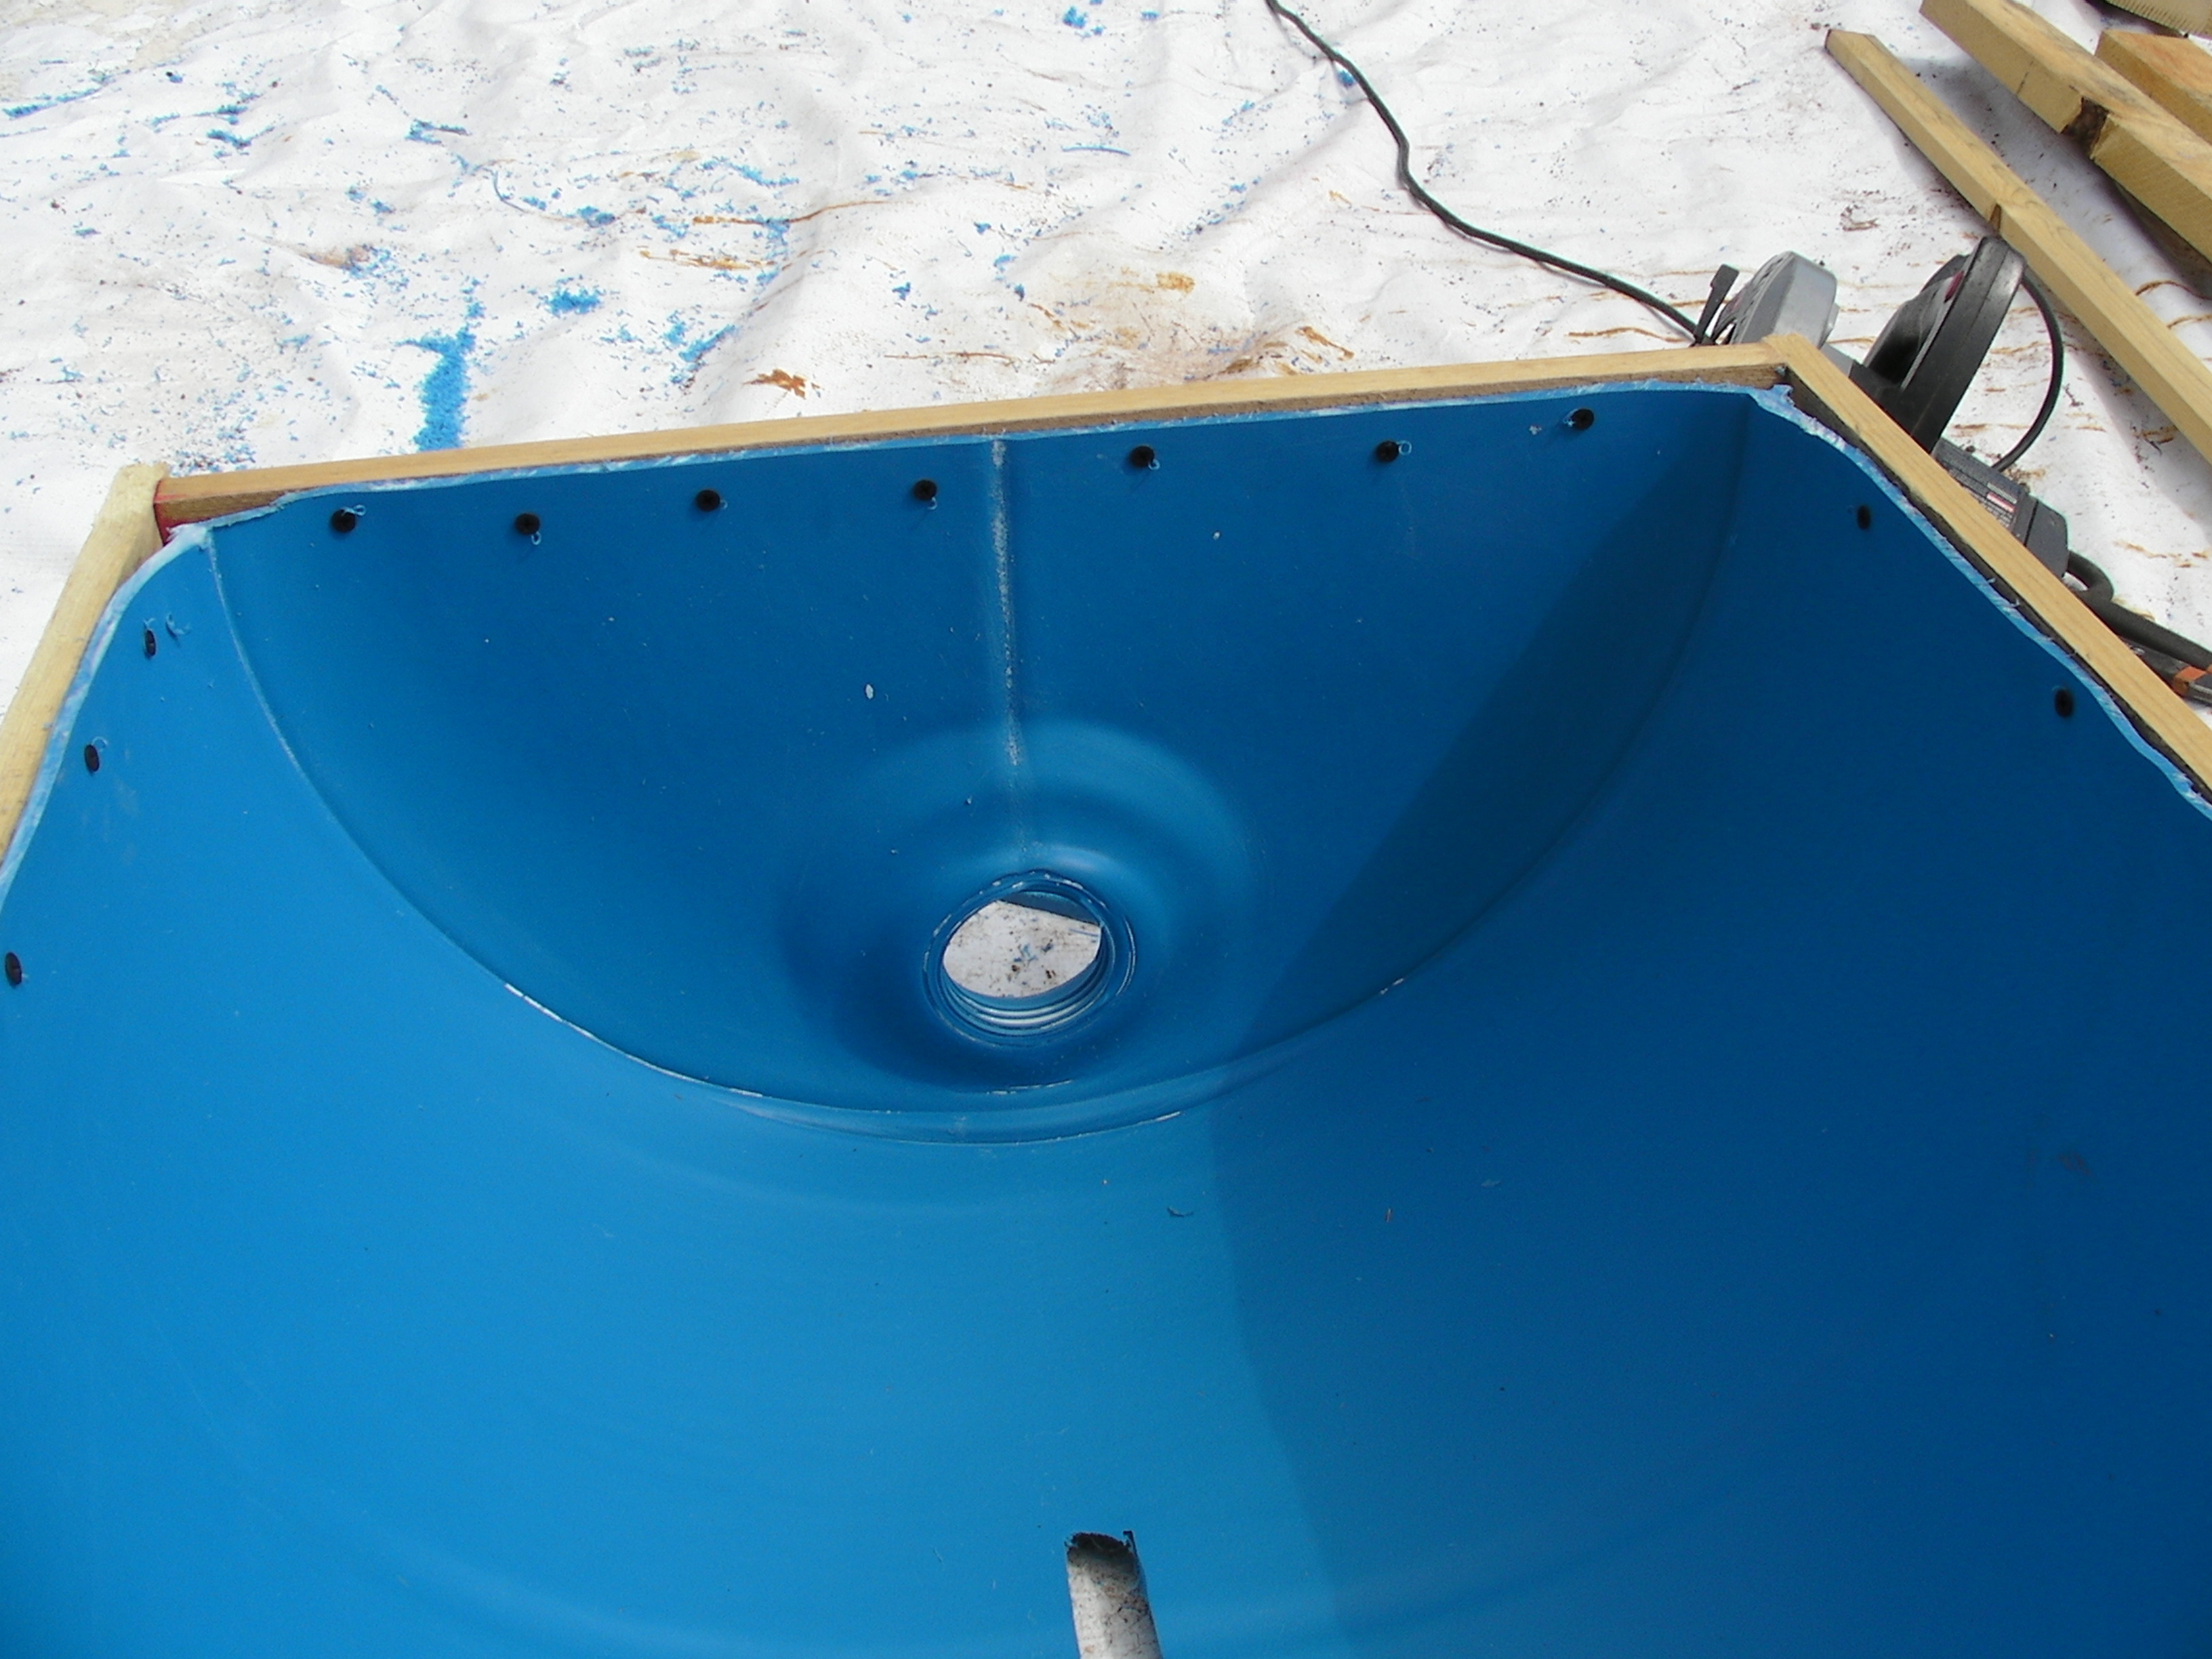
Choose a food-grade container to avoid potentially dangerous chemicals. Saw it in half lengthwise, making sure there’s a bunghole in each half for the bees to enter.

Now you’ve got 2 barrels; you’ll use one per hive.

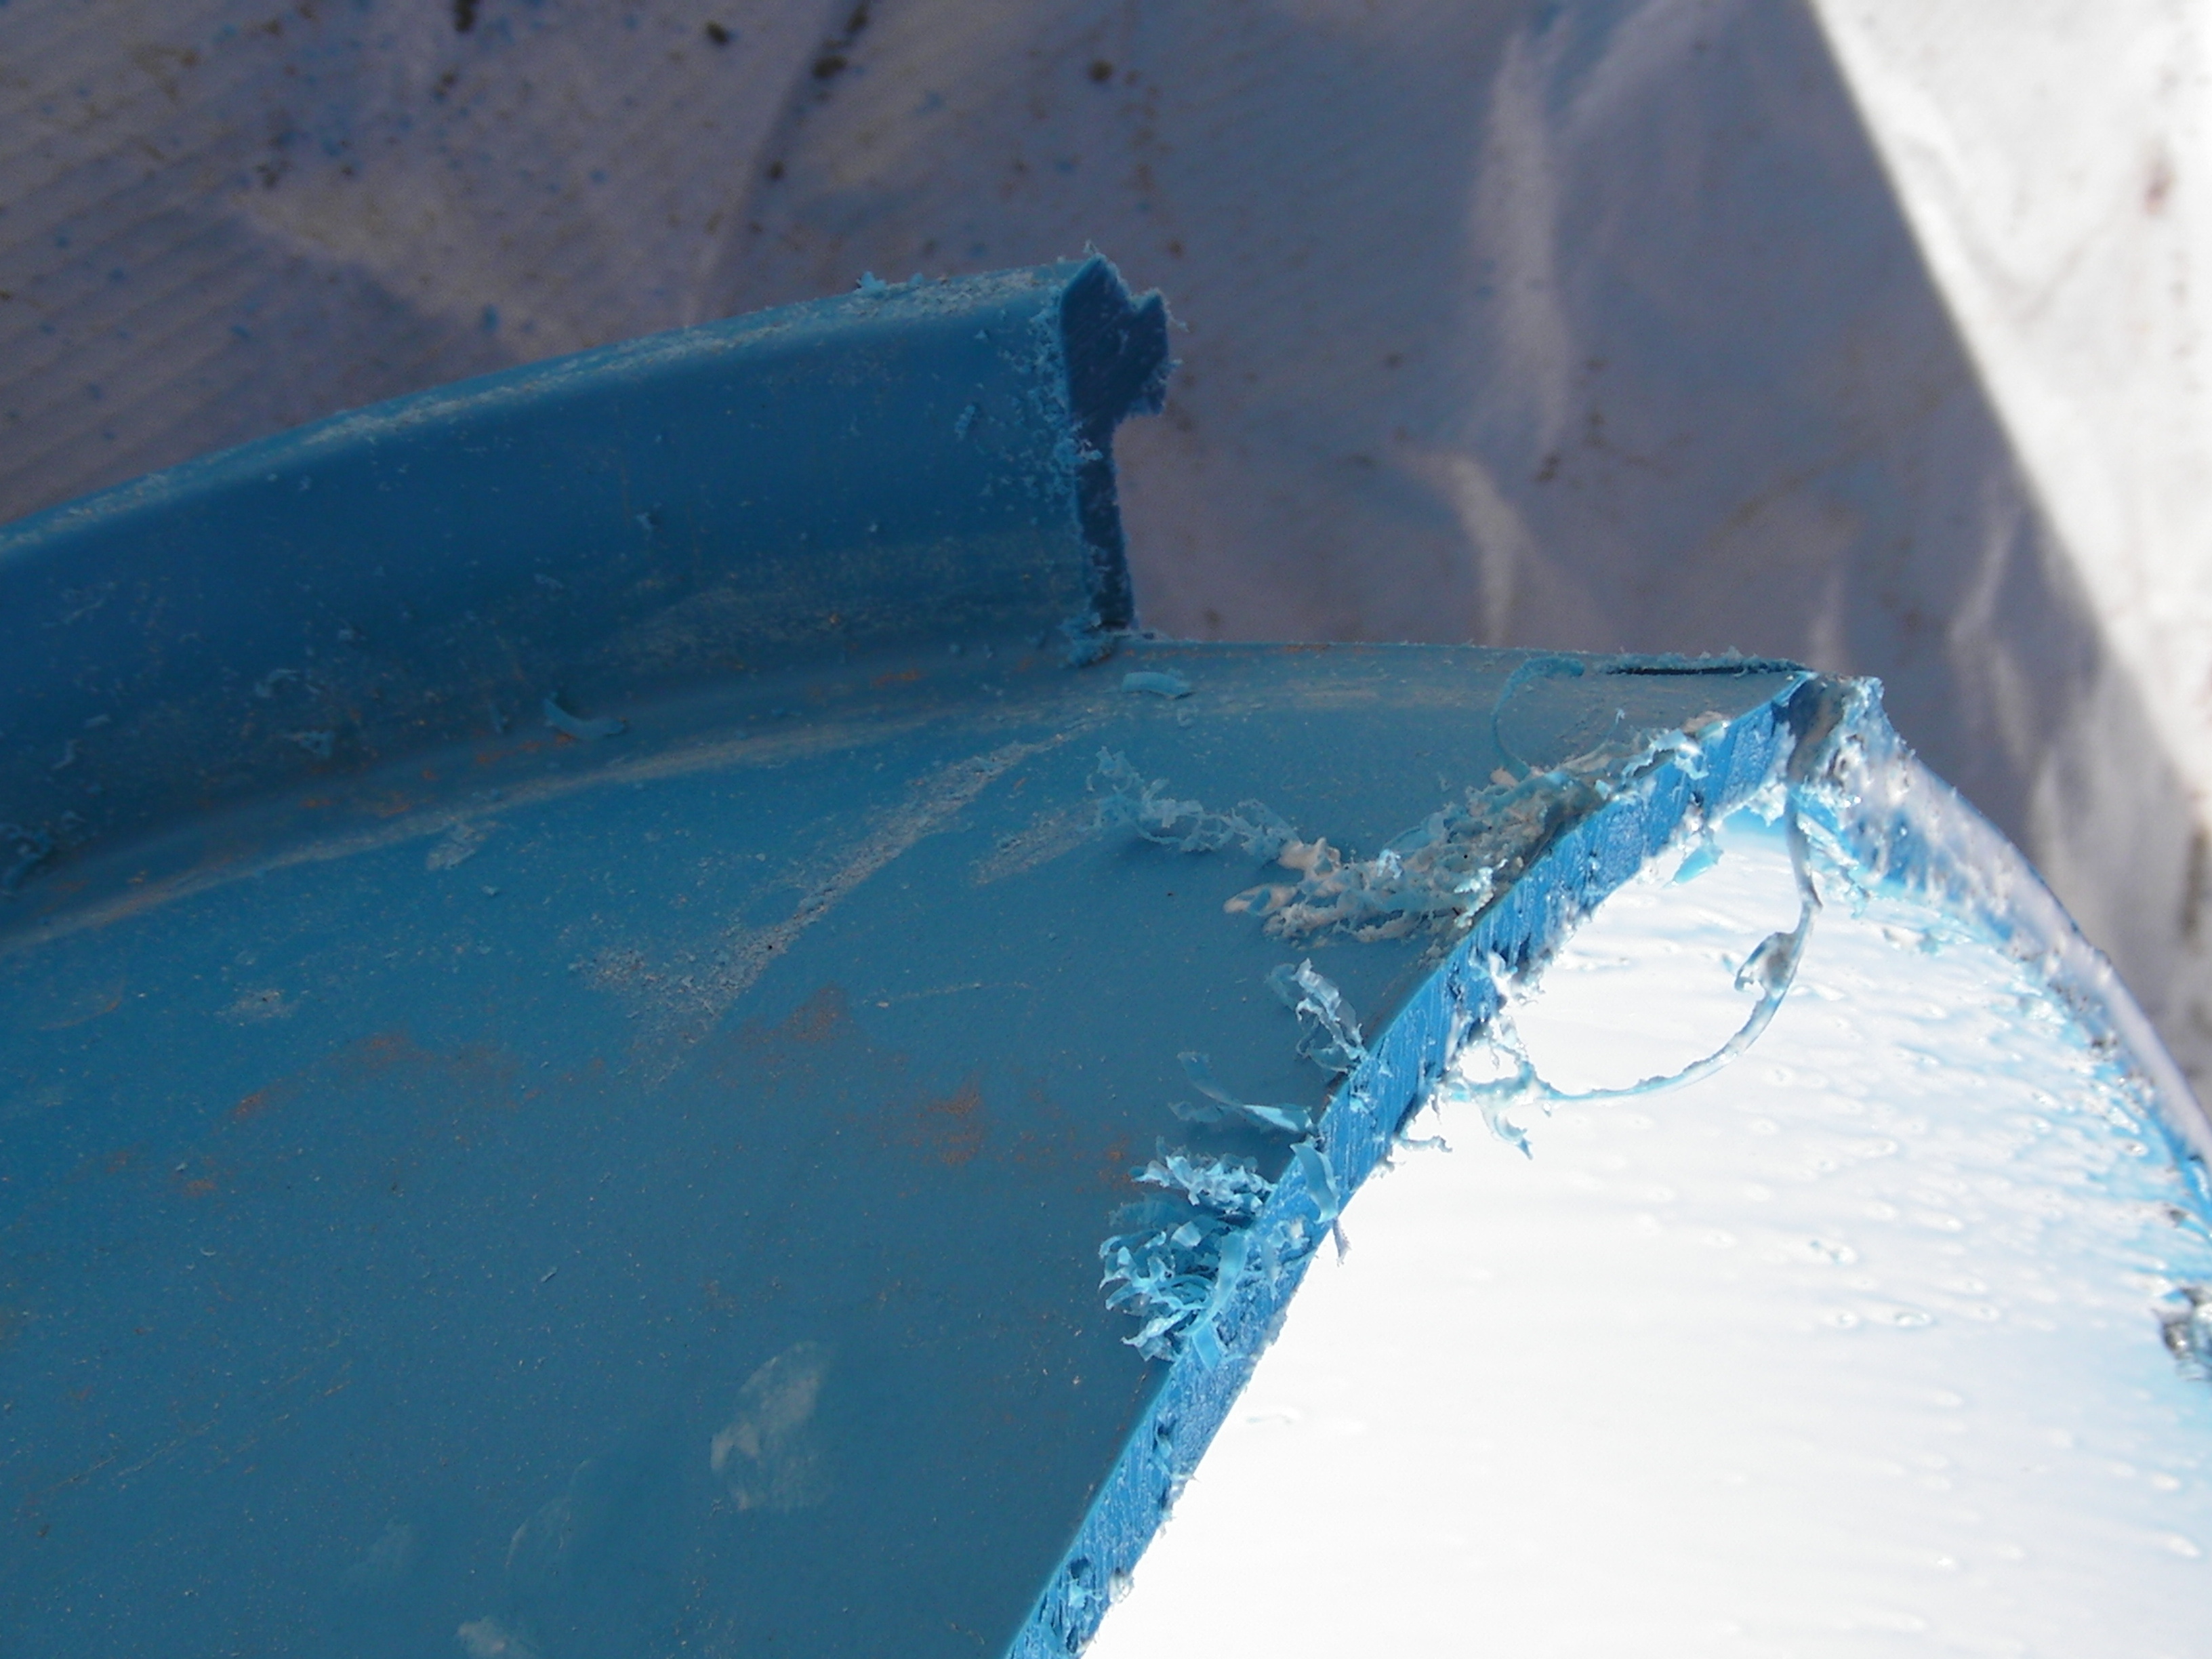
Clean your barrel well. You never know what was in it. On one end of the barrel (the end that used to be the top) there’s a rim of plastic that protrudes. Cut it away.

Rub the interior with beeswax. This will remove any foreign smell and make it more attractive to a hive. A drop or two of lemongrass oil is good, too.

Make the frame.

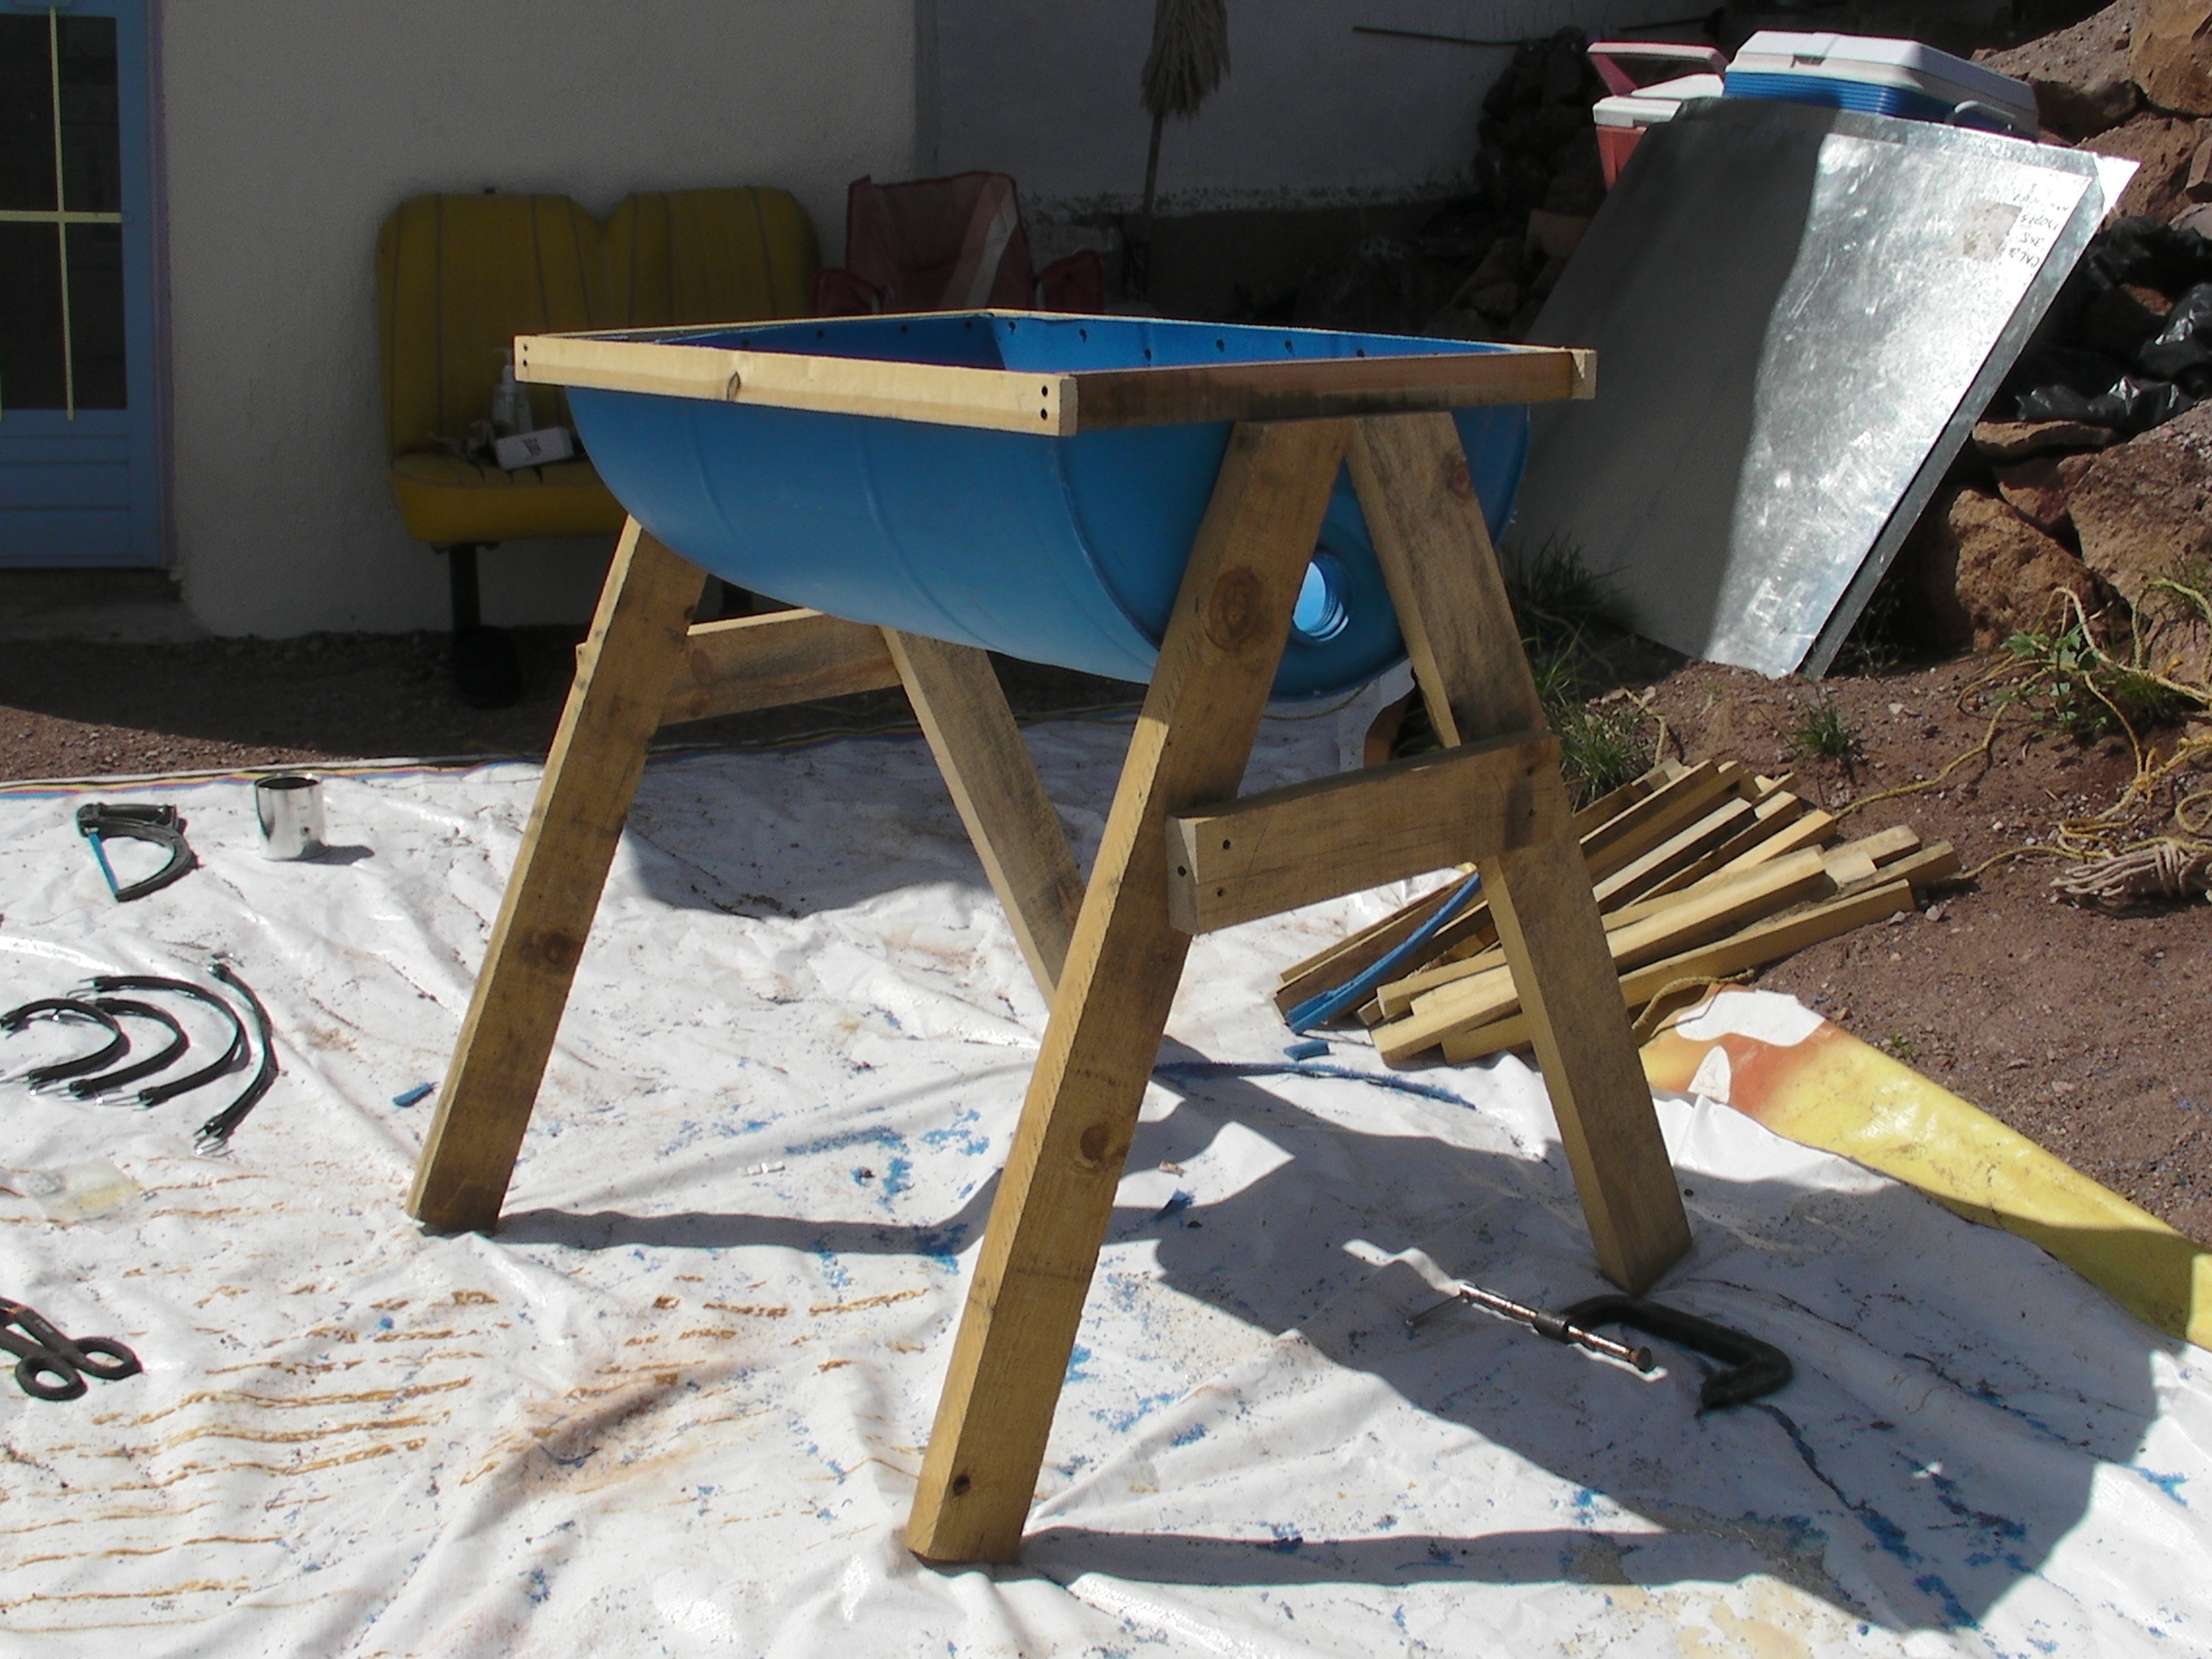
Measure your barrel rim and cut 1×2 lumber to make a frame that fits around it. For example, if your barrel is 36″×24″, cut 2 lengths of 37″ and 2 lengths of 25″ (the extra inch allows you to screw one piece into the next).

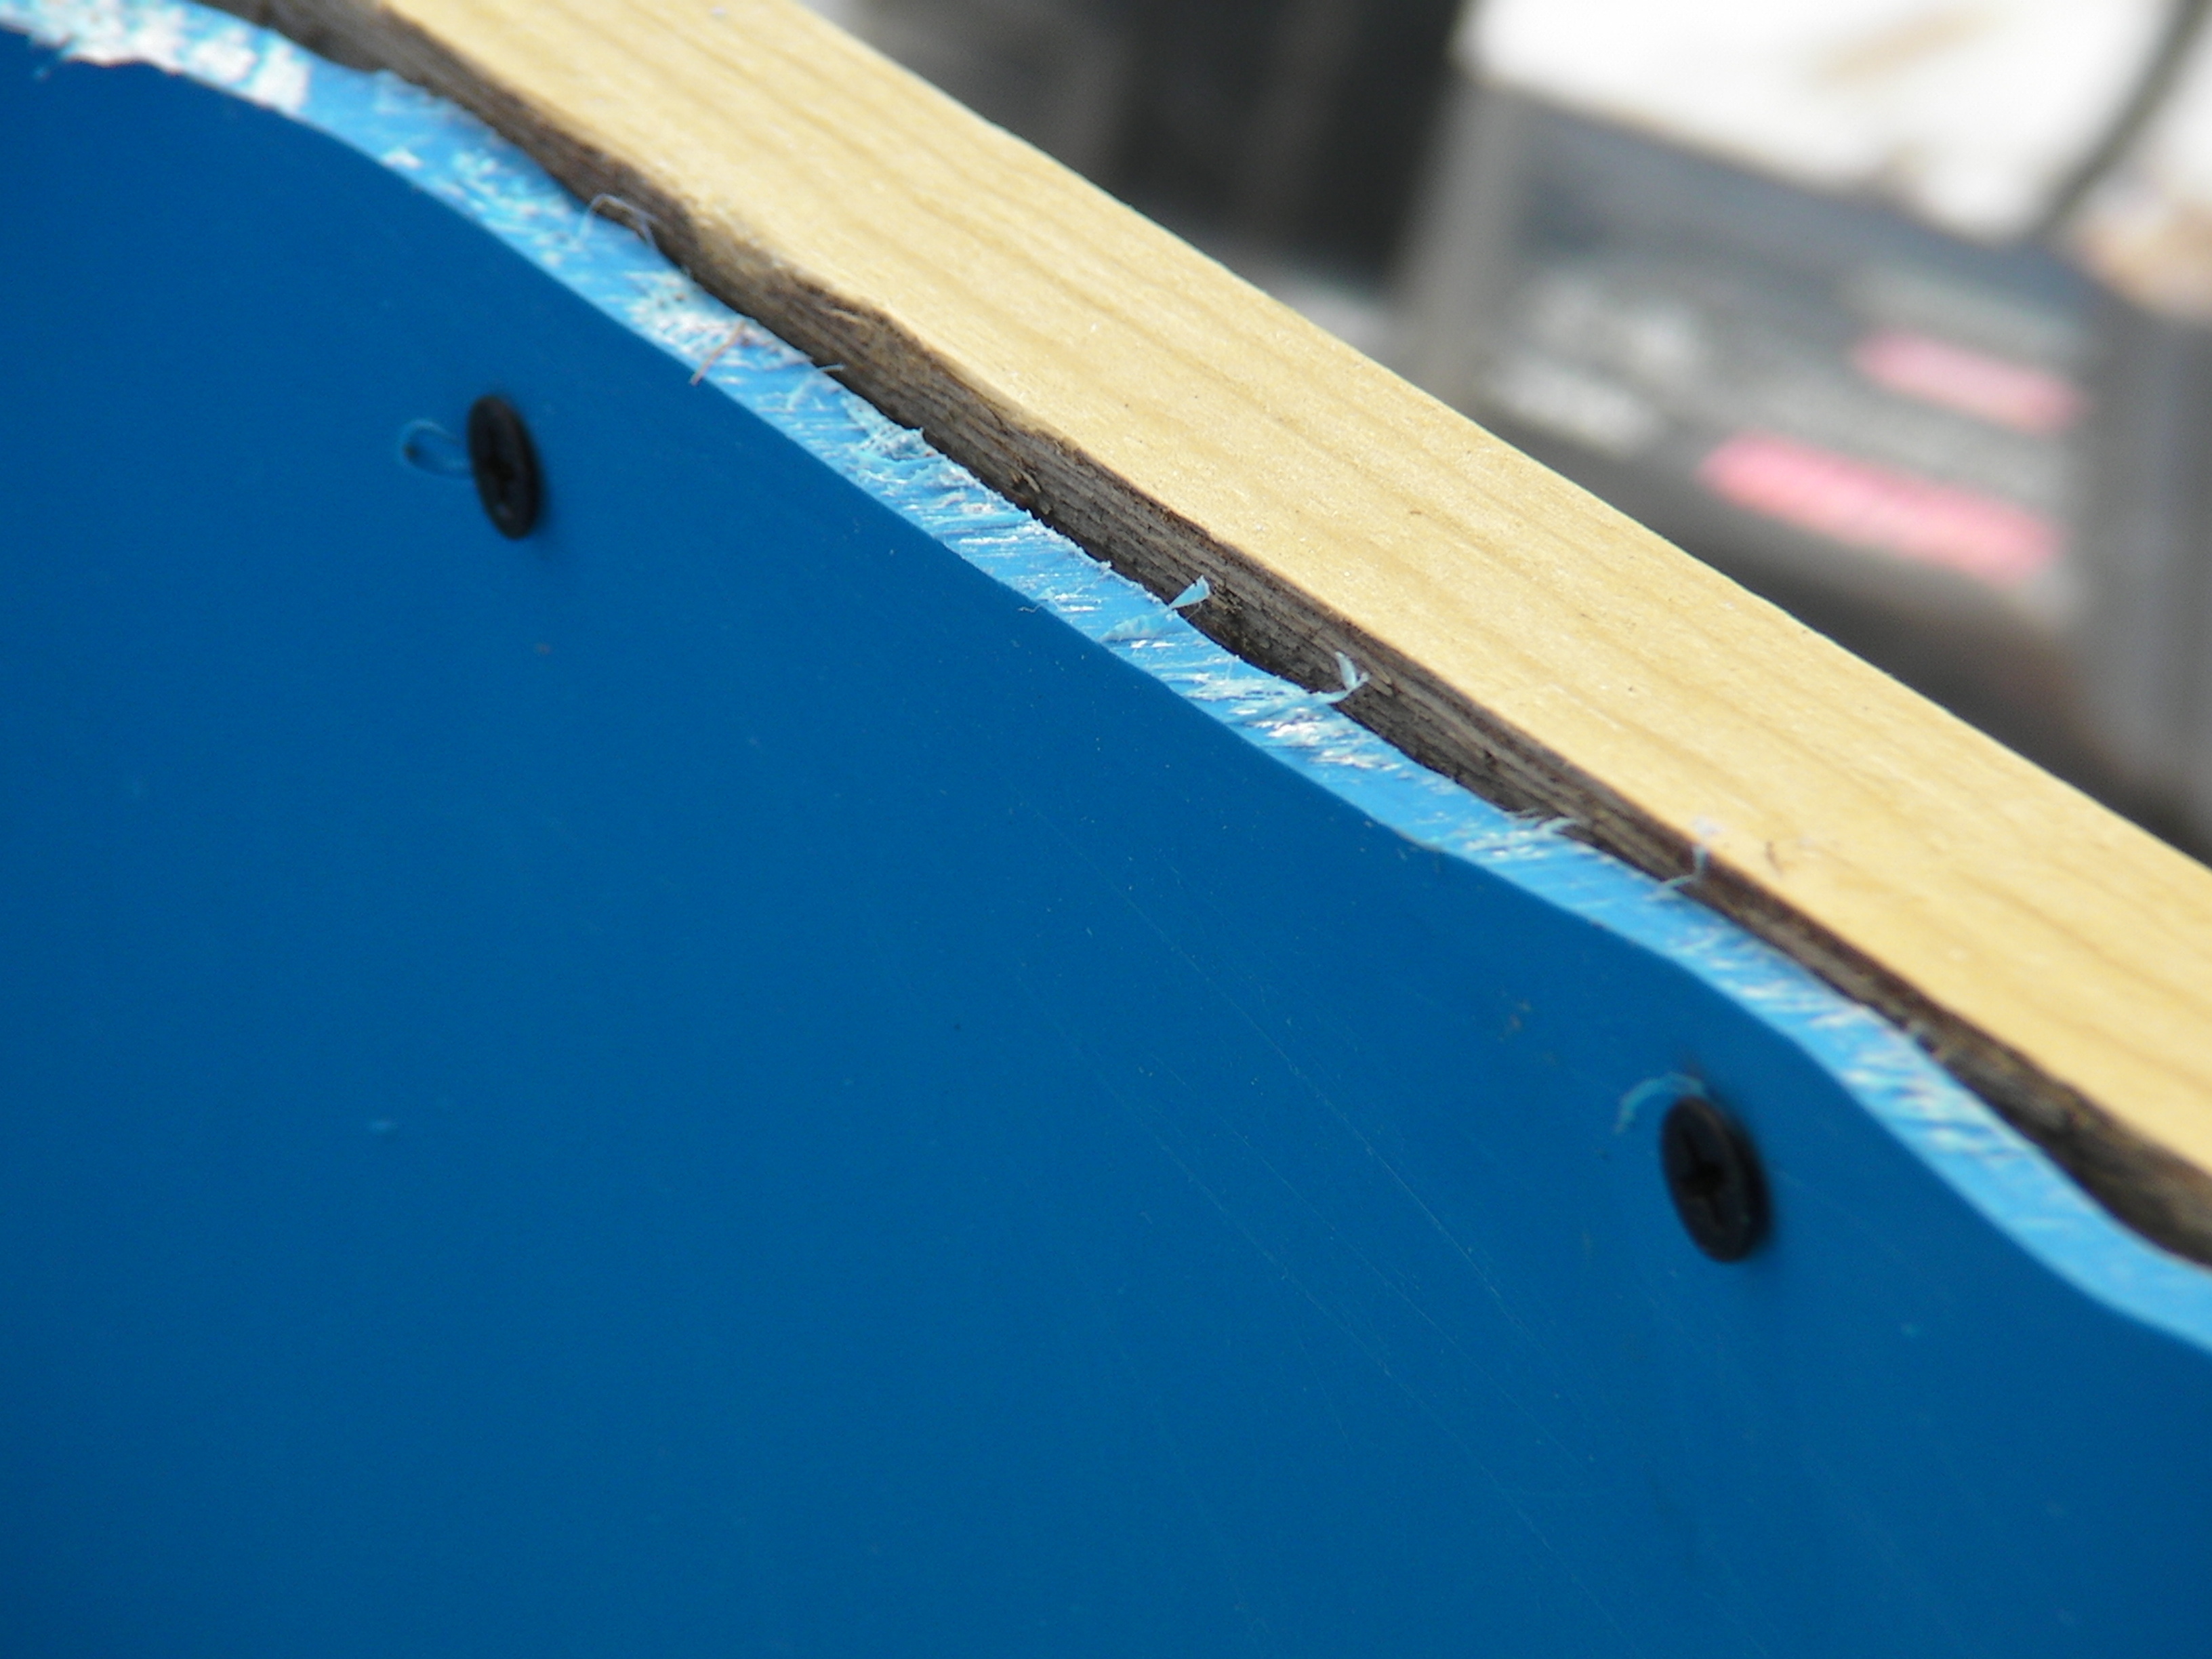
Glue and screw the frame together. Then screw the barrel’s rim into the frame.

Build the legs.

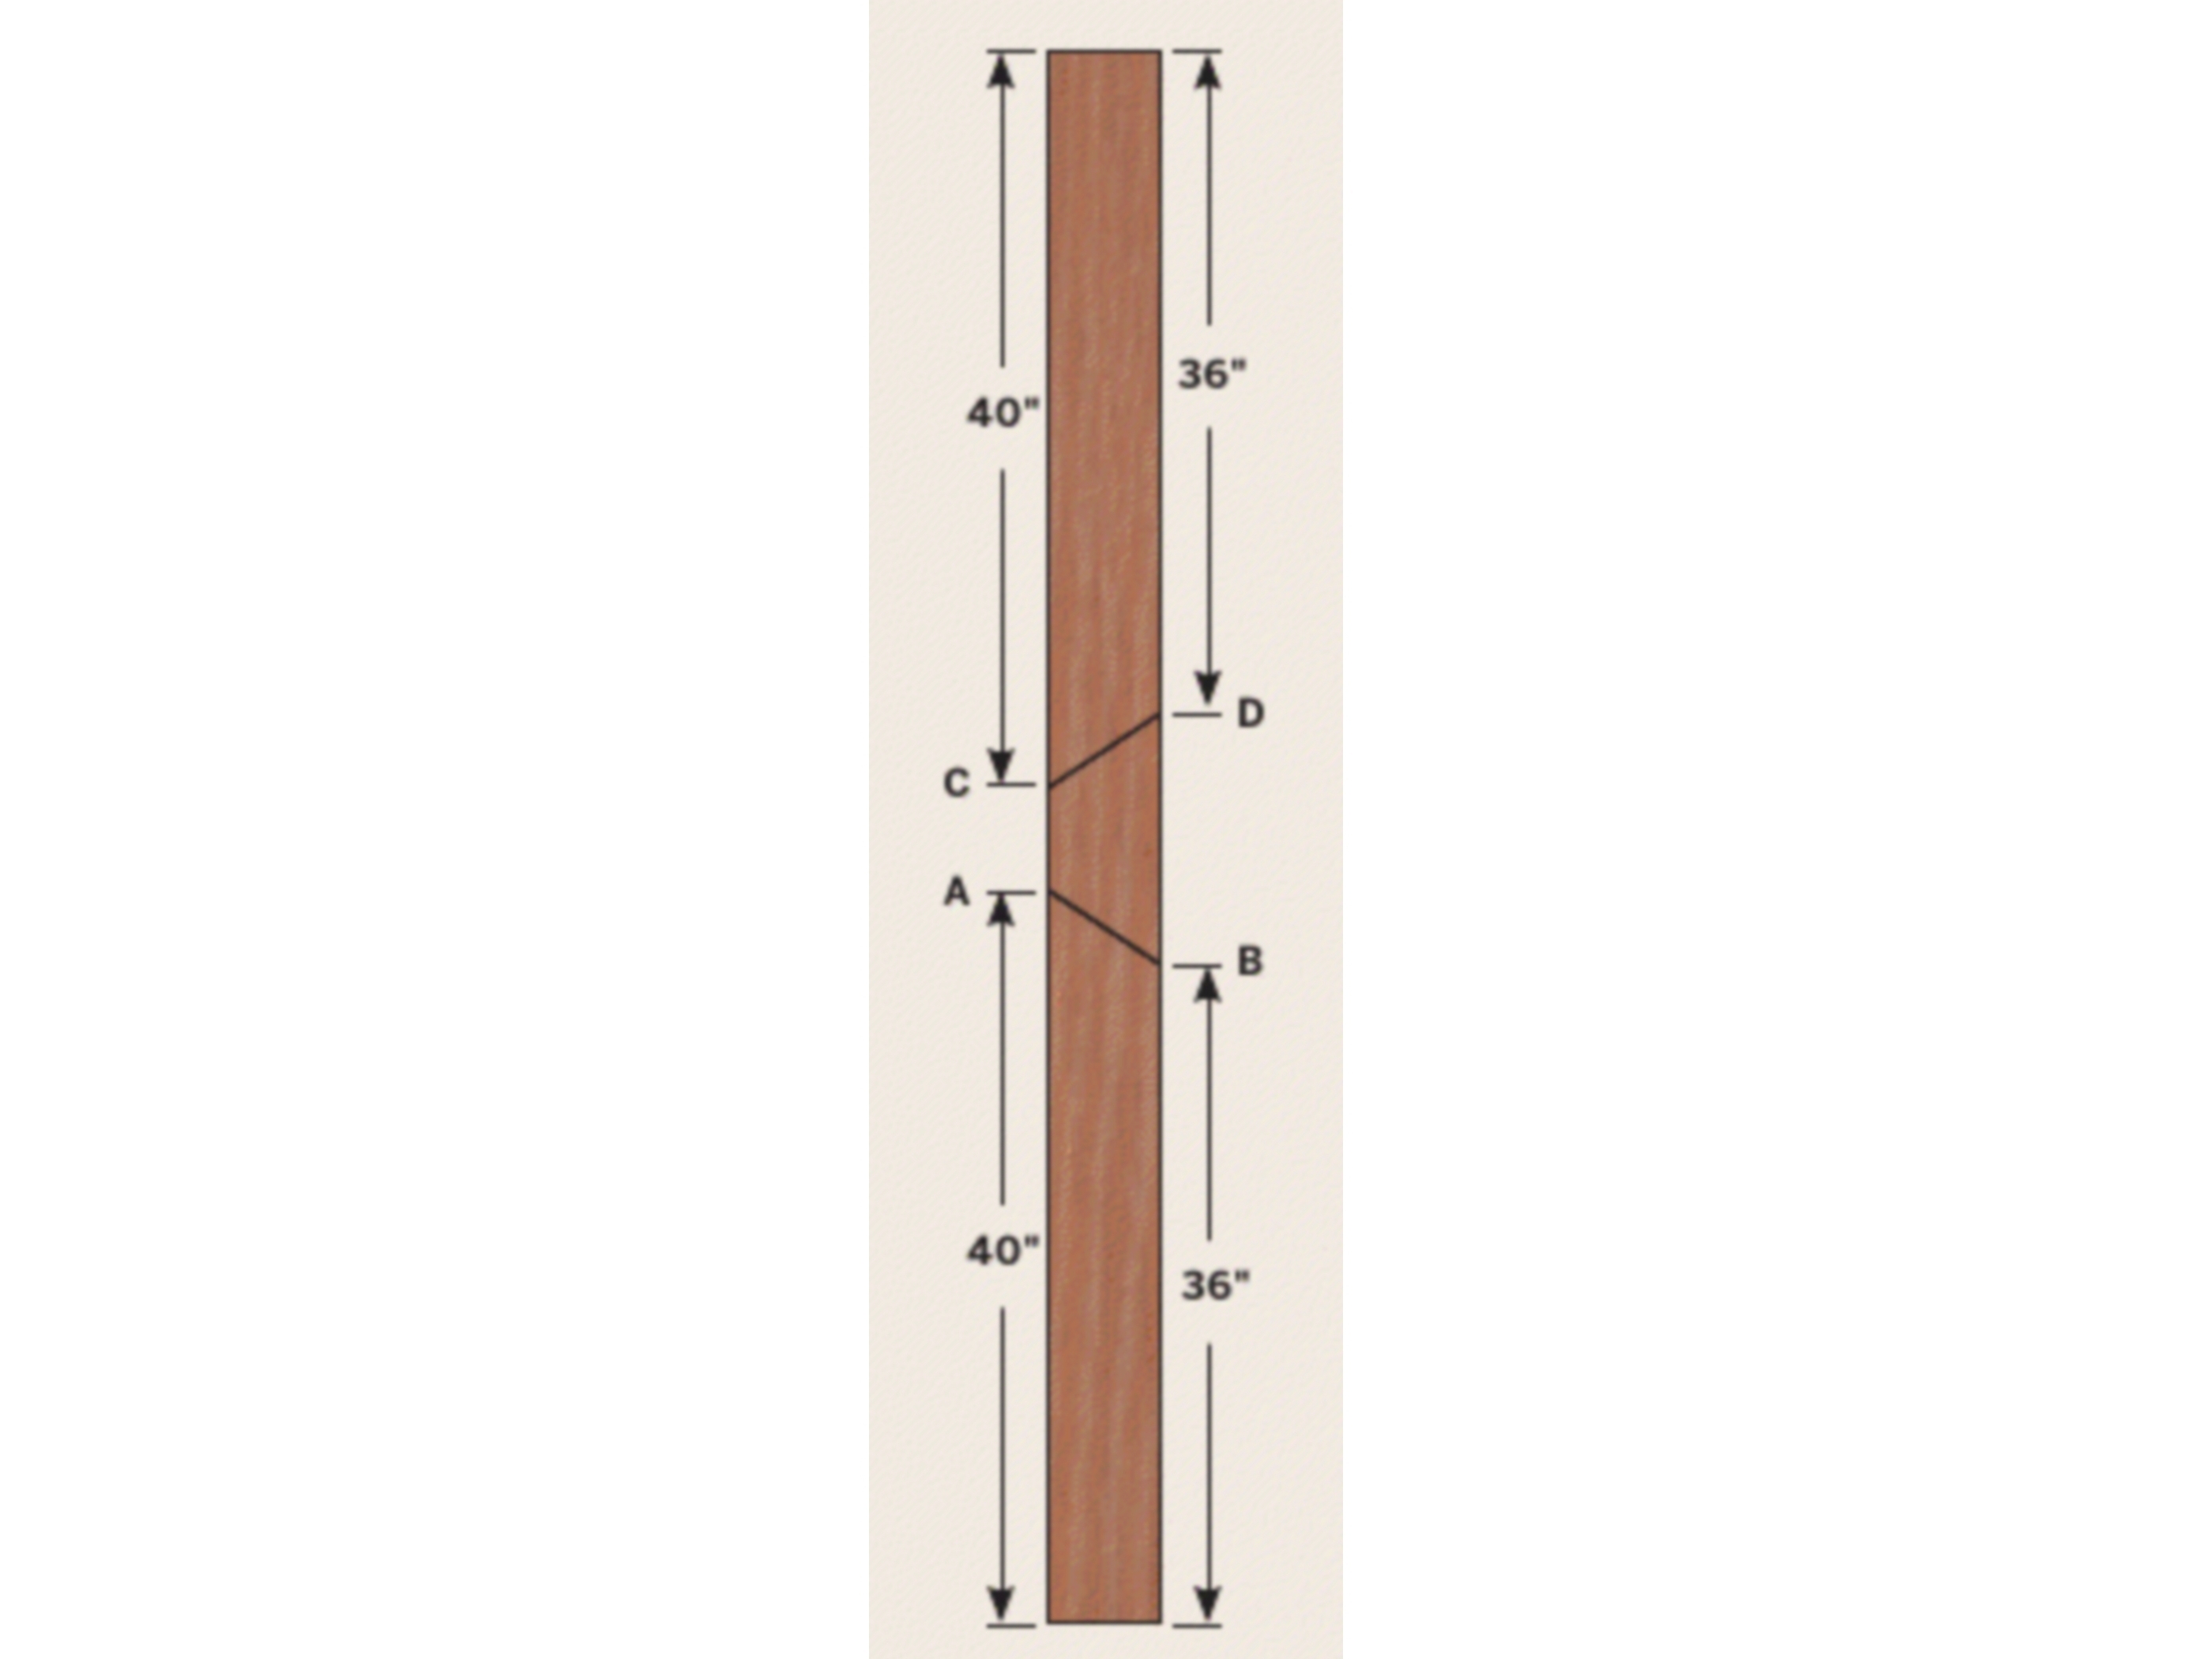
Lay a 2×4 flat. Mark one edge 40″ from either end (points A and C) and mark the opposite edge 36″ from either end (points B and D). Cut the board into 3 pieces, along the lines between A and B and between C and D.

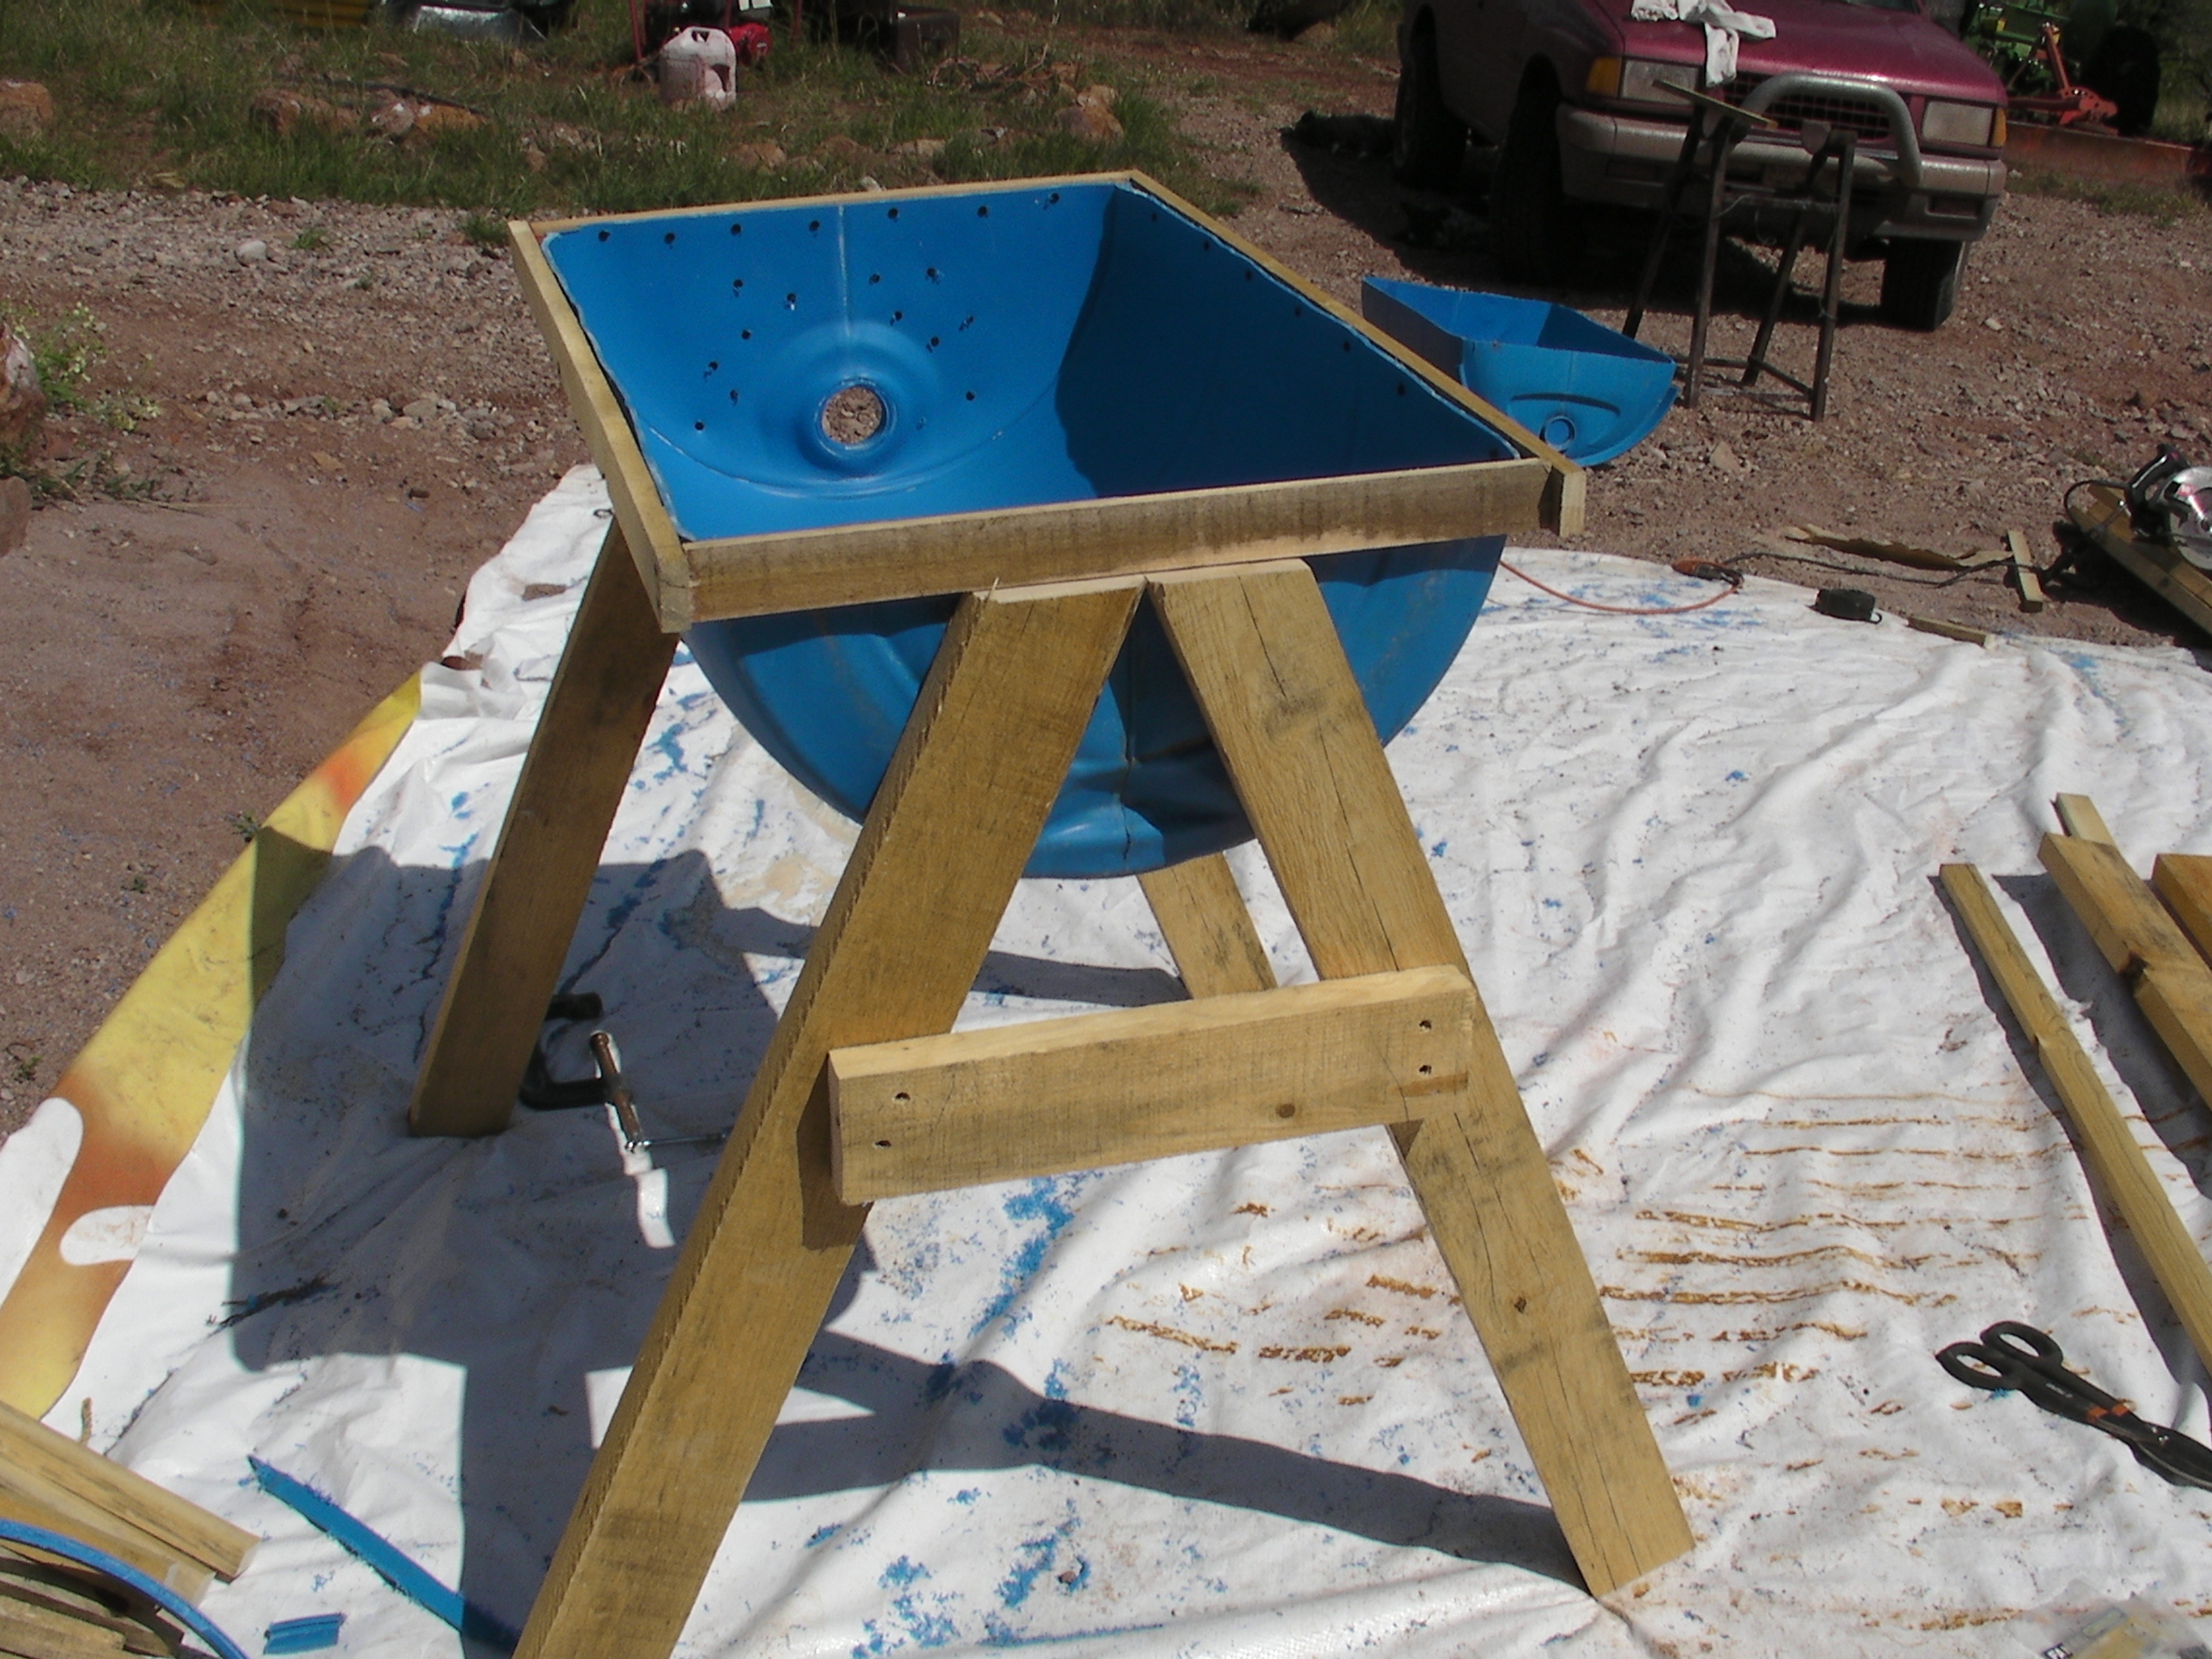
Butt the 2 long pieces together at their pointed ends (A and C) to form an inverted V. Lay the short piece across them to form an A, then screw it down.

Repeat to make the other leg.

Screw a leg to each end of the barrel’s frame, and put several ½” screws through the barrel into the leg for a good, sturdy fix.

Make the top bars.

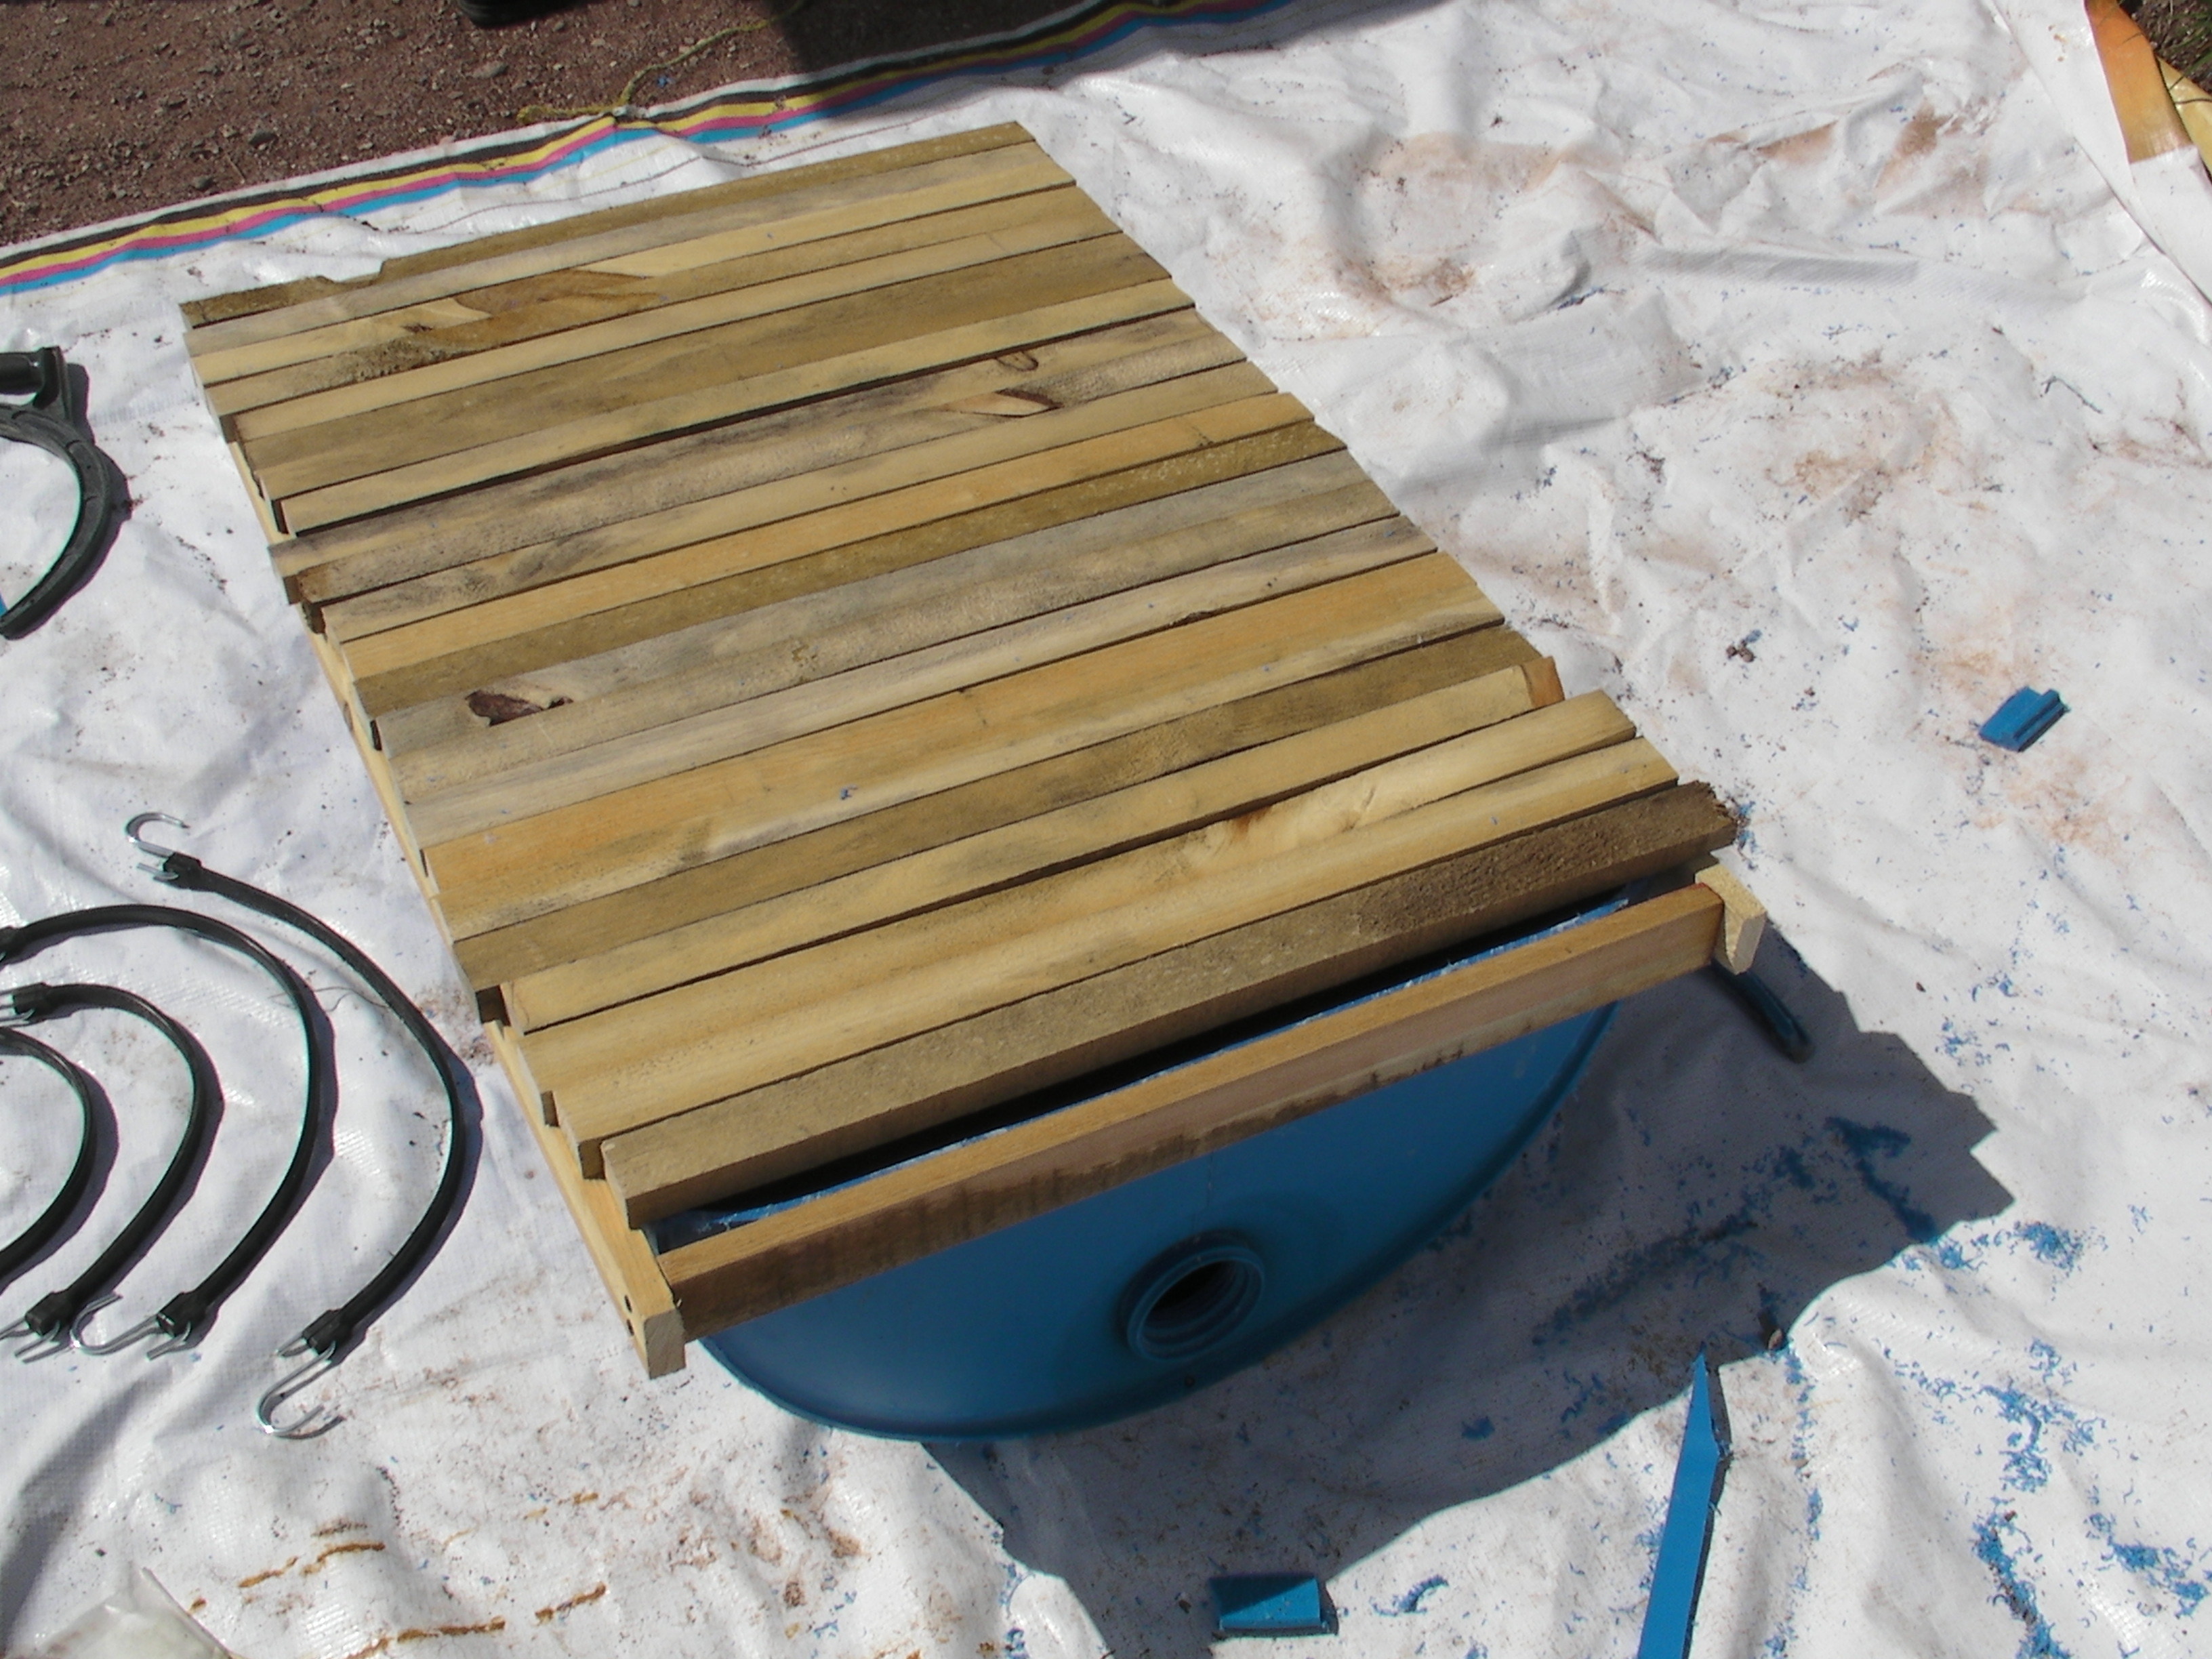
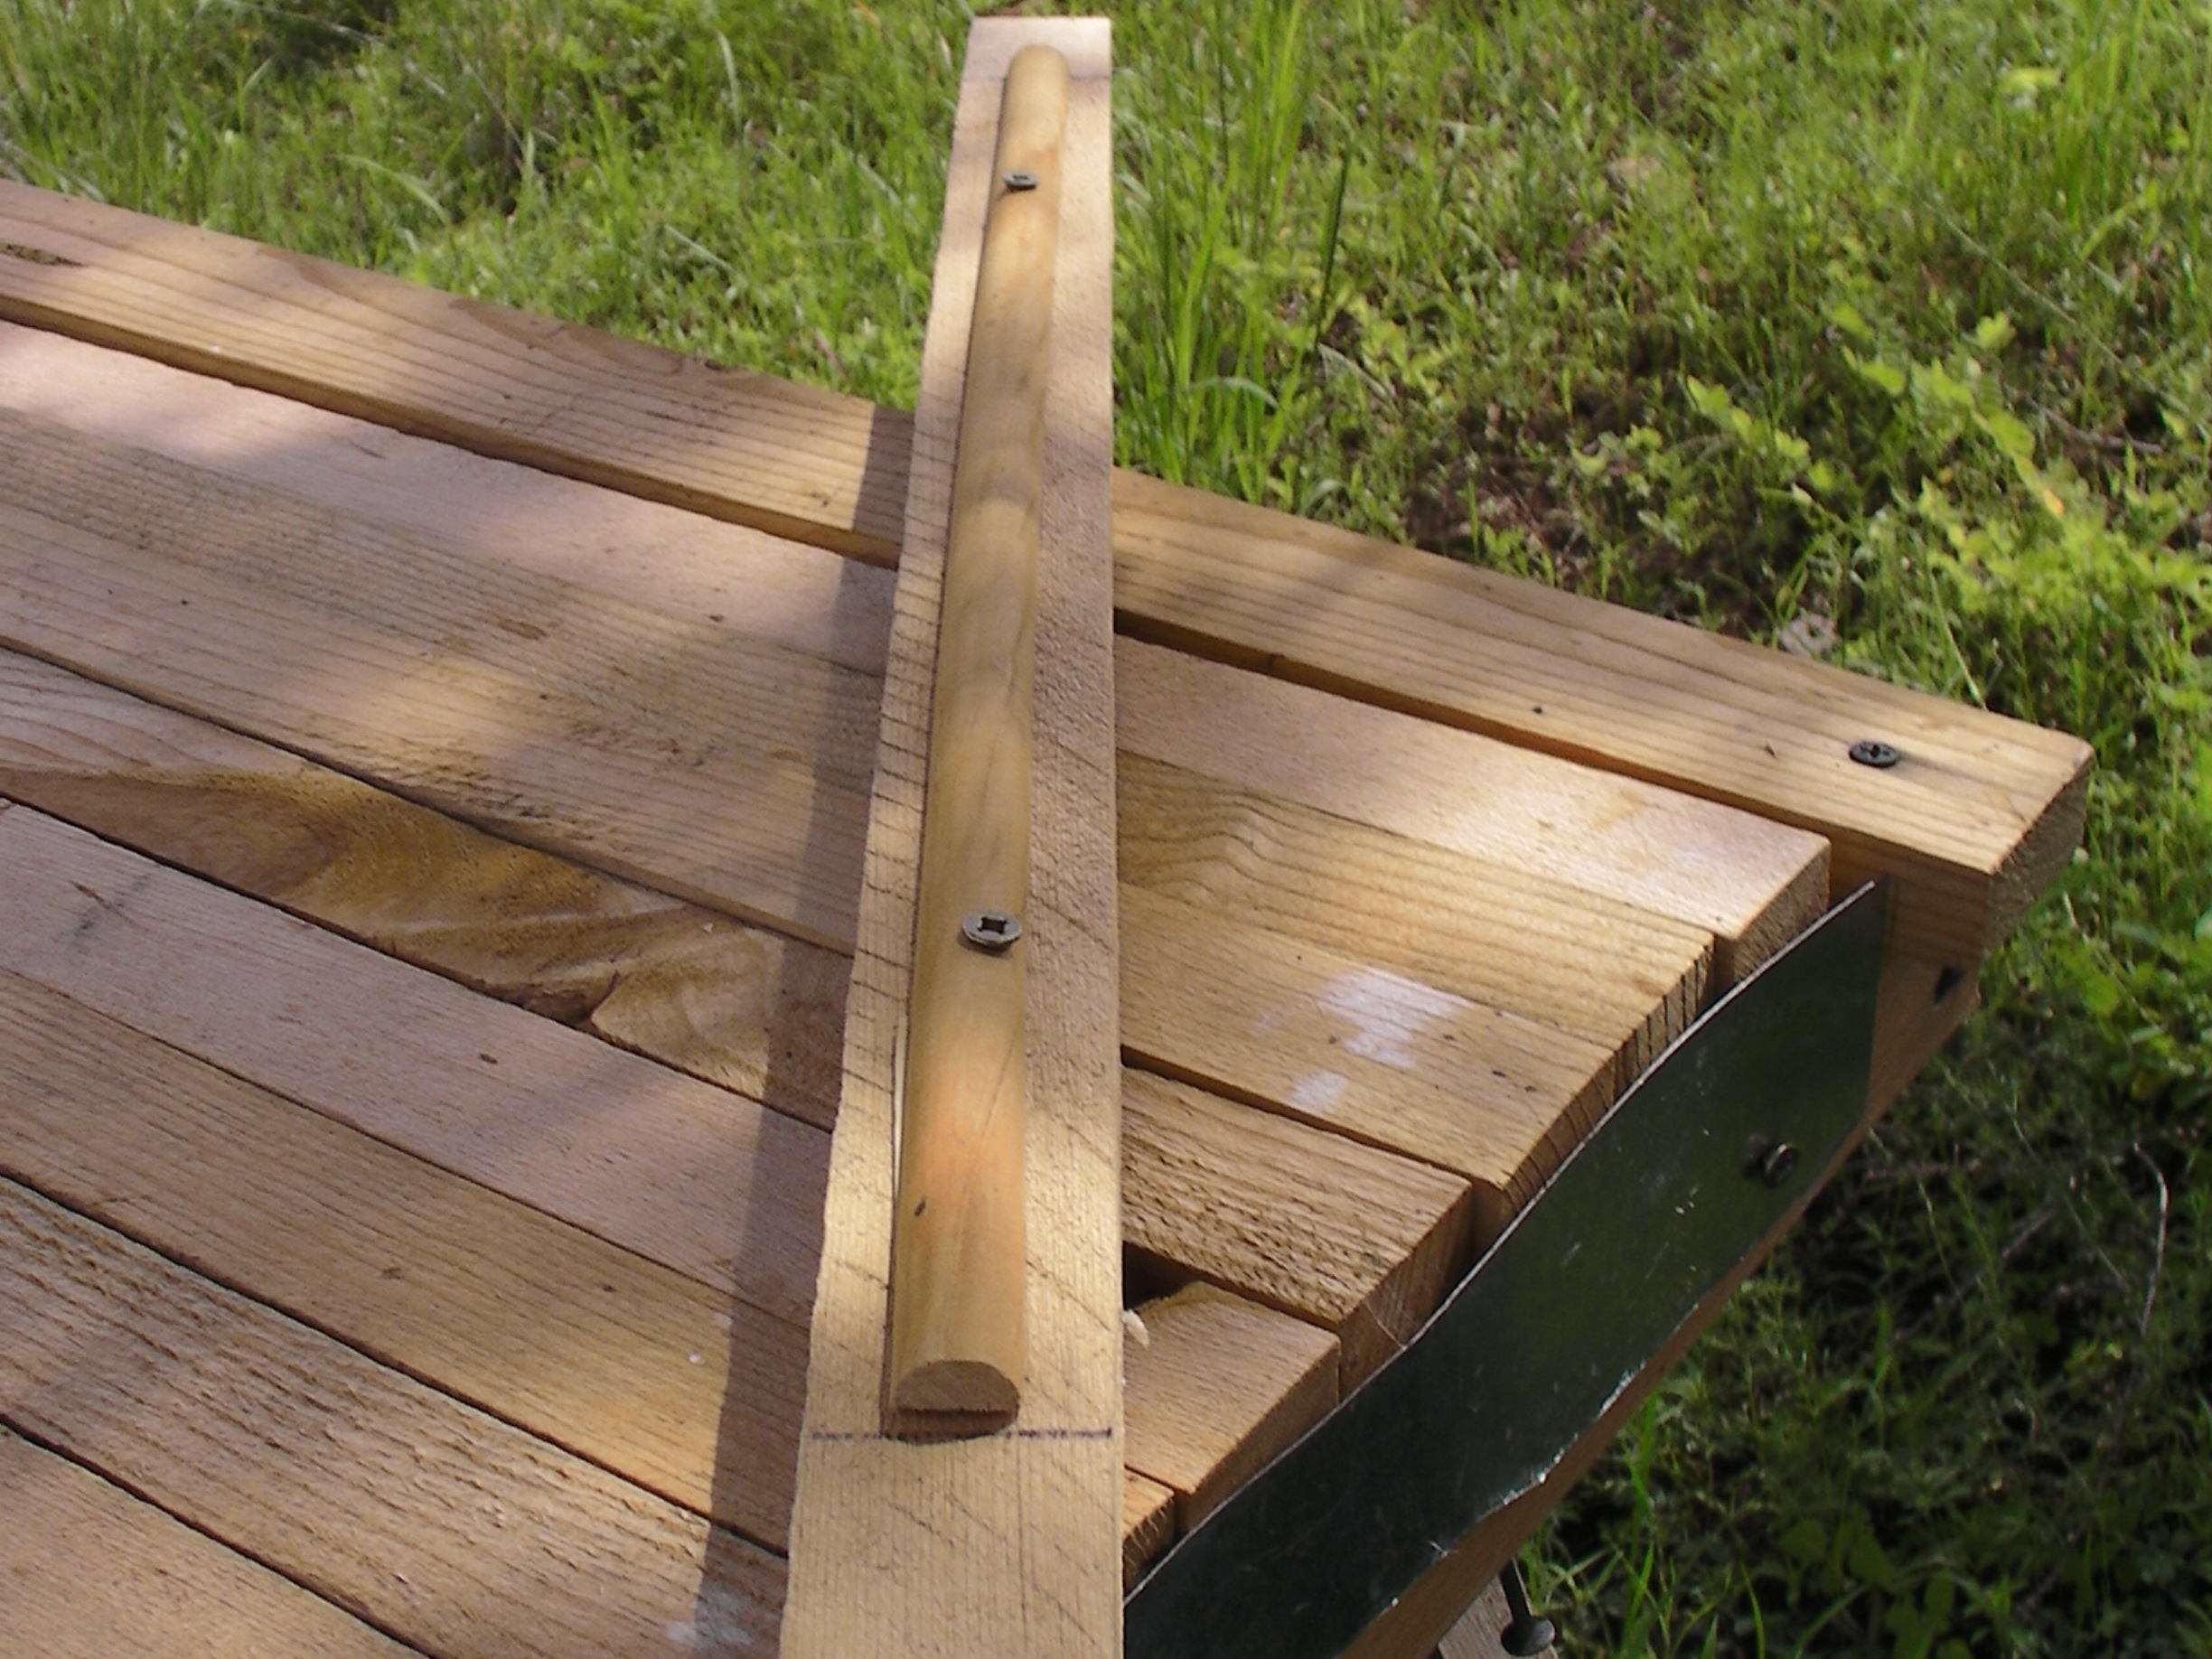
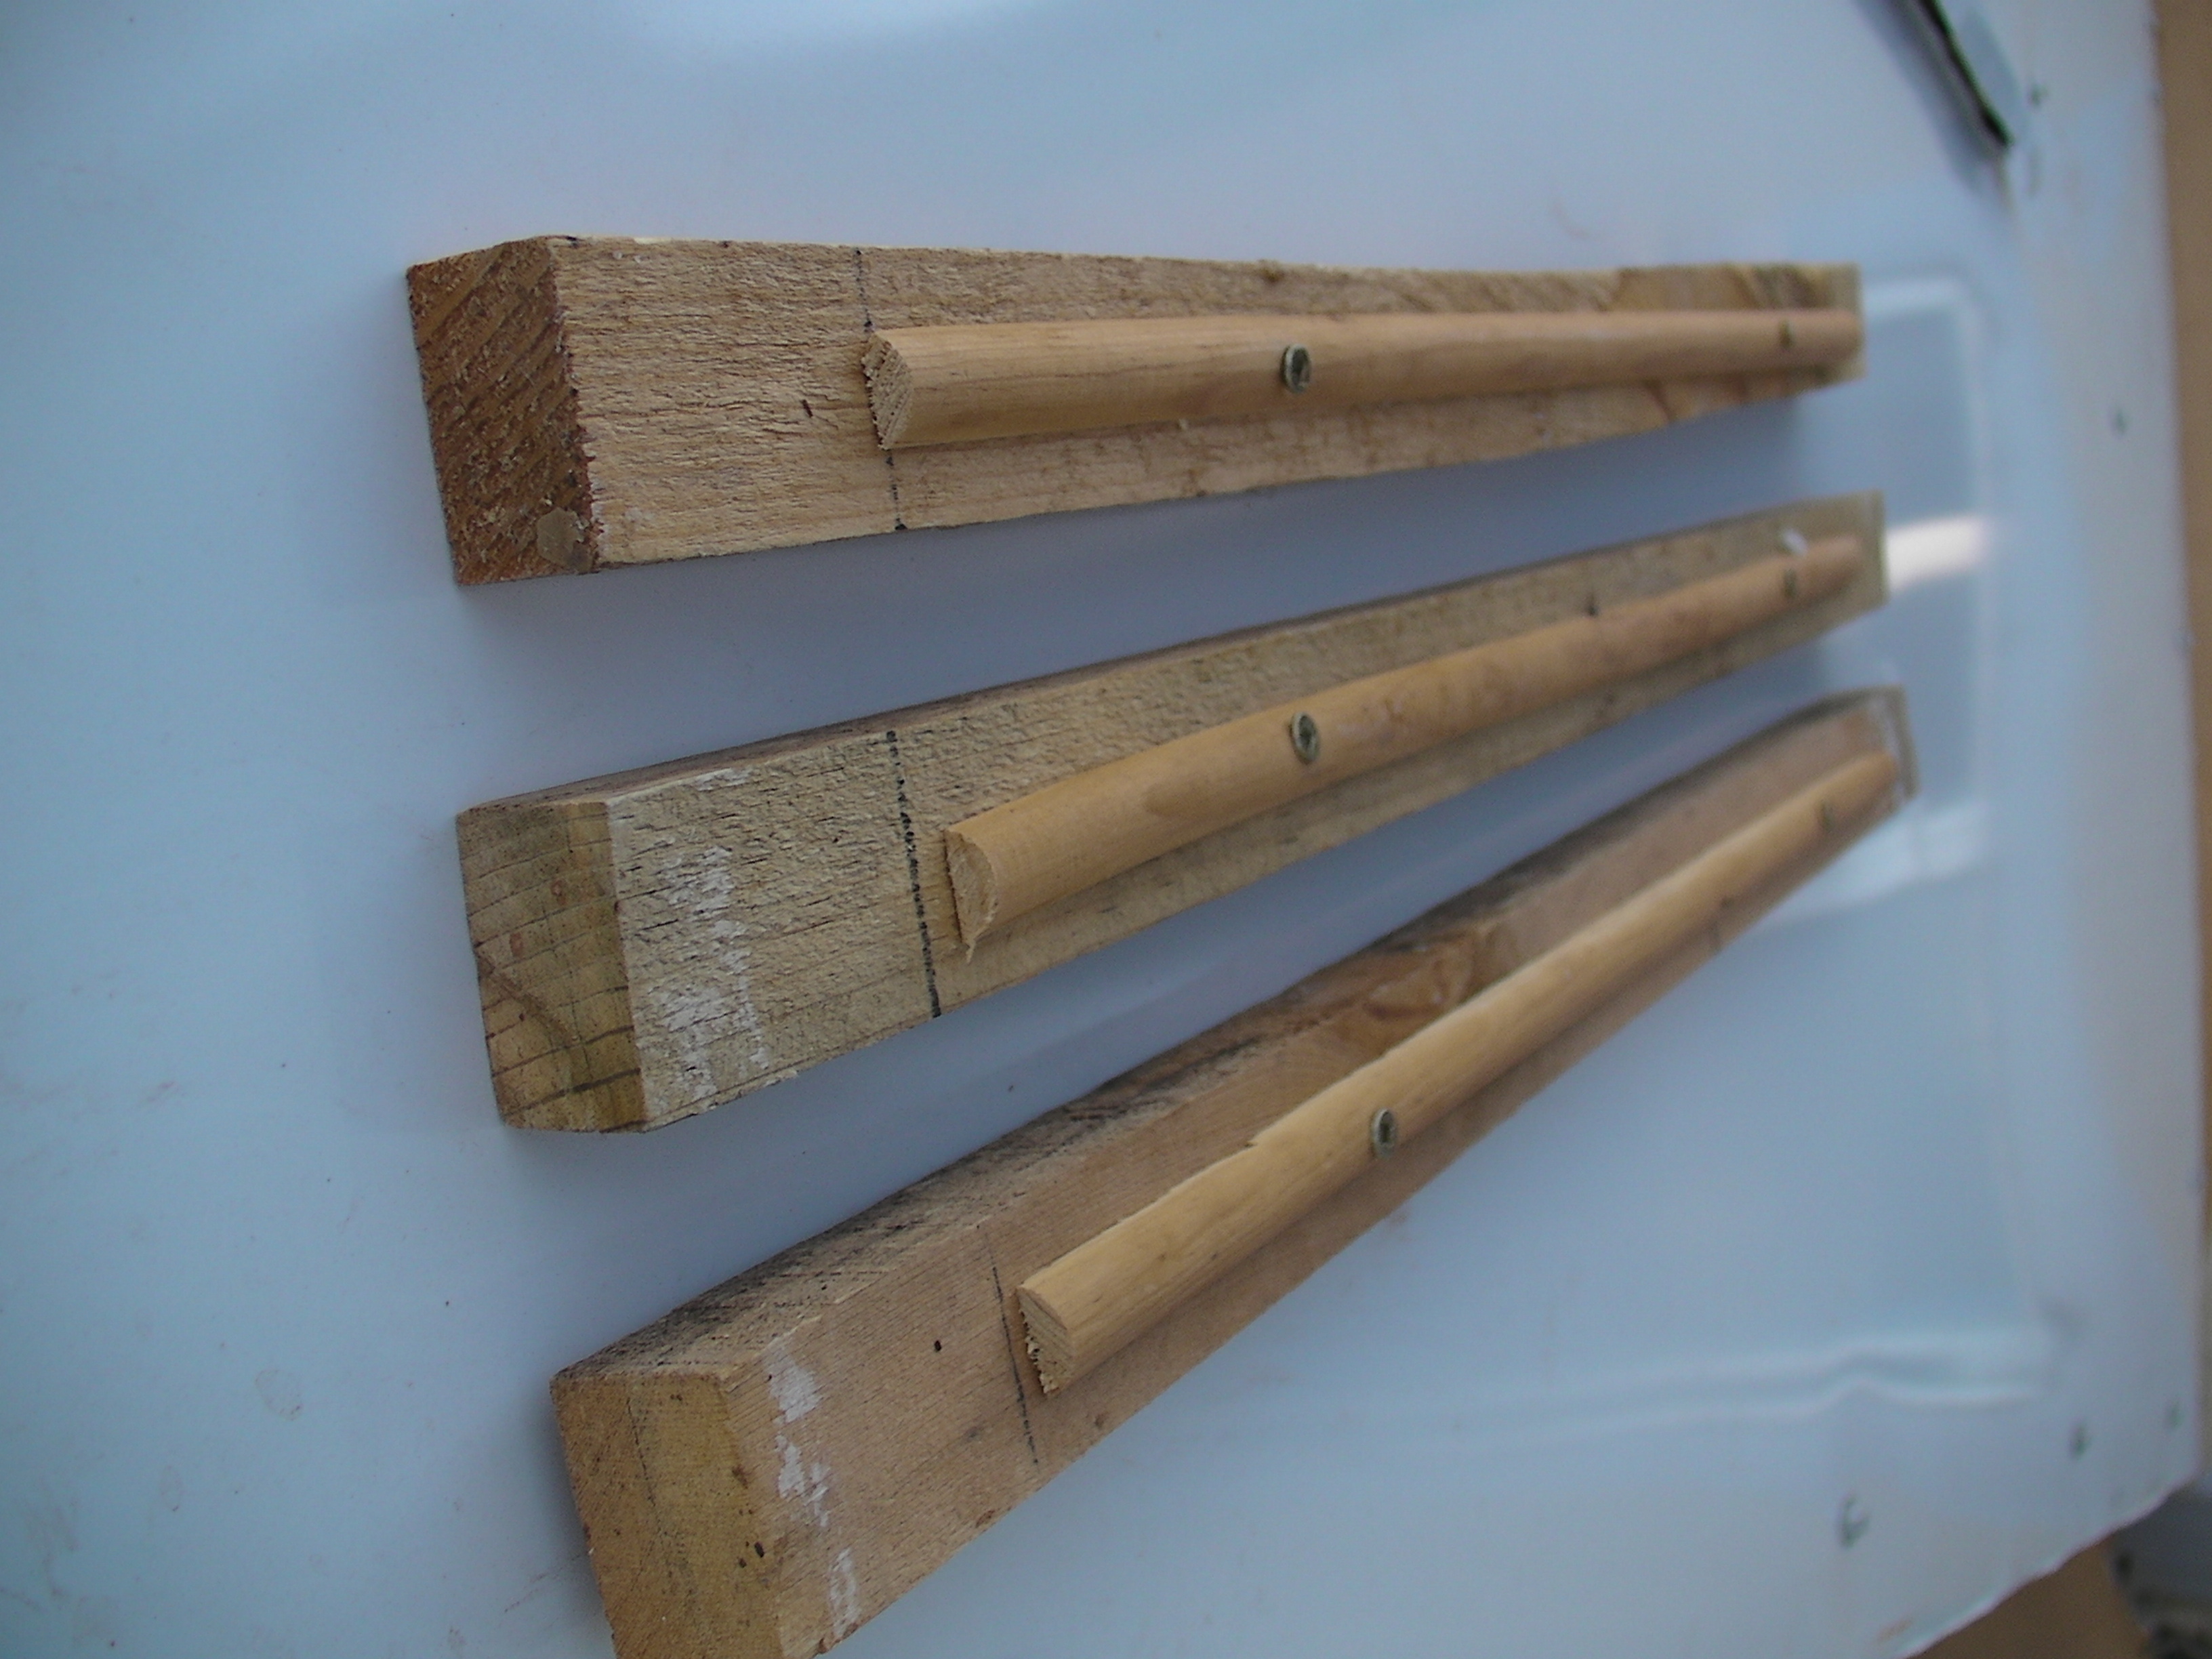
Cut twenty-three 24″ lengths of 1½”×1″ lumber. These are the bars to which the bees will attach their honeycombs. On each bar, you need to provide a guide so that the bees will make straight combs. There are several ways to do this:

» Screw a thin piece of molding, 20″ long, centered on each top bar so that you leave 2″ free at each end of the bar. This molding will face downward, into the barrel, when the bar rests on the frame. Rub beeswax on the molding.

» Or attach twine coated in beeswax, centered on each bar, leaving about 1″–2″ free at each end.

» Or carve a narrow groove, about ¼” wide, into each bar and fill it with molten beeswax. Again, leave 1″–2″ intact at either end of the top bar.

Make the roof.

Make a frame of 1×2 lumber to fit around the barrel frame with a ¼” gap on all sides. For example, if you cut 25″ and 37″ lengths for the barrel frame, now cut 27½” and 39½” lengths for the roof frame.

Screw the sheet of tin centered onto the roof frame. Bend the excess tin down and screw these edges to the sides of the frame. Using the tinsnips, trim any excess hanging below the frame.

Secure the roof on top of the barrel frame with a bungee cord or with wire.

Get some bees.

You can buy a “package” of queen and bees, but it’s much more satisfying to capture a swarm.

When dealing with bees, you can’t think of them as individuals. It’s the hive, as a whole, that is the animal. And each year, if conditions are right, the hive will reproduce. If they’ve filled the space they inhabit and food is abundant, the bees will create another queen and the hive will split, creating a swarm that will leave in search of a new home.

The swarm is laden with honey, and preoccupied, and consequently very docile. If you come across a swarm on a branch, you can shake the bees off, into a box. Take the box to your hive and empty it into your Honey Cow. They’ll do the rest.

In future articles, we’ll cover accessory and harvesting equipment for natural, simple, low- cost DIY beekeeping.

Wear protection when handling swarms, because bees can always sting, even when they’re docile.

Resources

Tools, accessories, and DIY kits for top-bar hives: http://www.goldstarhoneybees.com

Natural beekeeping forum: http://www.biobees.com

Author’s page: http://www.velacreations.com/bees.html

Join a local bee club; they love to help beginners.

Conclusion

This project first appeared in MAKE Volume 25.