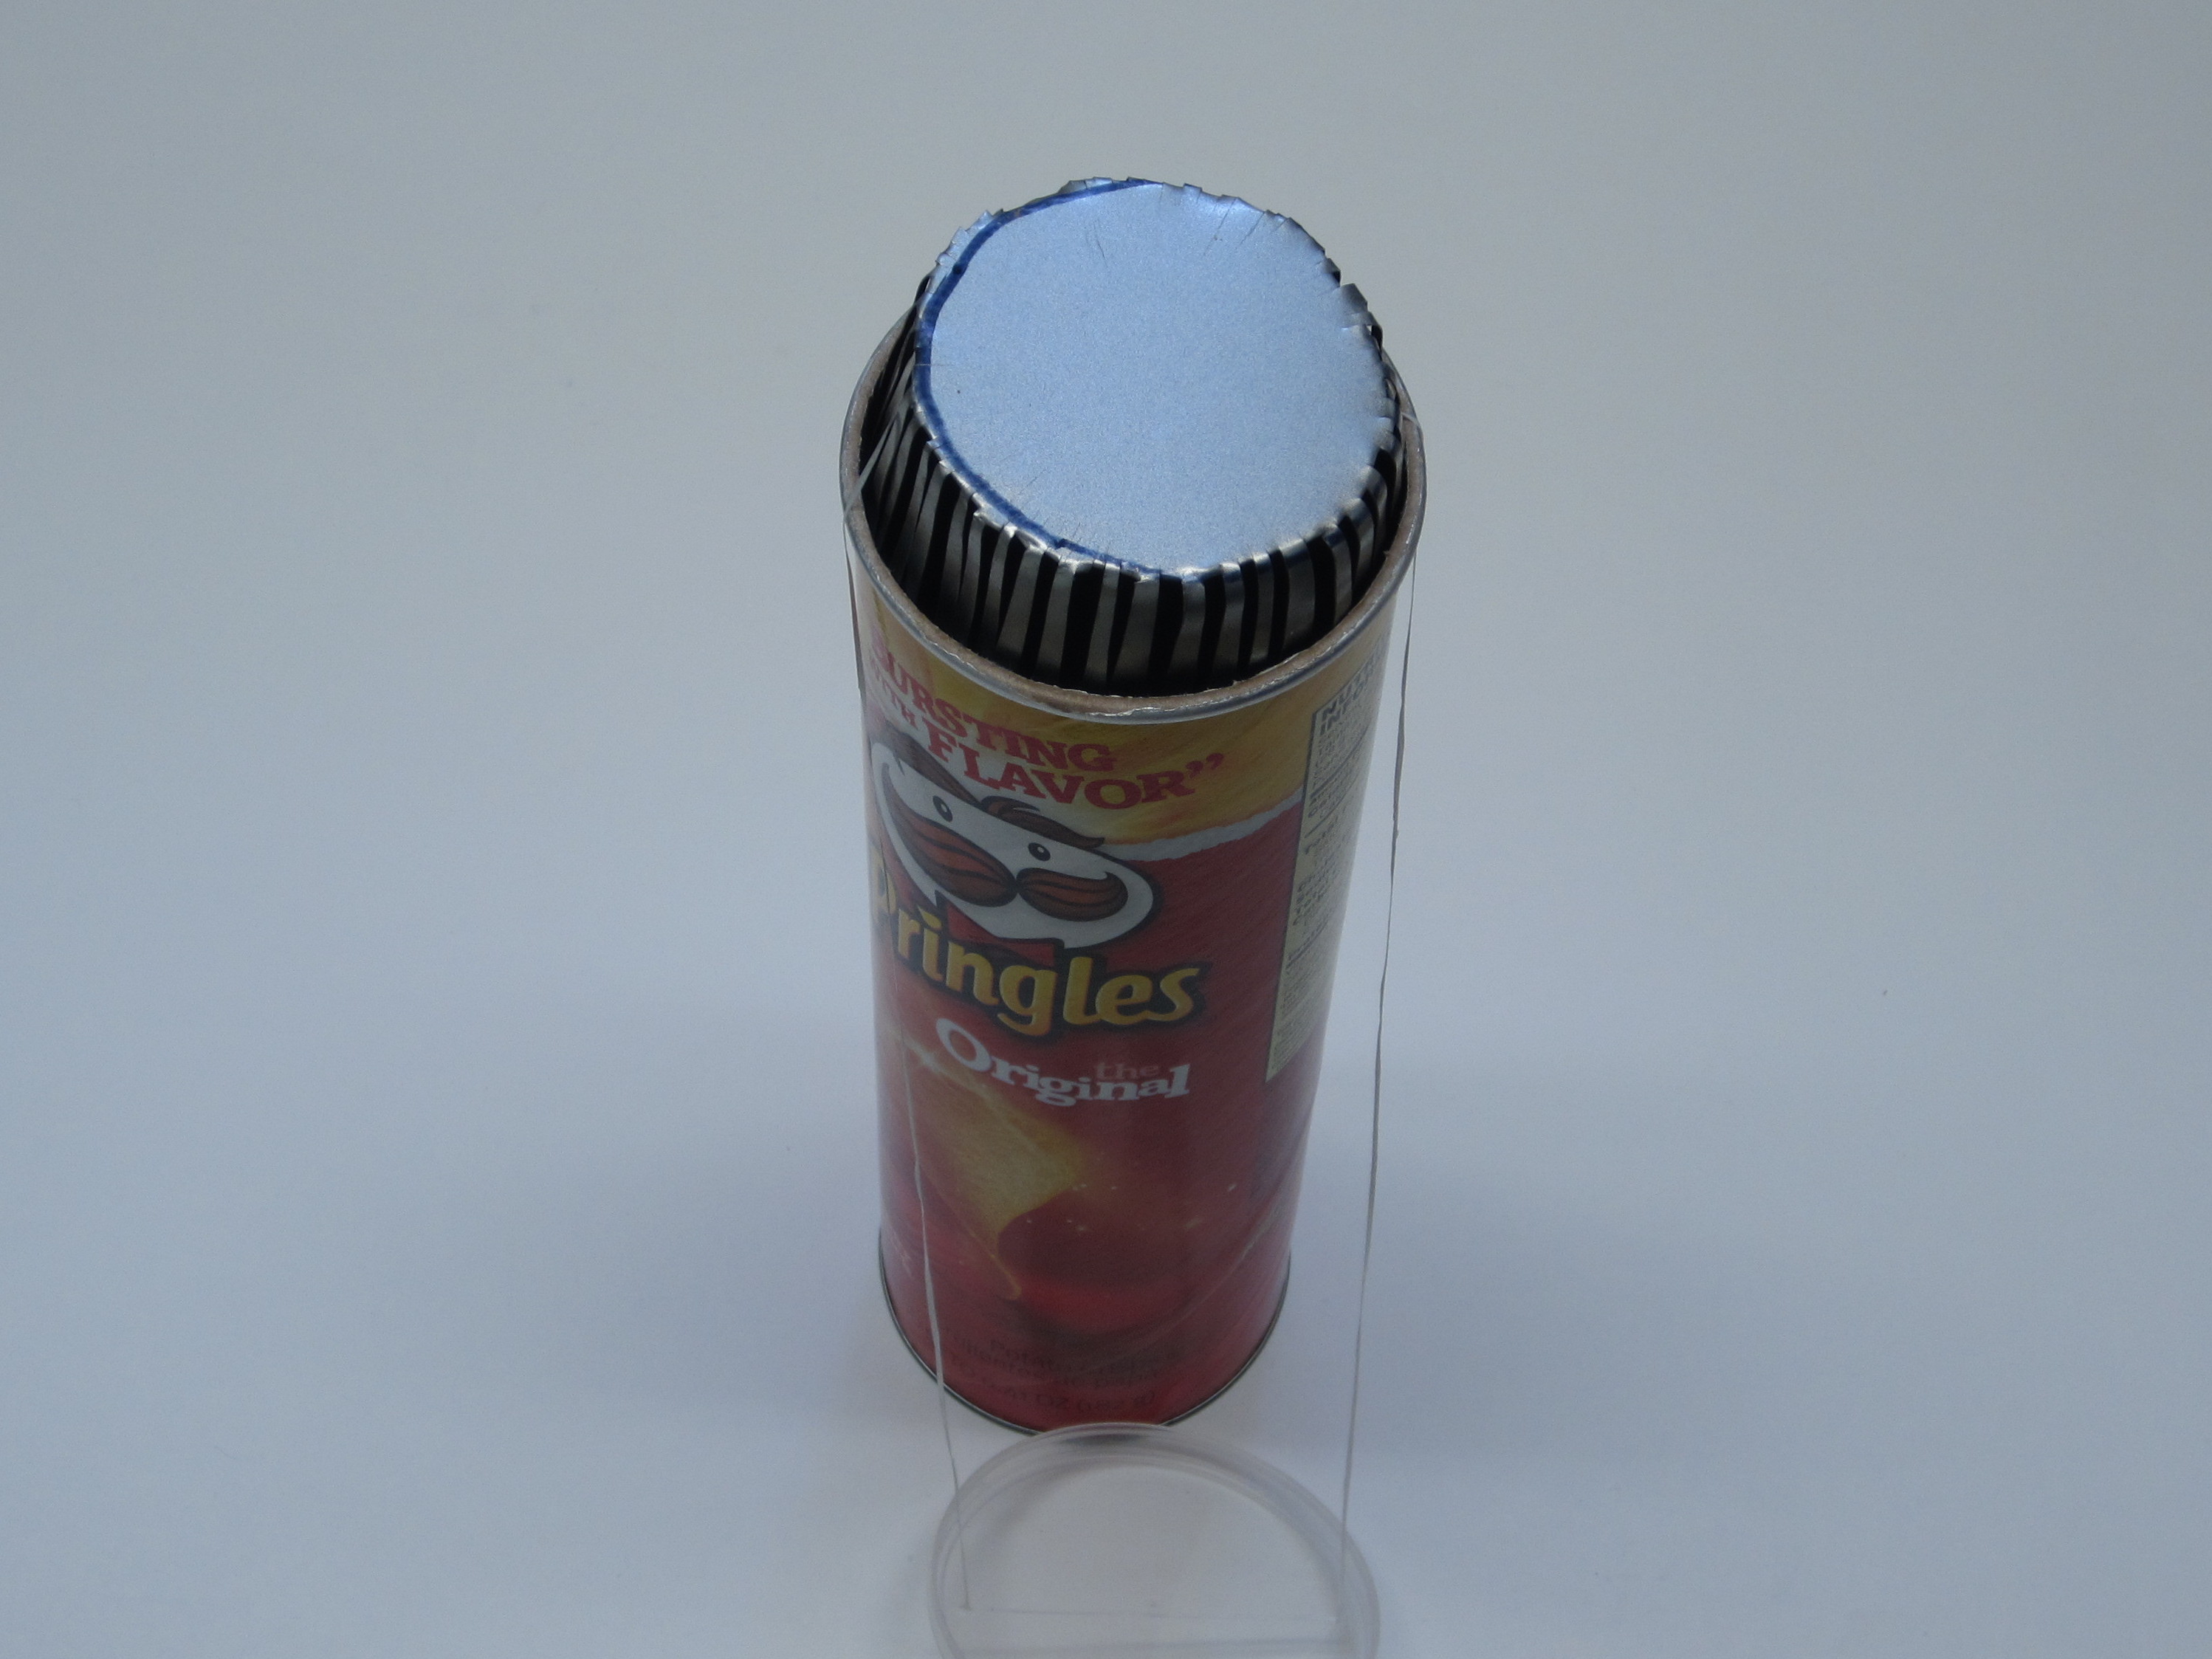
Here is a video summarizing the project

What will the next generation of Make: look like? We’re inviting you to shape the future by investing in Make:. By becoming an investor, you help decide what’s next. The future of Make: is in your hands. Learn More.

Project Steps

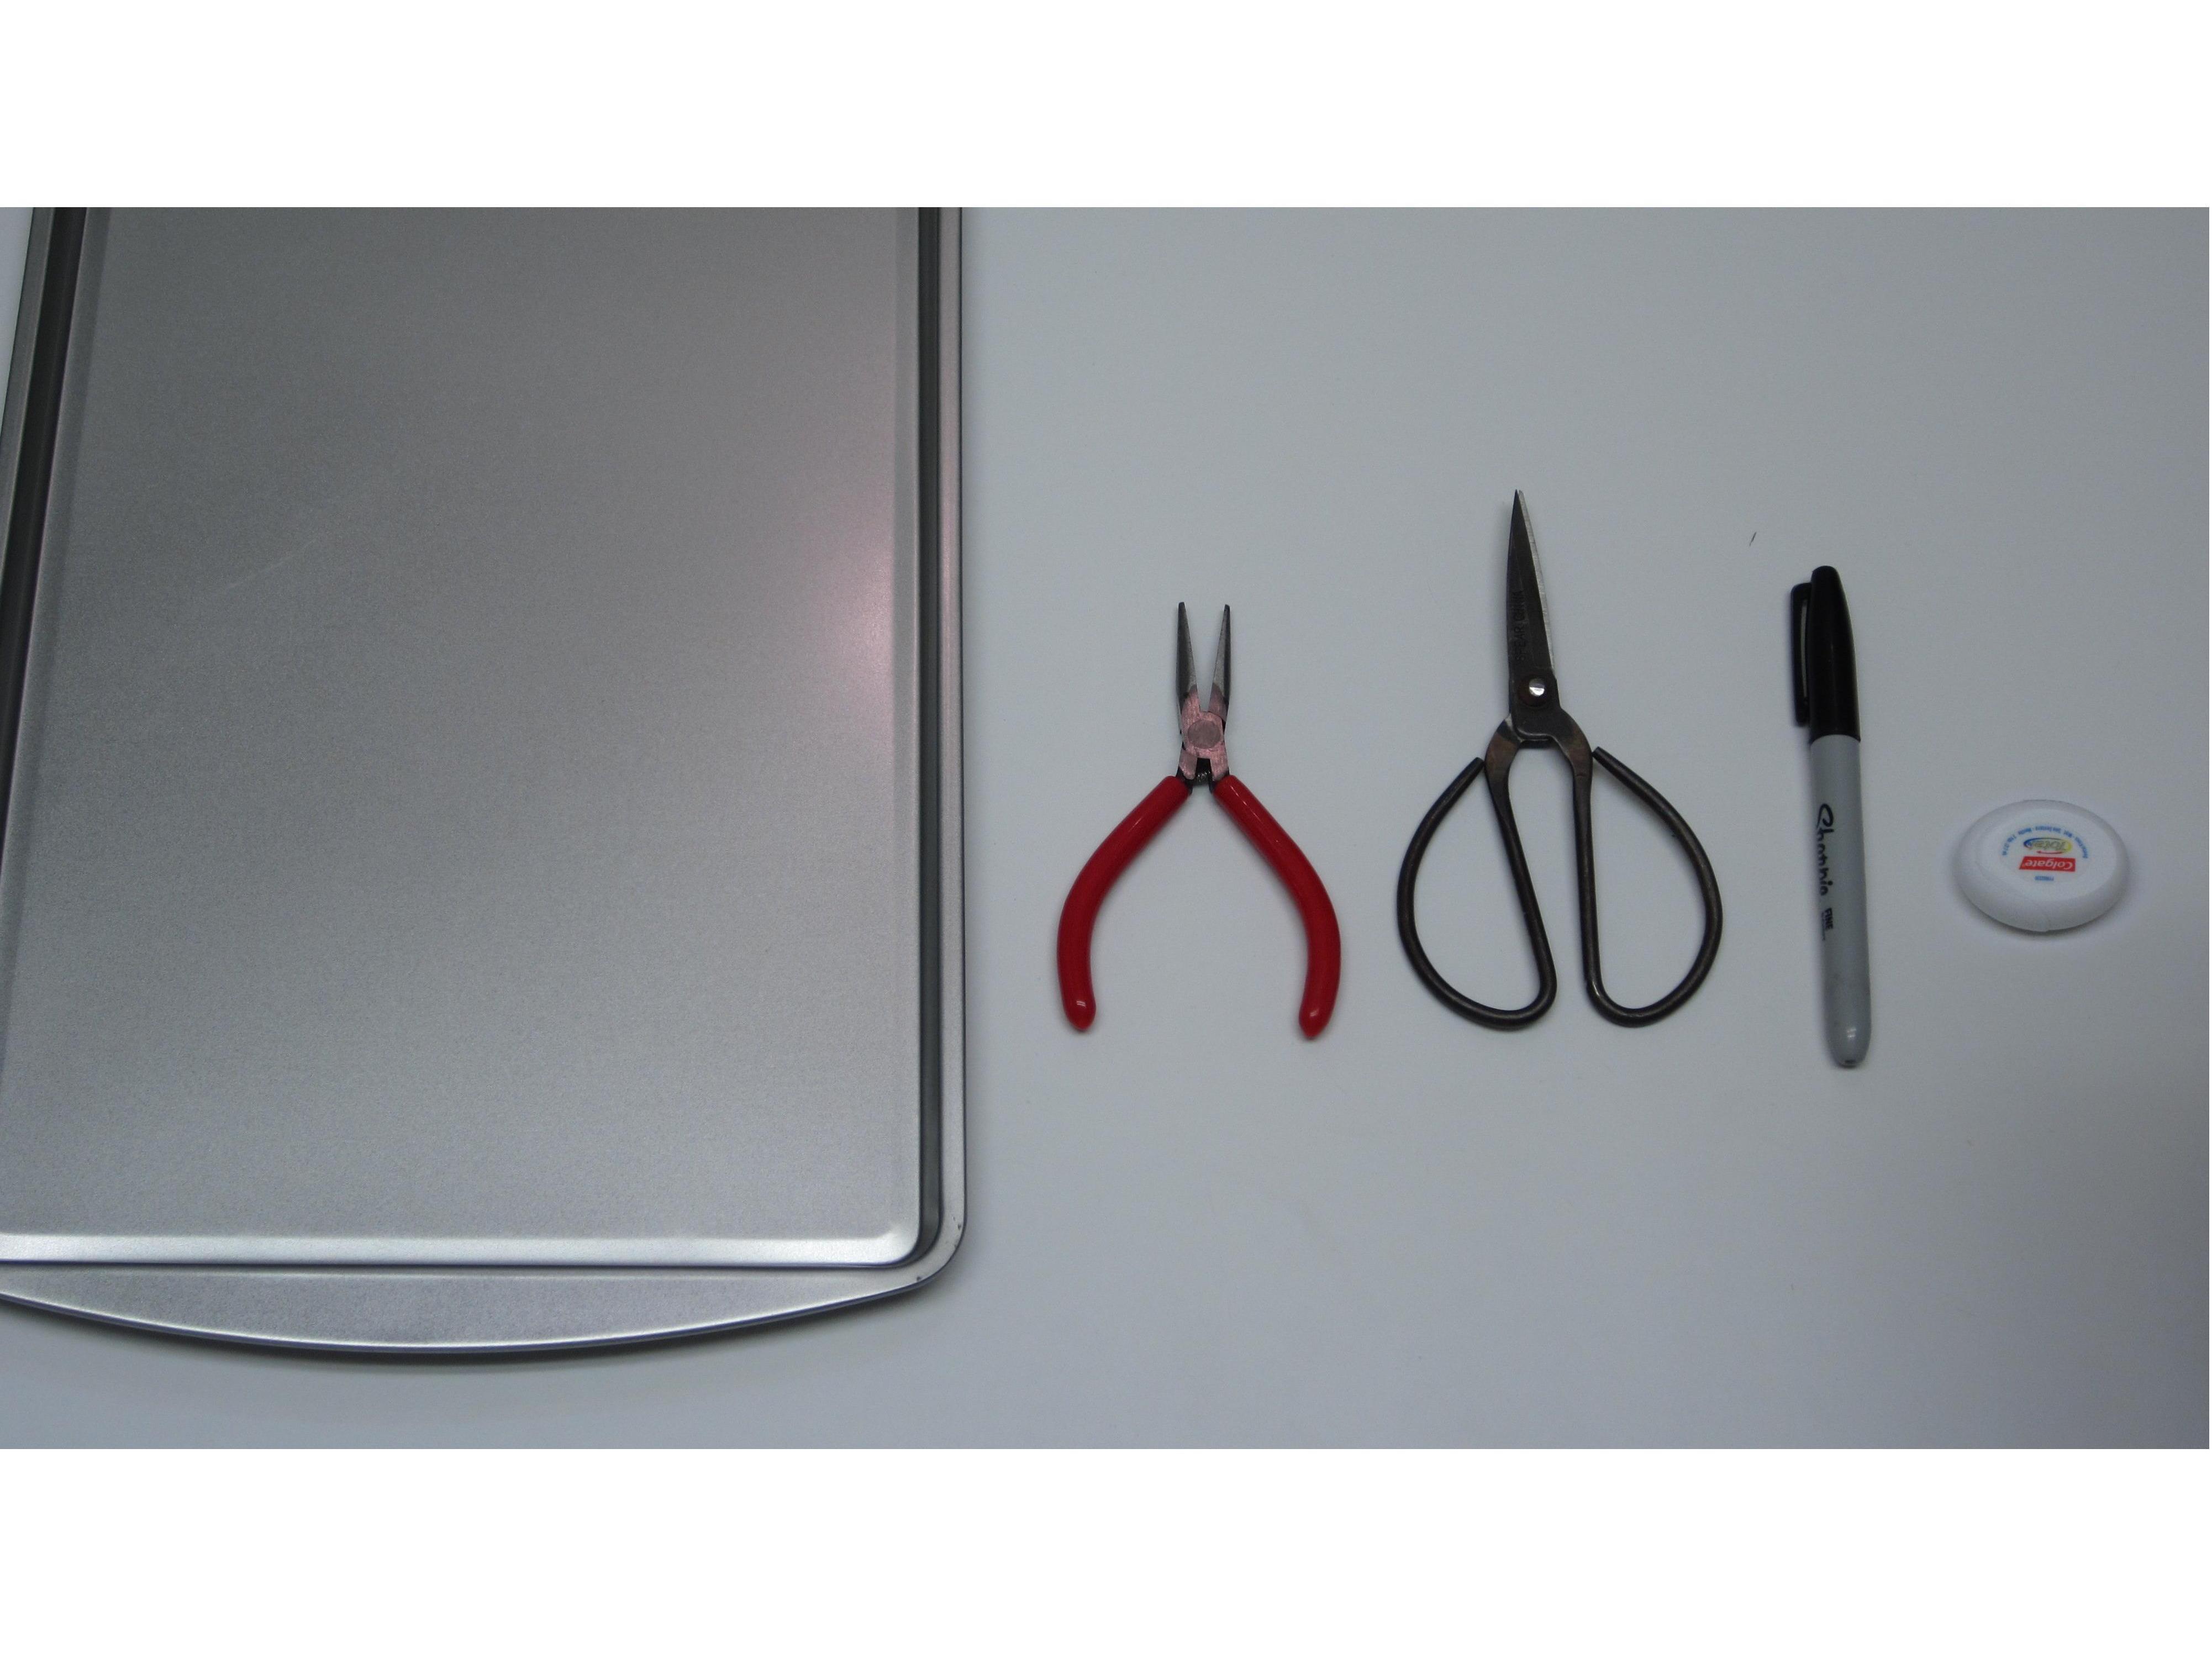
Materials:

Thin sheet metal that is suitable for use with food (I used a dollar store baking sheet)

Needle nose pliers

Tin snips

A Sharpie (optional)

Dental floss (or thread)

Cut the Sheet Metal to Shape

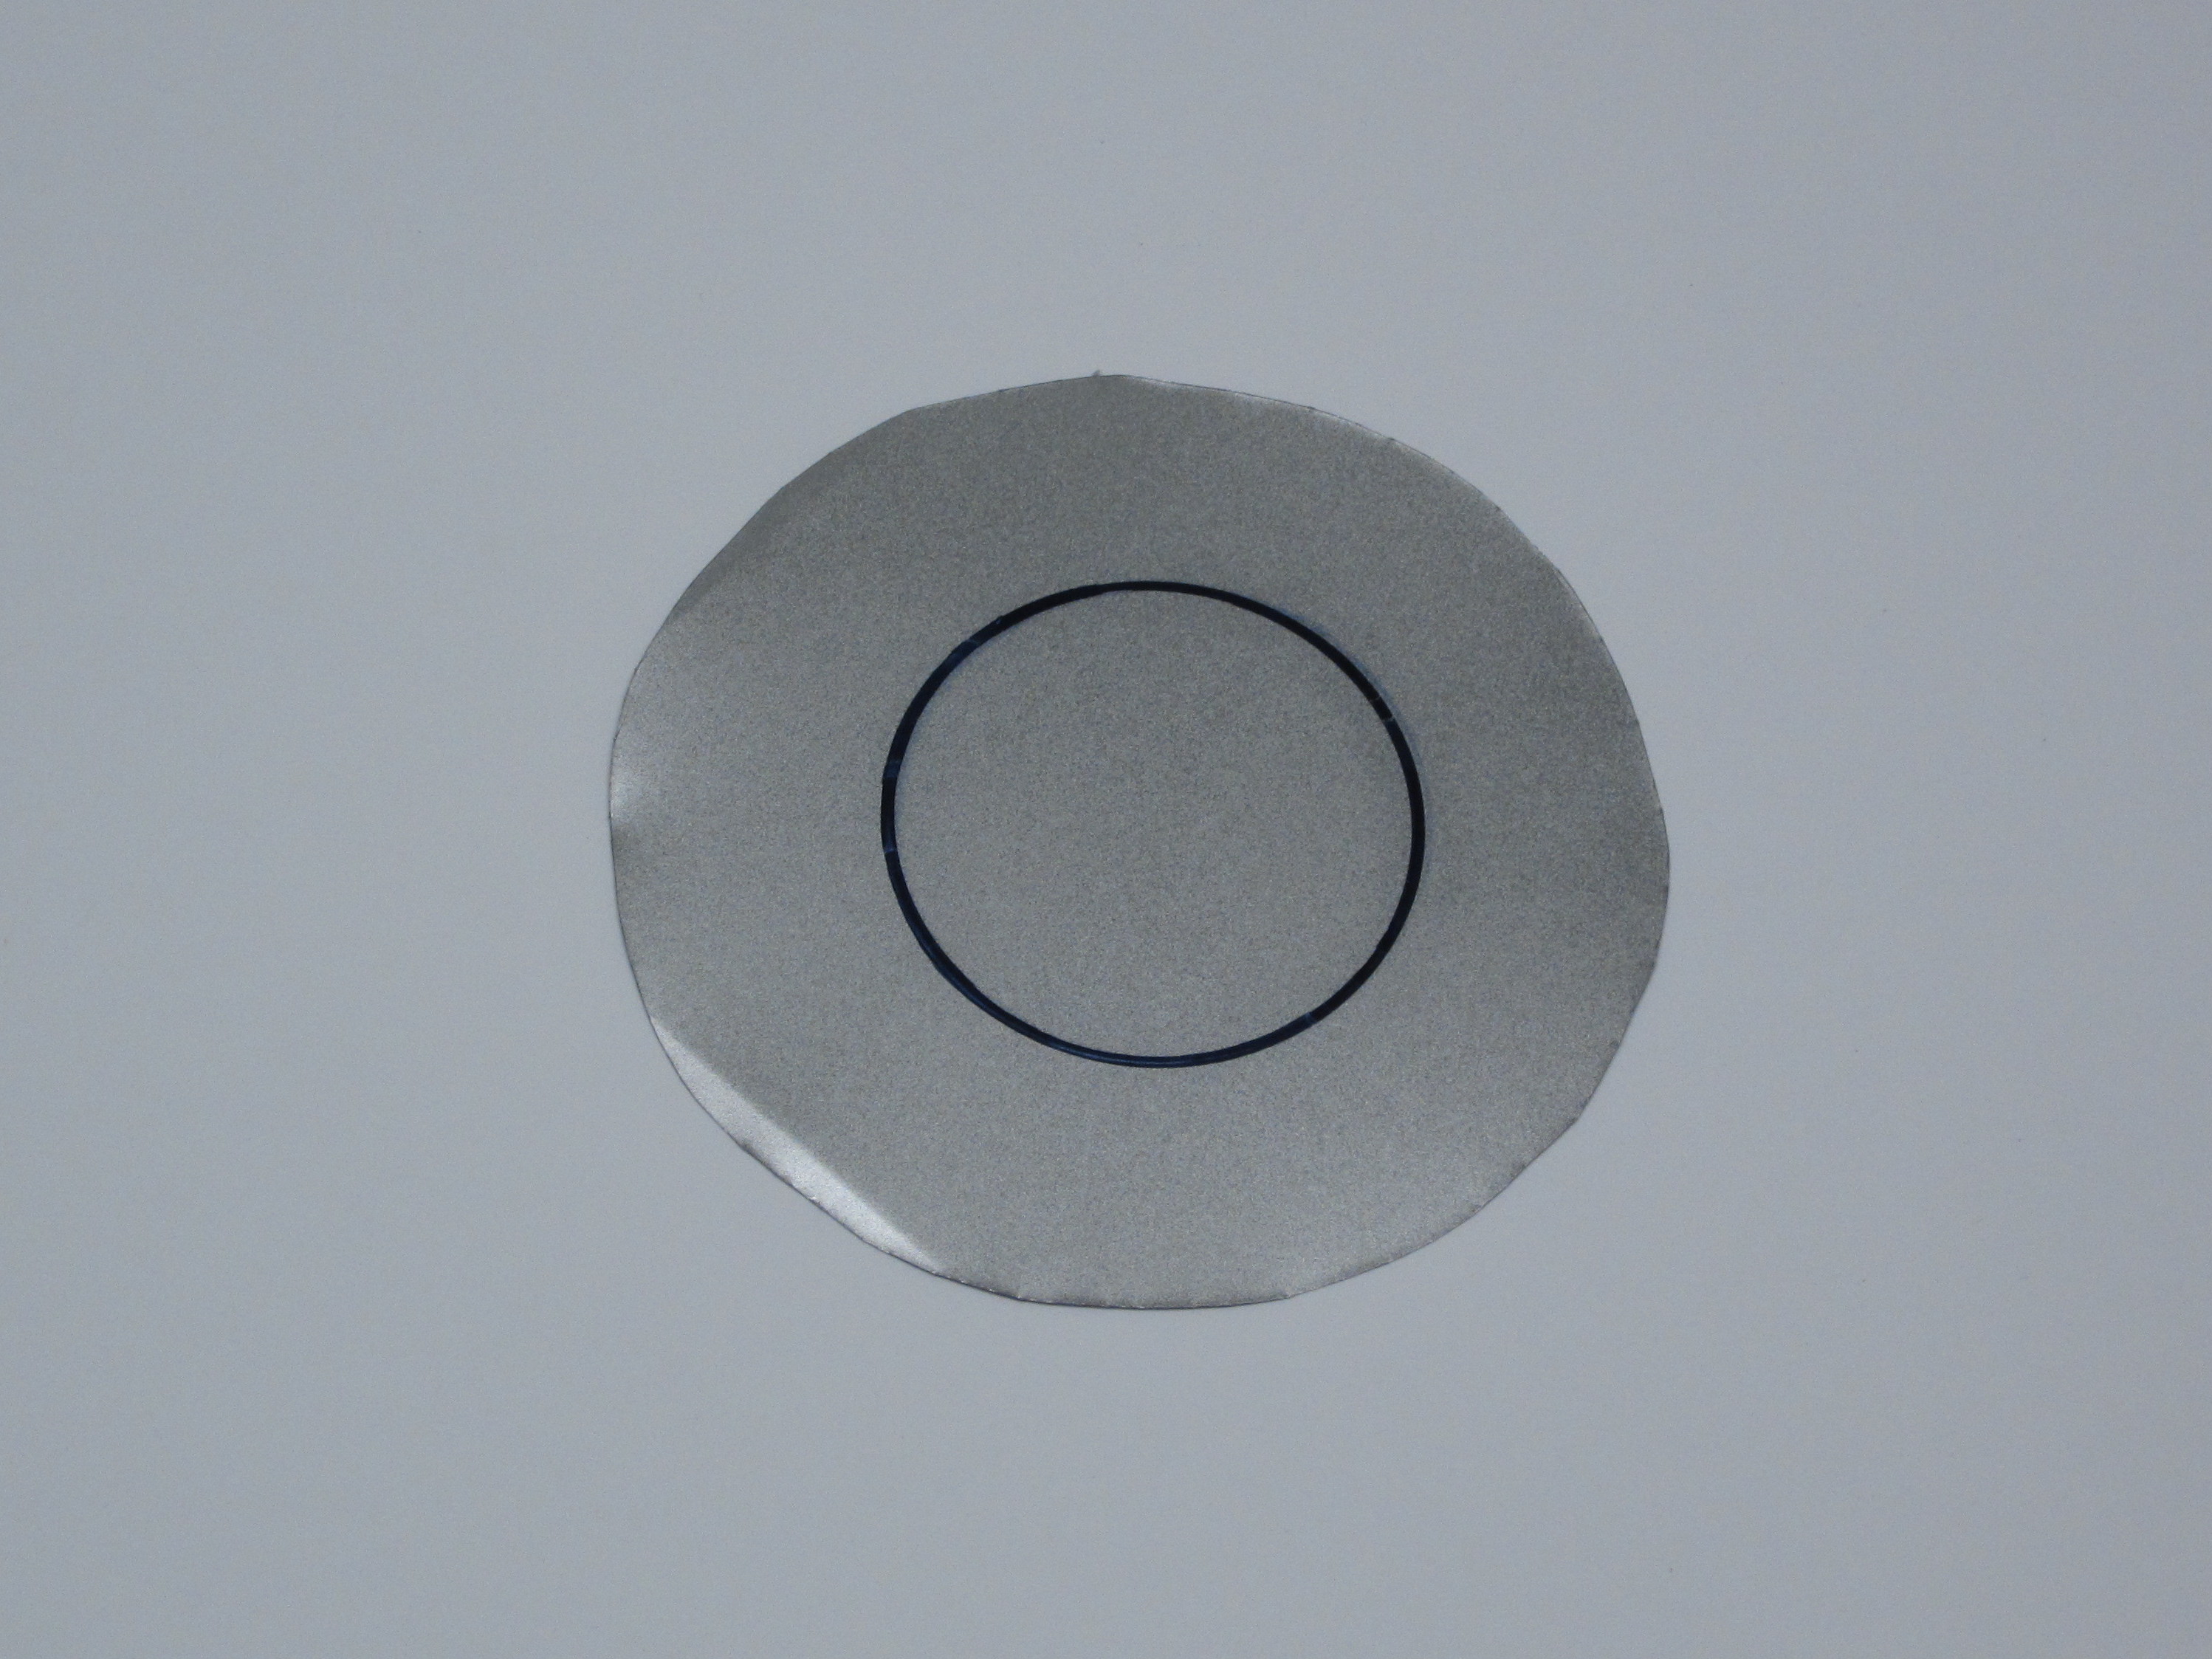
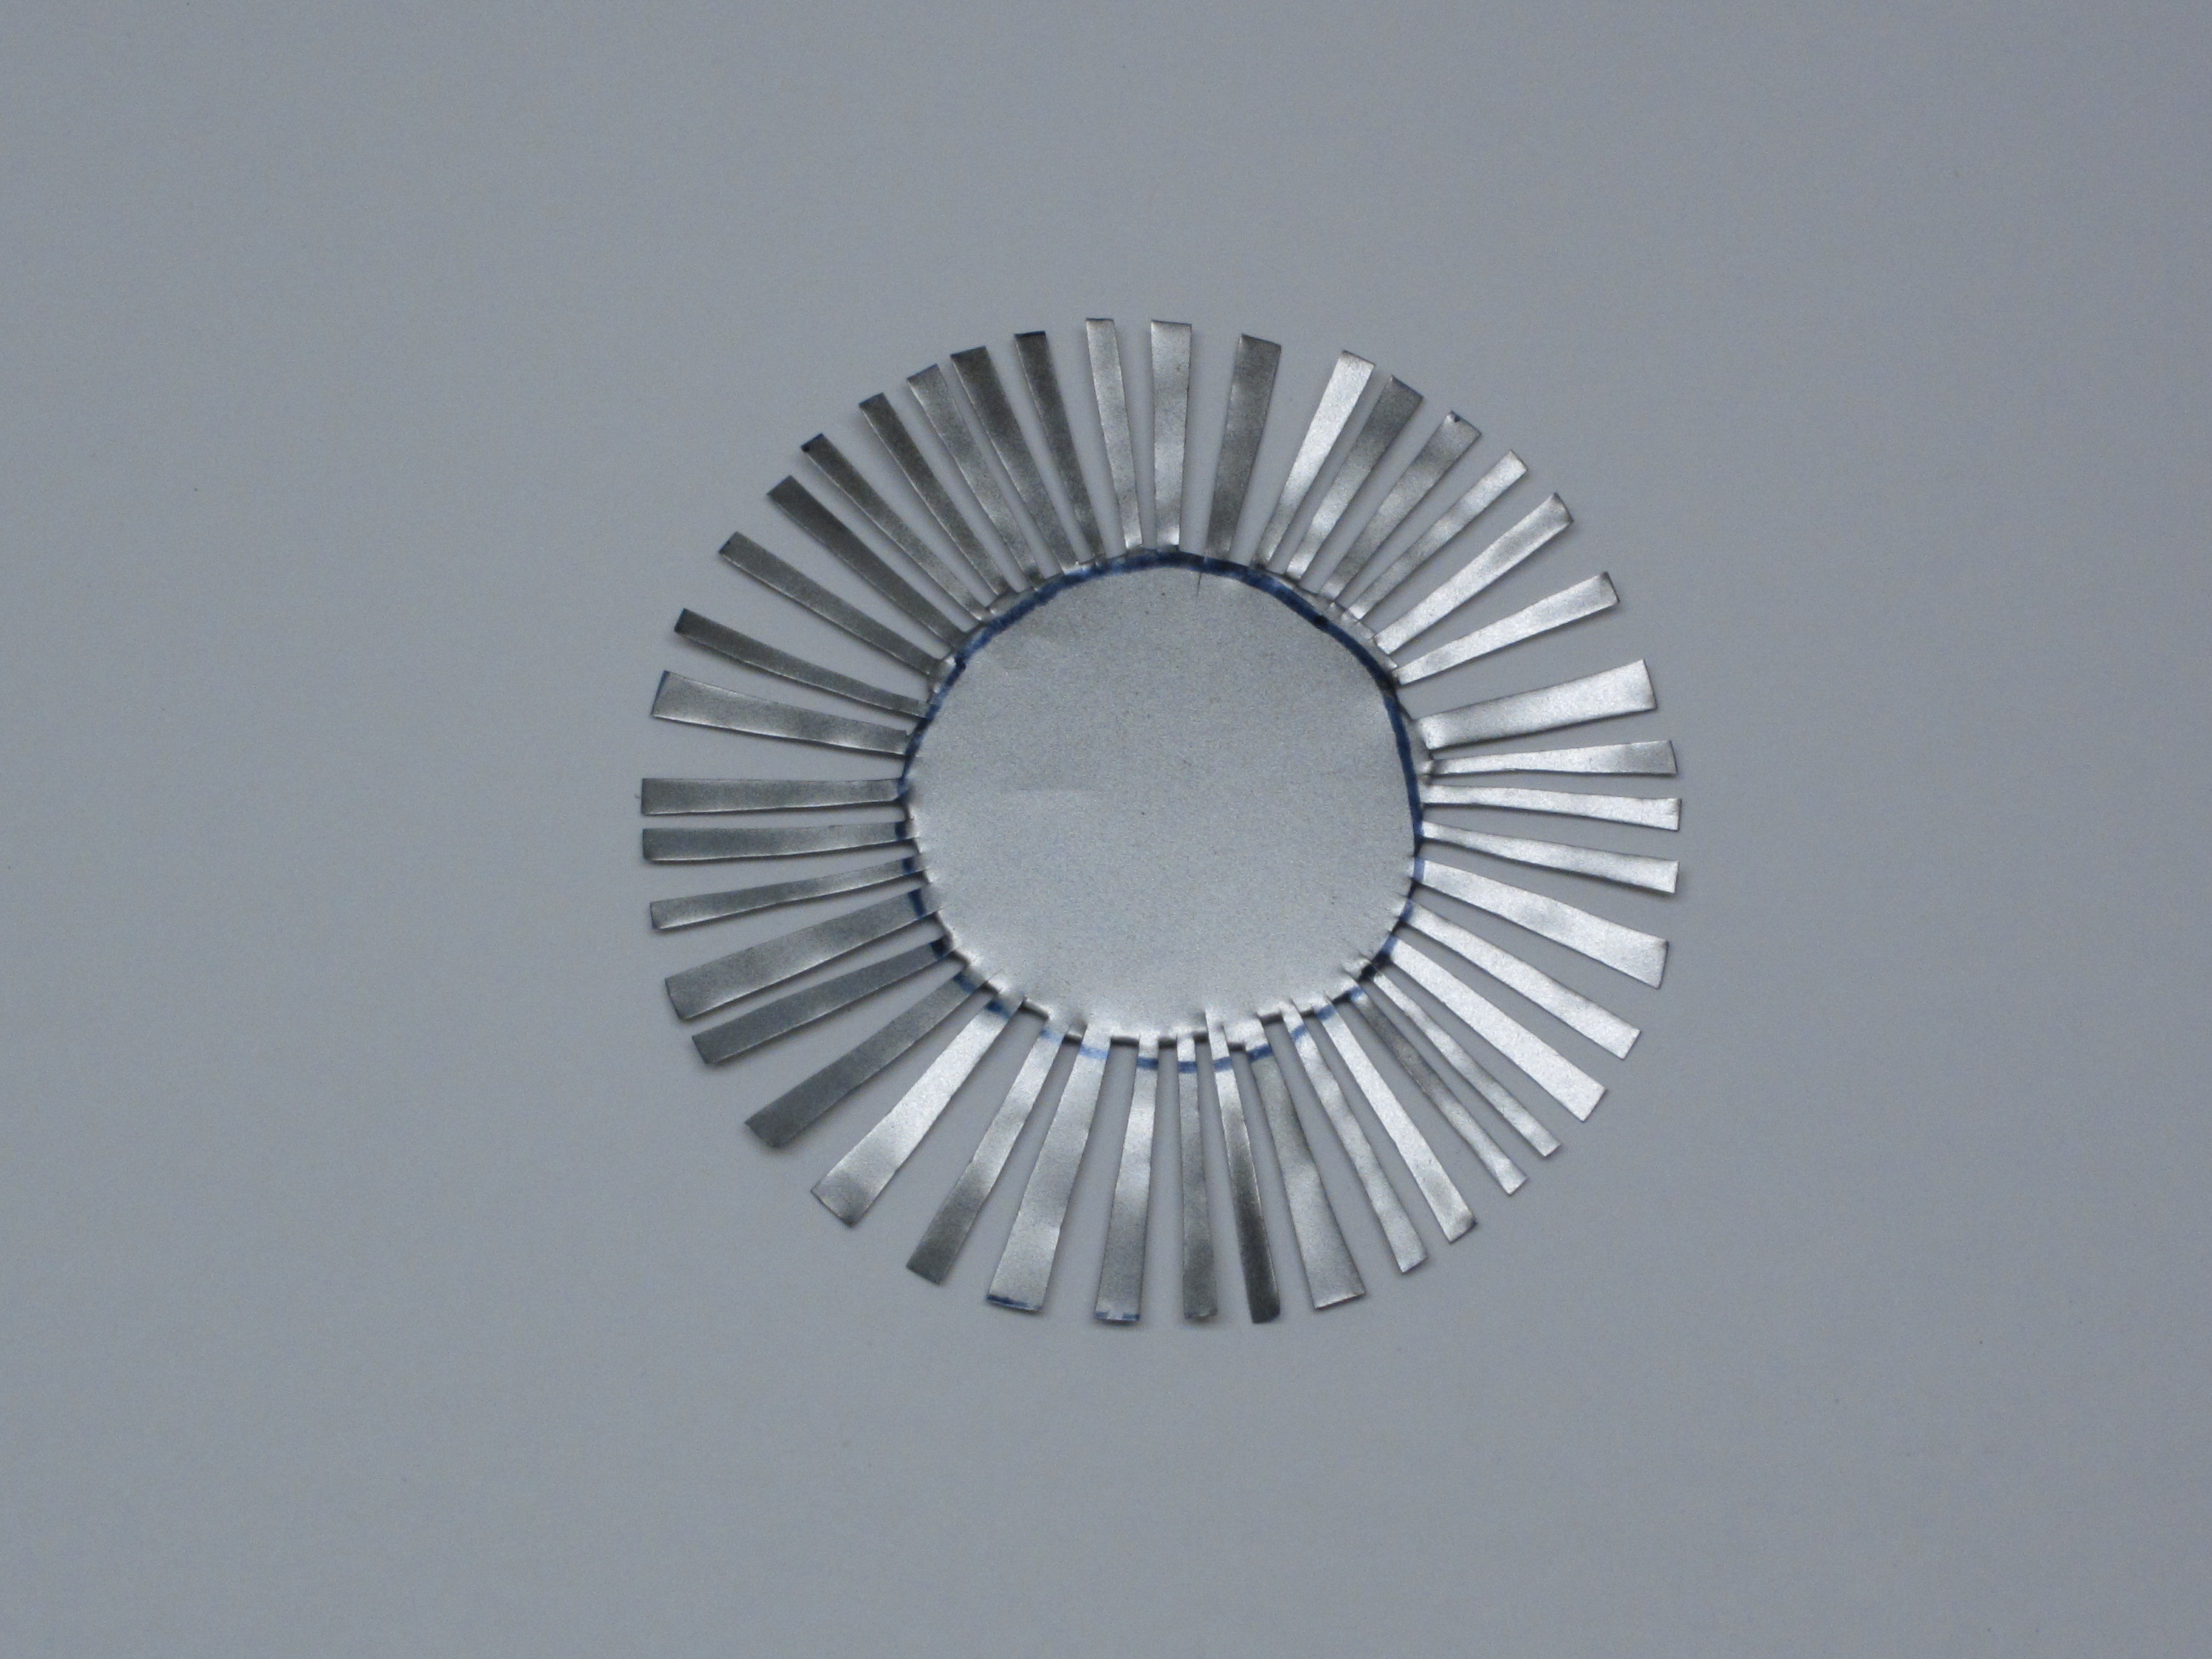
Start by cutting out a 5in diameter circle from your piece of sheet metal. Then draw a 2.5in diameter circle inside your cutout. Be careful to keep the circles centered. The area inside inner circle will be the platform for the chips. The outer portion of the cutout will be used to make the spring-loaded supports that hold the platform in place.

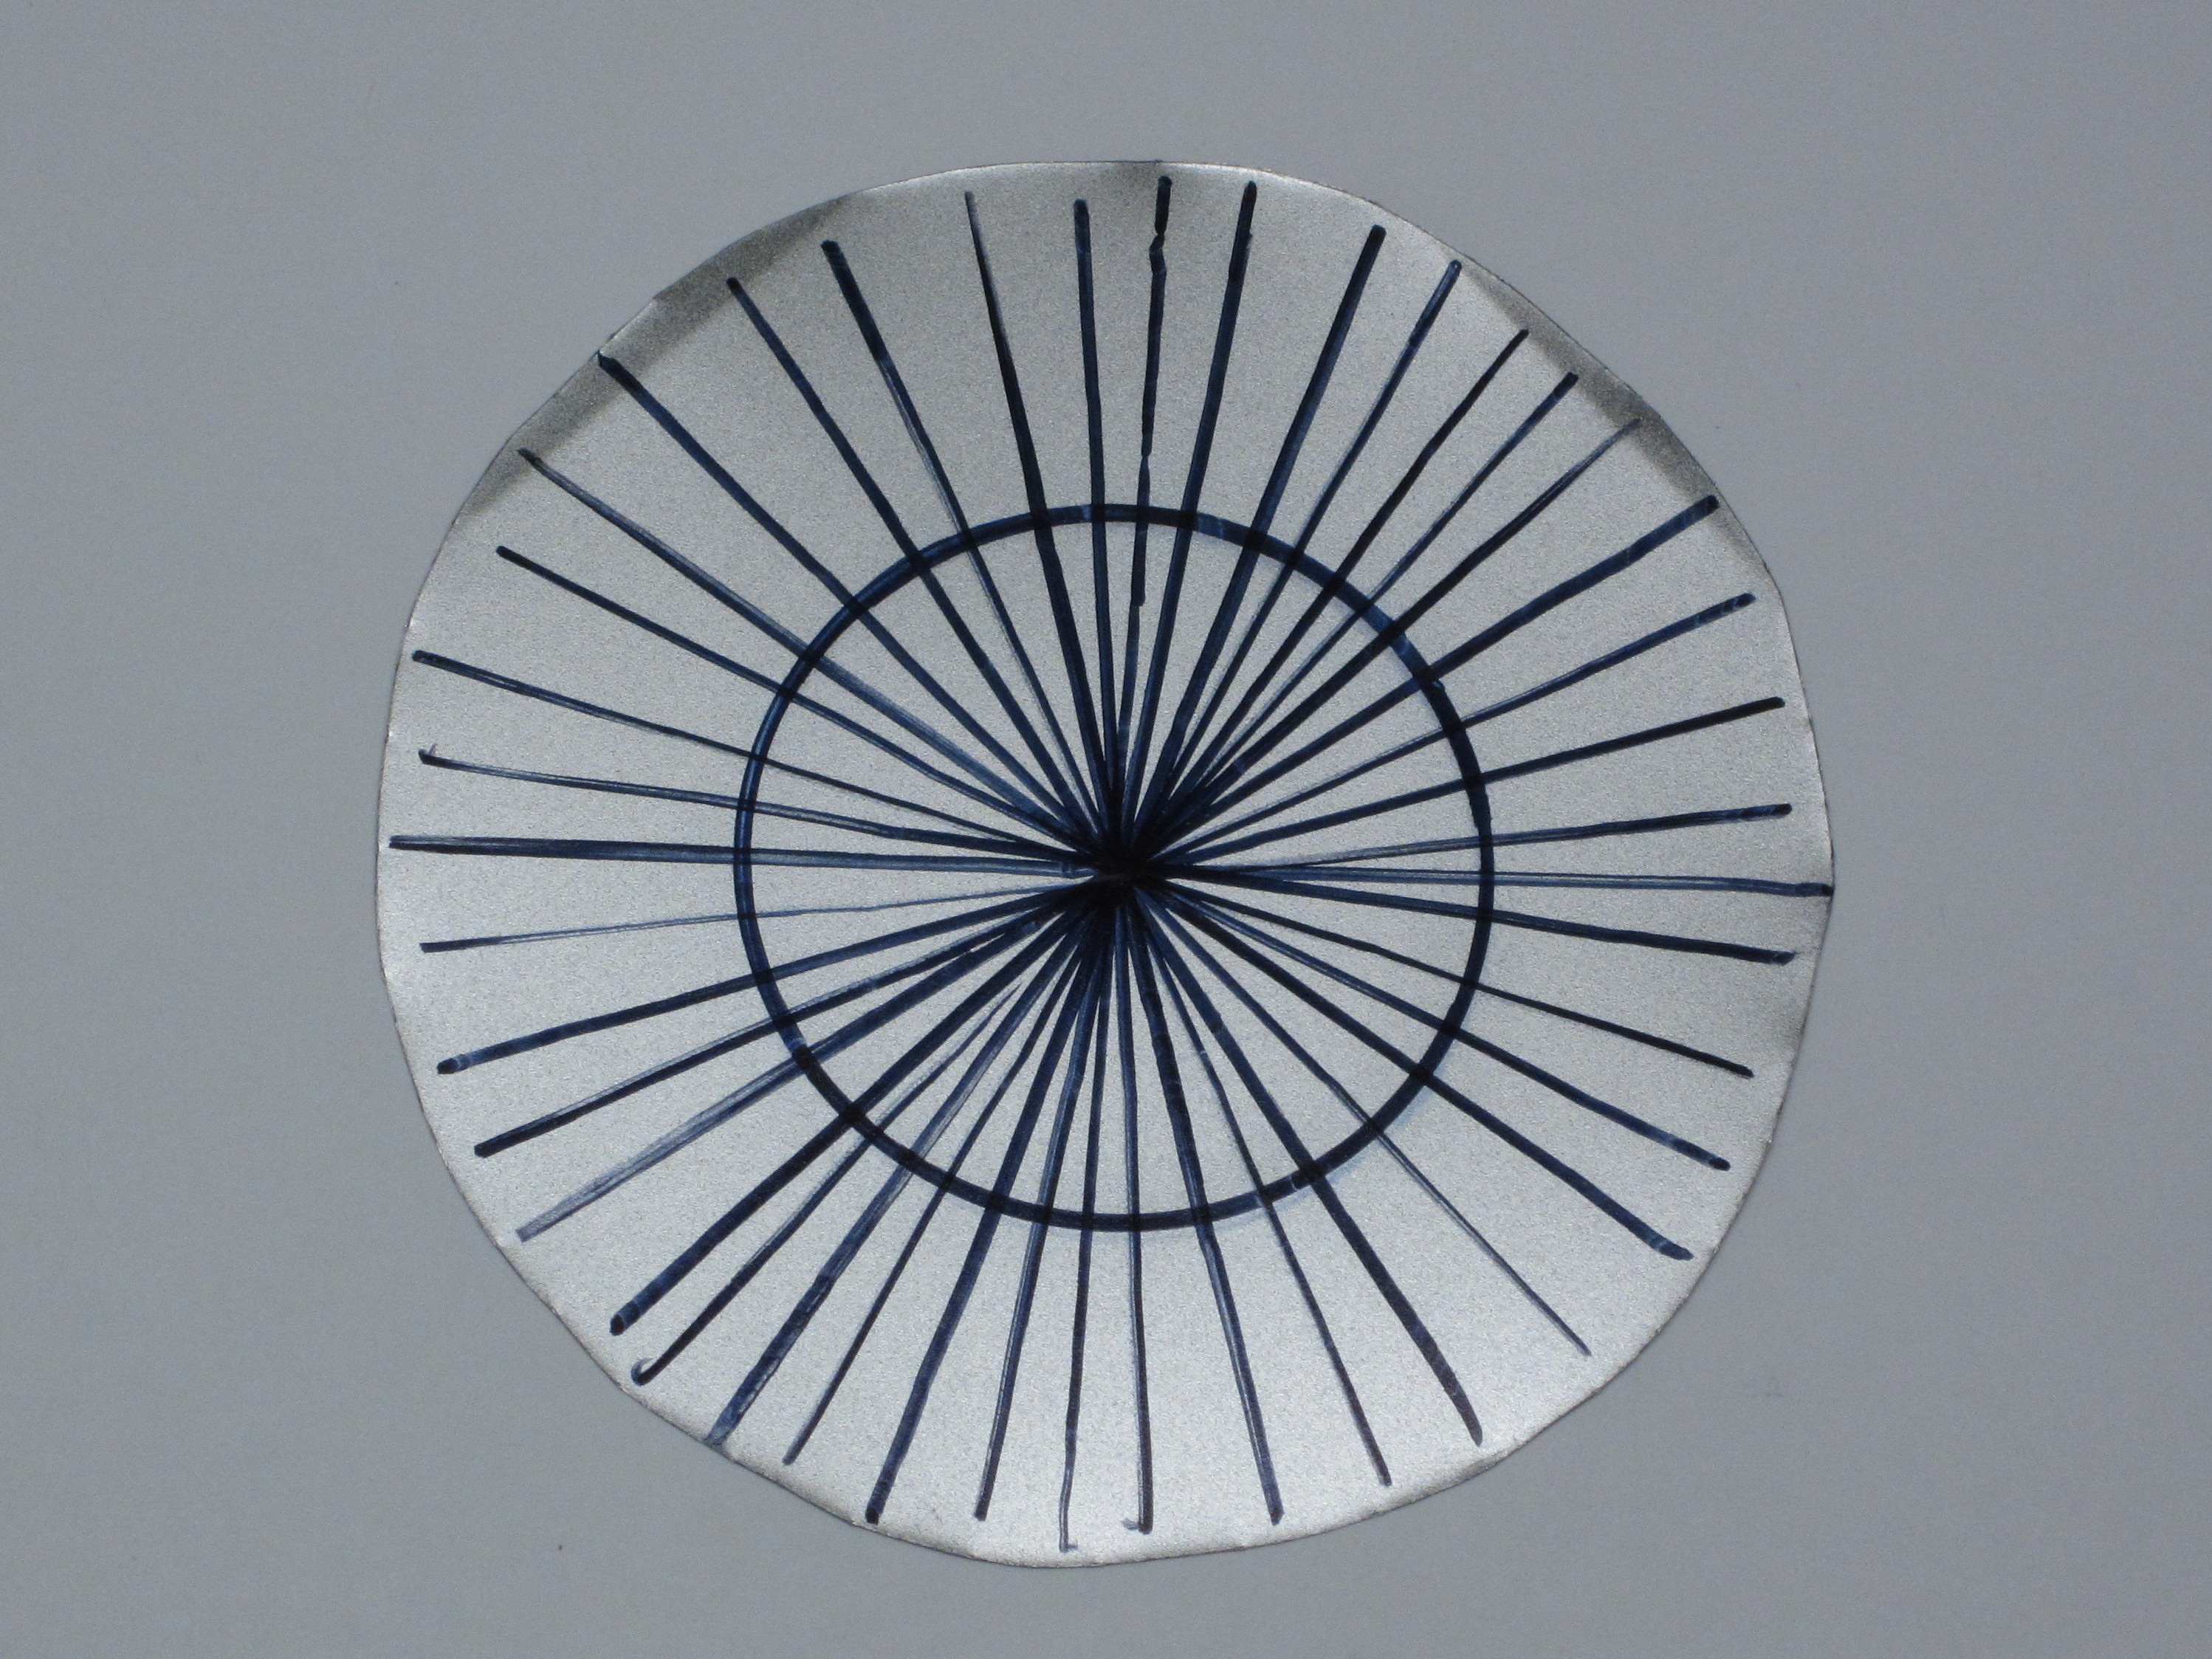
Next we need to cut slots in the outer portion of the plate. The number and size of the slots is not crucial. I made about 40 slots that were about 3/16in wide. It may help to first draw a series of lines through the center of the plate. This gives you a guide to help keep the cut lines straight.

Bend Down the Spring Supports

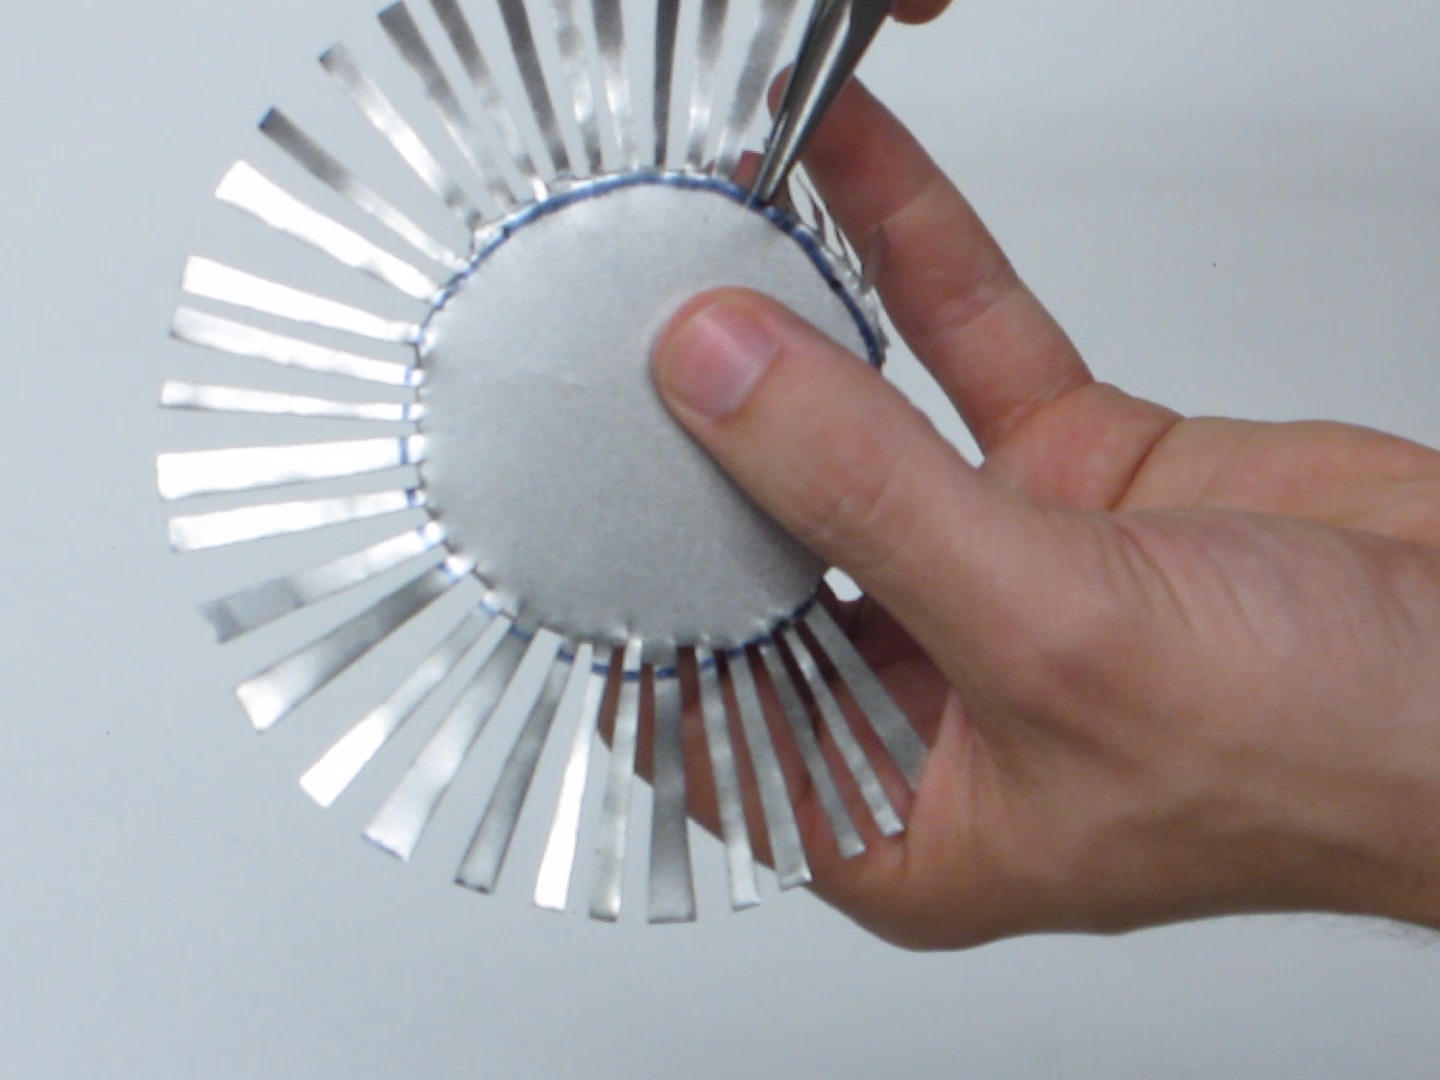
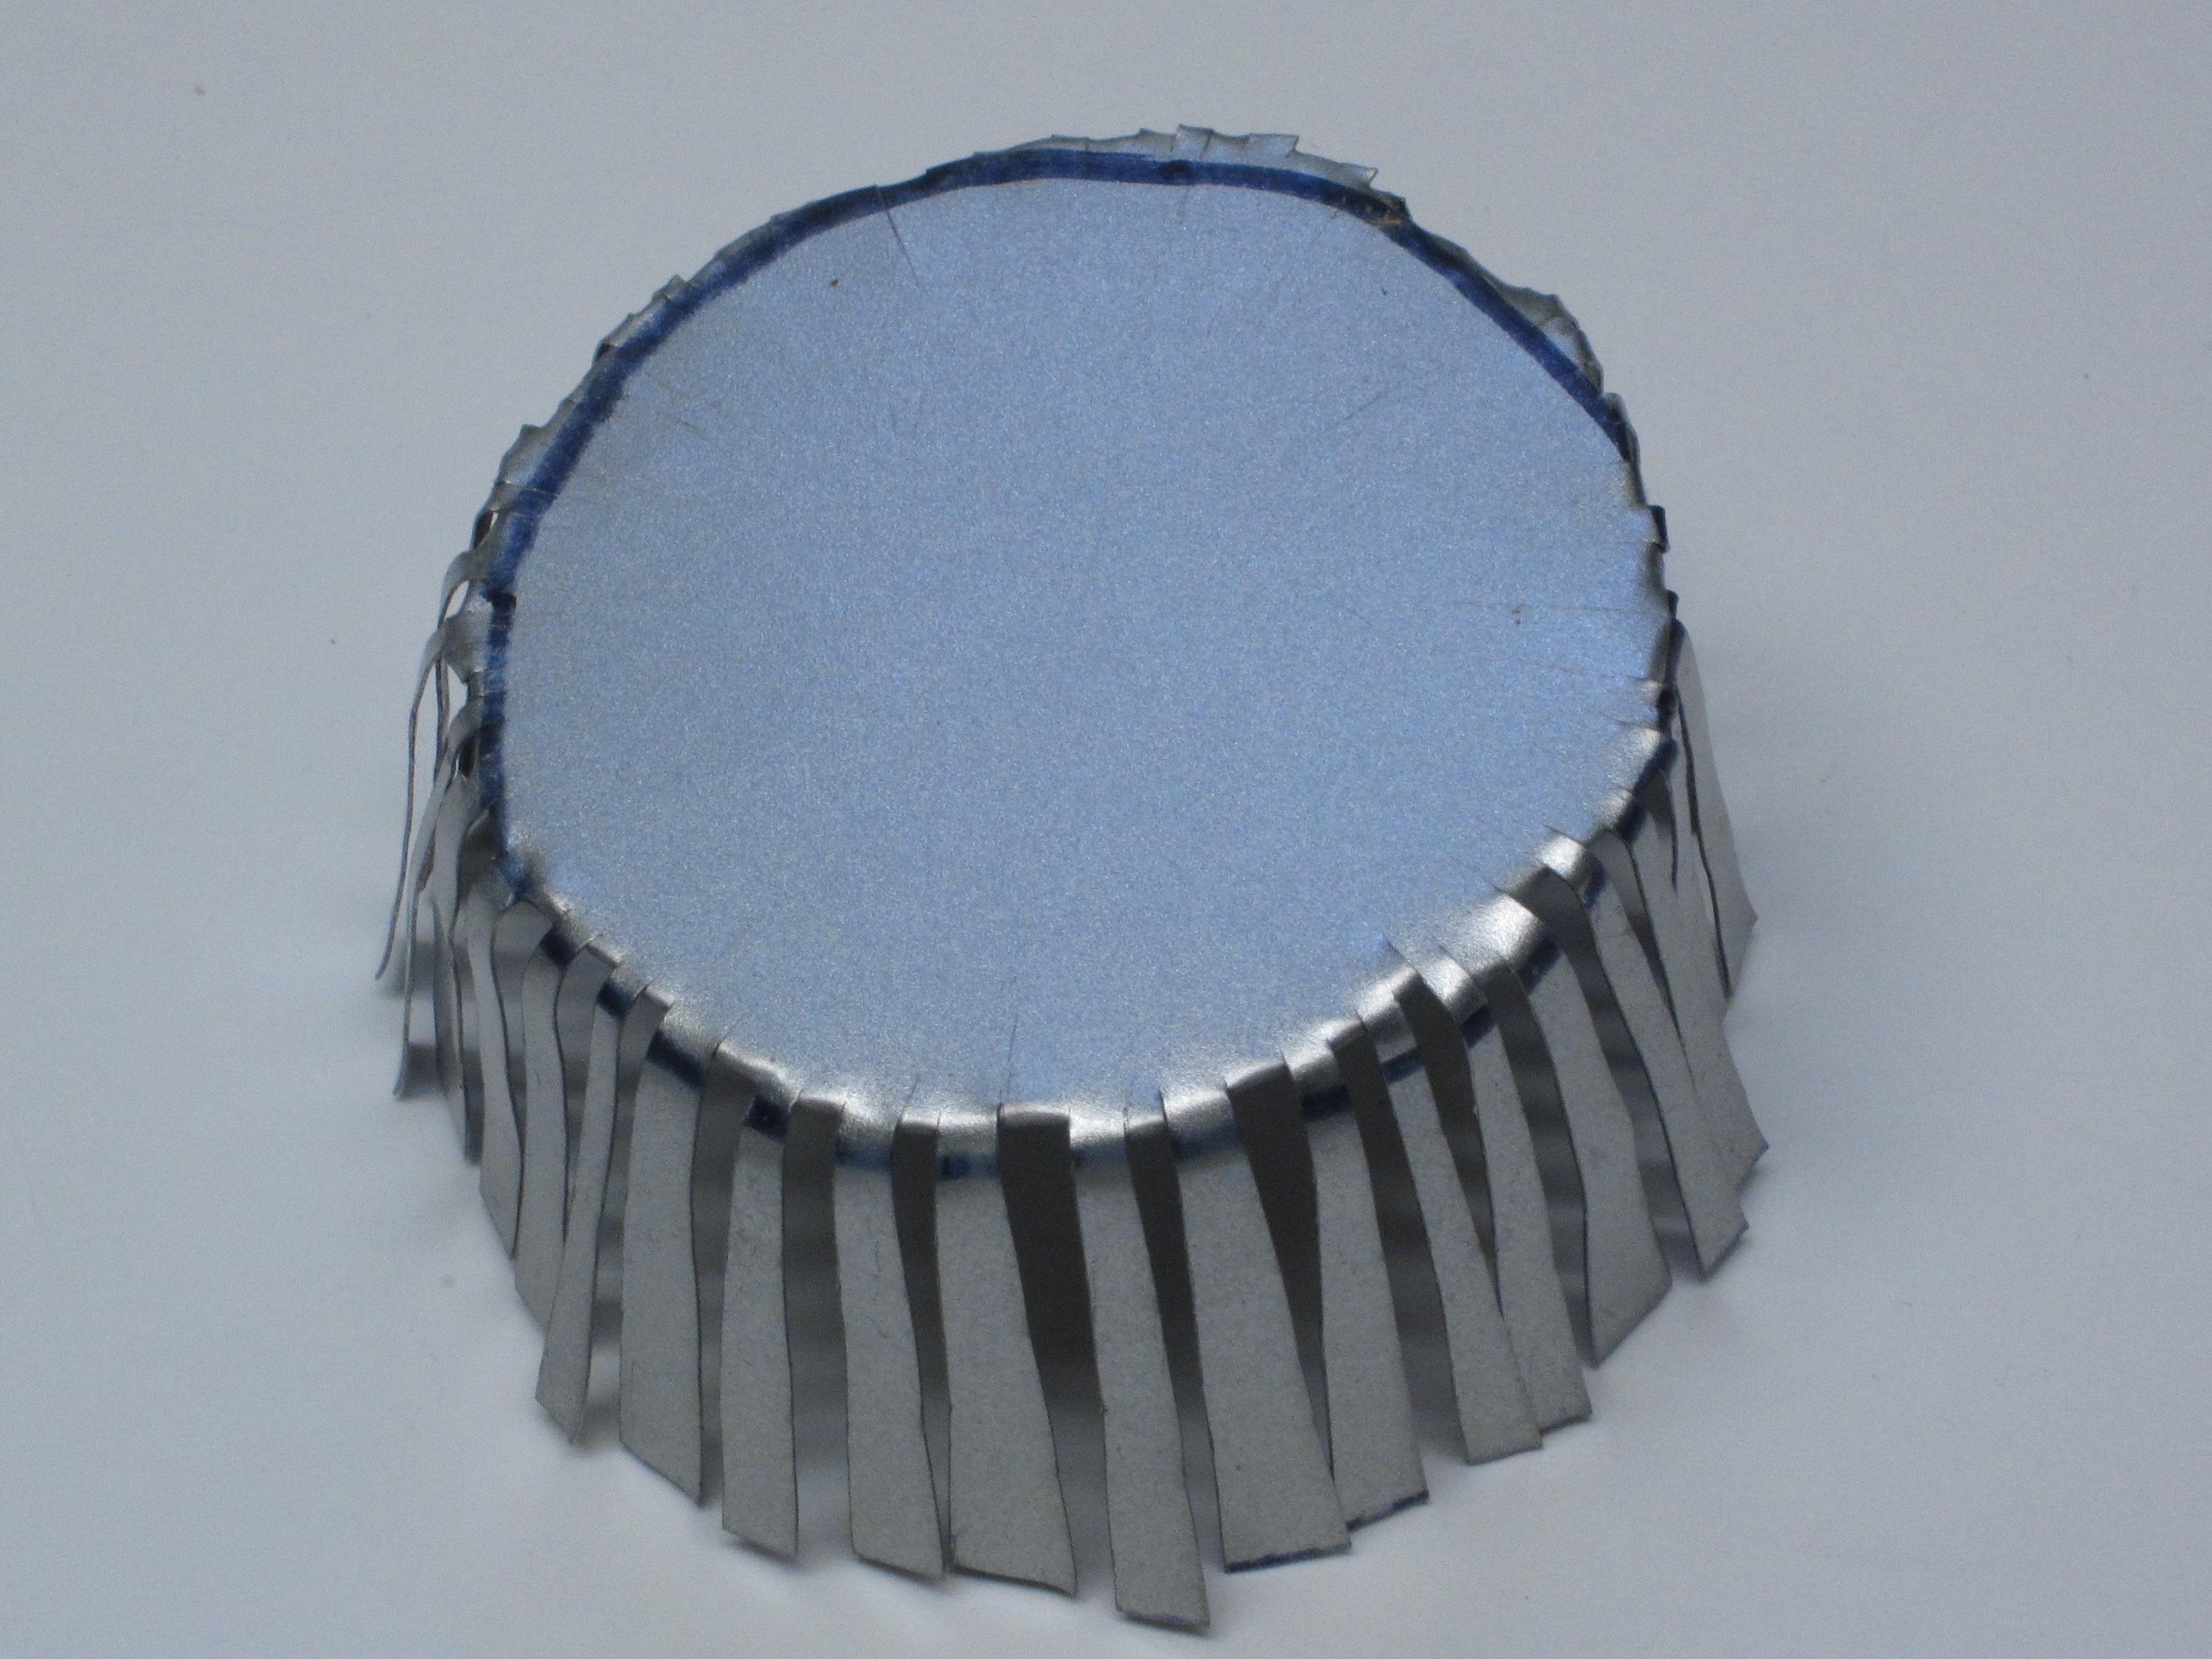
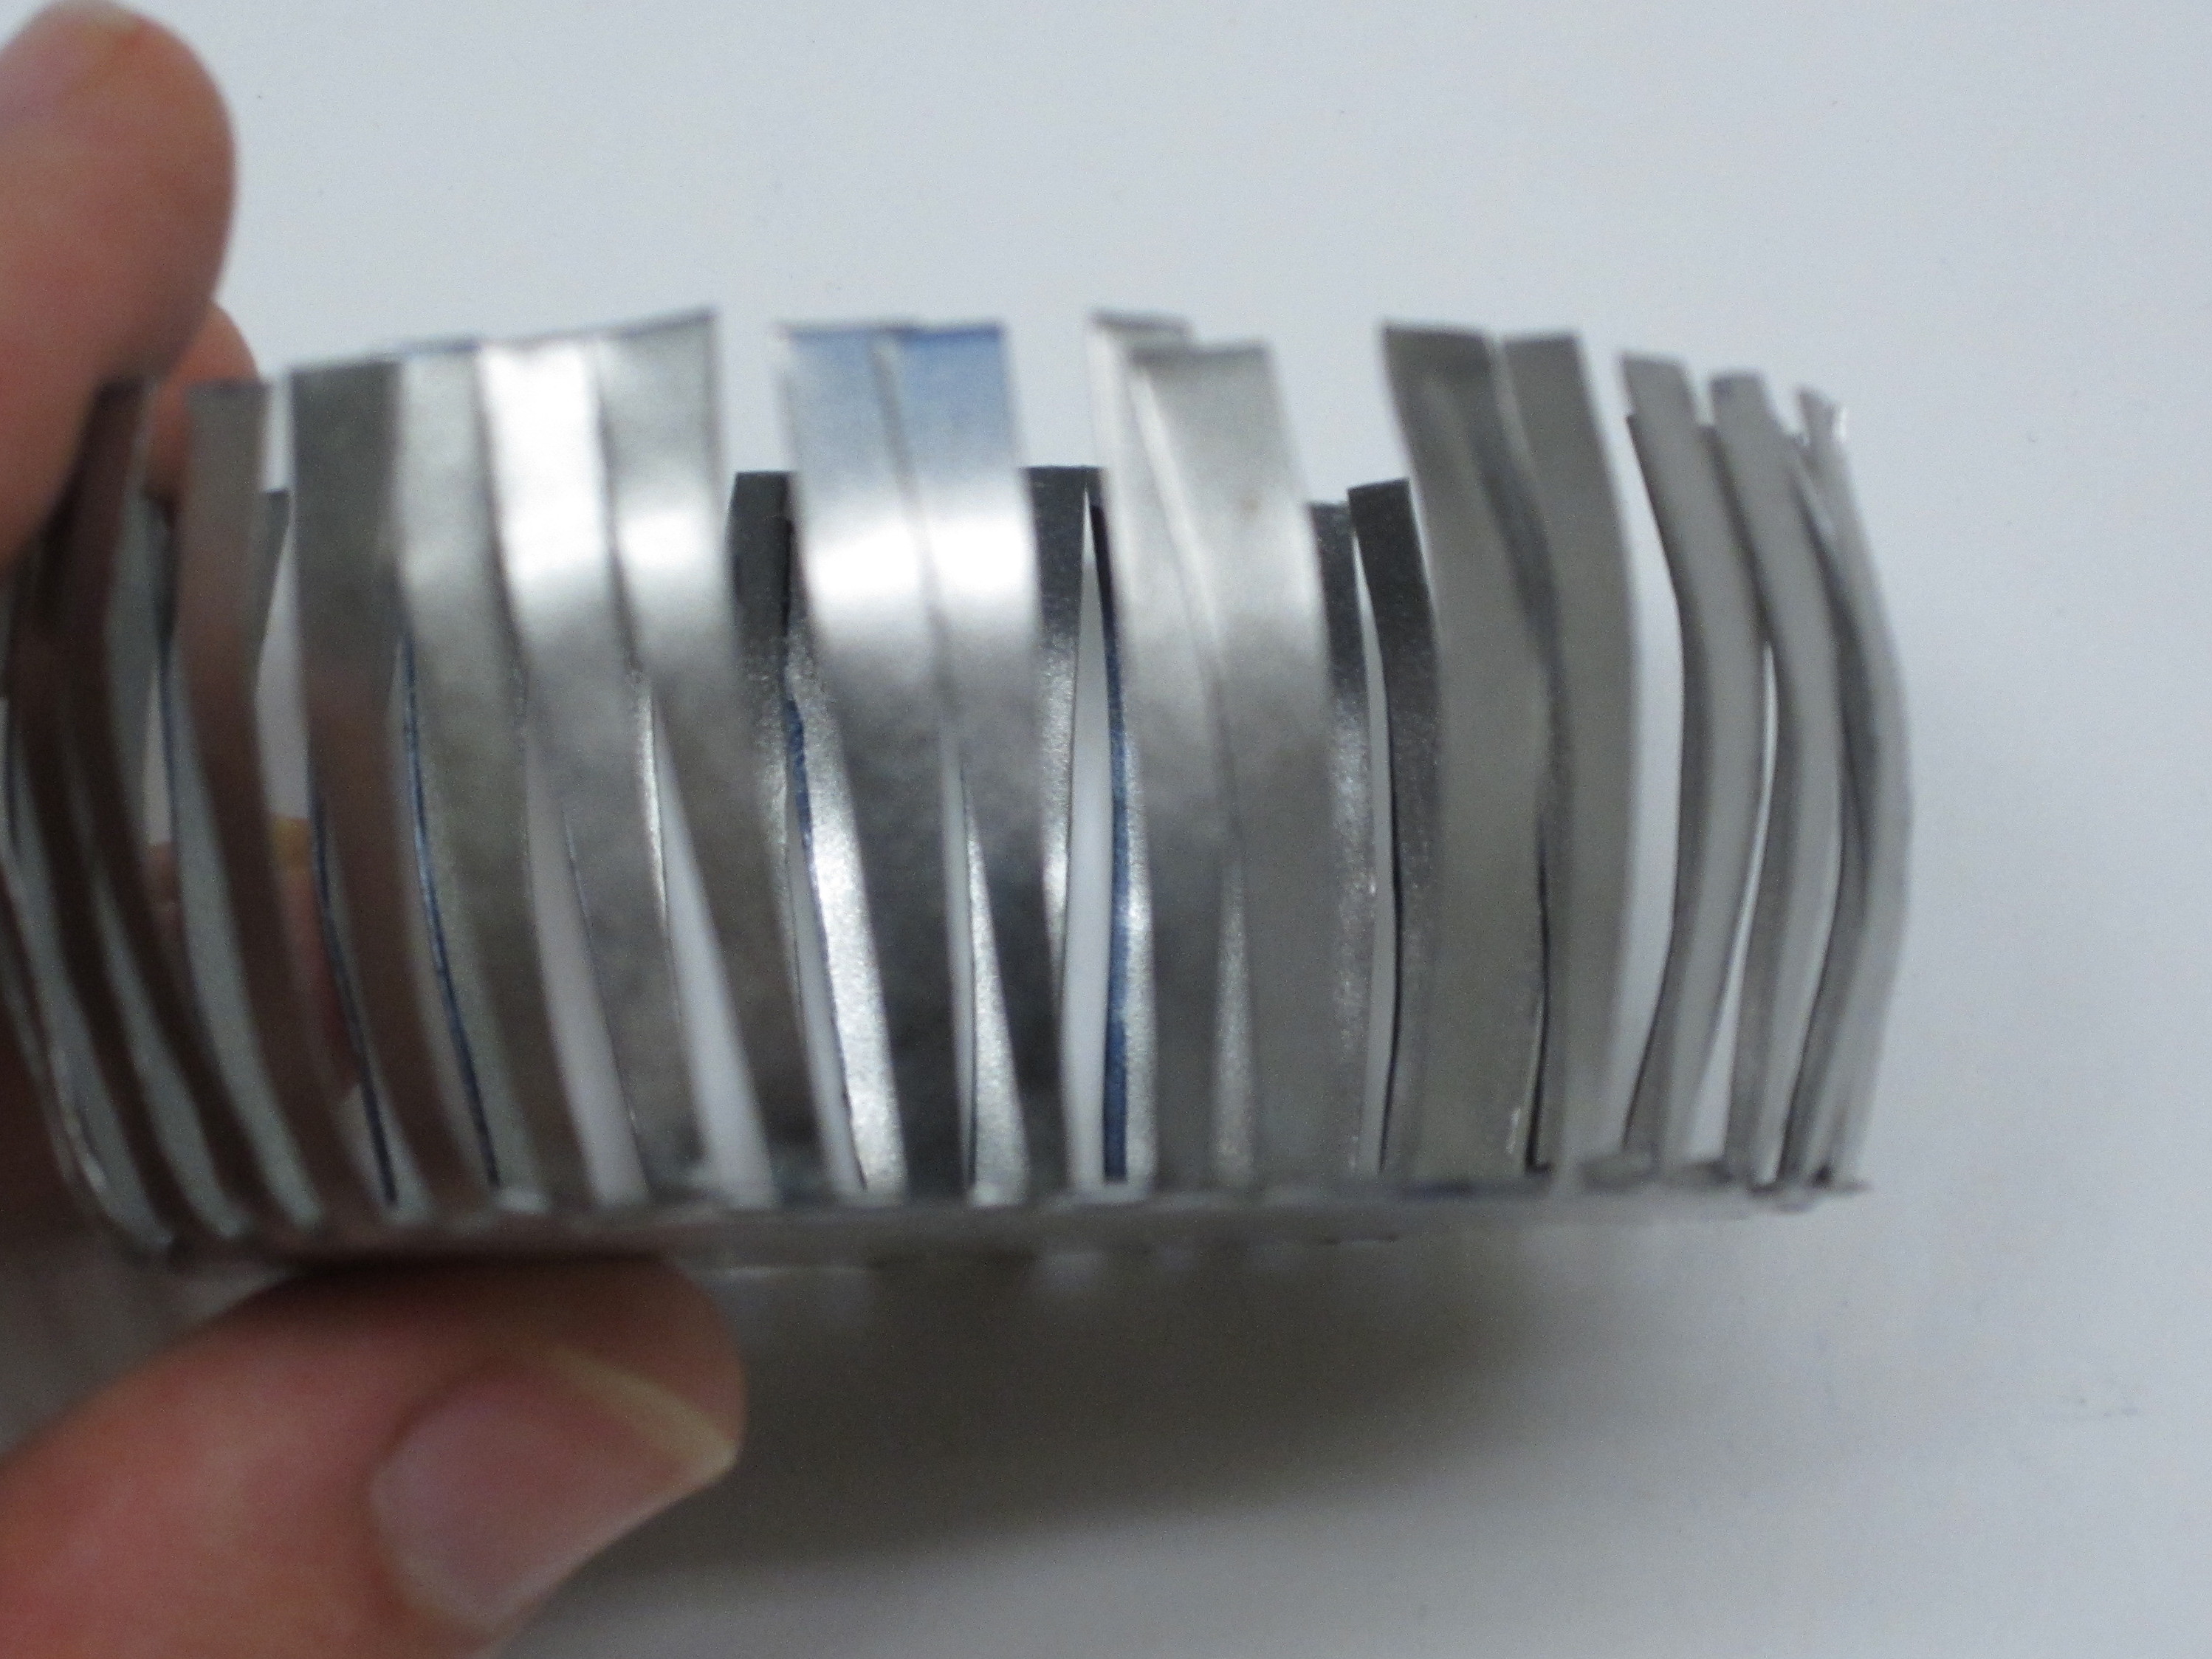
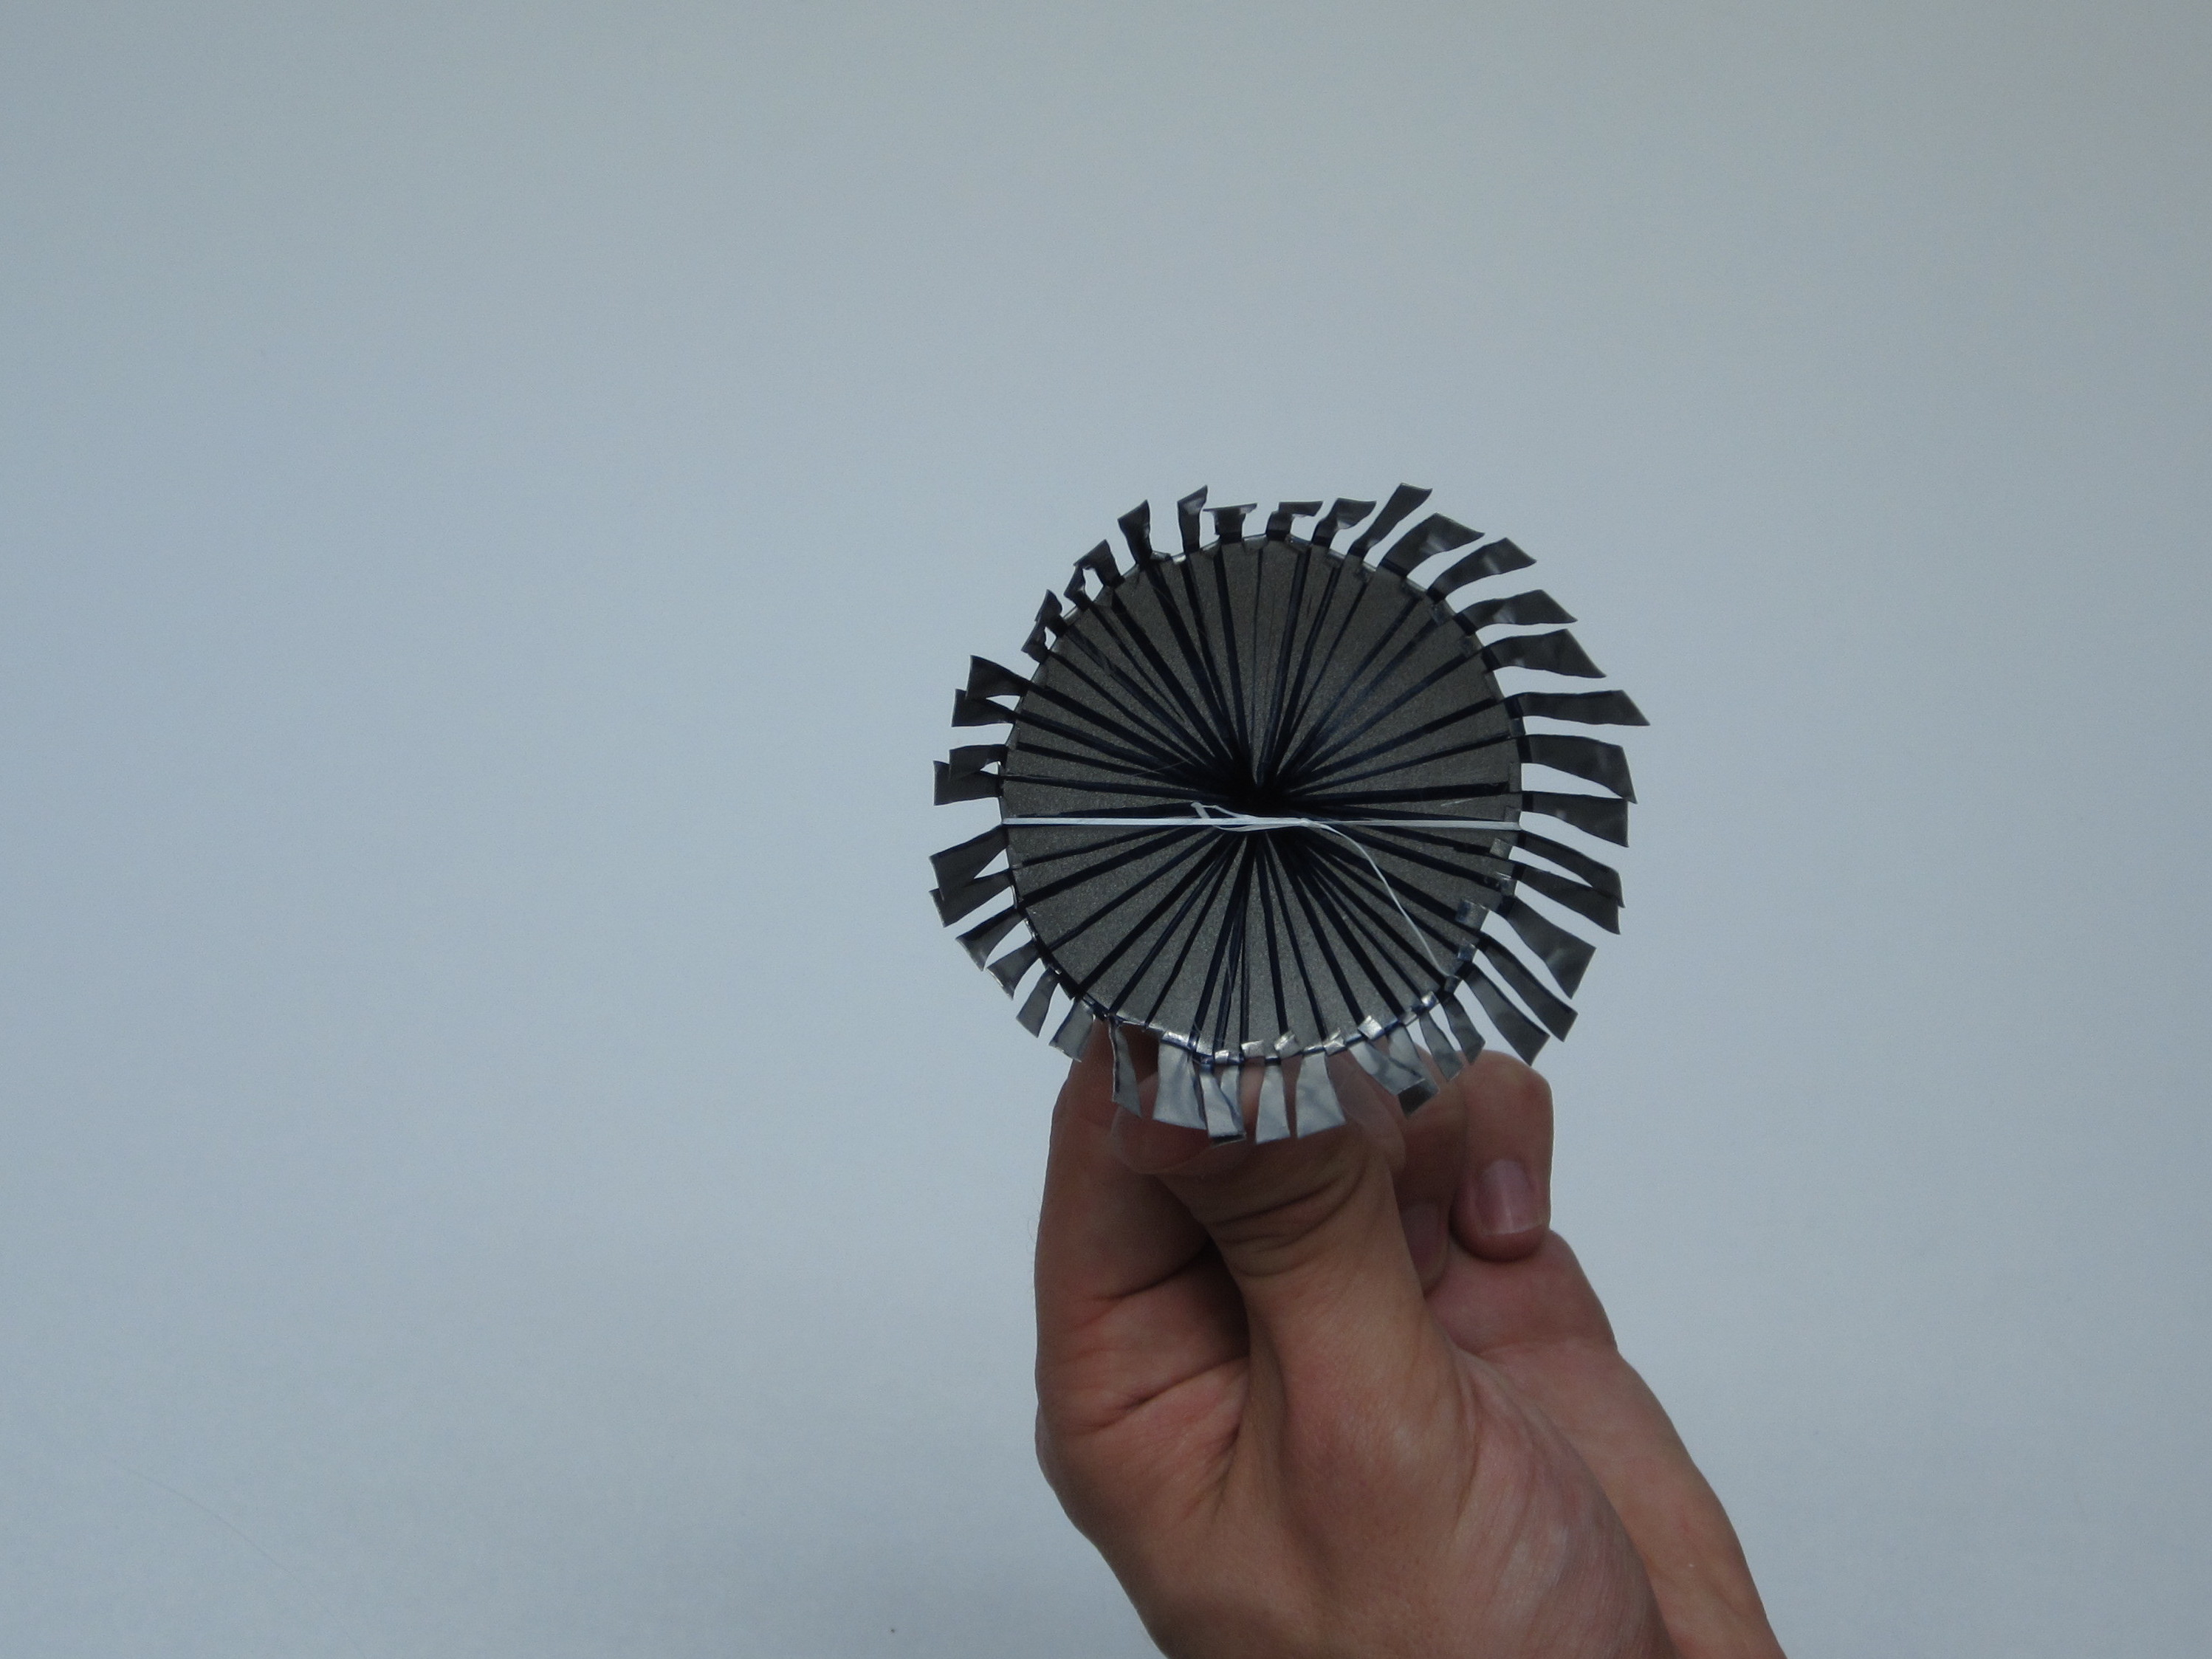
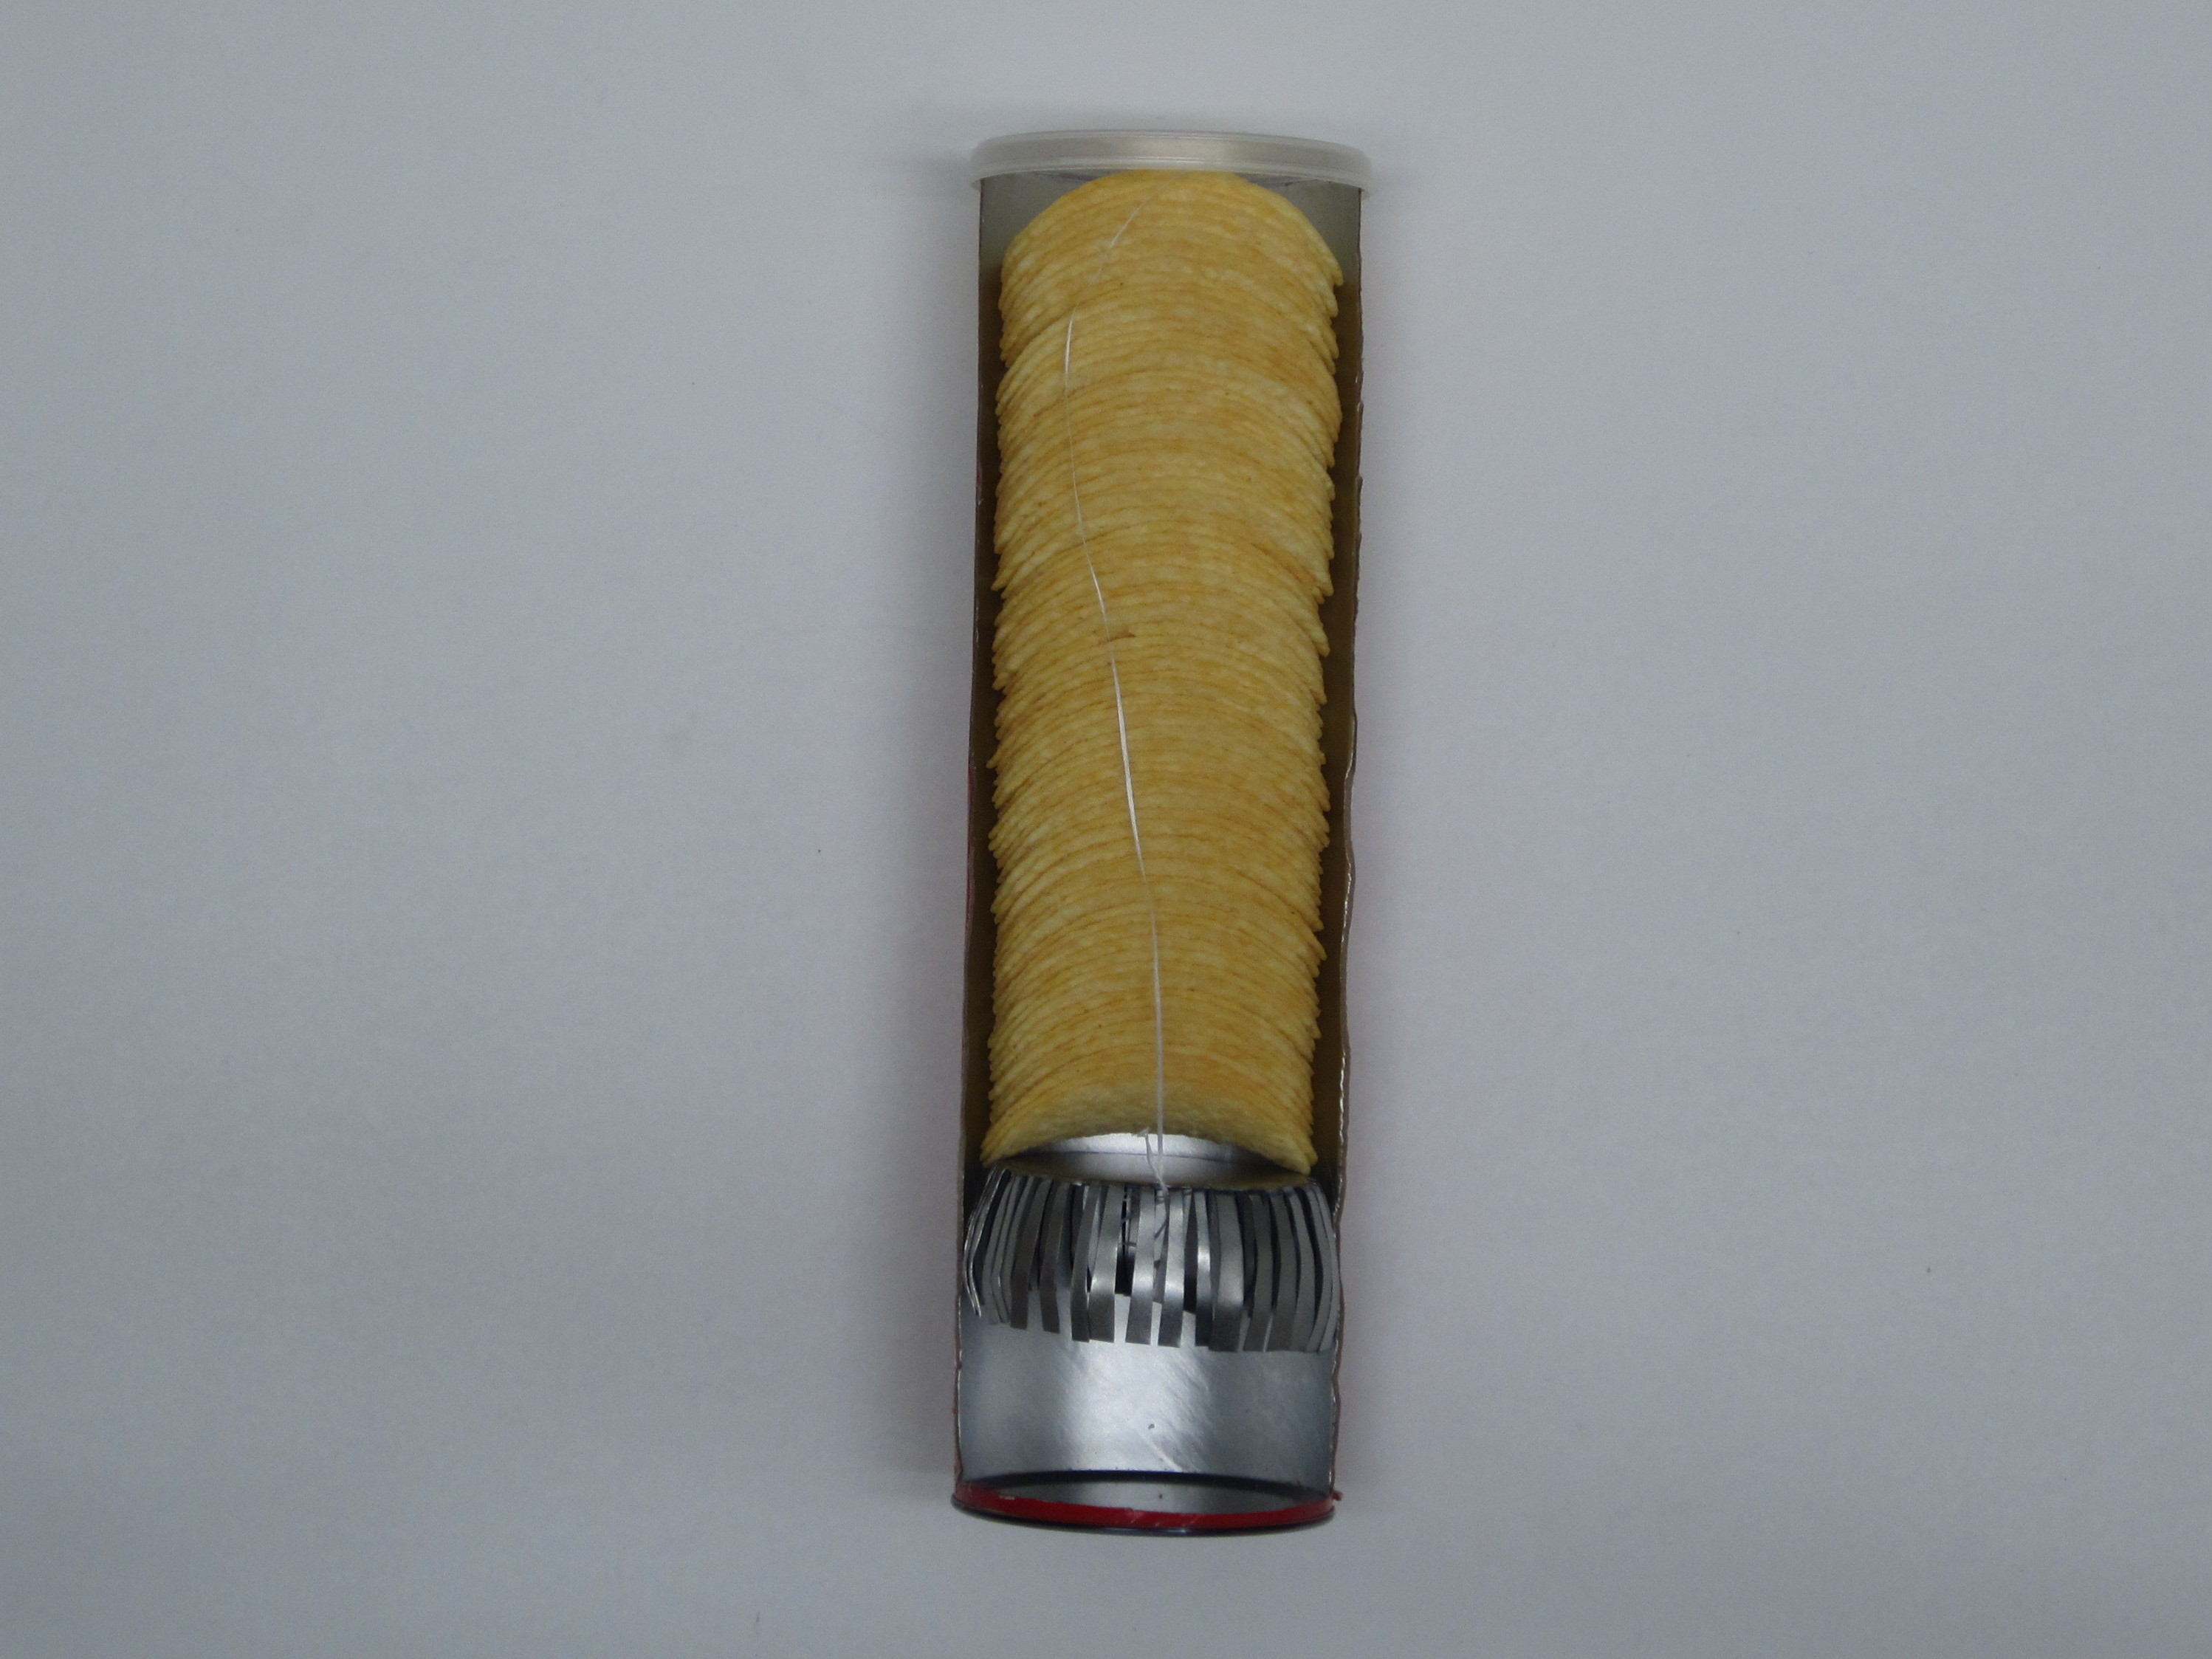
Using the needle nose pliers, bend the metal strips down a little less than 90 degrees. They should be flared out to be a little wider than the can. This helps insure than these strips will press firmly on the inside of the can.

Then bend the end of each strip inward a little further. This helps prevent the tips from getting caught on anything when it is inserted into the can.

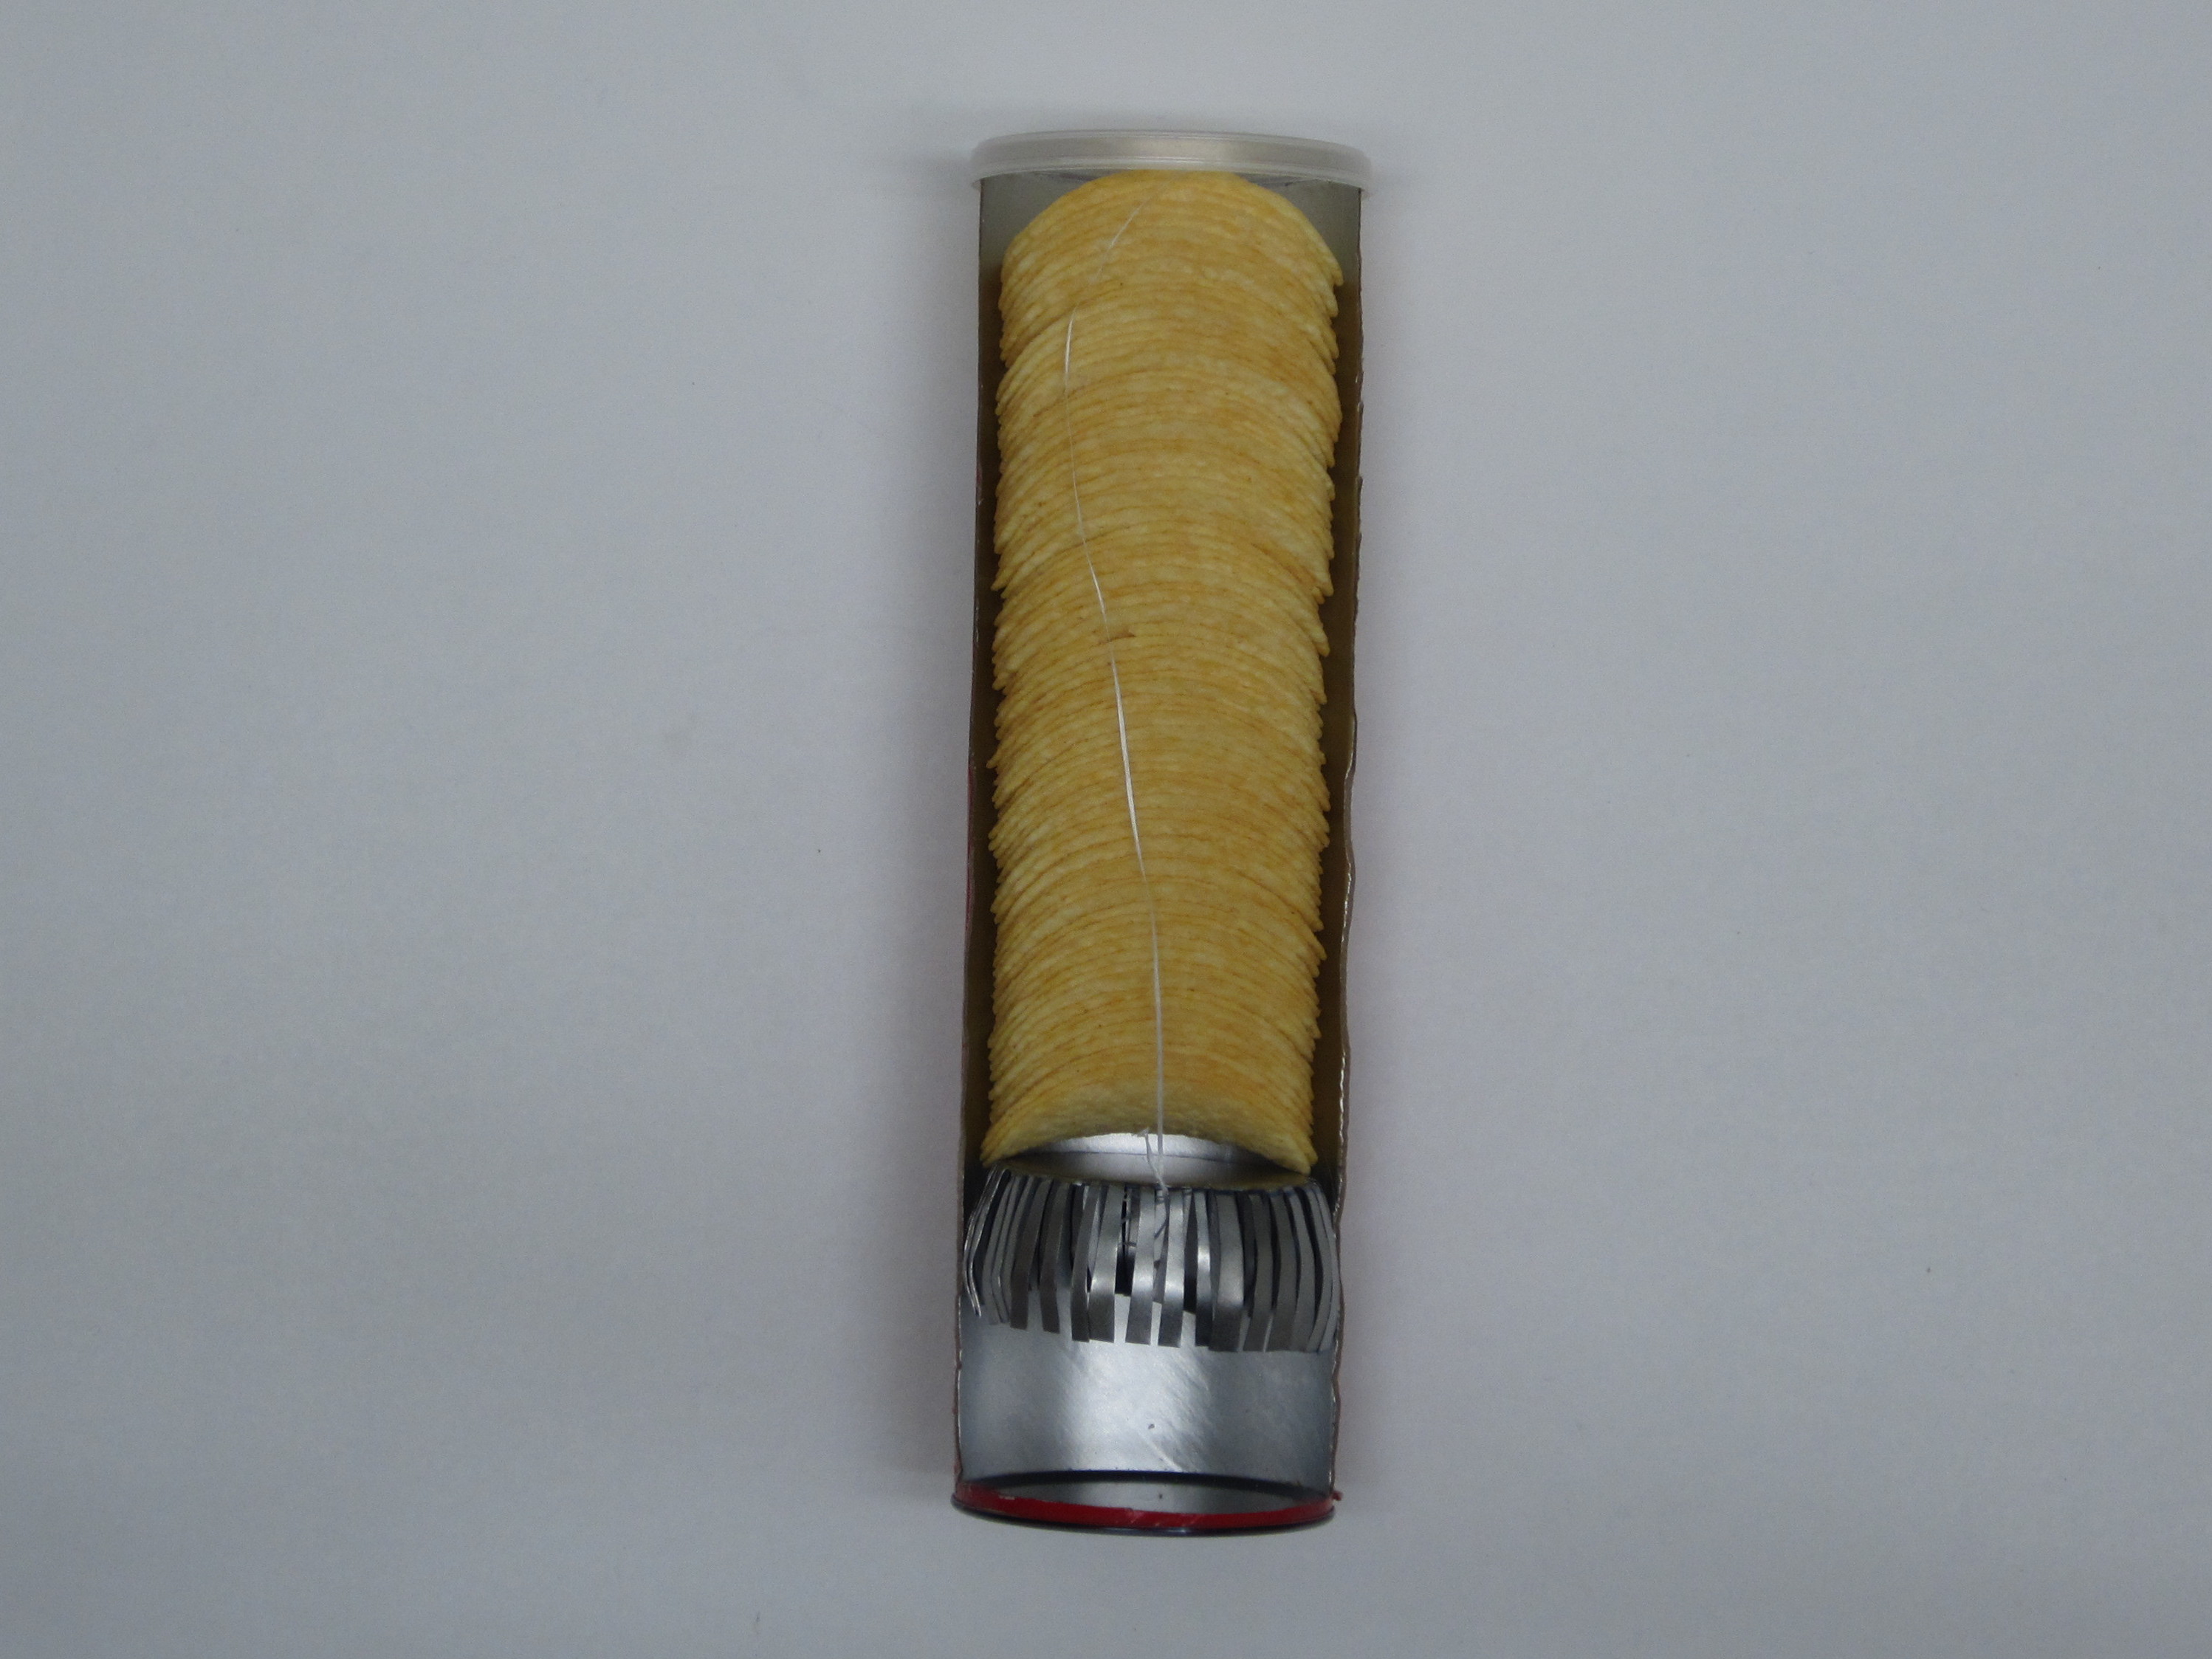
This is the chip platform that will be used to support the stack of chips. In a commercial version of this design the platform could easily be created from molded plastic. But for a rough DIY prototype, metal is more convenient to work with.

Thread the Floss From the Lid to the Platform

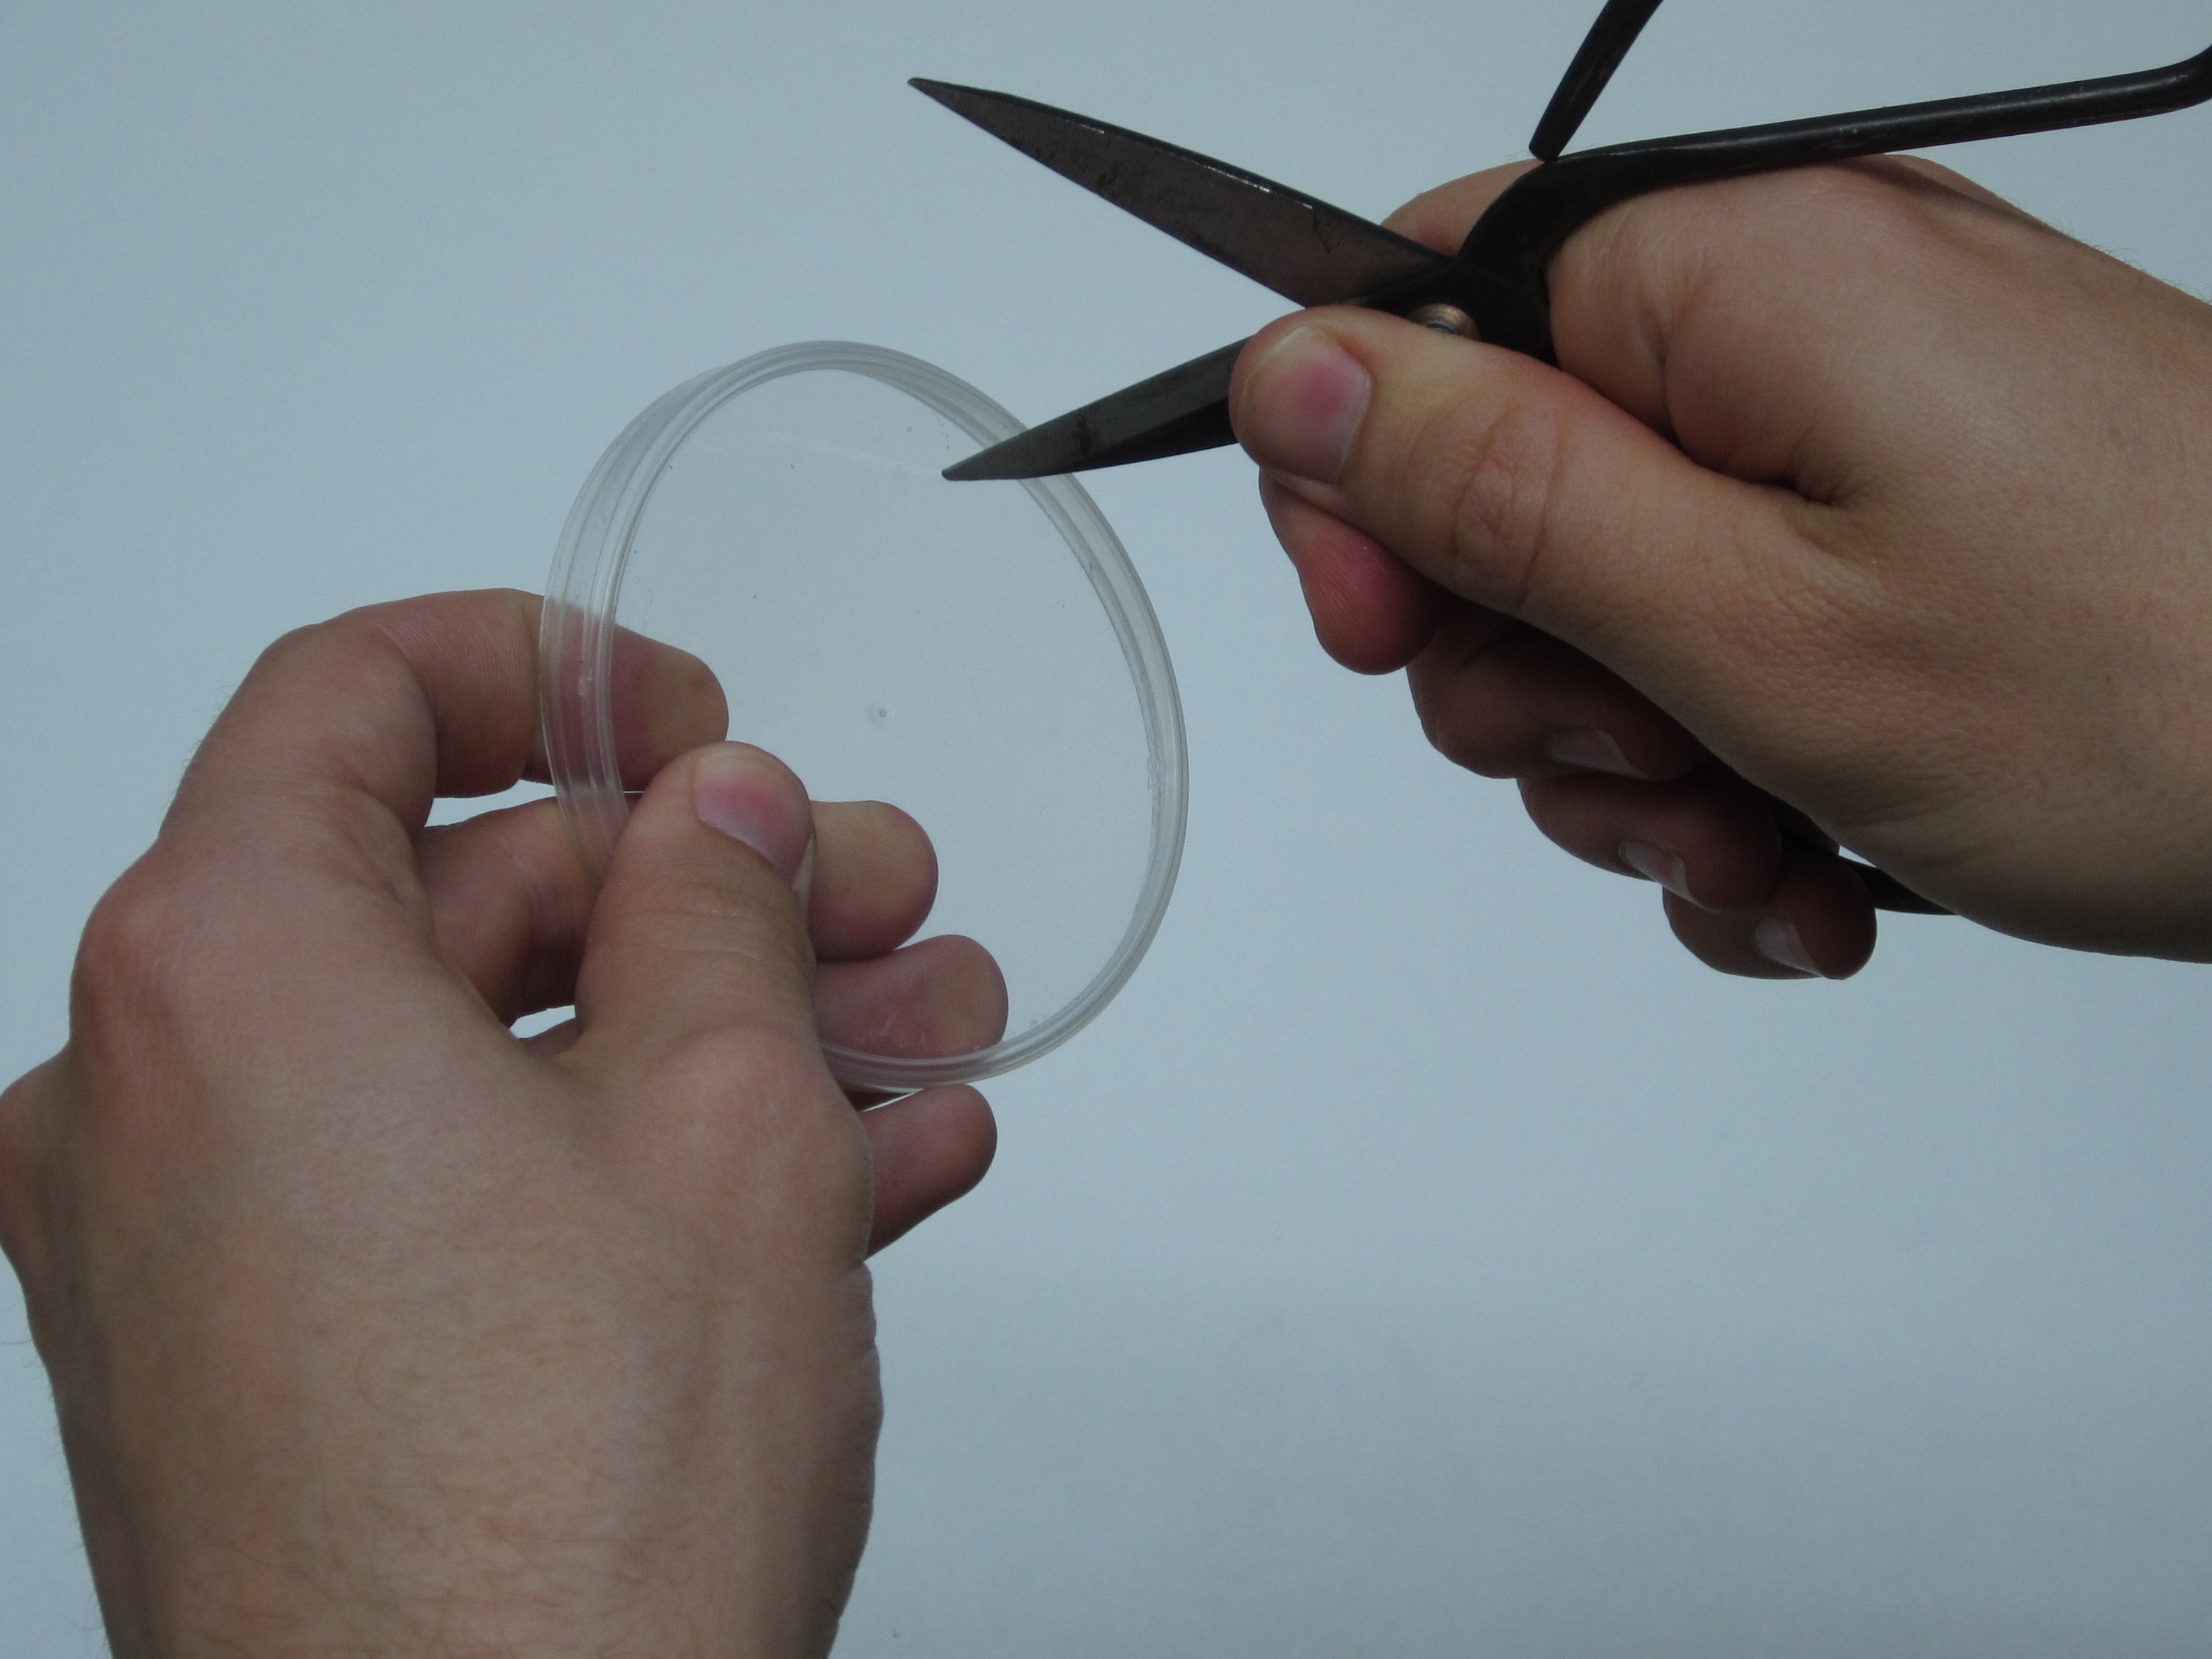
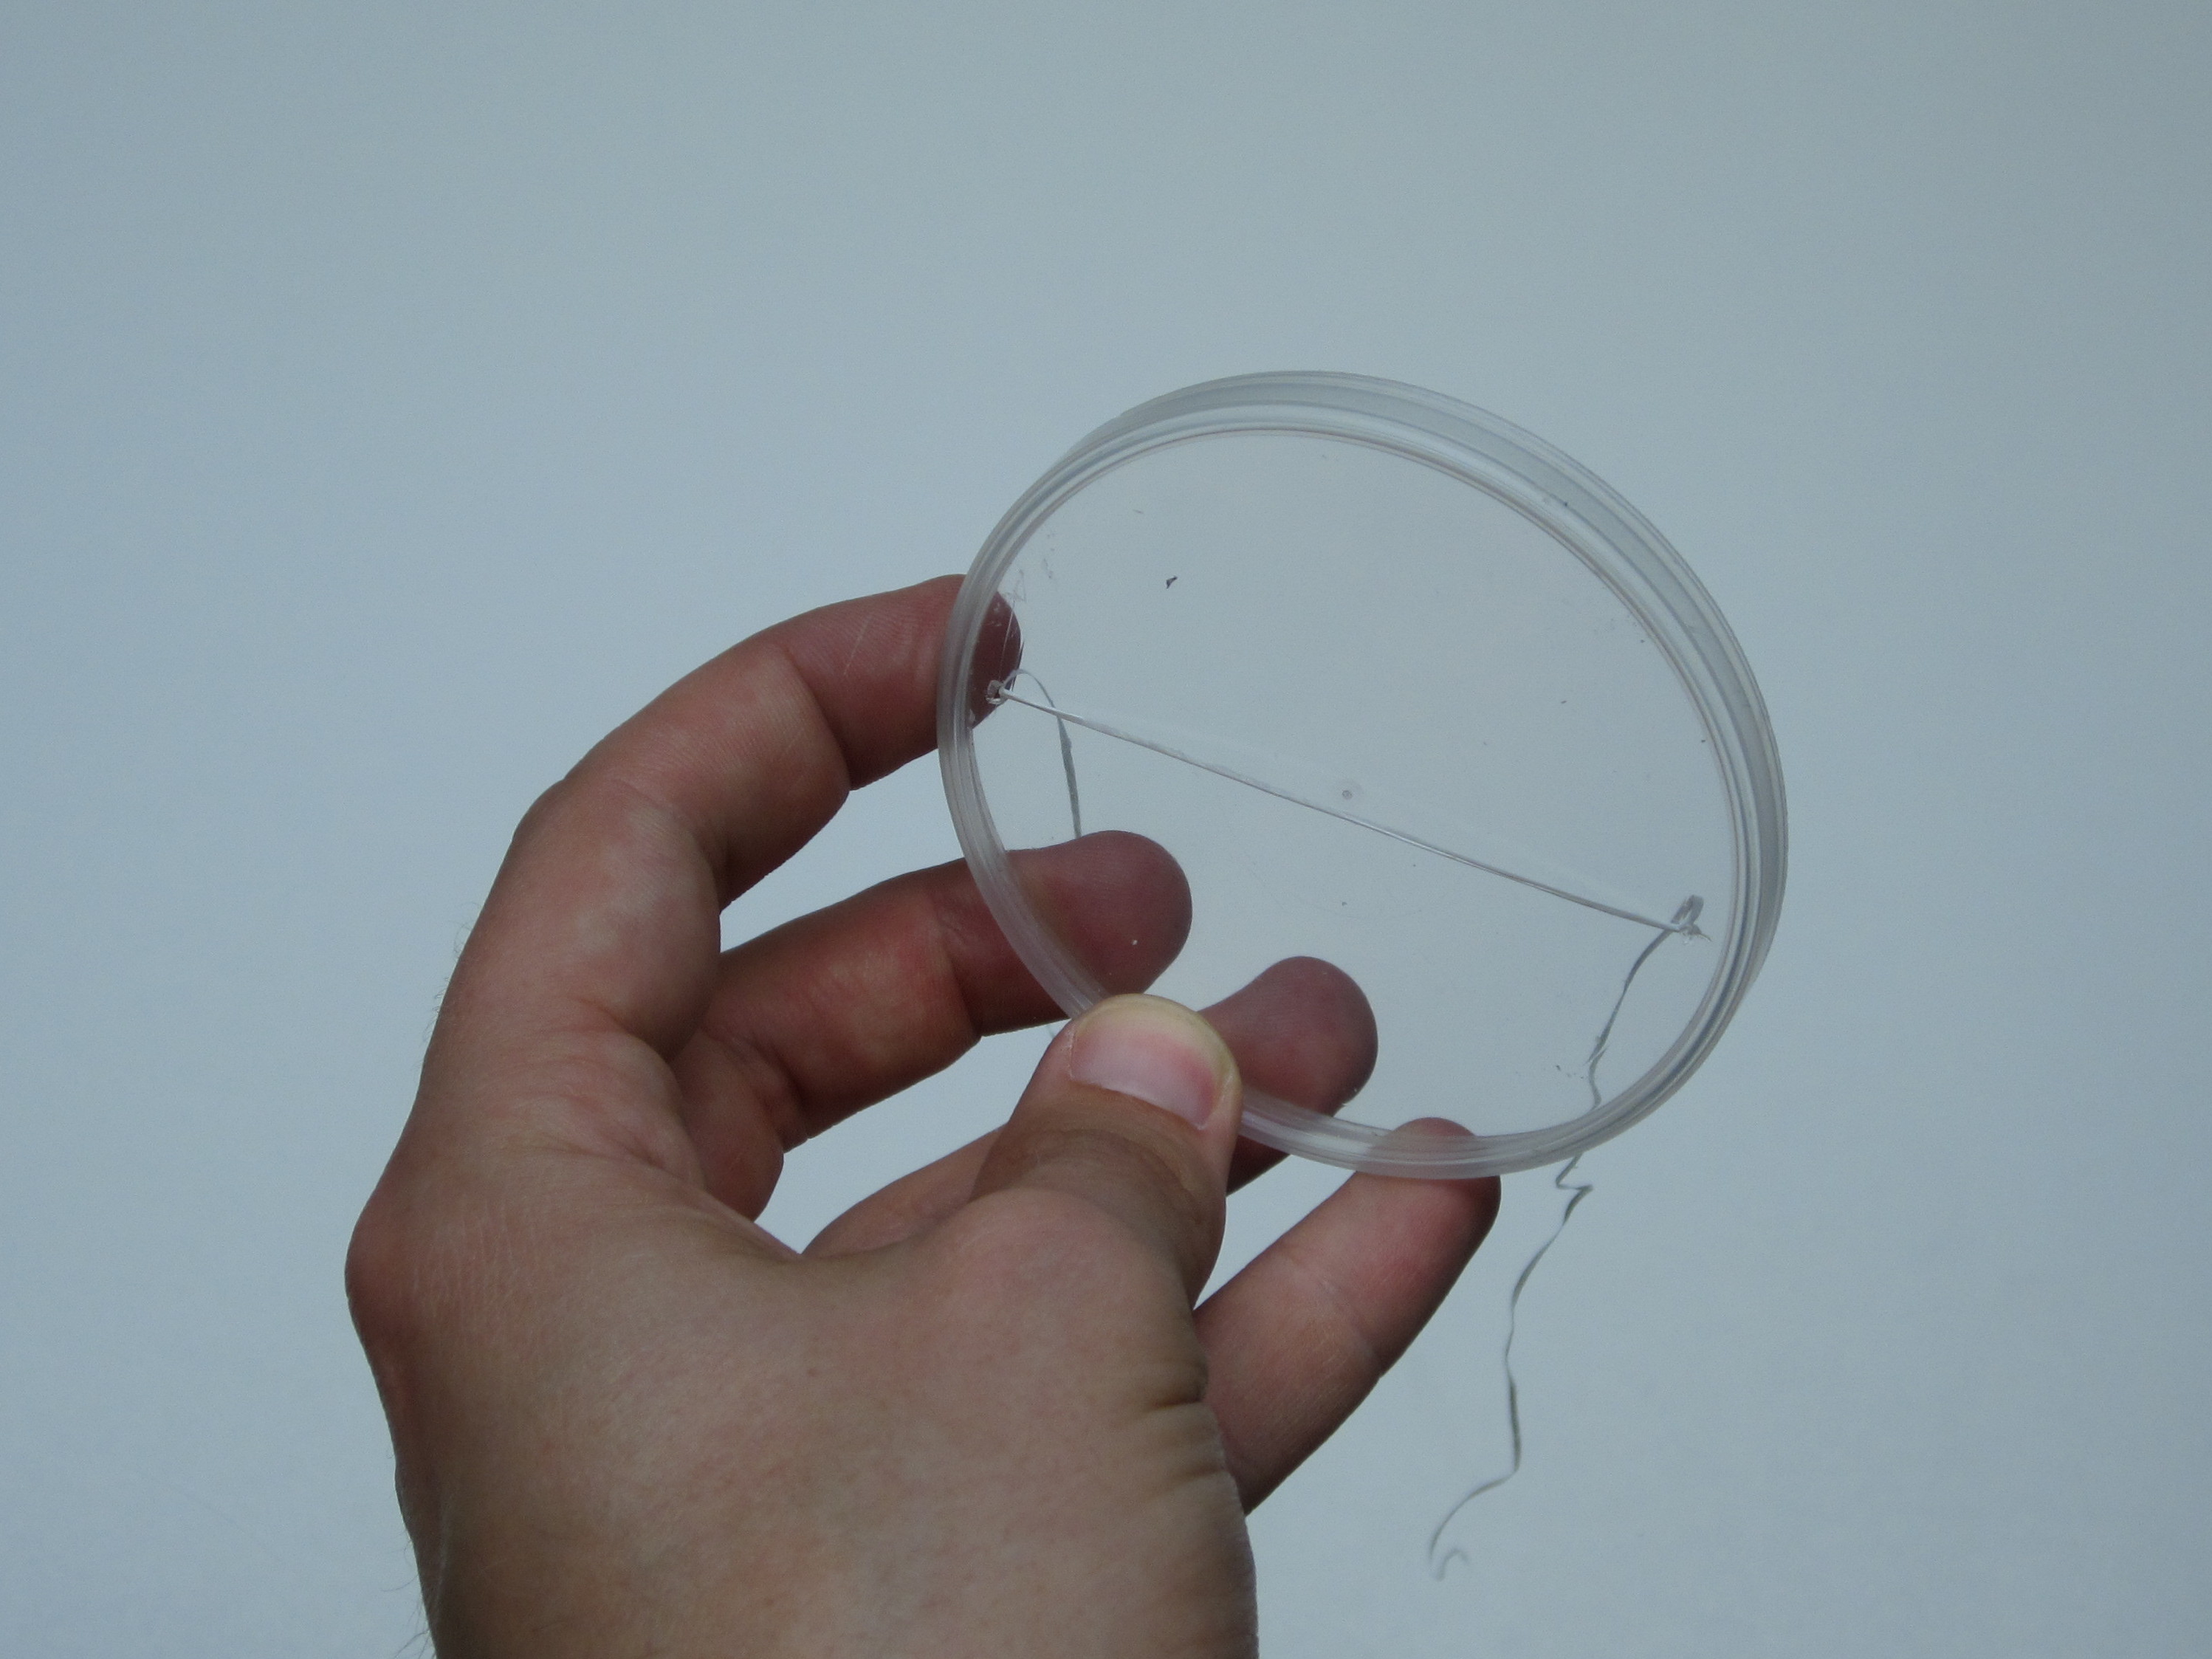
Using the ends of the tin snips or another sharp object, punch two small holes in opposite sides of the plastic lid. Then cut off a piece of floss that is about 24in in length. Thread the floss through these holes so that the two ends come out of the bottom of the lid. Then tie the ends together. Feed this loop through the teeth of the platform.

This loop of floss is what will be used to pull on the platform to raise the chip level. This platform adjuster could also be made from other materials. It could also be made from a single rod with an arm bent underneath the platform. Any method will work as long as it is capable of applying even vertical force to raise the platform.

Put the Assembly in the Can

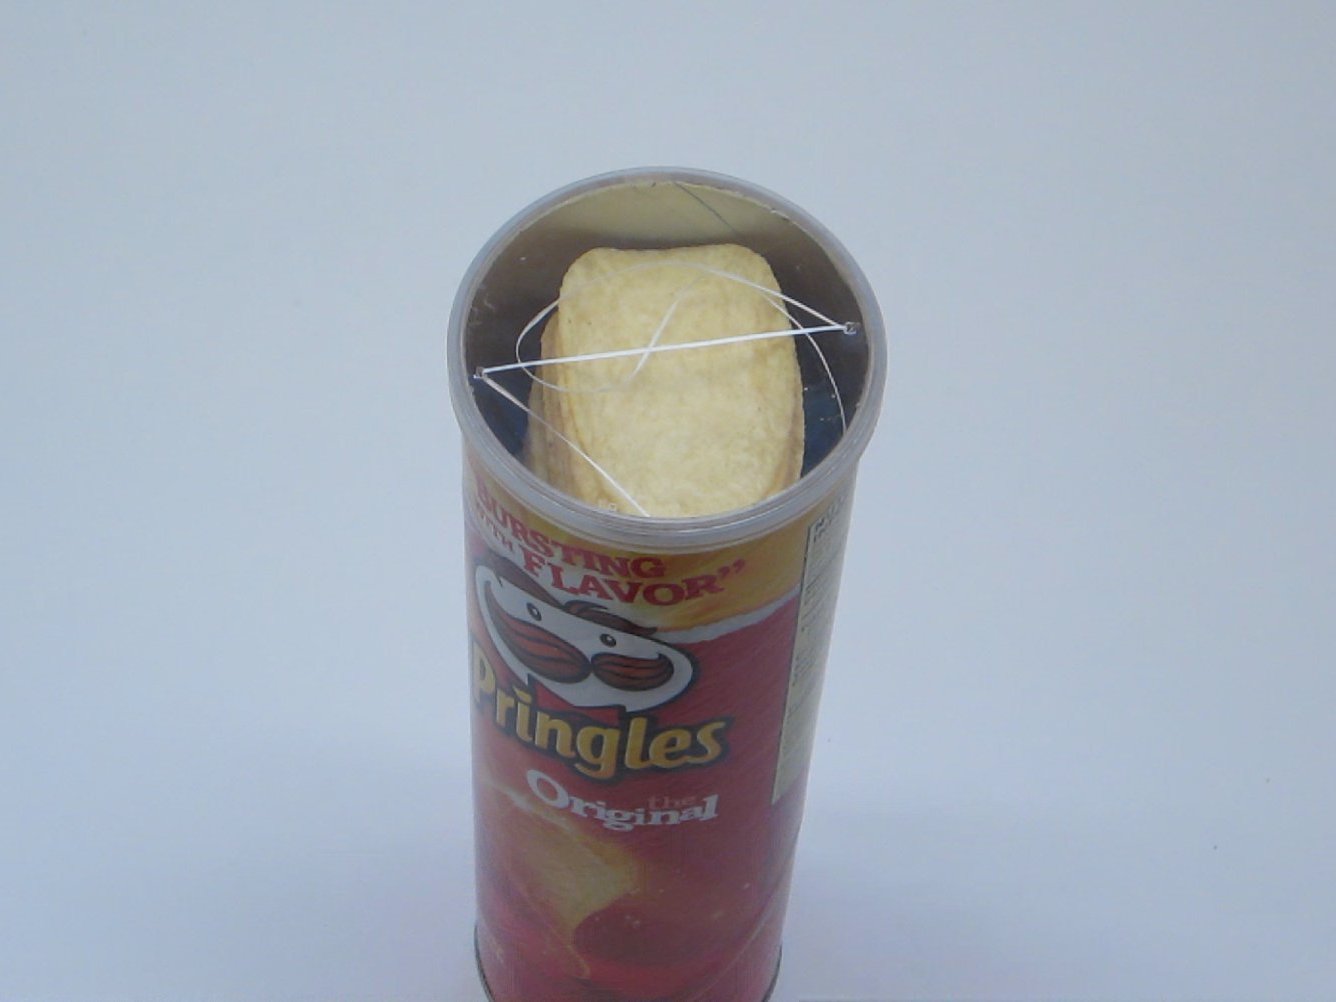
Insert the metal platform into the Pringles can and slide it to the bottom. If some of the cardboard on the inside of the can is sticking out, there is a chance that the platform may get stuck. If this happens, just spin the platform clockwise and it will come loose.

Then all you have to do put the chips back in the can and you are done. The easiest way that I have found to get Pringles back in the can without breaking them is to make an upside down stack of chips, slide the can over the top and then carefully flip them back upright.

Then whenever you want to raise the level of the chips, just pull up on the lid. The strings will pull up on the platform raising the chips, and friction should hold it in place.