Remember the auto-fire (turbo) button on old video game controllers? This project adds an auto-fire button to a mouse for use with video games or just clicking random things quickly (if that’s what you’re into) using no more than a 555 timer, a capacitor and a couple of resistors.

My main goal in this project was to create an auto-fire button for the left mouse button as easily, cheaply, and simply as possible. Also, I wanted to retain all the standard functionality of the mouse.

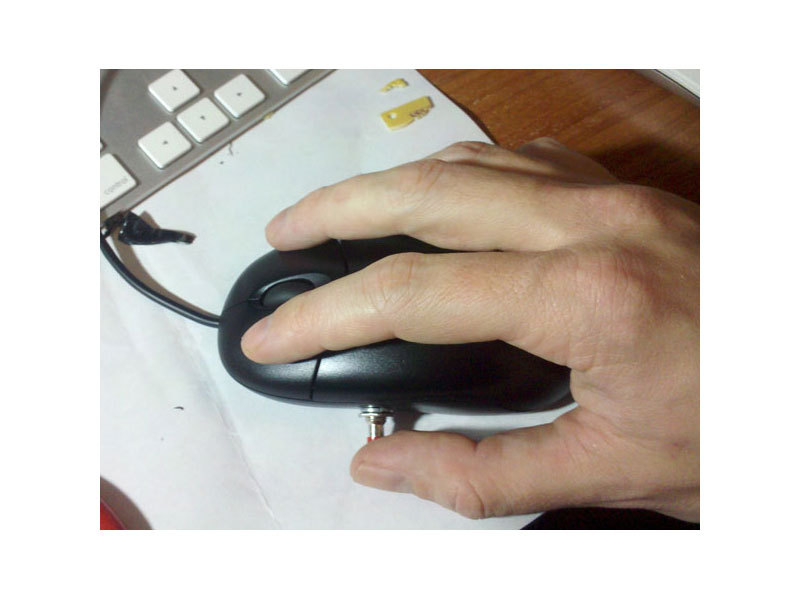
So what I wound up with is a standard (fully functional) optical mouse that has 1 extra button for auto-fire.

What will the next generation of Make: look like? We’re inviting you to shape the future by investing in Make:. By becoming an investor, you help decide what’s next. The future of Make: is in your hands. Learn More.

Project Steps

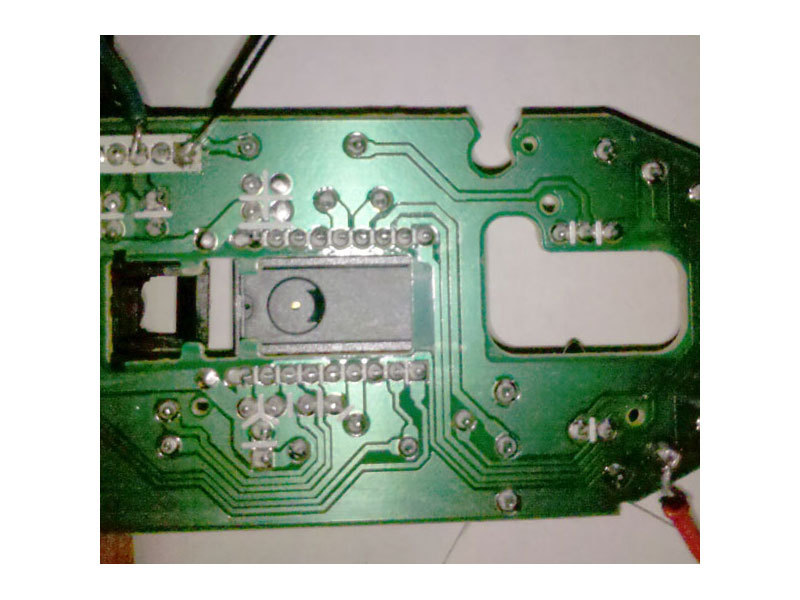
First use a MultiMeter to find ground, VCC, and a control pin for the mouse left click.

To find the appropriate pin to control the mouse click connect the multimeter to the pins under the mouse button and use the one that changes when the button is clicked.

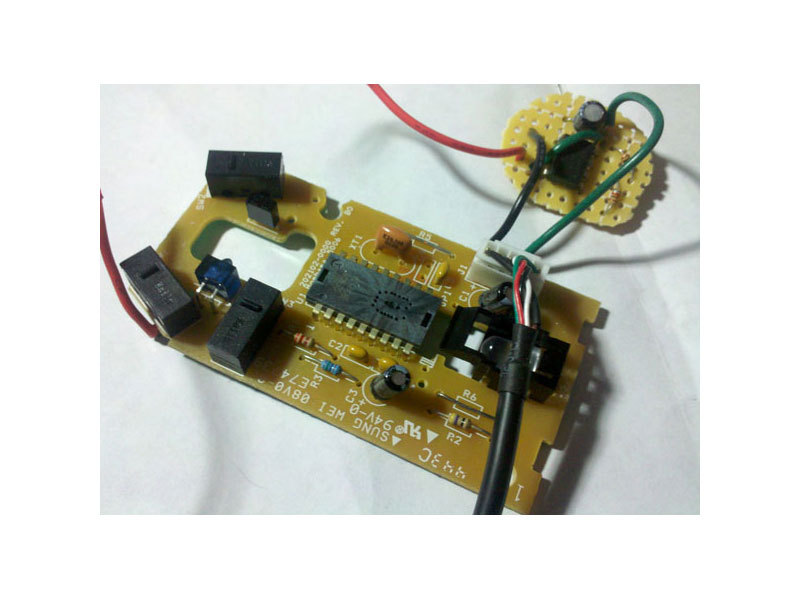
Once you locate these pins solder wires to each as shown. On mine I used black for ground, green for +5v, and red for the control wire.

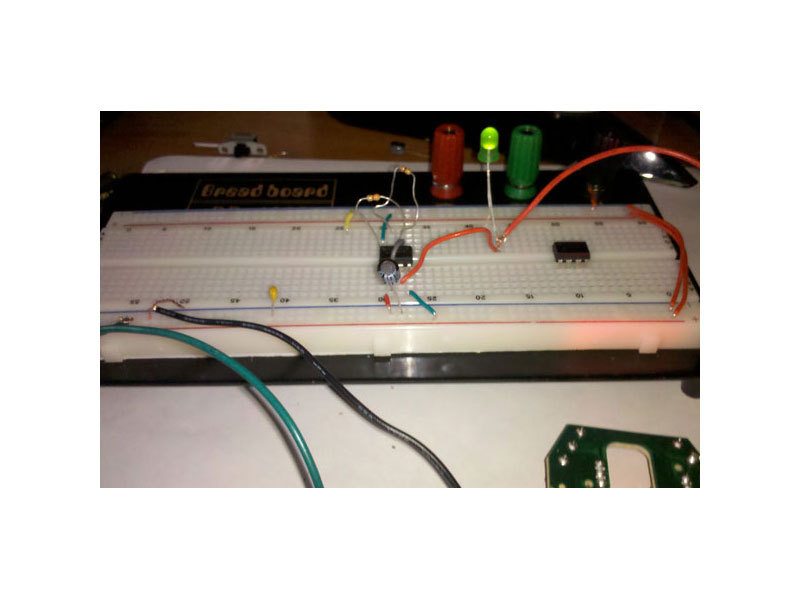
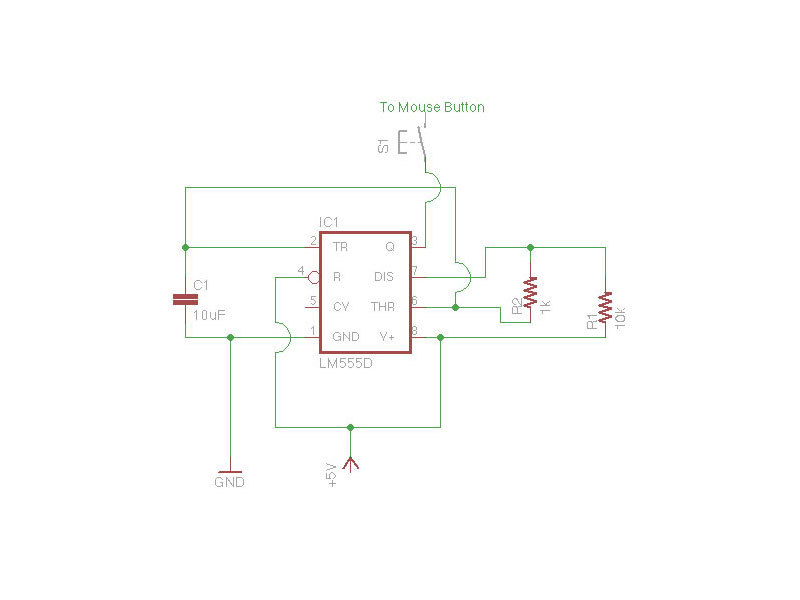
Next I created a schematic and made a prototype. You can skip the prototype if you feel confident. You’ll notice in the prototype I added an LED. It flashes when the mouse would click. This helped me select appropriate resistors for the auto-click speed.

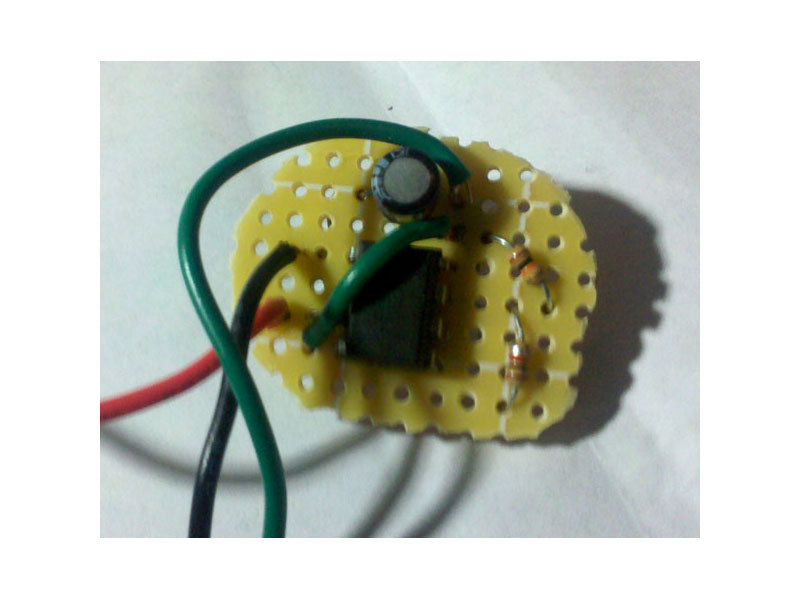
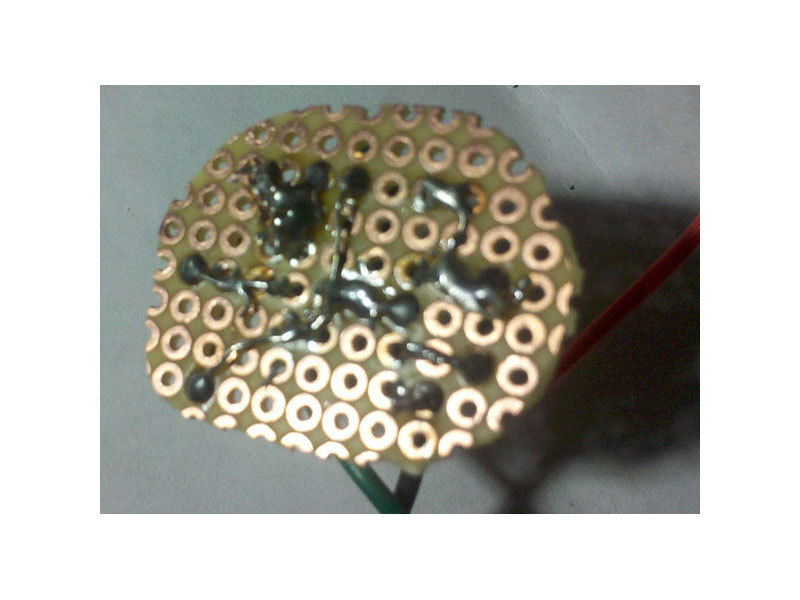
Next, we need to create the circuit on a piece of perfboard. The images show how I accomplished this.

Try to keep the circuit as small as possible since it will have to fit inside the mouse.

Next we connect the circuit we created to the existing mouse PCB. (Follow the schematic in step 2 for details.)

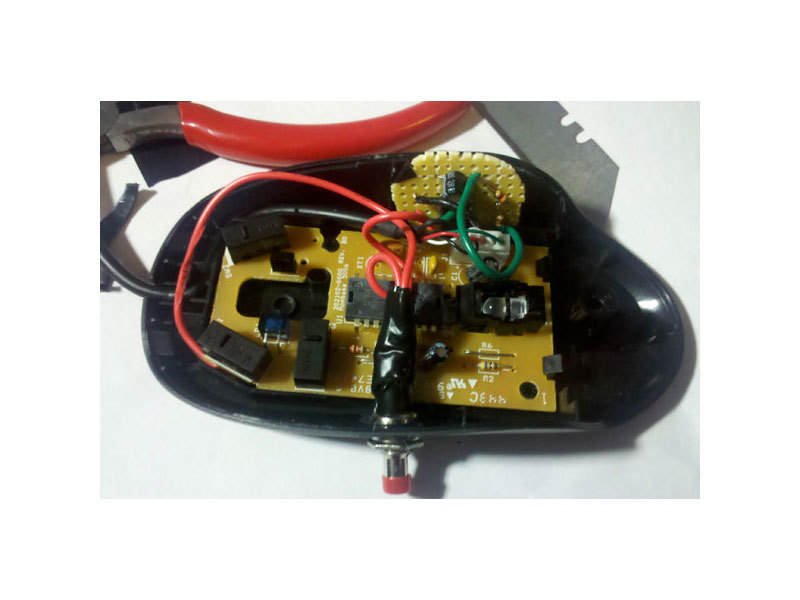
Now we have to fit it all inside the mouse. This was the hard part.

I used wire cutters and a razor blade to cut out some of the plastic until I got the circuit to fit inside nicely.

I also drilled a small hole in the left side of the mouse for the push button. Be sure the location is comfortable to push with your thumb AND allows room for the button on the inside without interfering with the existing circuitry.

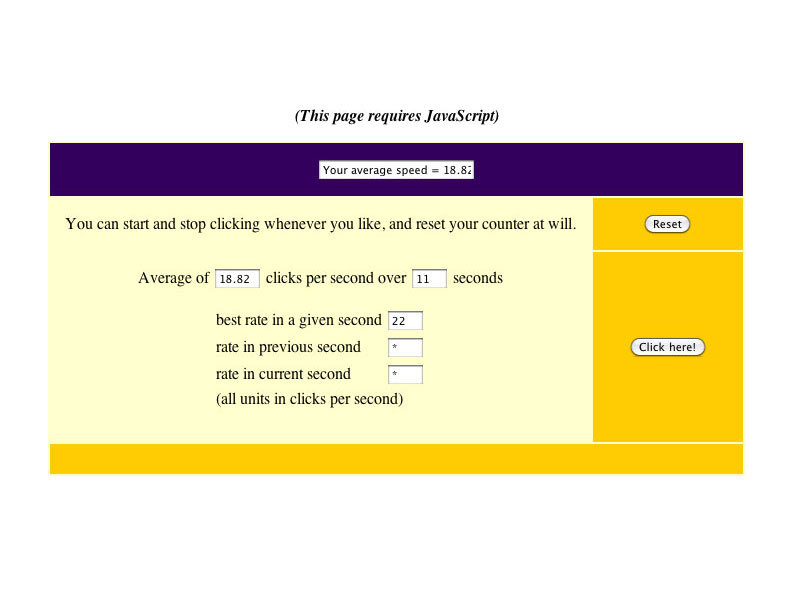
Obviously I advise you test it before putting everything back together. Shown here is the site I used to test it once I was completely finished. (I just googled “mouse clicks per second” and used the first result.)

To view the full write-up on this project on my website go here: Adding auto-fire to a computer mouse (555 timer)