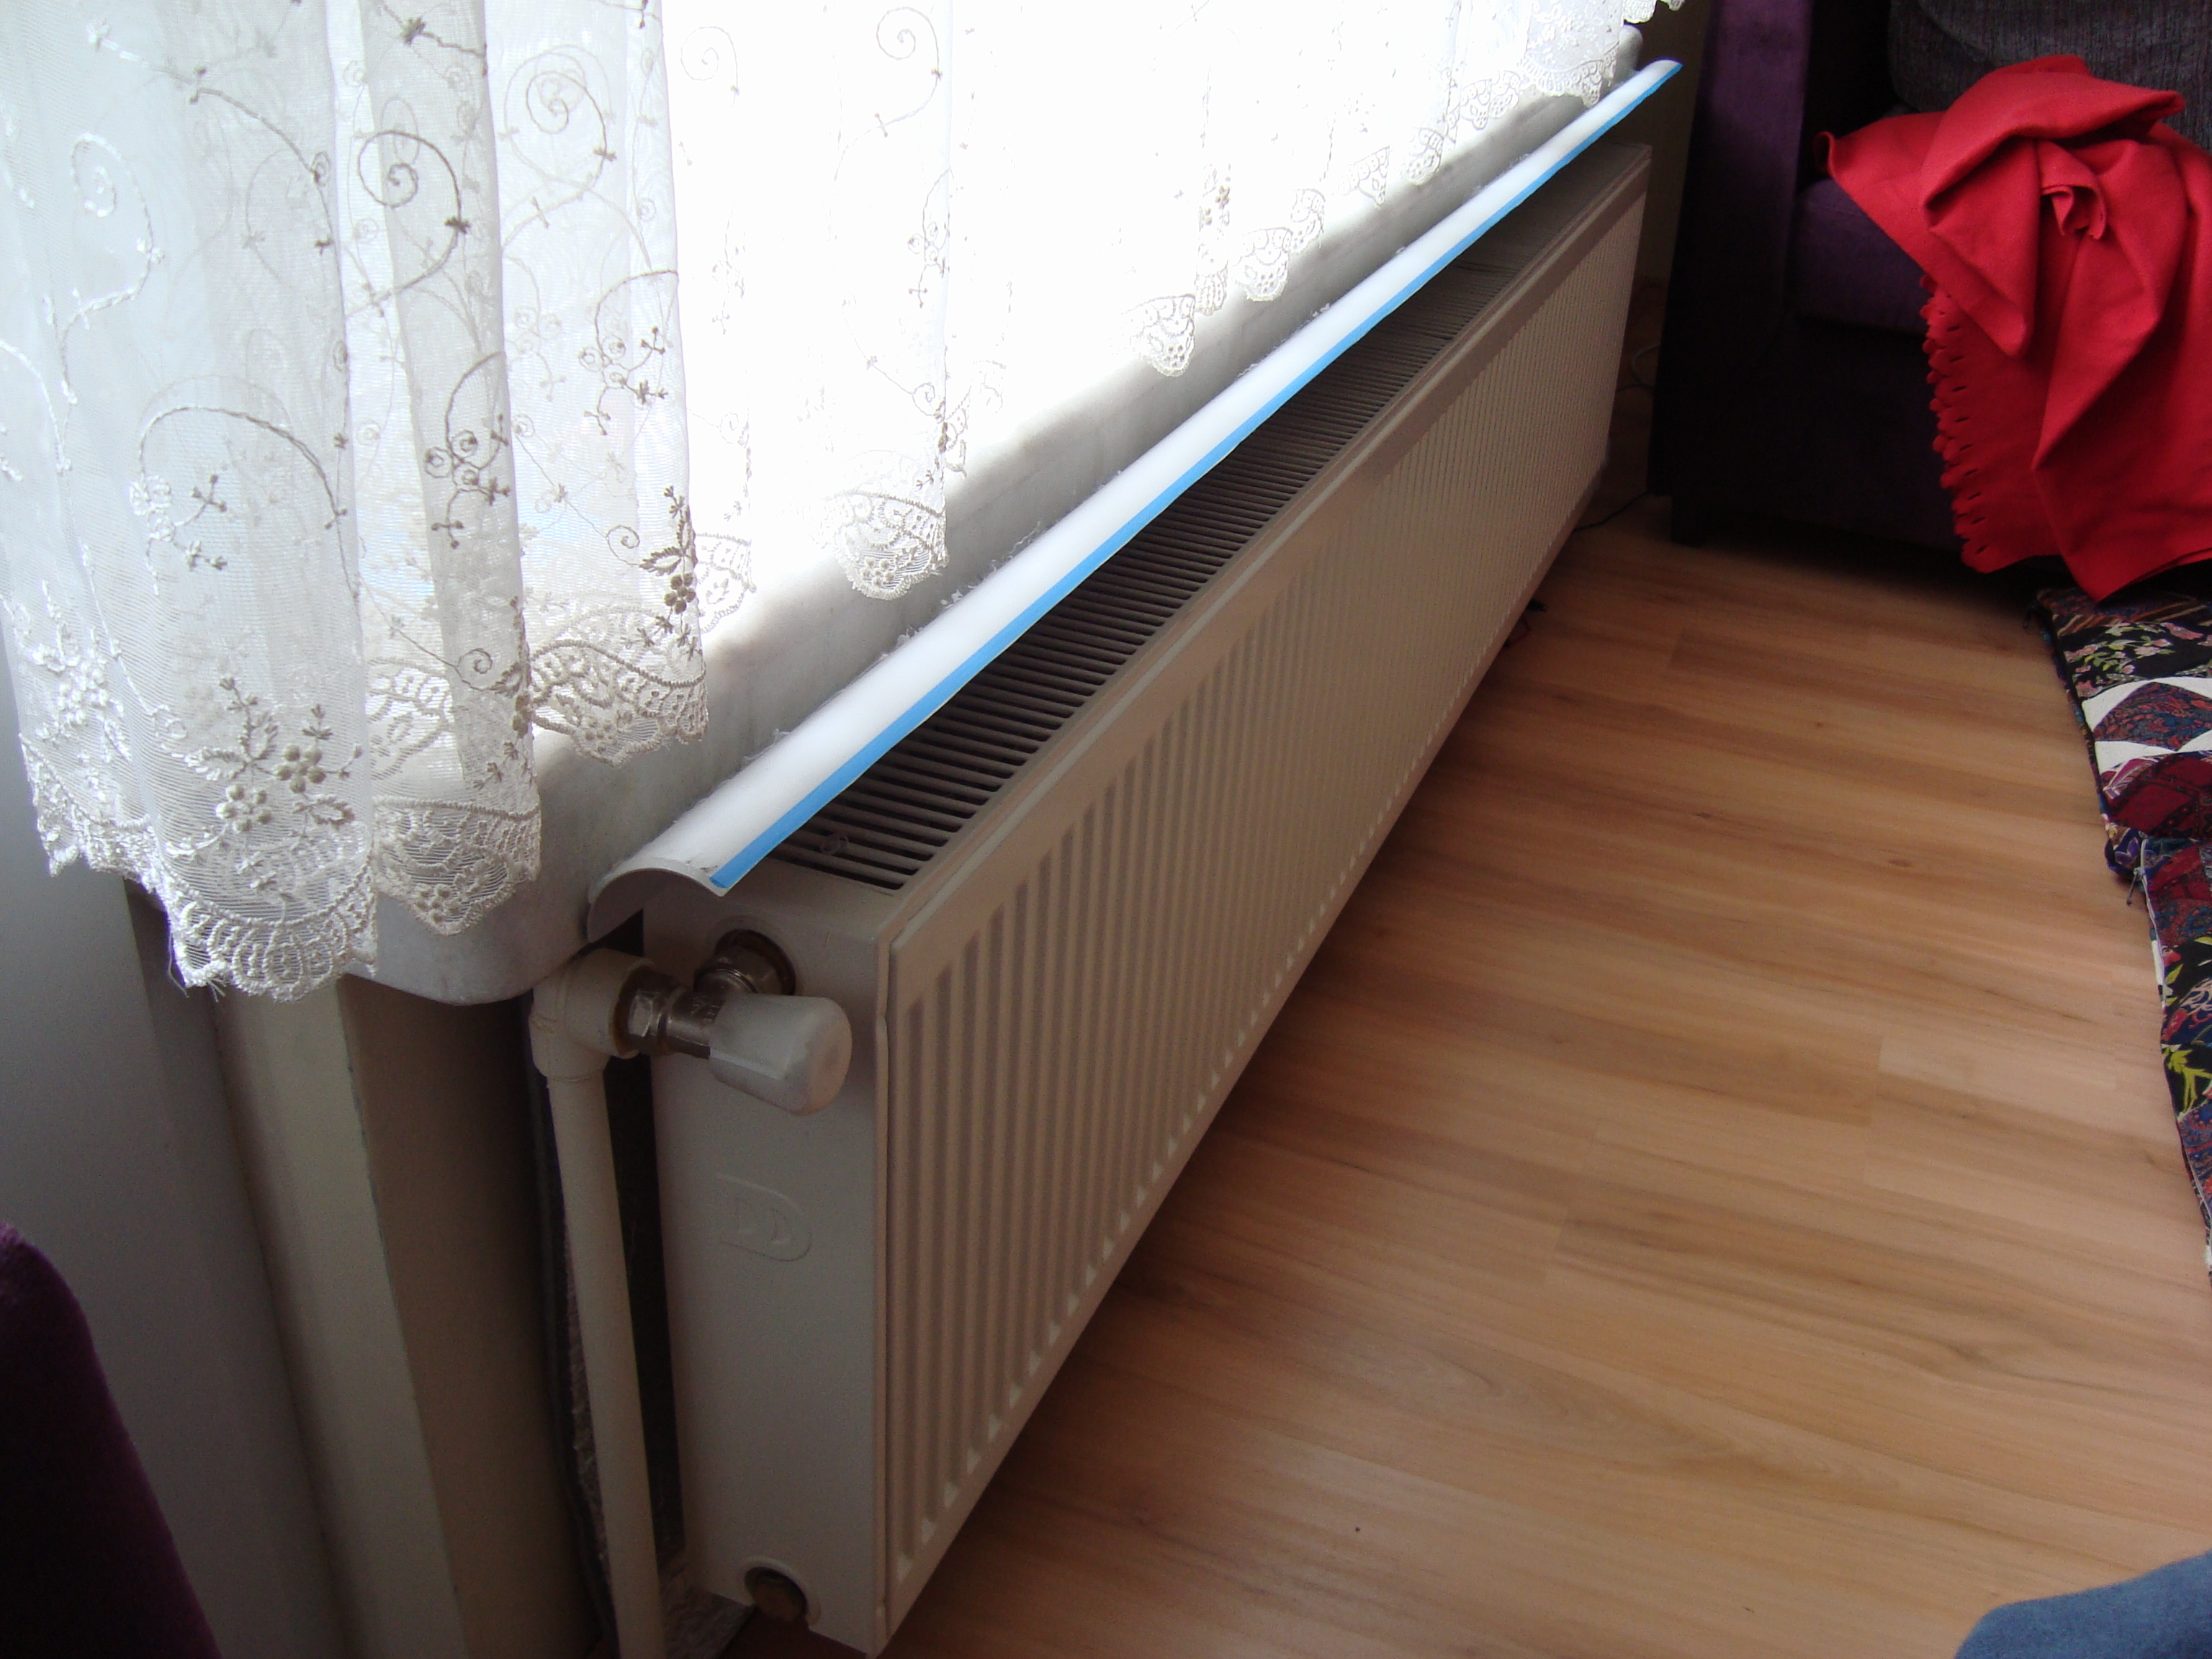
In this project, we are going to build a system to heat our homes more efficiently. This is an easy project to apply, all made with ordinary tools and materials. Actually, it consists of two projects. Each stage can be built separately but they are more effective as a “combo.” In the first stage, we will build an air bender from a PVC pipe which directs the heated and rising air towards the middle of your room. In the second stage we will add forced ventilation with old PC fans to enhance the heat transfer through ventilation.

As winter comes everybody wants to find a way to heat more efficiently. Heating is a matter of effective heat transfer. According to thermodynamics, heat transfer is mostly ın the form of convection.

What will the next generation of Make: look like? We’re inviting you to shape the future by investing in Make:. By becoming an investor, you help decide what’s next. The future of Make: is in your hands. Learn More.

Project Steps

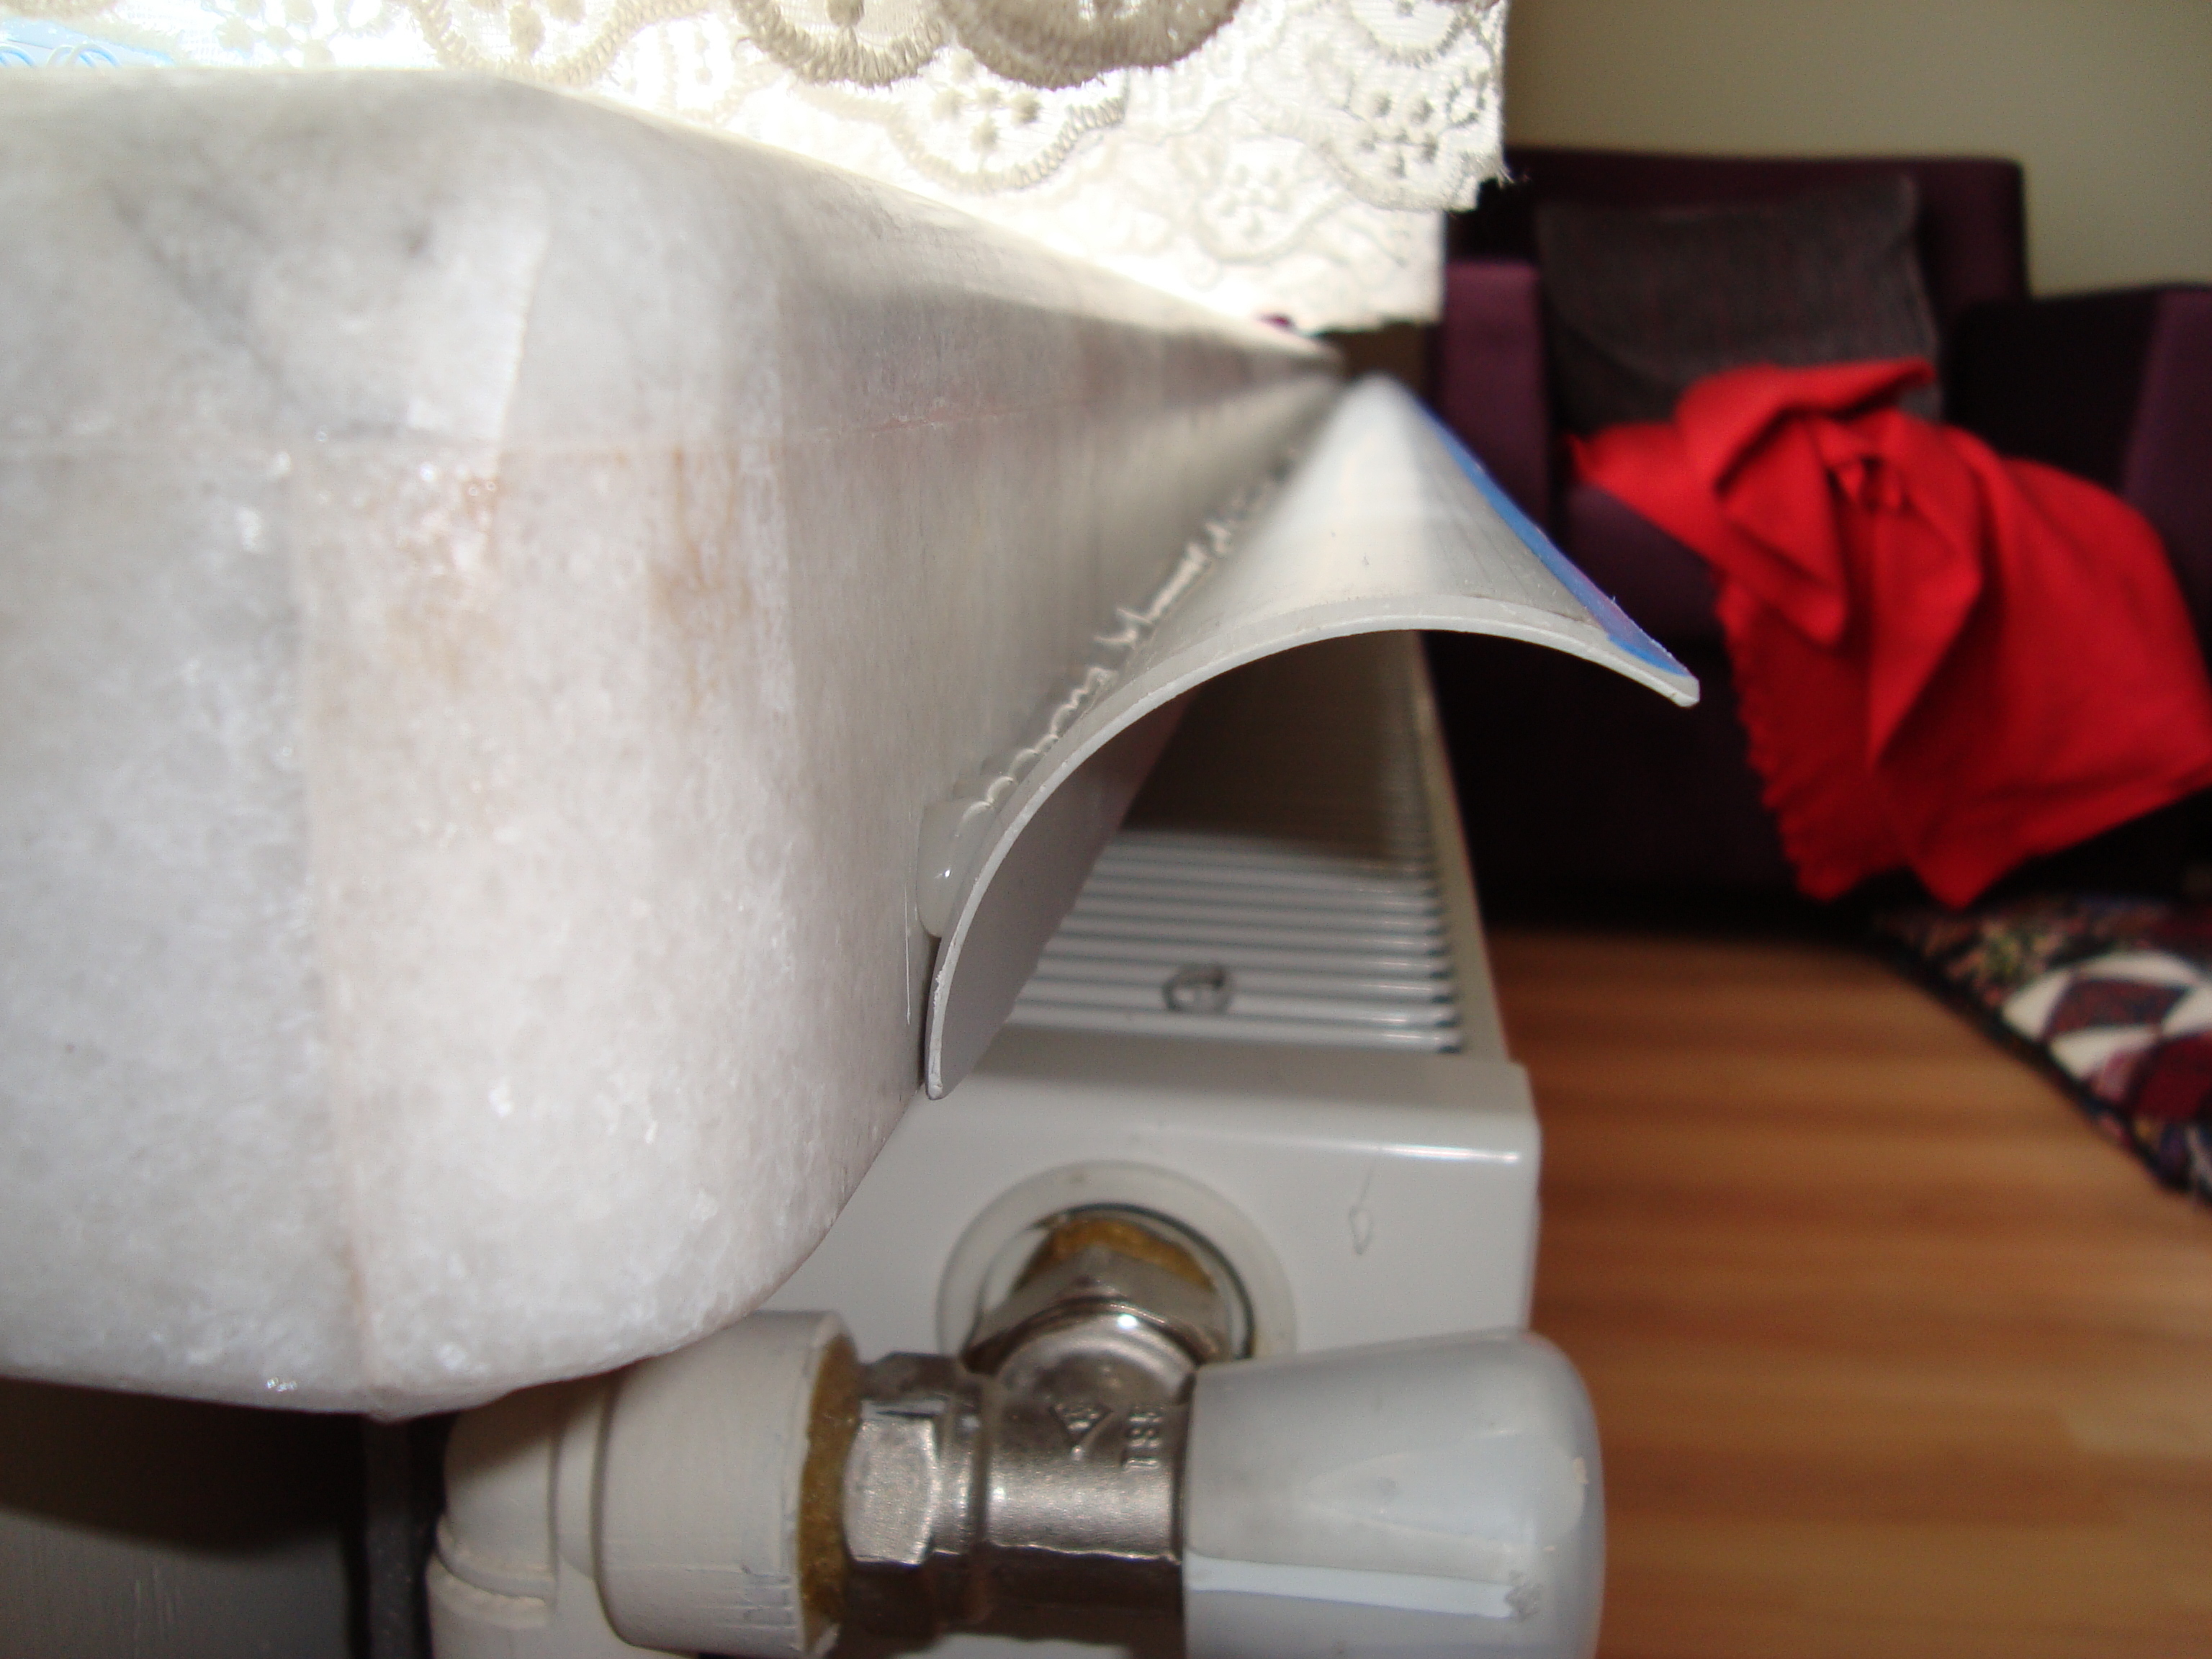
In this stage, we will form the first part of the project: the airbender.

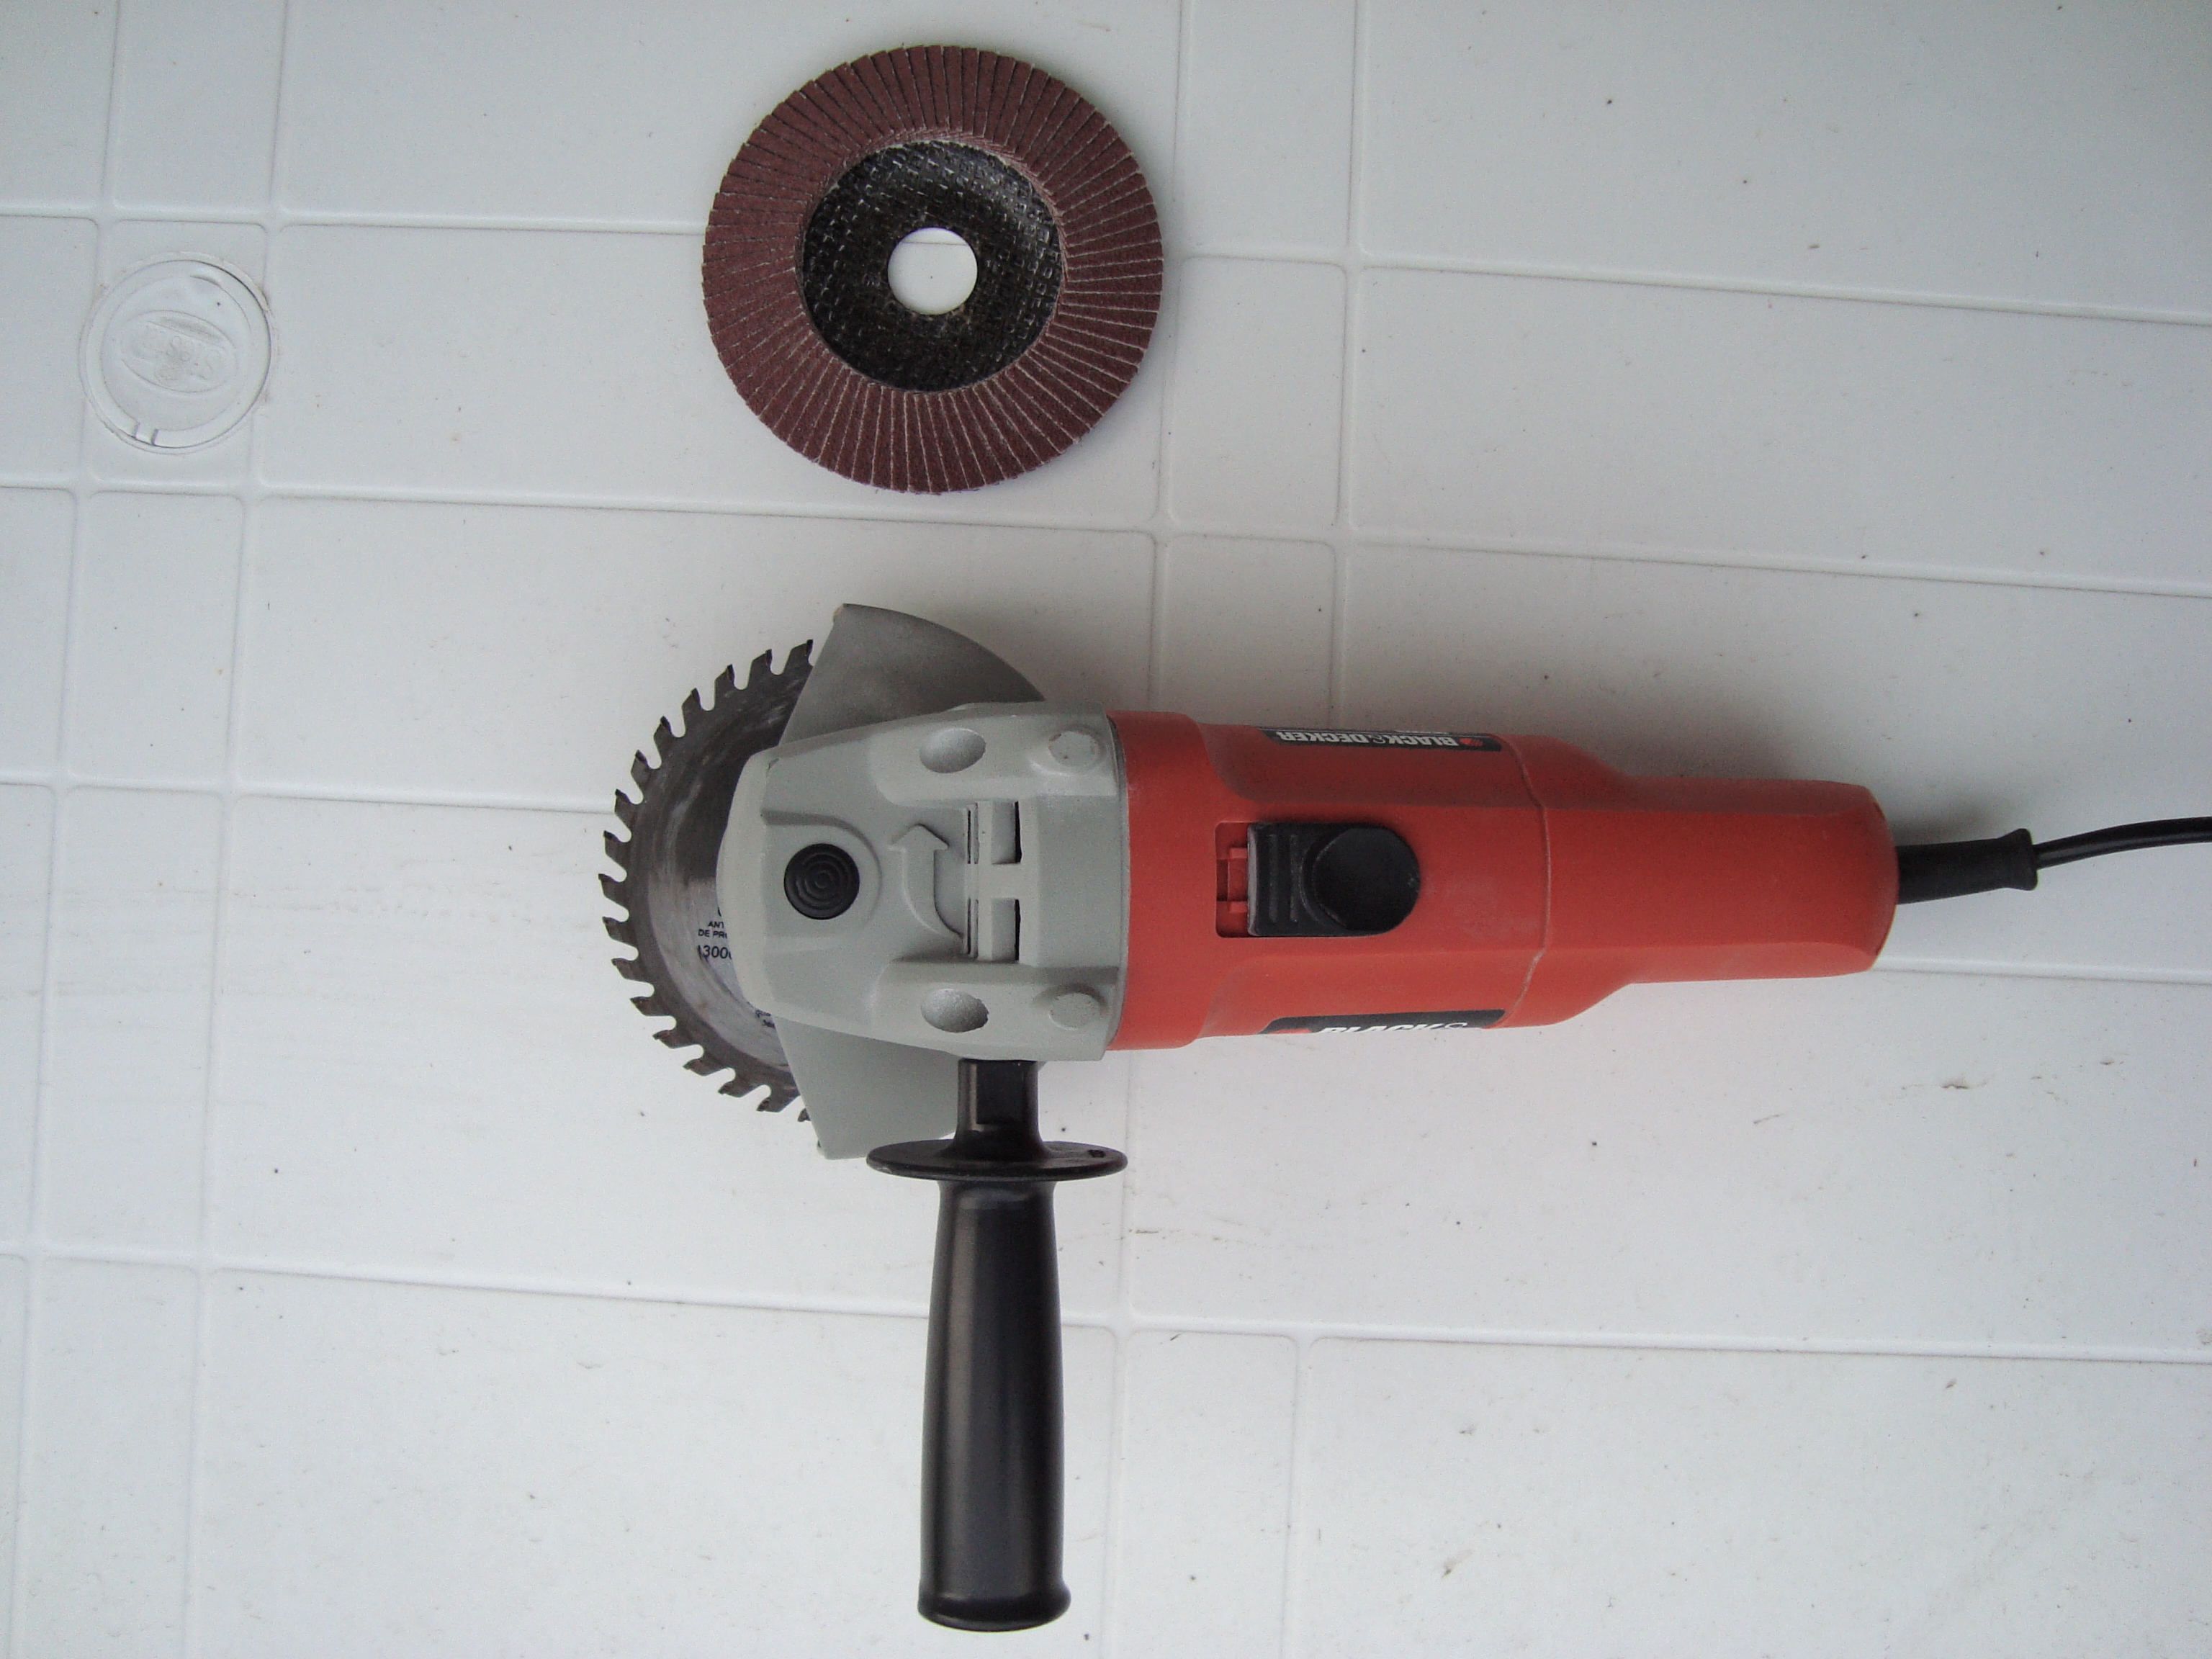
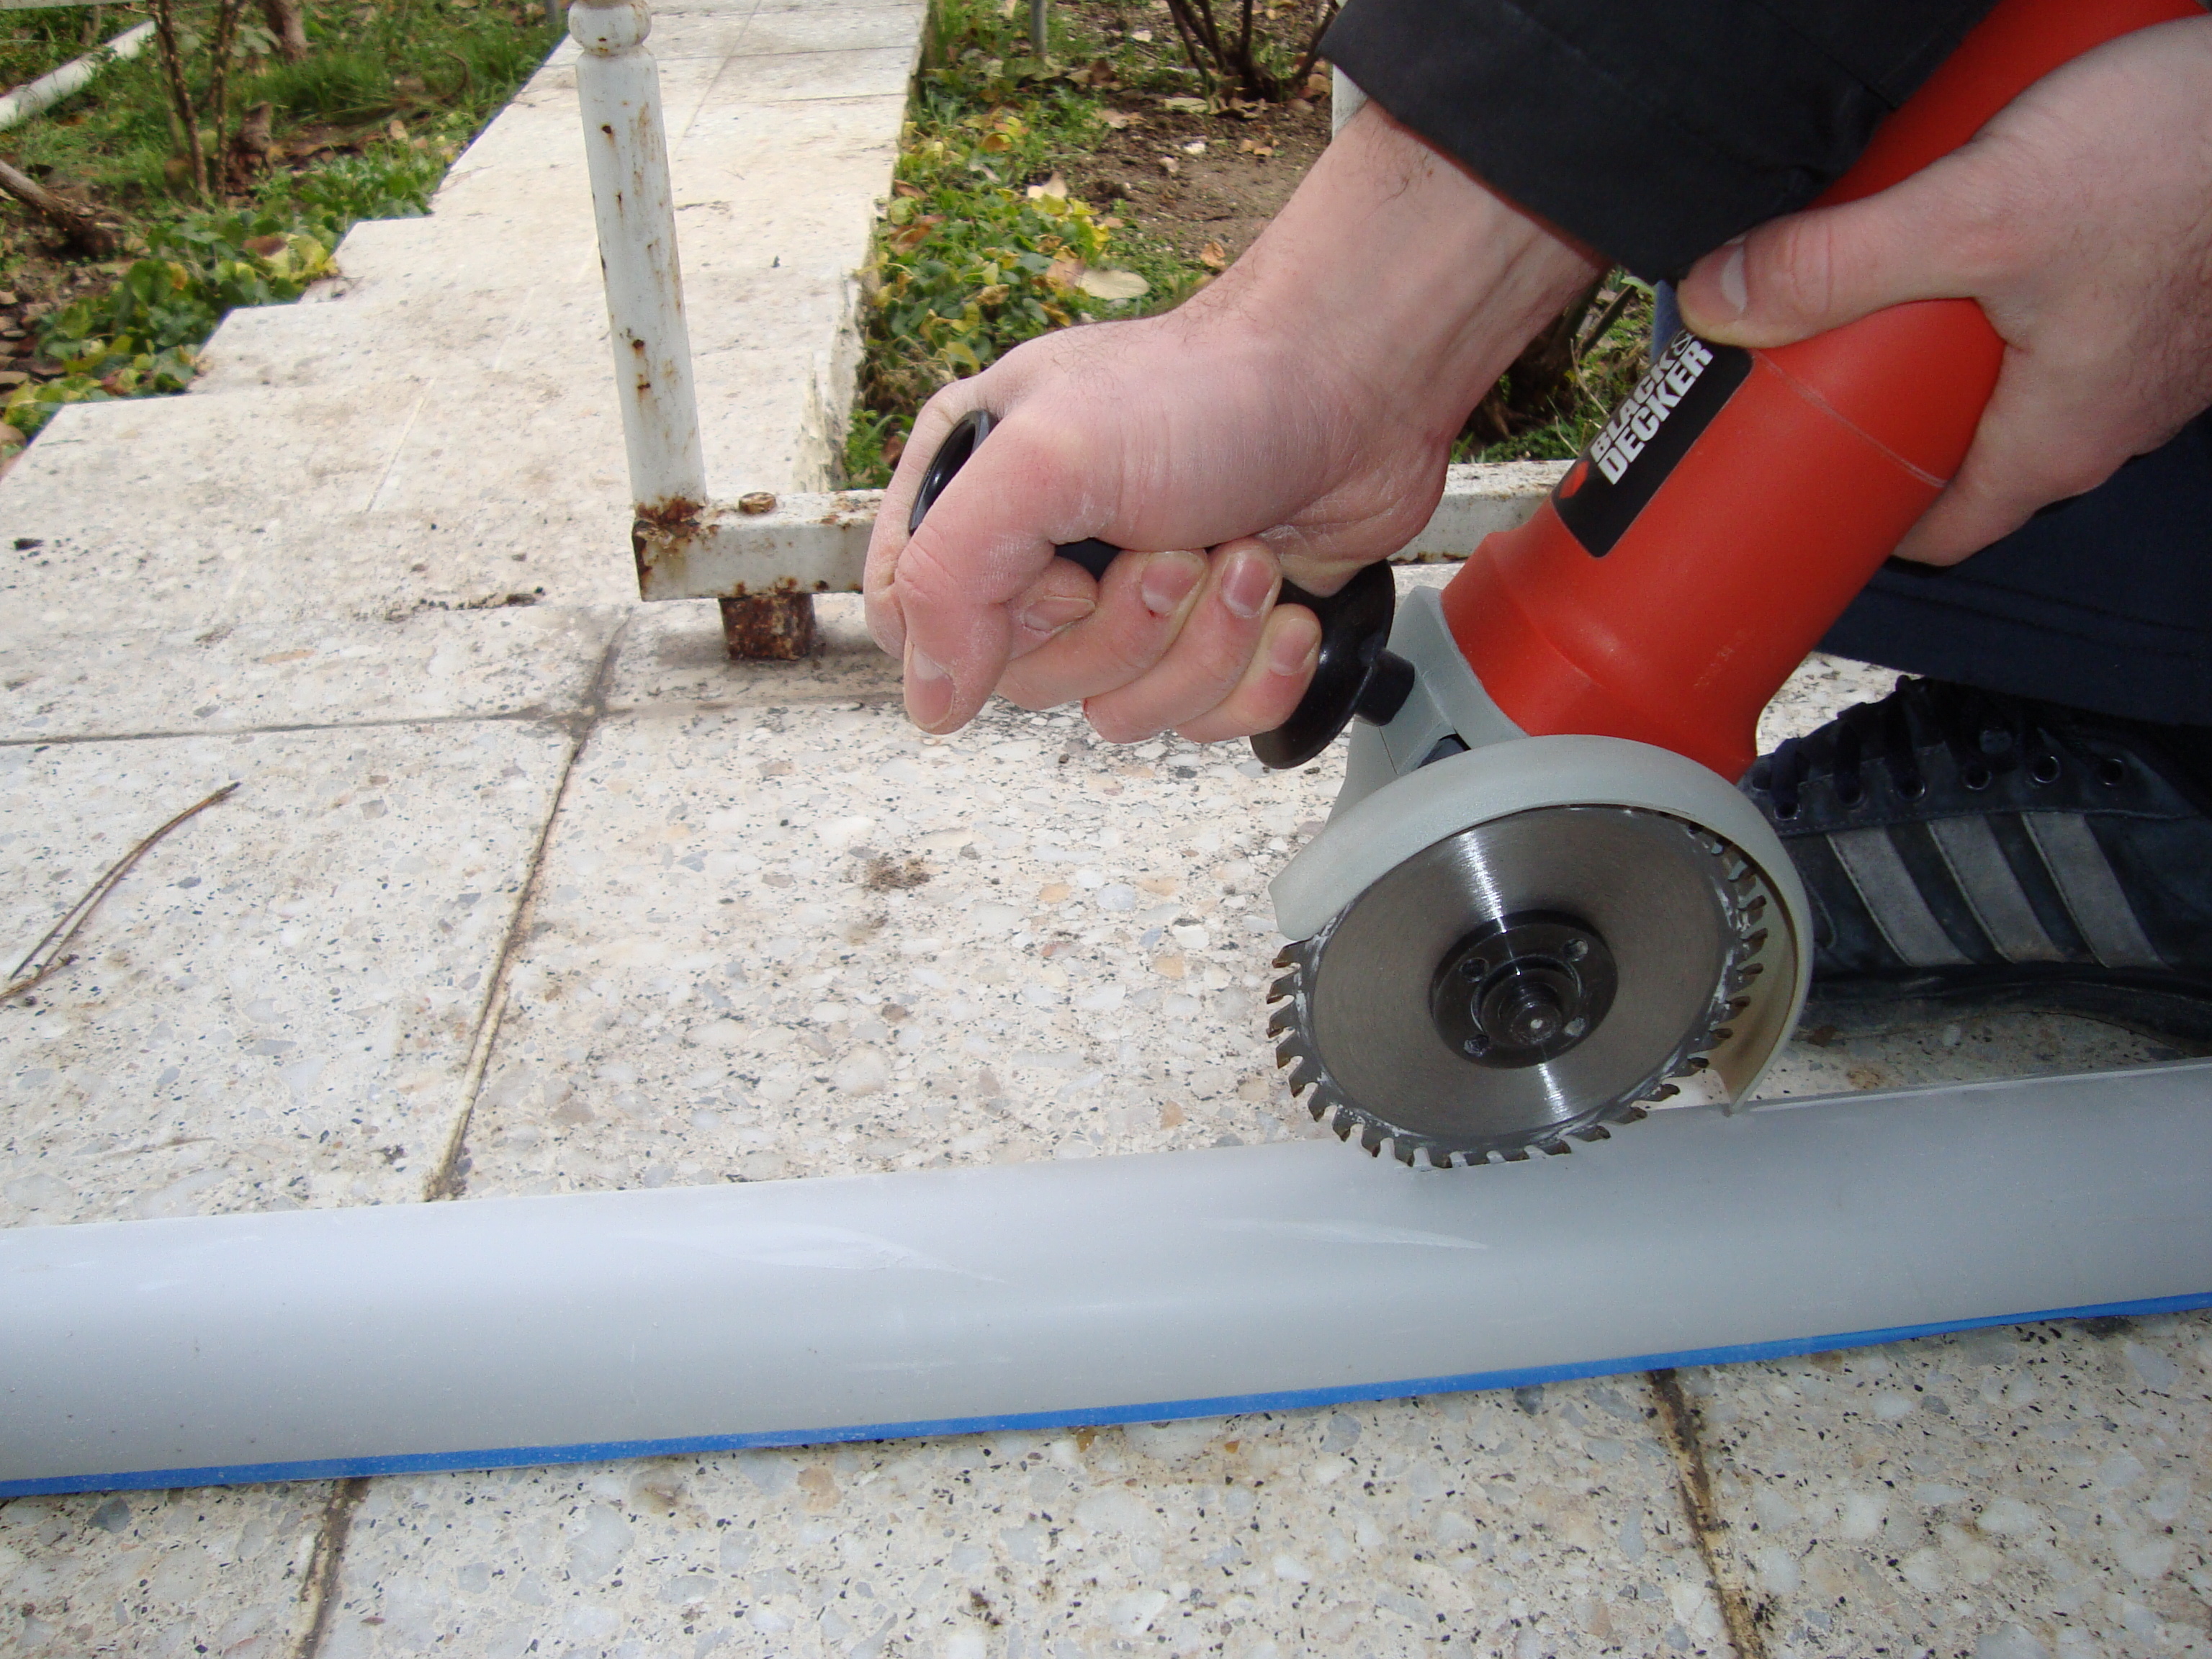
First cut the pipe in two, vertically, and then cut one half again into two vertical parts, to form a quarter of it. Use the wood-cutting disc to cut the PVC. It is hard to make a linear cut, so don’t hurry. Cut slowly and if you need to, draw a straight line along the pipe to guide your cut.

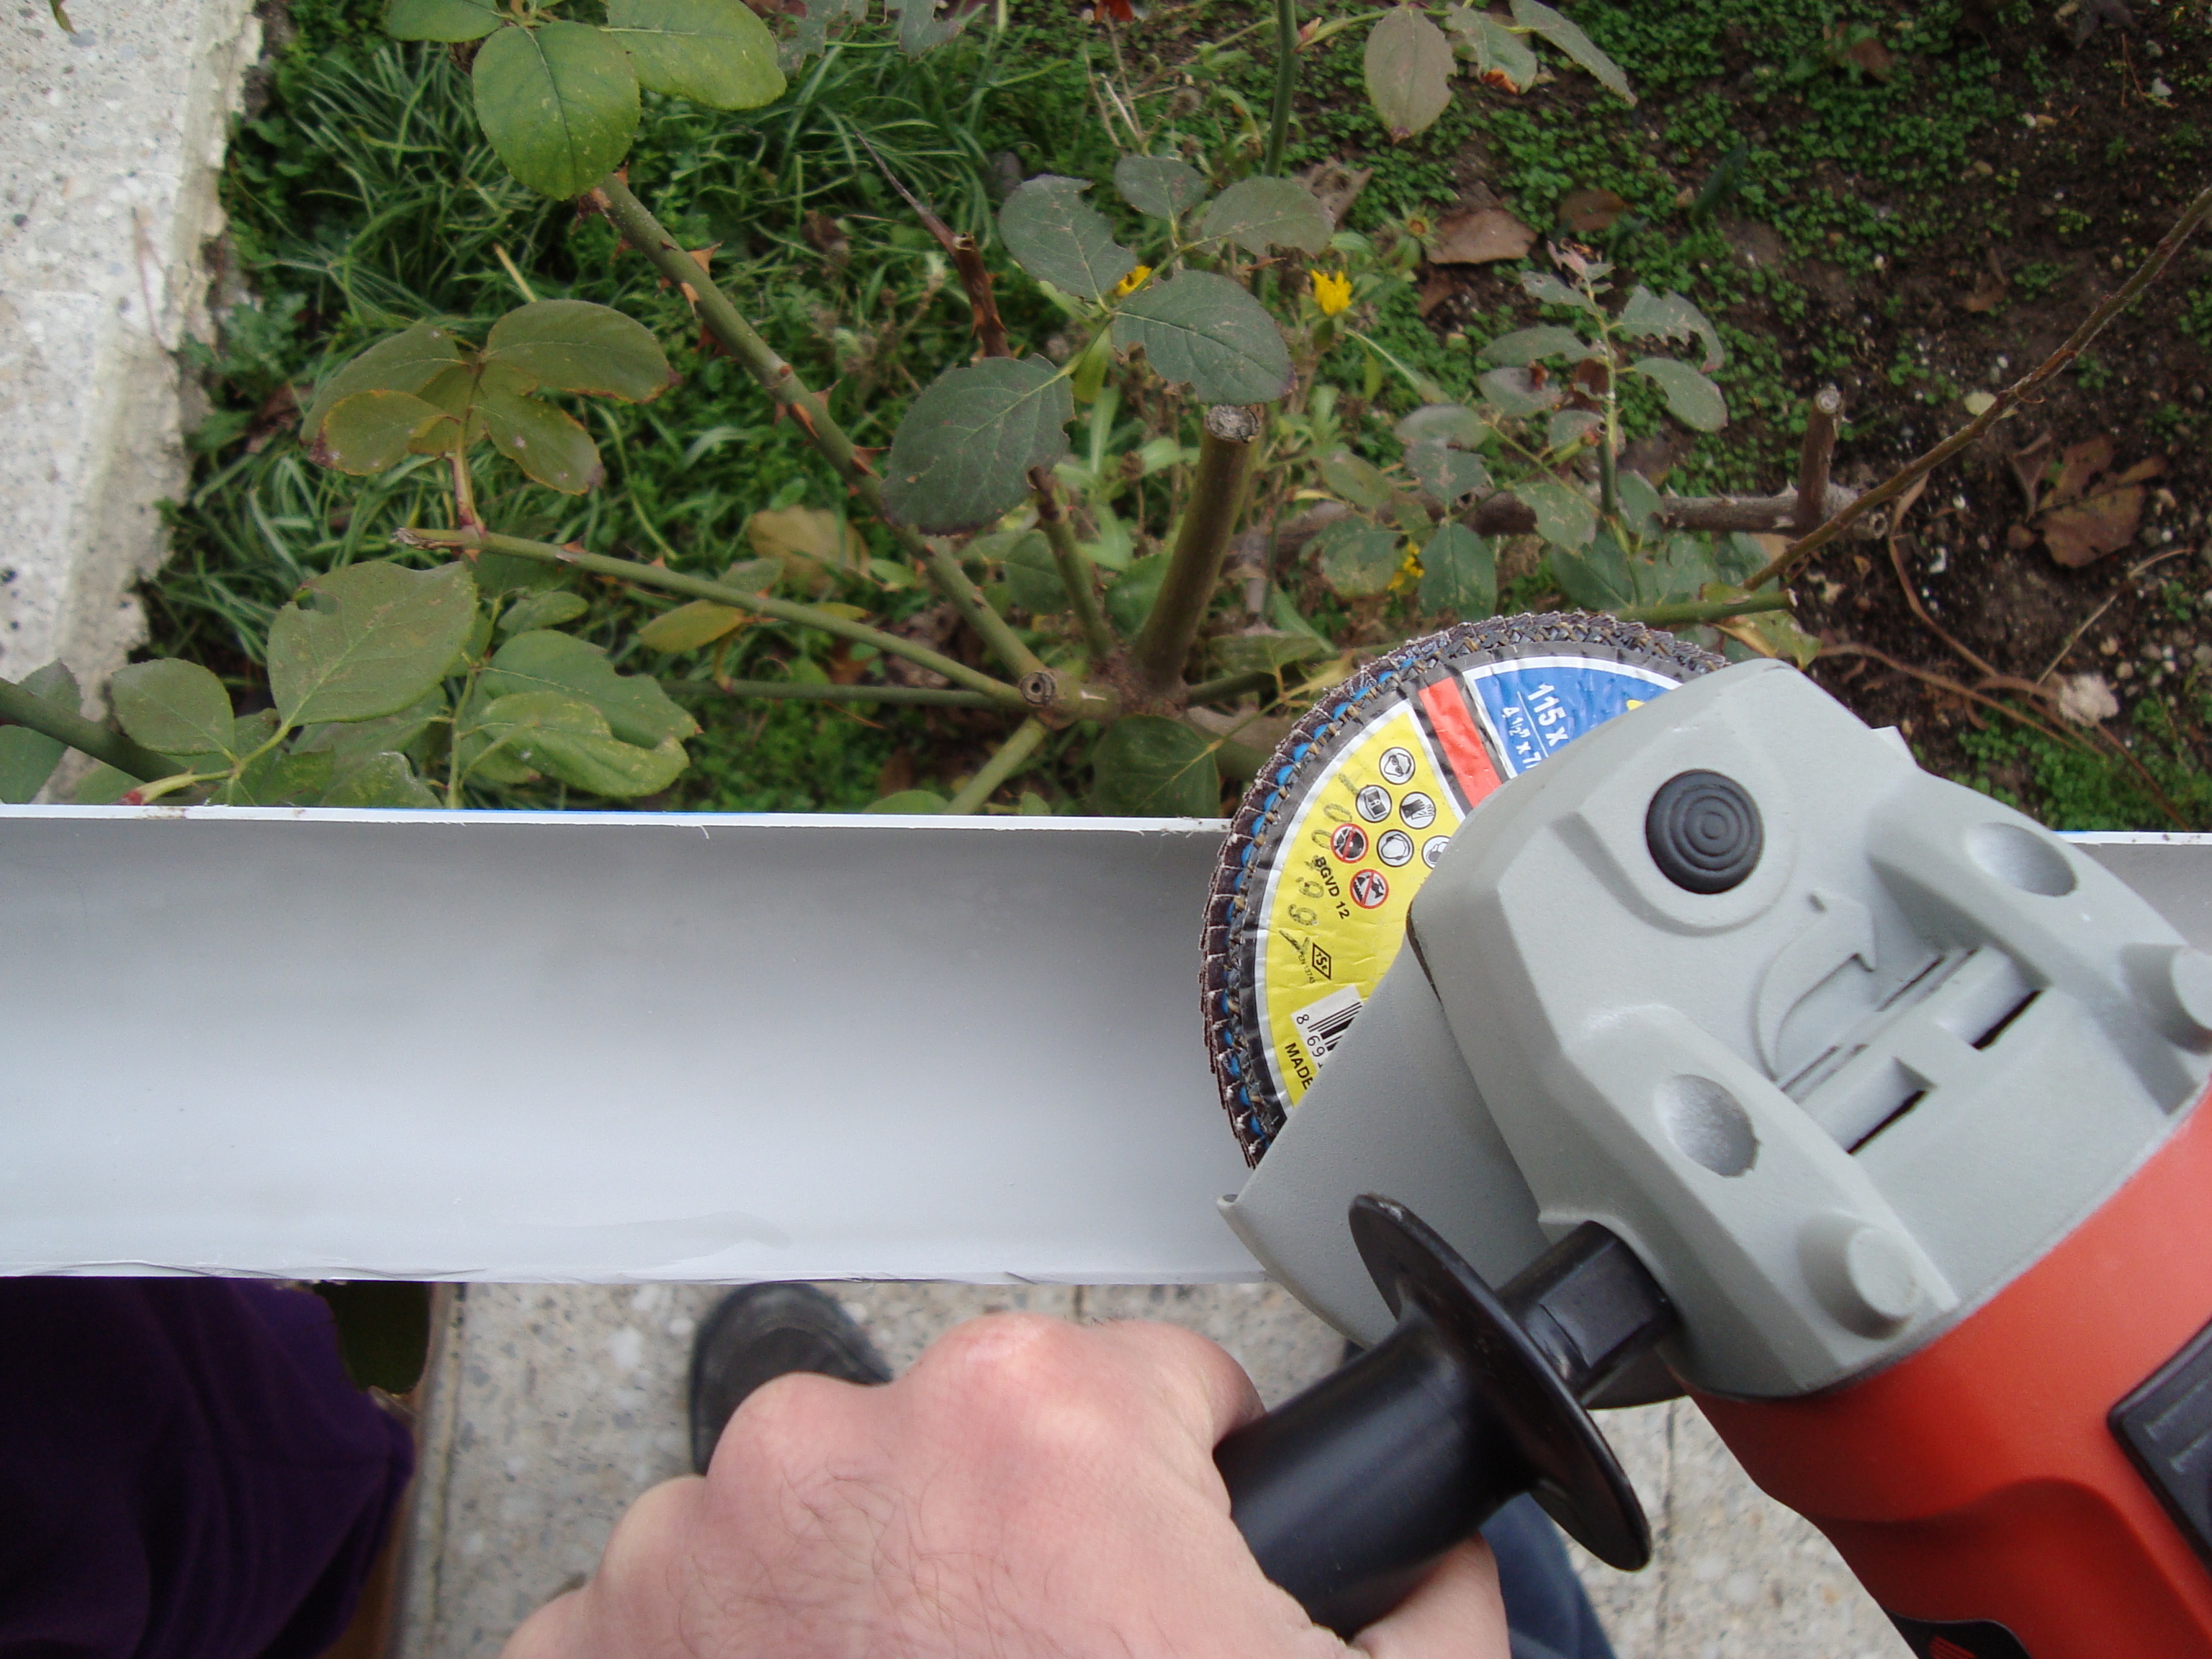
After separating the quarter arc, smooth the edges with the sanding disc.

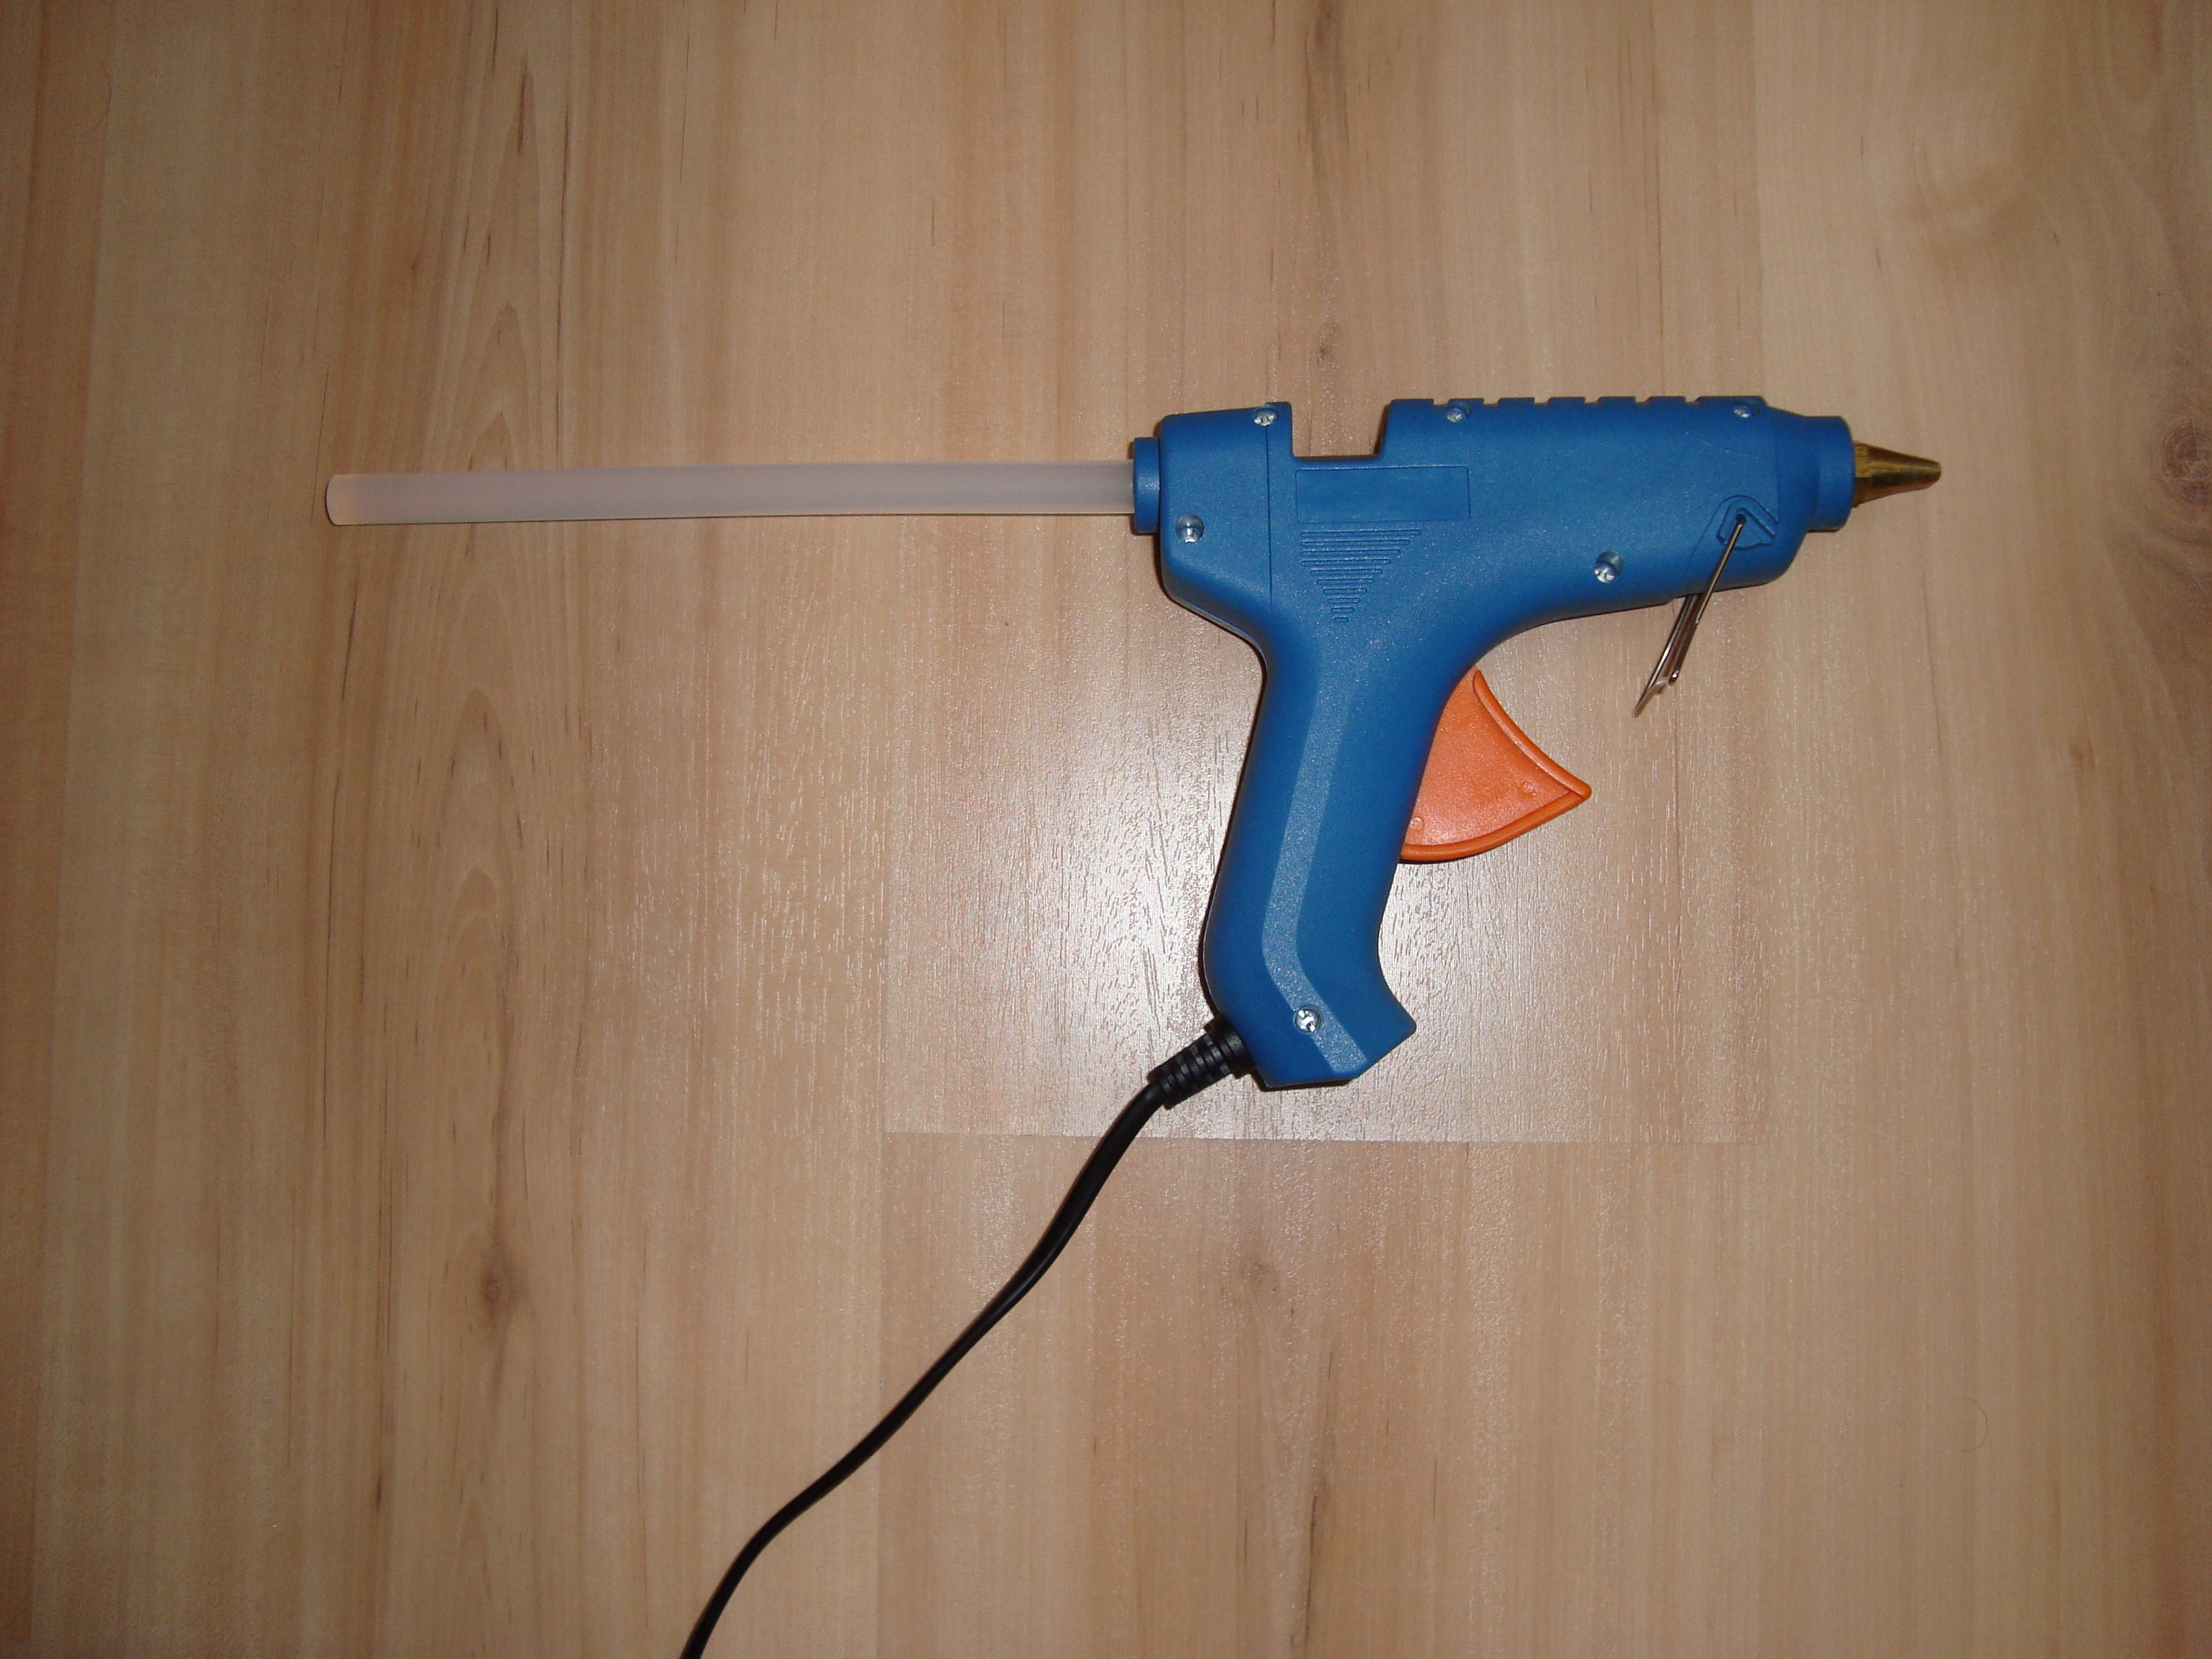
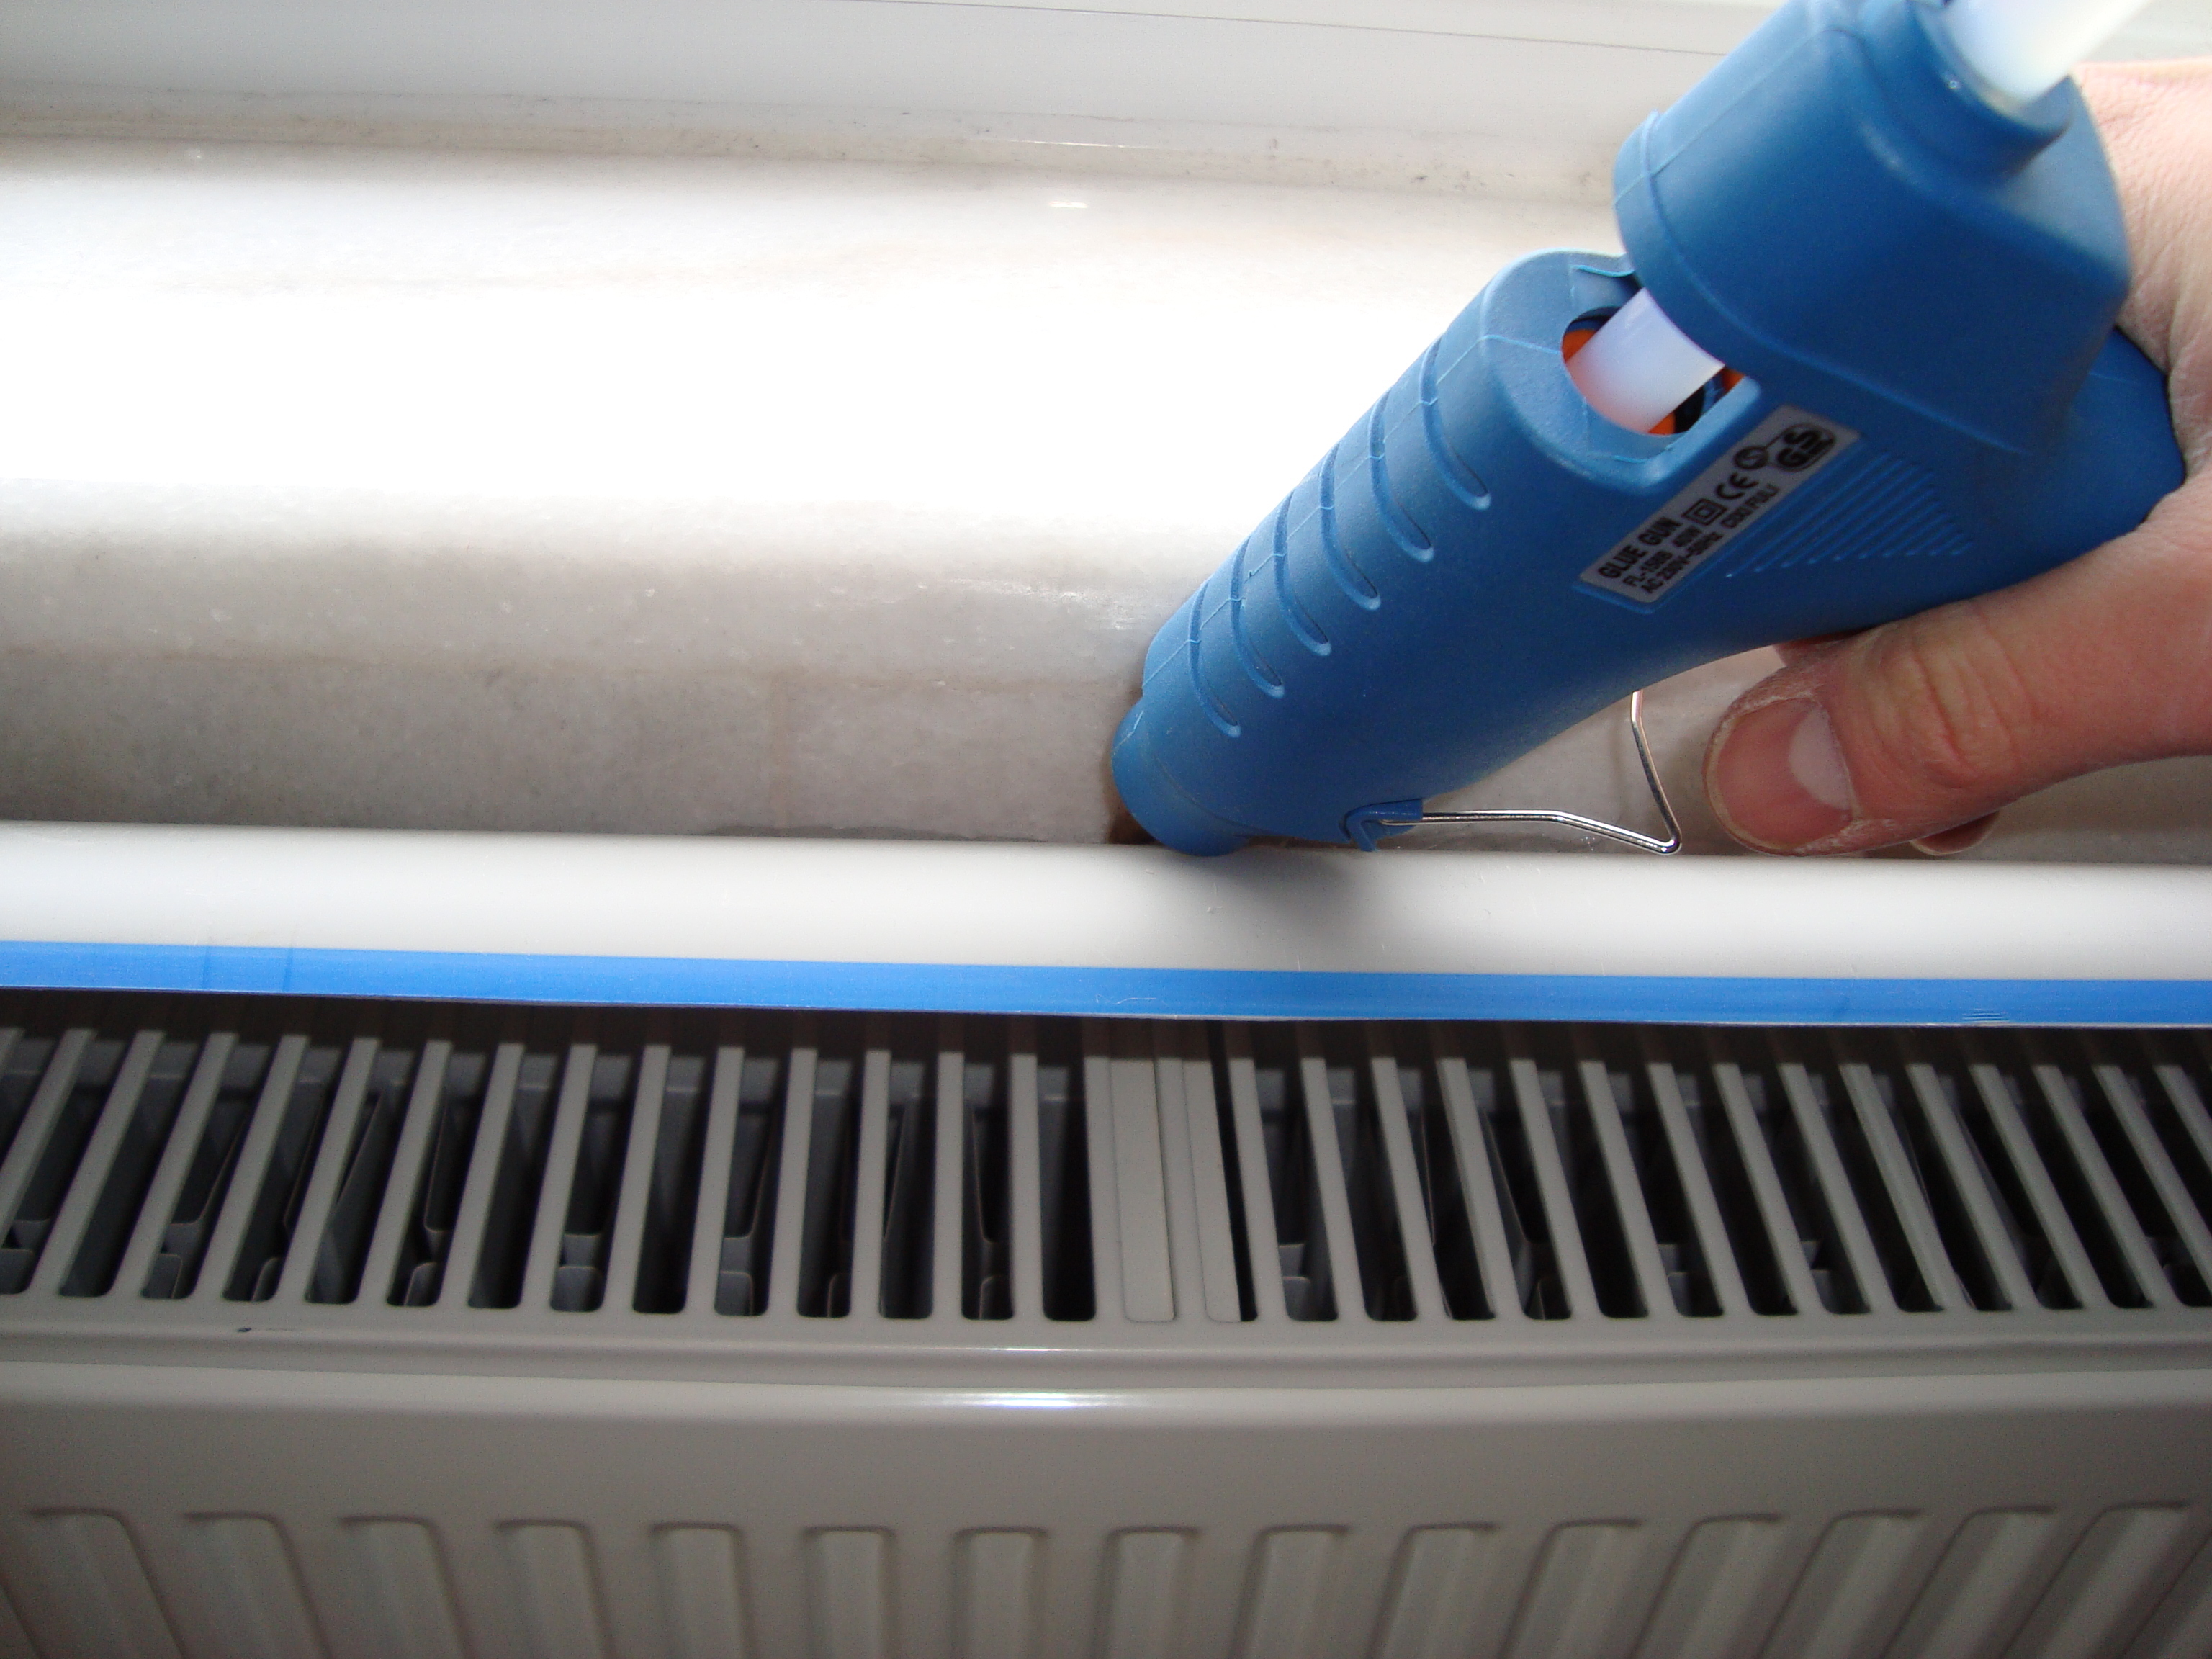
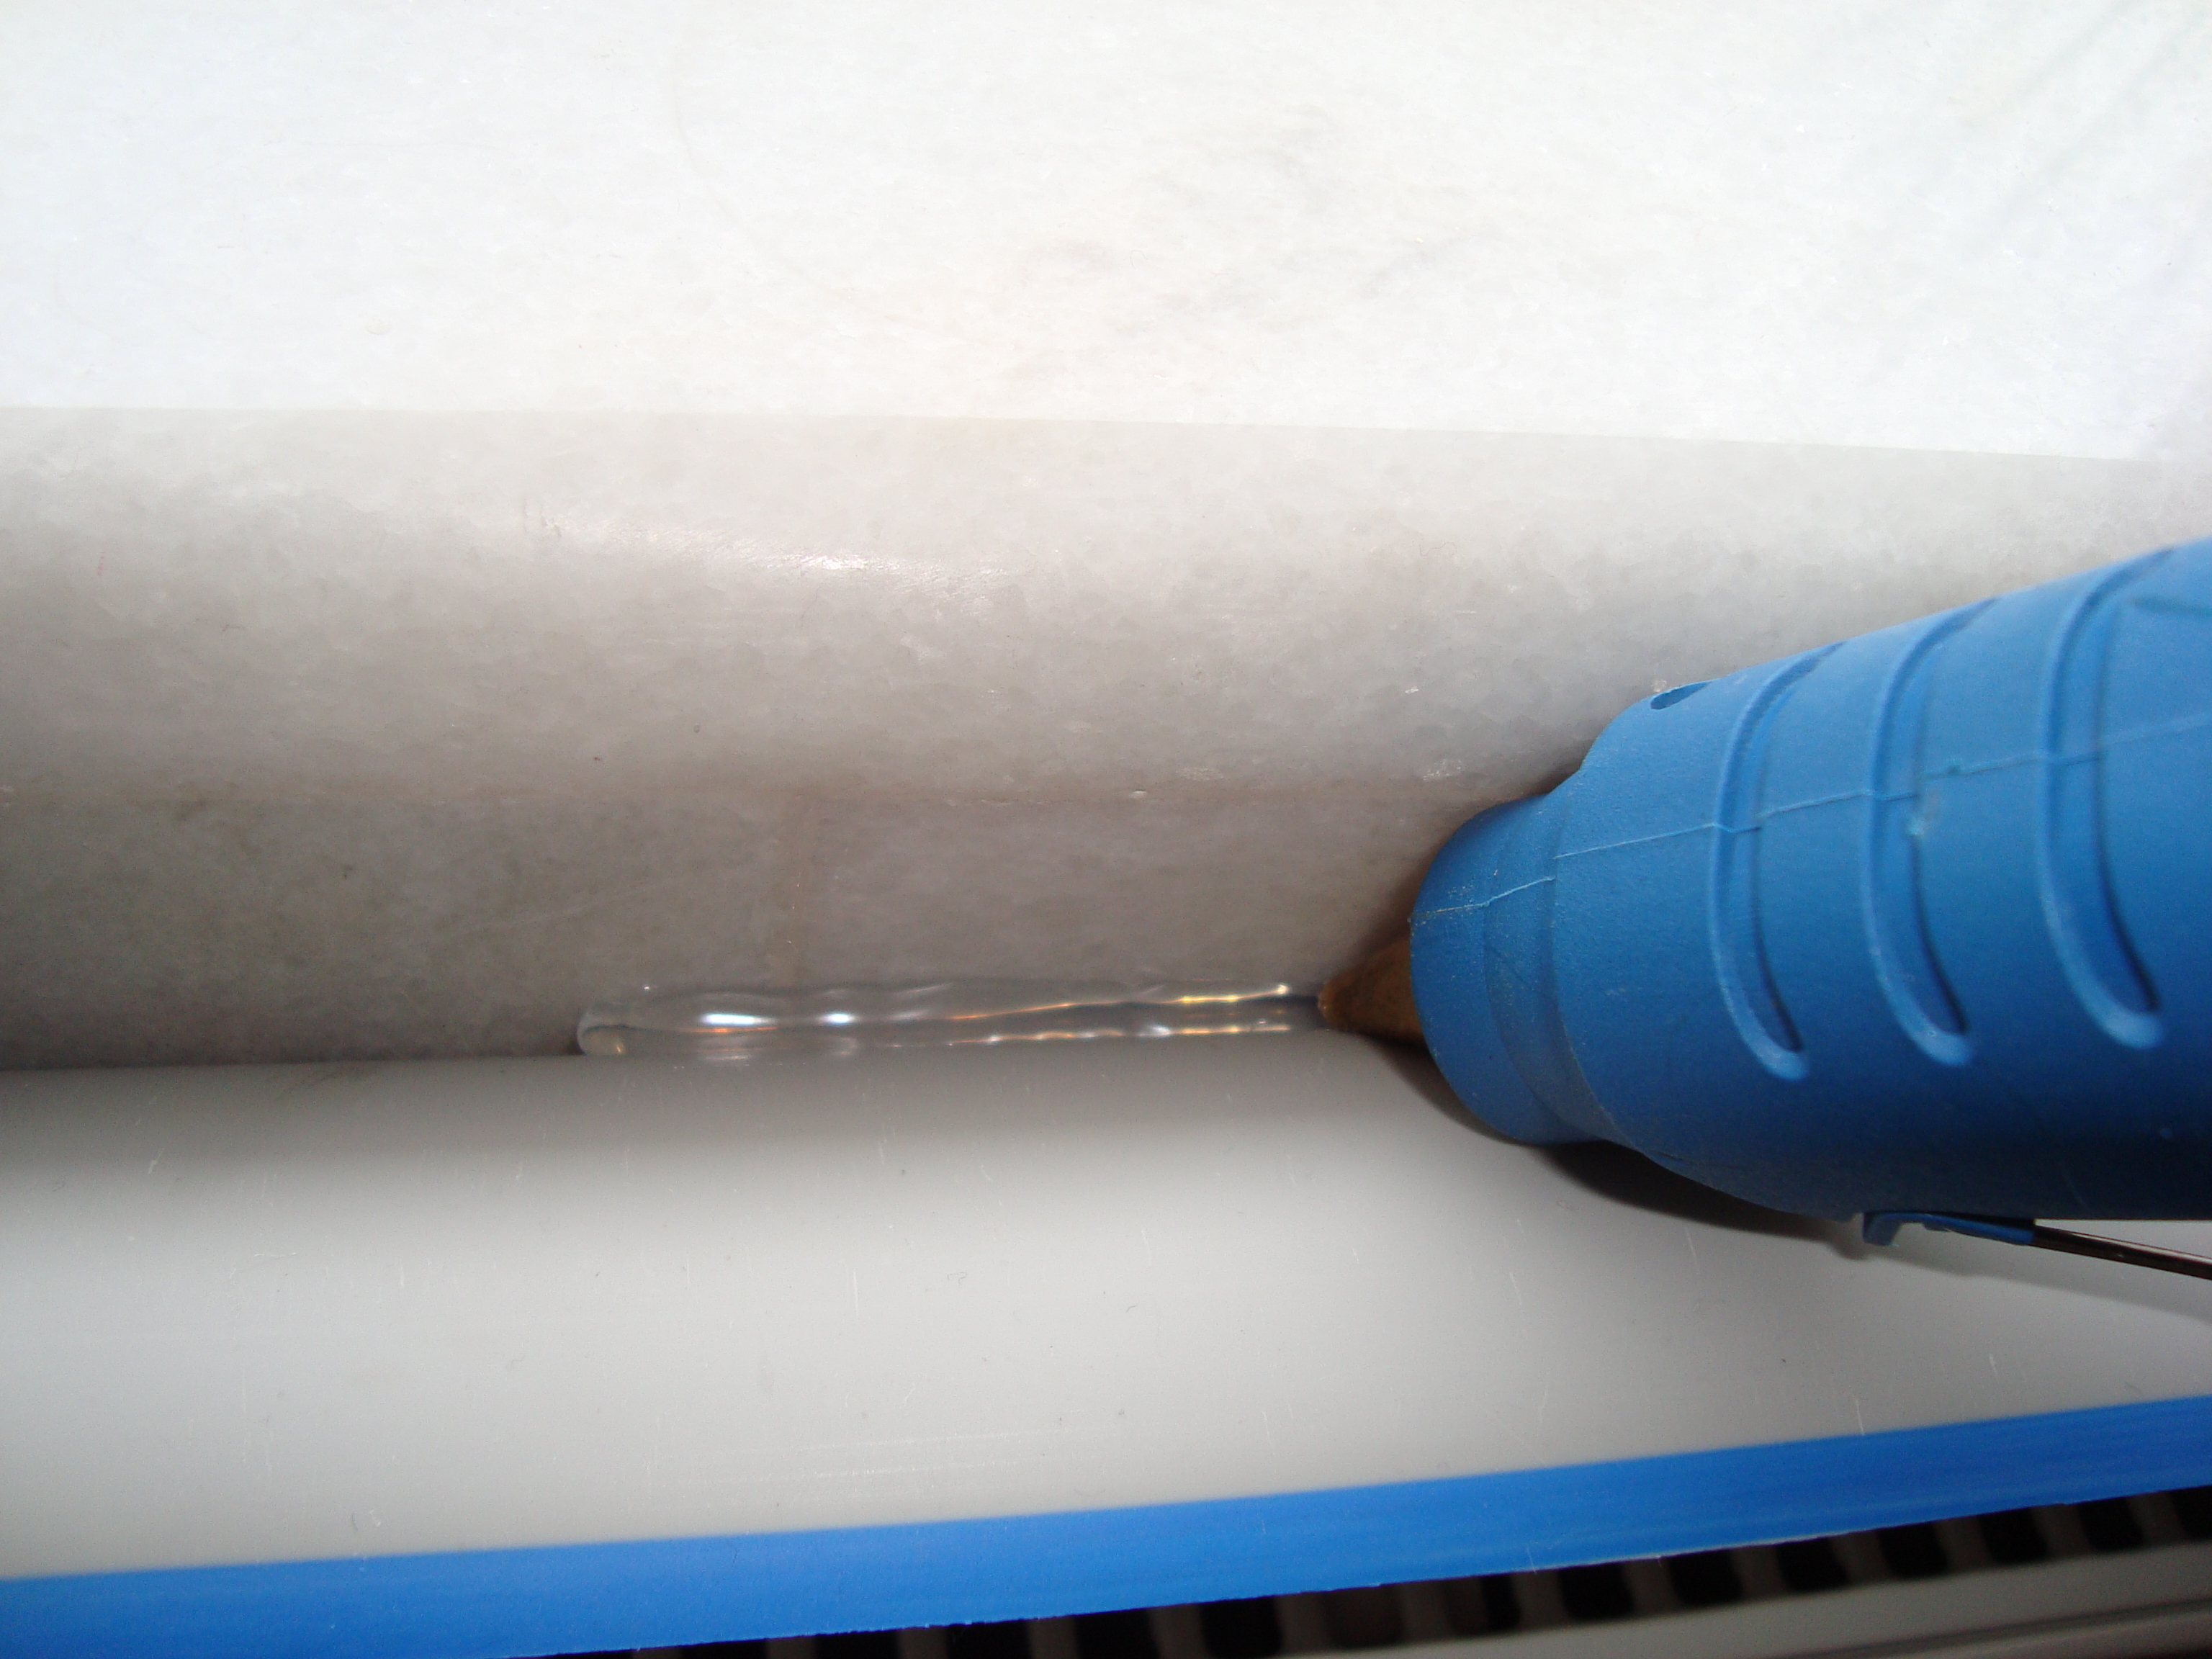
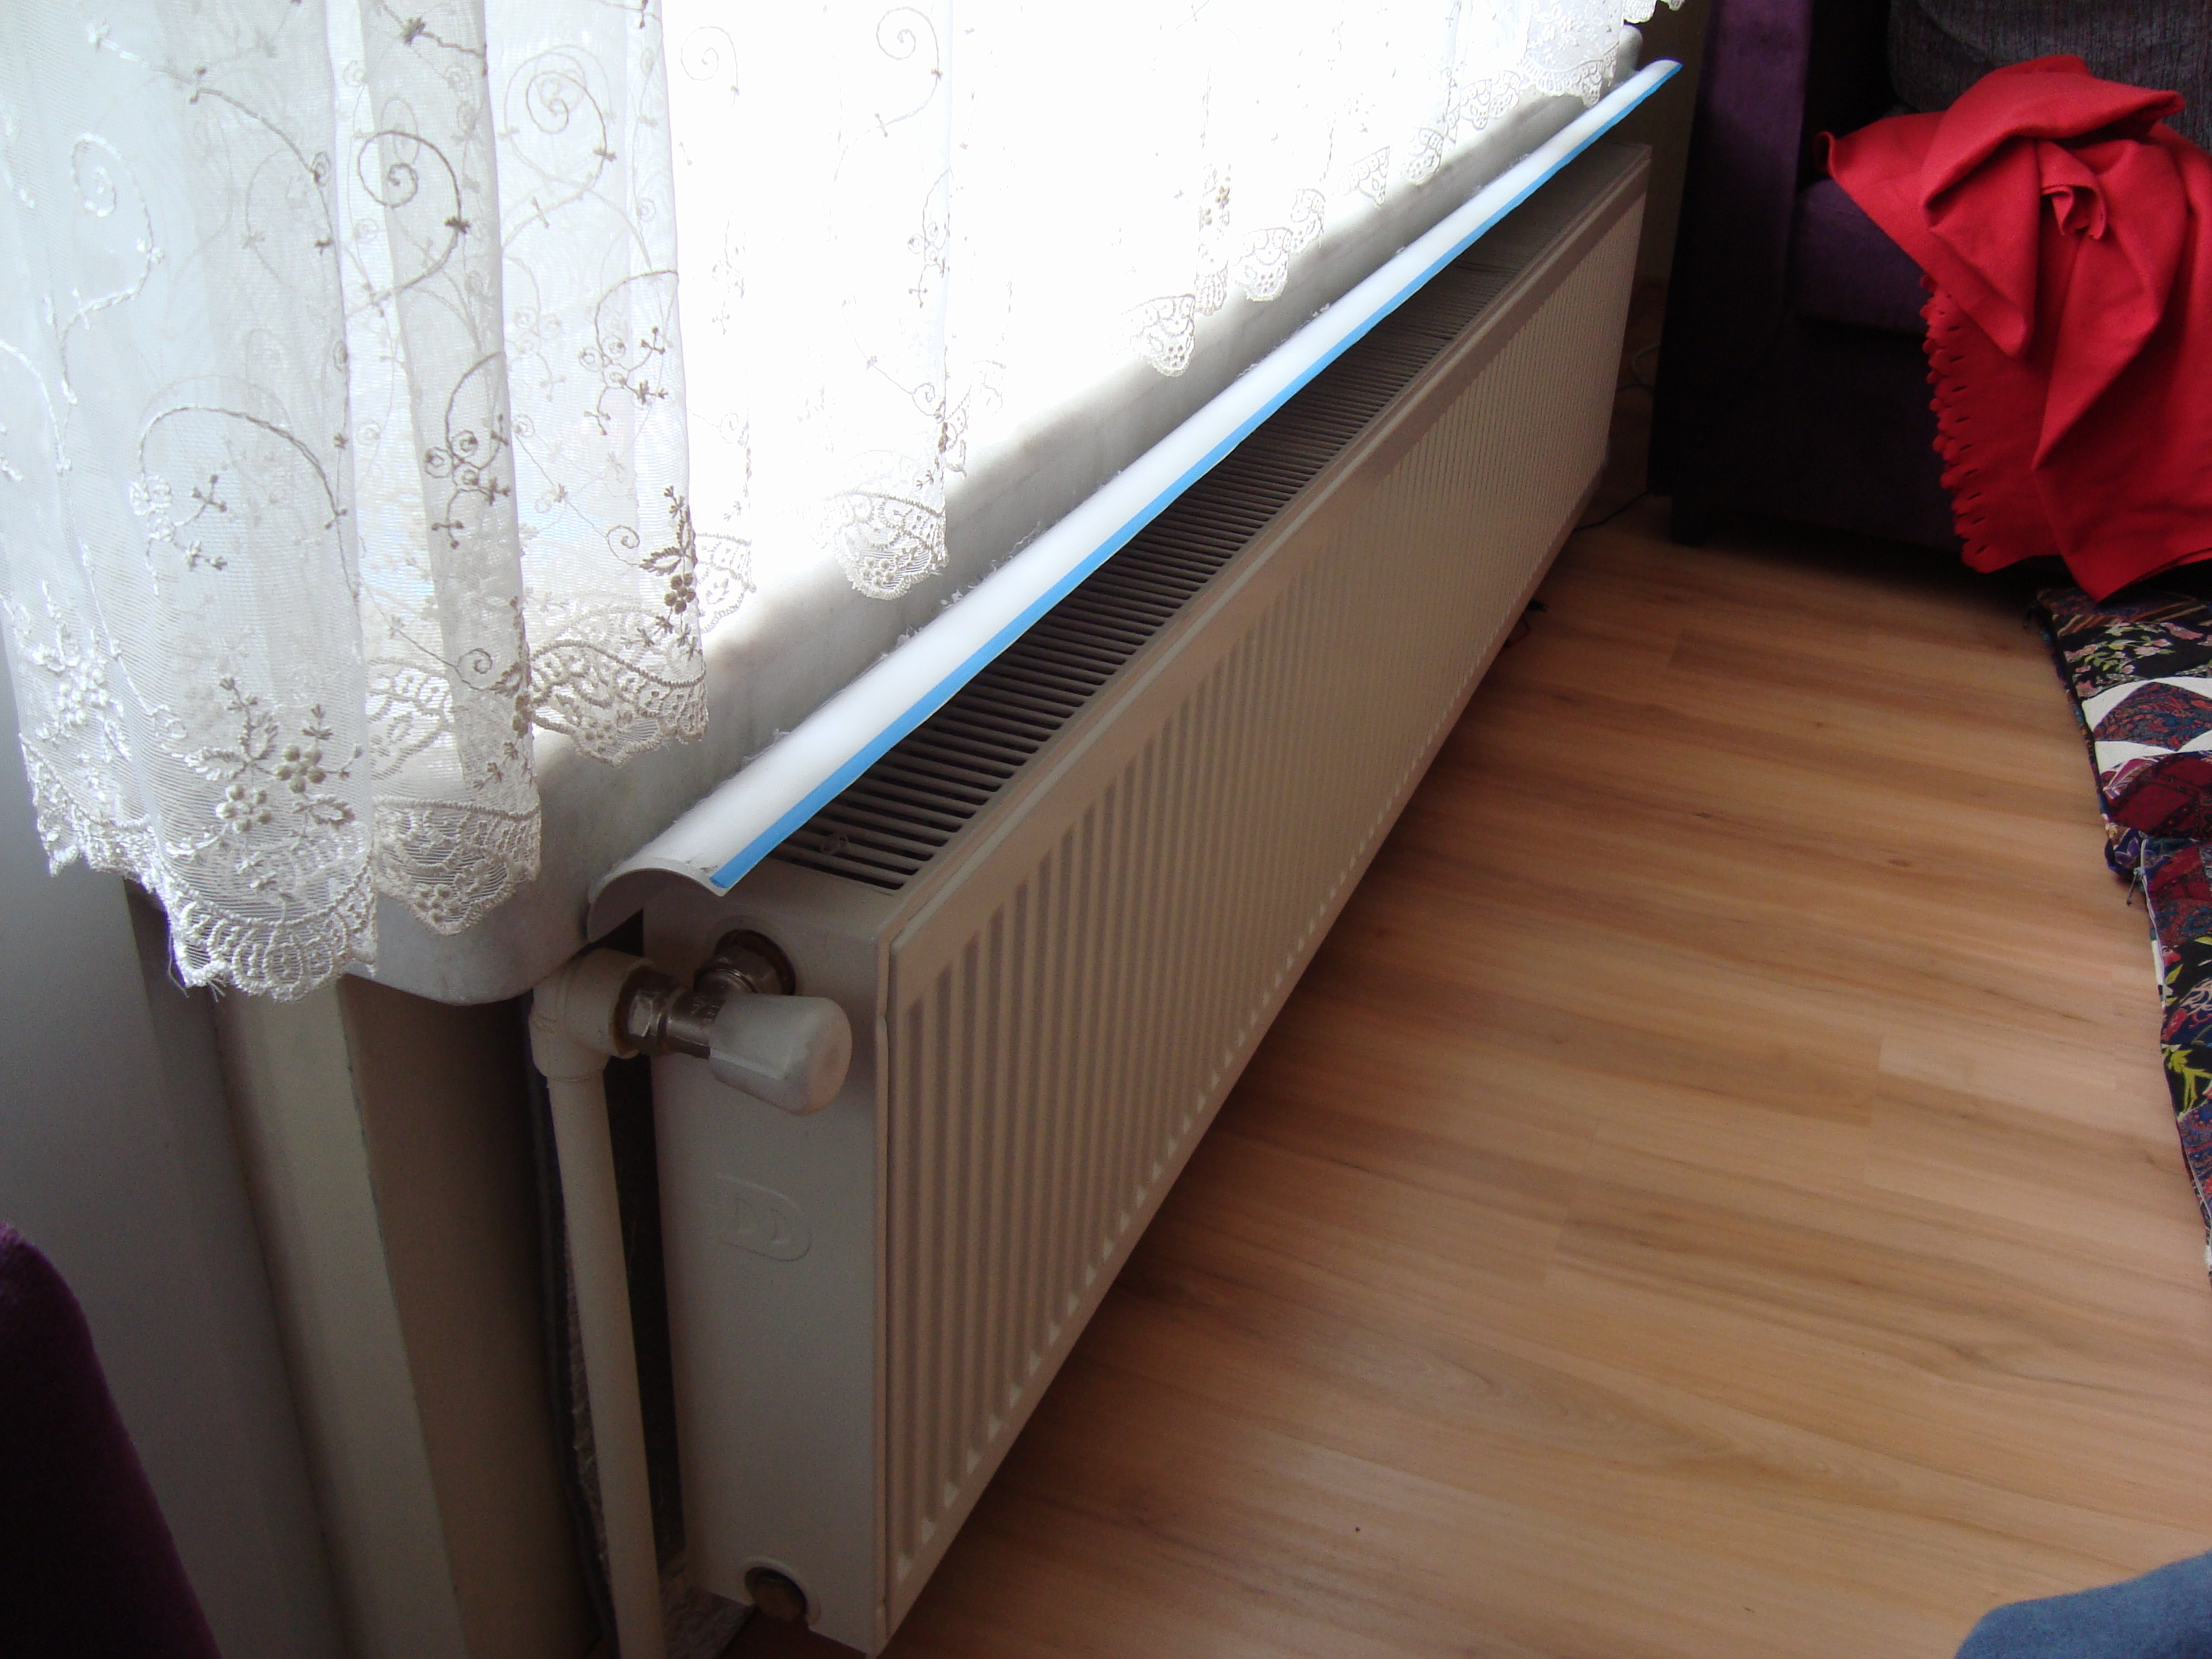
Wait for the glue gun to get hot enough. Align the pipe above the radiator parallel to the ground so as to direct the heated rising air towards the room like a concave mirror.

In this stage, you will need another person’s help to hold the pipe stable while you glue it and until the glue has set.

Now your airbender is ready. It will direct the heated air towards the middle of your room, preventing it from getting between the curtain and the window. It also prevents sooting of your curtains.

You can stop here and use your airbender alone, or continue to add fans and increase the effect. This is explained in the next step:

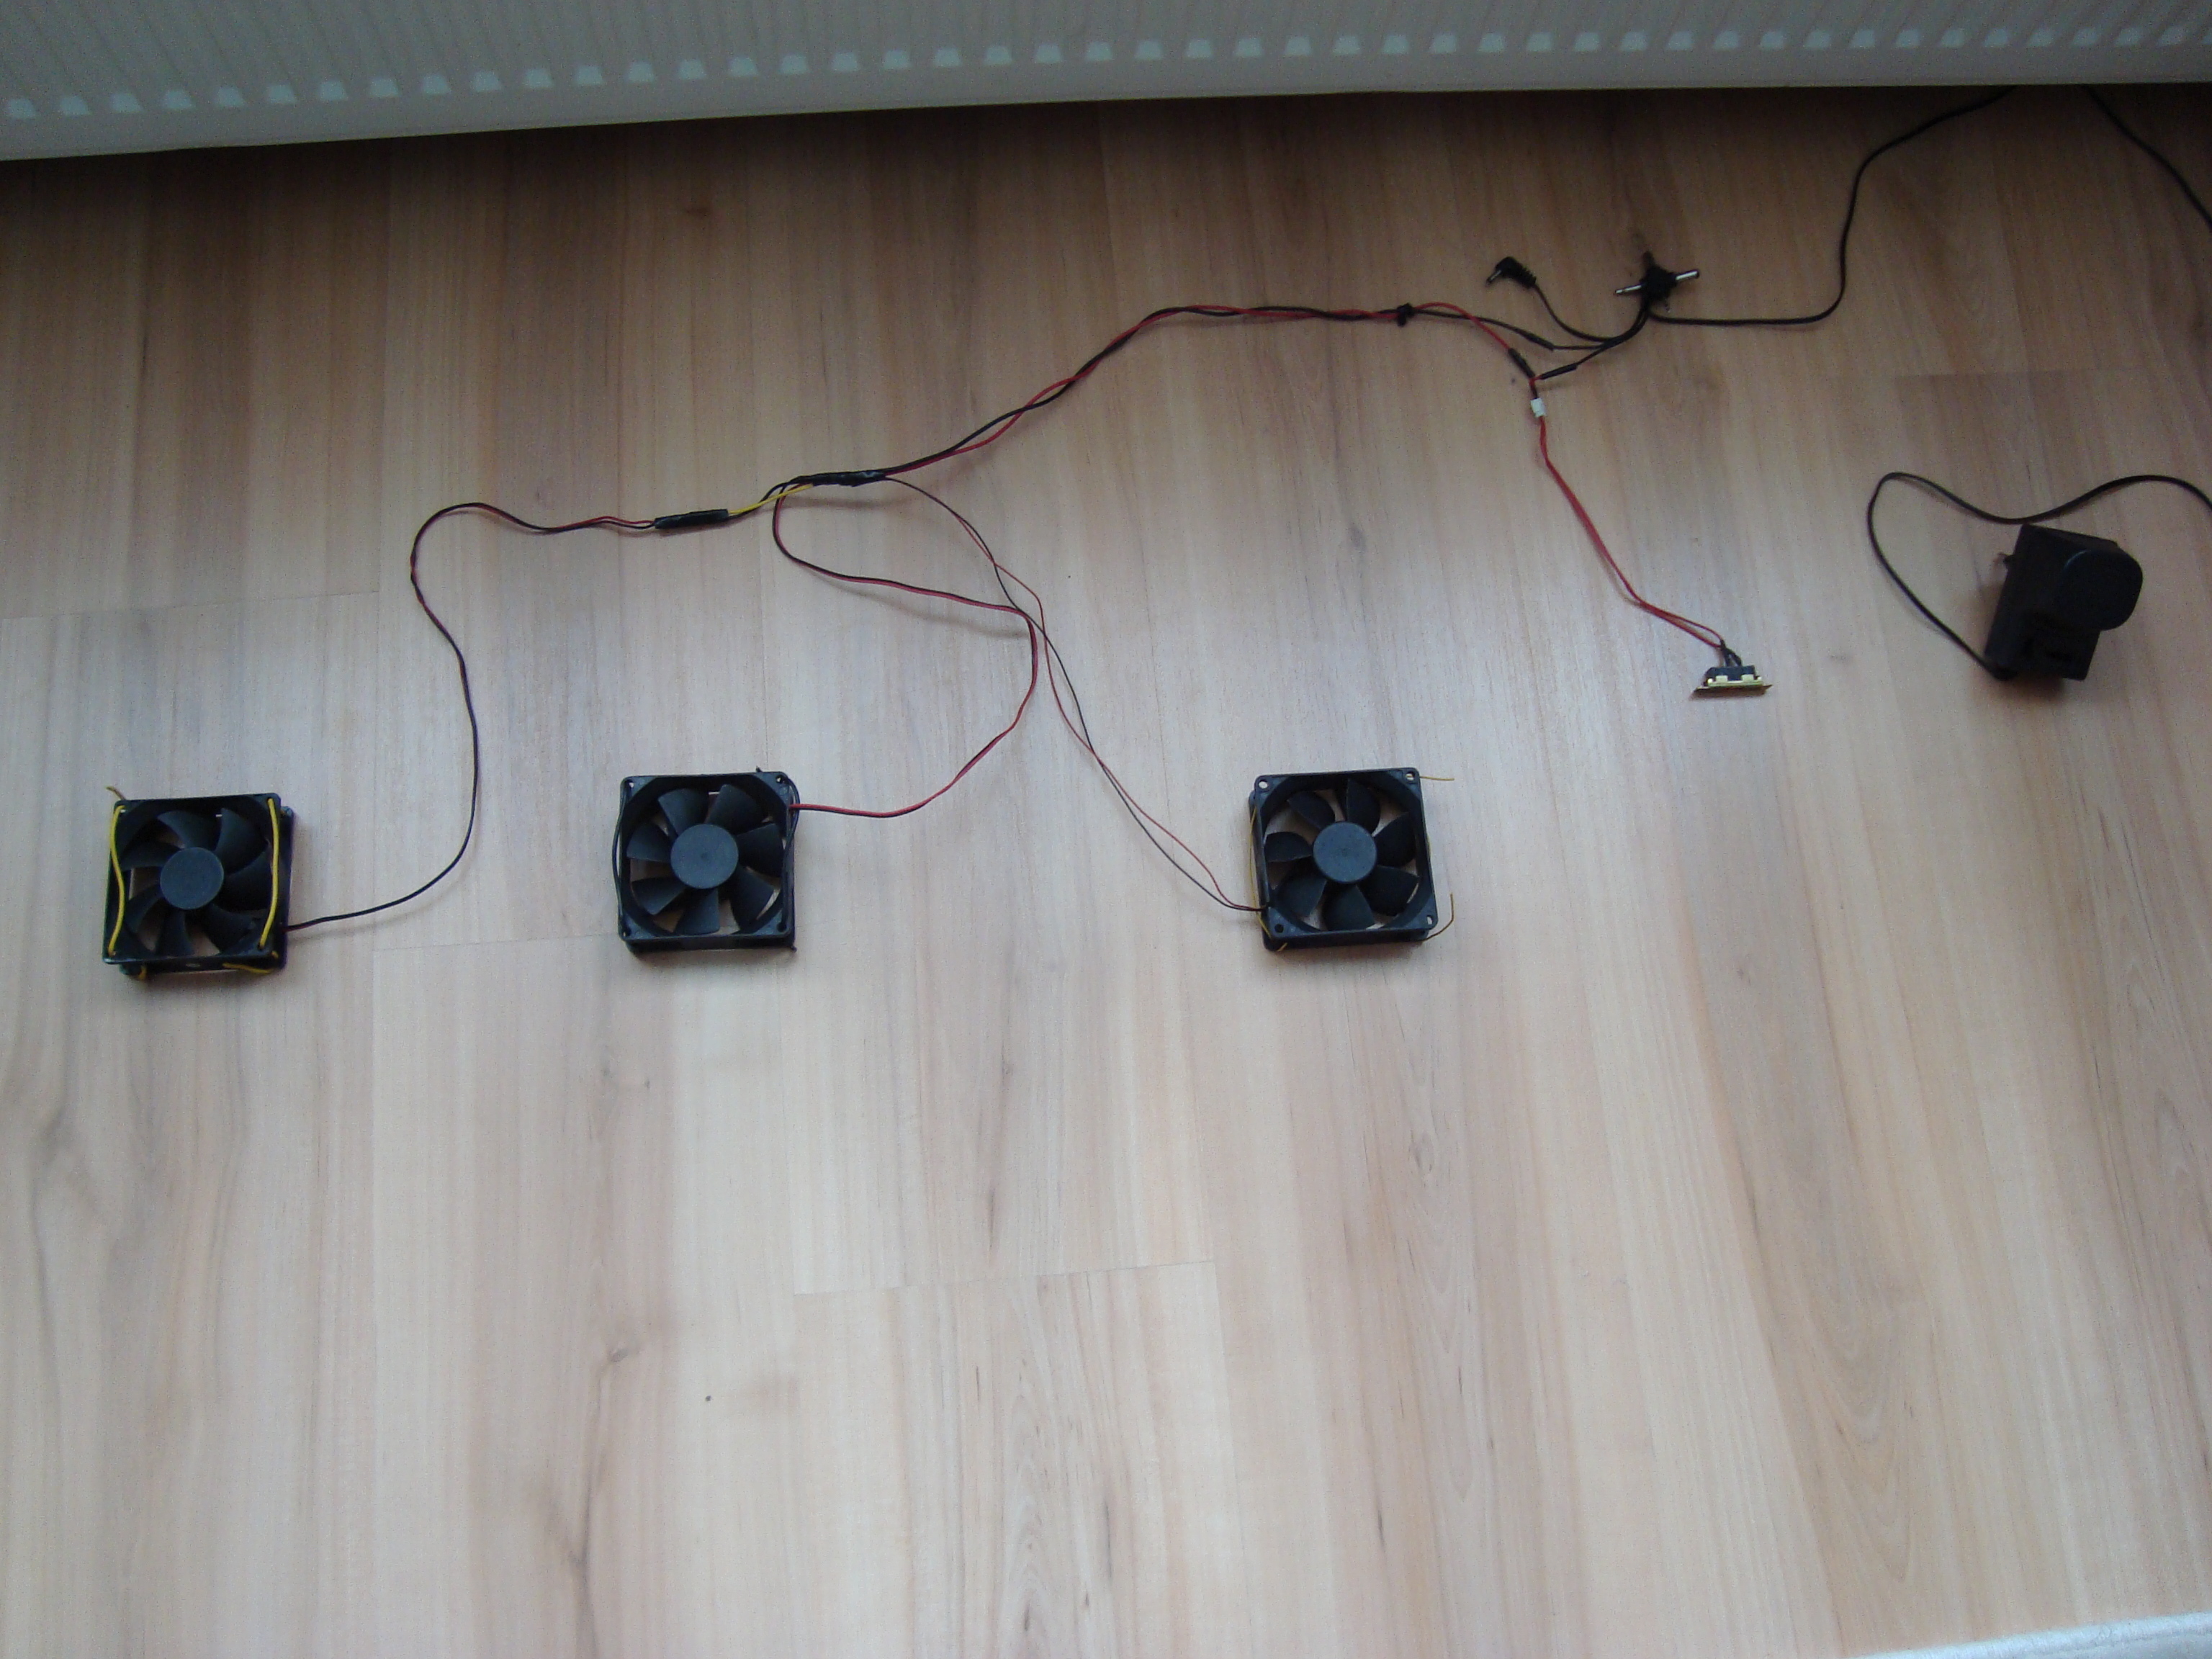
In this stage, we add the fans. You are free to add as many fans as you like, but the capacity of your DC adapter limits you. The total power demand of the fans shouldn’t exceed the capacity of your adapter. Adding too many fans will also make noise in your room.

Connect the fans in parallel; i.e., (+) terminals connected together, (-) terminals connected together. You can determine the polarity by trying each fan. If the polarity is correct, the fans will rotate, if the polarity is reversed, the fan will not rotate.

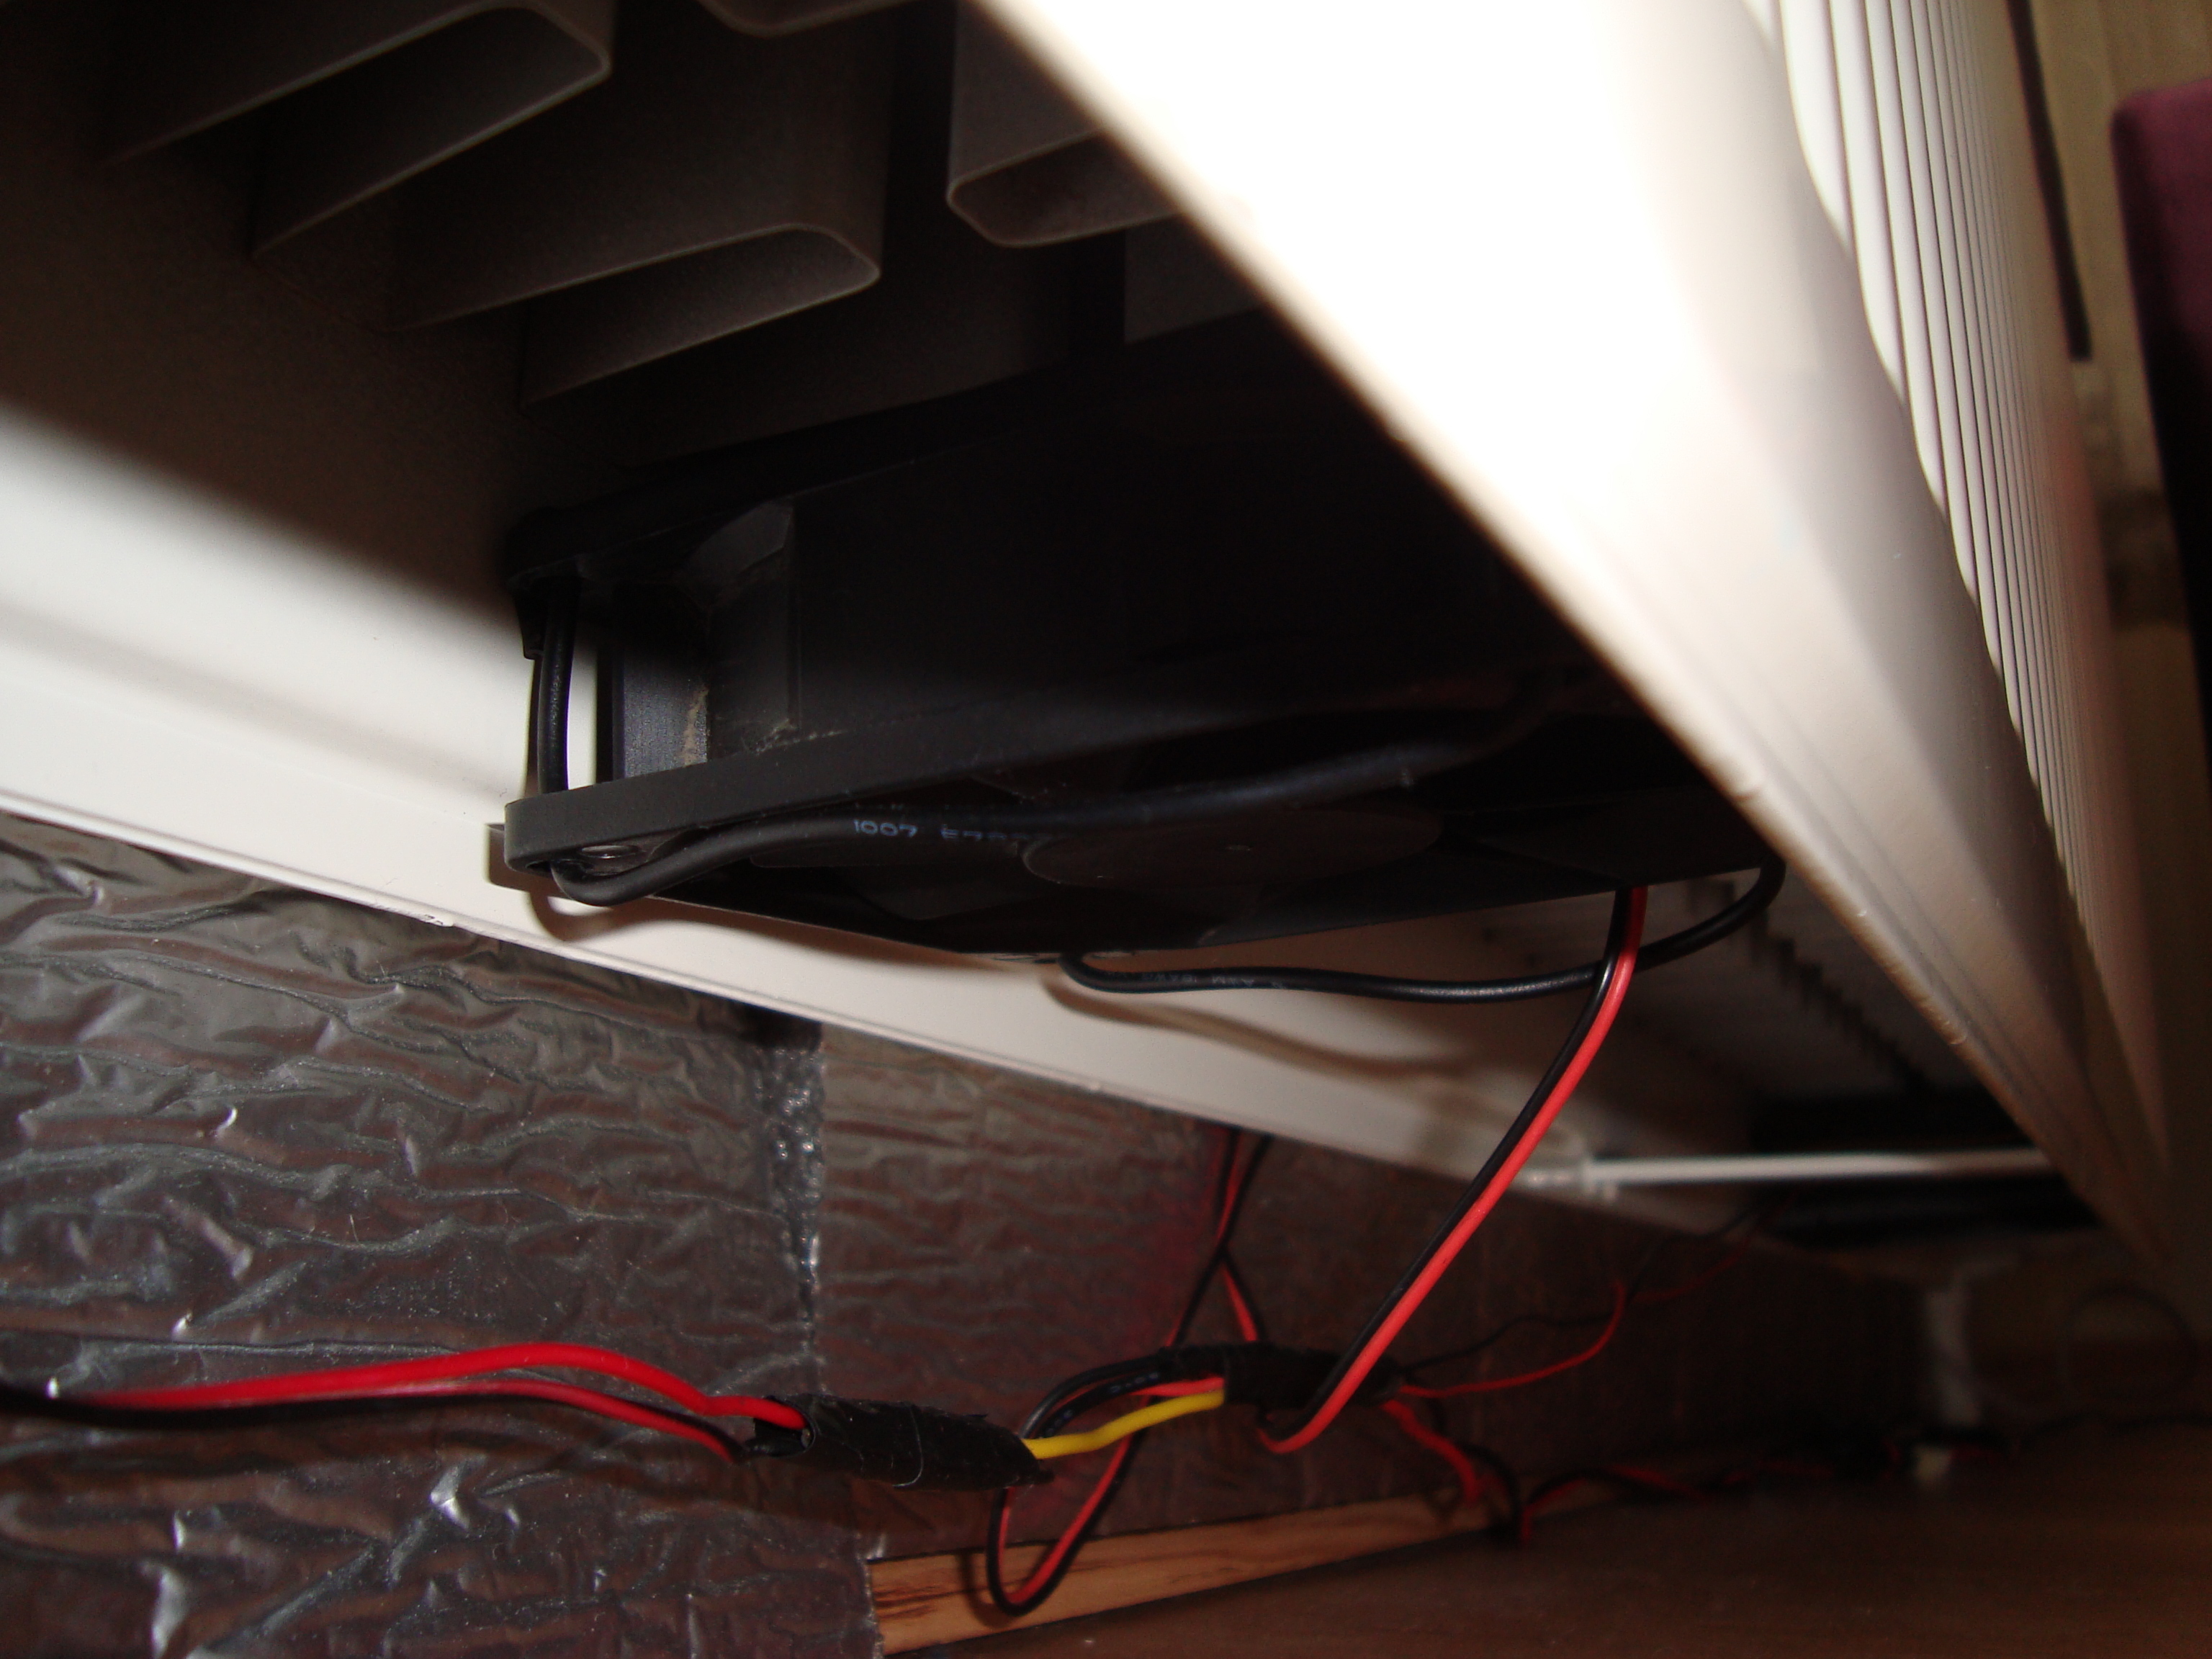
Connect the common (+) and (-) wires to the corresponding terminals of the adapter. Insulate the connection with electrical tape.

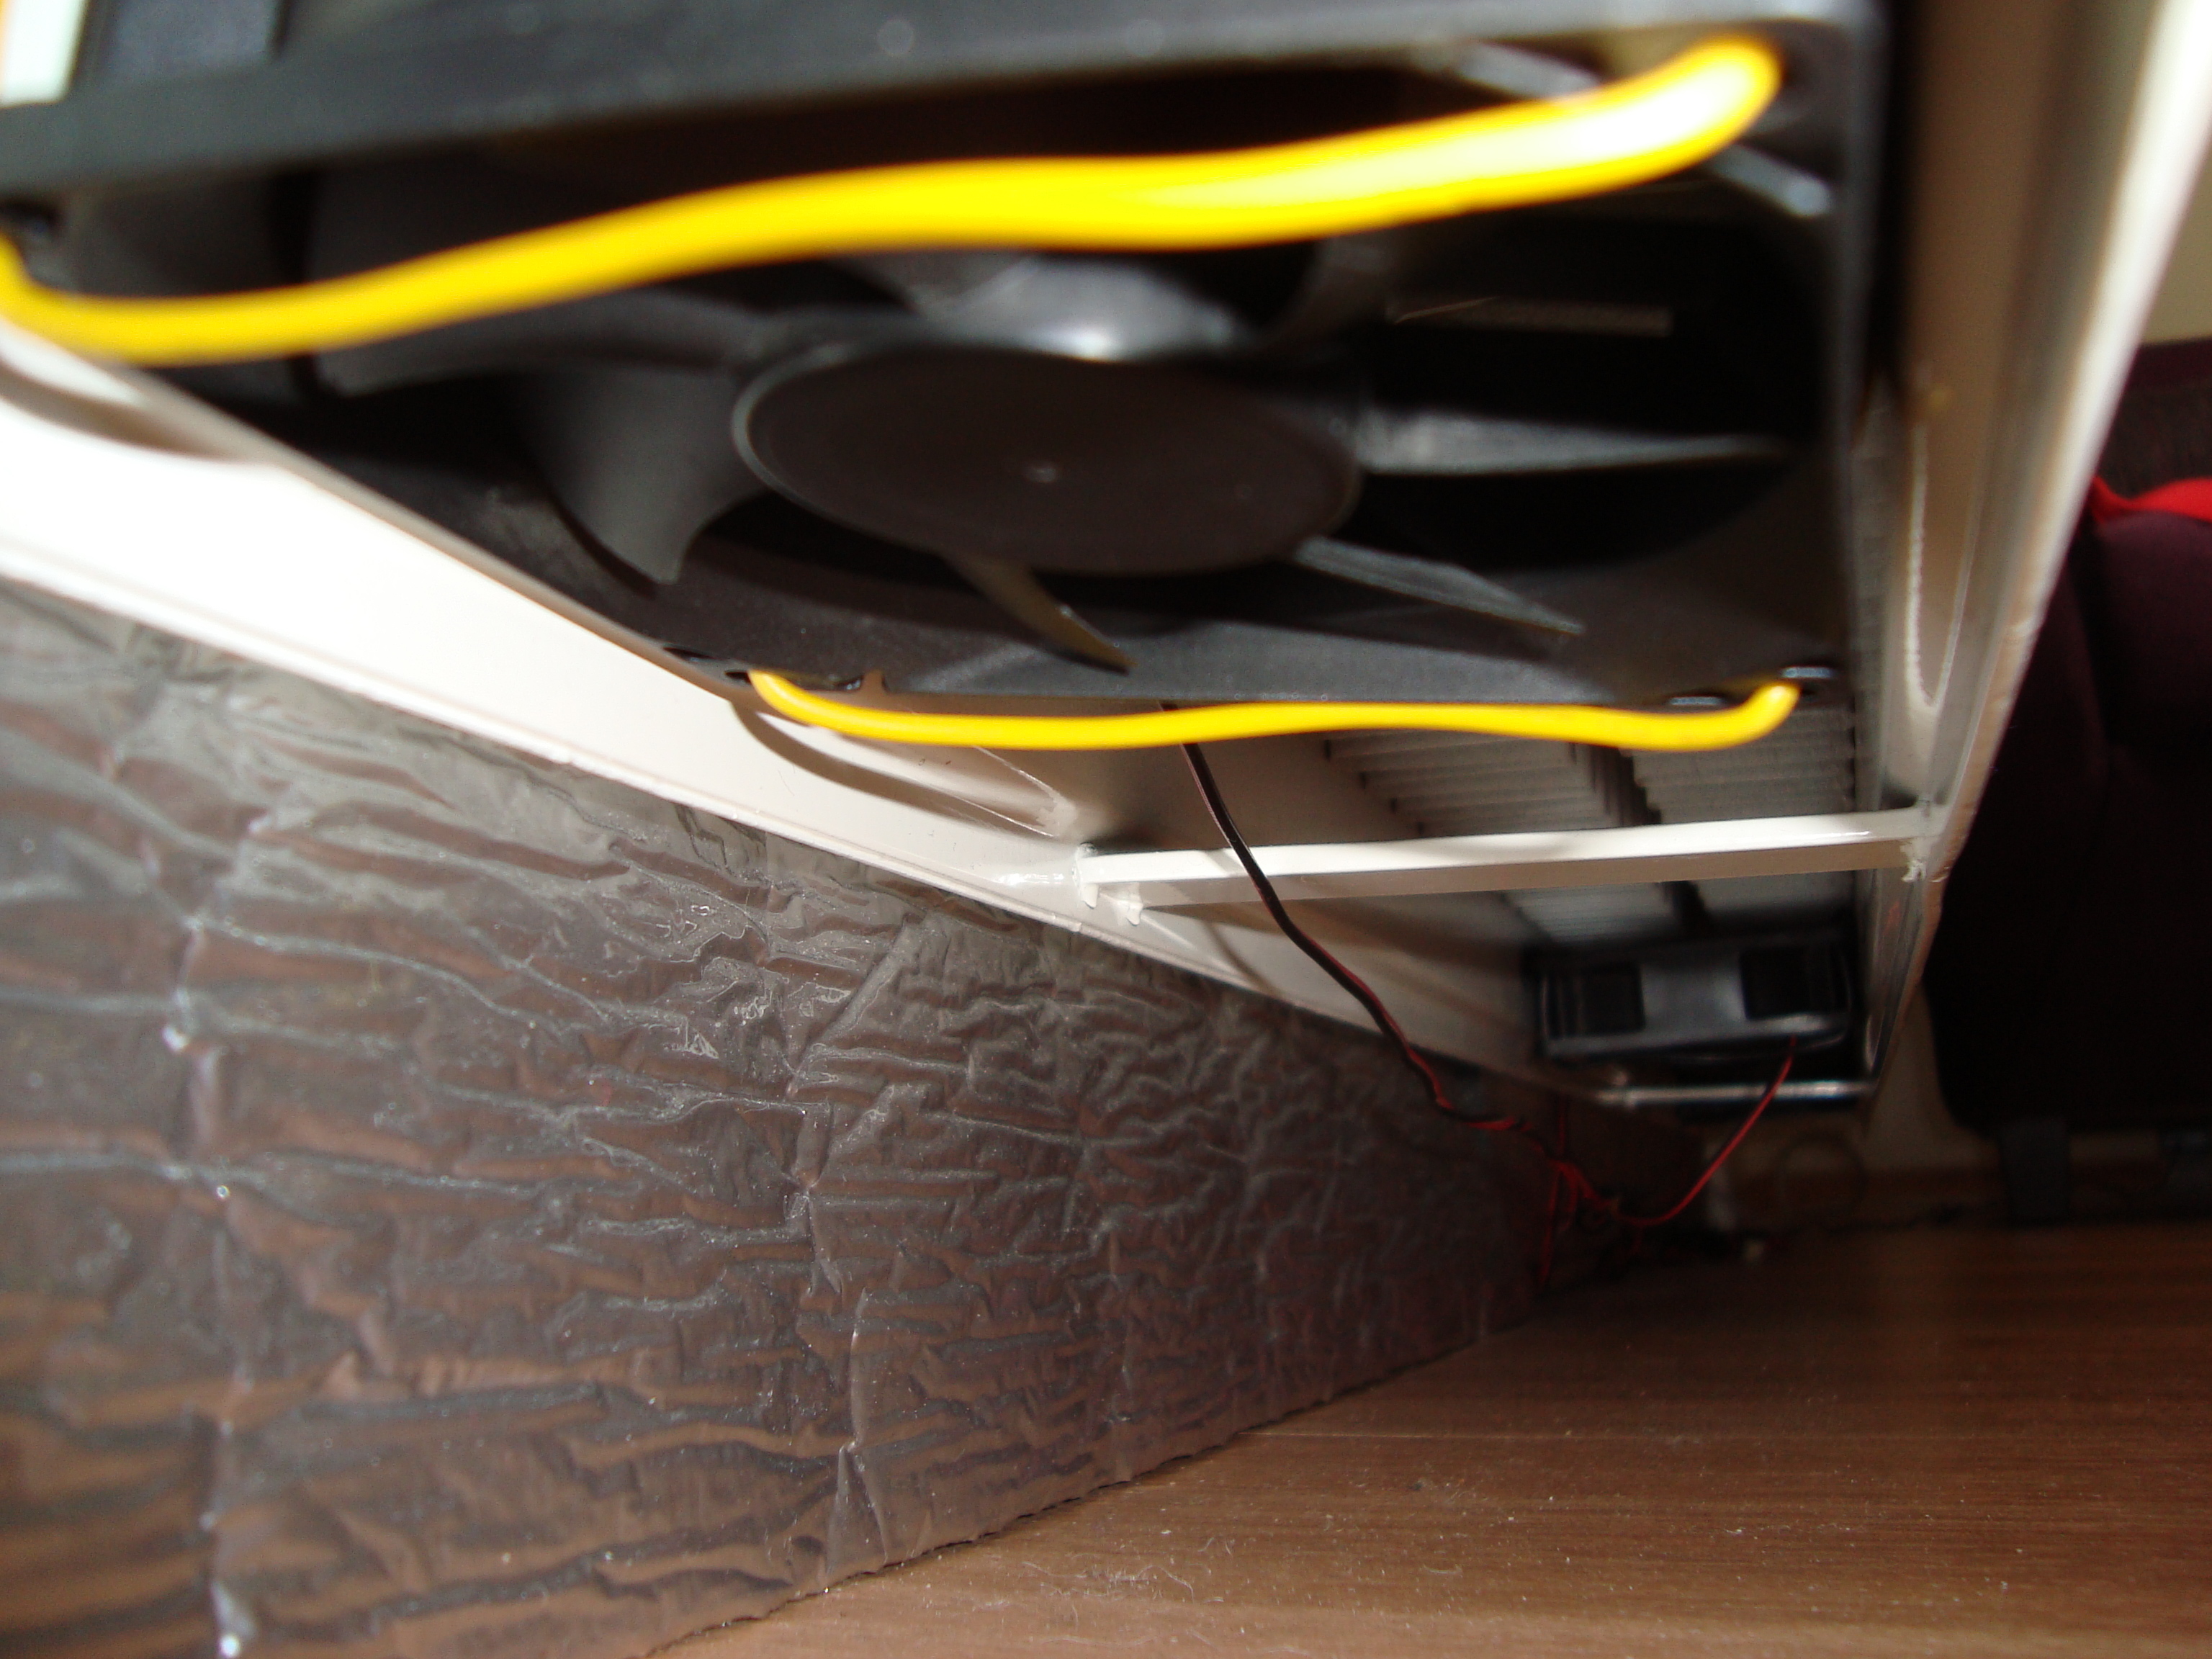
Attach the fans below the radiator, blowing upwards. You can fix them in place by tucking plastic wires between the inner walls of the radiator and the fans.

You can adjust the speed of the fans by changing the voltage from the adapter. At 12 volts they will rotate at full speed and at 3 volts they will rotate more slowly. You can determine at what speed you wish to use the fans by trying different settings.