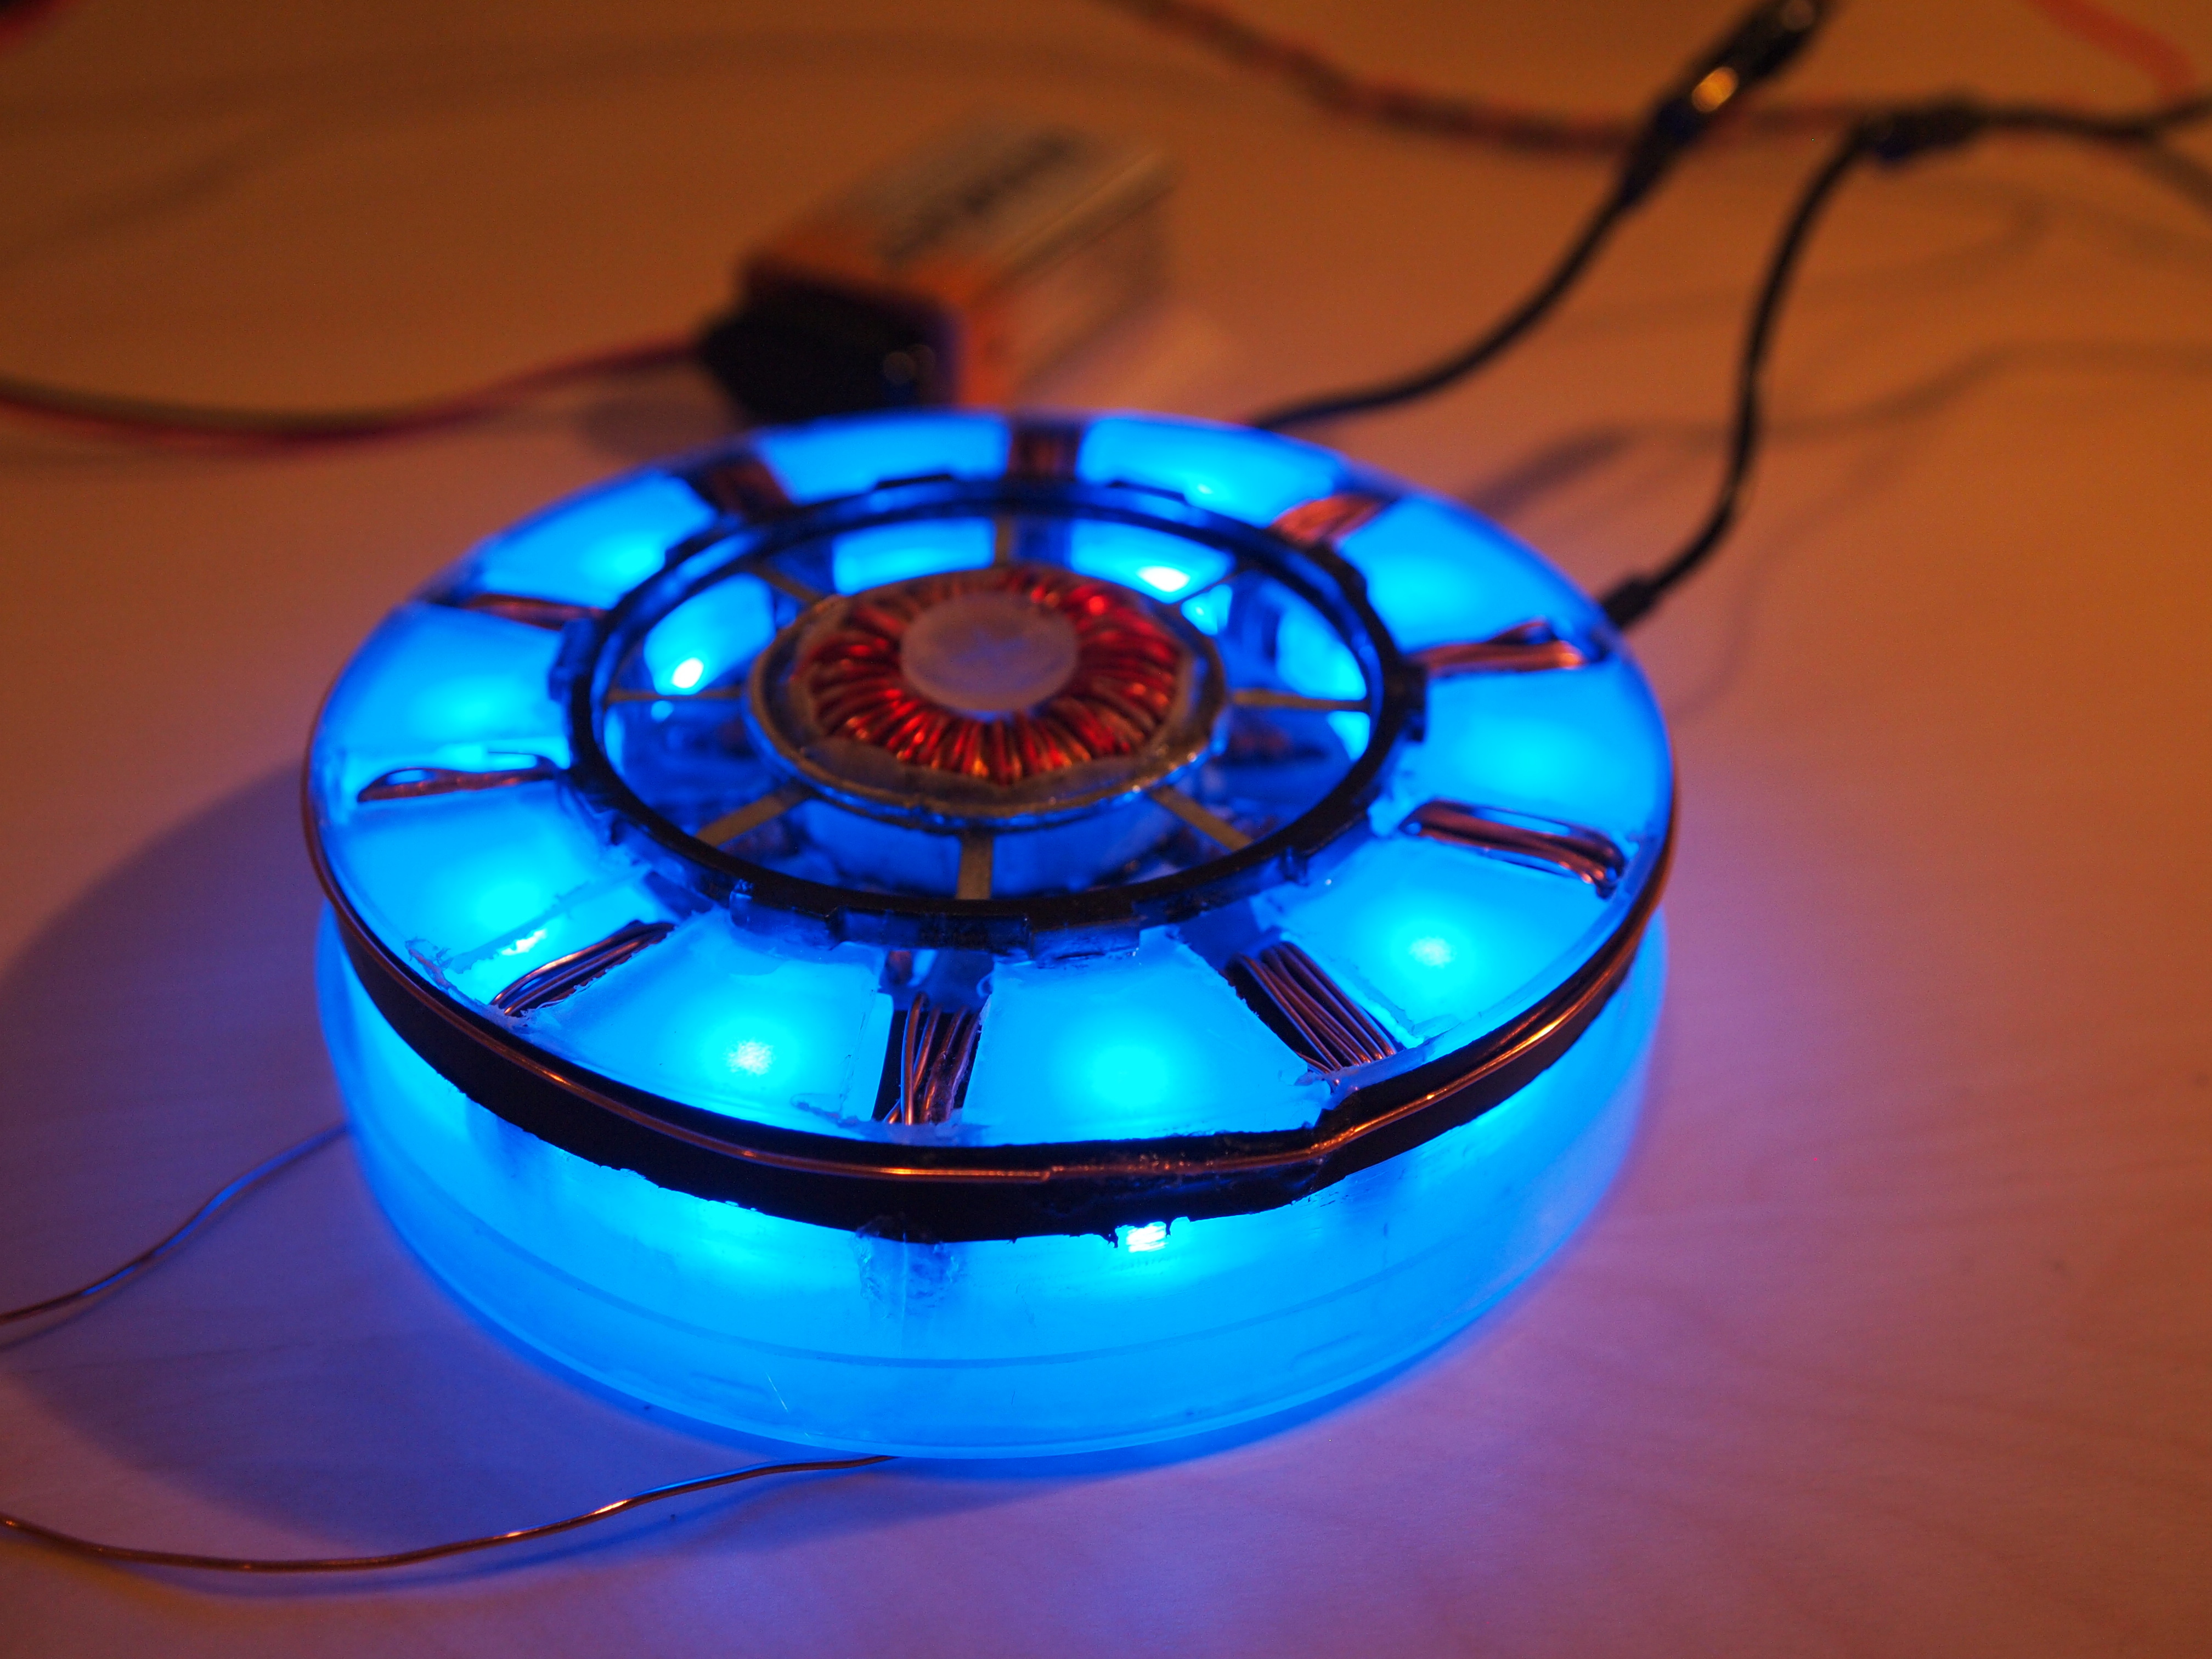
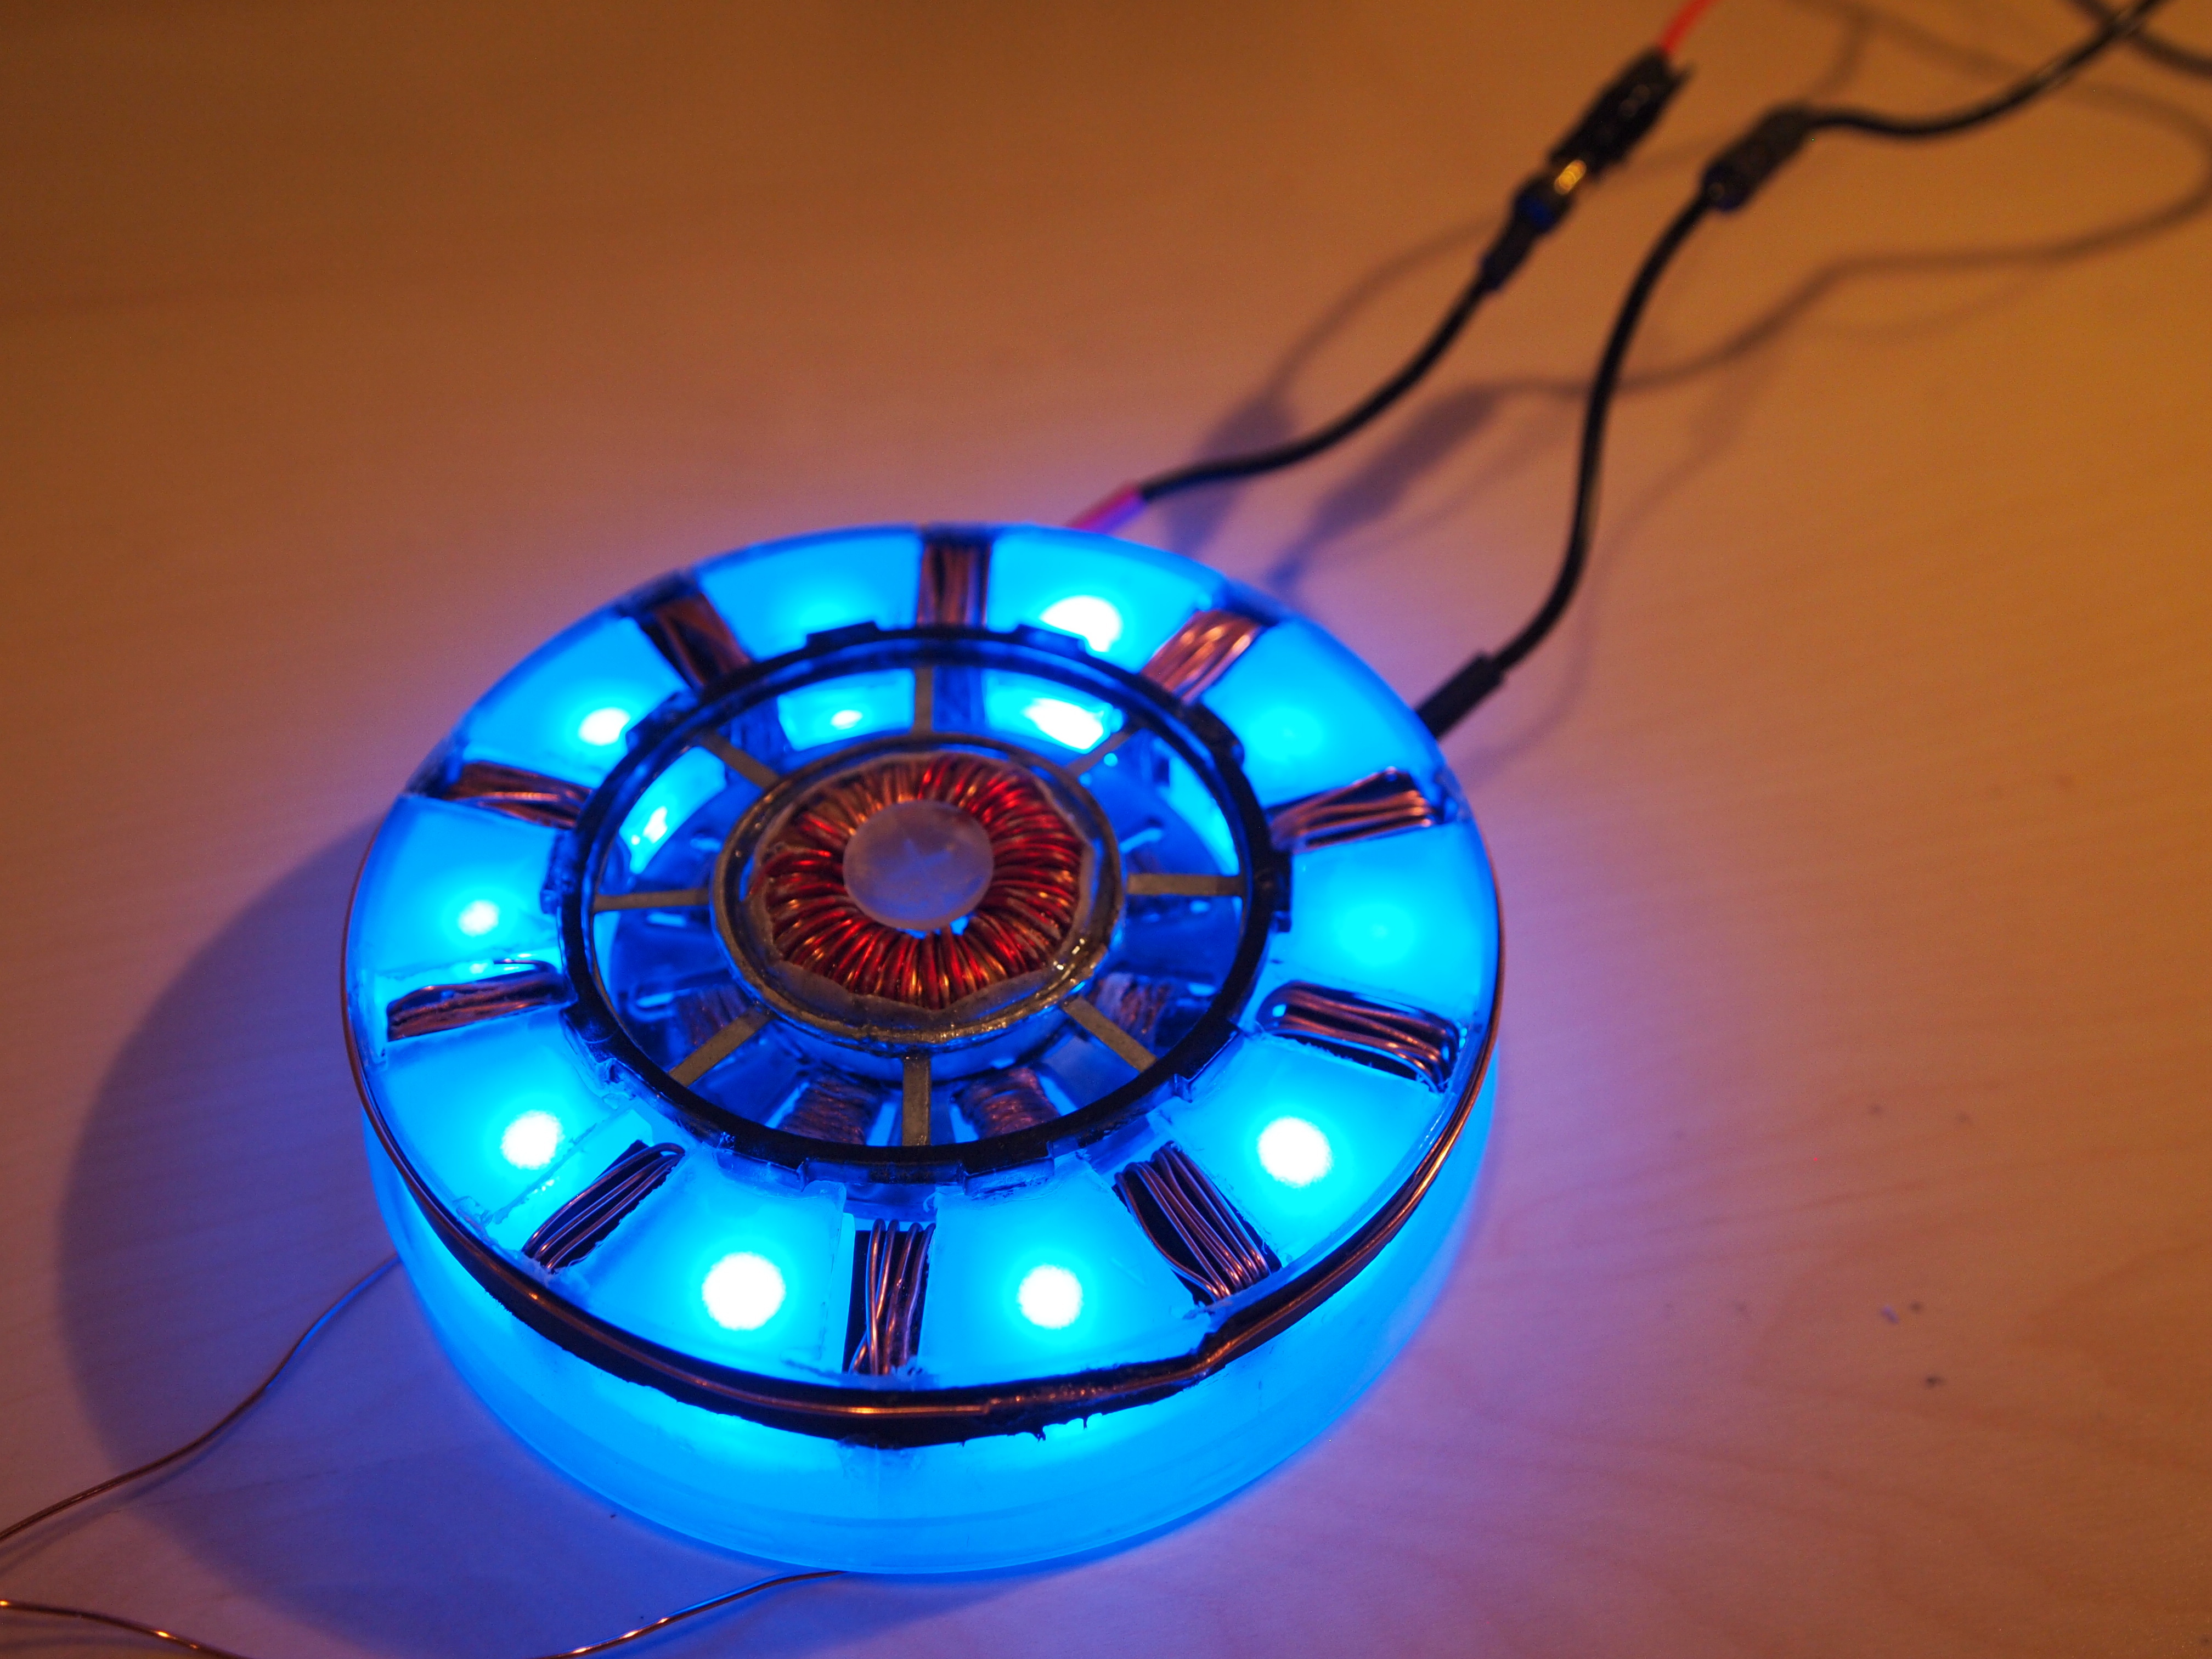
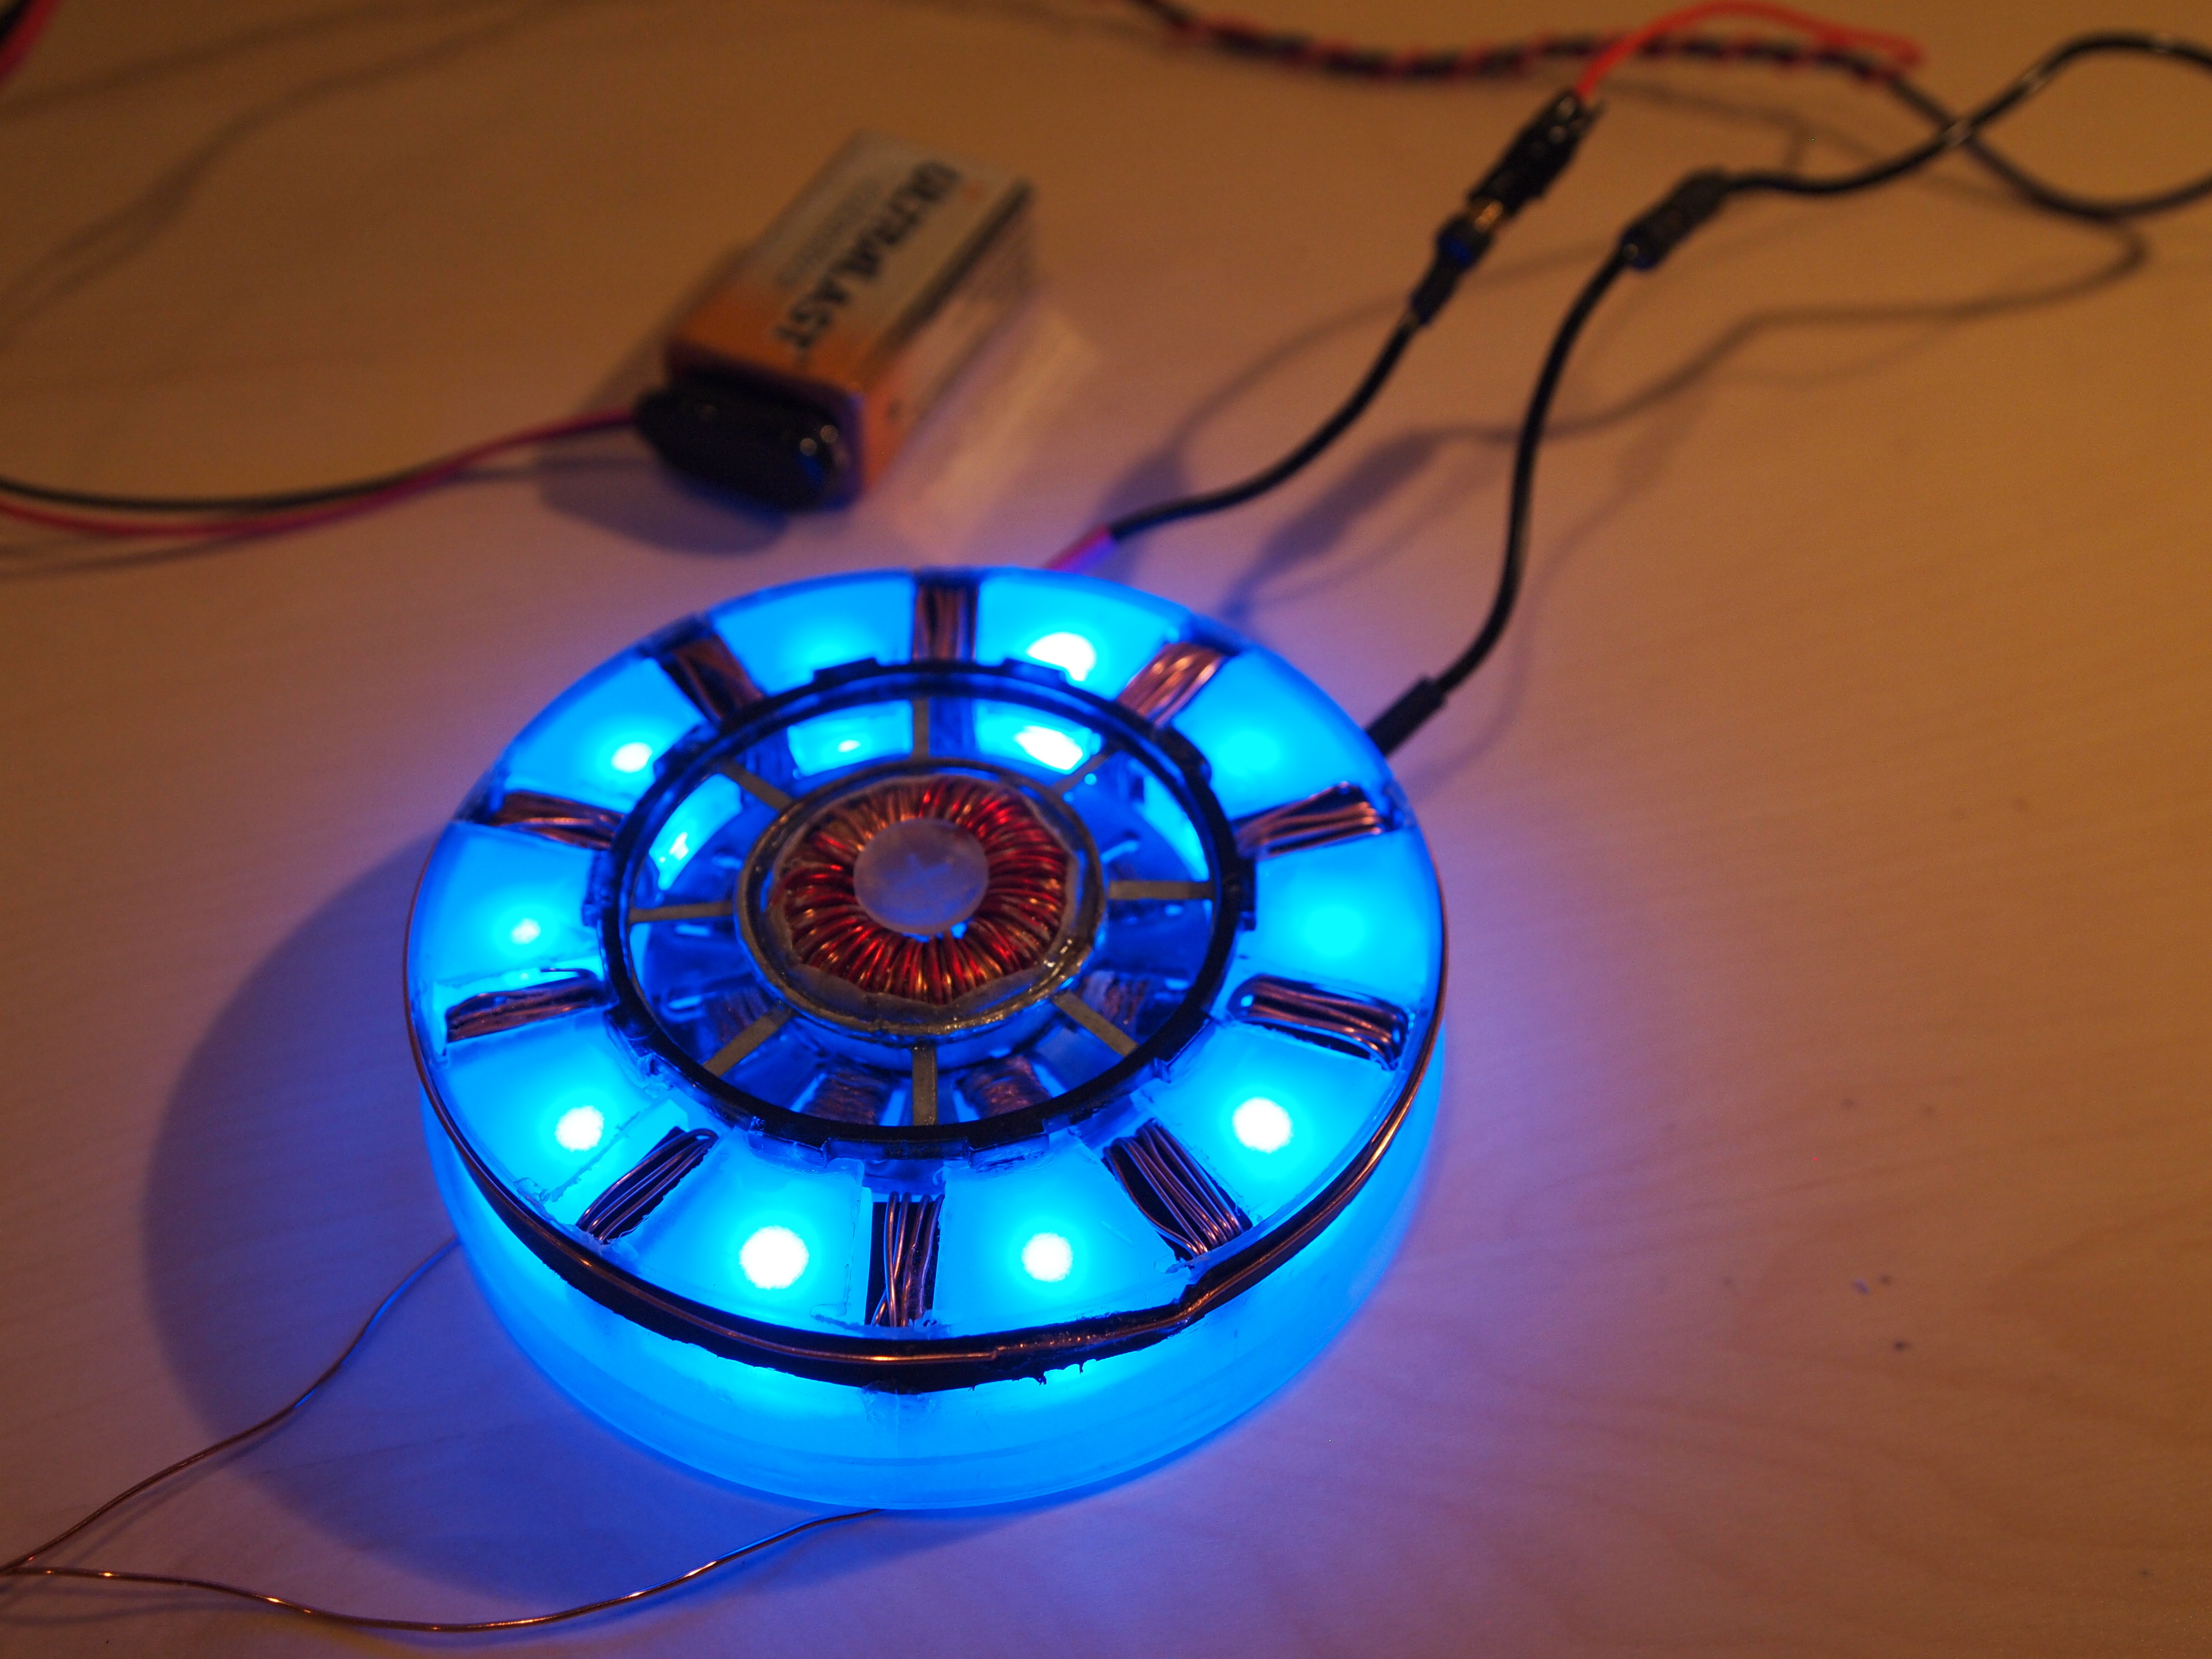
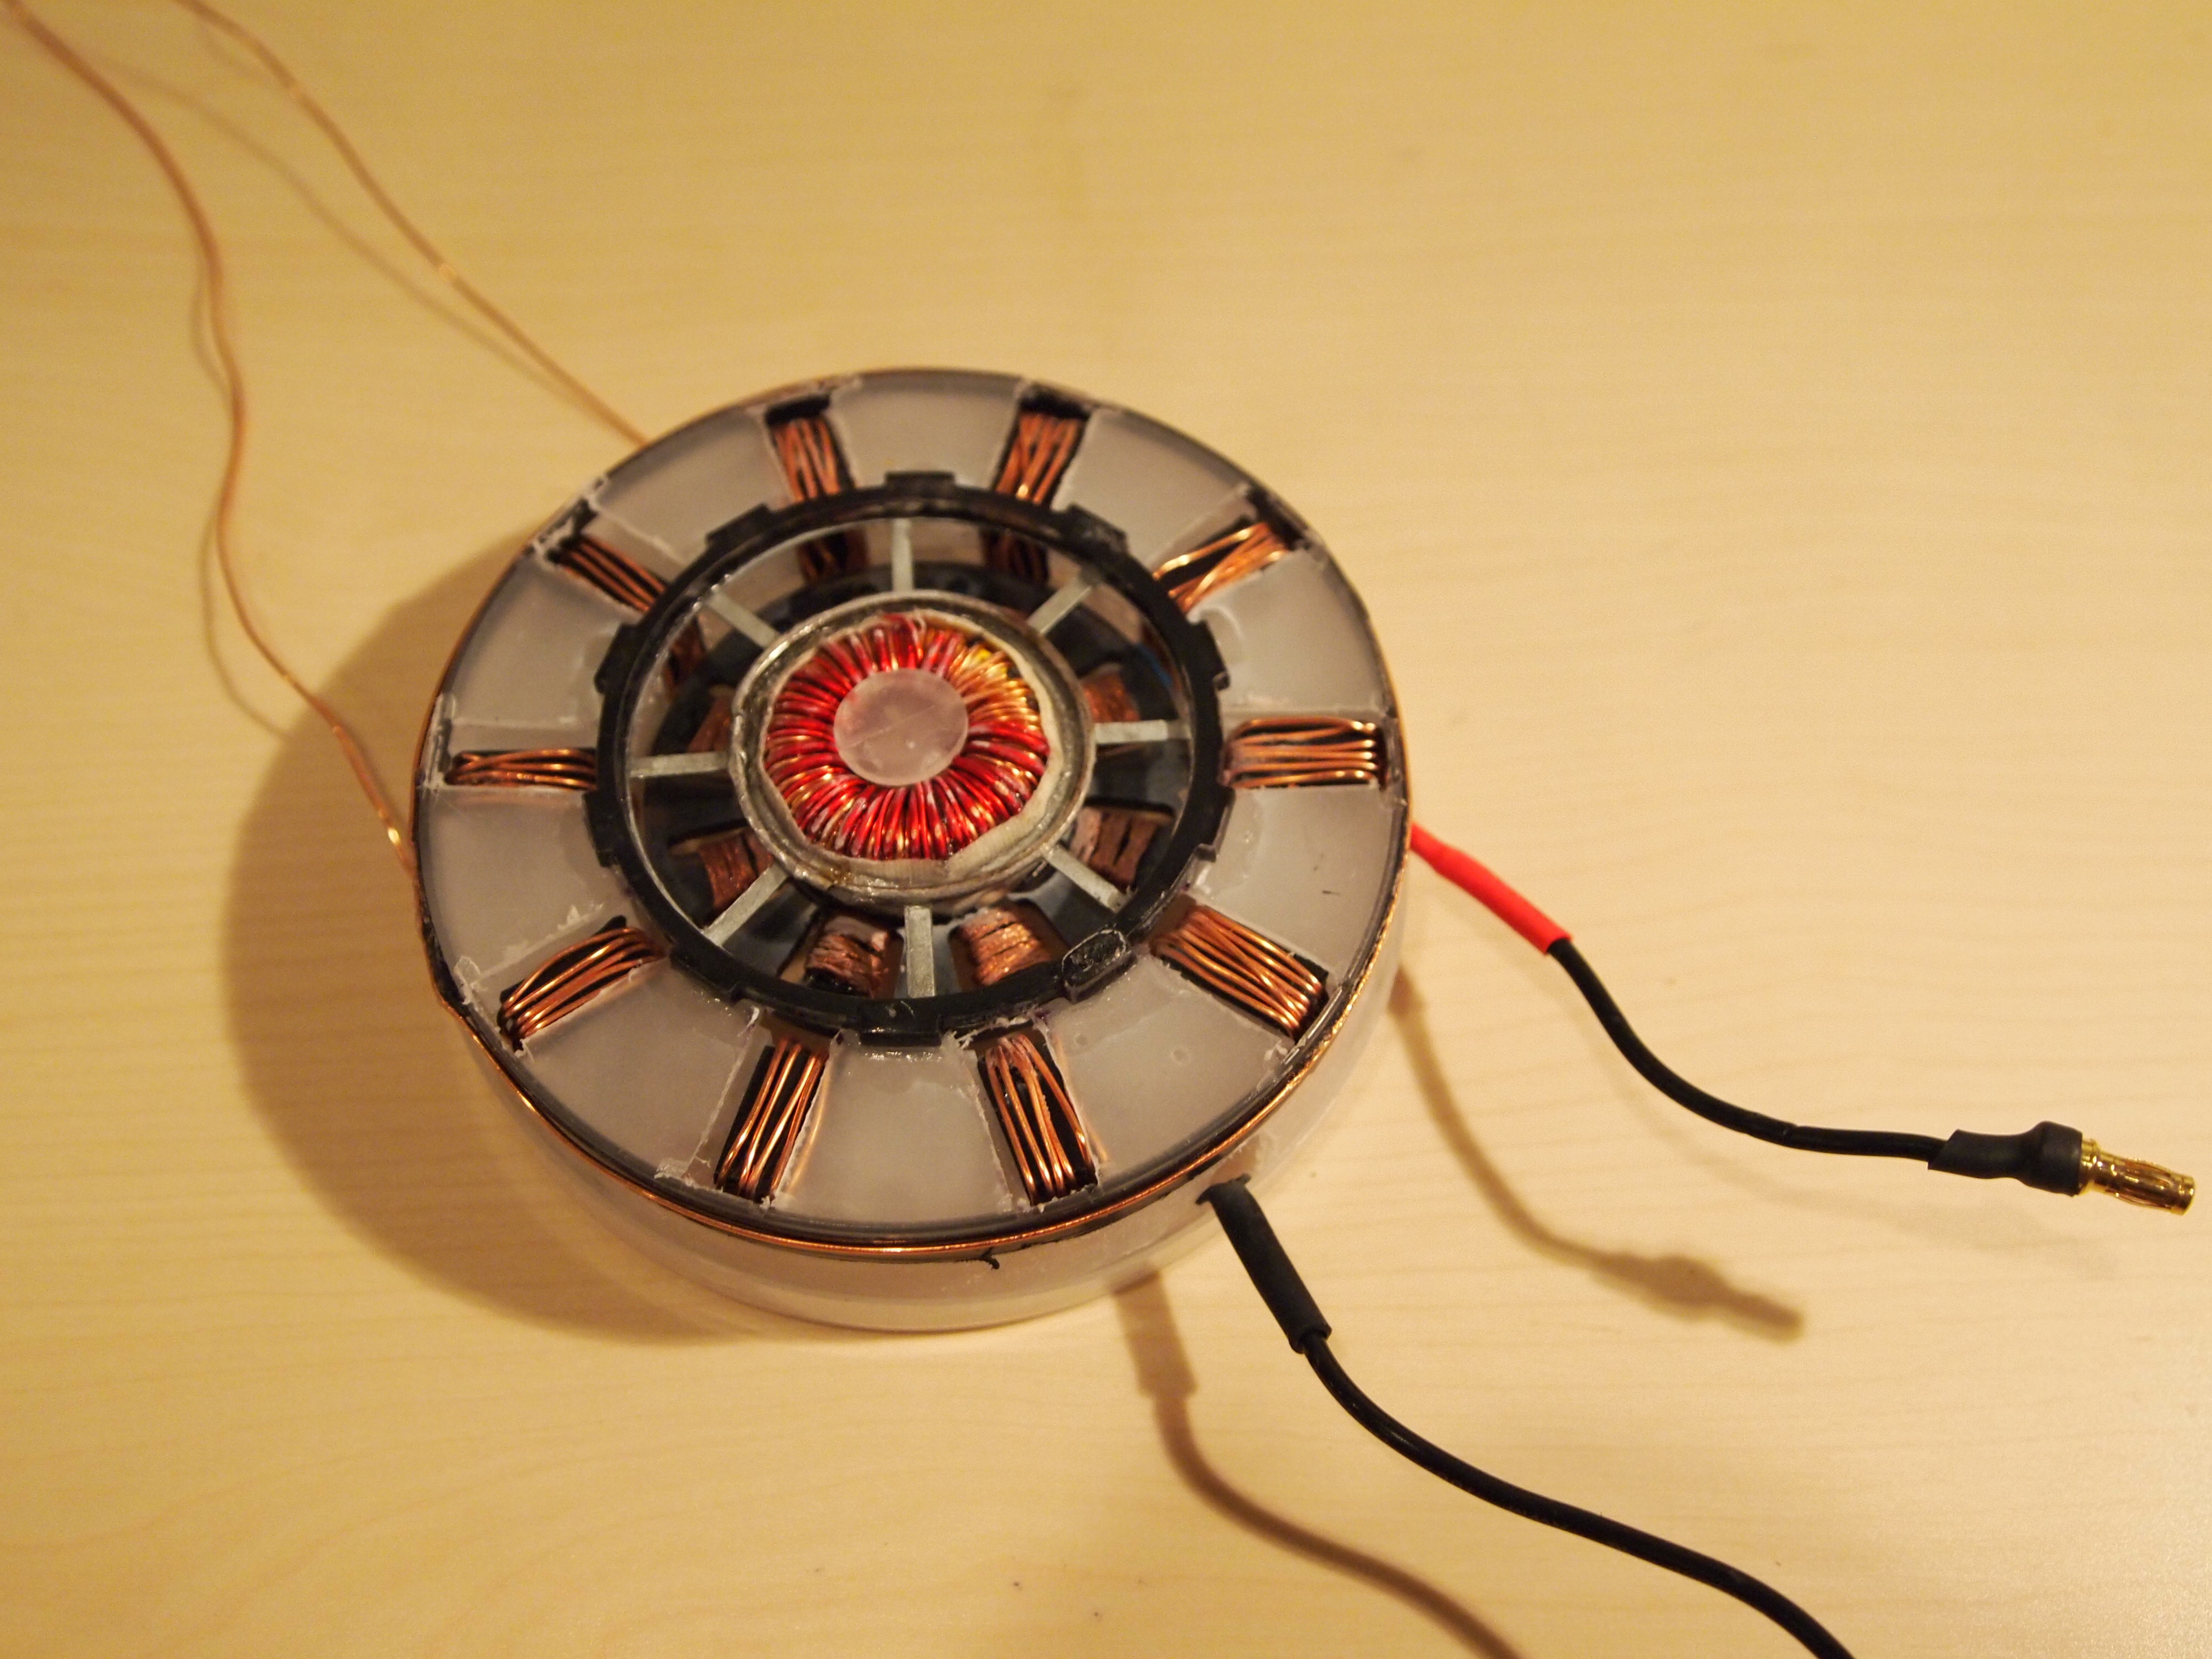
The reactor is the most complex portion of the build, and the most important! Once you have your LEDs ready to go, you need to find out what their forward current and voltage are. You can usually find this from your LED distributor
I bought mine from Evil Mad Science, who list the specs on each product page.
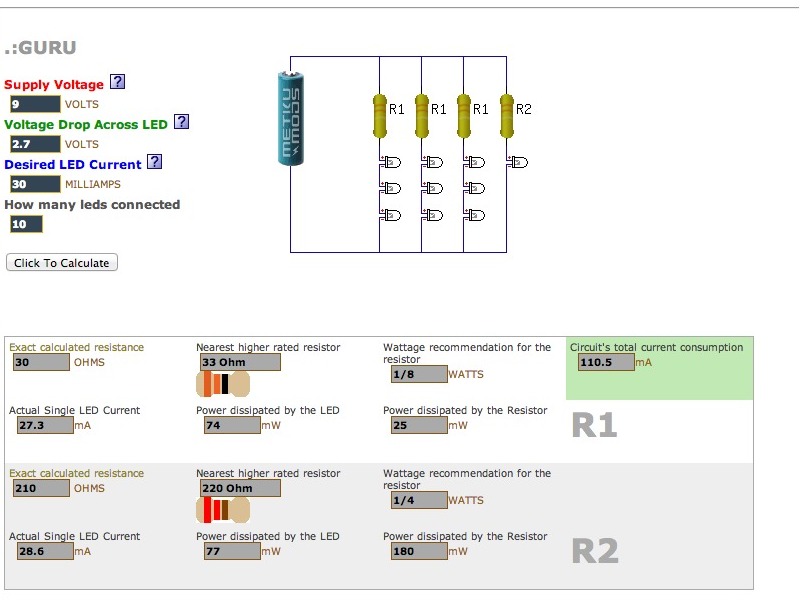
Next, use Ohm’s Law (or a handy website like LEDcalc) to generate a schematic.
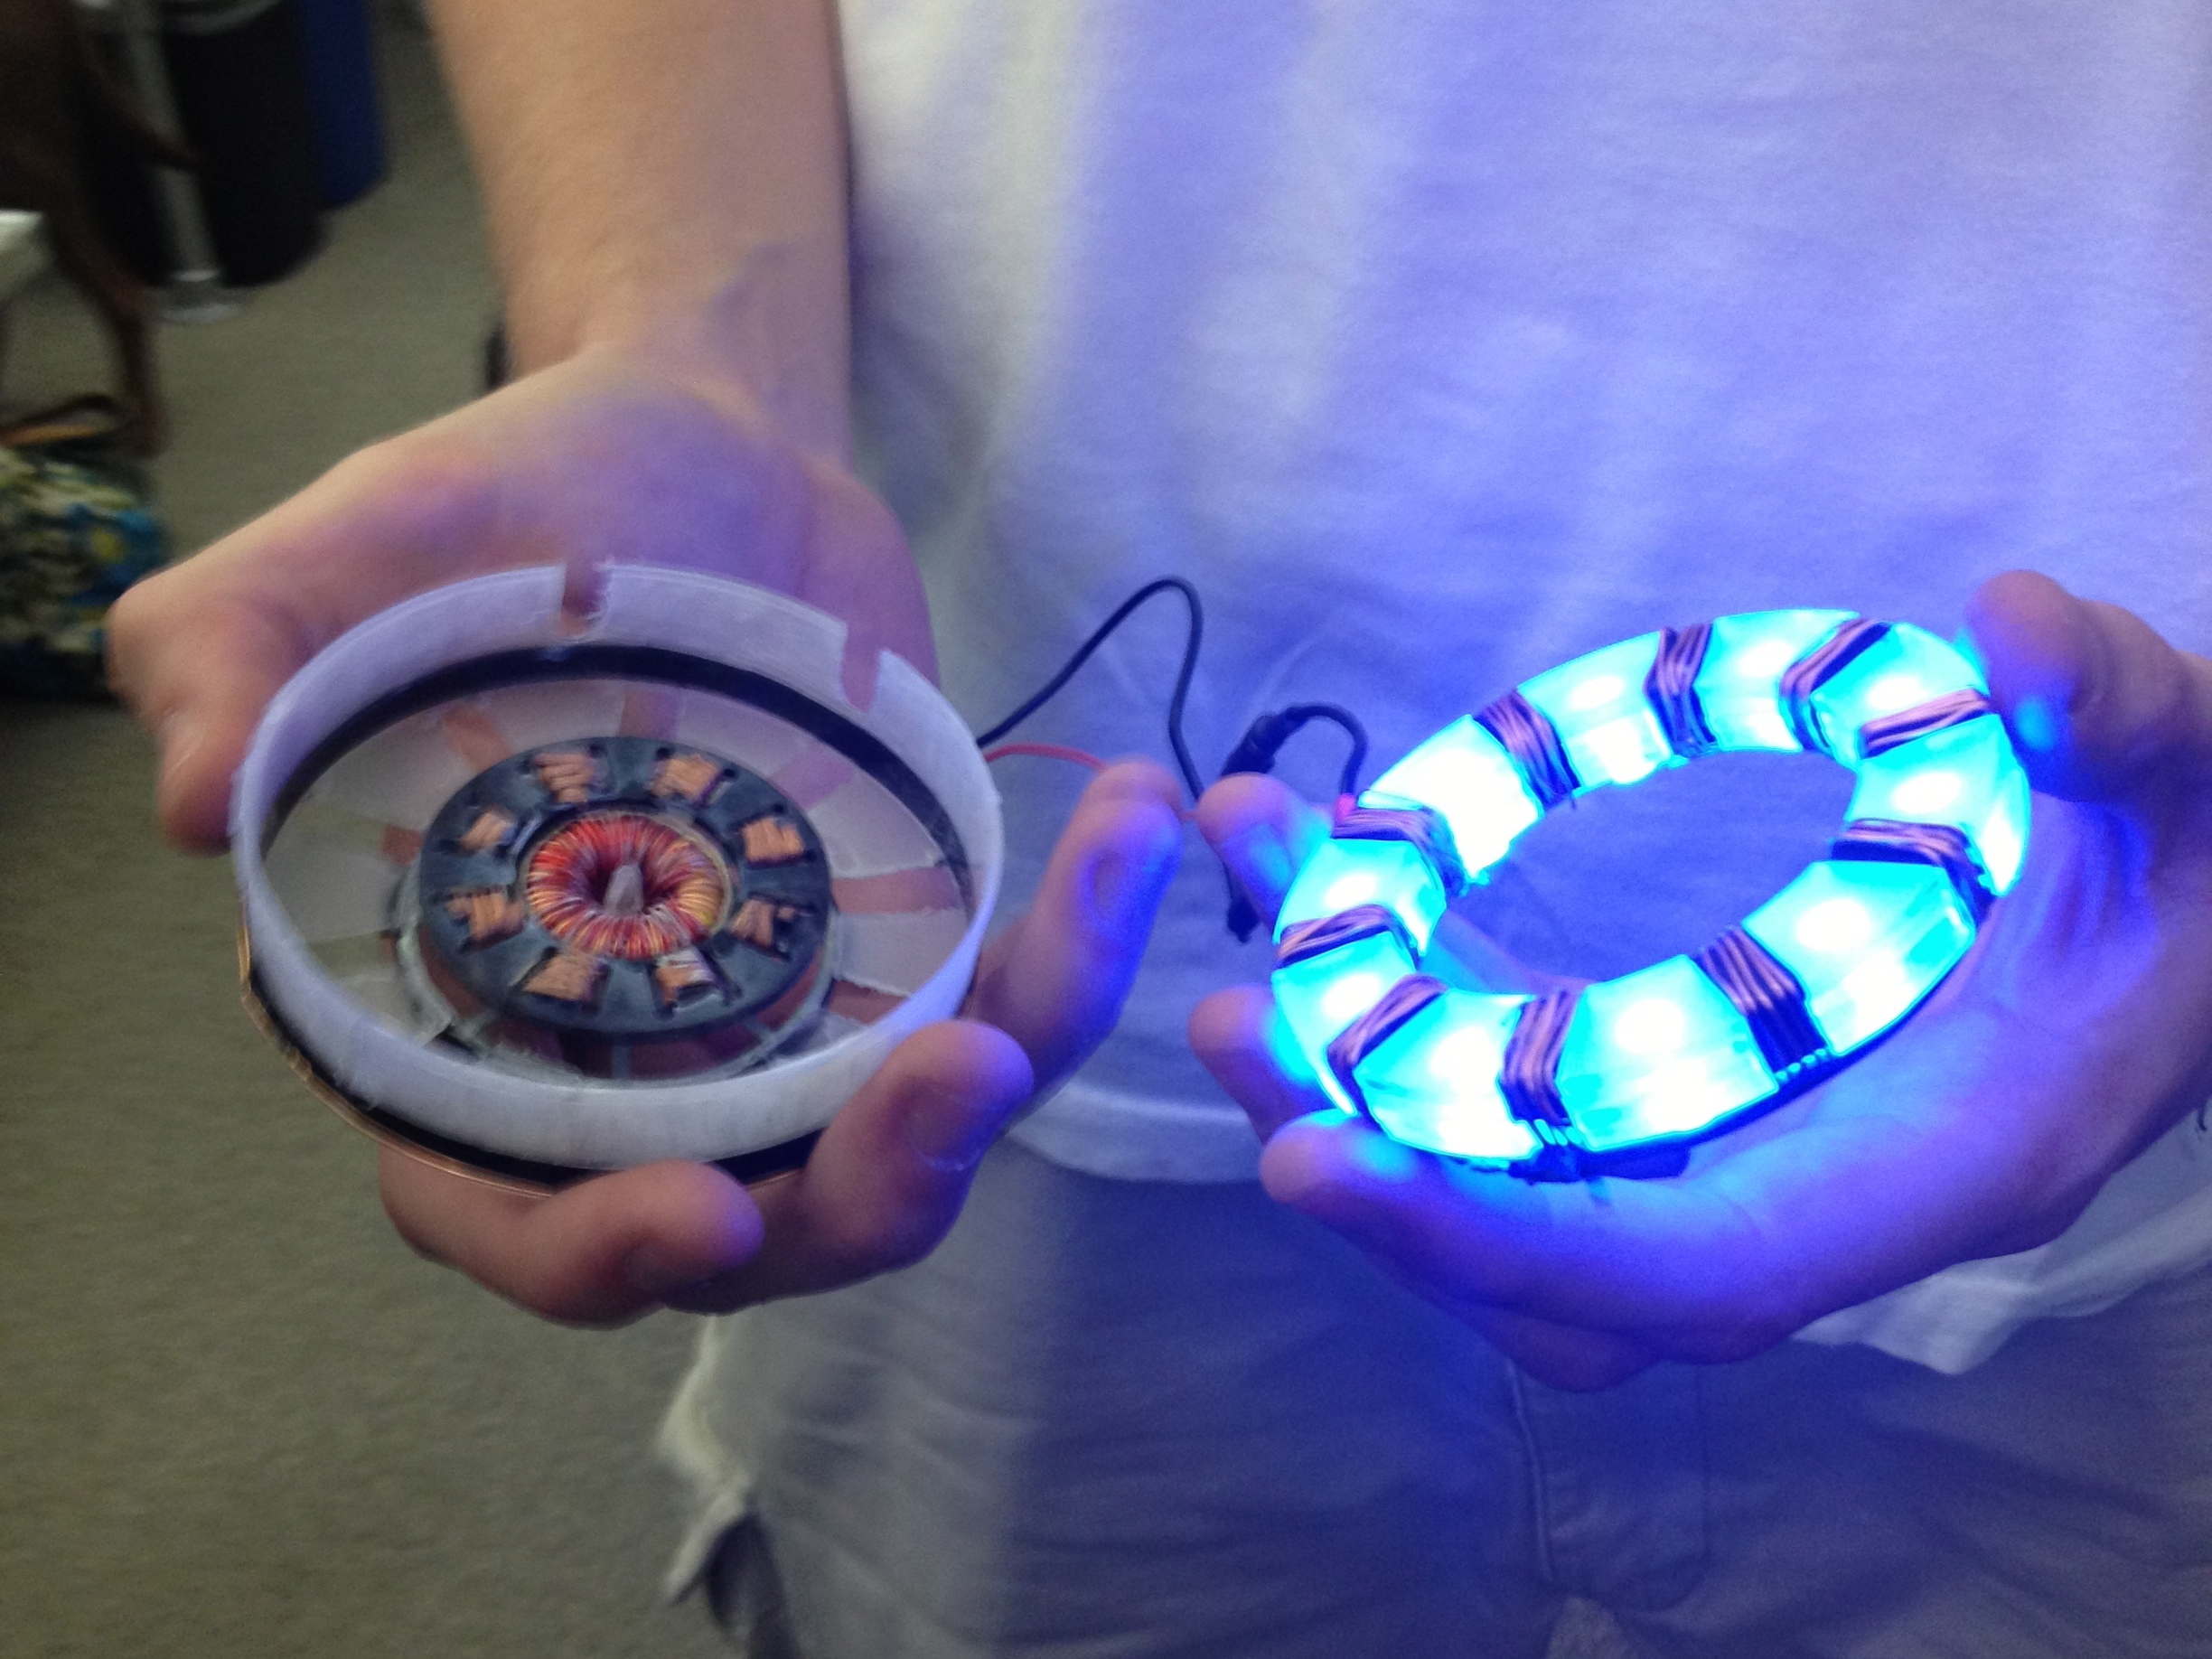
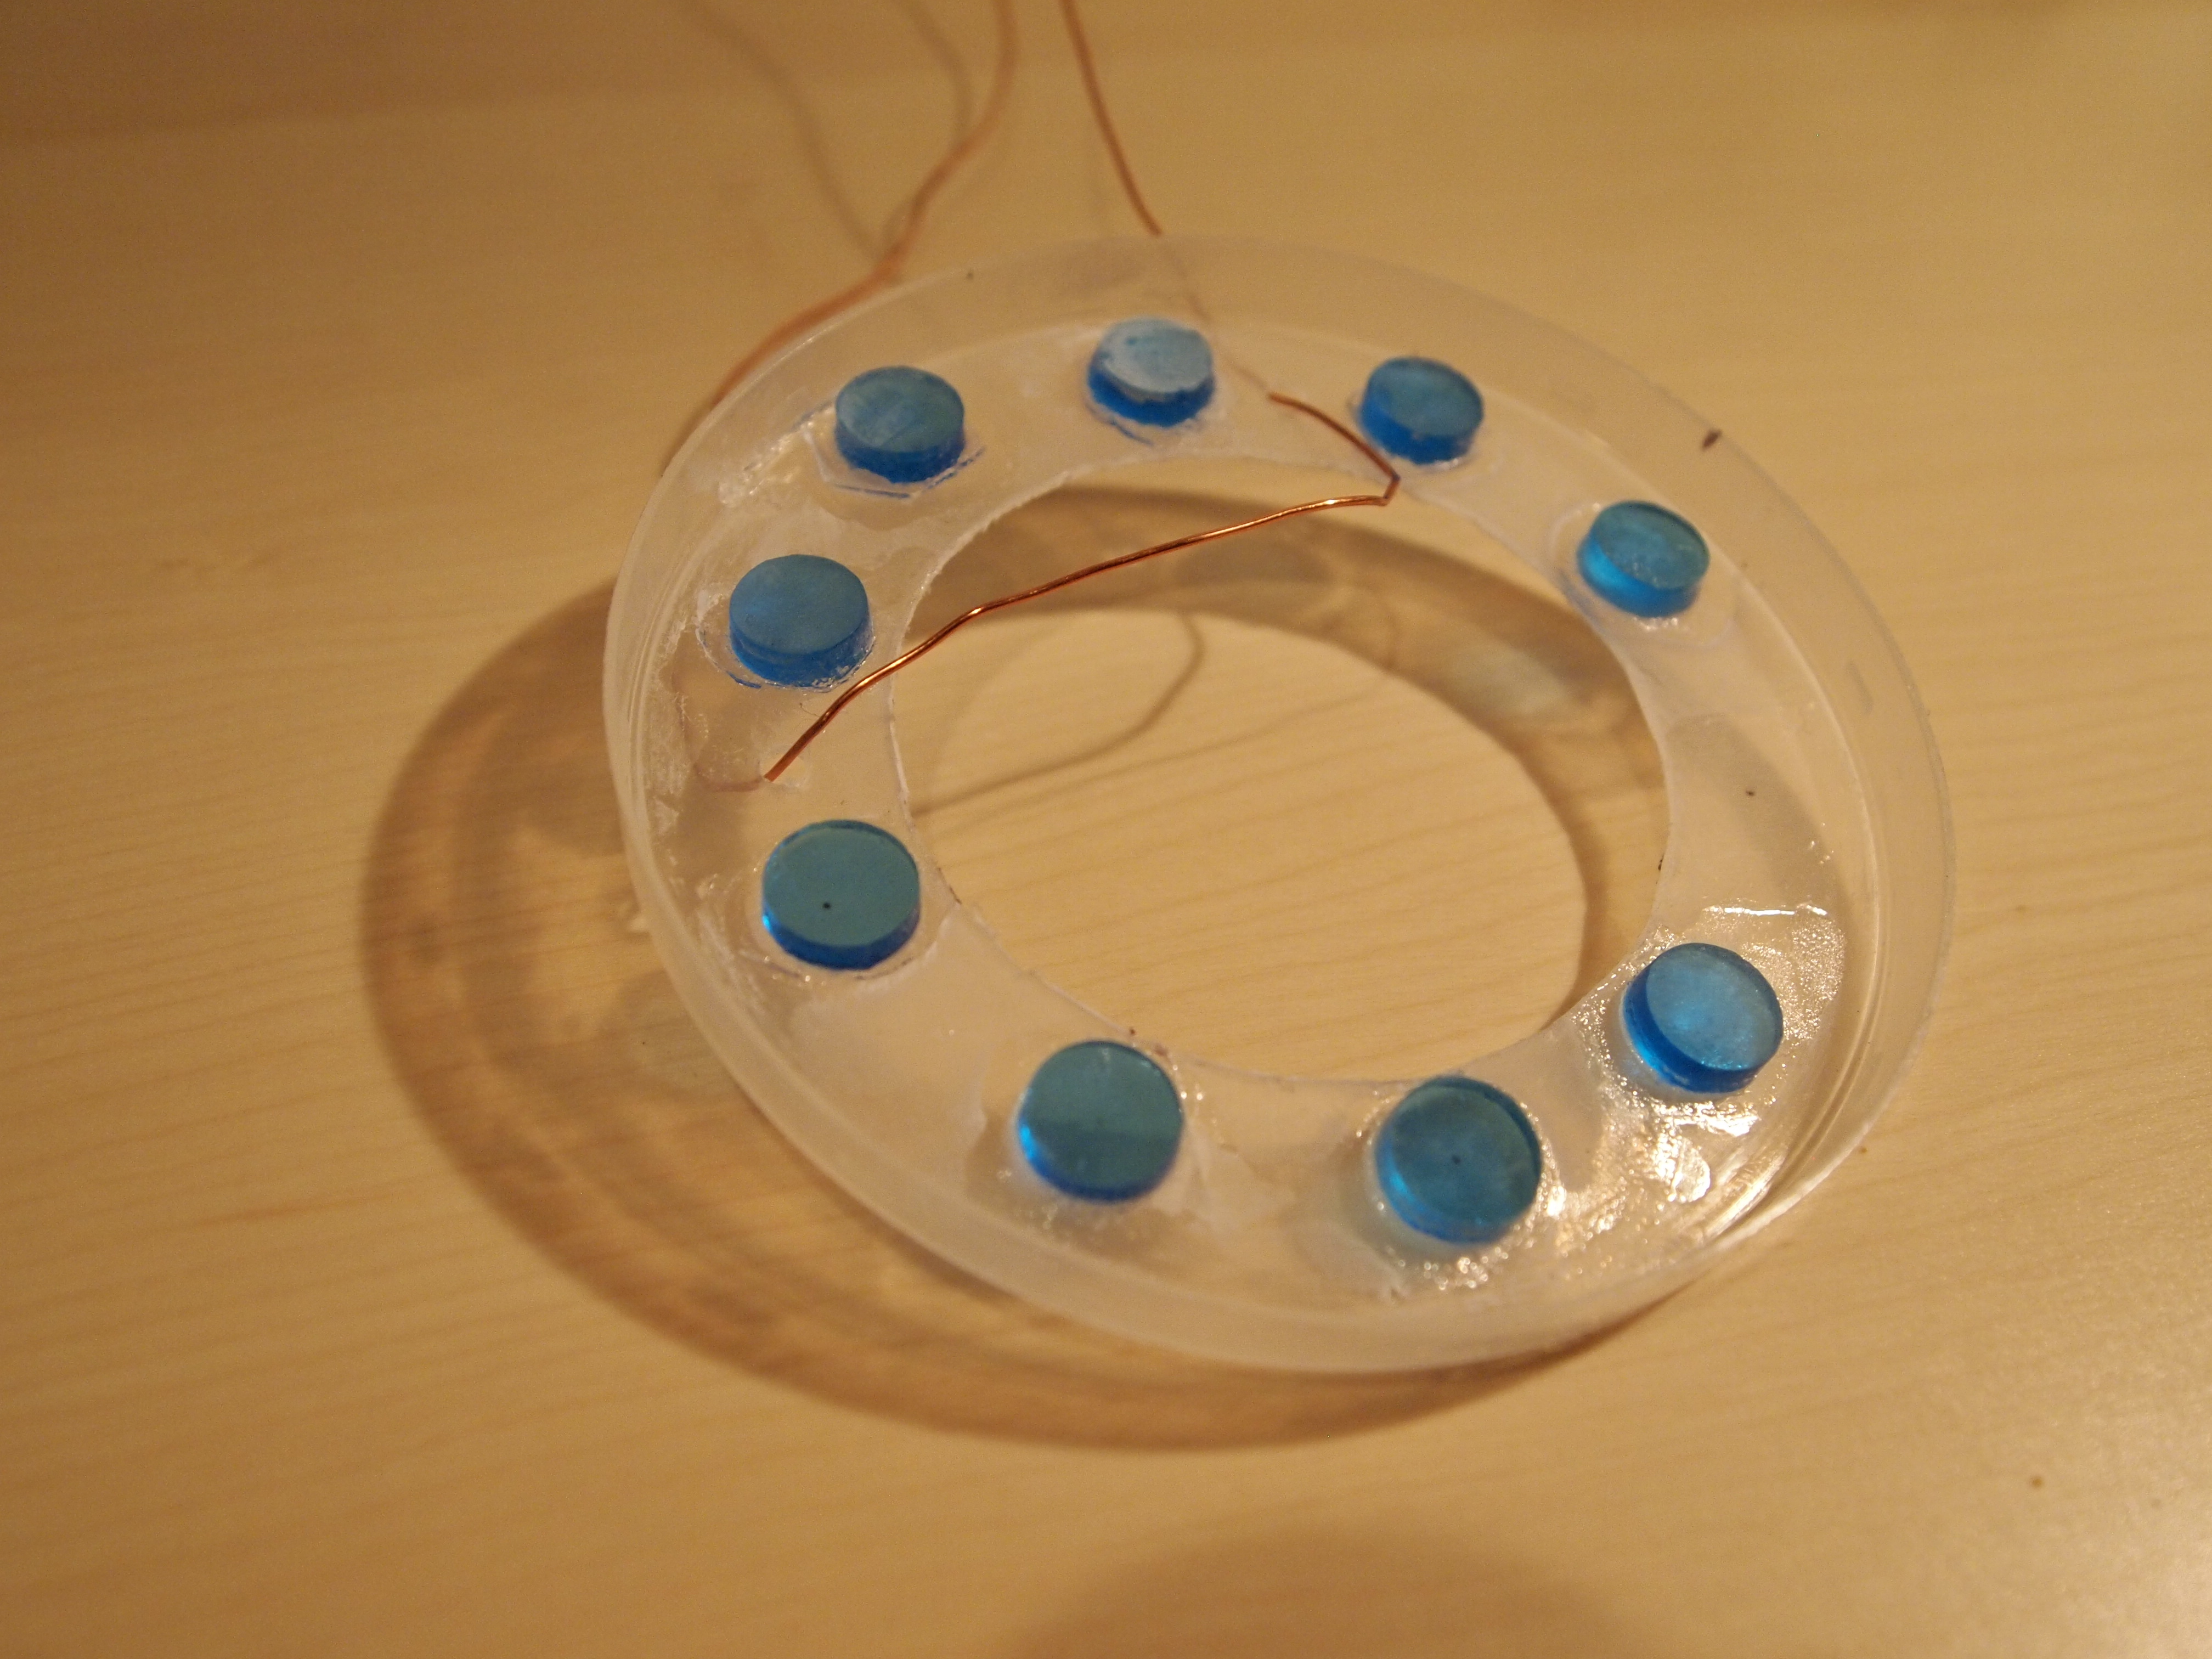
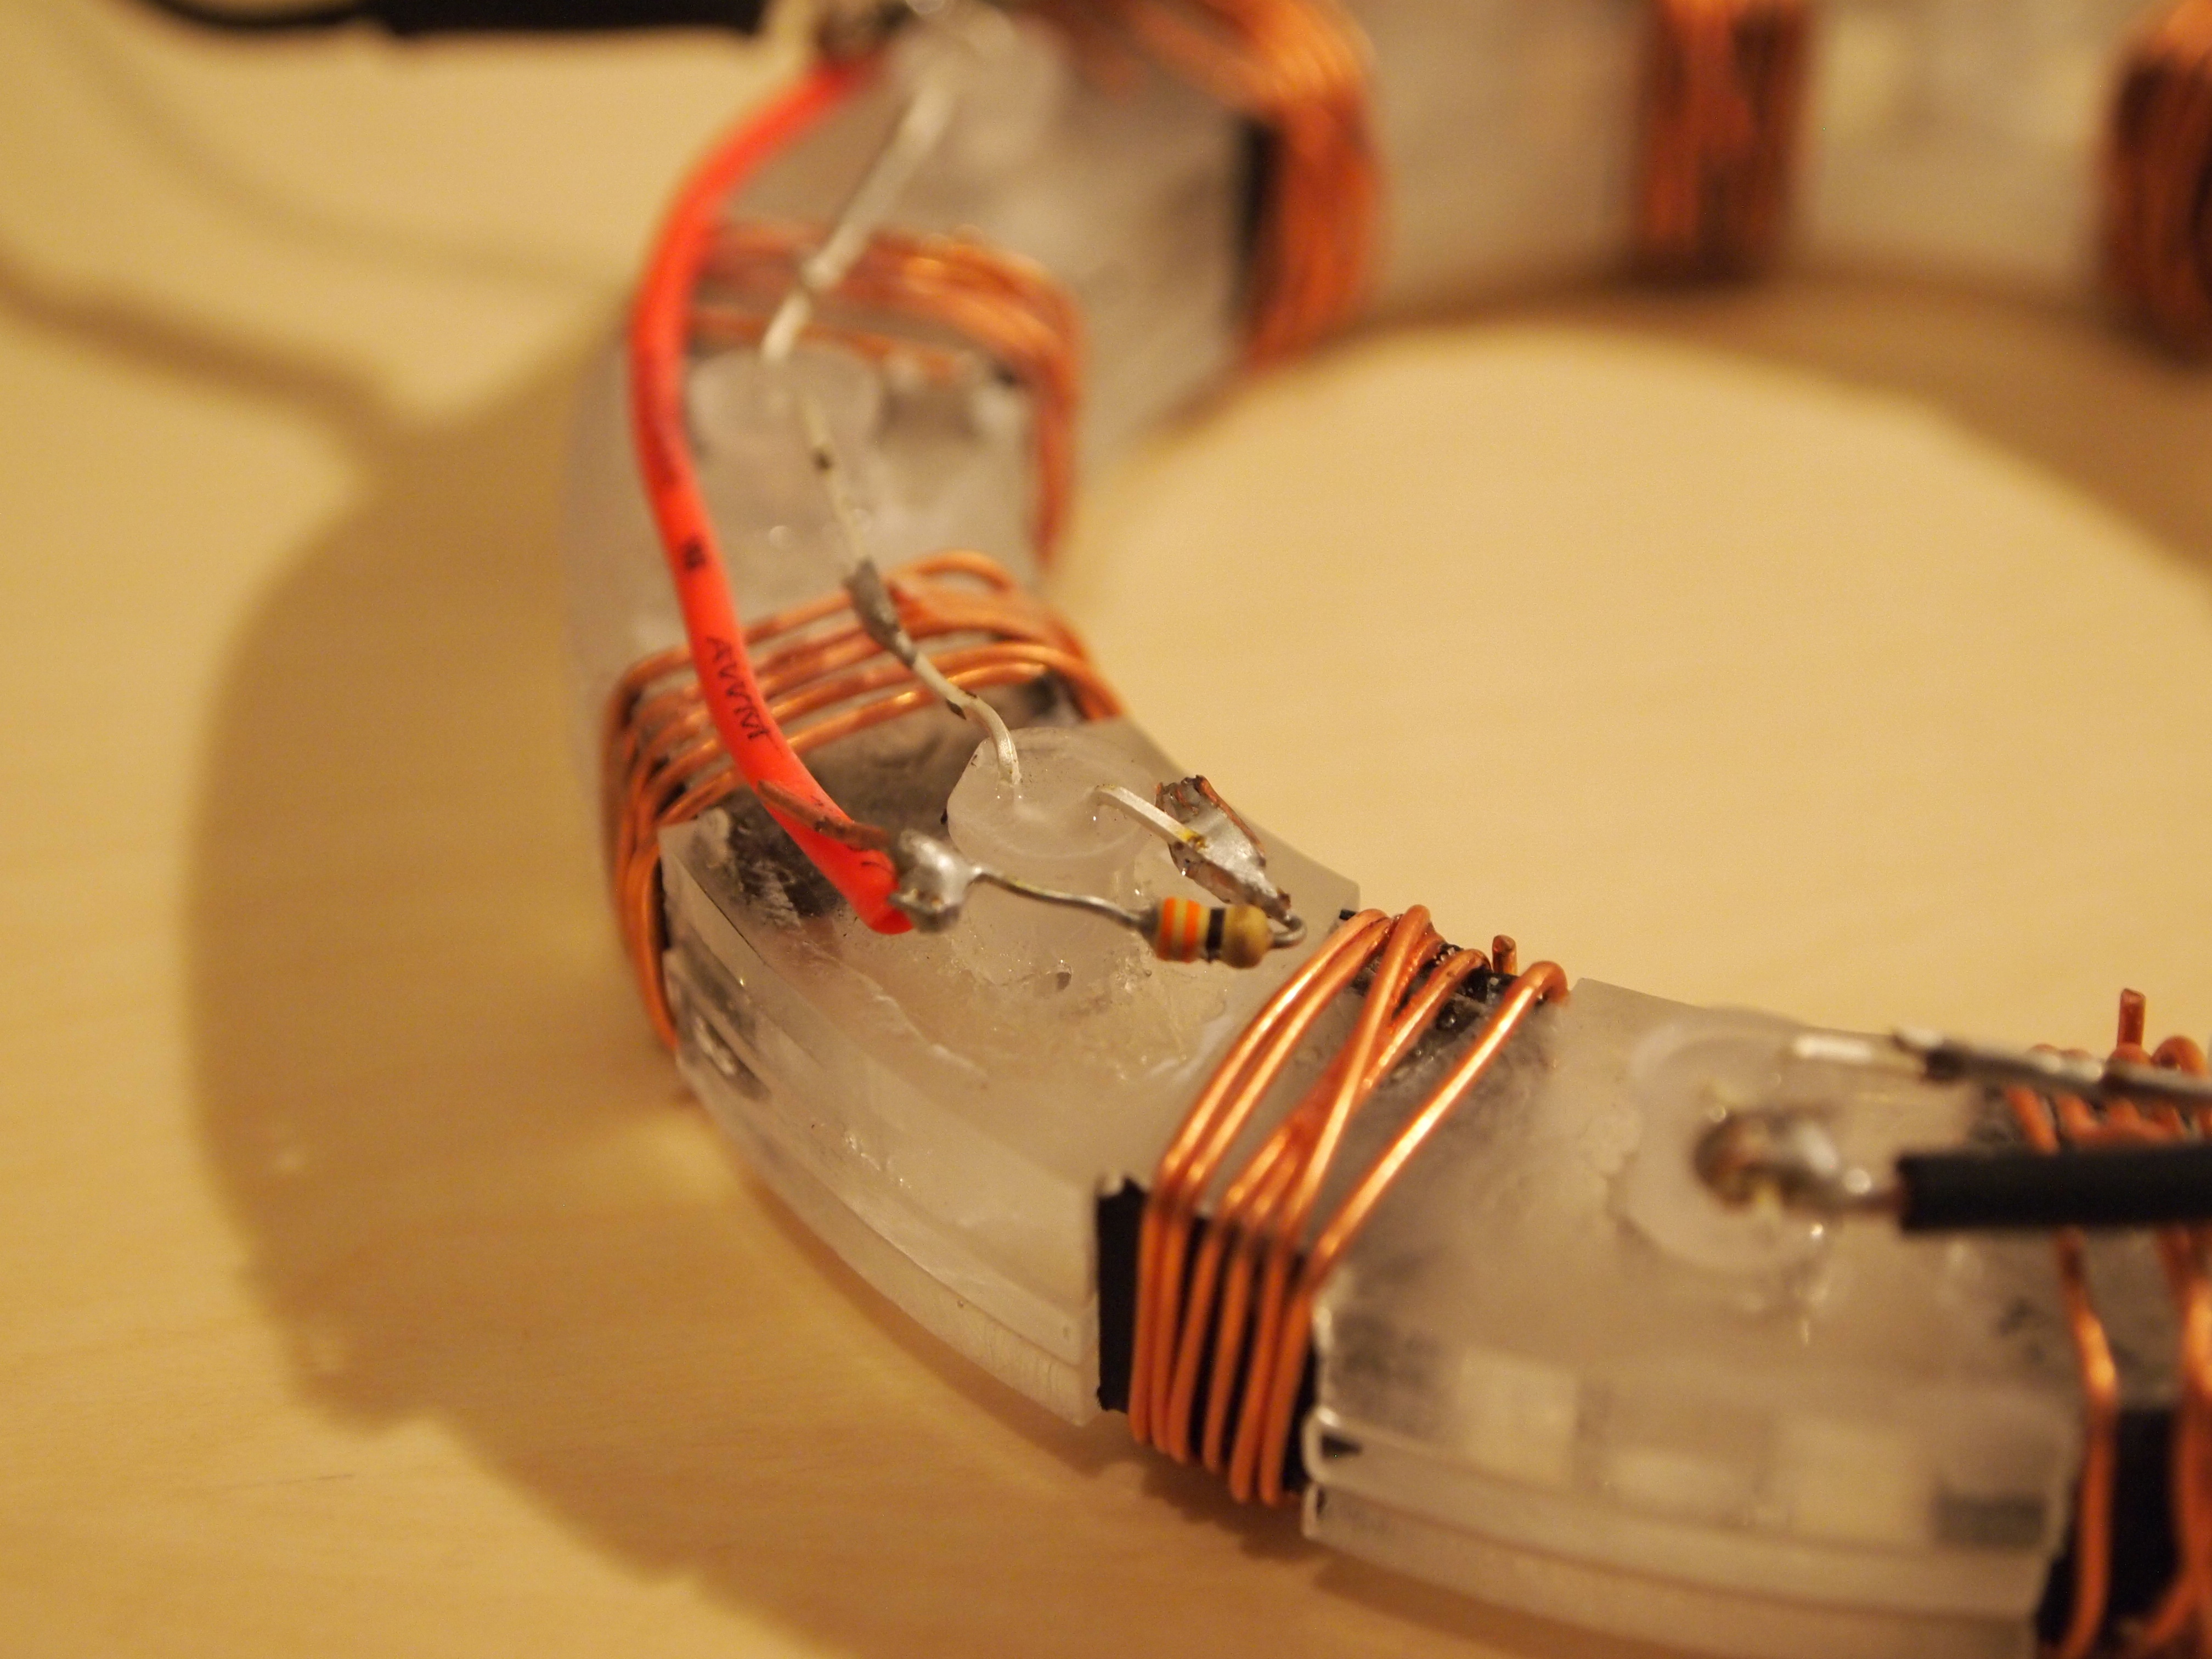
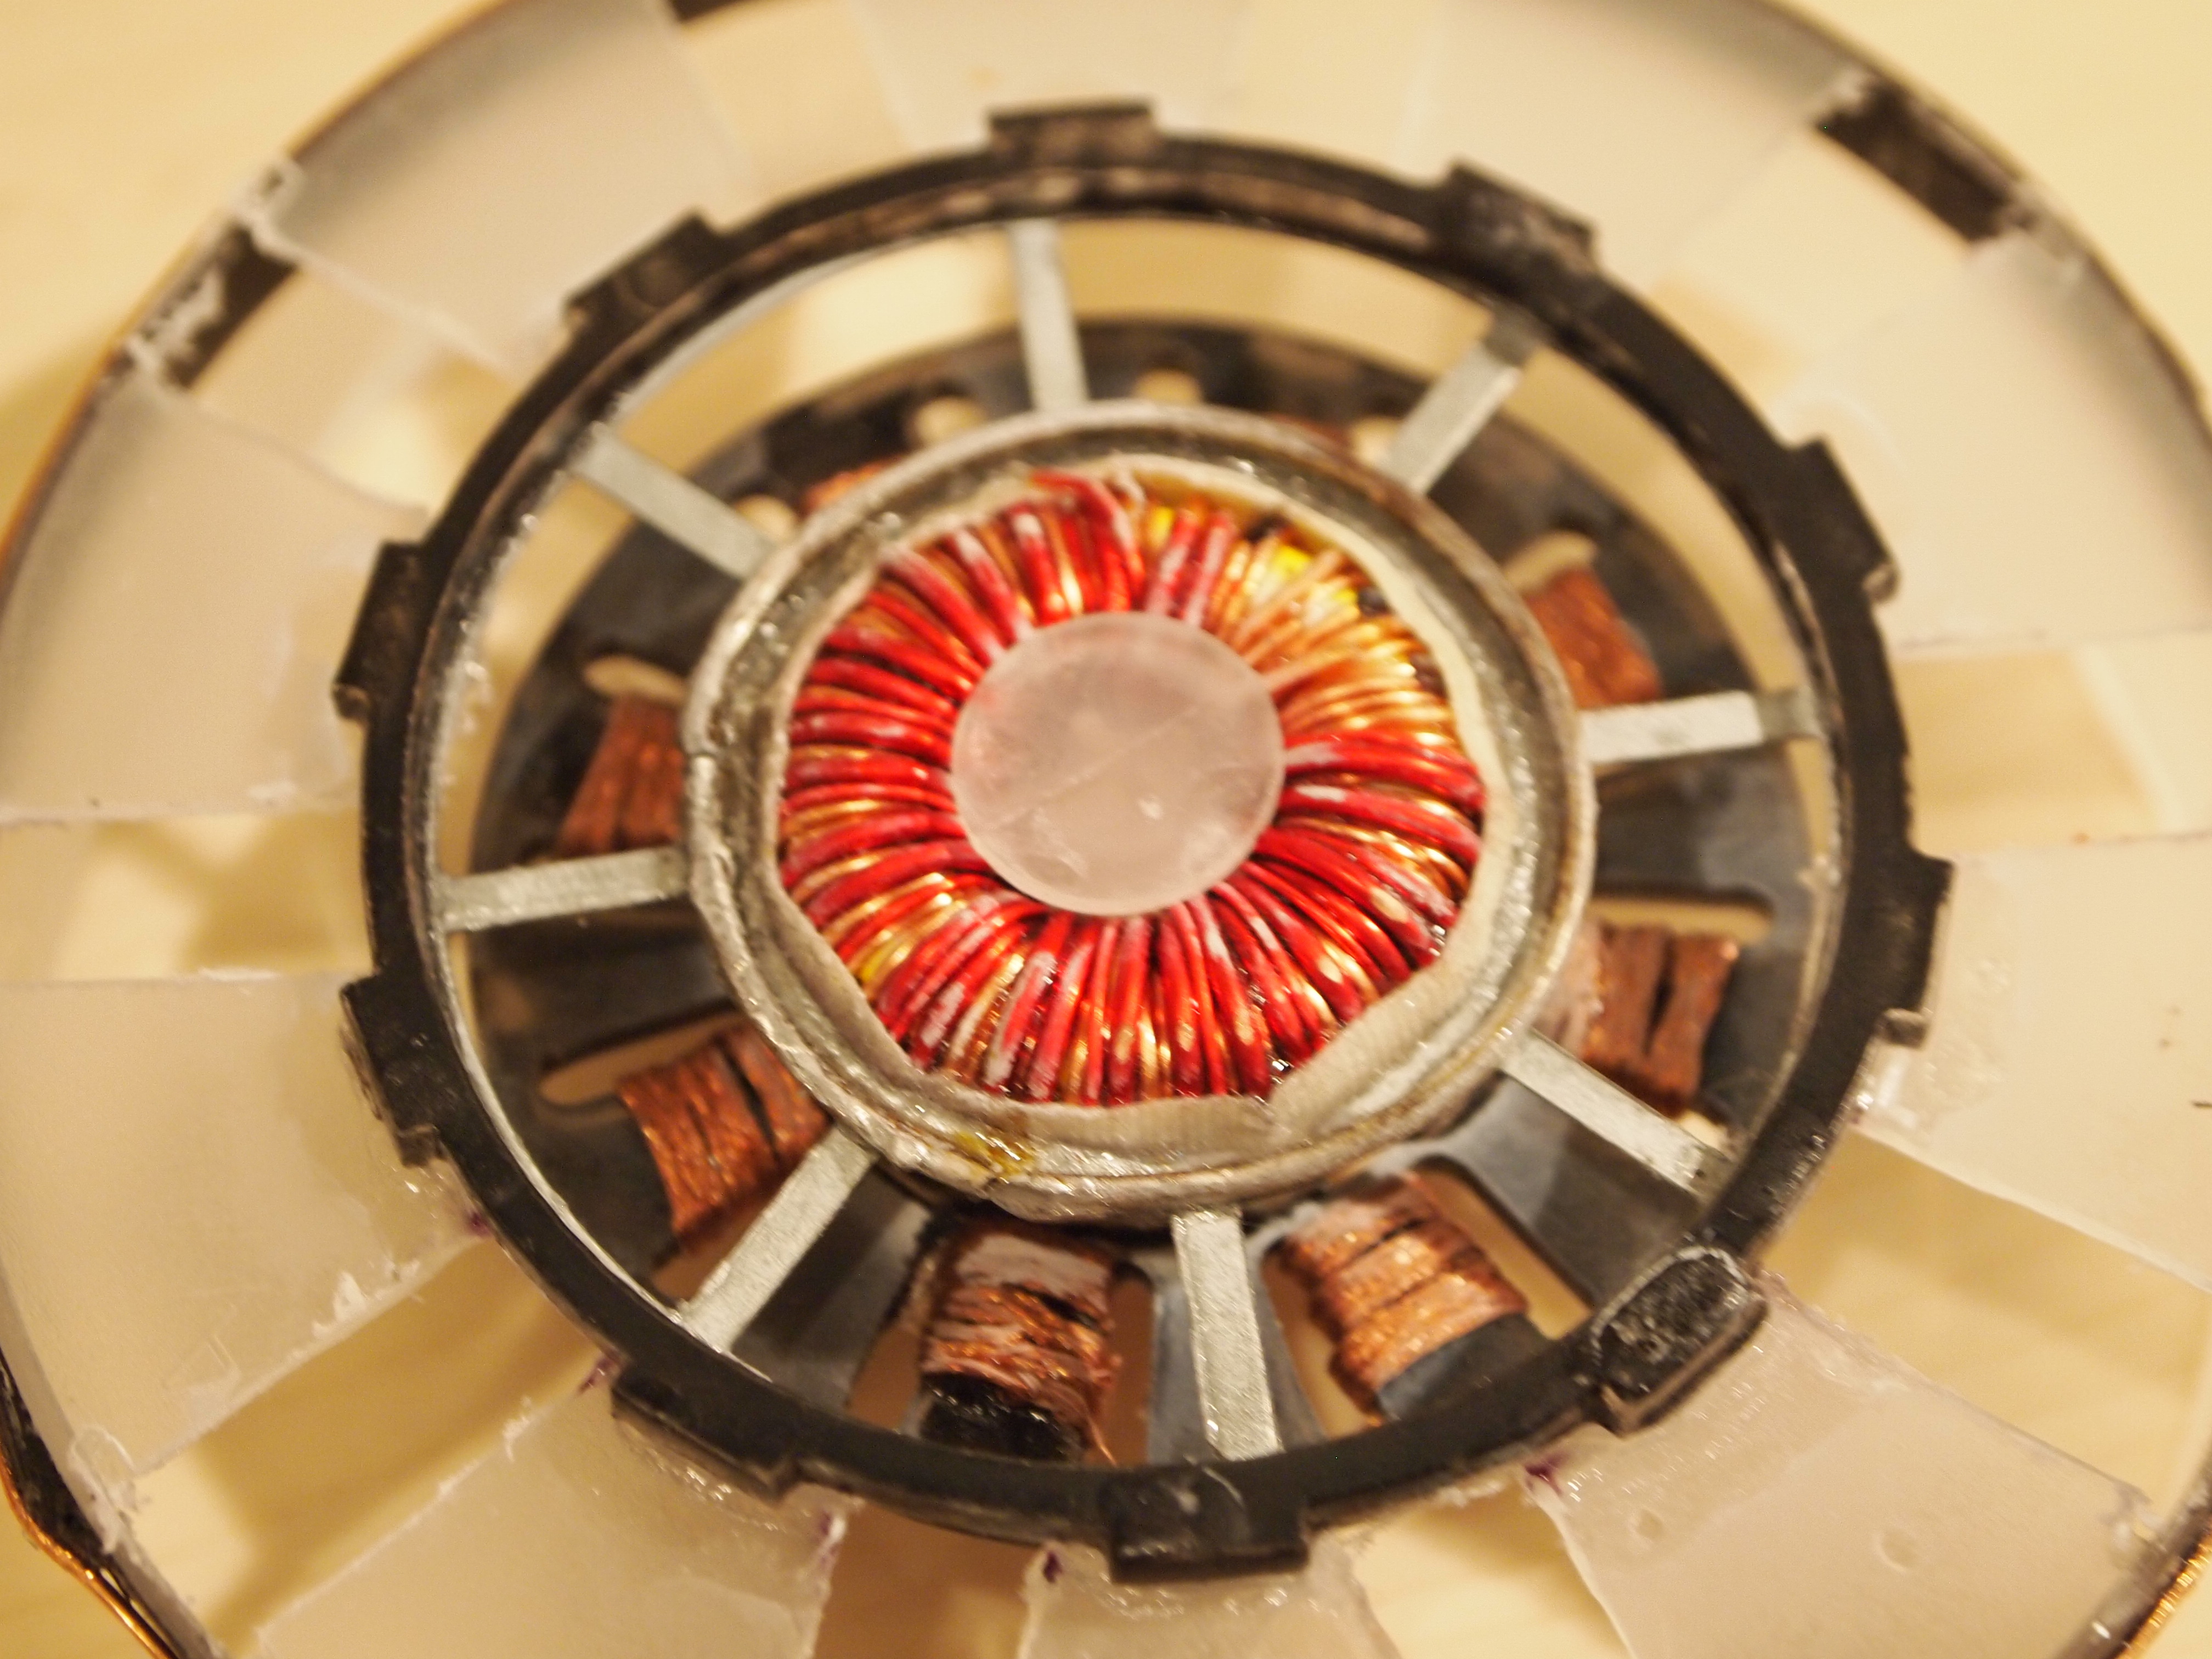
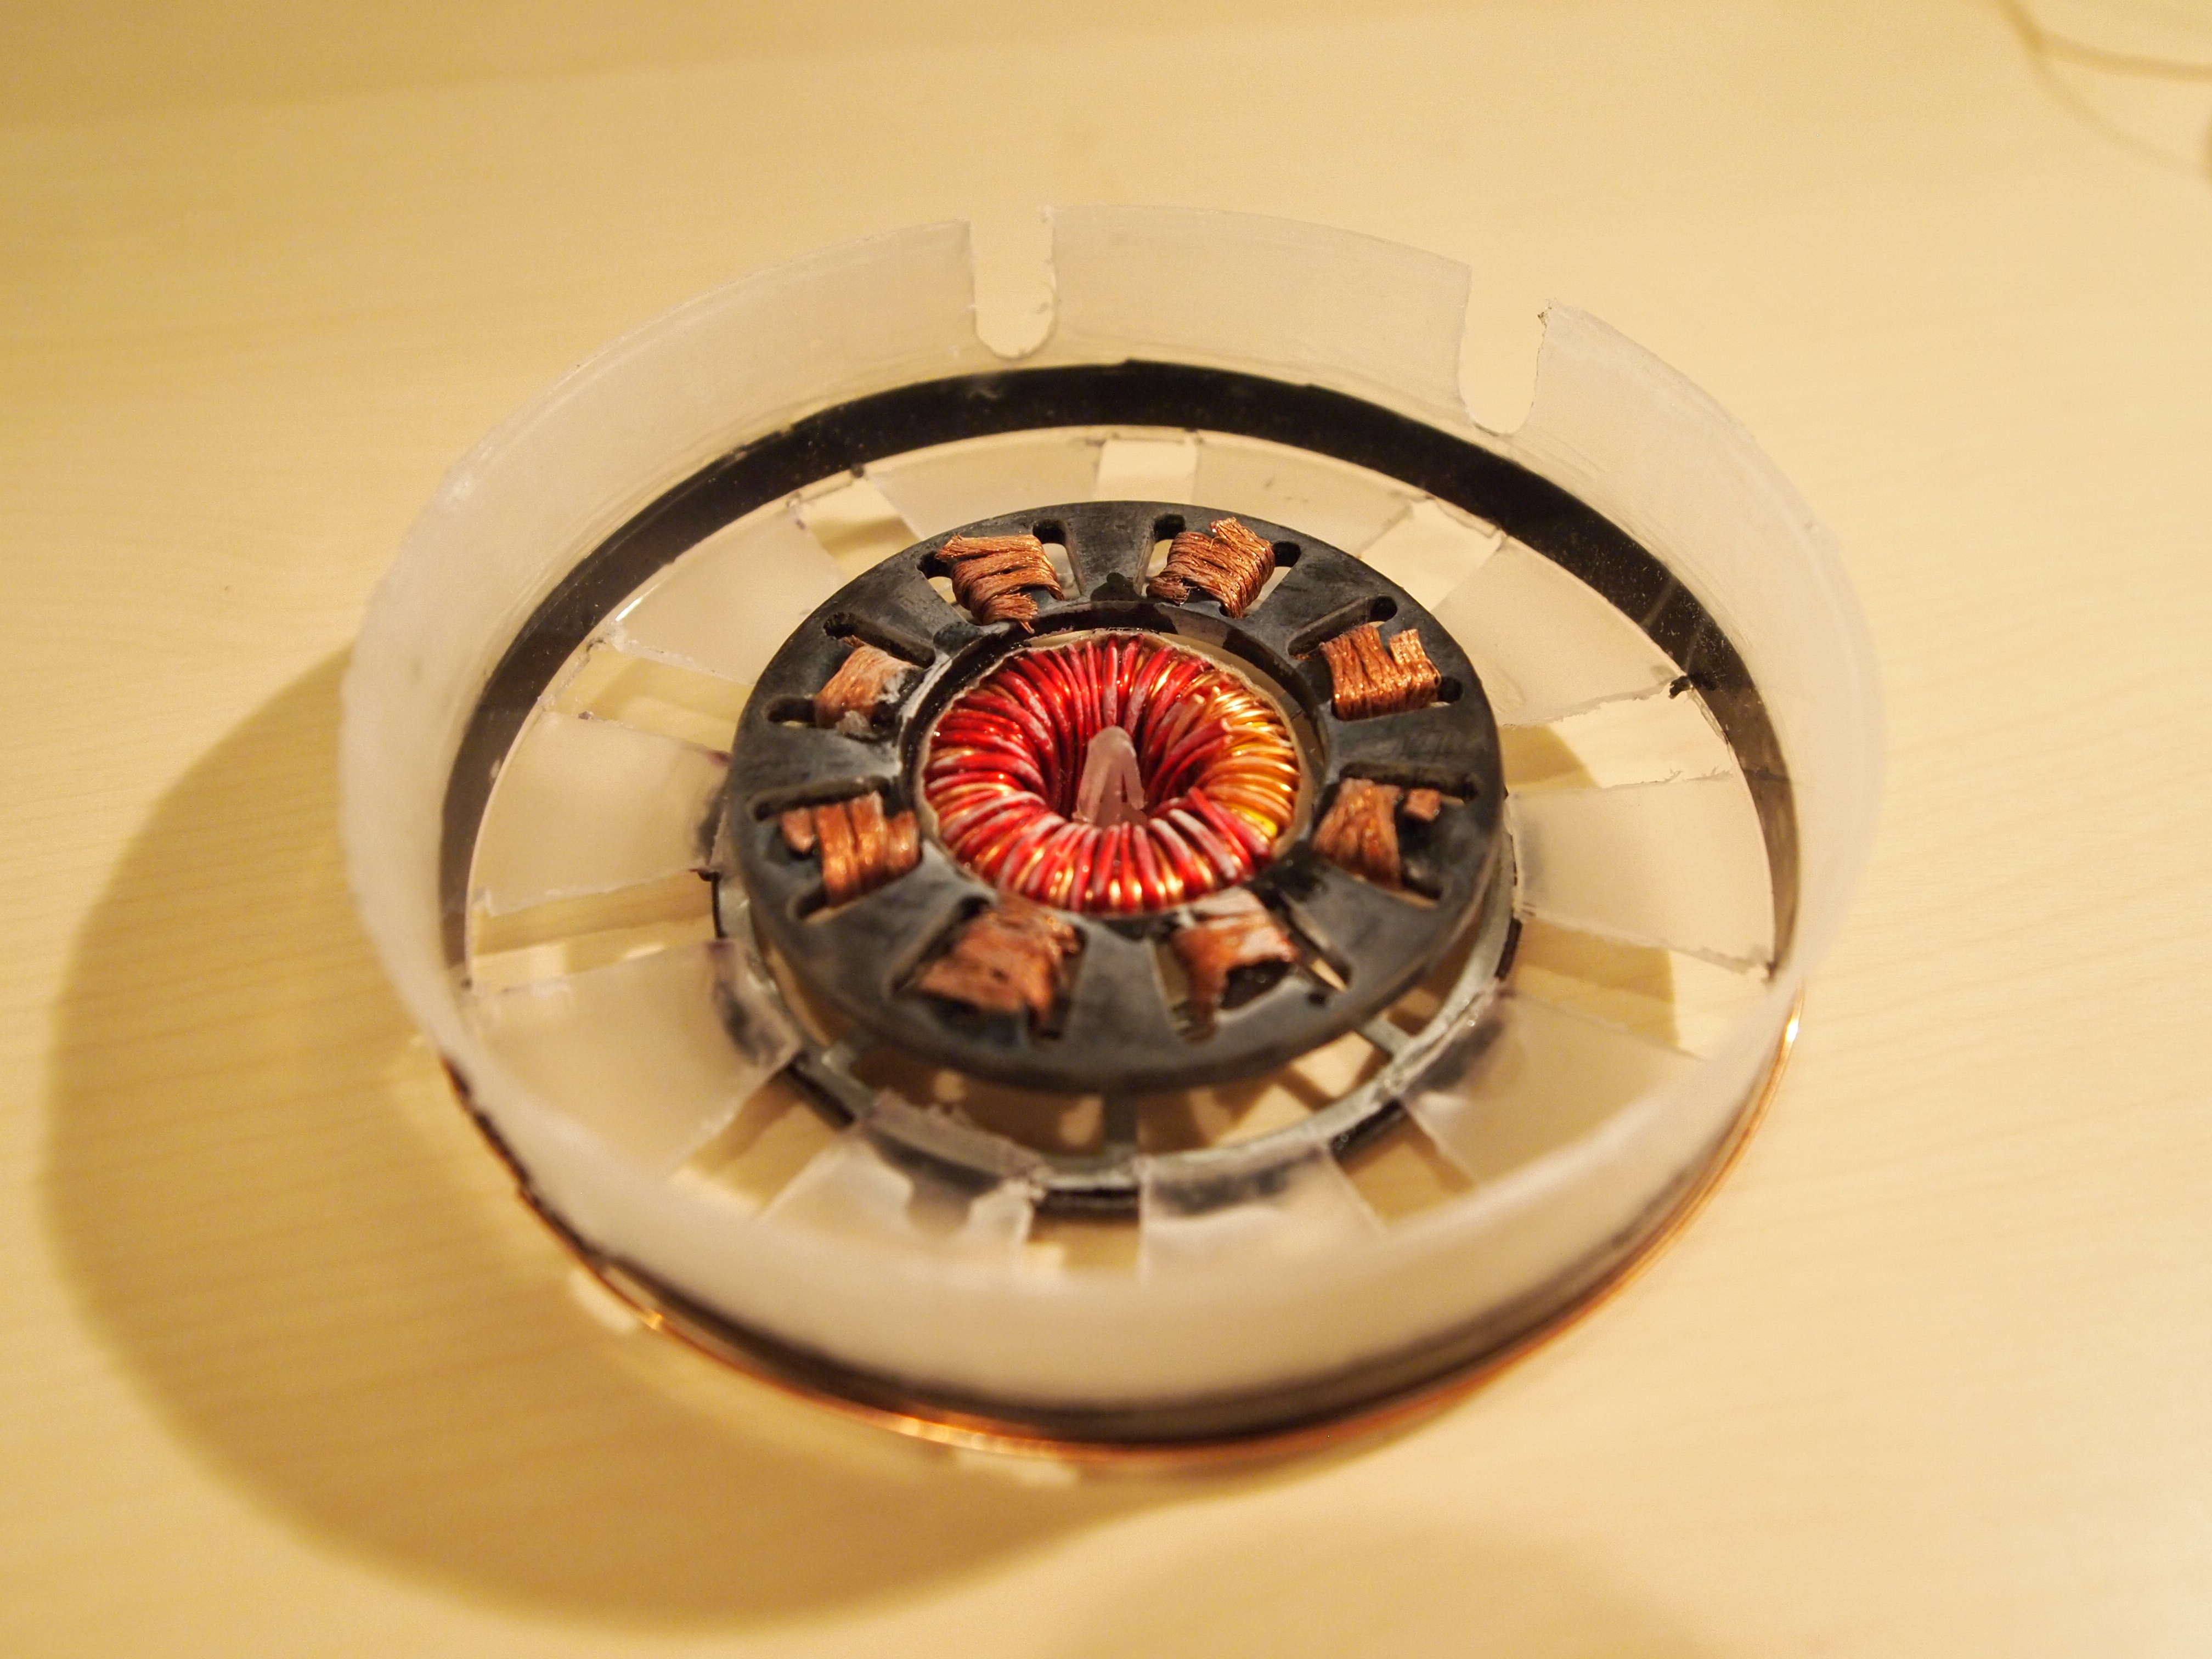
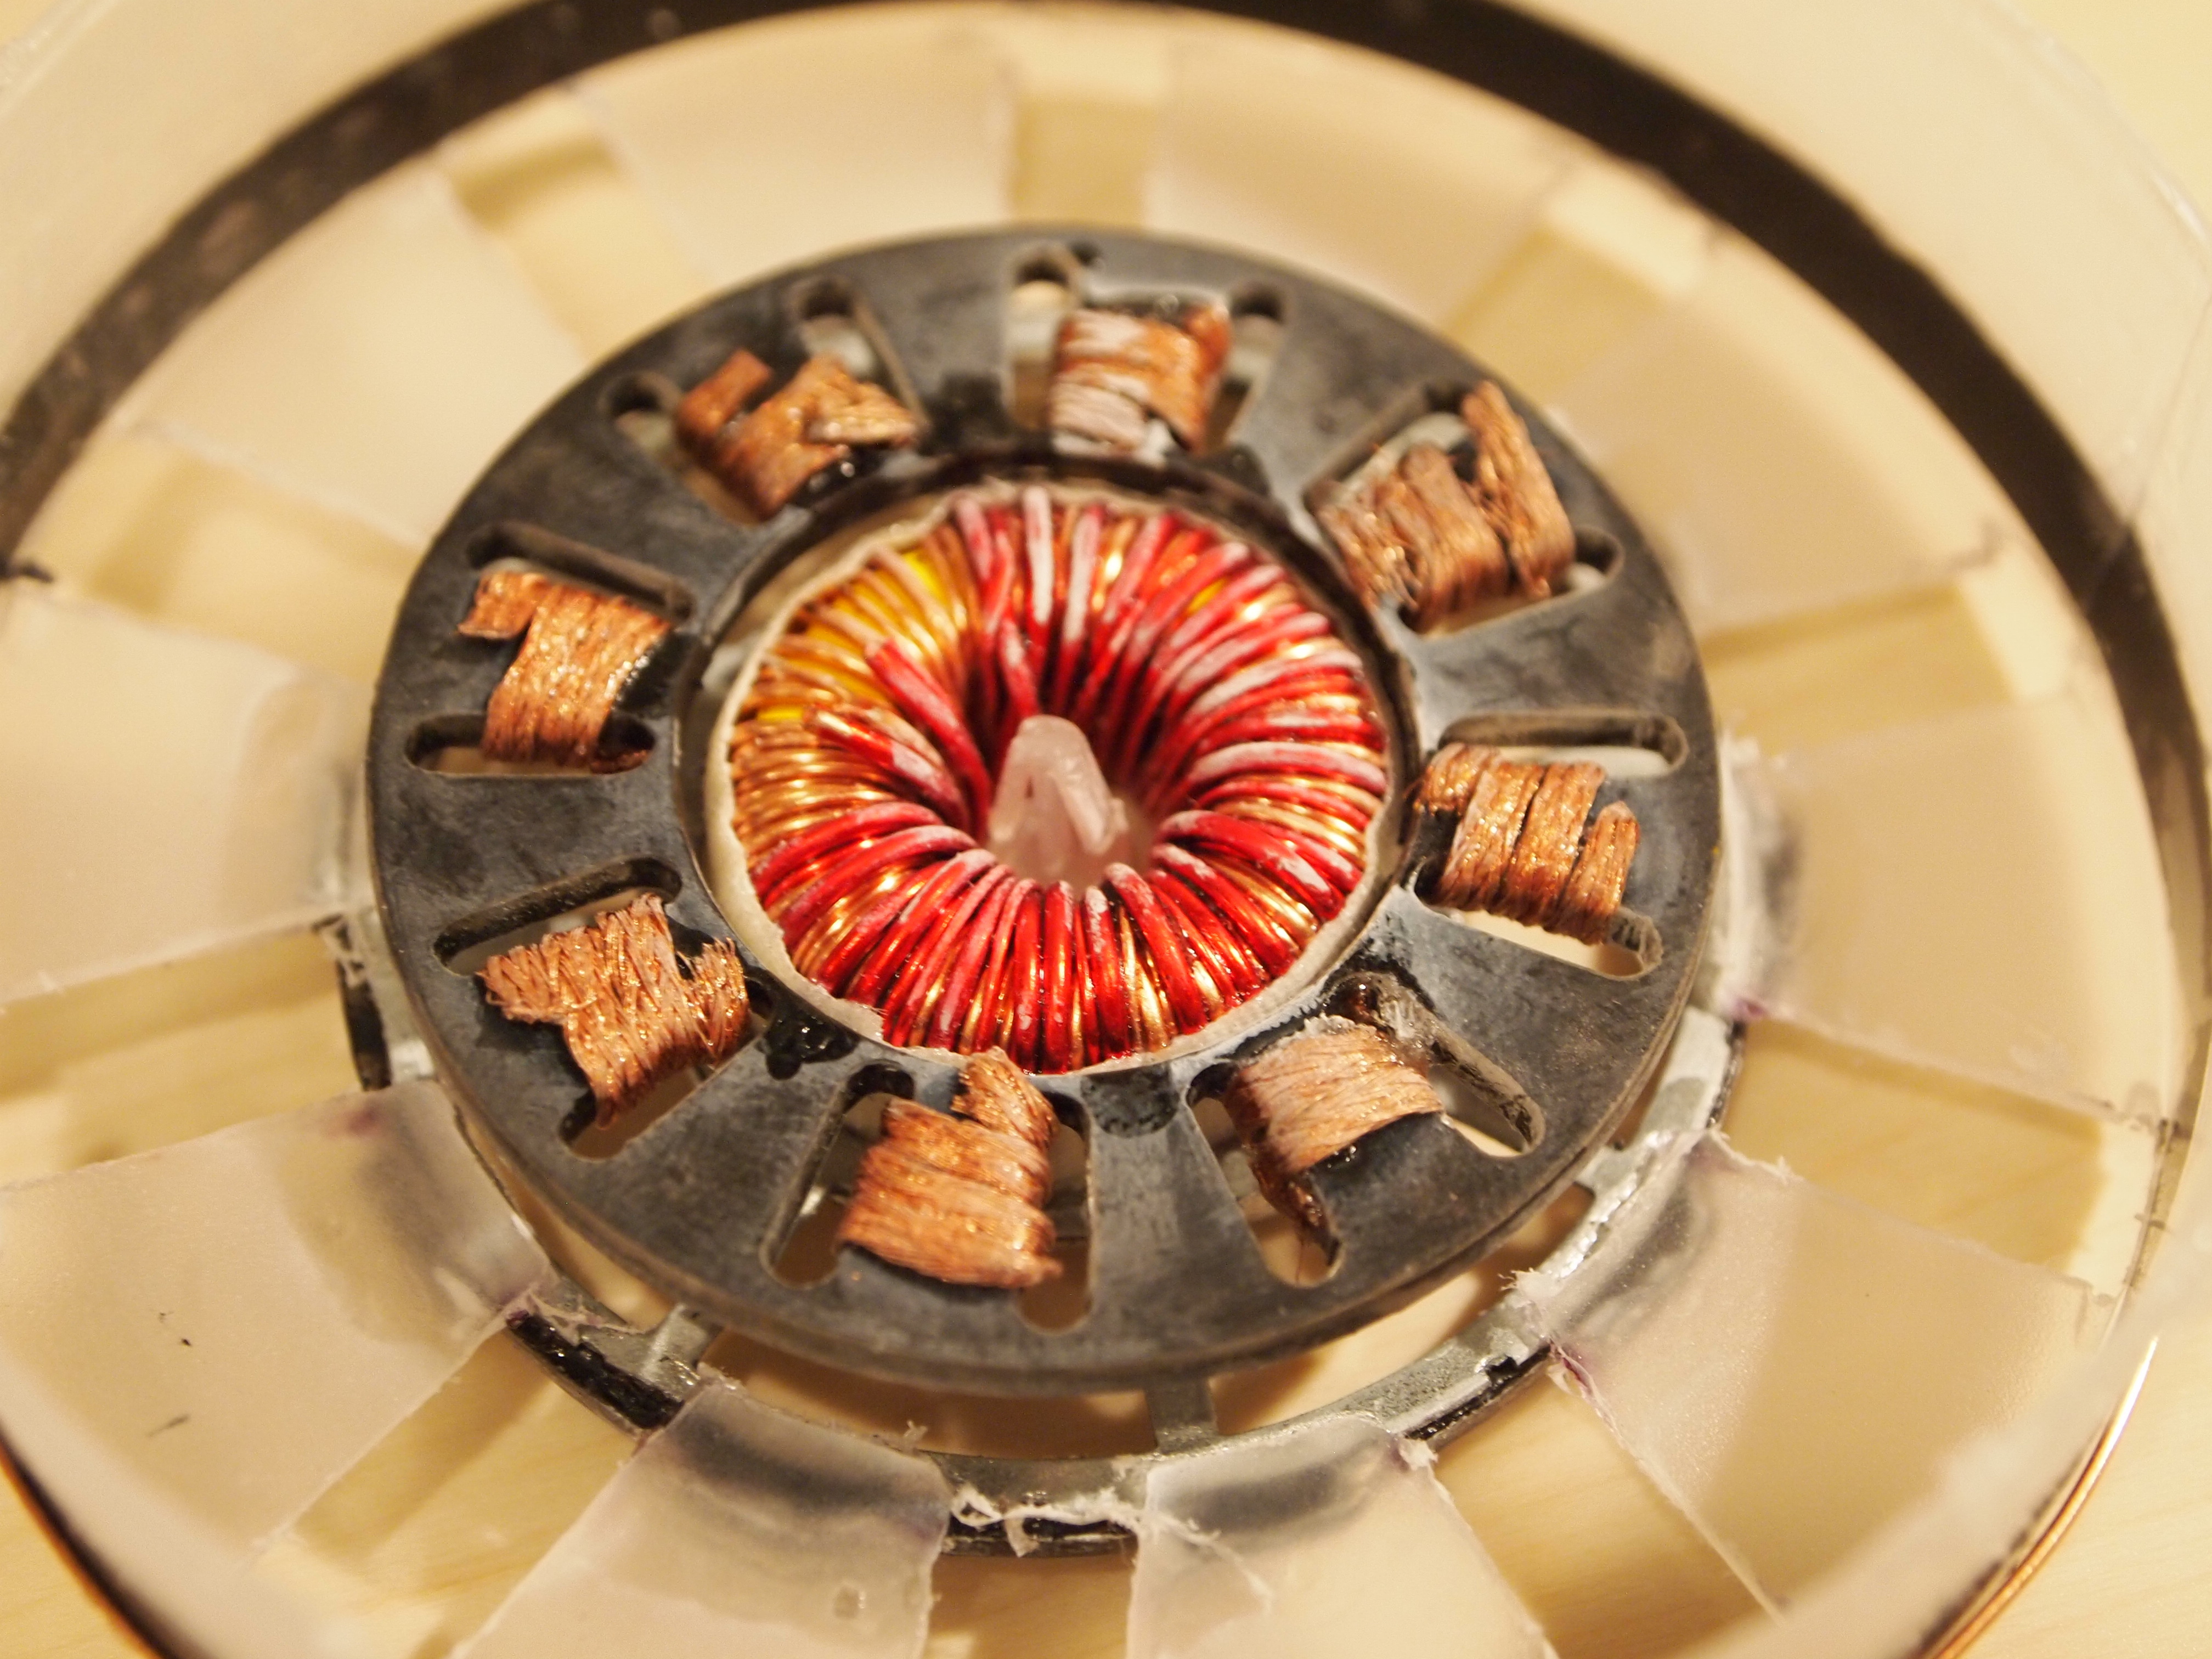
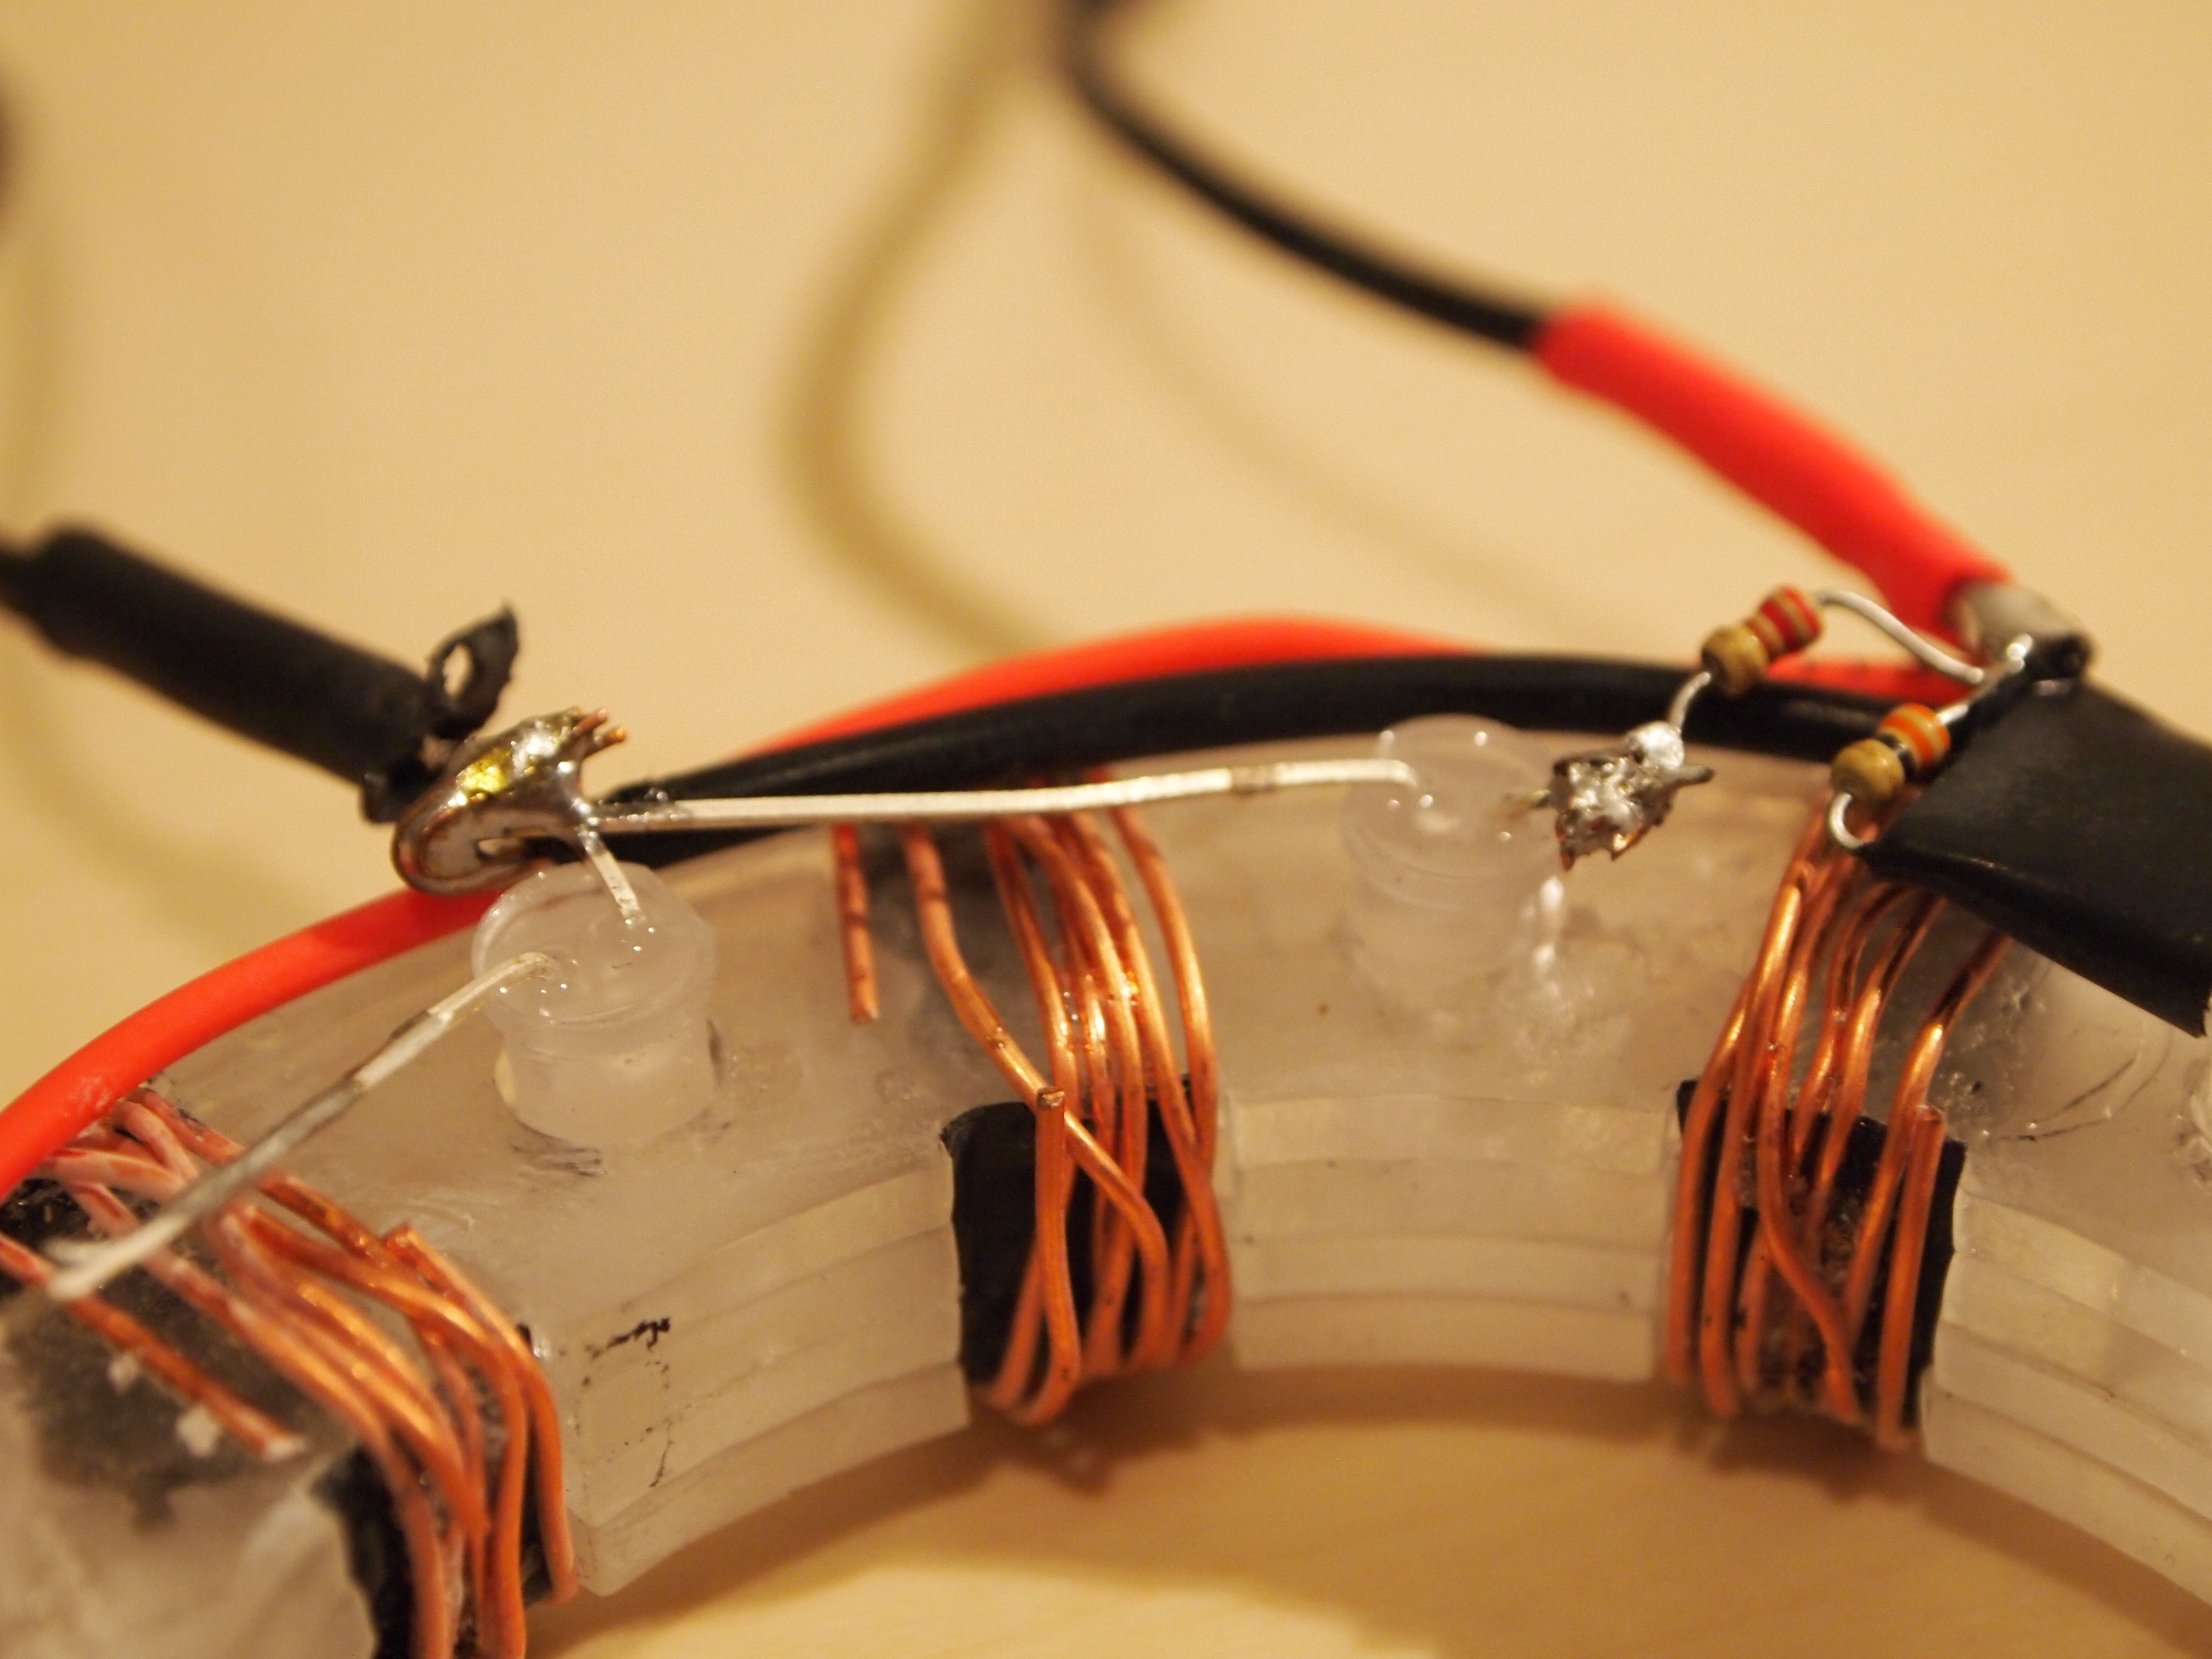
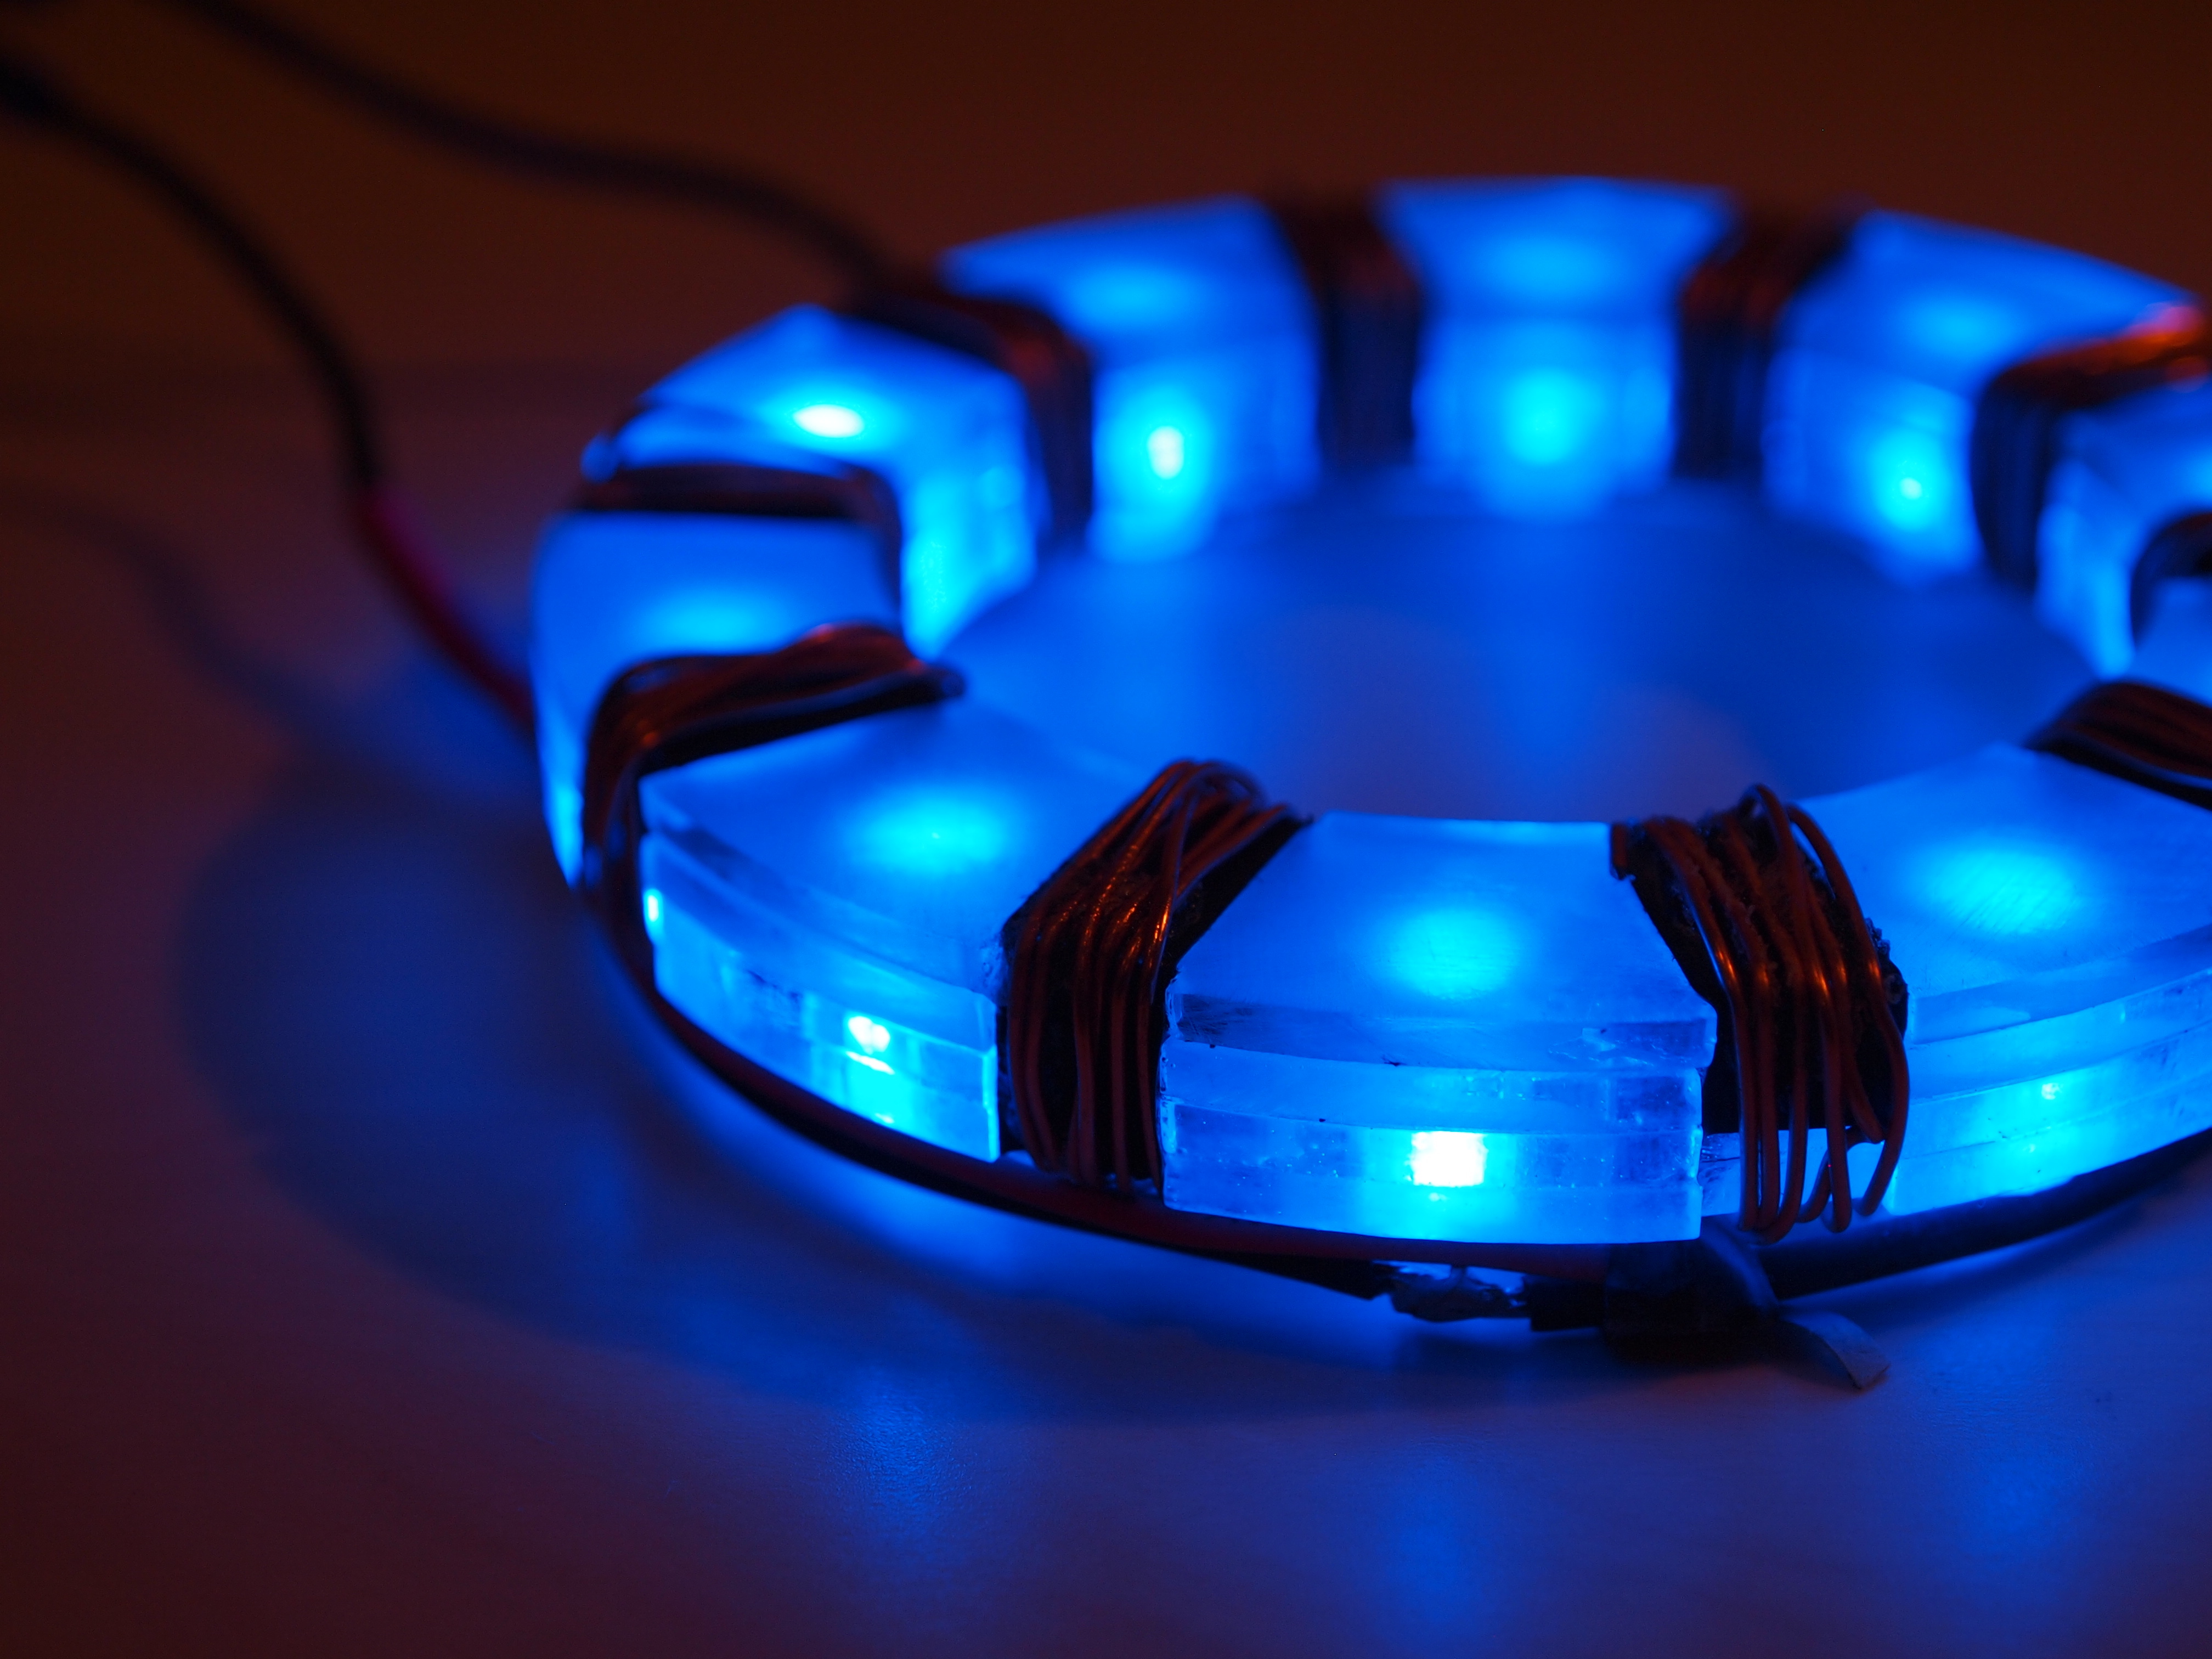
My reactor’s made up of four glued lasercut pieces of 1/8″ acrylic, two of which have holes in them for the LEDs. I glued each LED in place before I began soldering, and was careful to keep the wiring organized.
I also sanded the two pieces of acrylic that the LEDs shine through, to diffuse the light.
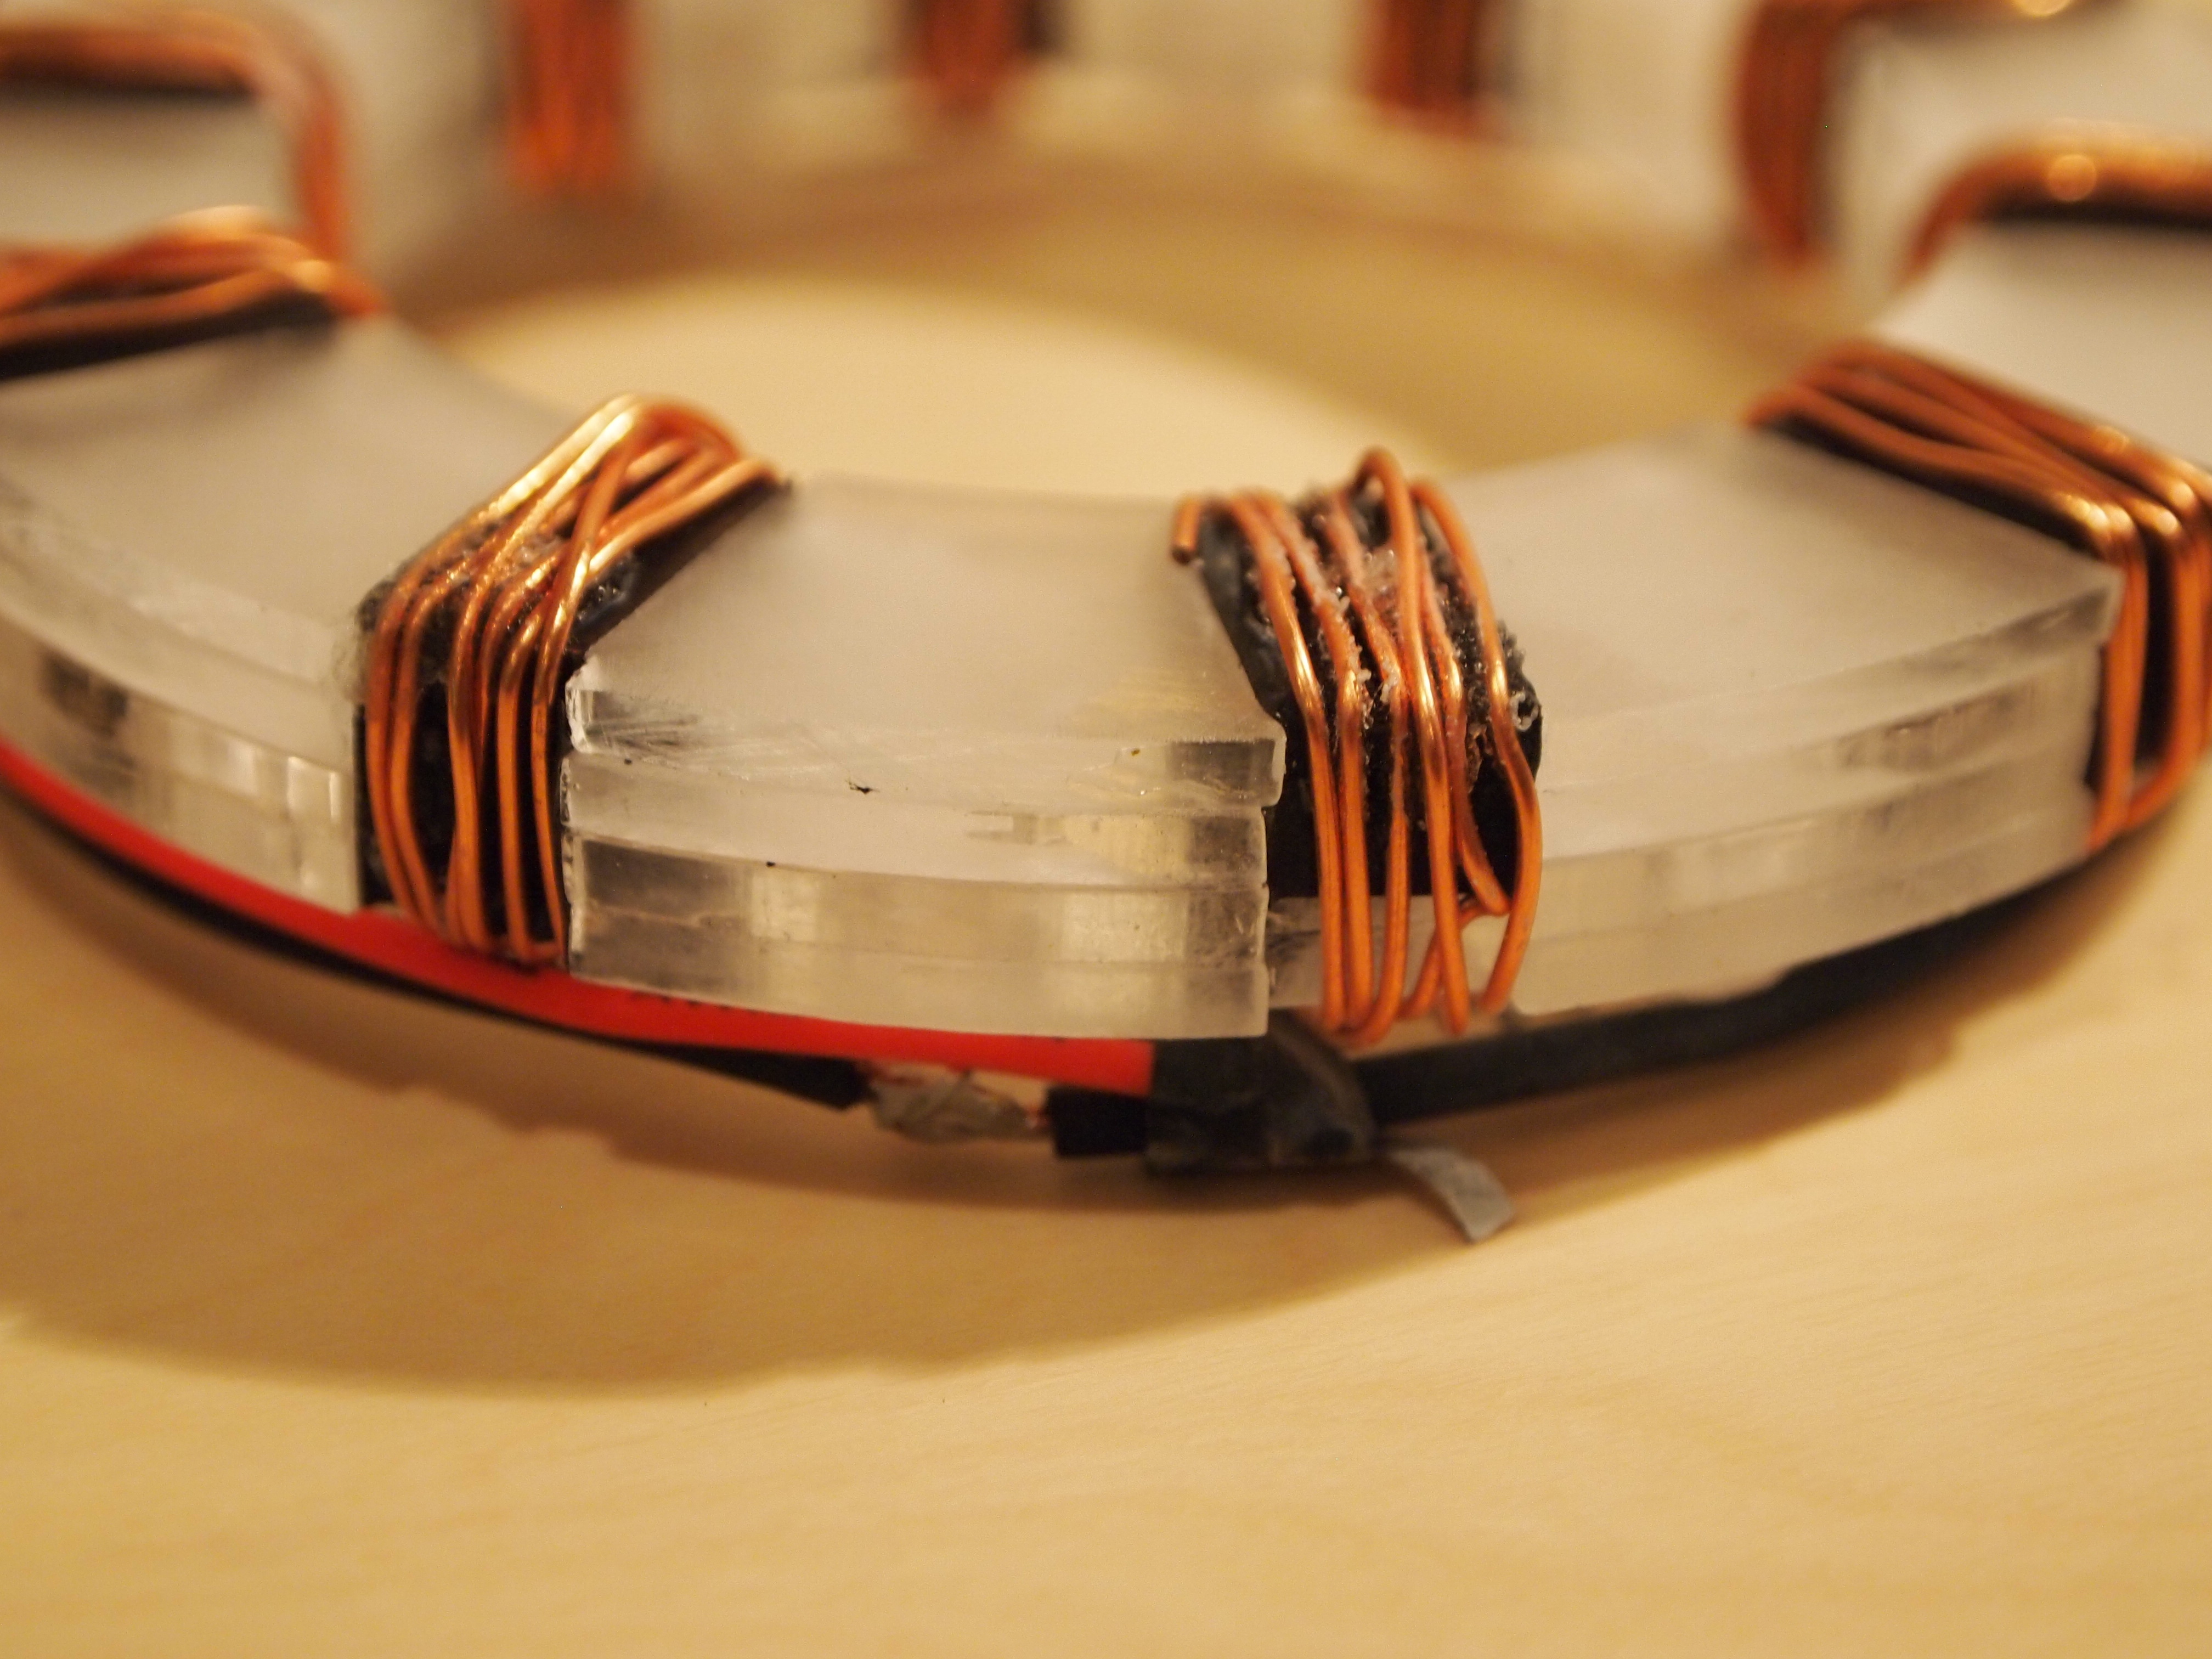
Now it’s time to get creative and add decorative elements! I wrapped the reactor with black electrical tape and copper wire, holding everything together with lots of superglue.


