arduioo-week

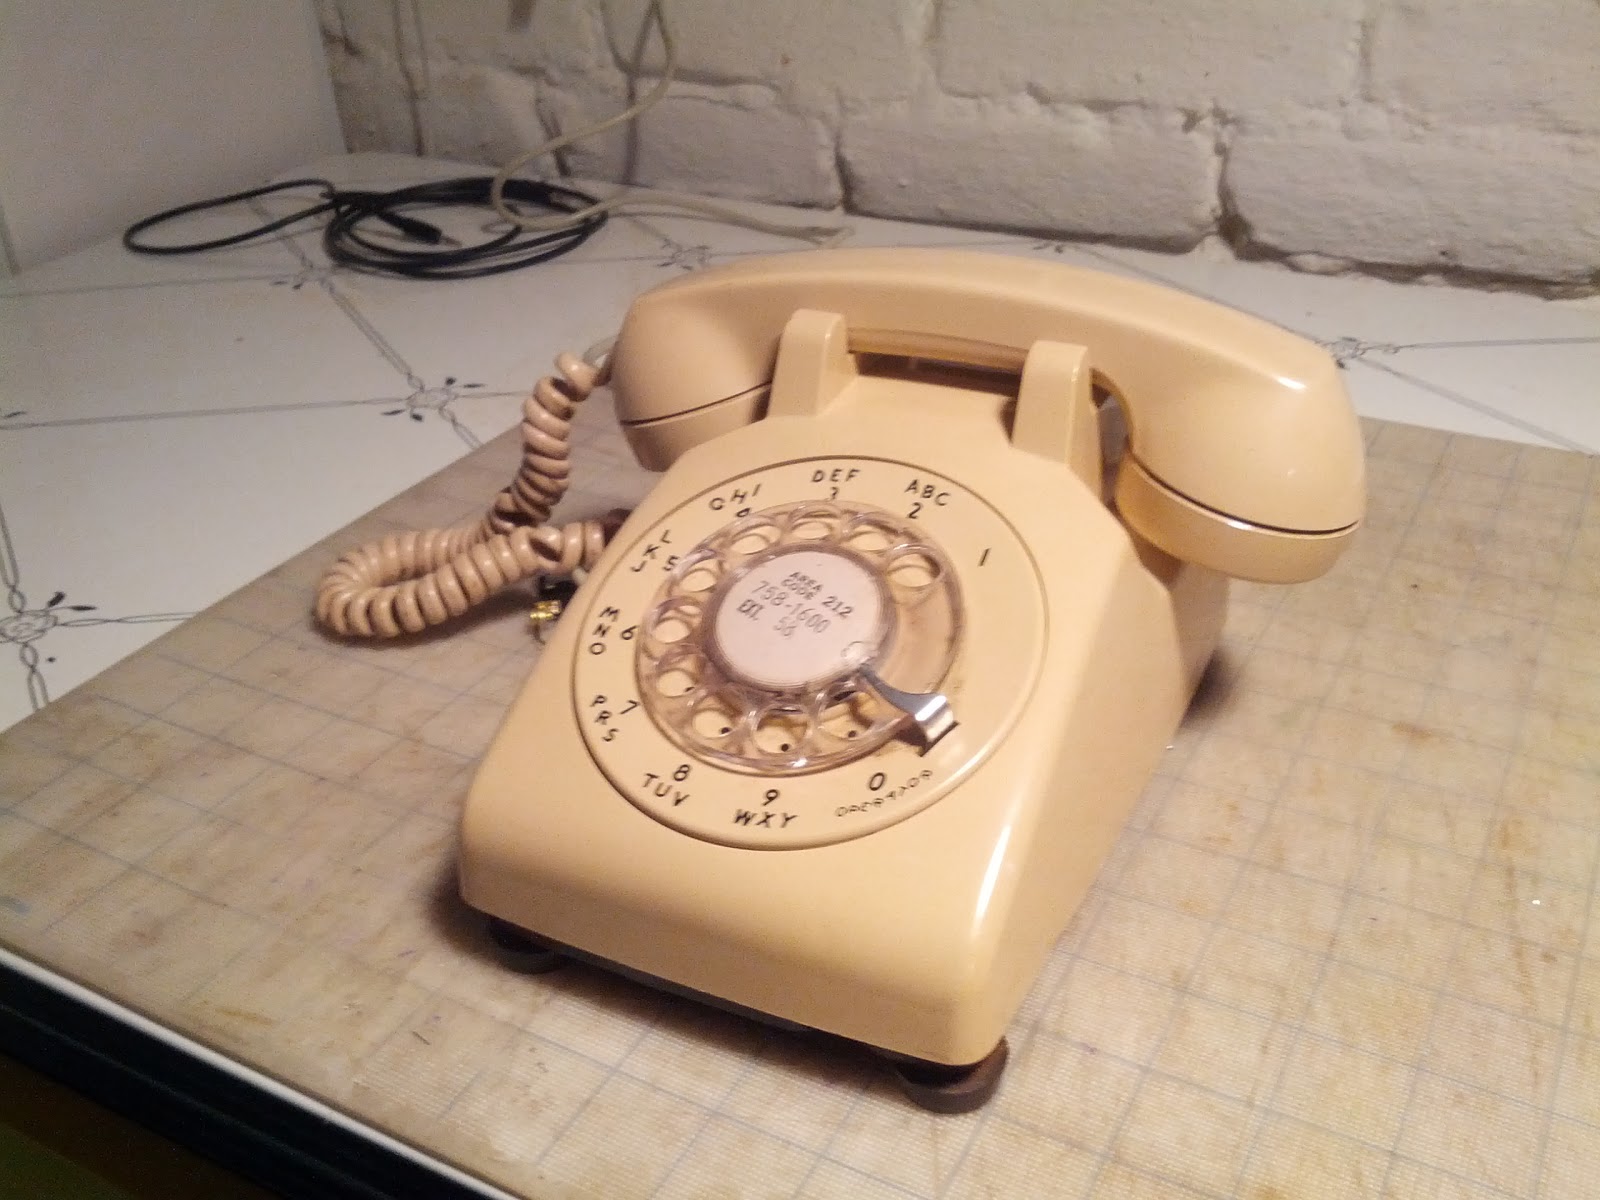
Have strange, simulated conversations with this interactive sound installation. The original electronic innards of a Western Electric 500 D have been replaced with Arduino, a Rugged Circuits Audio Shield, and assorted electronics and audio cables. The Arduino Rotary Phone can be dialed, but rings intermittently — encouraging curiosity and interaction. The phone’s program can either record the user’s voice, play back previous recordings, or stream the audio input directly to the earpiece with added distortion. The result is a sometimes delightful, sometimes disturbing conversation with a computer simulation of an old telephone.

YouTube player

Andrew Stella is an audio engineer and sound artist who explores the intersection of sound, technology, and art.

What will the next generation of Make: look like? We’re inviting you to shape the future by investing in Make:. By becoming an investor, you help decide what’s next. The future of Make: is in your hands. Learn More.

Project Steps

Get a phone

I used a Western Electric 500 D model phone. Rotary phones are easy enough to find on eBay, but know that unusual colors or styles may require some patience to find and extra cost.

Get a Rugged Circuits Audio Shield

This is an impressive full-featured audio shield, allowing for recording and playback of .wav audio on a microSD card.

The included software library makes interfacing with an Arudino fairly quick.

Pay attention to the documentation for the board for details on audio formatting and filename requirements.

Wiring the phone and Arduino

I set up a simple test circuit on a breadboard to confirm that you have chosen the correct wires and that they can be read properly by the Arduino.

Once I had done that, it was possible to start coding and working toward basic functionality. I started with a simple dial tone sound and getting the hook switch of the phone to trigger the playing and stopping of this sound.

Coding the rotary wheel was more challenging, especially since the number of digits entered and the time it takes all have an effect on the output sound.

Conversation mechanics

The next task was creating the interactive conversation functionality. The microphone on the telephone needs to be connected to the audio shield input via a 1/8″ audio cable, and the earpiece must likewise be connected to the shields output.

My program randomly chooses among recording the users input, playing back previous recordings, or streaming the input directly to the output with added distortion.

The function changes every 10 seconds or so, allowing a disorienting conversation between the phone and the user.

Ring the Bell

The electromagnet should be connected to the phone using a simple relay circuit.

The magnet switches on and off very rapidly, causing the bell’s striker to move back and forth.

In my code, the conversation and ringing were handled by individual functions

Conceptualizing the sketch

It helped me greatly to draw up a logic diagram for the phone.

Doing so allowed me to visualize the various components of the Arduino program that would be needed, and I was able to implement the pieces one by one until the overall system worked well enough to demonstrate.