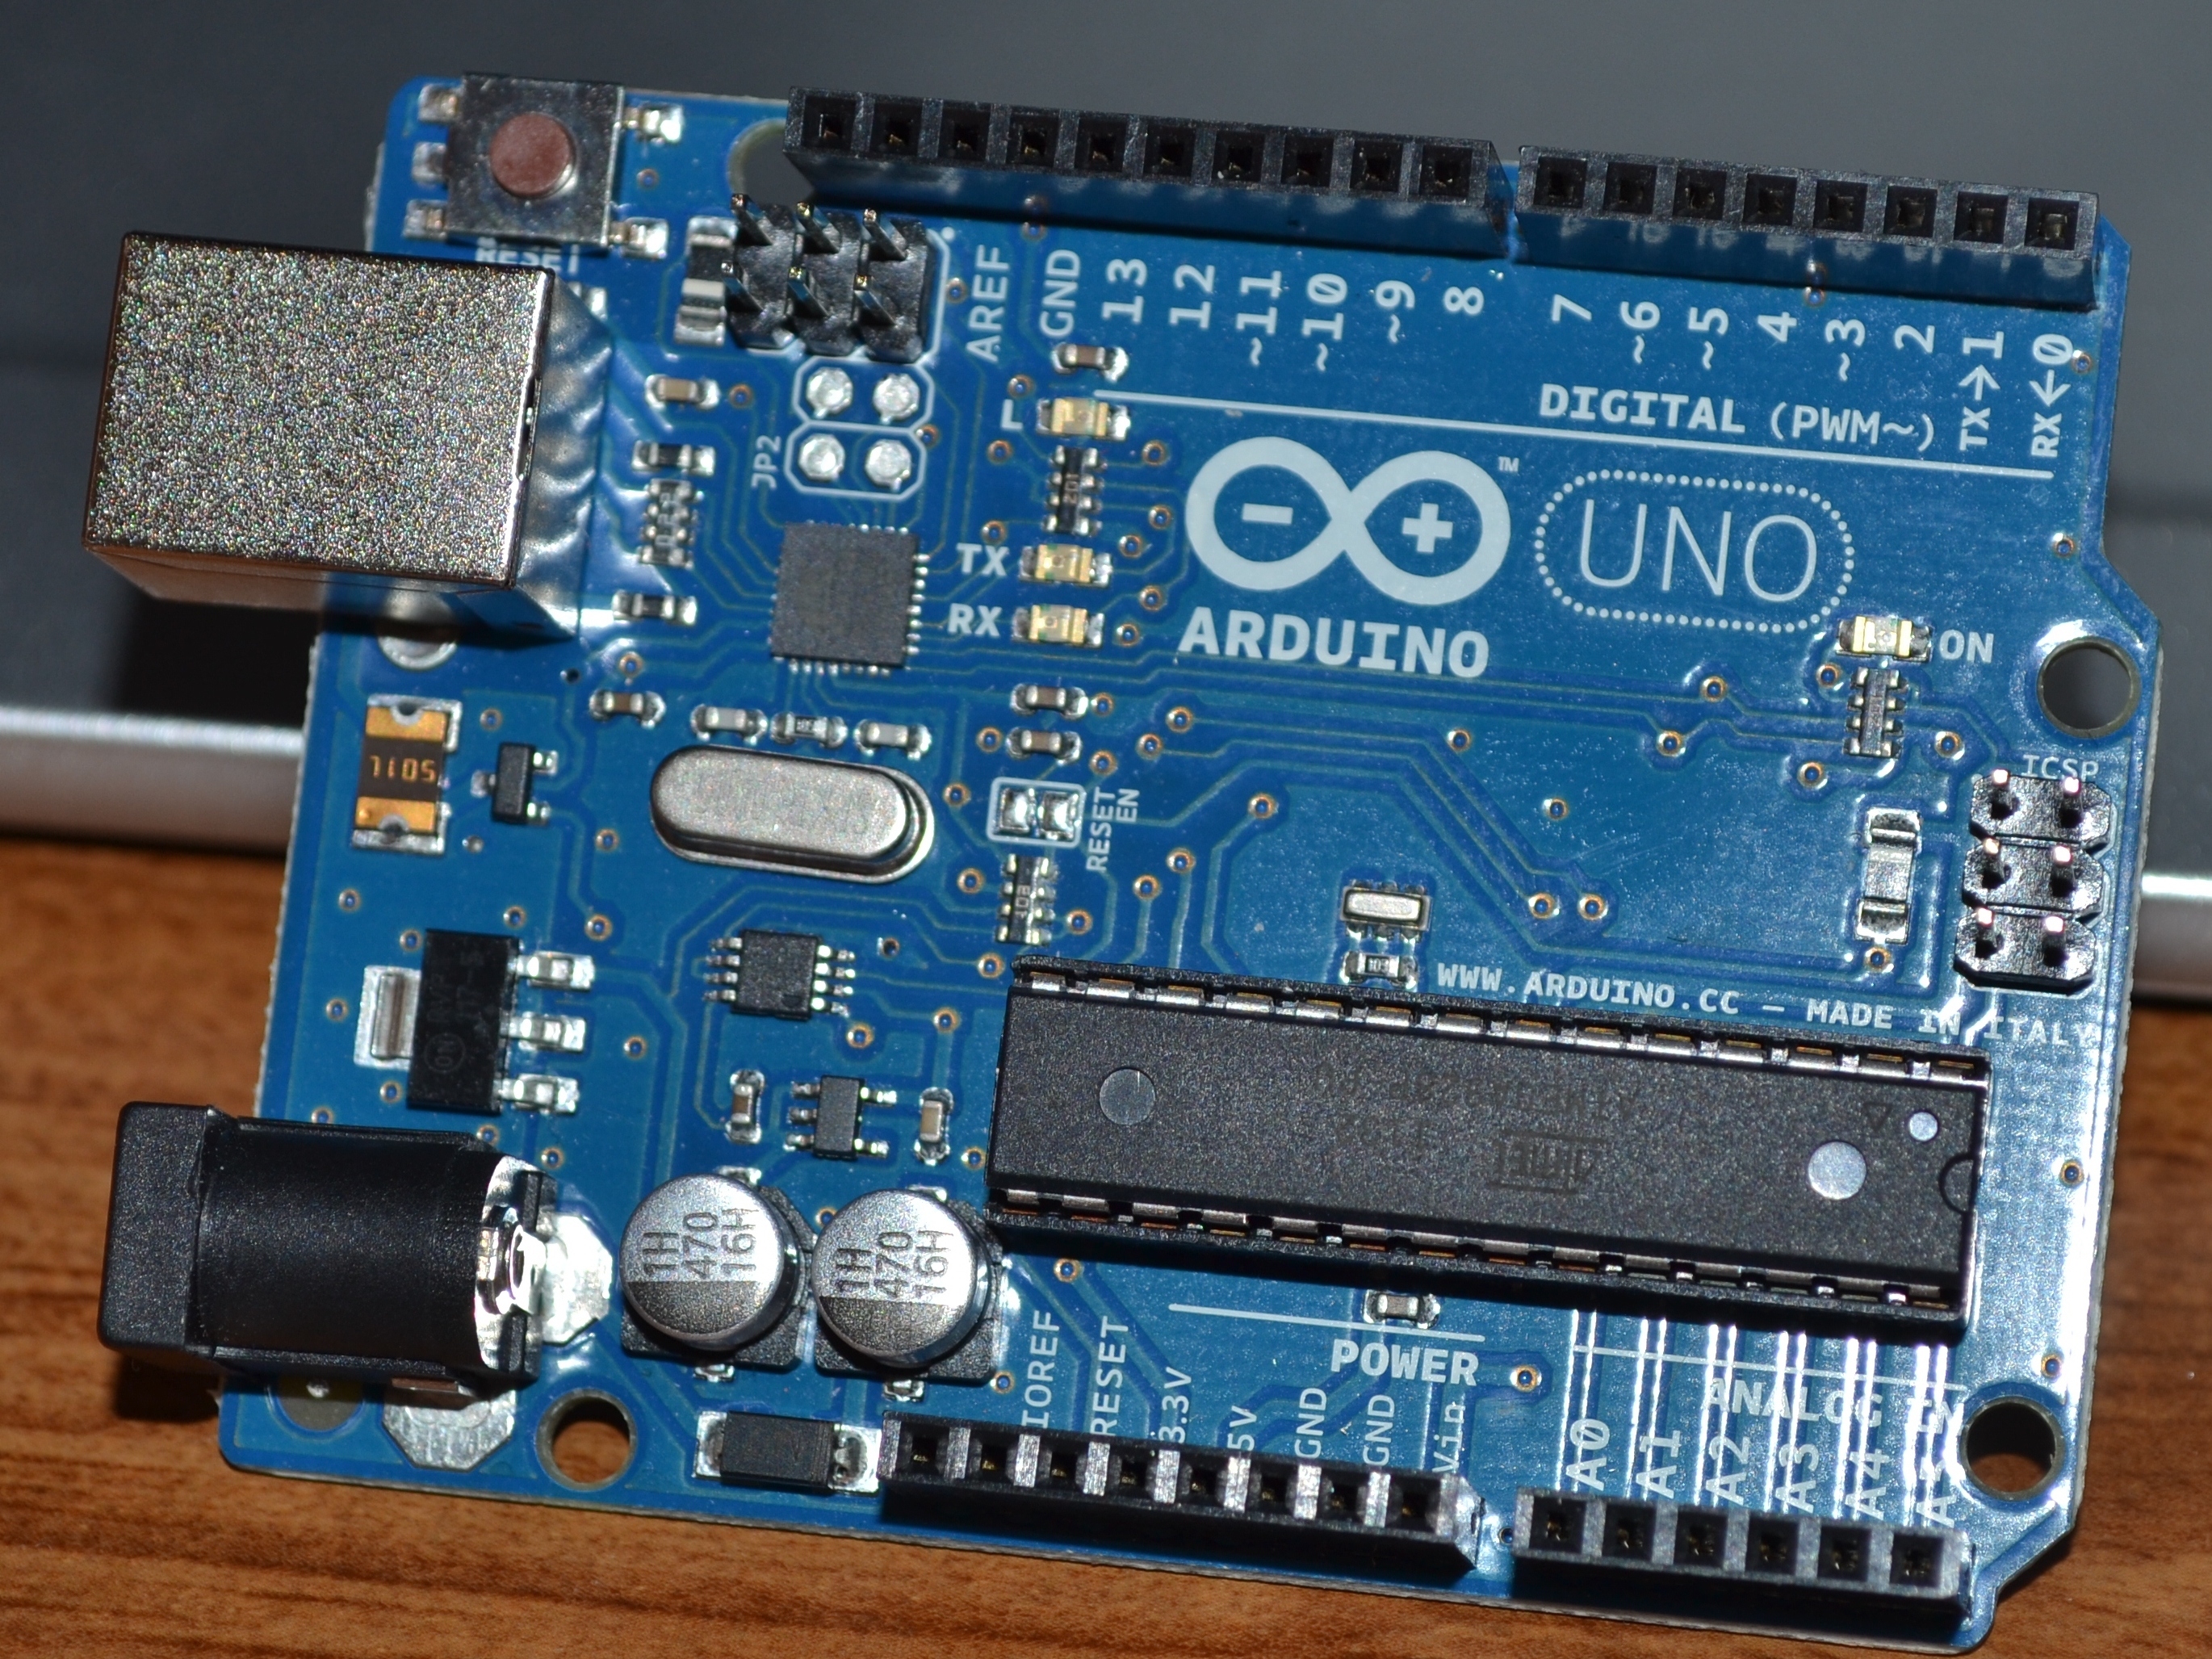
This guide will show you how to build a survival tin, the Arduino way!
Projects from Make: Magazine
Arduino Survival Tin
Build an Arduino survival tin full of everything you need!

Build an Arduino survival tin full of everything you need!

Be cautious when you work with Arduino boards as they are sensitive to static electrical discharge.

I recommend Maplin and eBay.

If your USB cable needs to be shorter, fire up the soldering iron!

Components such as servos will require tinned wires to connect to the Arduino. Back to the soldering iron!
Get your tin and arrange the components in it.
You might want to include a battery snap and battery in the tin.