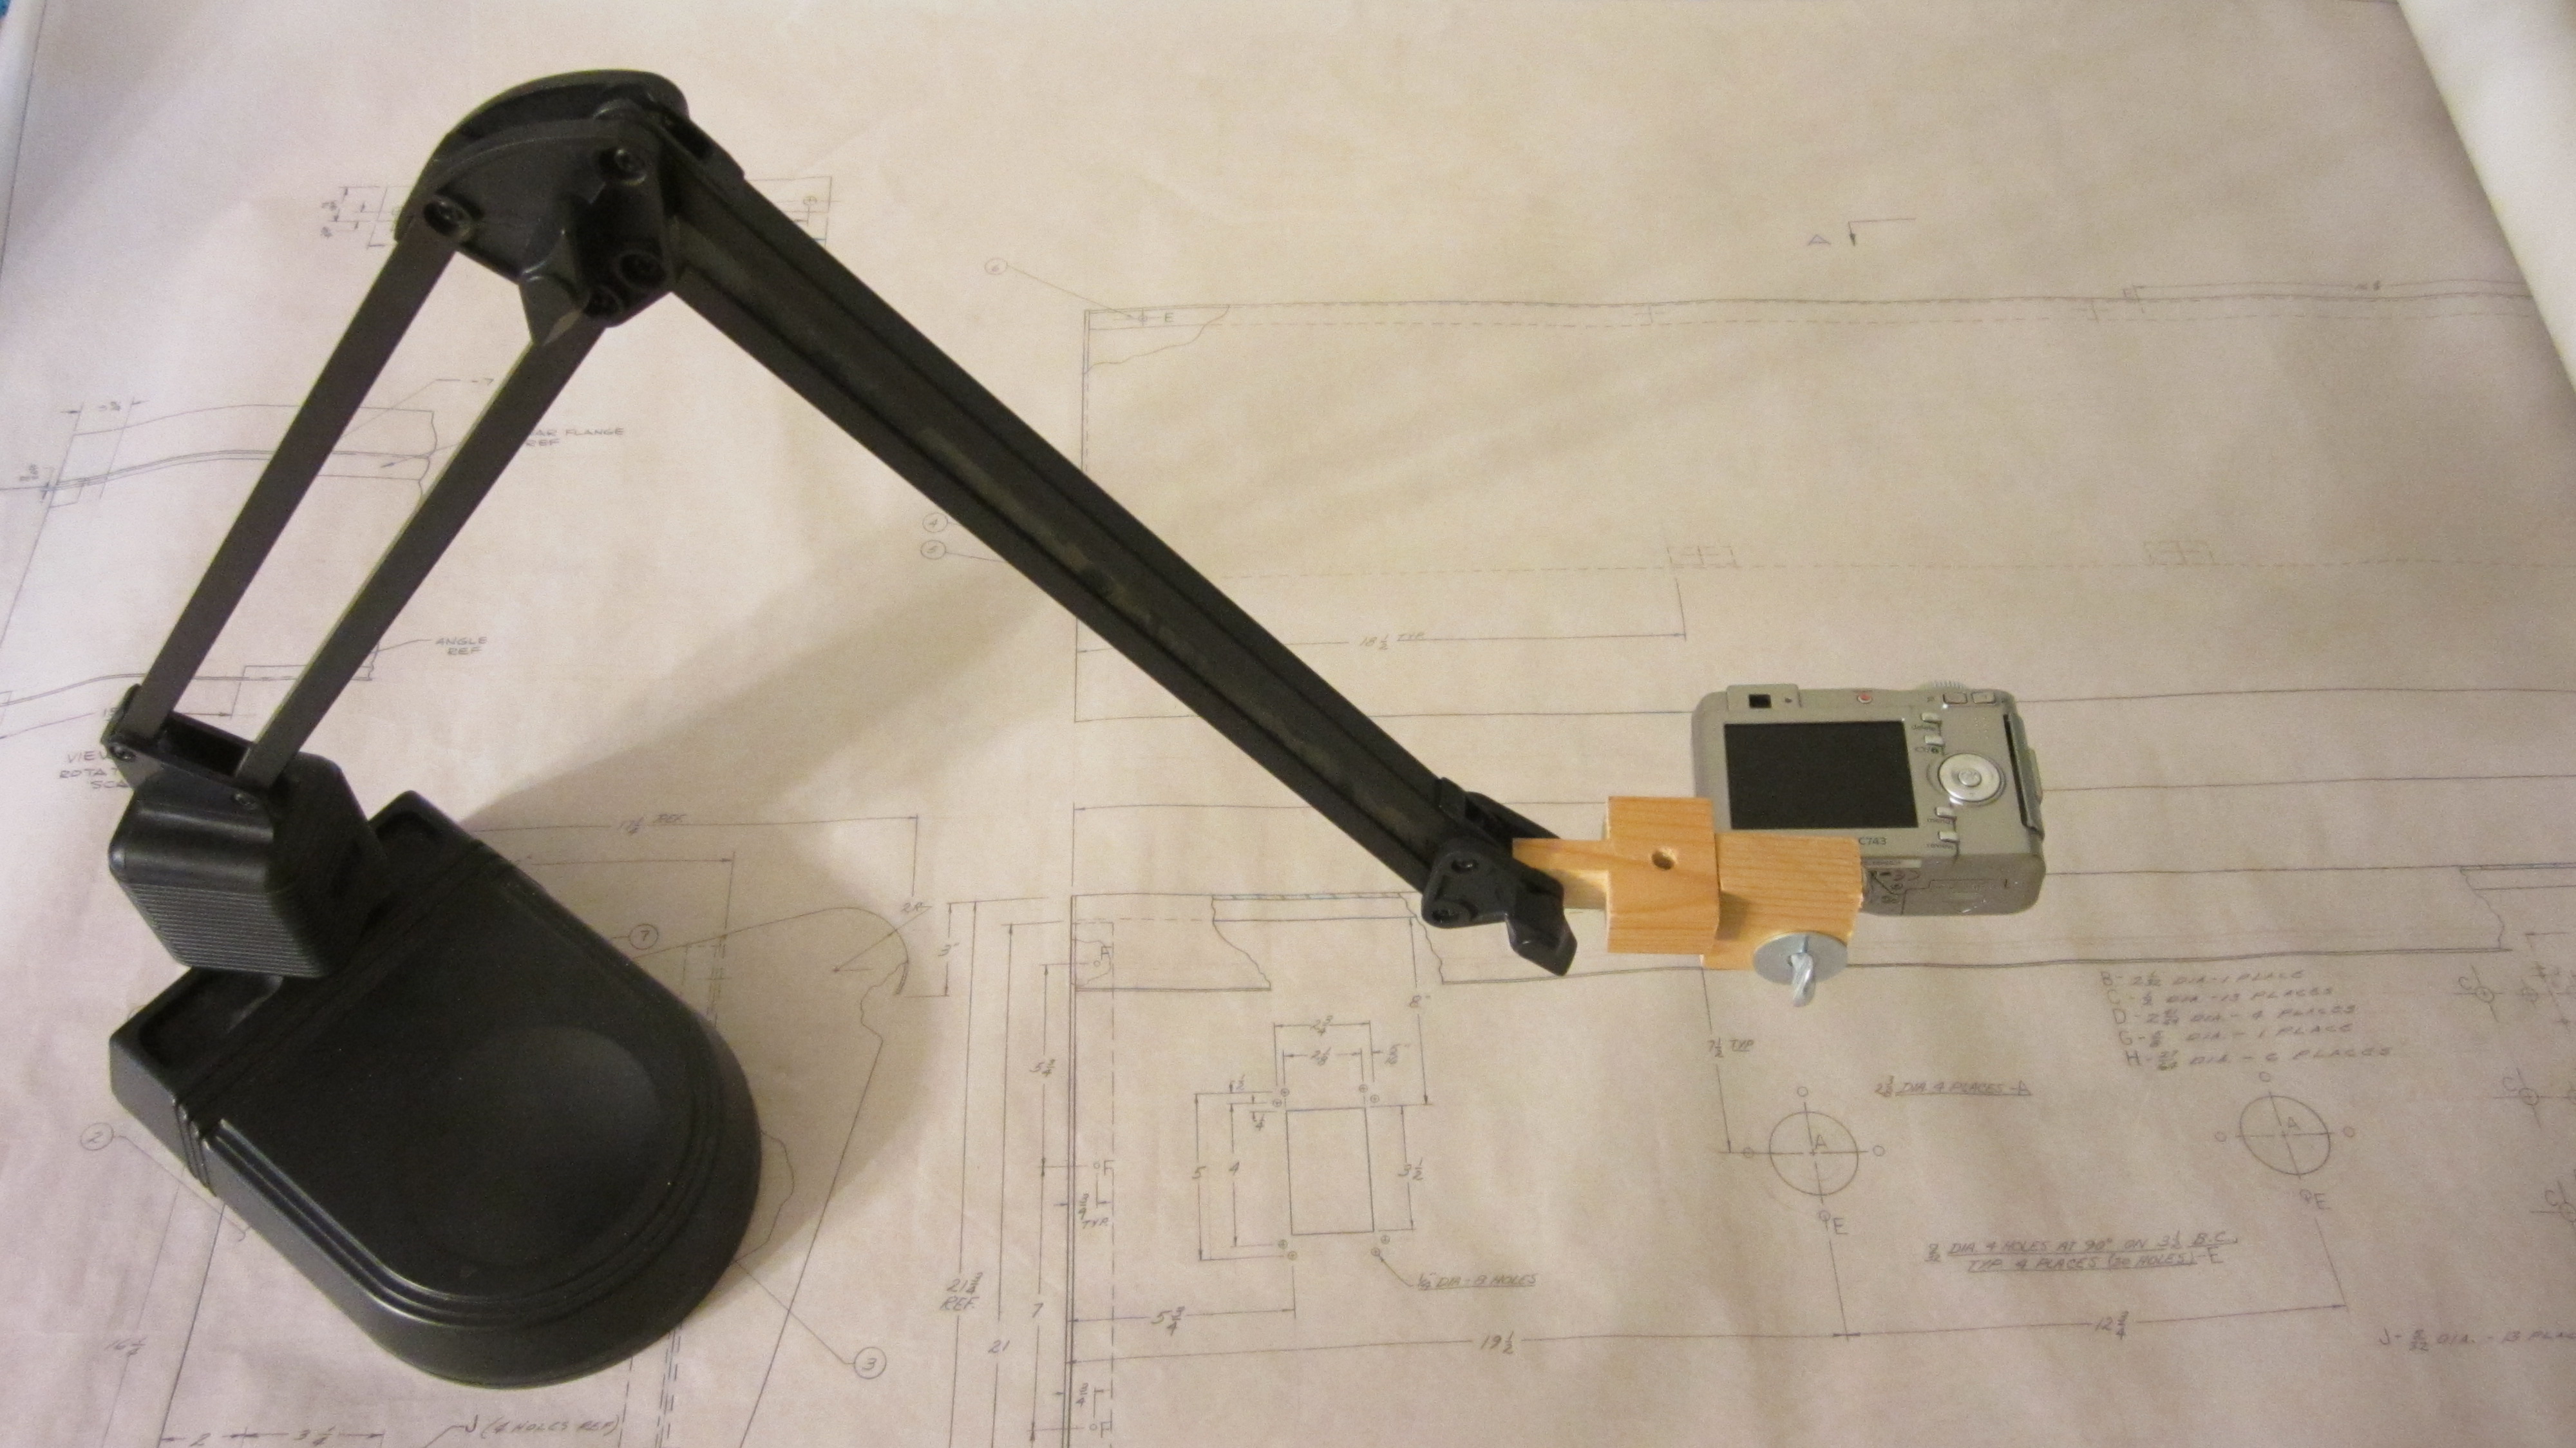
A single mounting bracket gives you somewhat limited freedom in how you position the camera. This is fine as long as you are able to move the base of the stand to compensate. But if you want to give your camera more degrees of freedom, then you need to add additional brackets.
To do this, start by cutting off another 1.5 inch by 1.5 inch section of wood. Then you need to drill some mounting holes. On the top face, drill a 1/4 inch hole that is spaced 1/2 inch from the back side and 1/2 inch from the right side. Then on the right side, drill a 1/4 inch hole that is spaced 1/2 inch from the front side. This will be your second mounting bracket.
To mount the second bracket, you need to make one modification to the first bracket. Drill a 3/16 inch hole in the right side that is about 1/2 inch deep. This is just big enough that a 1/4 inch bolt will tightly squeeze into it and make its own threads in the wood. There is a slight chance that this may split the wood. If this happens, try using a 7/32 inch bit.
To connect the two brackets, insert a 1/4 bolt that is 2 inches long through the hole in the right side of the second bracket. Then screw it into the hole that you just drilled in the first bracket.
Lastly line up the camera’s mounting hole with the hole in the top of the second bracket and secure it in place with a 1/4 inch bolt. If you want you can continue adding more brackets for greater flexibility, but two should be sufficient for getting most angles.


