This guide will show you how to assemble a TurtleBot once you have built or obtained all the parts necessary. There are guides next to this one which show how to make most of the parts. Sources for all the parts and kits of various levels are listed at turtlebot.com/build

What will the next generation of Make: look like? We’re inviting you to shape the future by investing in Make:. By becoming an investor, you help decide what’s next. The future of Make: is in your hands. Learn More.

Project Steps

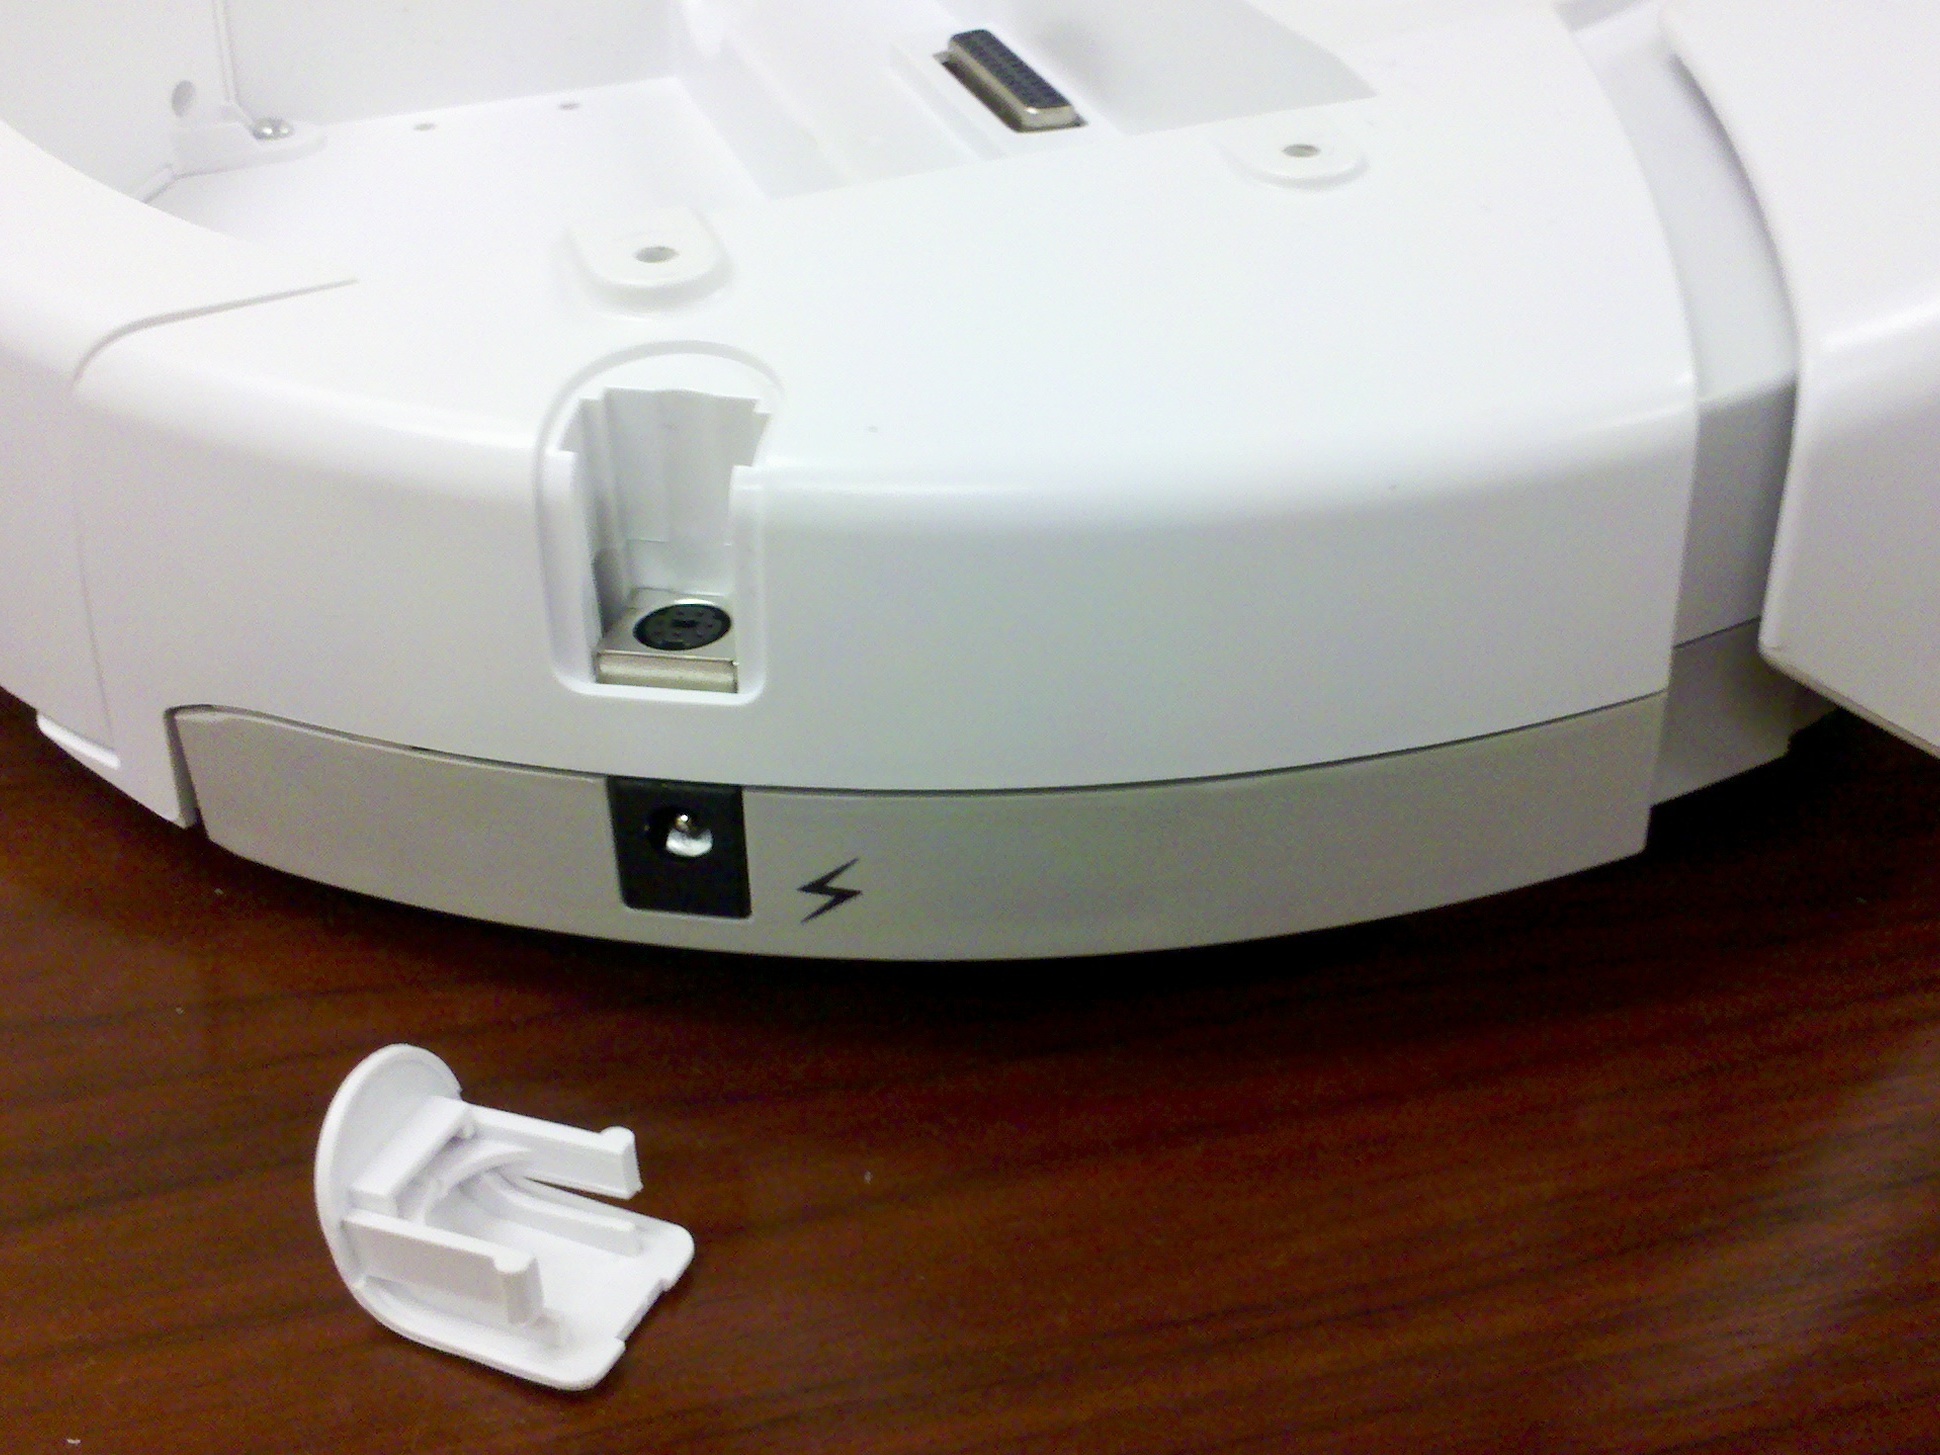
Remove the MiniDIN port cover from the iRobot Create

Slide the optional rear wheel into the clip on the bottom of the Create.

Insert the rechargeable battery (yellow) into the bottom of the Create.

Make sure that both sides click in.

Attach 4 2″ standoffs to the base plate using 4 screws.

Place 4 washers over the mounting points on top of the Create.

Attach the Base Plate to the Create using 4 scews.

Remove the metal grill from the bottom of the Kinect using a small screwdriver.

Remove the outside two security scews from the base of the Kinect as shown.

Note: There are 4 screws in a row. Remove the two closest to the ends, NOT the ones closest to the center.

Screw the two Kinect Standoffs into the Kinect housing where you removed the two screws in the previous step.

Note: Be careful to keep the standoff perpendicular, and thread it in until it touches the flat surface around the screw hole. Do NOT tighten after it makes contact with the flat surface.

Attach the Kinect to the back of the TurtleBot Plate 1 with 2 screws.

There are two pictures: One for the integrated USB cable, and the other for the serial cable with a USB to Serial adapter attached.

Bundle the MiniDIN connecter as shown. Leave 4-6 inches at each end.

Bundle the Kinect USB Cable as shown.

Leave 6-8 inches free on the end toward the Kinect.

Connect the Kinect USB Y-splitter cable.

Plug the MiniDIN connection into the Create.

Plug the TurtleBot Power Board into the Create on the DB-25 connector.

Seat it firmly by pushing down on the top of the 25 pin connector after aligning it.

Plug the MicroFit connector on the end of the Kinect Y-Splitter cable into the power board.

Place the wire bundles into the Create storage bay.

Leave the USB cable ends sticking out the back.

Position the Kinect mounted to the plate behind the robot as well.

Place the other Plate 1 on top of the standoffs.

Attach 4 more 2″ standoffs.

Place the plate with the Kinect attached on top.

Screw on the 8″ standoffs.

Position the top plate on top with the flat side facing forward.

Screw it down with 4 remaining scews.

Insert the laptop with the two USB ports facing the rear.

Plug in the Kinect and Create USB cables to the laptop.