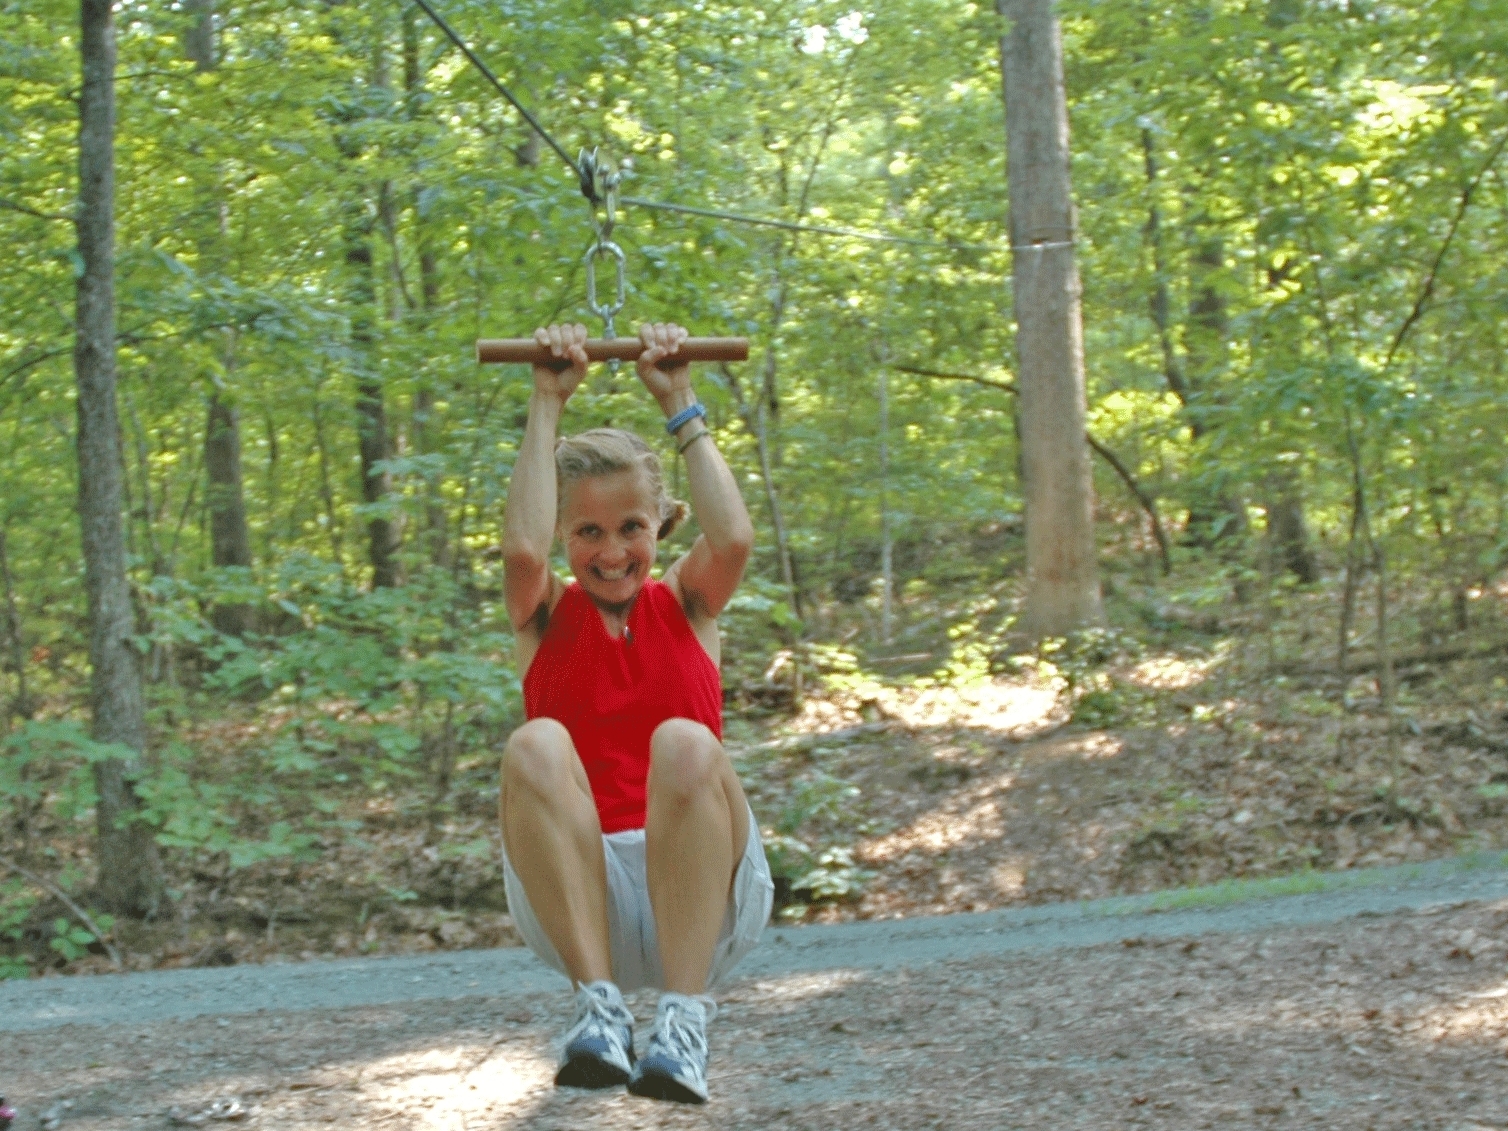
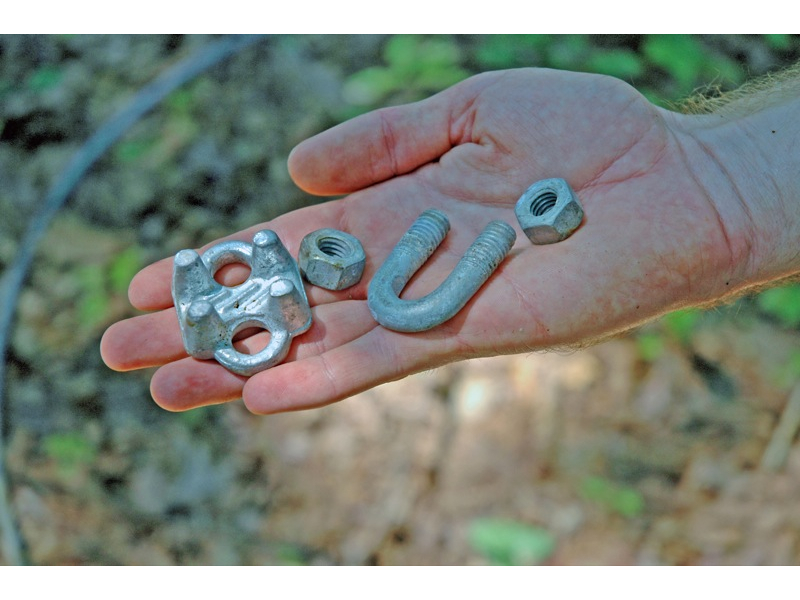
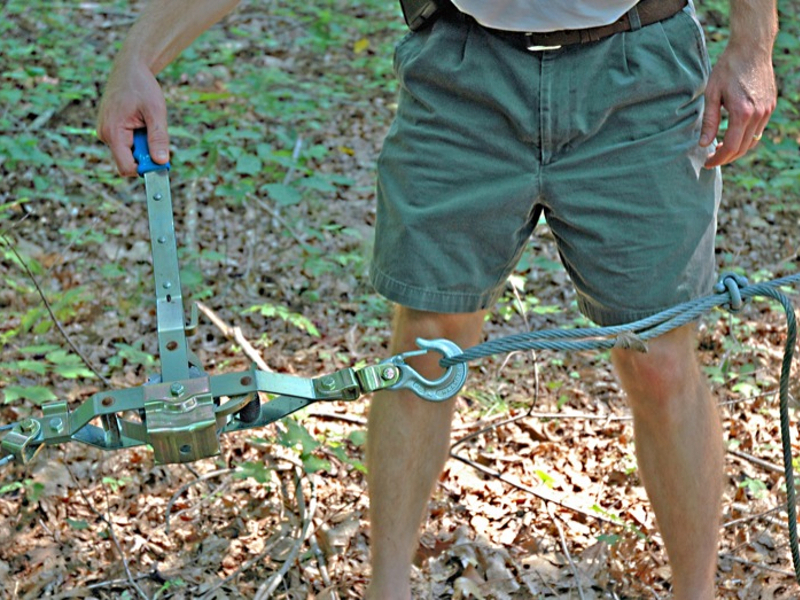
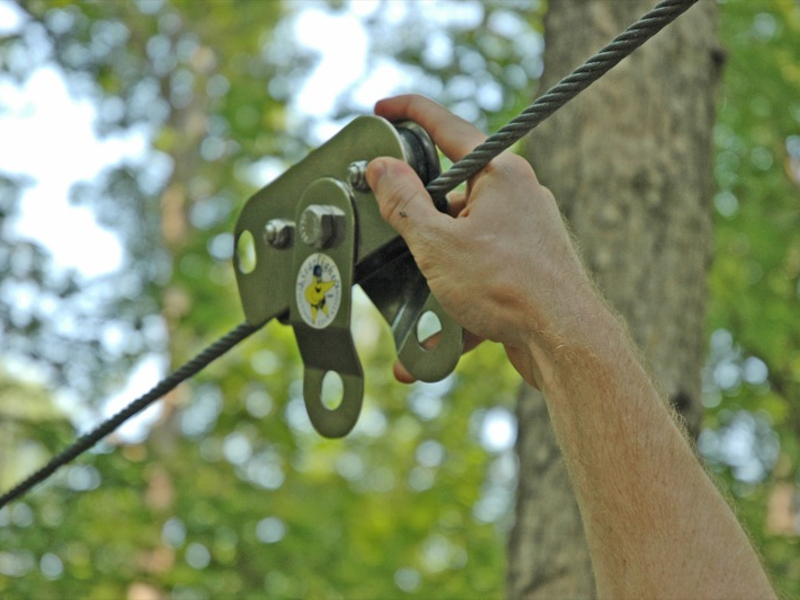
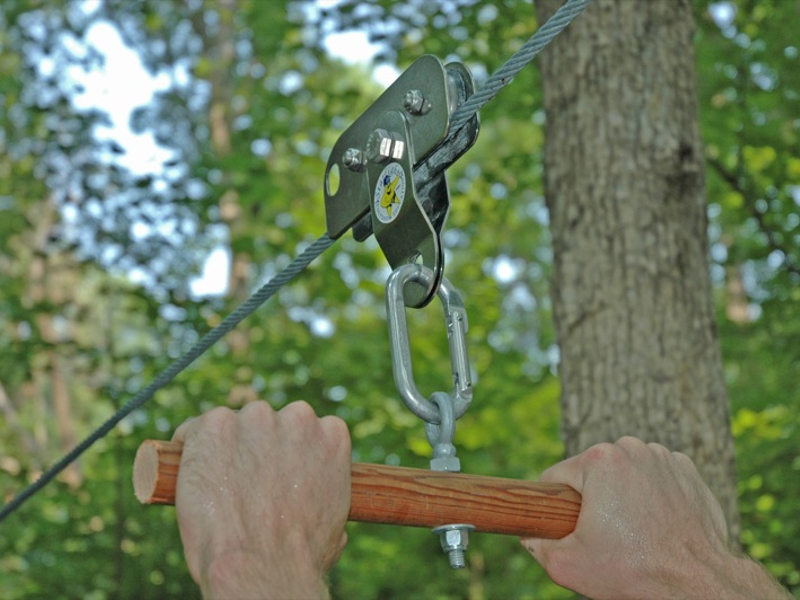
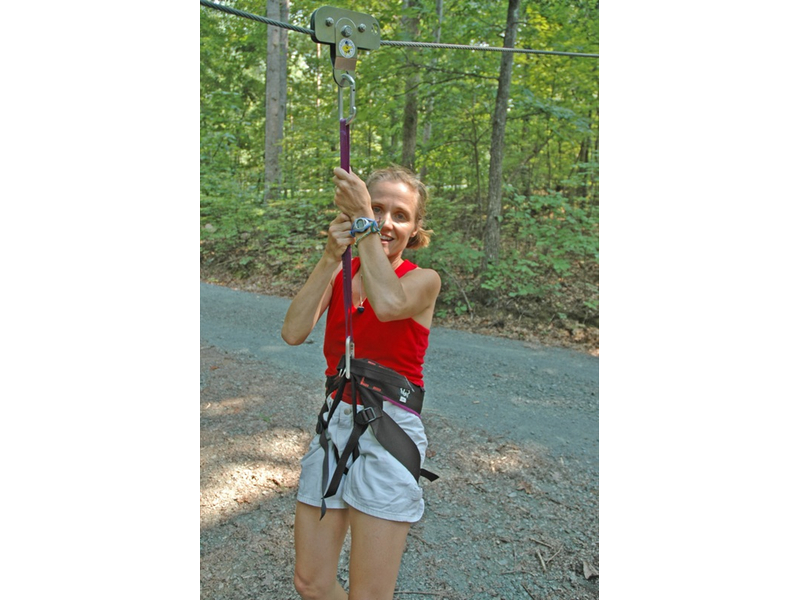
I surveyed my property and identified two large oak trees that were far enough apart and only had a few very small trees between them. I measured the distance between the trees and ordered the following parts from Starlight Outdoor Education.
For a permanent zip line, you’ll need long eyebolts, drilled through the entire tree trunk, to attach the cable to. I knew I might move the zip line in the future, so I chose a more temporary technique to attach the cable.
Depending on the run you’ve selected, you’ll need to determine how much cable to purchase. The cable comes in a spool in multiples of 250 feet. You should get more than you need because you’ll need a bit of play on both ends.
While I was waiting for the supplies to ship, I started preparing the site. I had to clear some small trees and underbrush to create a path between the two trees. I also started visualizing how far up each tree I was going to need to attach the cable and how steep the slope should be. I knew there would probably be some trial and error, but taking some time to plan ahead of time definitely minimized this once the supplies arrived.
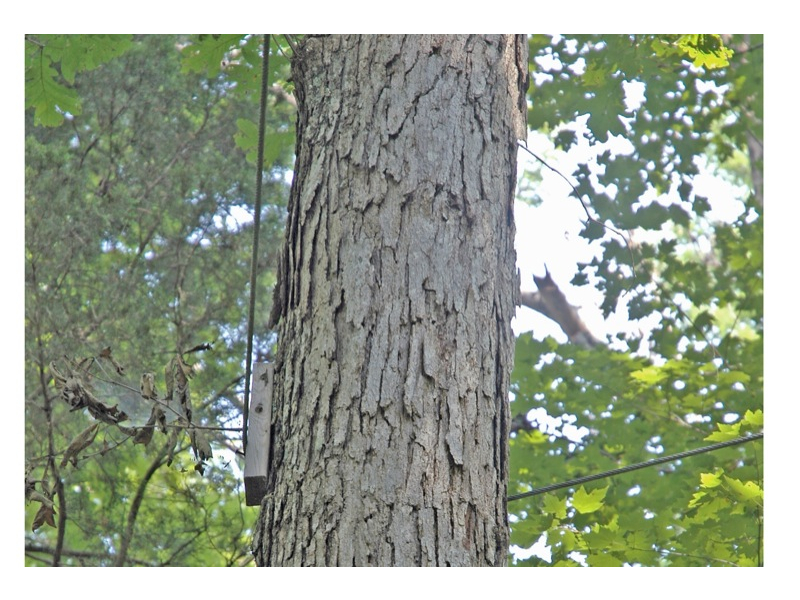
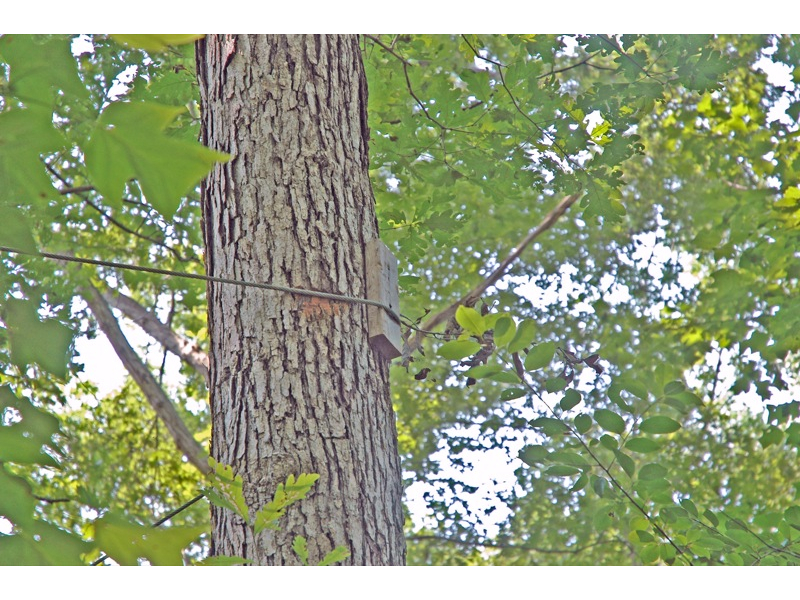
You’ll need a buffer between the cable and the tree it is attached to — otherwise, the tree will actually grow around the cable and, over time, completely engulf it. For this purpose, I bought three 1×6 boards of pressure-treated deck flooring and cut them into several 1-foot lengths. I went ahead and drove the nails partway into the boards so I wouldn’t have to do so once I was at the top of the ladder. I nailed the boards into the tree vertically so that they encircled the trunk with small gaps in between them. This allows the cable to attach securely to the tree without actually touching it. On a couple of the boards, I drove a nail about halfway in so the cable would be supported by it and wouldn’t slide down the tree.


