We’re going to move the listener’s microphone from its original position to the book’s outside spine, because the spine is generally exposed whether the book is in a bookcase or just lying around.
To do this, locate the mic of the miniature amplified listener. The mic is connected to the circuit board with two wire leads. Depending on the model of listener, the leads may be short, bare wires or longer wires covered in plastic insulation.
Select one of the two wire leads and mark a dot on the circuit board where the wire connects. Likewise, make a dot on the mic where the same wire connects. This will serve as a guide when re-attaching the mic to the circuit board after extending the mic’s leads.
Cut both of the wire leads at the mid-point, leaving as much of each wire lead attached to the mic as to the circuit board.
If the wire leads are insulated, strip at least ¼” of the insulation off the end of the leads connected to the mic and the circuit board.
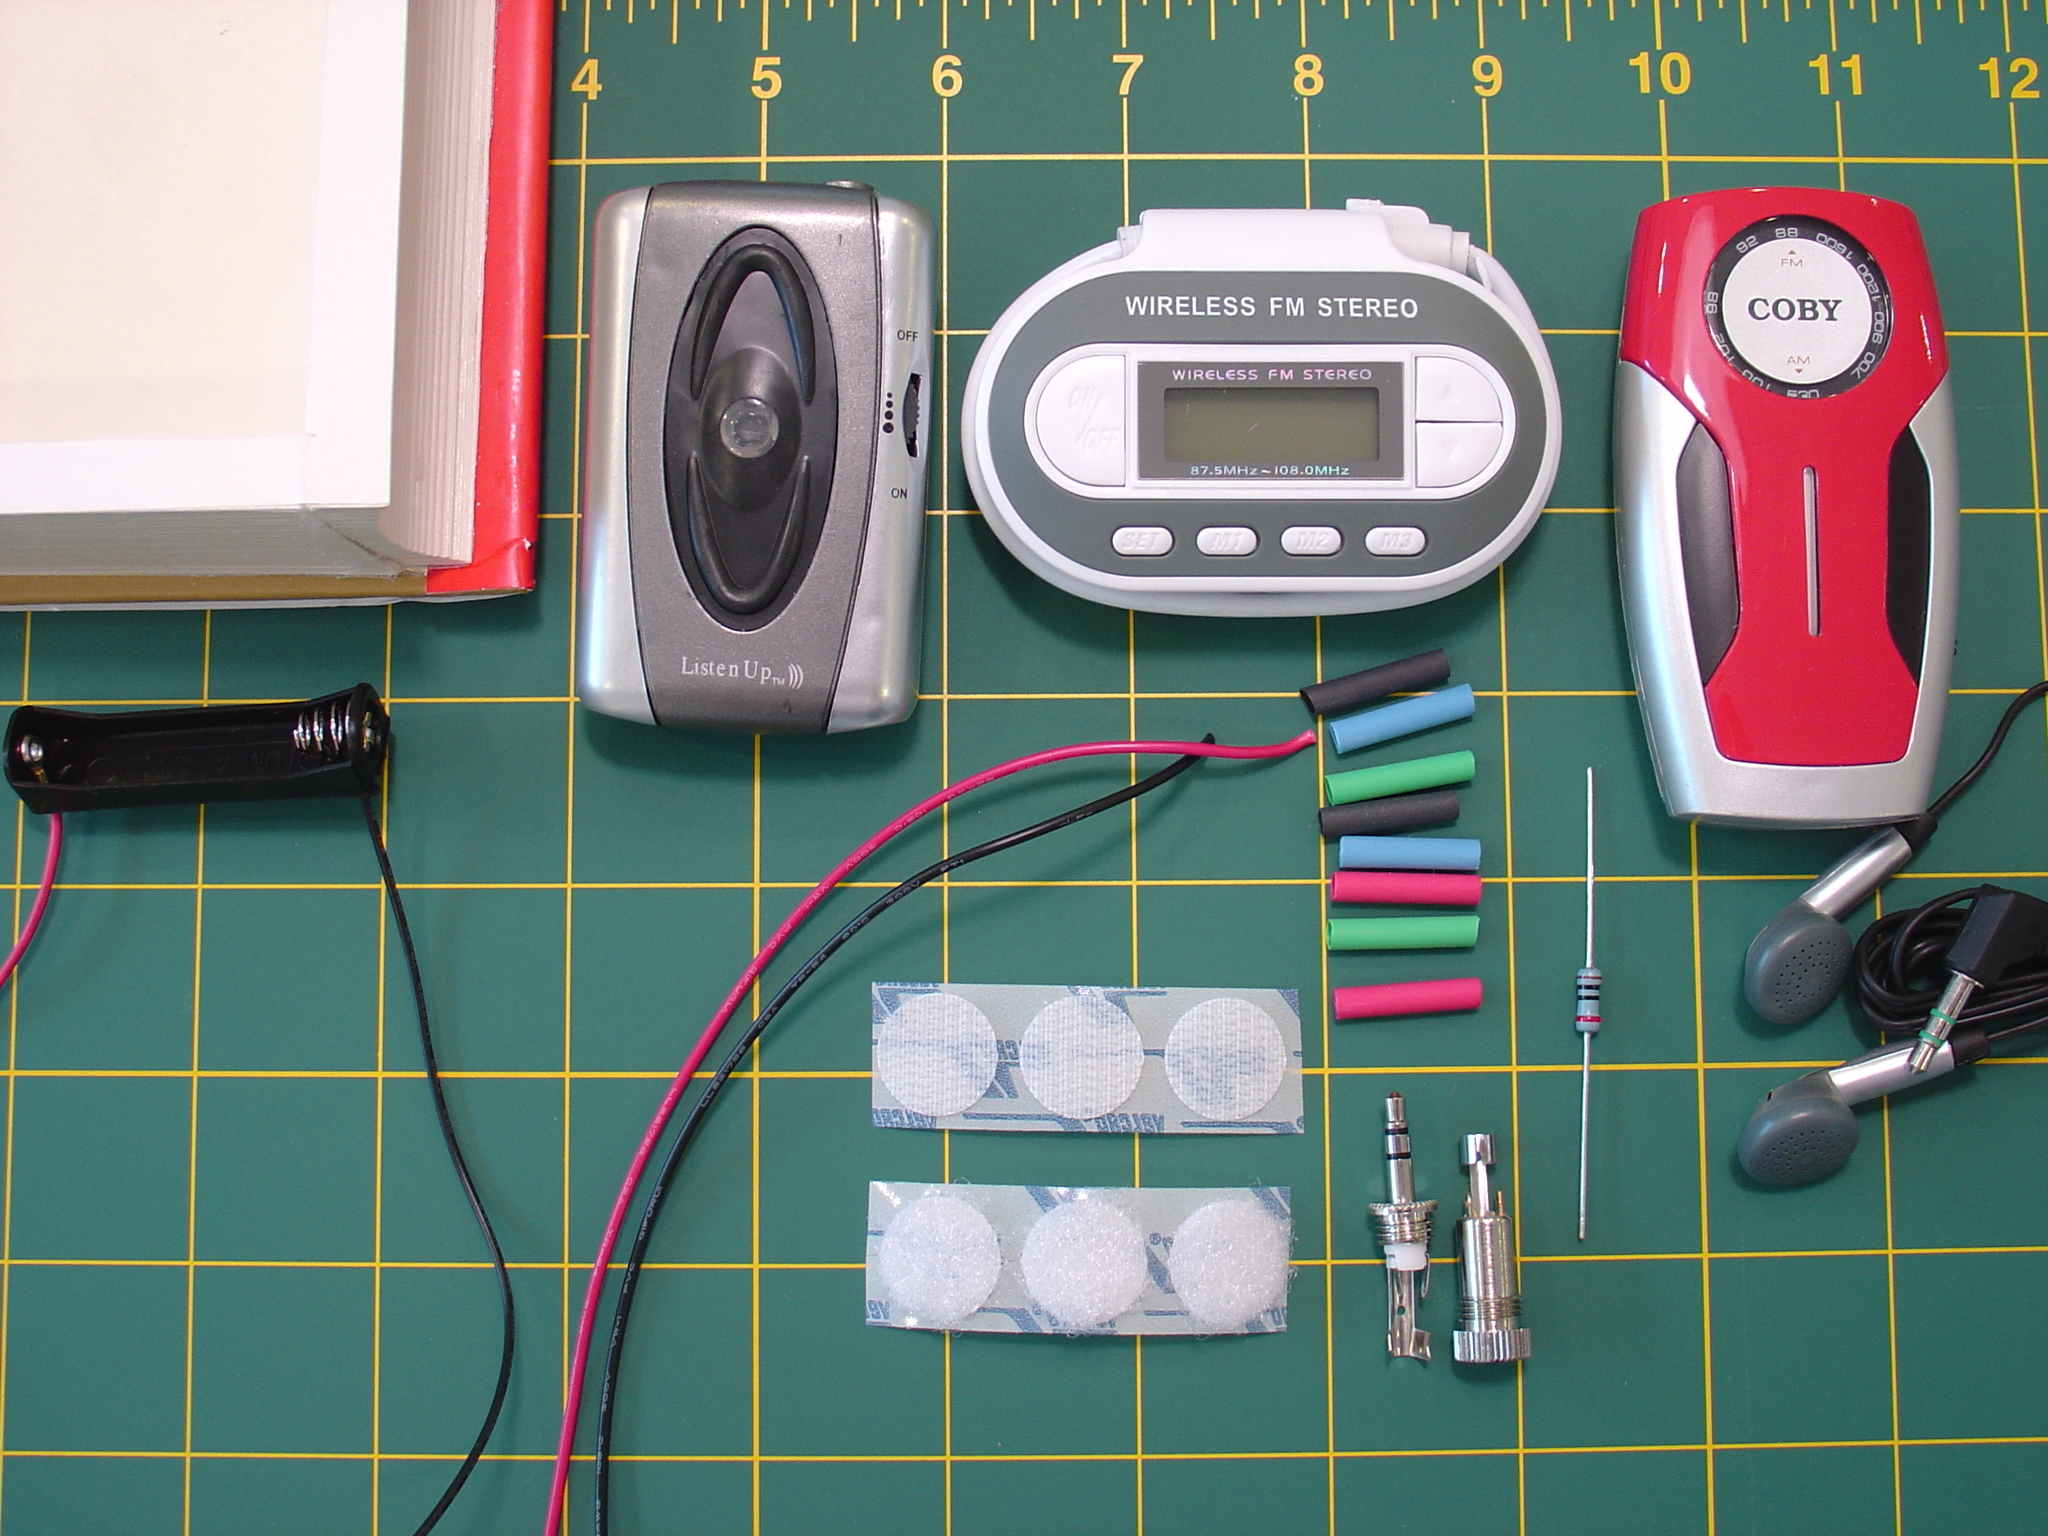
Locate the remaining two lengths of red and black hookup wire. Twist one end of the red wire around the lead on the mic marked with a dot and solder. Slip a length of heat-shrink tubing over the red wire and shrink snugly over the solder joint. Slip another length of heat-shrink tubing over the red wire. Twist the other end of the red wire around the lead on the circuit board marked with a dot and solder. Slip the other length of heat-shrink tubing over the solder joint and shrink snugly.
Using the black wire, follow the same steps to connect the remaining lead on the mic and the circuit board. Again, test the amplified listener.


