Want to build electronic gadgets fast and learn programming too? With the Oxocard Connect mini computer and cartridges, you can easily try out your own ideas, build prototypes for projects, or just play with ready-made gadgets and learn to code in a playful way. Together with our Innovators Kit you can take your first steps into the world of electronic components and learn how to combine them with a microcontroller to make all kinds of smart projects.
In this short project we’ll introduce you to programming the Oxocard Connect using the scripting language NanoPy and a full-fledged, browser-based programming platform (IDE) to quickly build an IoT thermostat with alarm and servomotor. You’ll connect the temperature sensor, alarm buzzer, and servo on a mini breadboard cartridge that plugs right into the Oxocard Connect’s expansion port, no soldering necessary!
About Oxocard Connect

The Oxocard Connect is a mini computer with a display (240×240 pixels), joystick, USB-C connection, network functions, and an expansion port where you can plug in ready-made cartridges or circuits of your own. The core of the Oxocard is the popular ESP32 microcontroller with 2MB PSRAM, 8MB Flash, Wi-Fi, and Bluetooth. The NanoPy language, based on MicroPython, is super easy to learn.
Thanks to the built-in Wi-Fi, and functions for HTTP and MQTT in NanoPy, you can not only run your projects locally but also send and collect data via the internet, to use your Oxocard for smart home projects or all kinds of IoT/cloud integrations.
Use it
Using Oxocard right out of the box is easy — no software installation, no typing out code listings and troubleshooting them! Instead you can start using the cartridges right away with the built-in examples, and then experiment with the code as you wish. “Use, Modify, Create” is Oxocard’s approach that quickly leads to initial successes and makes you want more. Sure, Oxocard and NanoPy together form a “learning system” — but it’s one that’s really fun and encourages curiosity.

In the programming environment there’s a tutorial for each example project. These examples build on each other, and explain the special features of the NanoPy script. There’s also a command reference you can search.
NanoPy is based on the commands and structure of MicroPython, but its graphics functions are based on the Processing language, which is popular with beginners (and familiar to many makers from Arduino). This allows you to conjure up graphics on the display with just a few instructions. In the simplest example, just two commands:
drawRectangle(100, 100, 20, 20)update()
are sufficient to display on the Oxocard a rectangle at position x=100, y=100 and edge length 20.

Modify it
The Oxocard comes with a pre-installed operating system that connects via Wi-Fi to the browser-based IDE on nanopy.io and interprets the scripts. So you’re programming via Wi-Fi instead of USB like Arduino; but if you want, you can still program your Oxocard using a cable. This system works with Chrome and Edge, not Firefox-based browsers.
The NanoPy editor is also offered for download on GitHub so you can install it locally, but you’ll still need to go online for convenience functions such as reference, tutorials, and documentation.

At the push of a button, the IDE sends one of the many example programs to the Oxocard, which starts it locally on the ESP32. The Oxocard in turn sends data back to the IDE via Wi-Fi when the script is running, such as the output of the print command, which can be displayed using the Terminal window — practical when troubleshooting your own programs or modified examples.
In the IDE, values in the script or program can be modified during runtime using graphical sliders, and the effects on the Oxocard can be observed without having to go through the tedious process of recompiling and uploading like with Arduino!
There’s also a debugging function that allows you to run your scripts line by line and observe what values the variables take.
Why NanoPy?
Makers familiar with Python on computers, or MicroPython and CircuitPython on microcontrollers, will feel right at home learning NanoPy, but it’s fundamentally different underneath. NanoPy creator Thomas Garaio explains:
“NanoPy is an entry level scripting language. It’s made to look as similar to Python as possible, with “syntactic sugar,” but it’s not Python — it’s not dynamically typed, it’s statically typed, so you don’t need drivers or libraries, you just connect to the internet. So it’s easy to use but it’s also fast operationally!”
Learn more at nanopy.io
Create with it

By experimenting, you quickly get a feeling for the different commands and how they work. The self-explanatory function names also help with this. The many script examples can be easily combined, and there’s a separate section in the editor for your own scripts with the option to save them on the Oxocard. You can then call them up in the Start menu under My Scripts.

The integrated sprite editor is also practical — you can draw up to 24×24 sprites with pixel precision and transfer them to your program as an array with a click. In combination with the joystick, you can create games and graphic applications.
Plug-in cartridges
The Oxocard Connect can be connected to additional hardware via its expansion port, which opens up huge potential. In addition to cartridges with sound synthesizers, air quality sensors, and an LED pixel matrix, there’s the breadboard cartridge for electronics experiments. It’s even got LEDs on each I/O pin!
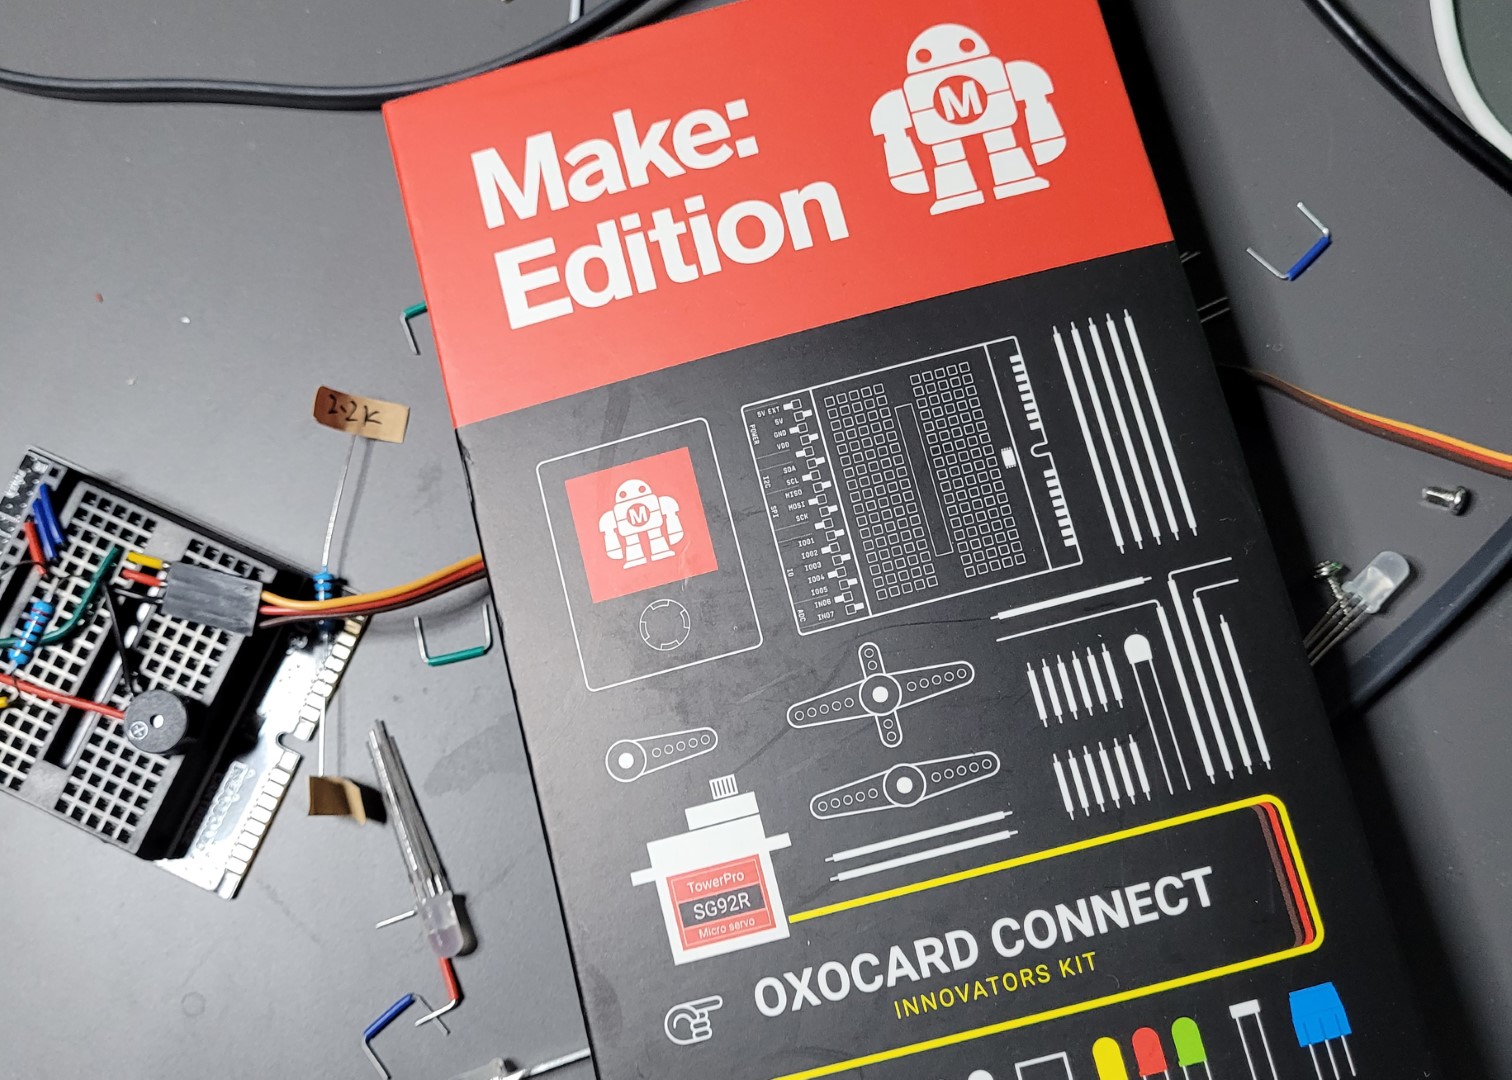
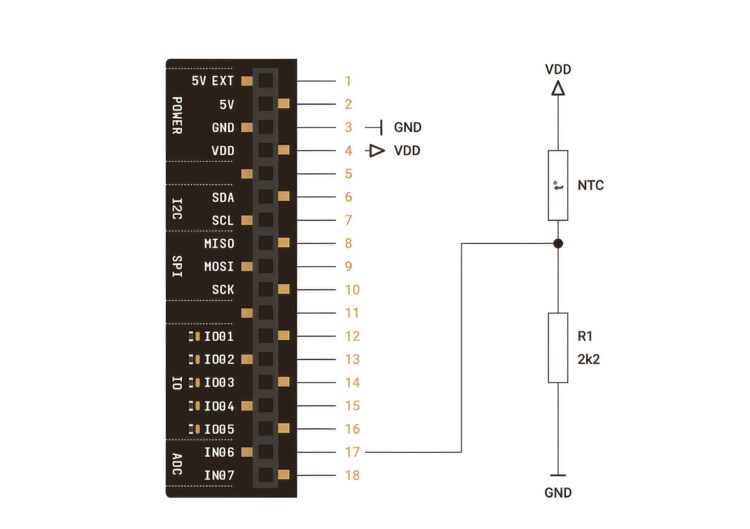
Bundled with around 30 electronic components, jumper wires, and of course the Oxocard Connect, Make: magazine offers this as the Oxocard Innovators Kit — Make: Edition. The kit includes a temperature-dependent resistor (NTC) for temperature measurements, a light-dependent resistor (LDR) for measuring brightness, a PIR sensor as a motion detector, as well as a piezo buzzer, servomotor, and various LEDs, buttons, and resistors. You can build all sorts of things with it.

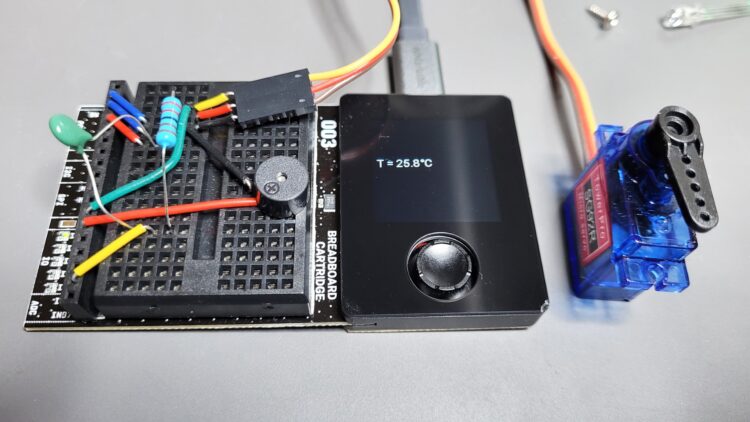
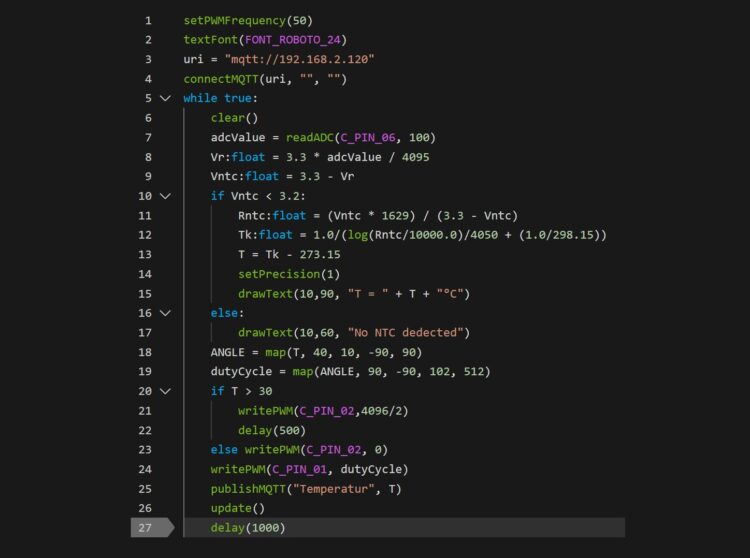
As an example, let’s build a smart thermostat: It should show the current temperature on the display, move a servo accordingly, sound an alarm when values exceed 30°C (86°F), and also send the temperature to your Wi-Fi network via an MQTT message.
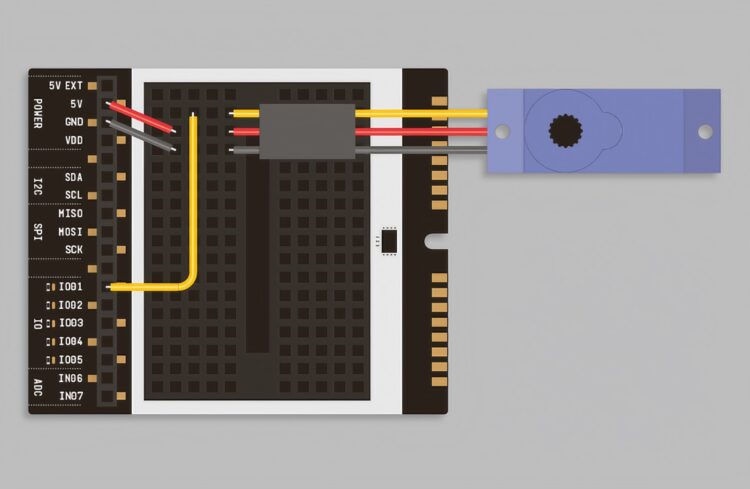
The online IDE contains a tutorial with code, circuit diagrams, and construction suggestions for each electronic component, and for MQTT, so it’s easy to build up this project step by step!


